
 Follow

Completed the 3/4-Size Violin!
I had a number of other projects going, so I neglected to maintain the website presence…the only post lately has been of another violin resurrection. But…I hope to change that.
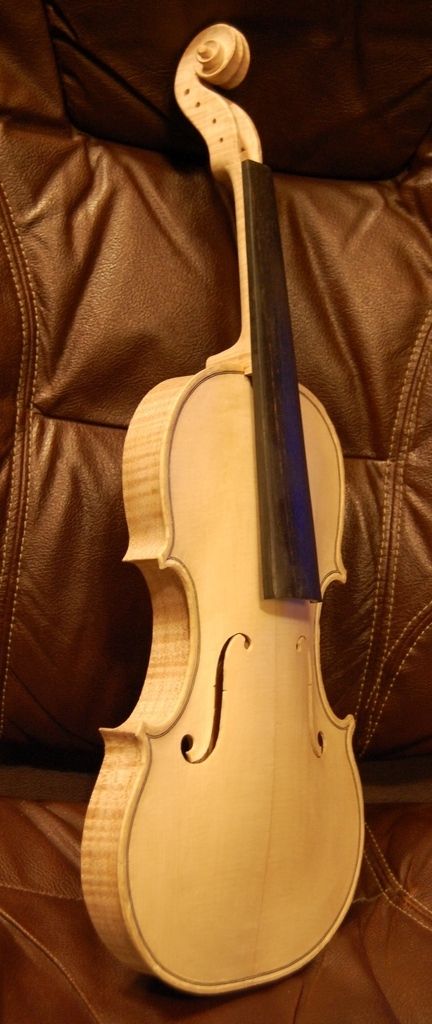
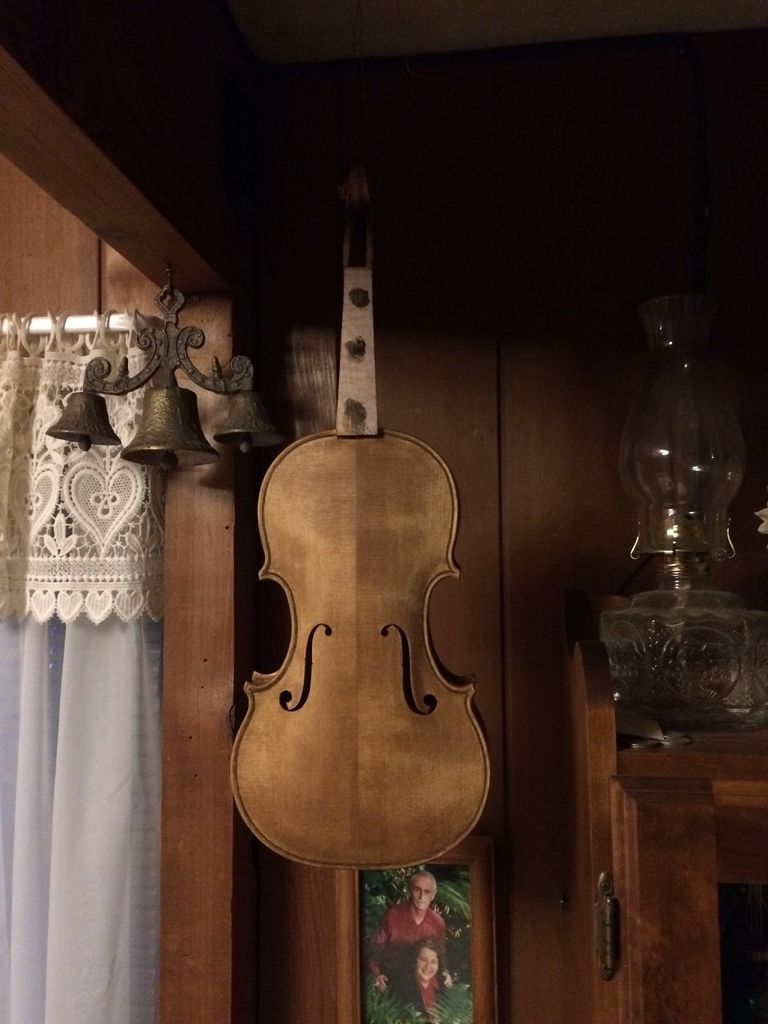
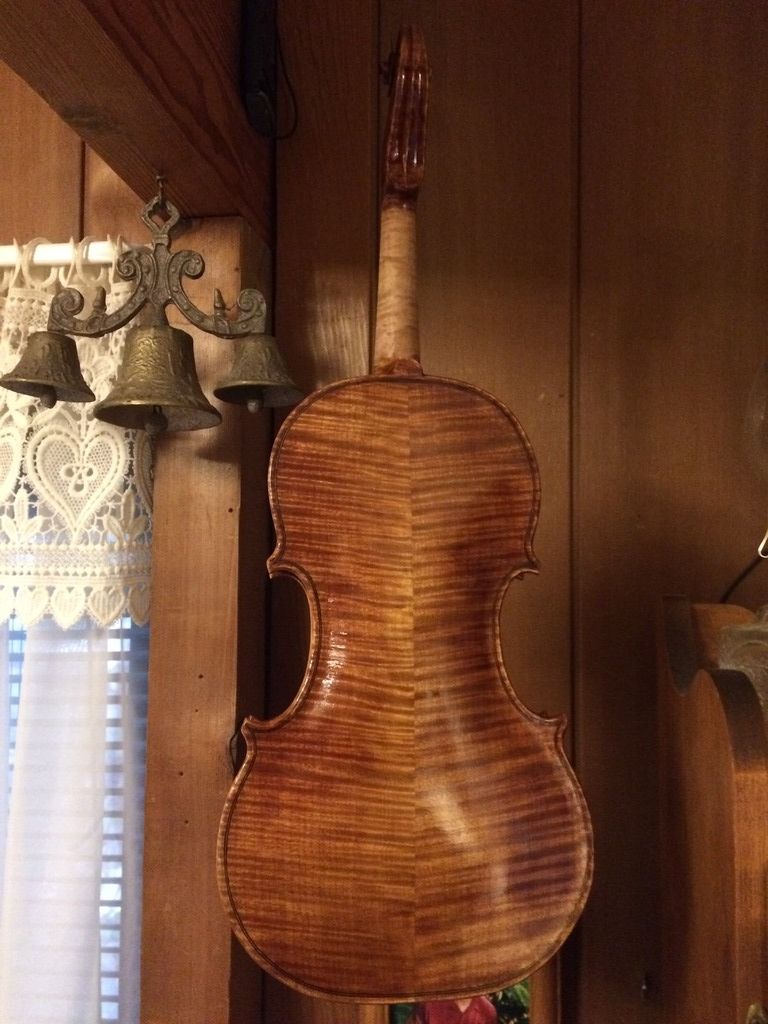
The last post was of the neck-set on the 3/4 violin. It looked like this– but the back plate was not made, yet. Most makers complete the entire corpus, then set the neck. I complete the rib garland and the front plate, then set the neck while the inside mold is still in place. This allows me to get the neck-set perfect, and to level the back of the garland, including the back of the neck-heel, before making the plate. When I install the plate, it fits perfectly, only requiring the final trimming of the heel and button together, to establish the optimum height in the center of the curve of the heel.
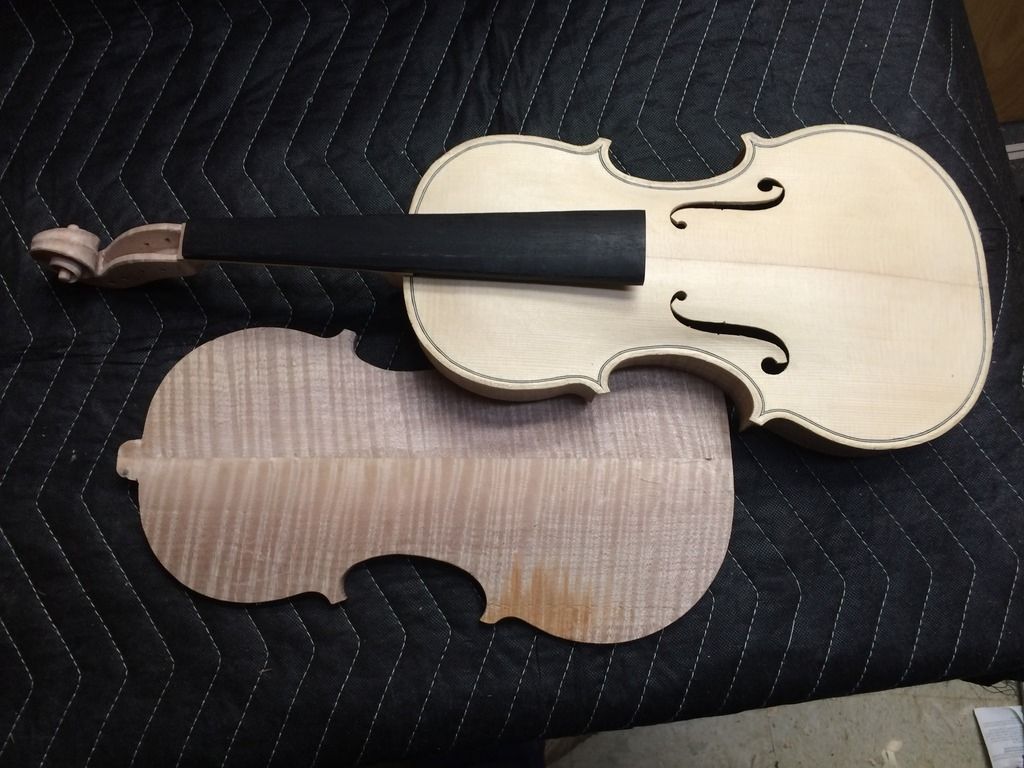
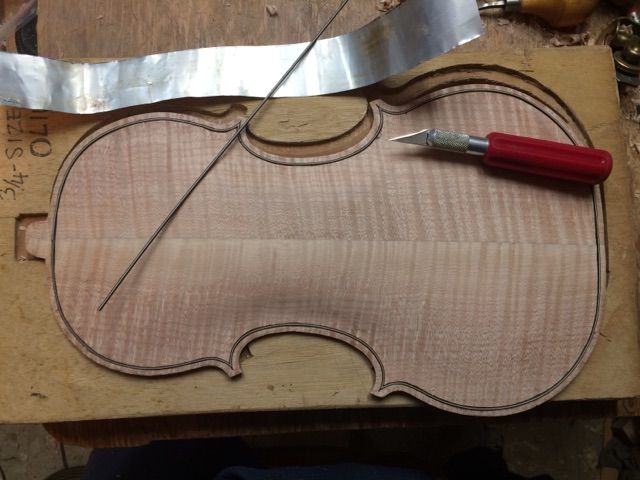
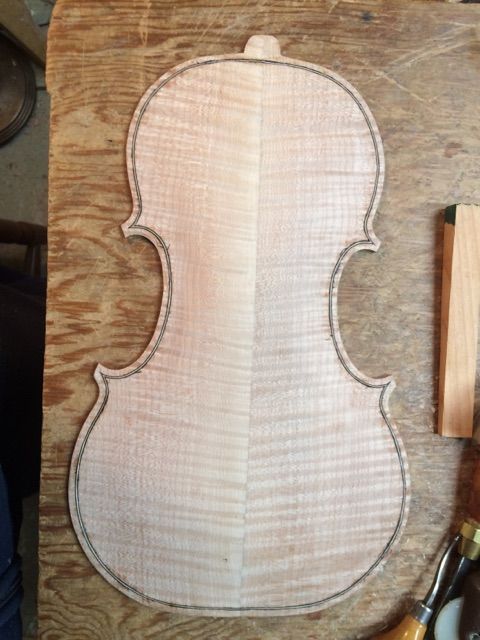
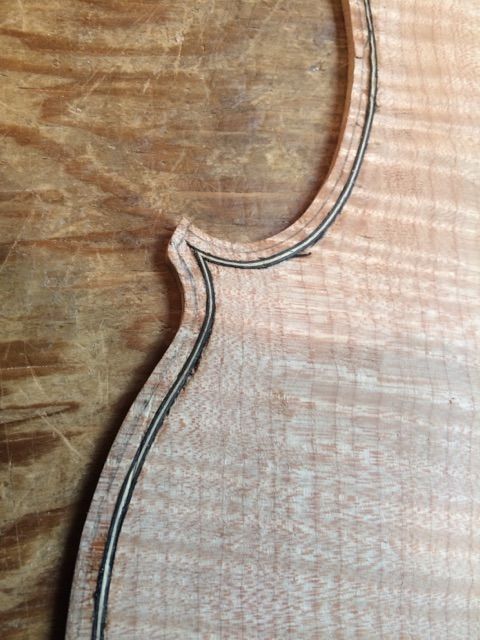
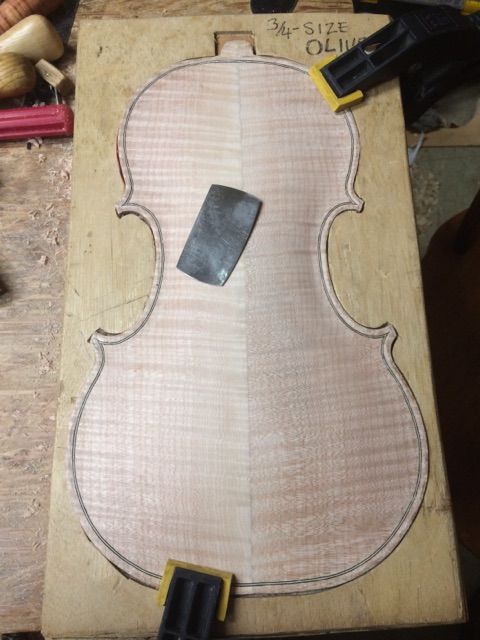
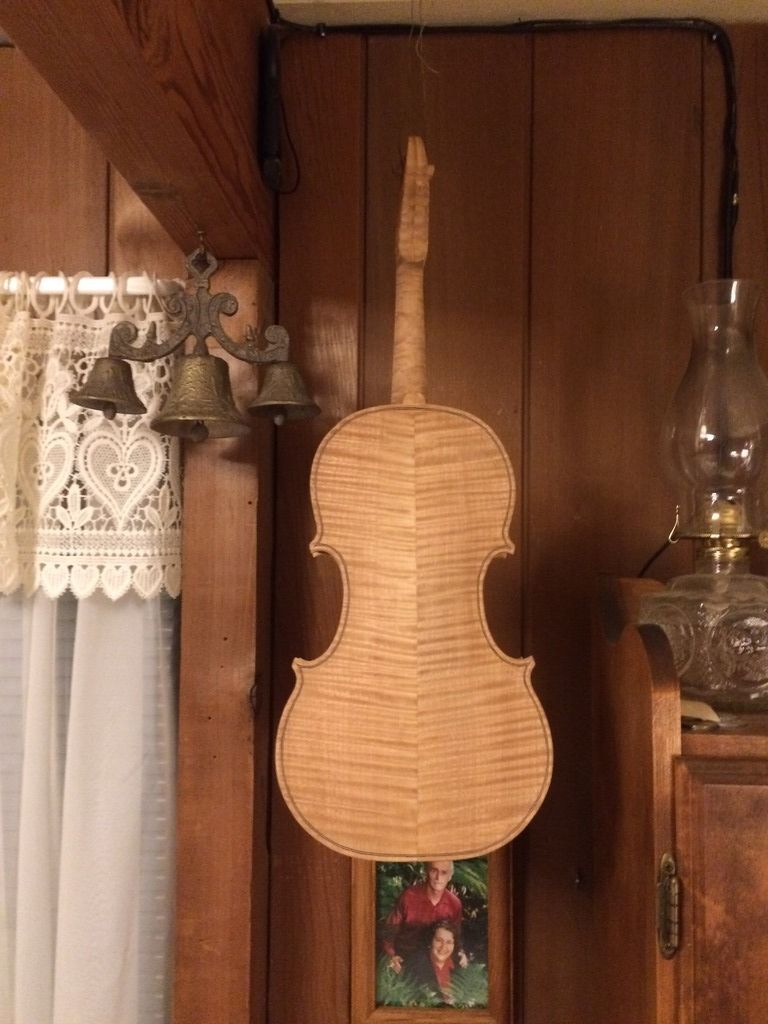
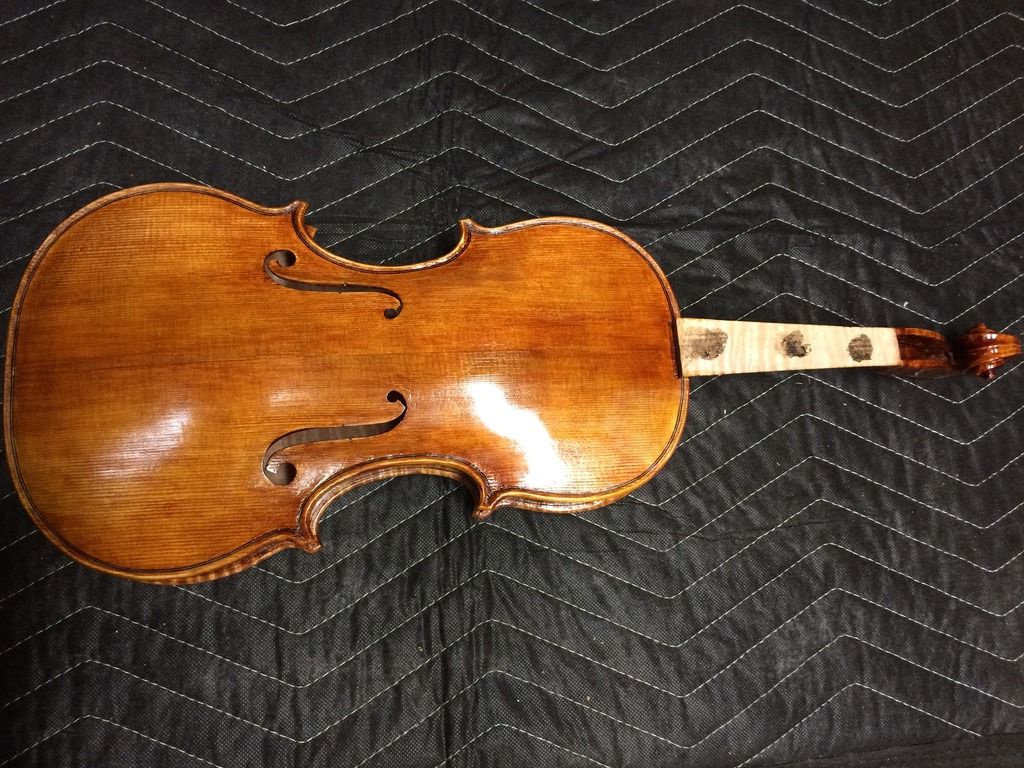
Completing the Back Plate
So, the next thing was to trace the back plate, and complete it:
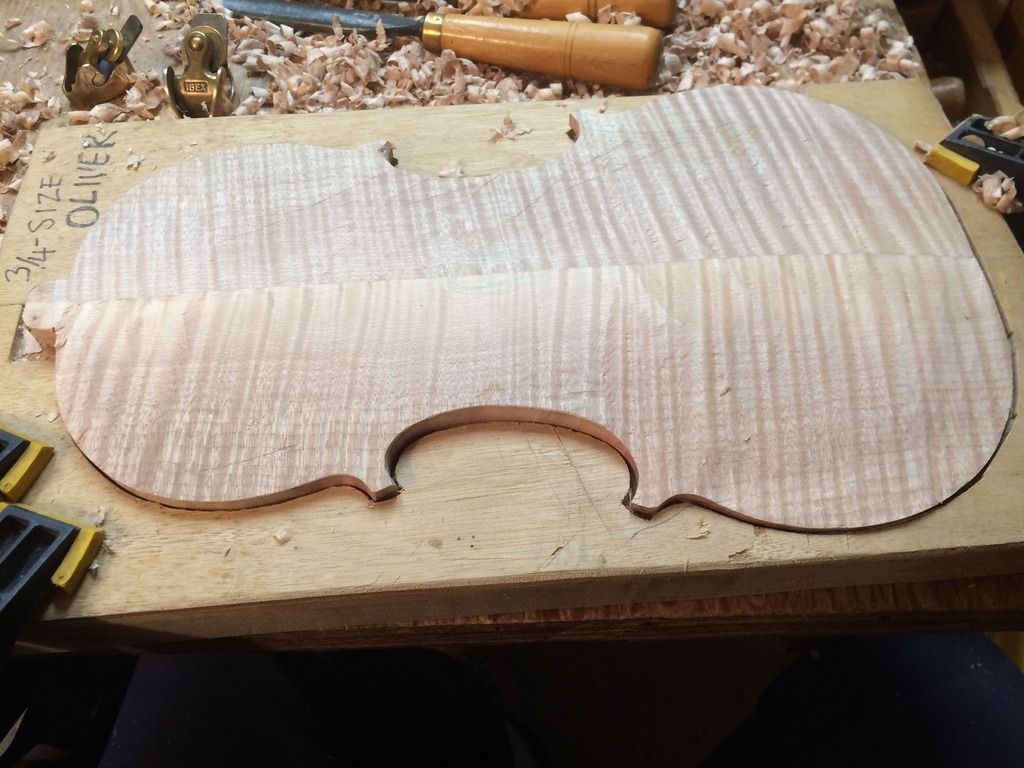
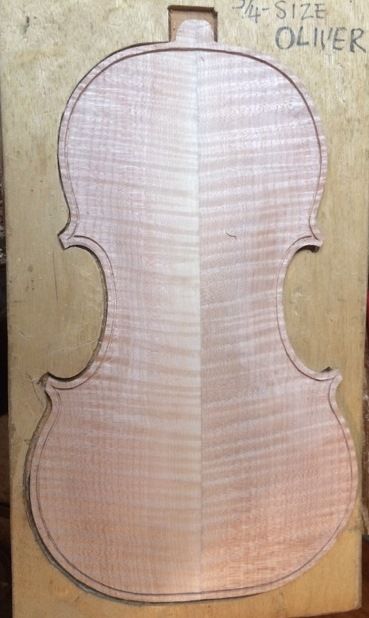
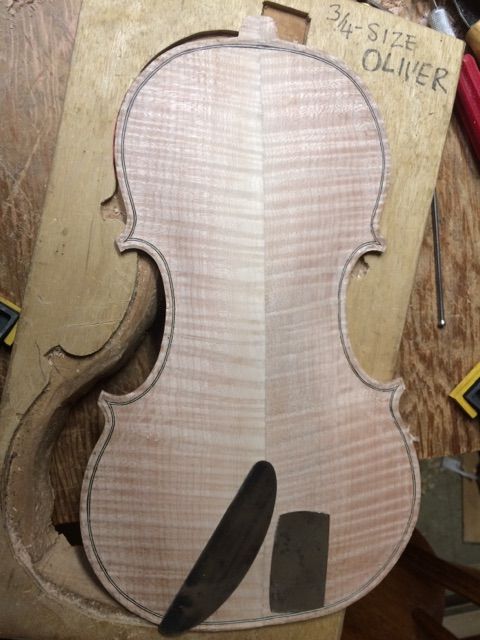
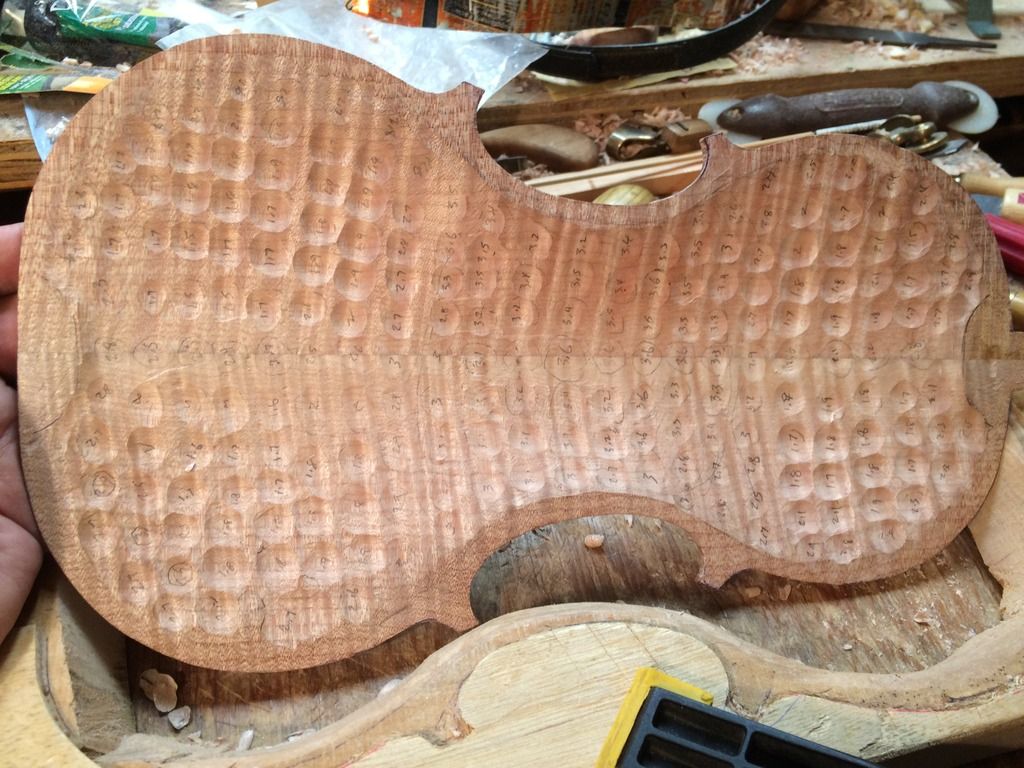
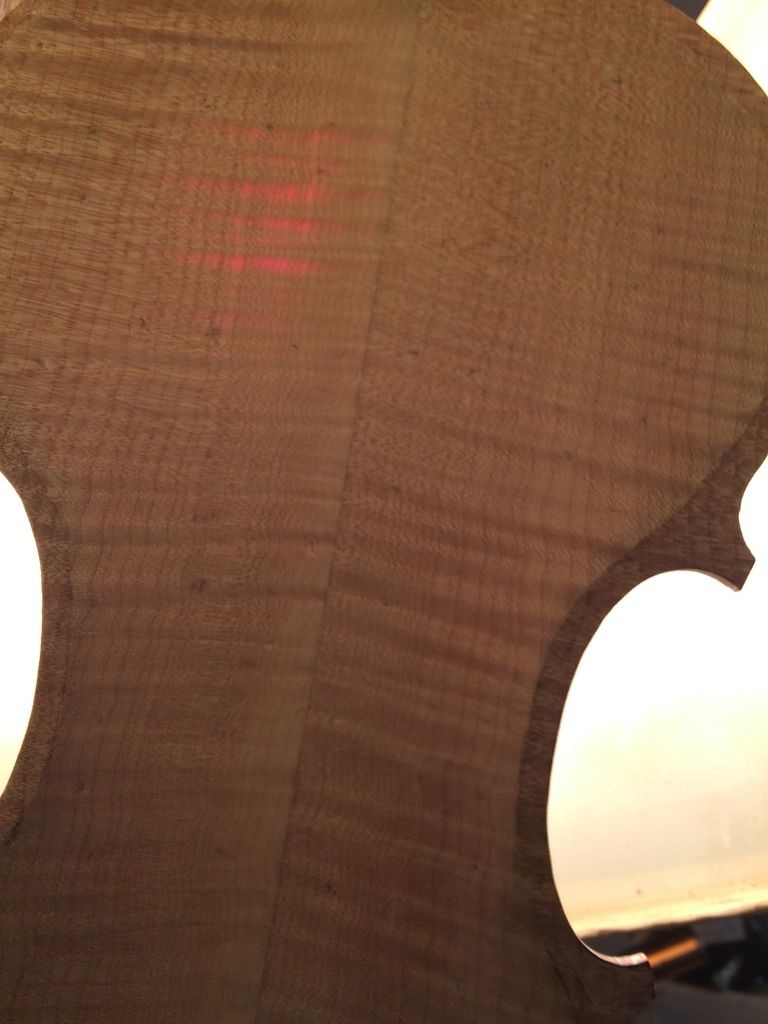
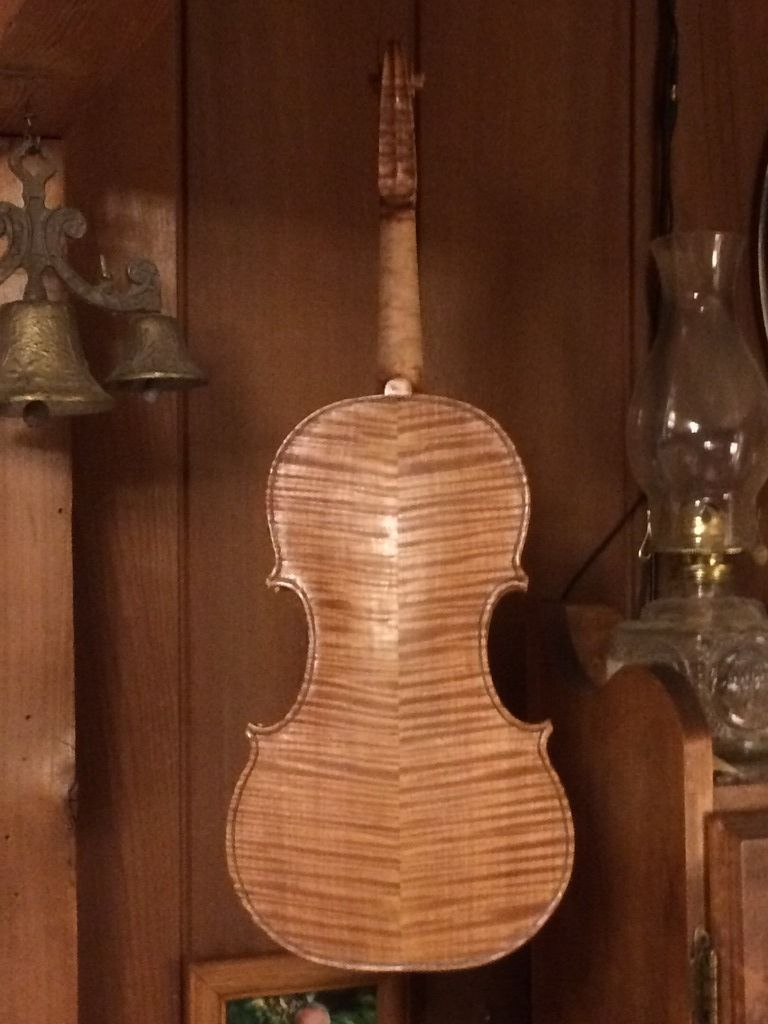
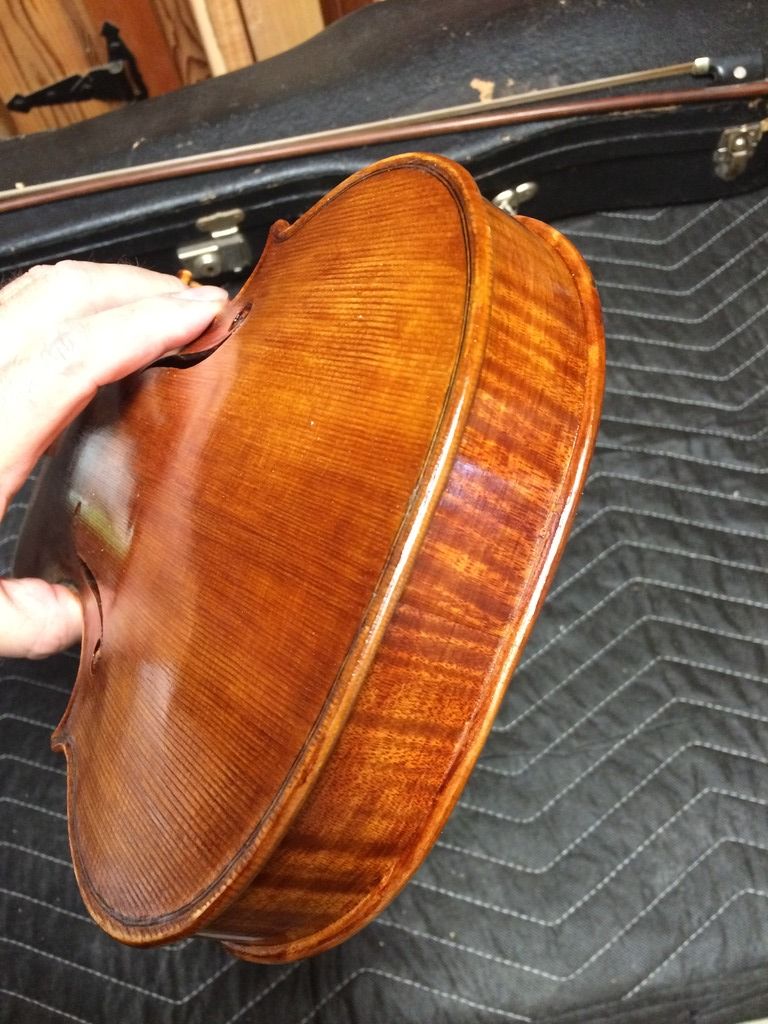
Graduation
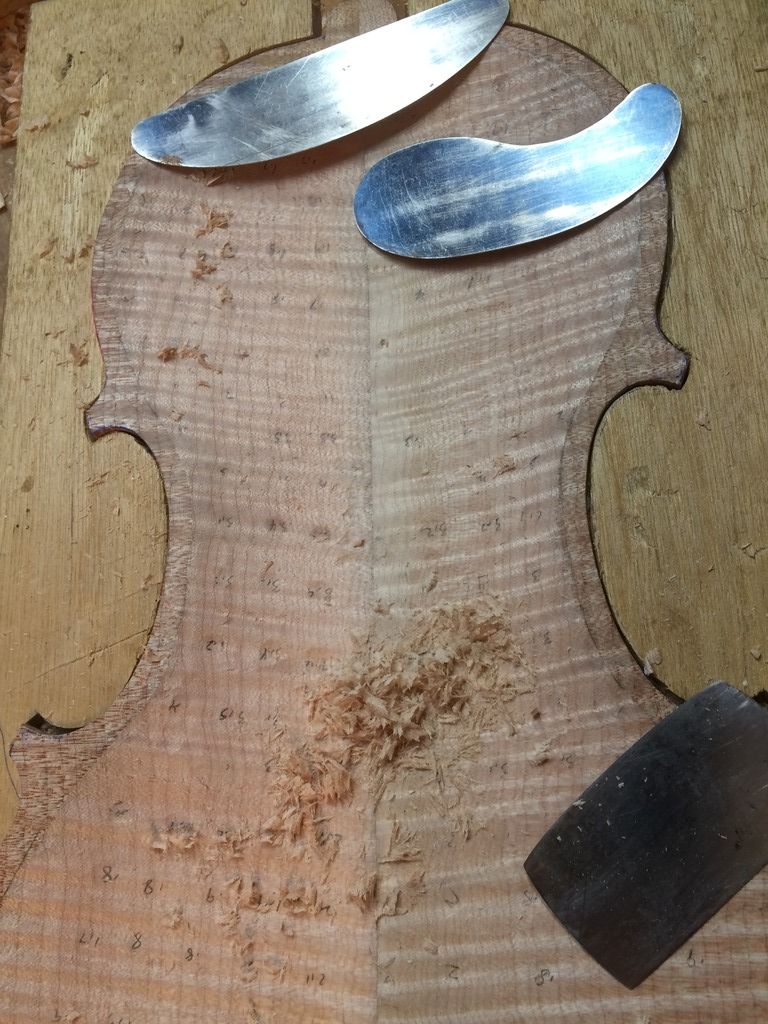
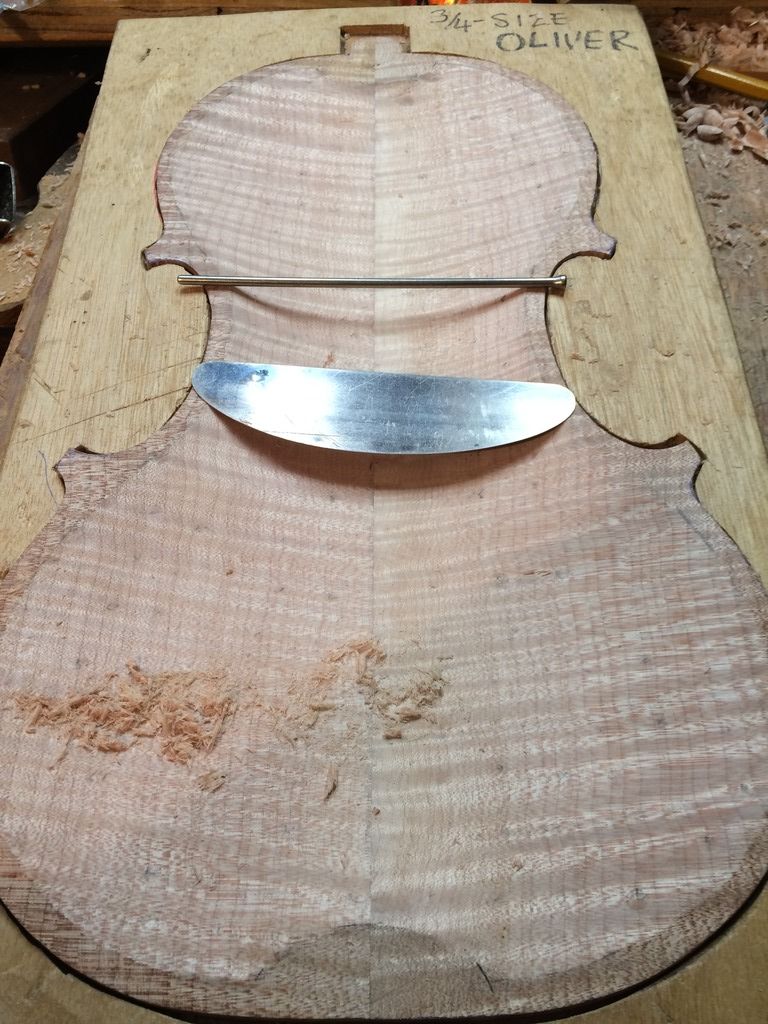
I begin by measuring the thicknesses all over the plate, so as not to run into any surprises and make the plate too thin. Then I use gouges and planes to bring all the thickness close to what I want. But, to make sure I don’t go too far, I measure and carve out small spots all over, to the exact thickness I want in each little “polka-dot”. That makes a “graduation map” that allows me to follow my plan to completion, by removing all the excess wood between the dots, thus “connecting the dots.”
There are other ways to do this. One involves a special tool, commonly called a “Strad-Spike”, because one was found among the tools of Antonio Stradivari. I have seen them and and have actually used them, but have never gotten around to building one. So…
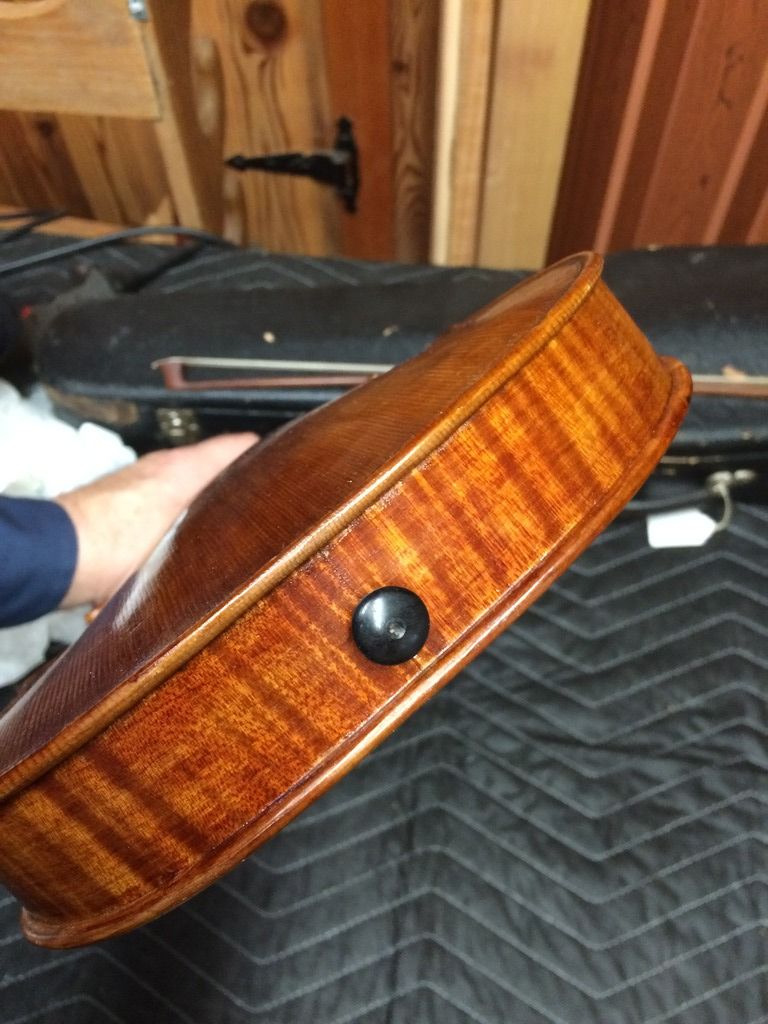
By the way, I think it is interesting to hold the plates up to a lamp and see how much light comes through:

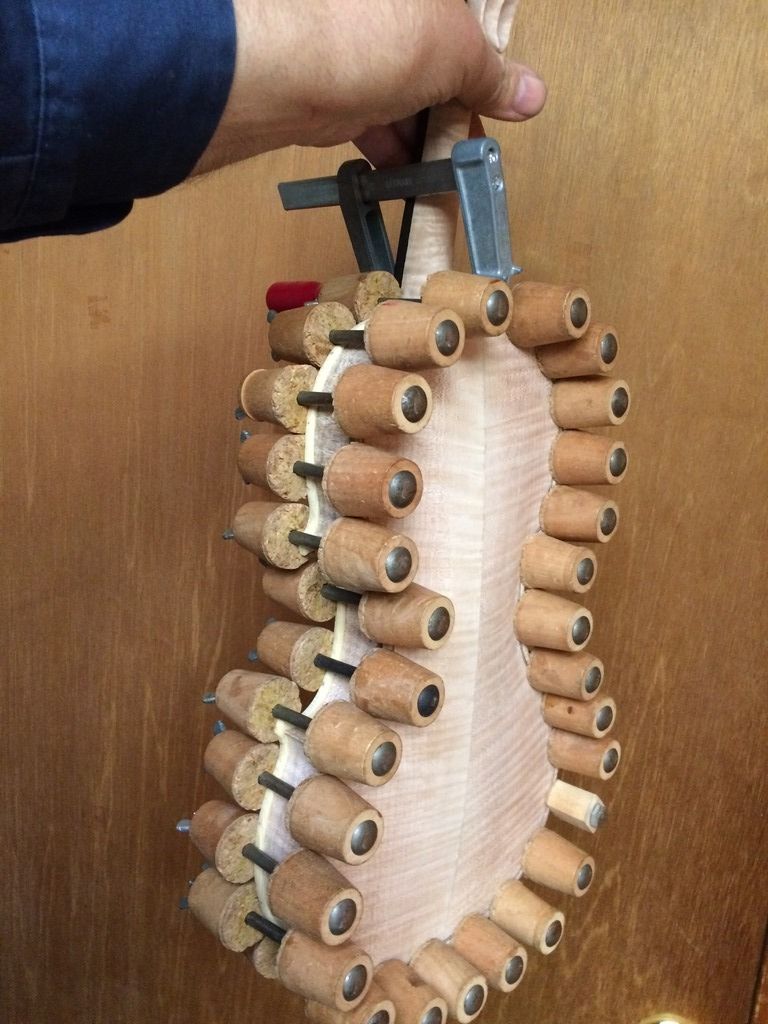
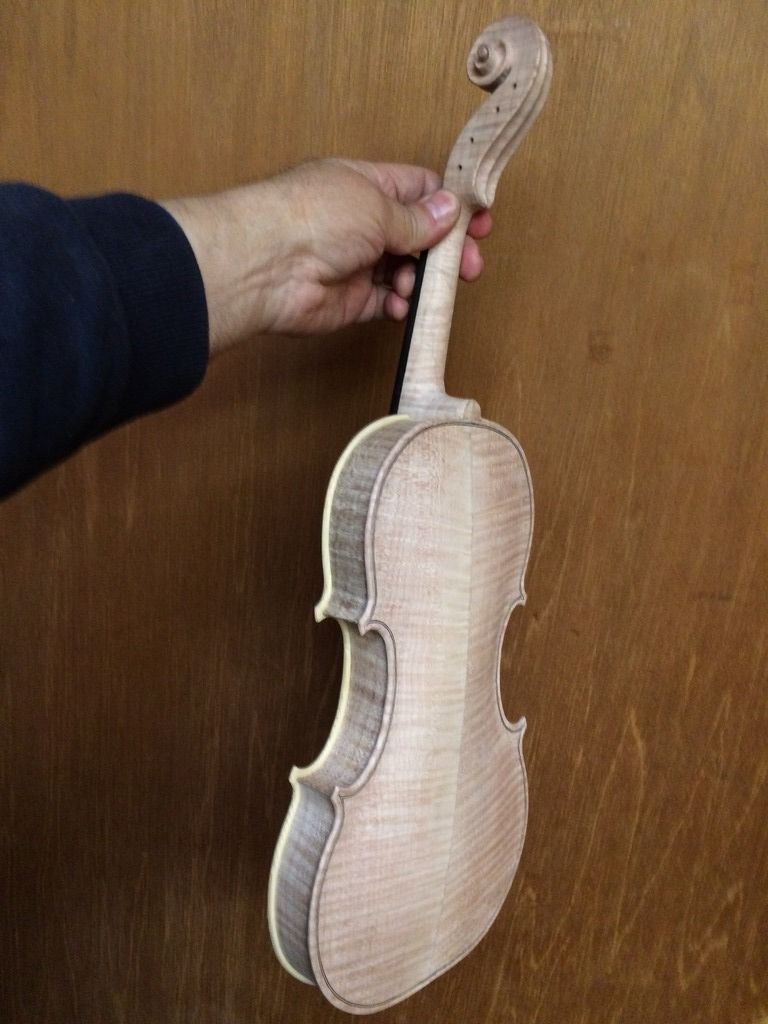
Closing the Corpus
Finally, to install the label and close the corpus. (I always forget to take a picture of the label…sorry.) Most makers put their label in after everything is fully completed. I used to do that, but I found it so frustrating to get a glue-coated label through the f-hole, line it up correctly and get it smoothed out on the back plate…all working through the f-hole…that I decided my labels will go in when I close the corpus; always. That means the label predates the completion by a few weeks at most, as a rule. I think one time there was a long wait, but that was the lone exception.

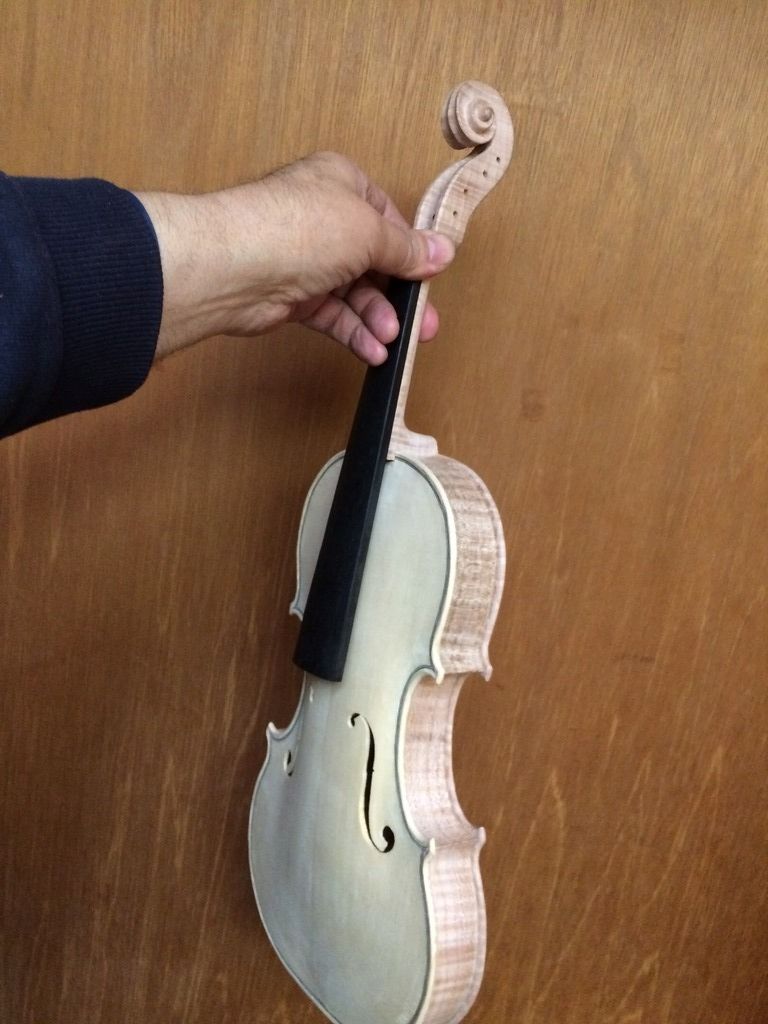
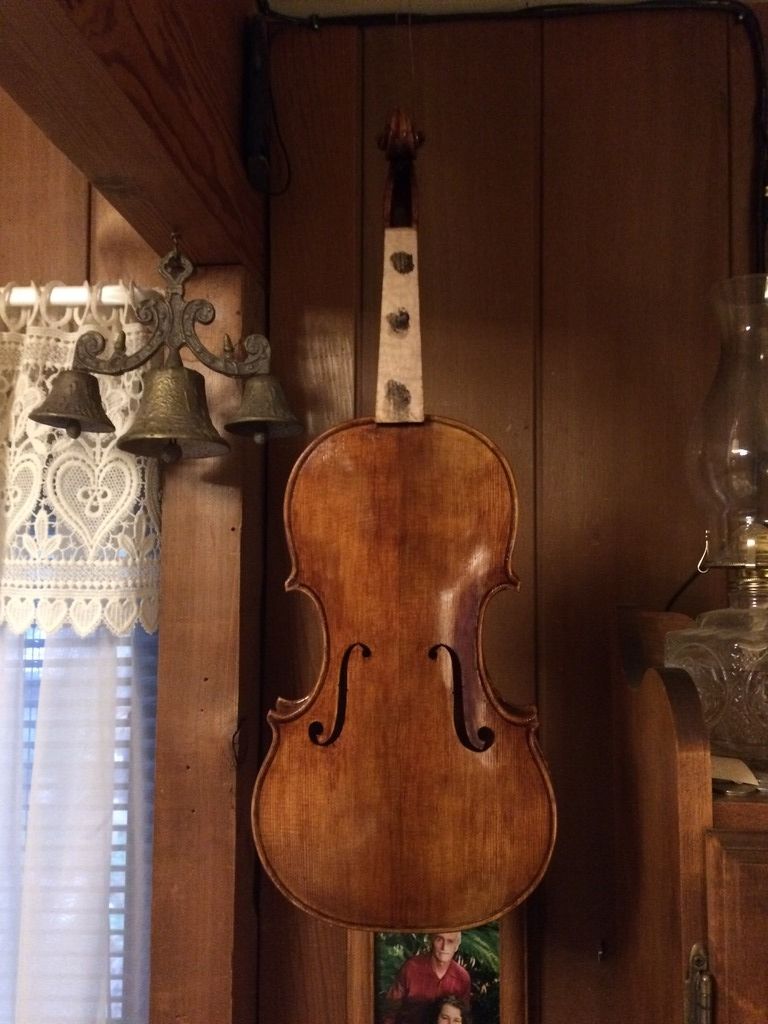
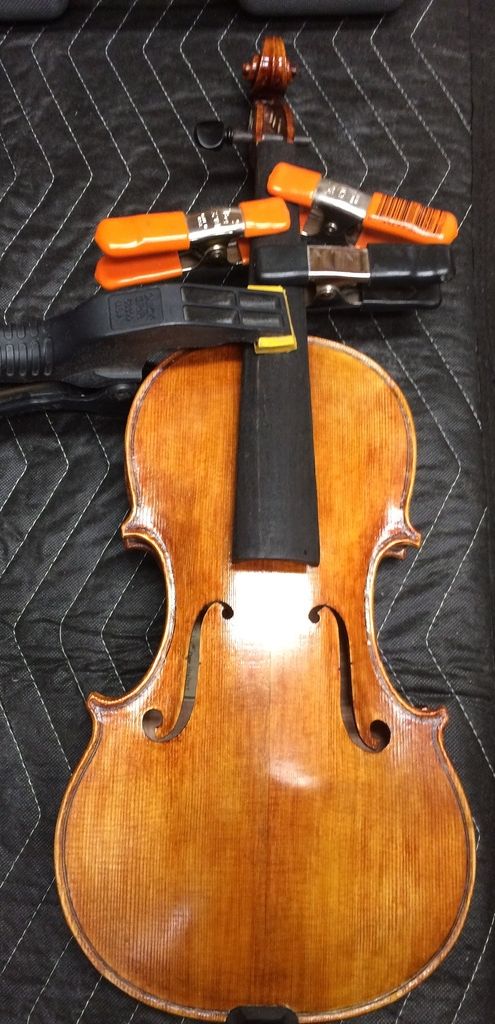
Finishing
I removed the fingerboard so as to be able to easily access the entire exterior, for final scraping and finishing.
After that, I had a lot of “scraping and looking” to do. (Scrape and look, using a low-angle, dim light, then scrape and look some more.) When everything was as smooth as I could make it, and exactly the shape I wanted, I stained the entire violin with coffee, to get rid of the stark-white bare, new-wood look. It takes at least three coats, usually, to get the color dark enough that it will not shine through the varnish. The collateral effect is that the grain raises because of the water. So, I sand it lightly, to smooth the grain “just enough.” I want the grain to be visible in the final state, but not too visible.
Then, I rubbed in a coat of the mineral ground. I brush it on liberally, rub it in hard, with my fingers, then wipe it off as hard as I can, using a rag. When it dries, the instrument will be whiter than ever– chalk-white, all over. The first time I did this I was pretty alarmed at the look, but I had just watched Roger Hargrave do the same thing, and knew that the white mineral would completely disappear with the first coat of sealer or varnish. And it did!
Here is the violin with the sealer applied:
After that it was a case of applying several coats of golden varnish, then a few coats of red-brown varnish, and a final two coats of the golden stuff.
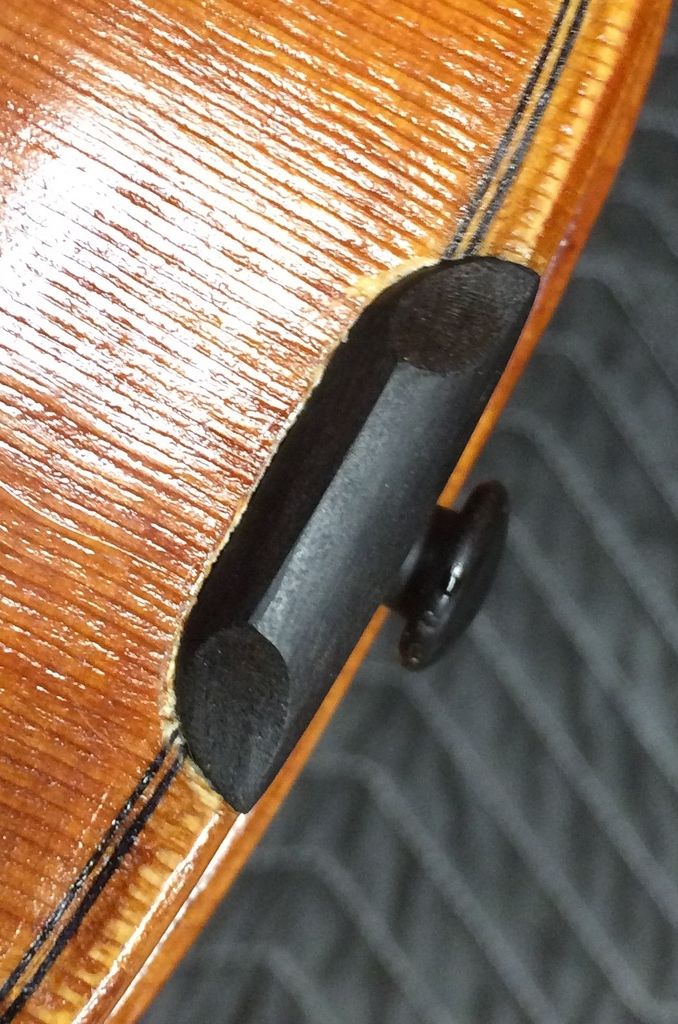
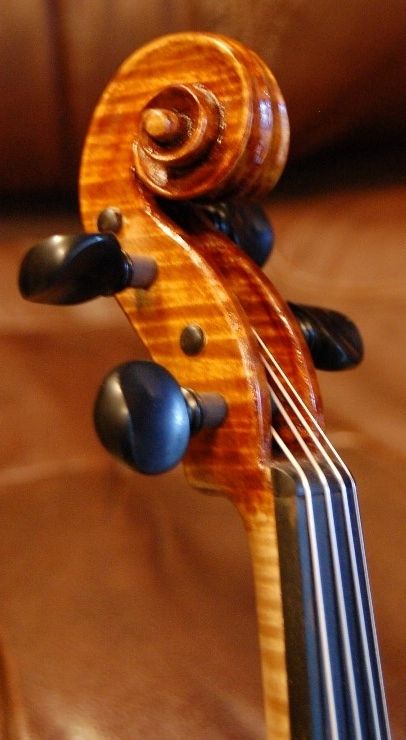
Set-up
Standard set-up, and the violin will be done! That includes the saddle and endpin, as well as re-installing the fingerboard, fitting and installing pegs, a bridge, the nut, the soundpost, tailpiece, and strings. A chinrest completes the instrument.
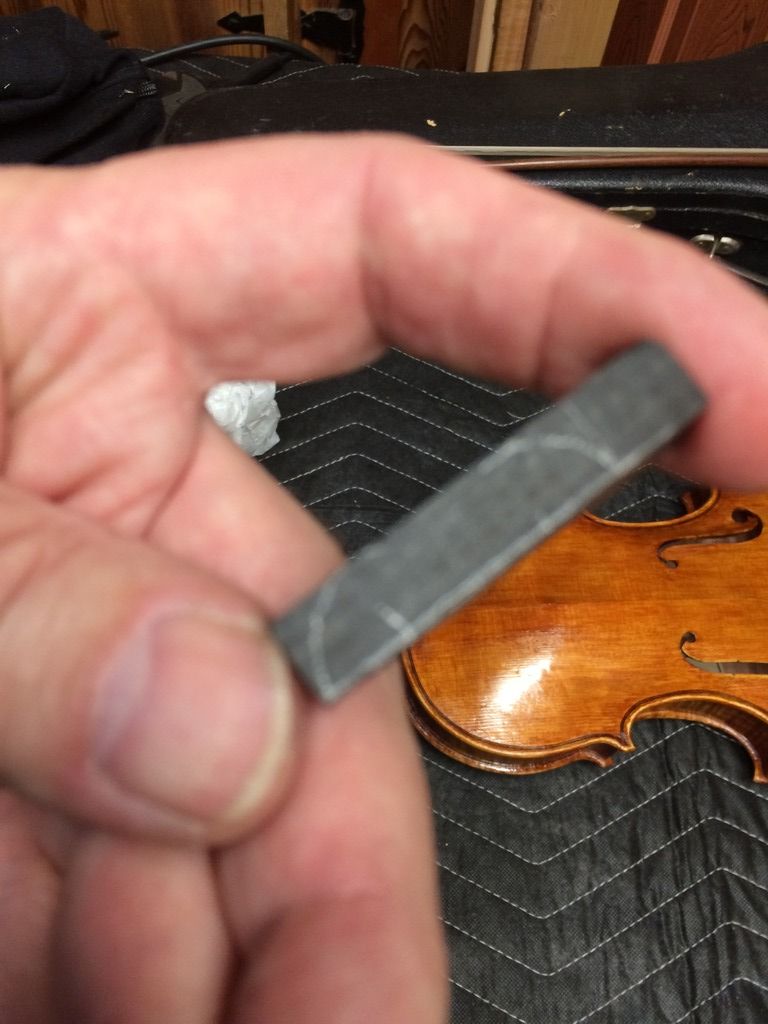
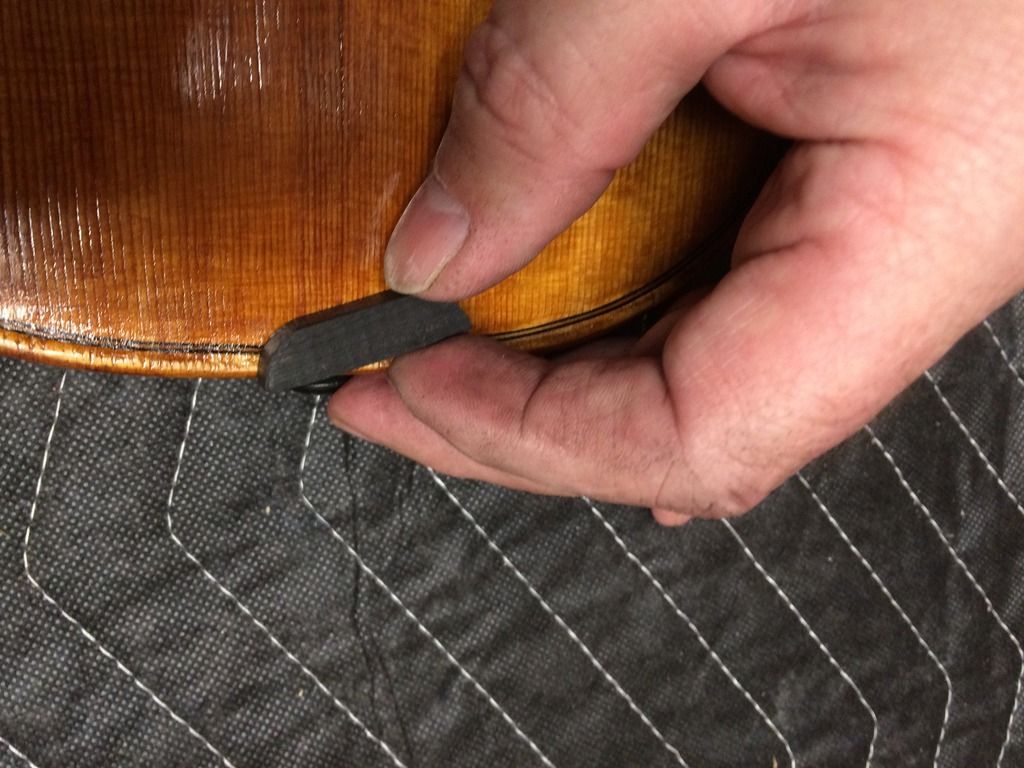
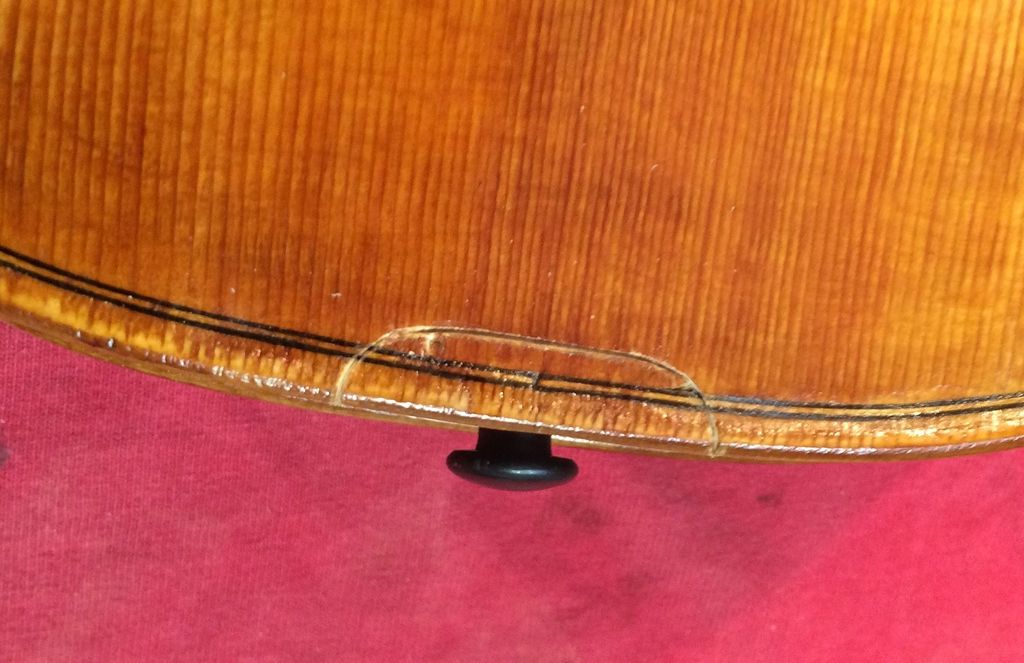
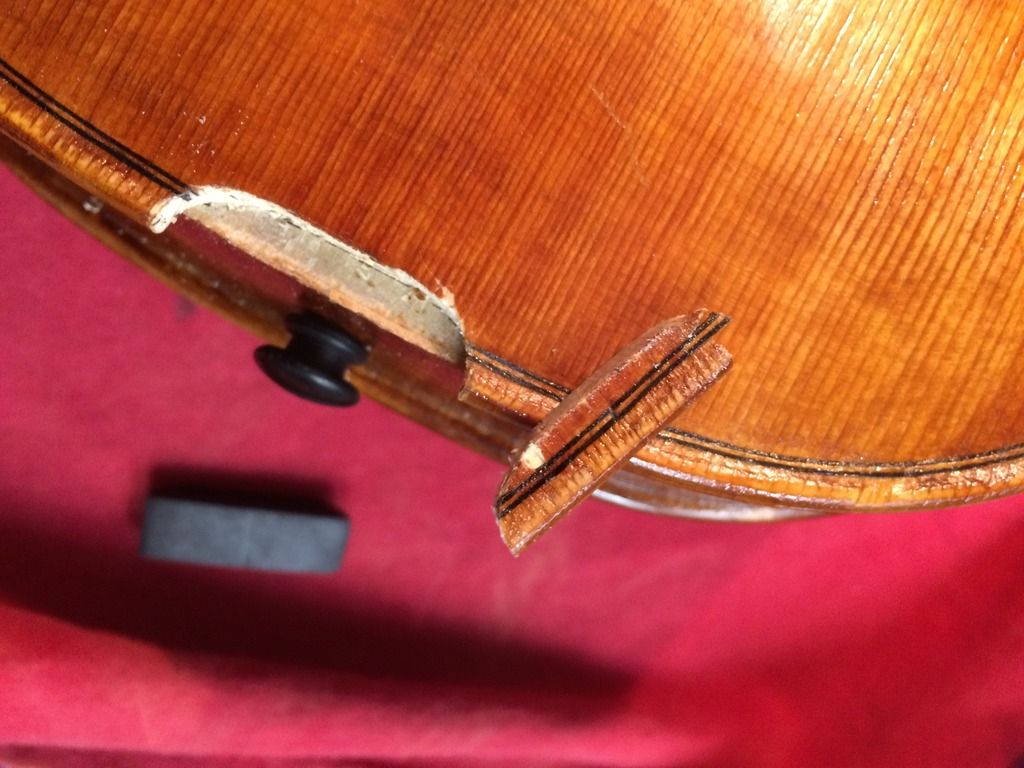
The varying thicknesses of the top plate can then be traced onto the saddle itself, and final shaping can begin.

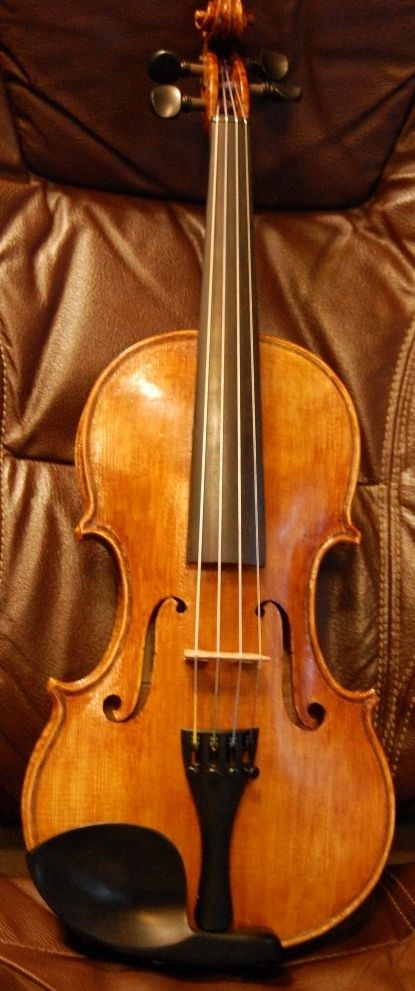
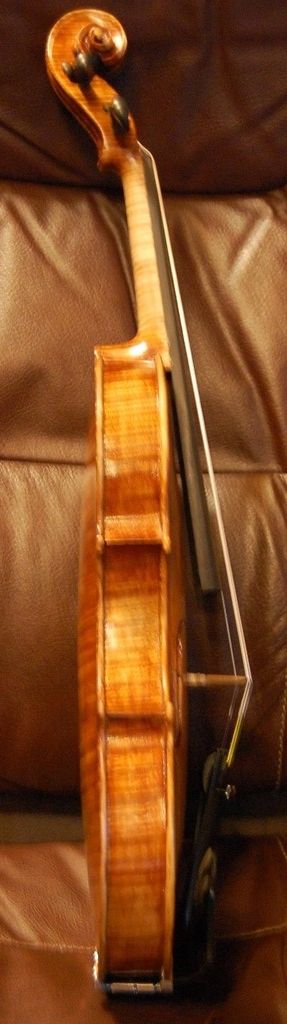
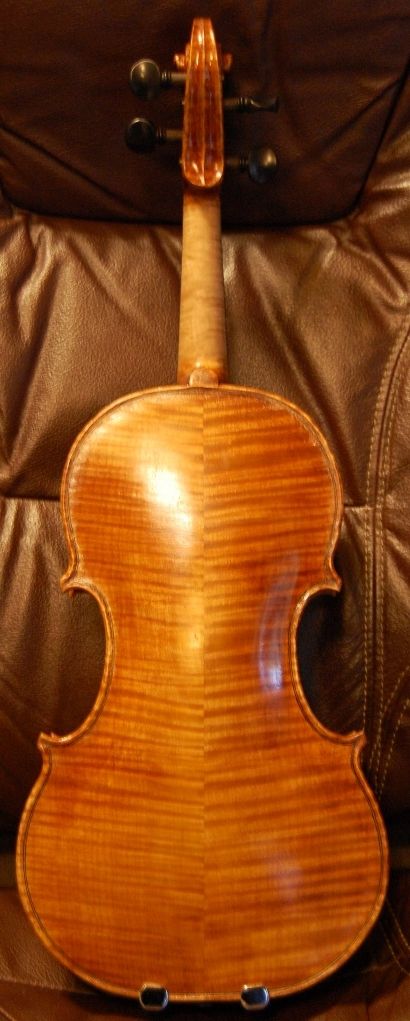
Completion
Finally the little violin is complete!
Thanks for looking. Please keep in mind that the Marylhurst Musical Instrument Show will be April 29th and 3oth. If you can make it, I hope to see you there. This little violin will be there for you to test drive, along with others.