Follow

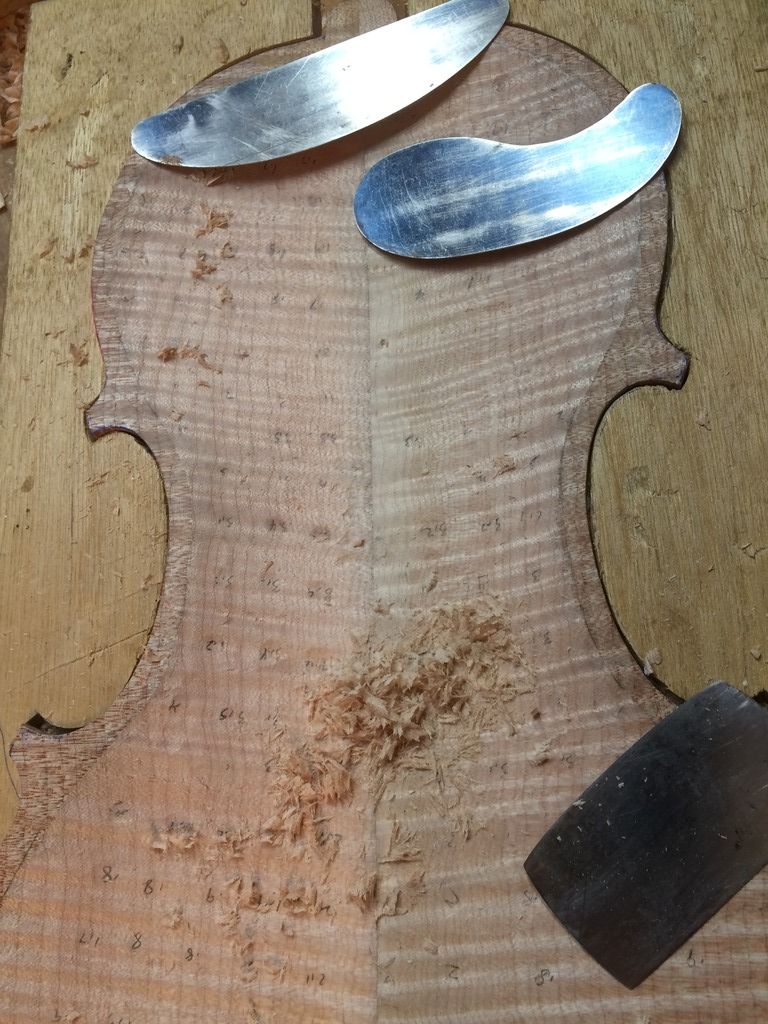
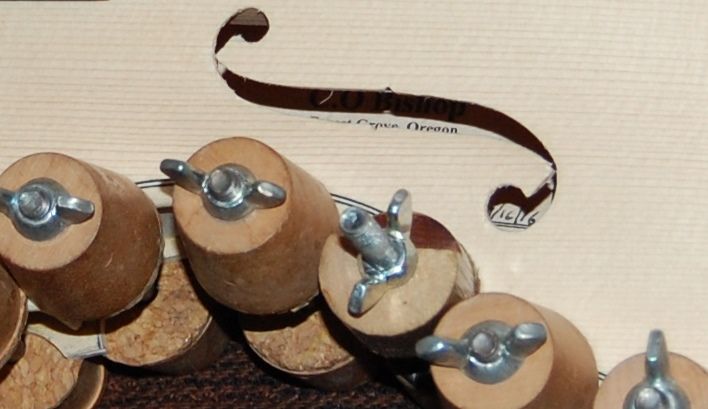
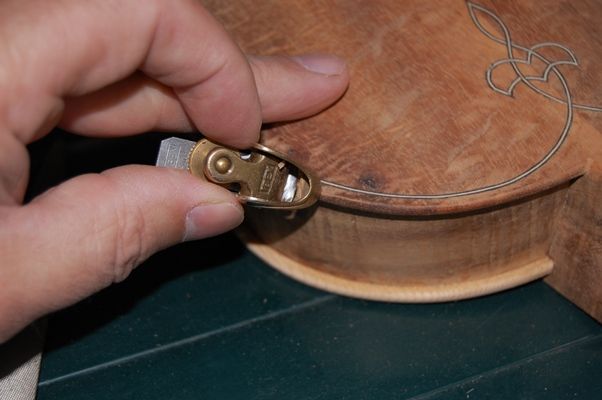
Final Shaping and Scraping
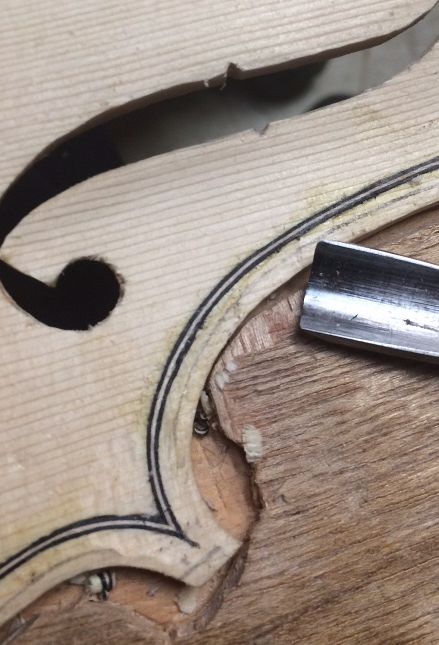
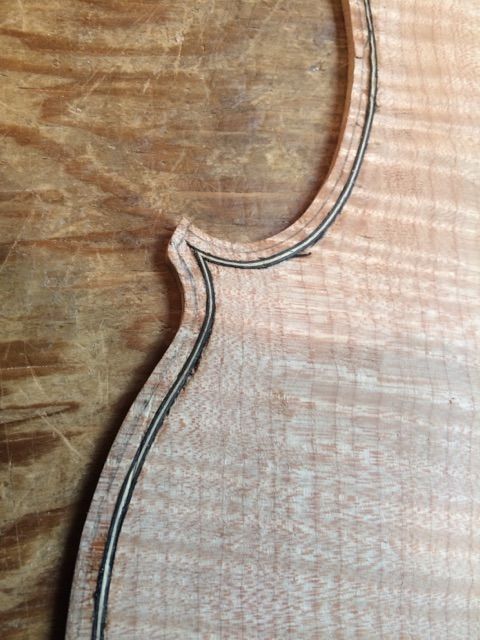
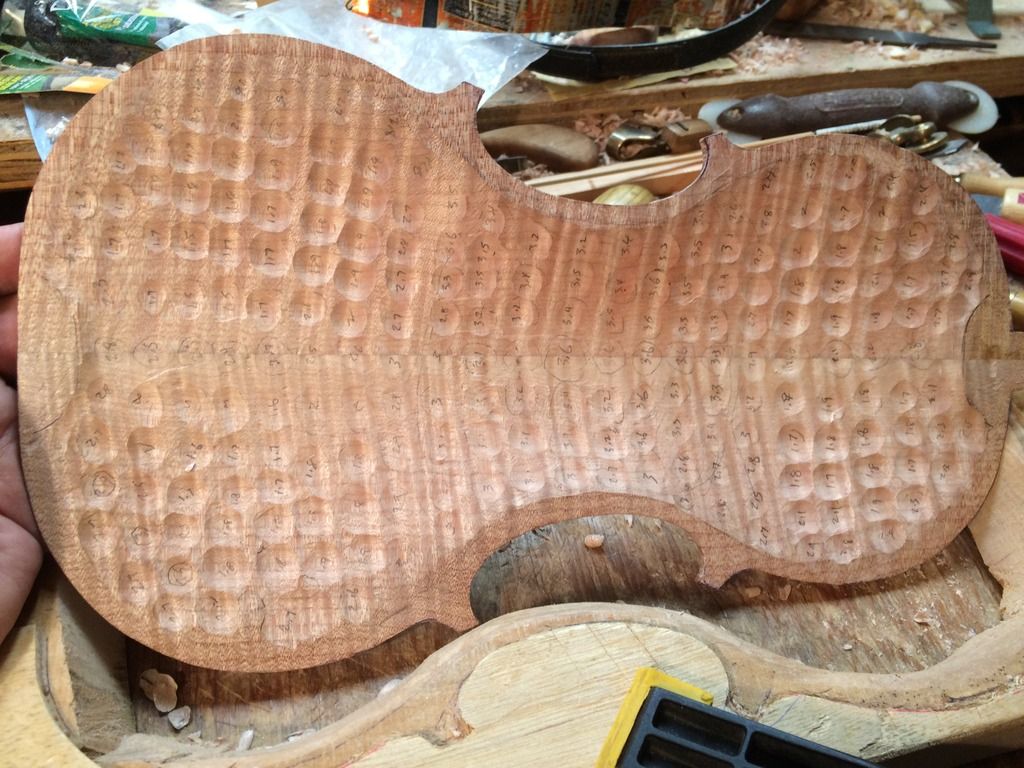
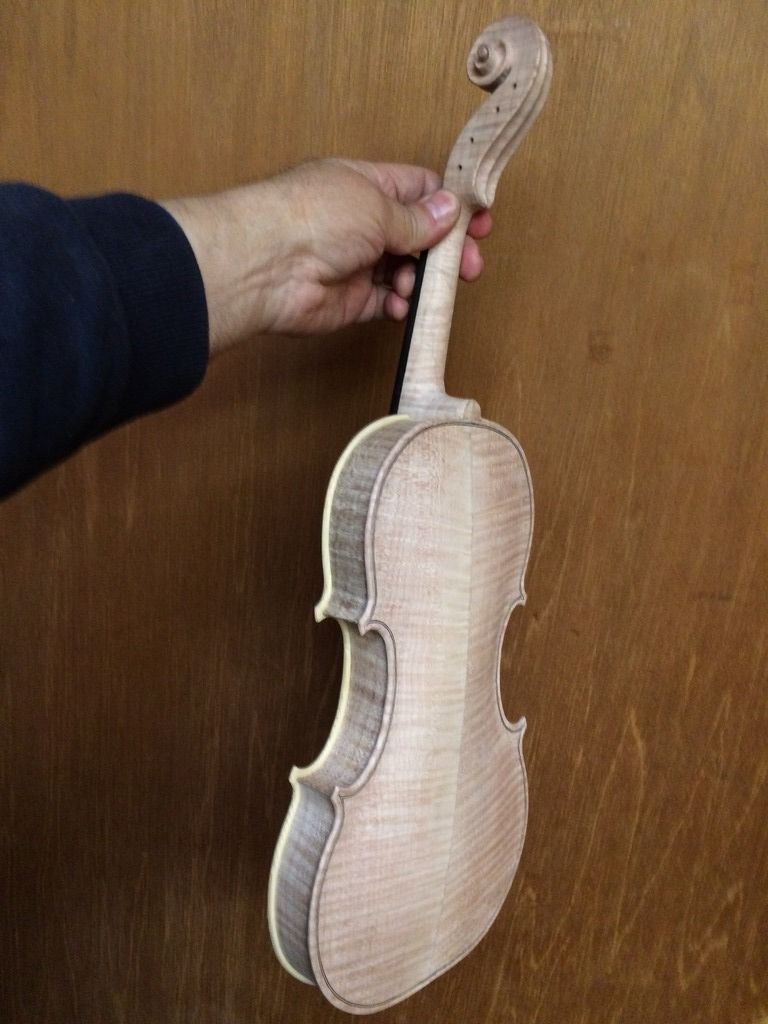
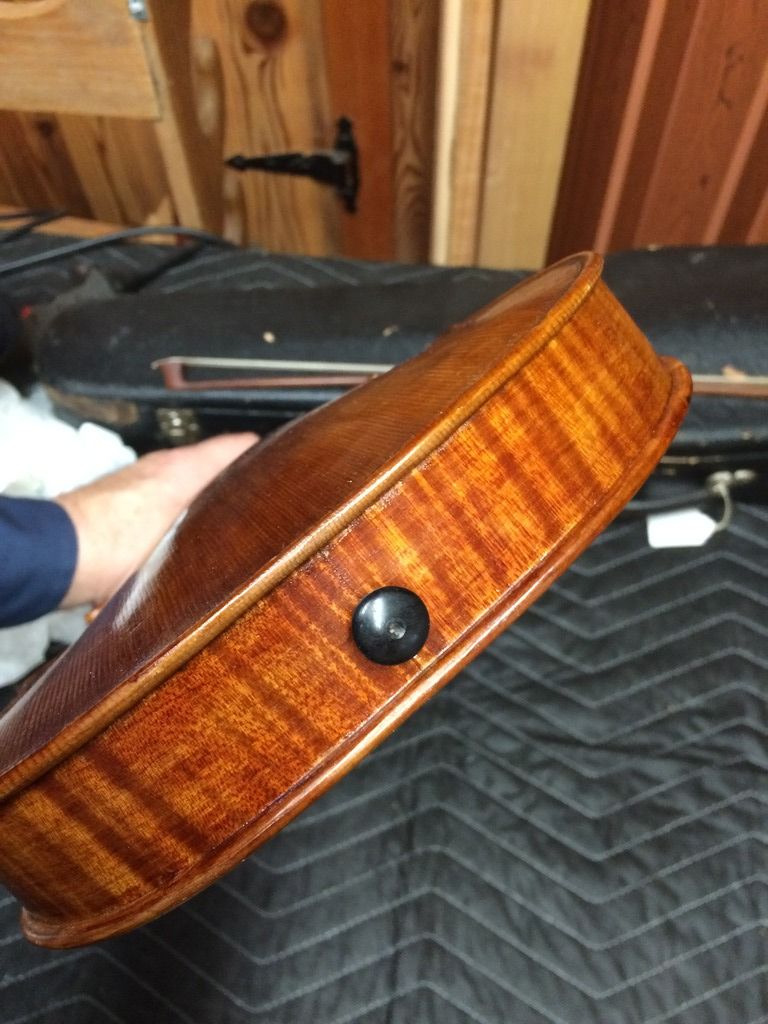
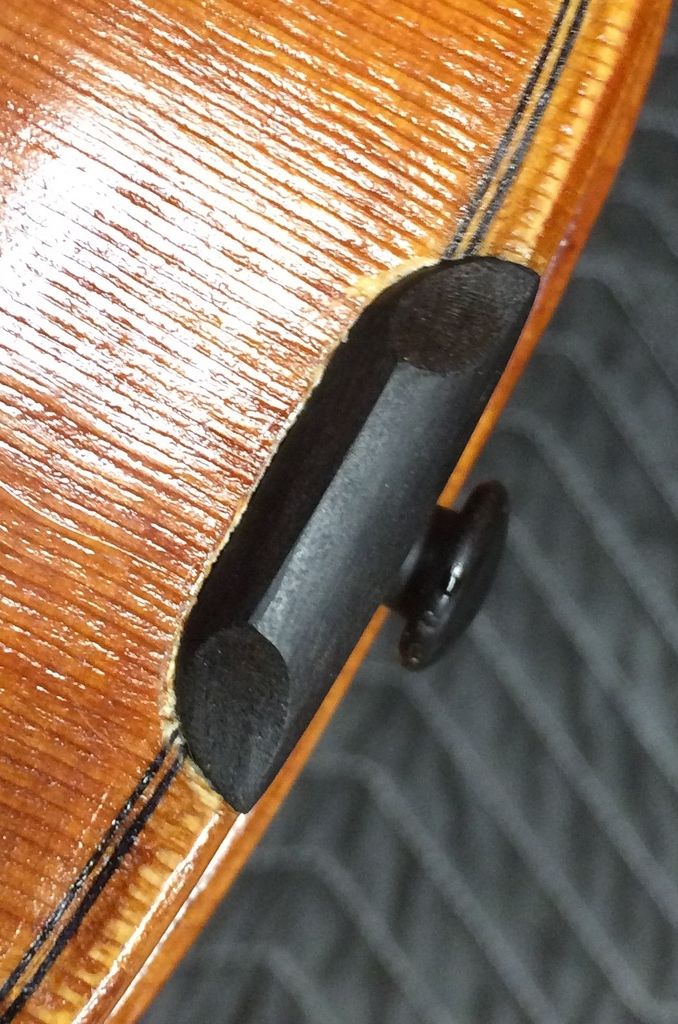
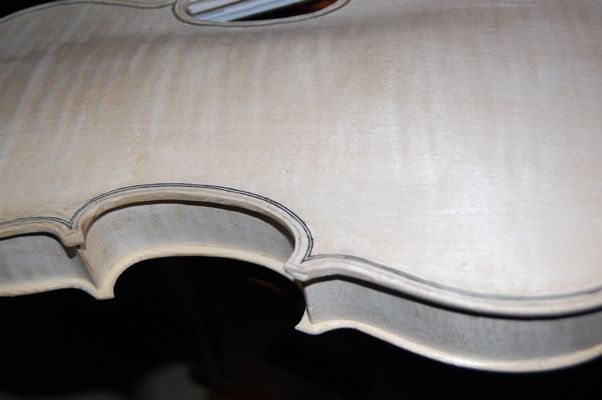
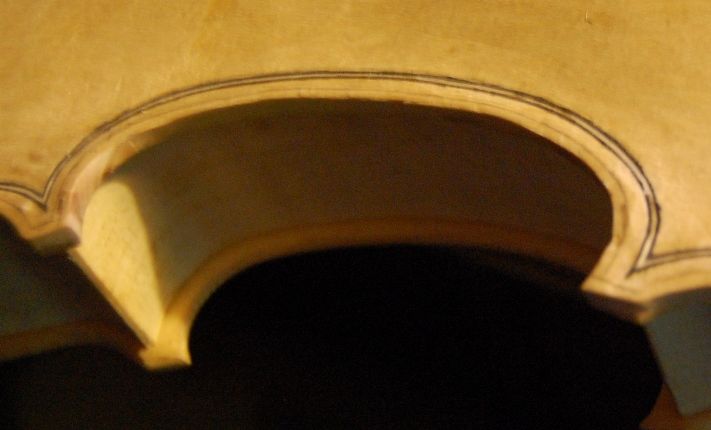
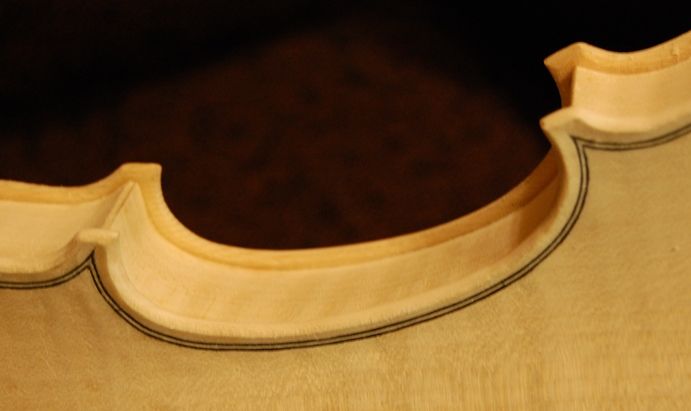
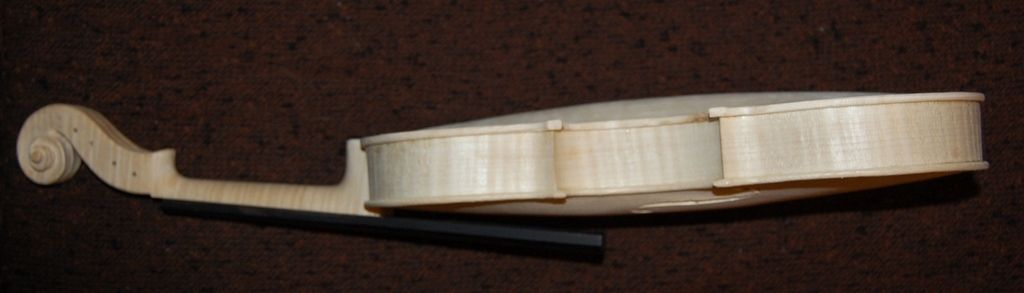
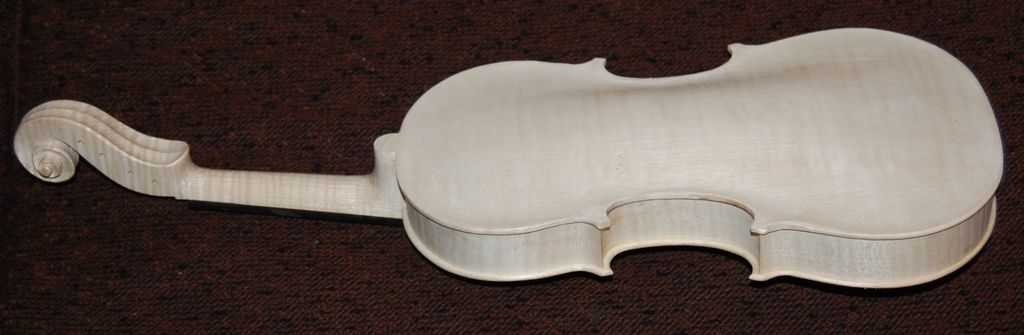
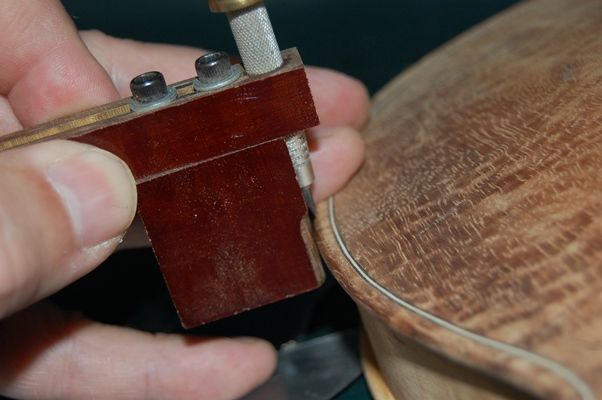
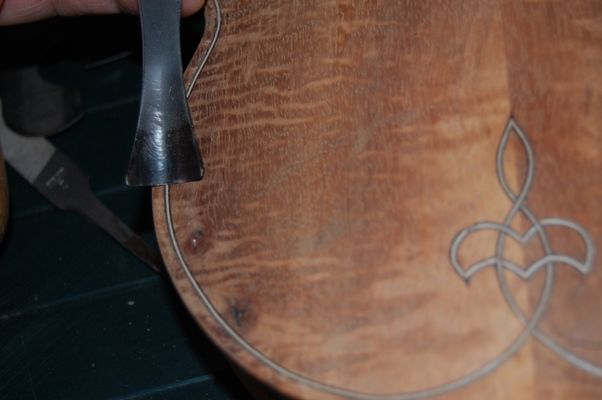
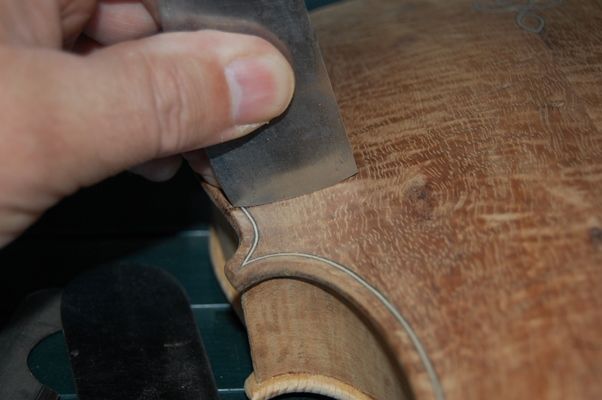
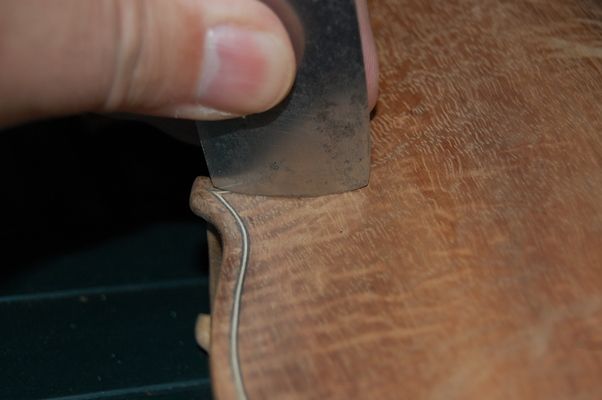
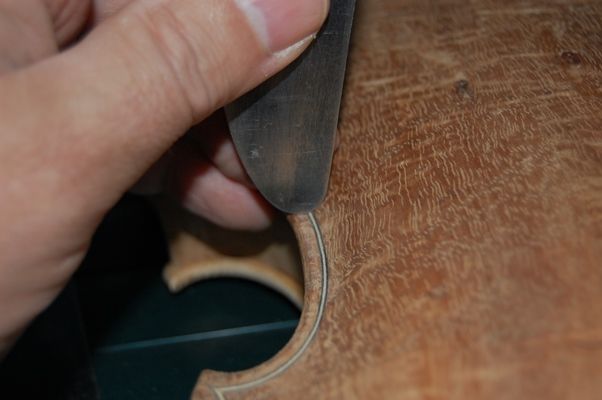
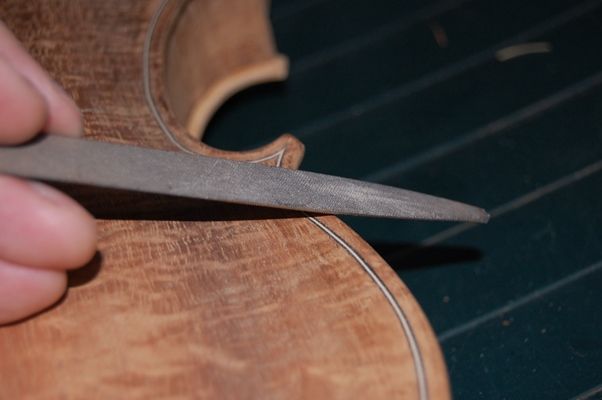
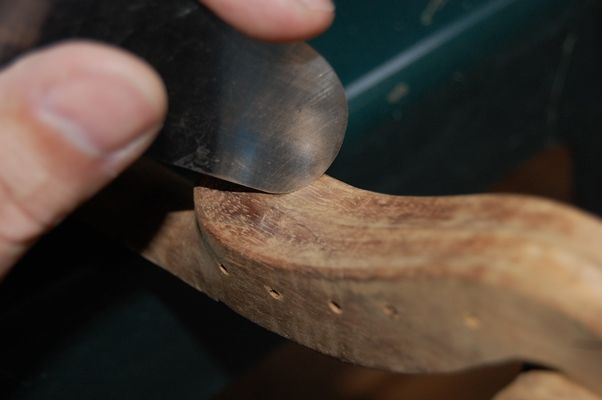
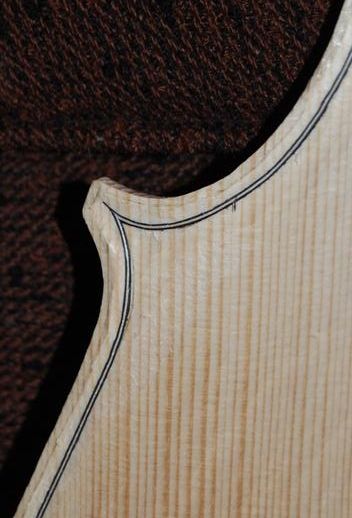
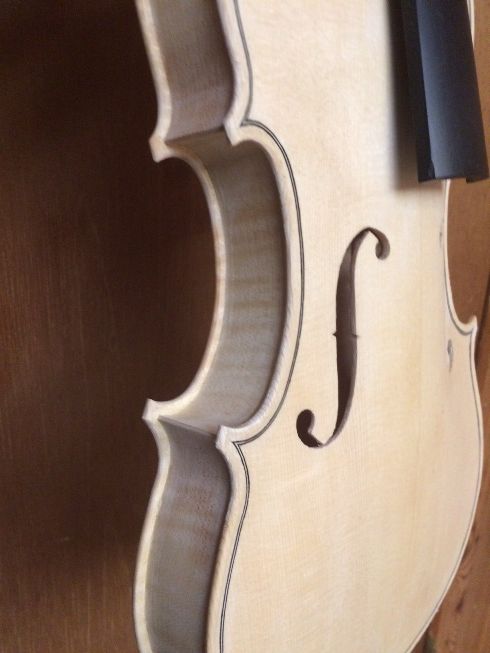
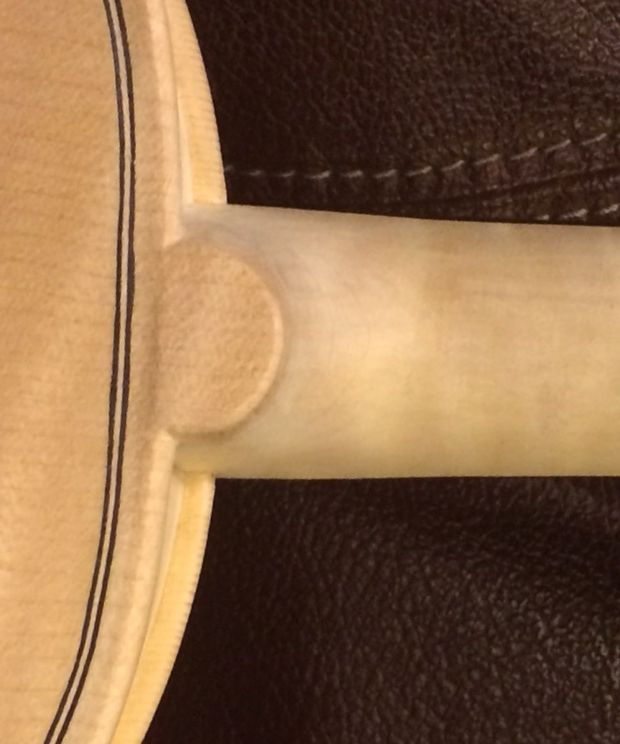
The Channels and Edges
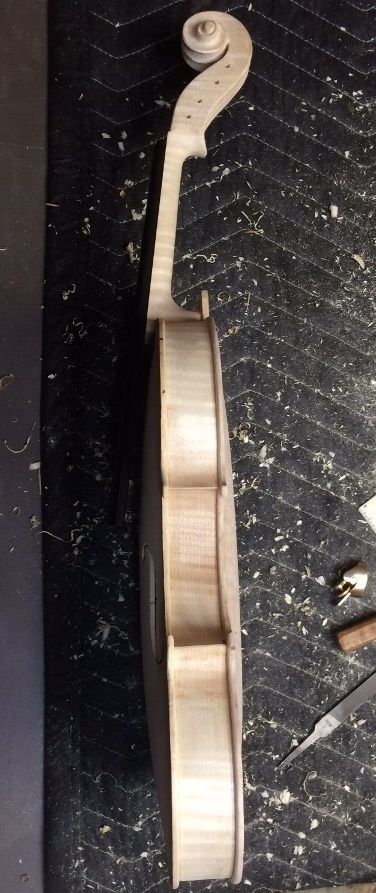
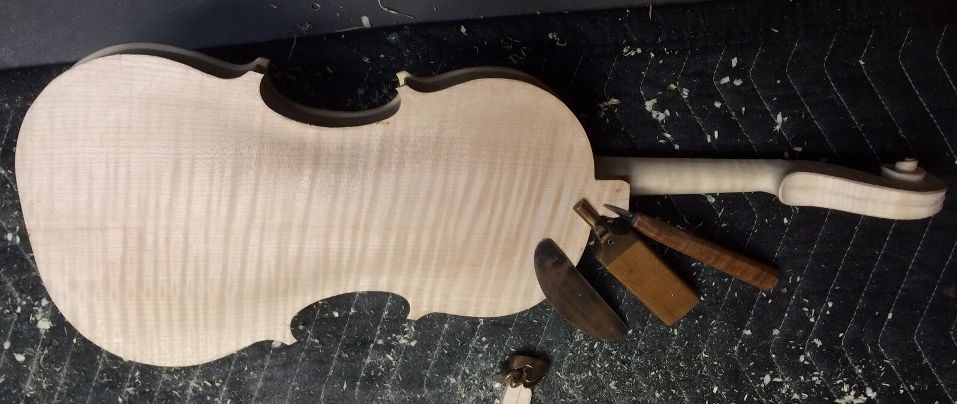
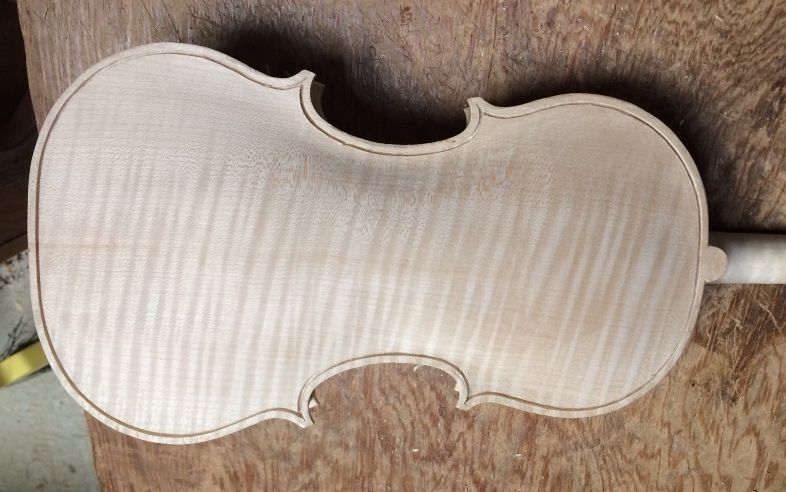
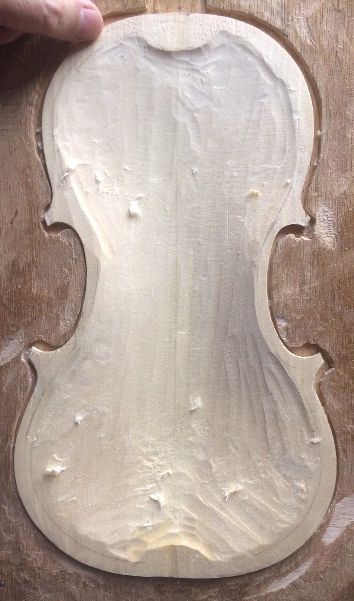
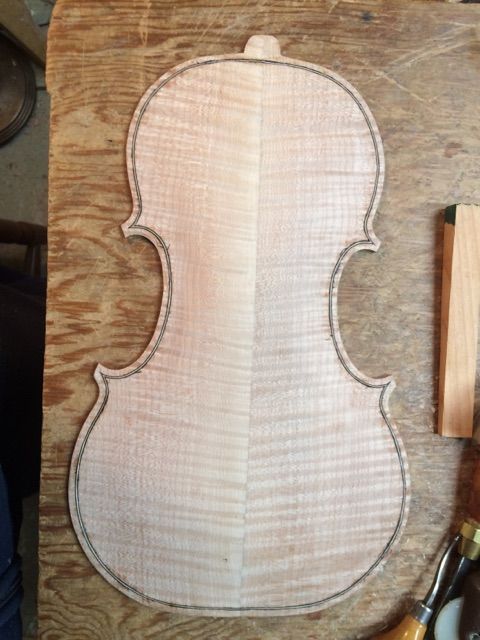
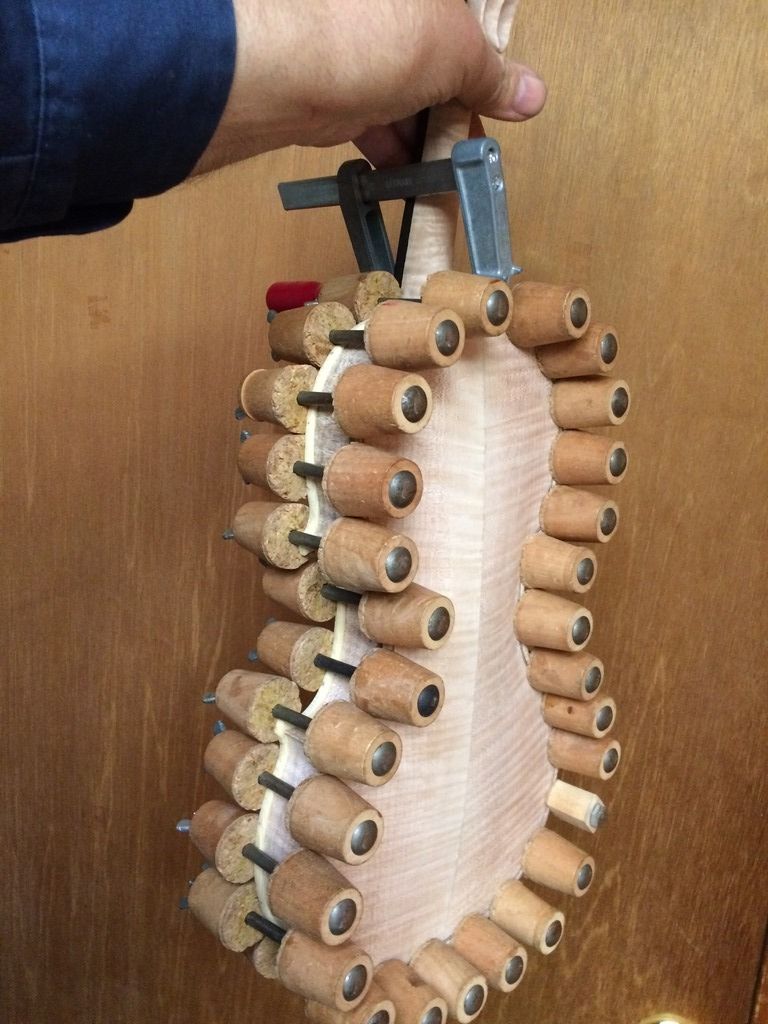
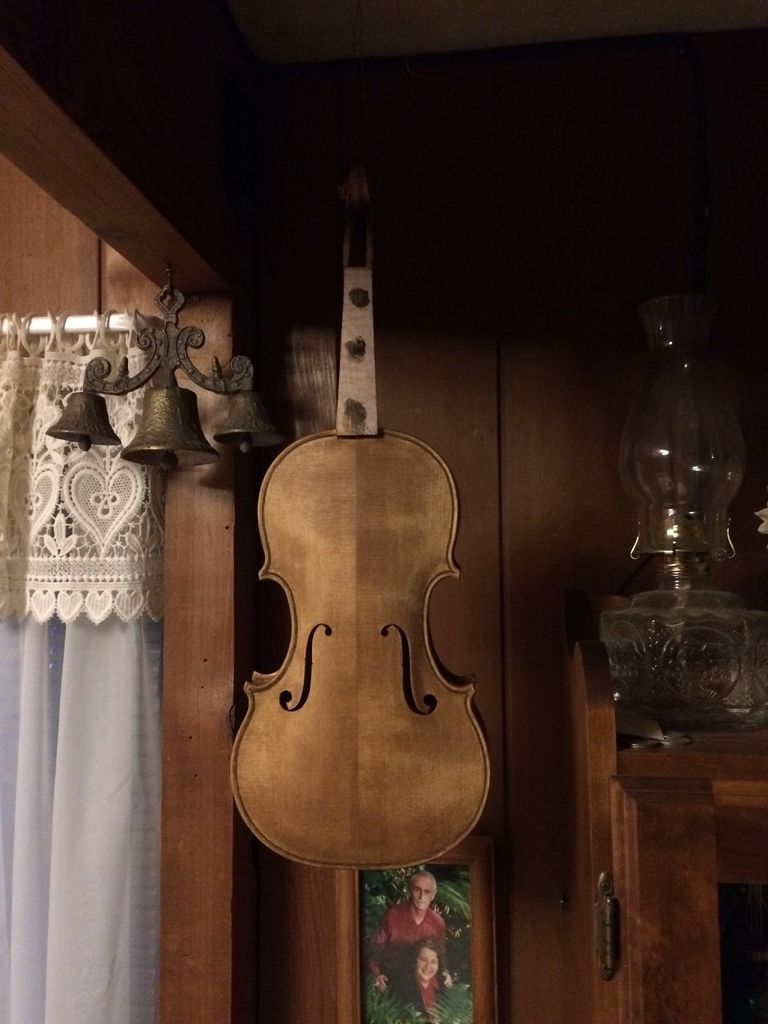
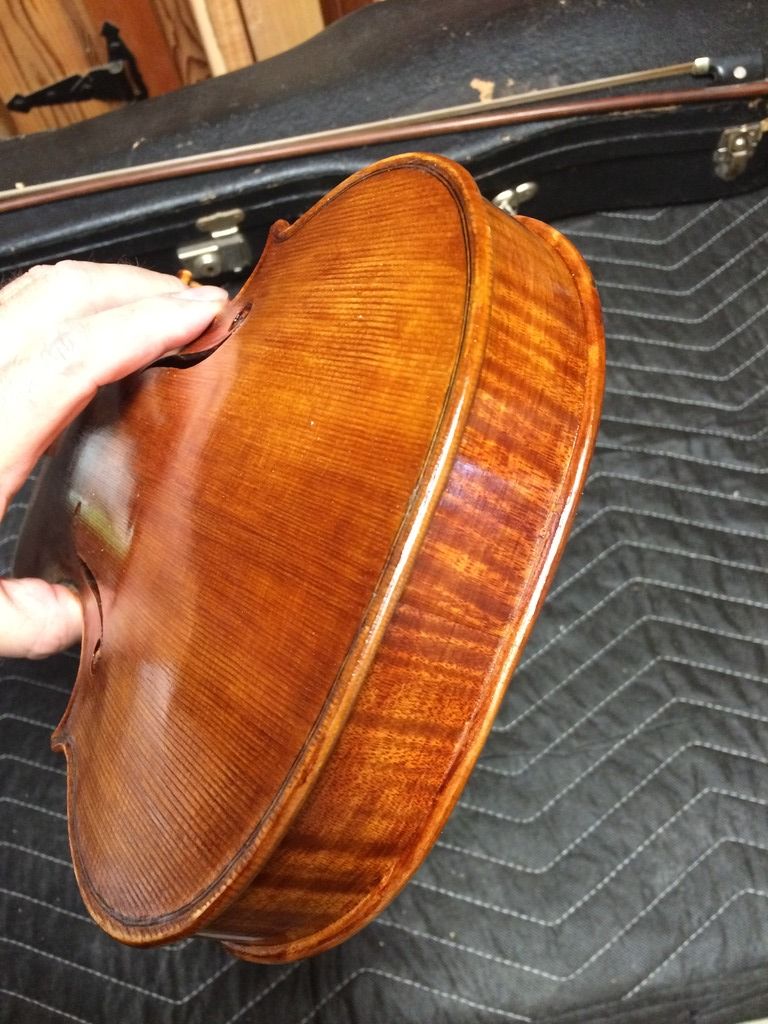
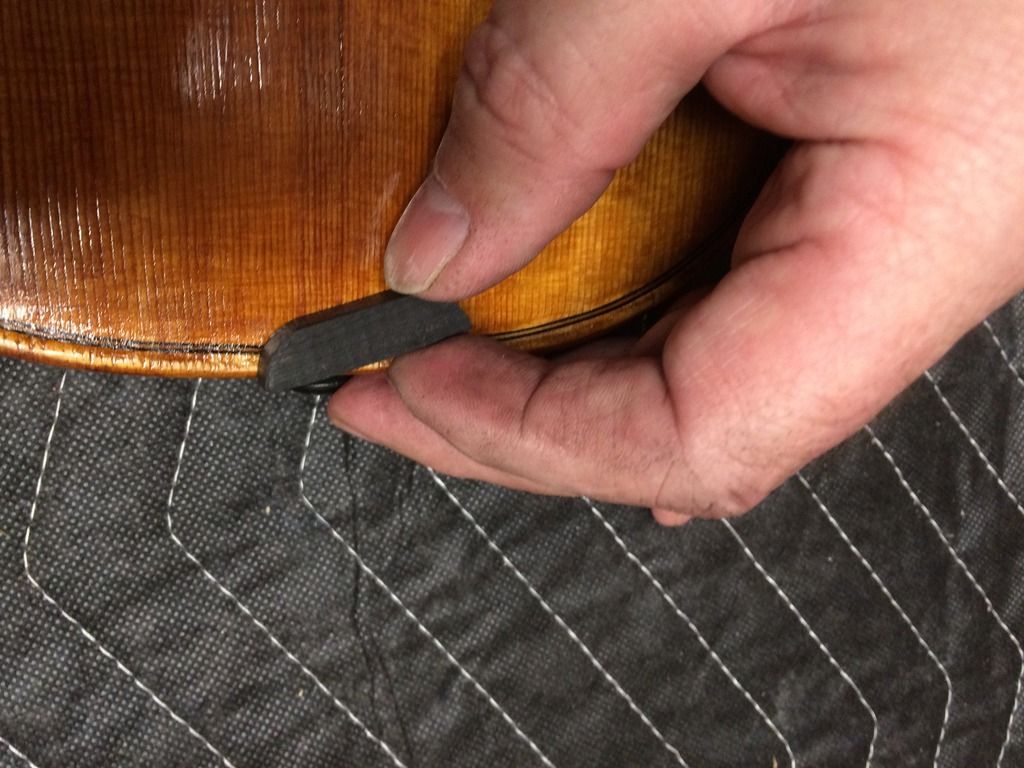
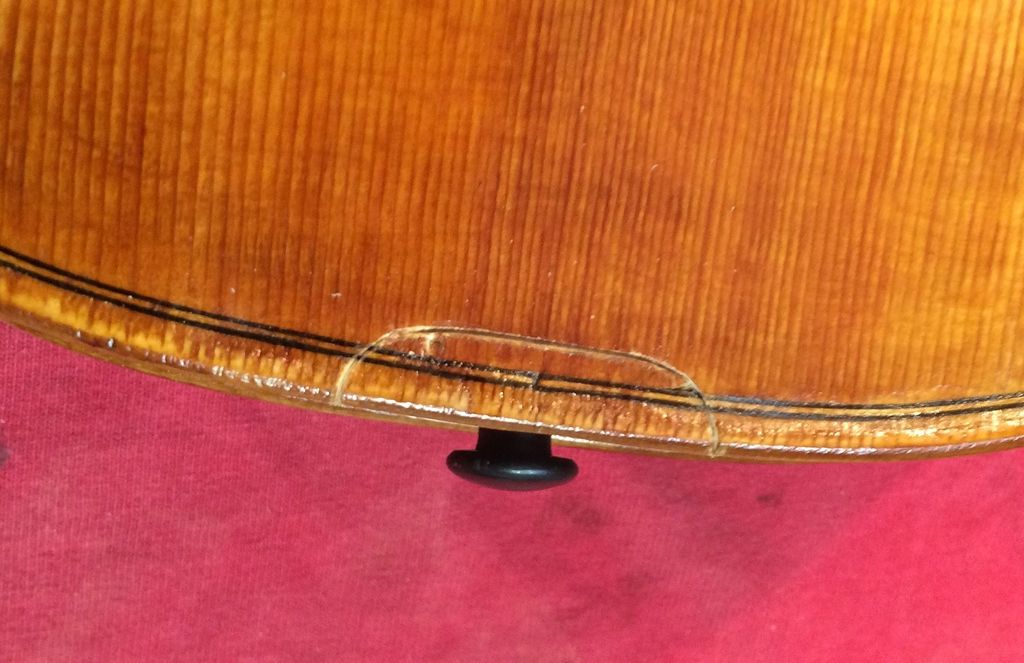
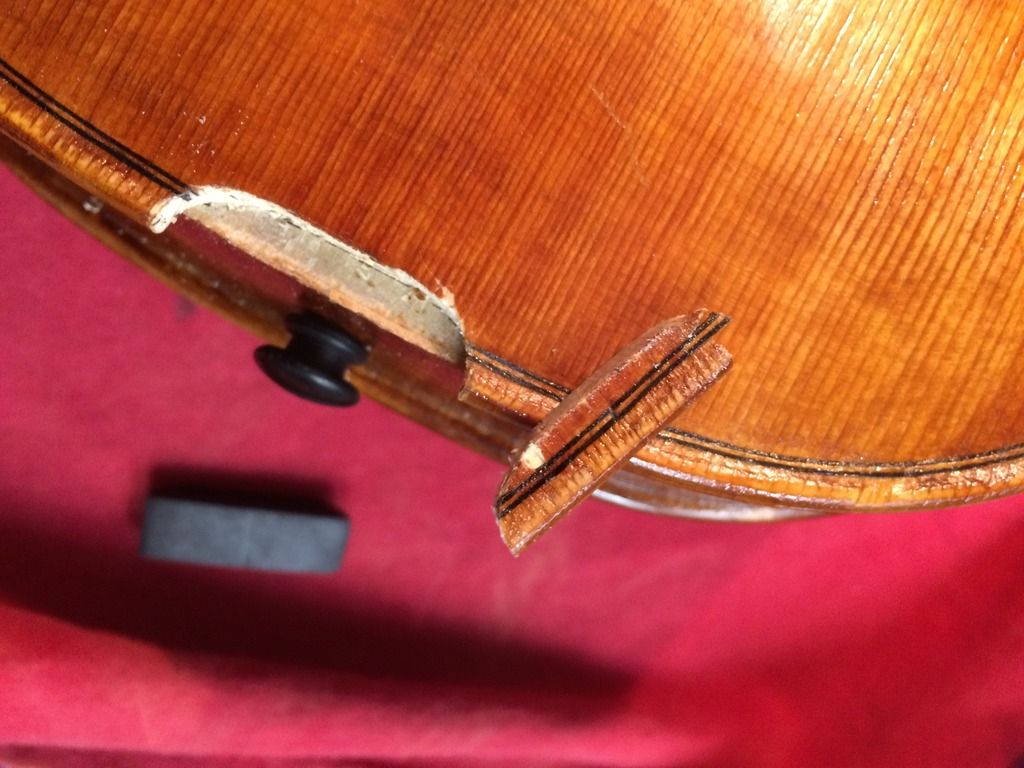
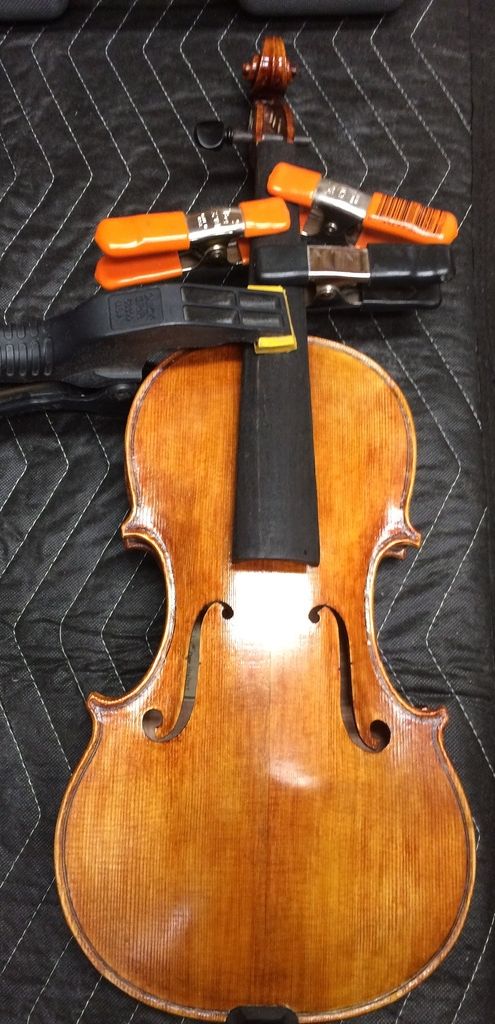
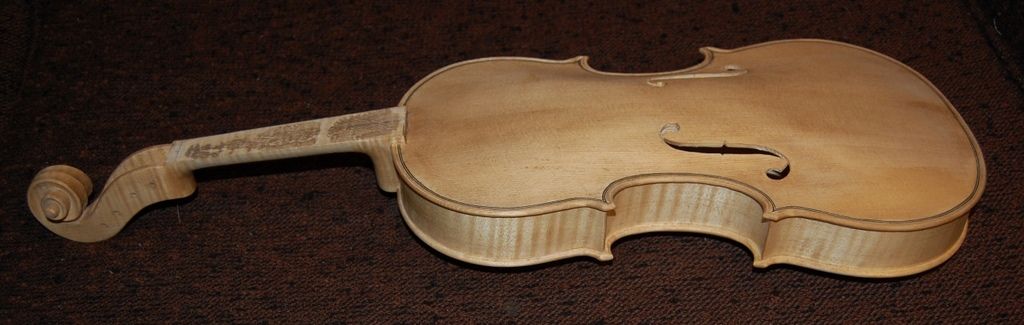
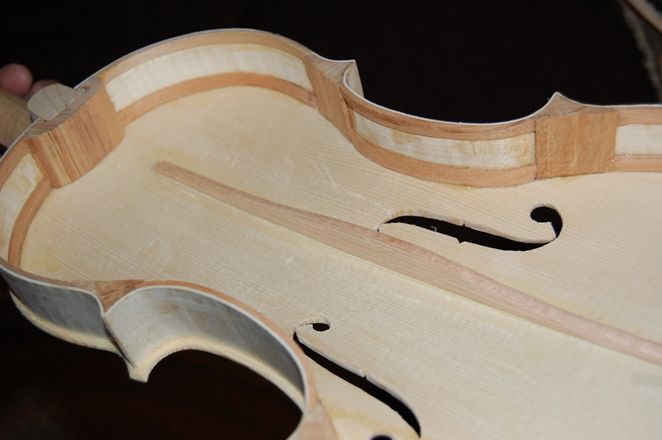
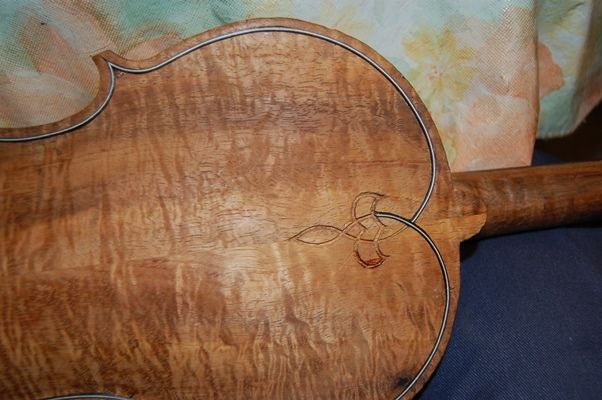
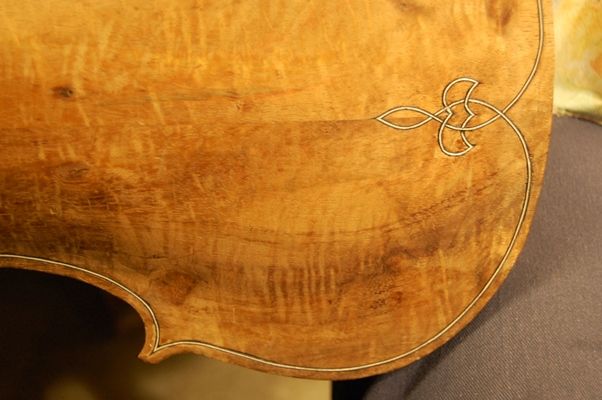
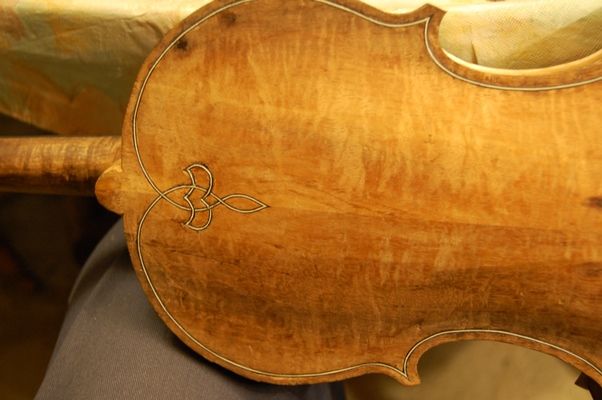
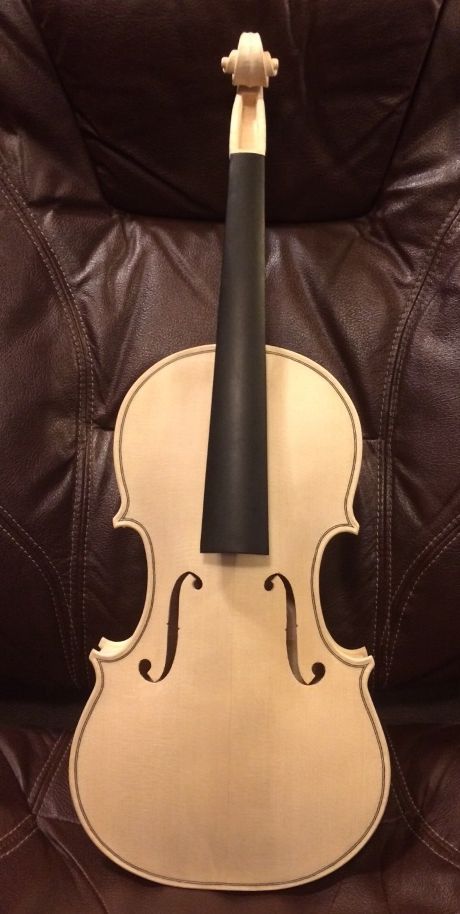
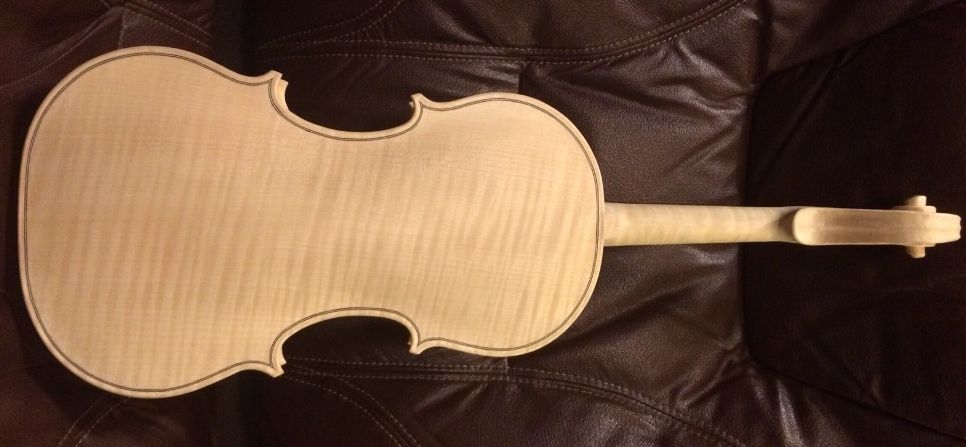
The last time I posted, the back purfling had been installed, but the back channel had not been begun, nor were the edges trimmed and rounded. I drew in the edge crest line, just as I did on the front plate, and carved the channel with a gouge, then began scraping the channel and fairing the curve of the channel up into the curves of the arching.
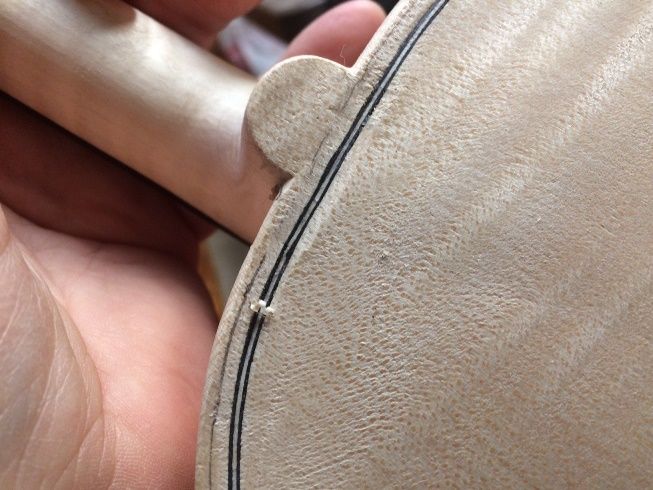
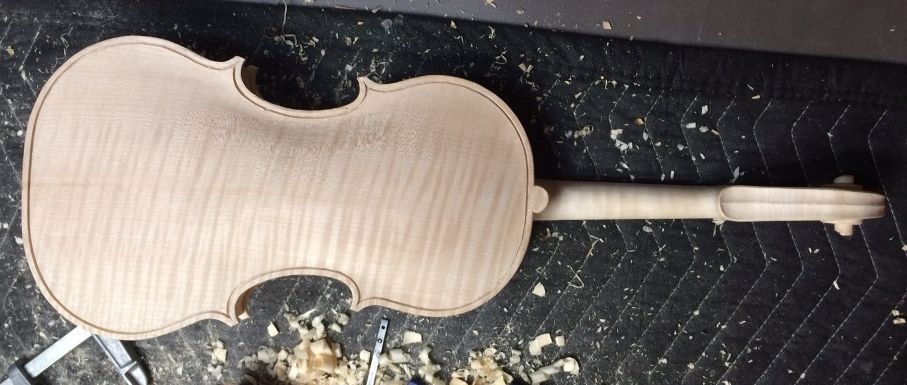
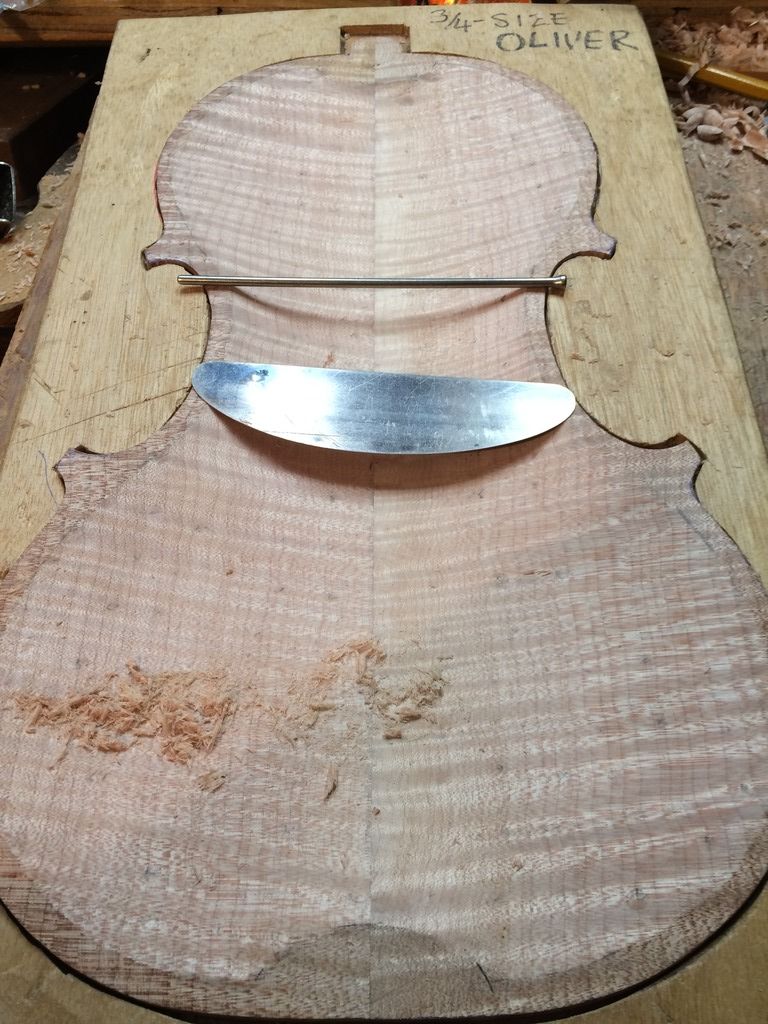
After I had gone over the entire instrument under a low-angle light, looking for “lumps and bumps” (any little discontinuity that will be visible under the varnish…and they all are), I wetted a cloth with black coffee, and rubbed the whole instrument down with the damp rag. This accomplishes two things: it begins to lend a very light yellow cast to the wood, and, more importantly, for now, it raises the grain, so that every little splinter that was pressed down by the scraper, instead of being severed and removed, will now stand up and be visible…easy to find and remove, using either a very sharp scraper or, eventually, a very fine abrasive. (In general, I avoid abrasives, because I am not convinced that the surface left by fine abrasives is the same as the surface left by a sharp scraper. But, as a means of smoothing between varnish coats, or just before varnishing, I feel it is viable. I also use it on the edges of the plates…especially the spruce.)
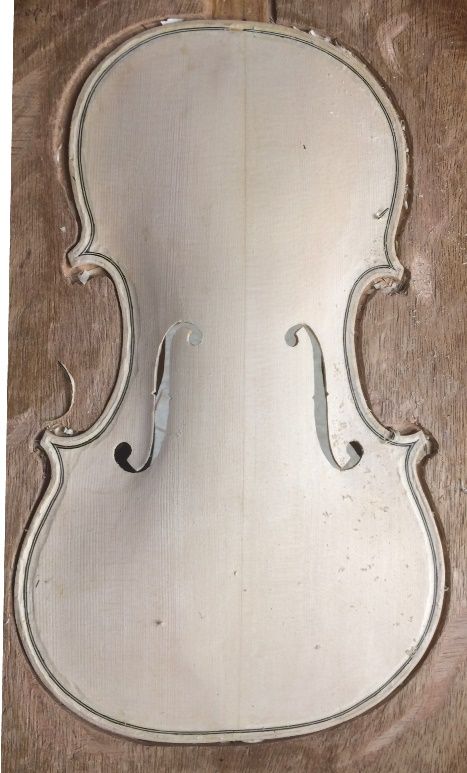
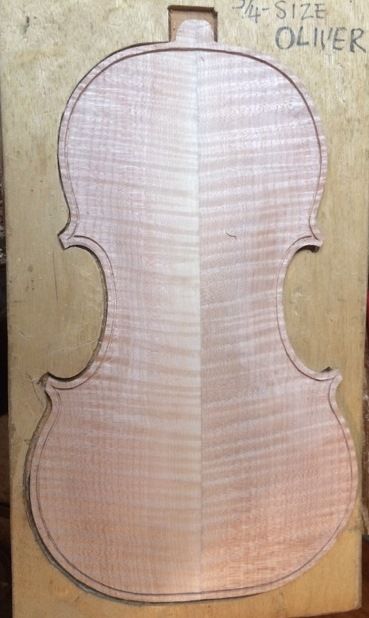
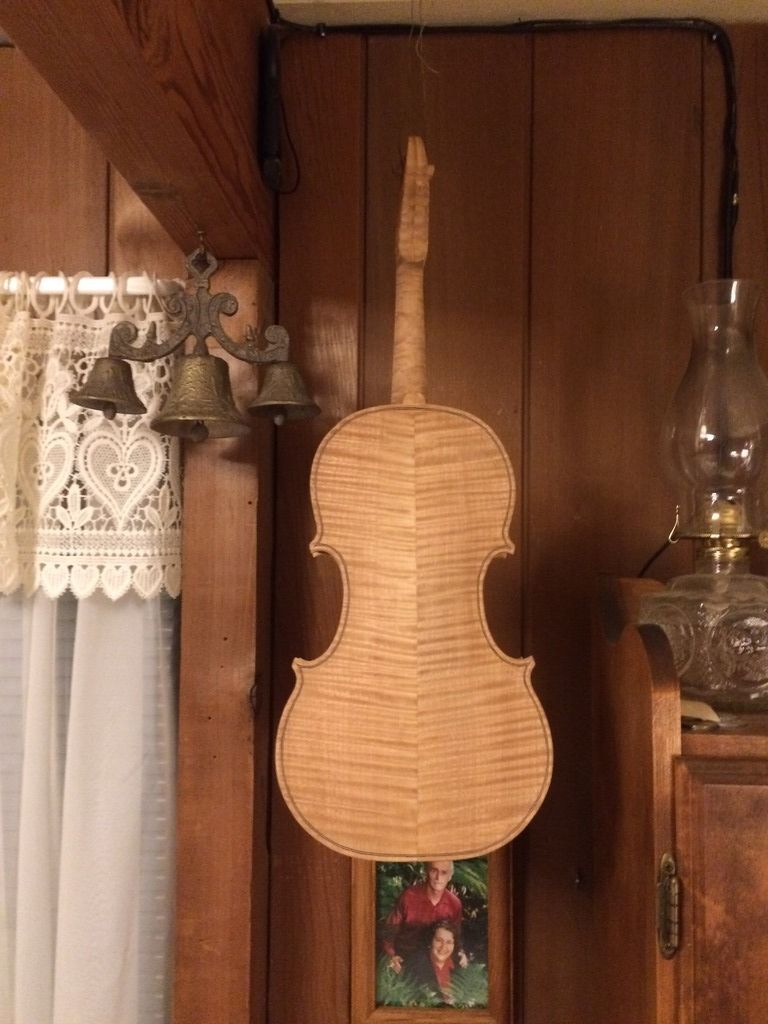
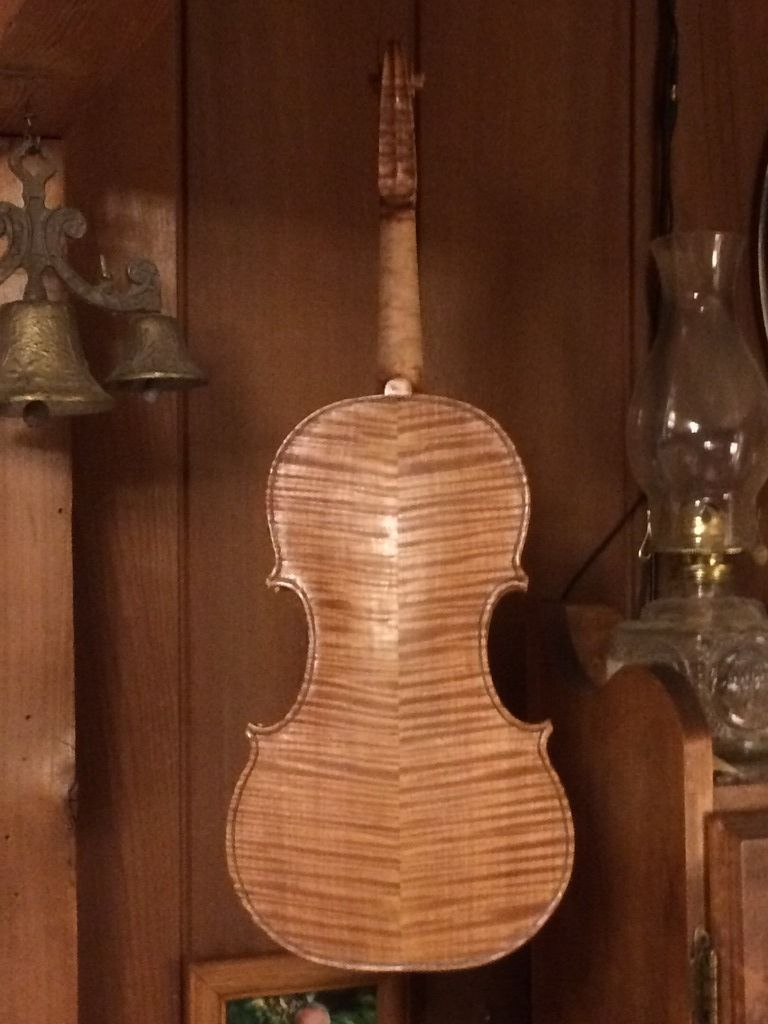
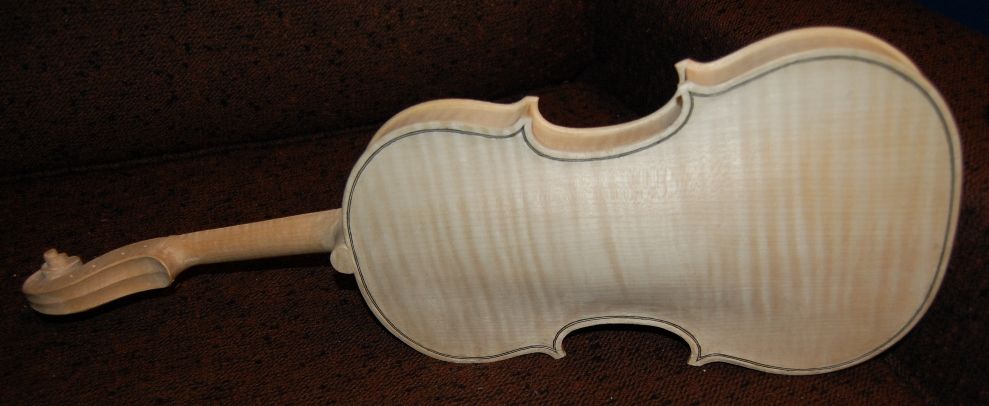
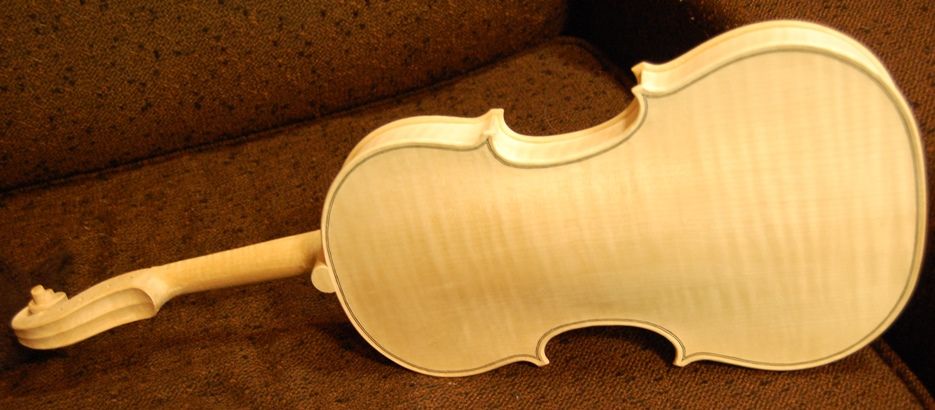
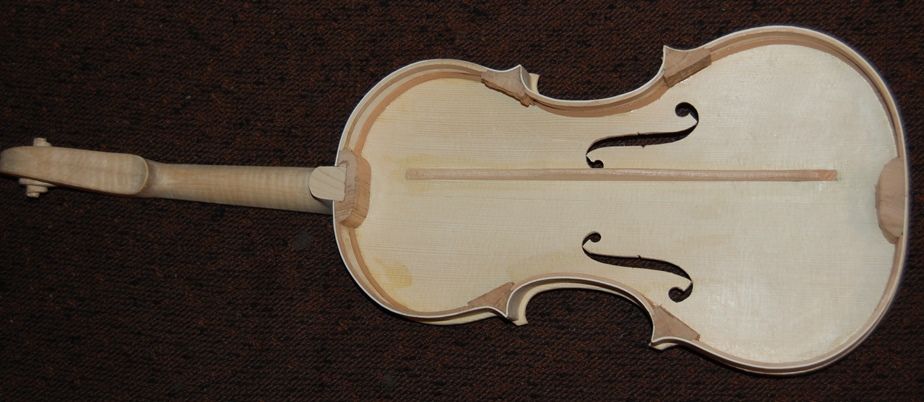
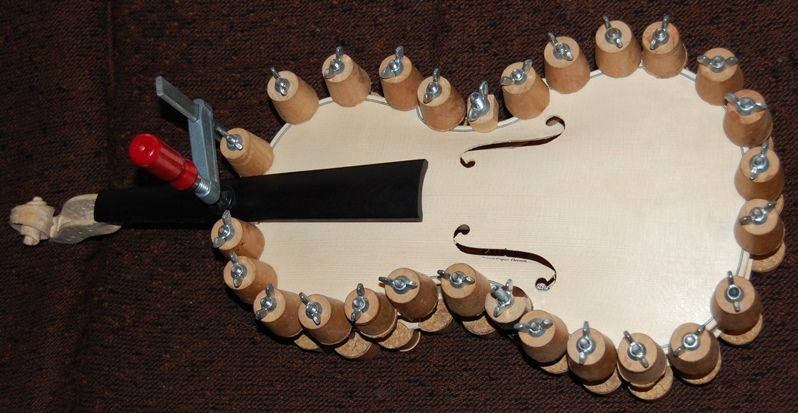
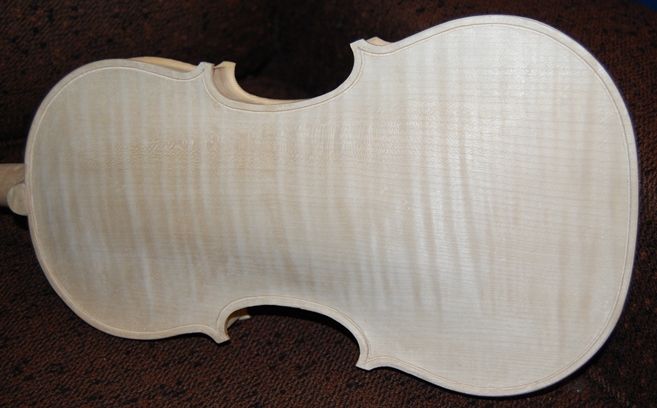
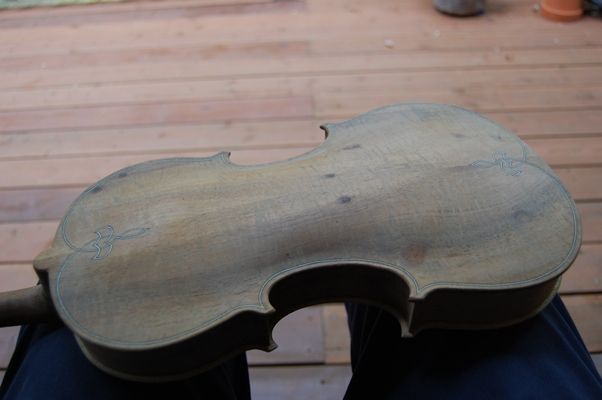
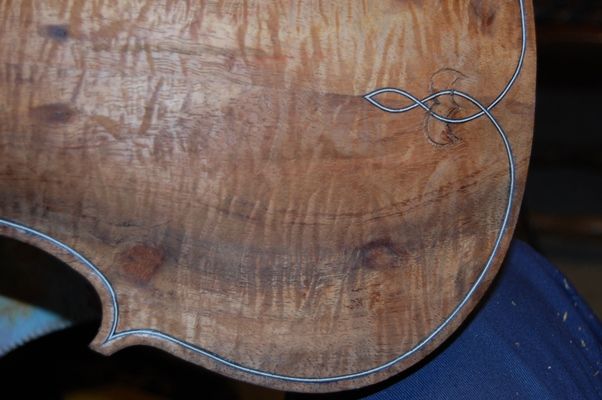
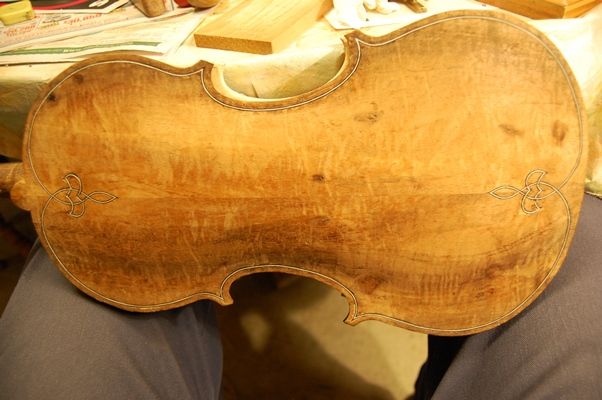
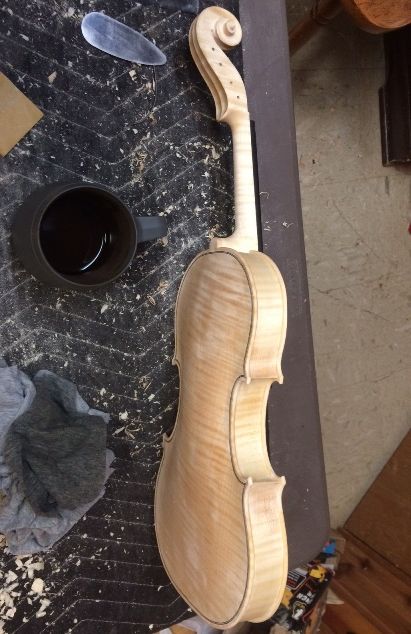
So…here is the instrument, dampened with coffee. When the coffee is dry, I will continue the smoothing and shaping process.
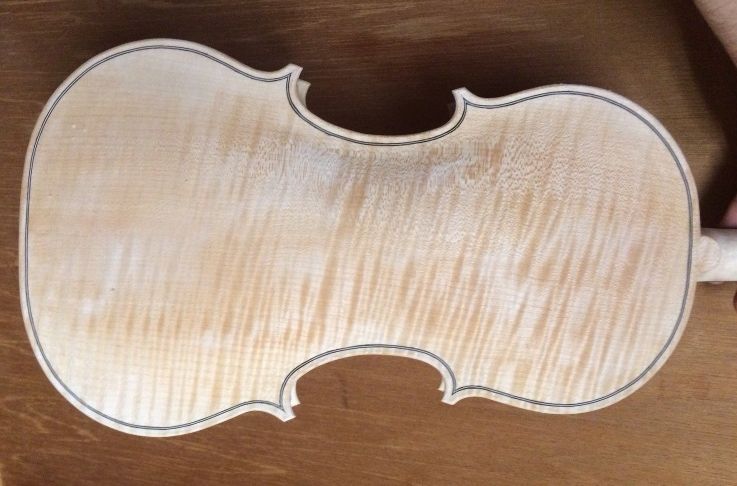
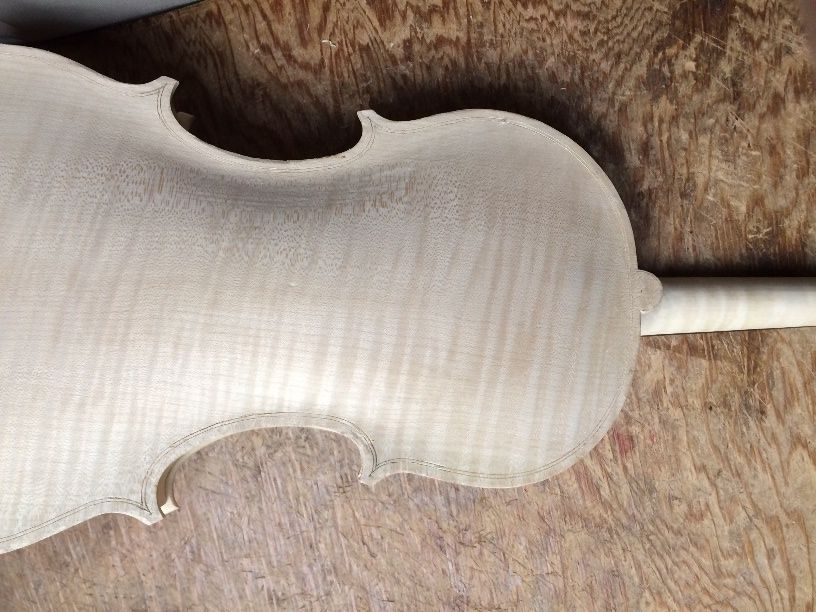
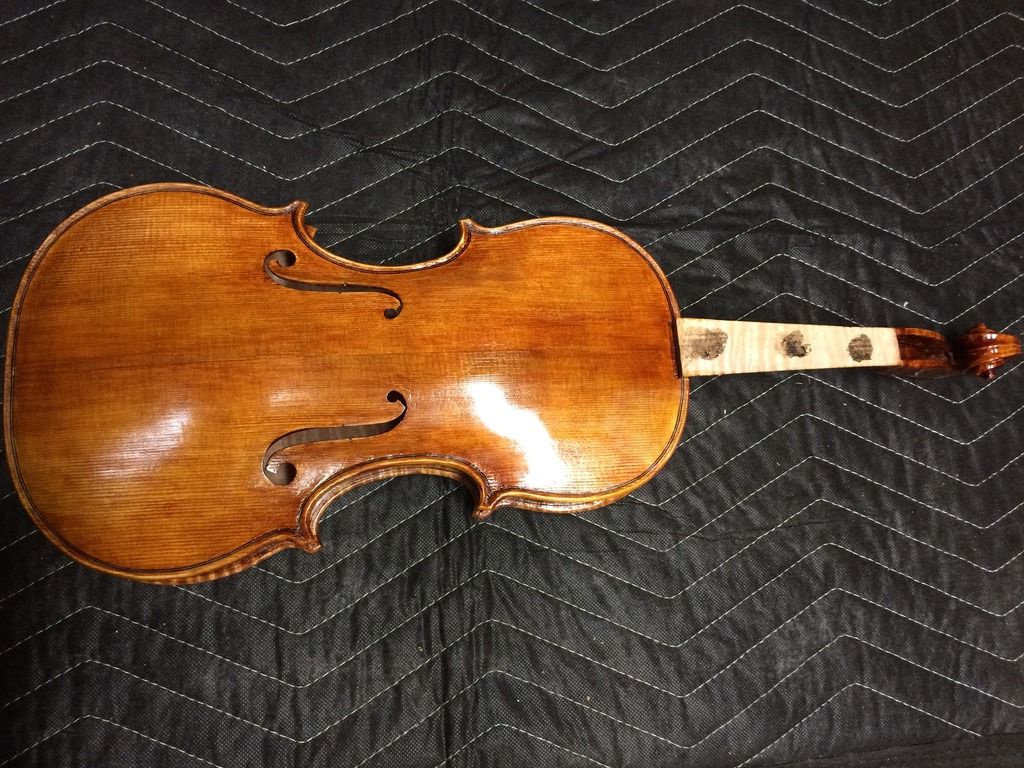
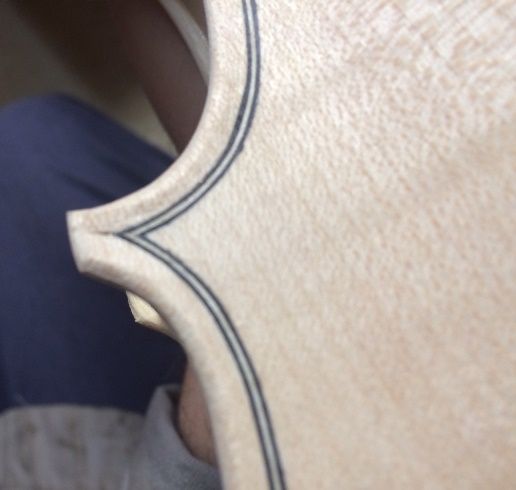
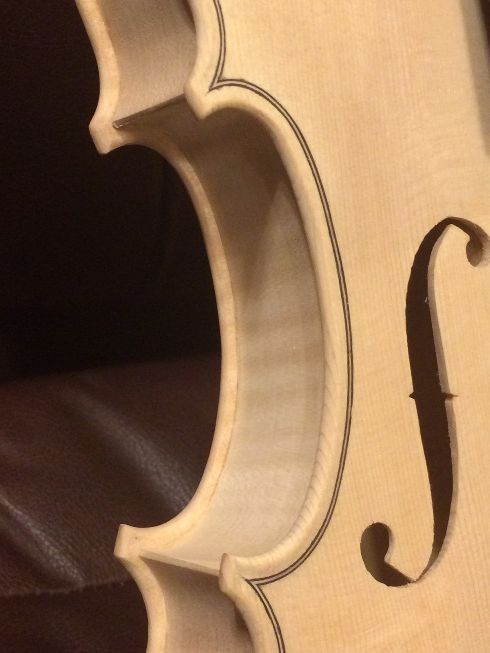
Back plate with coffee stain.
Final Scraping of the Whole Surface
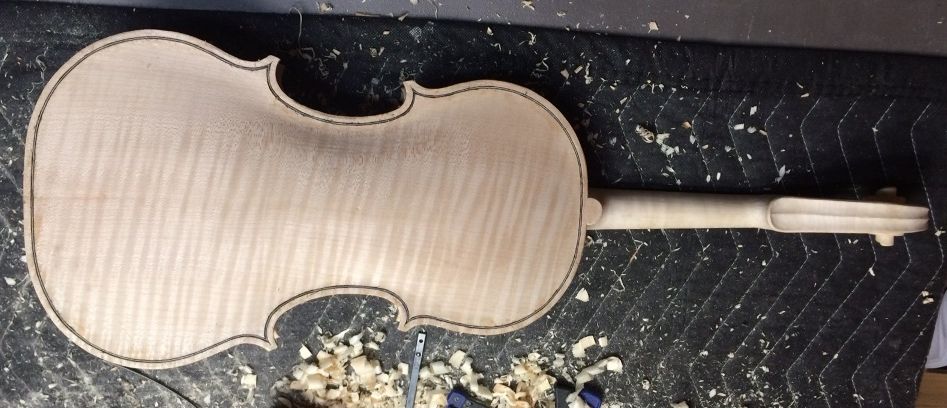
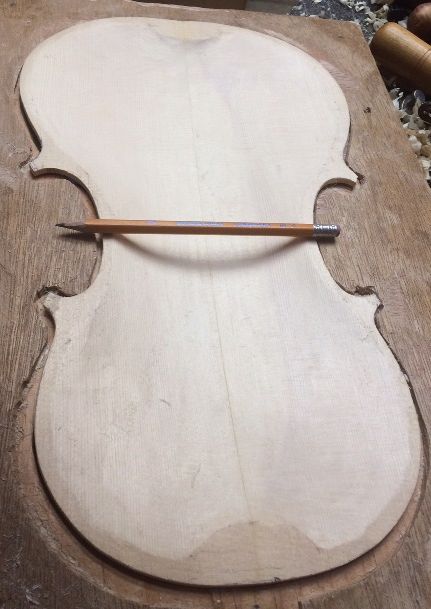
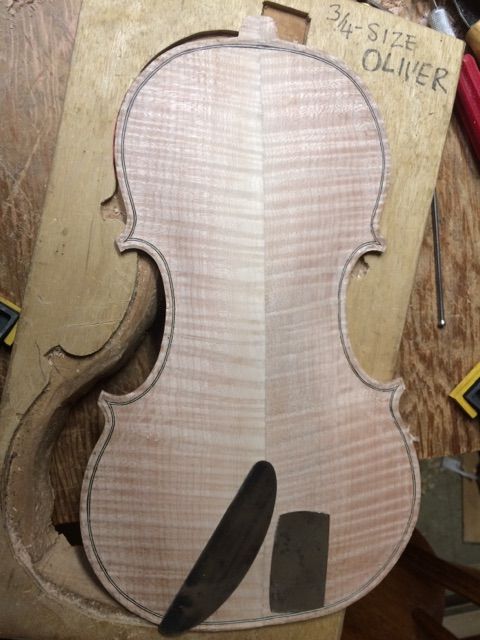
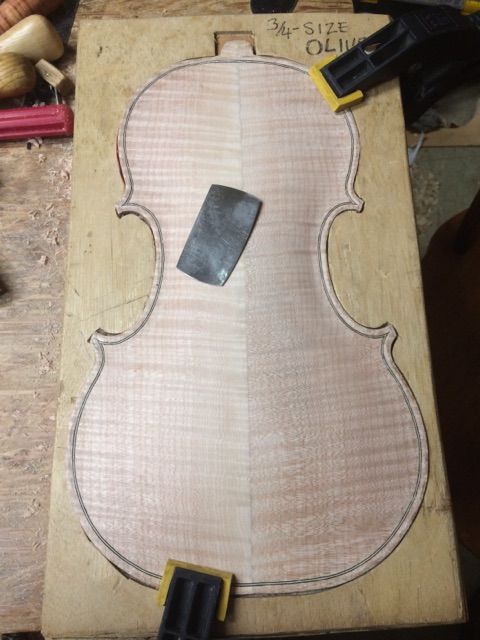
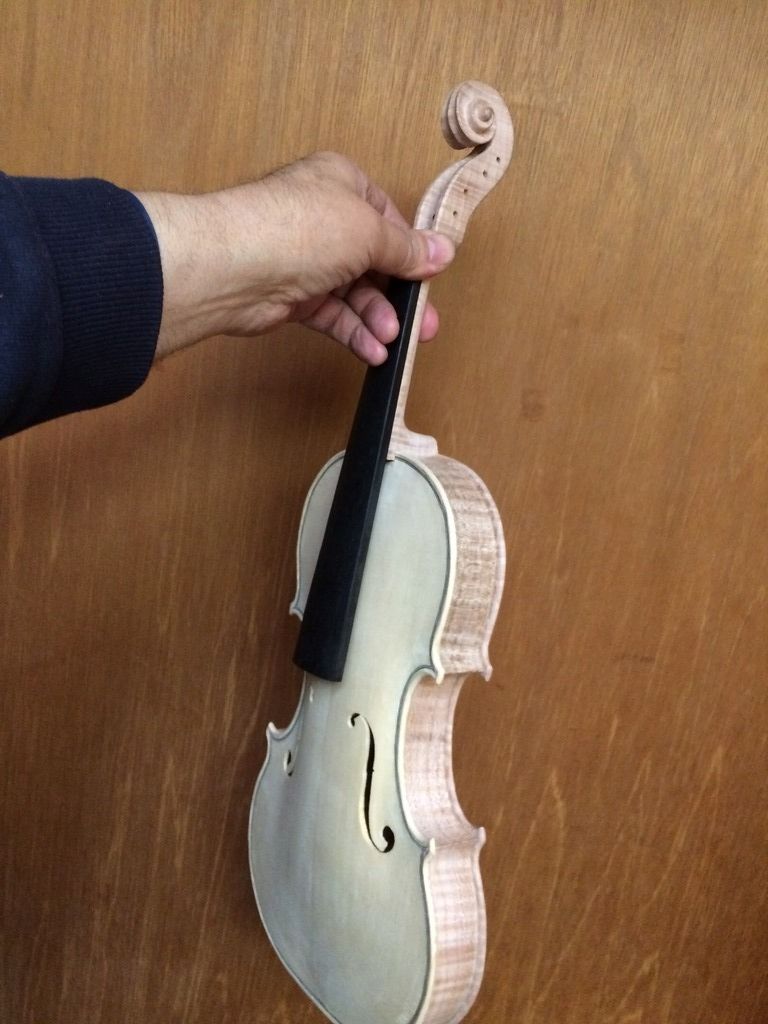
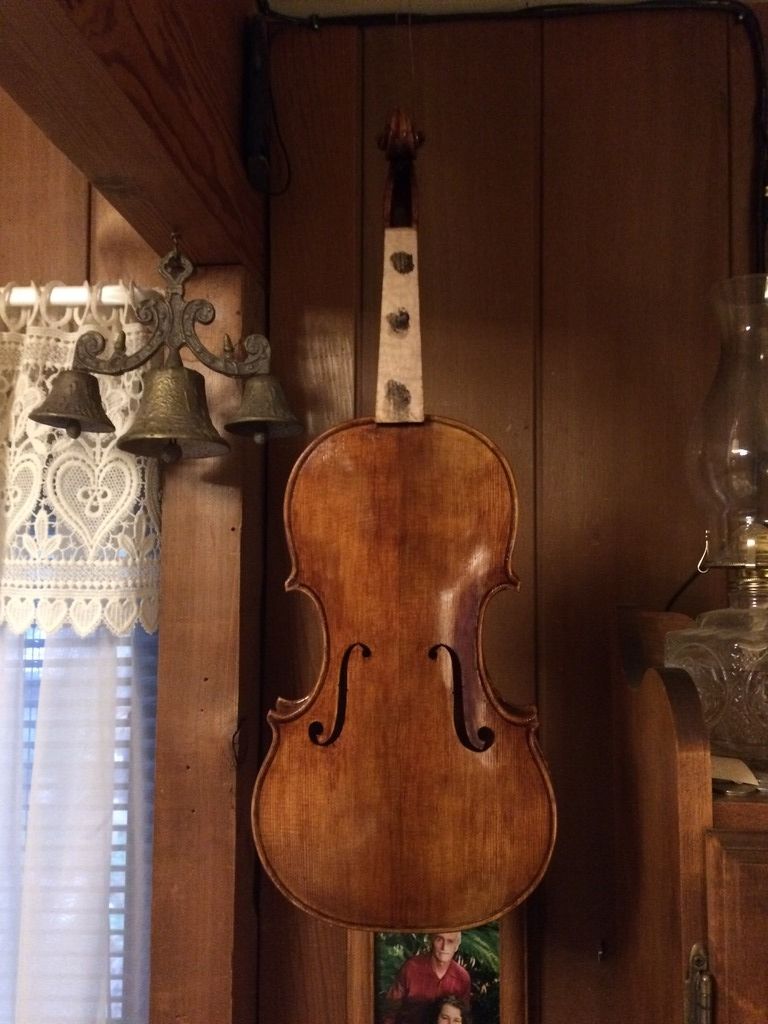
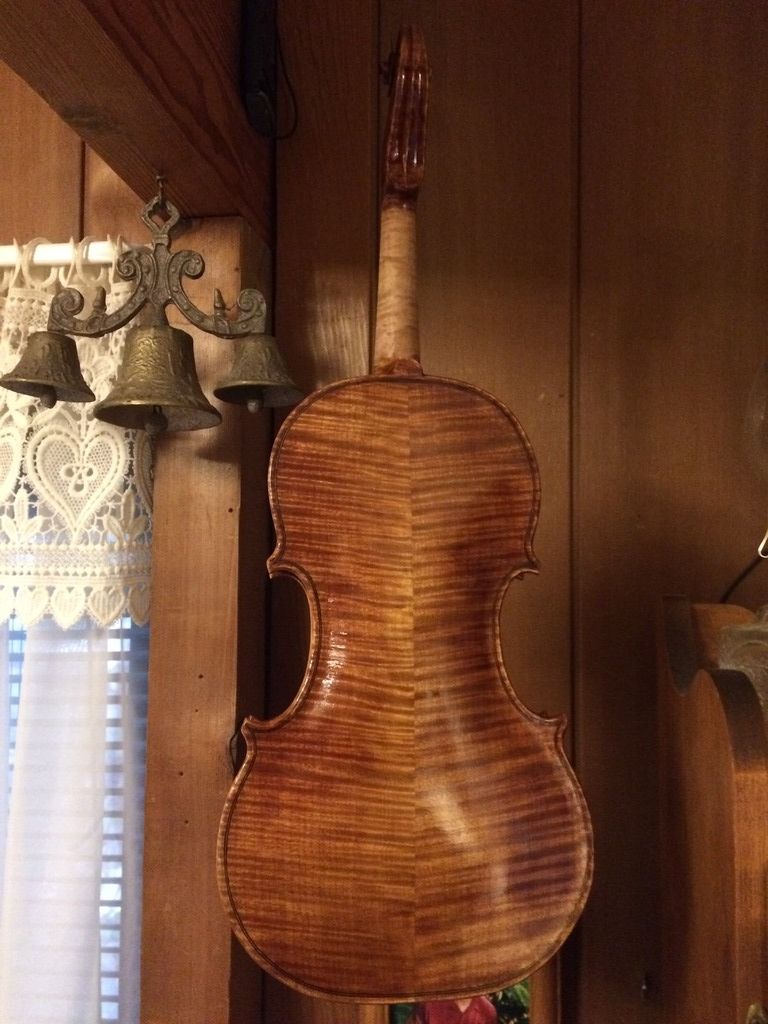
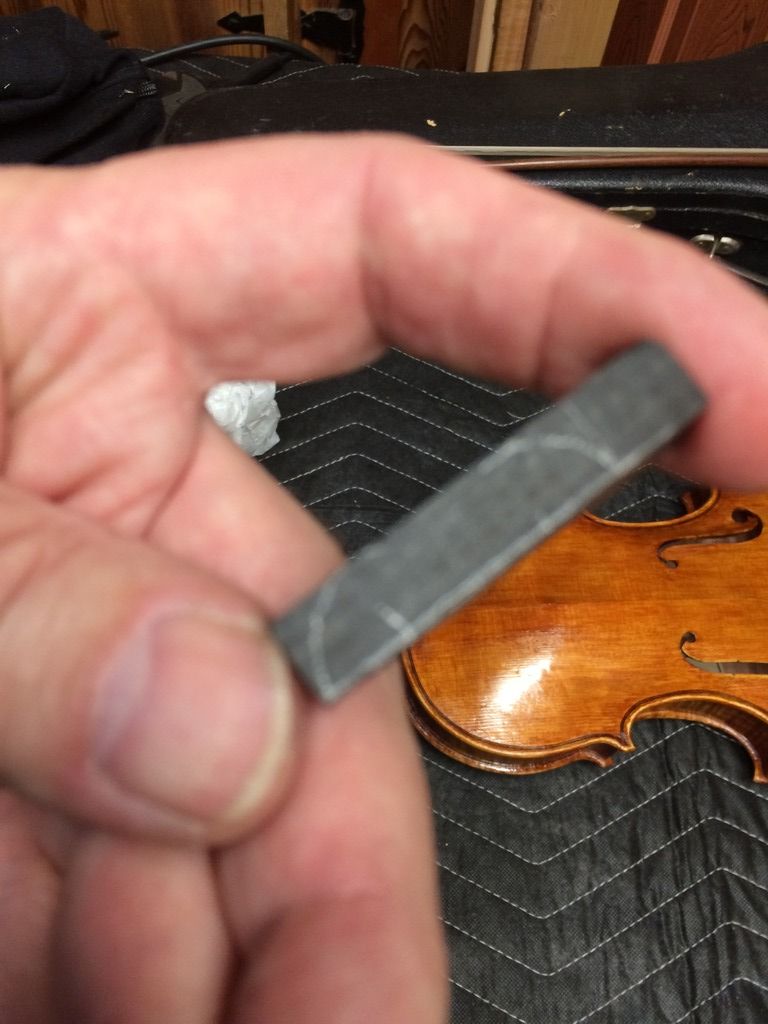
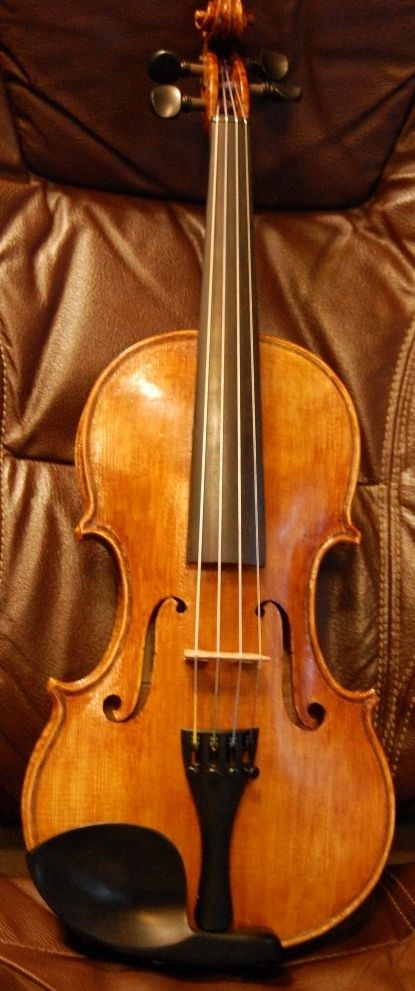
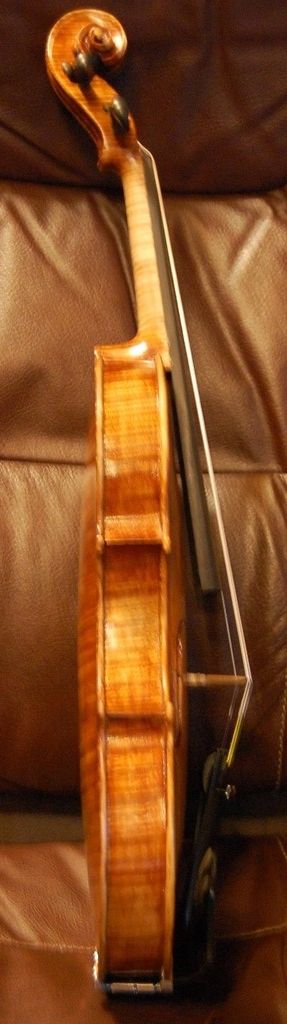
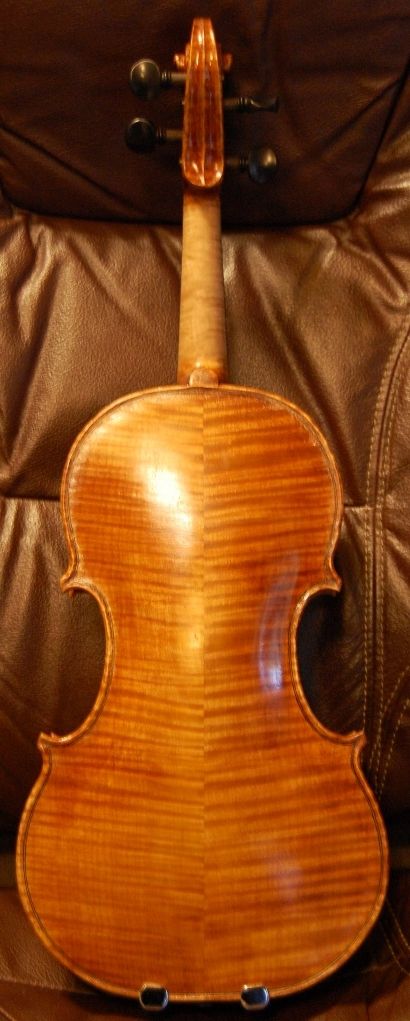
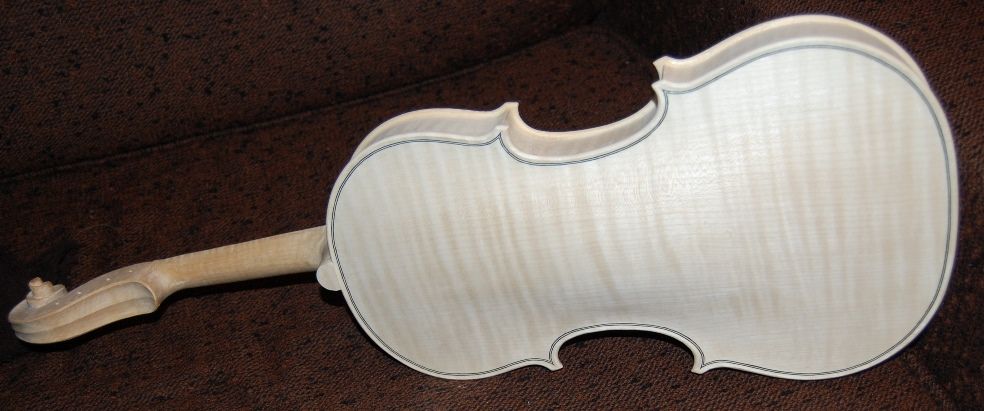
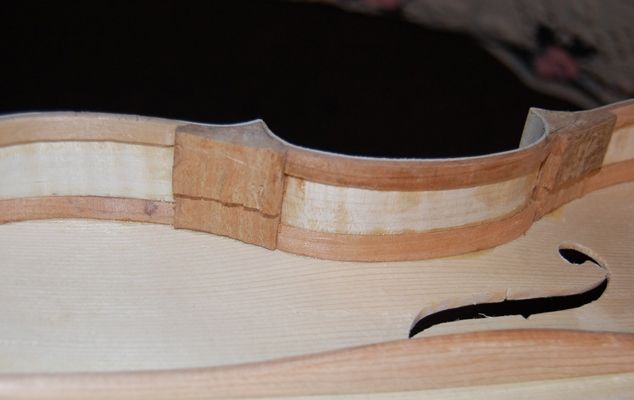
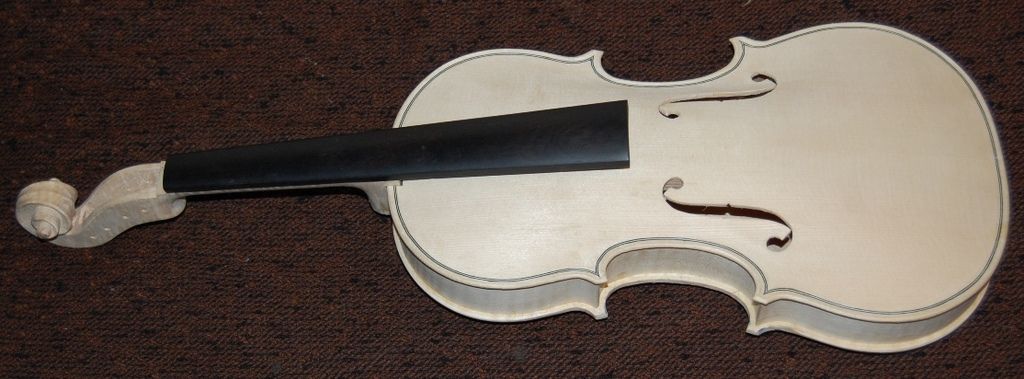
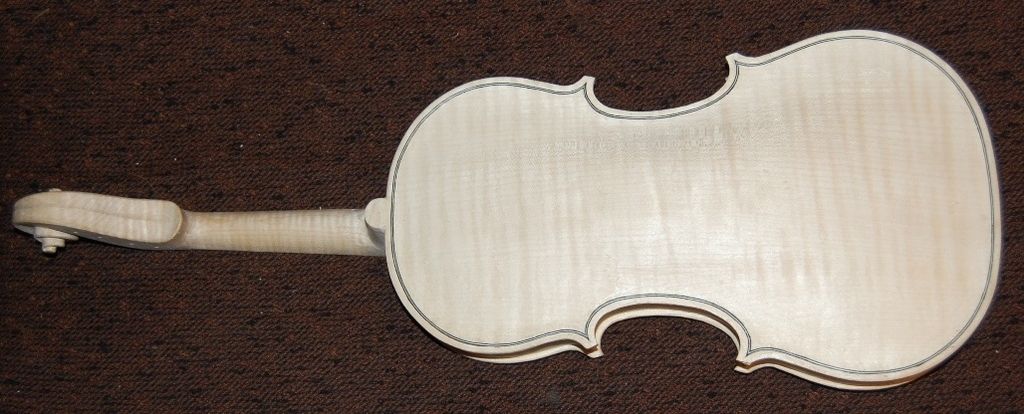
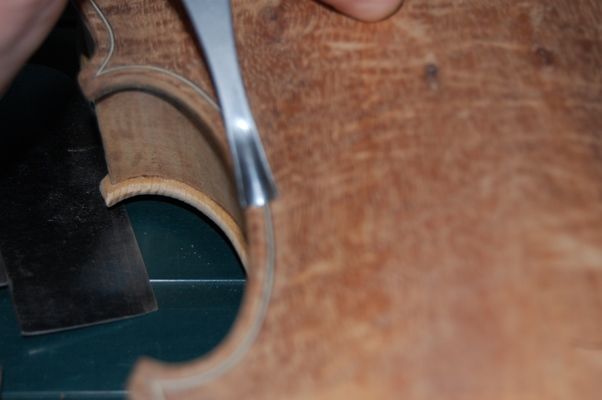
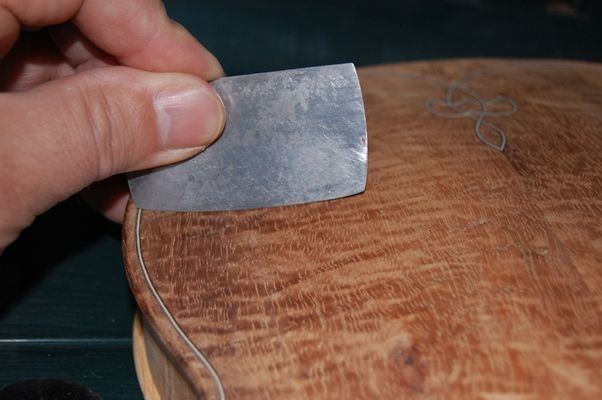
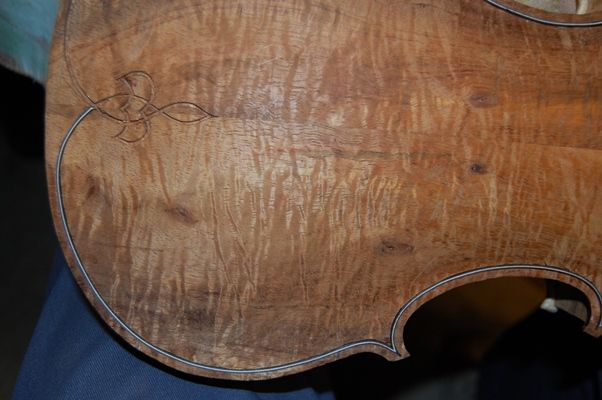
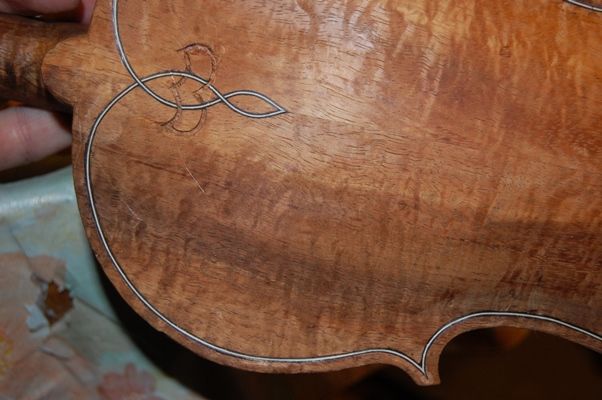
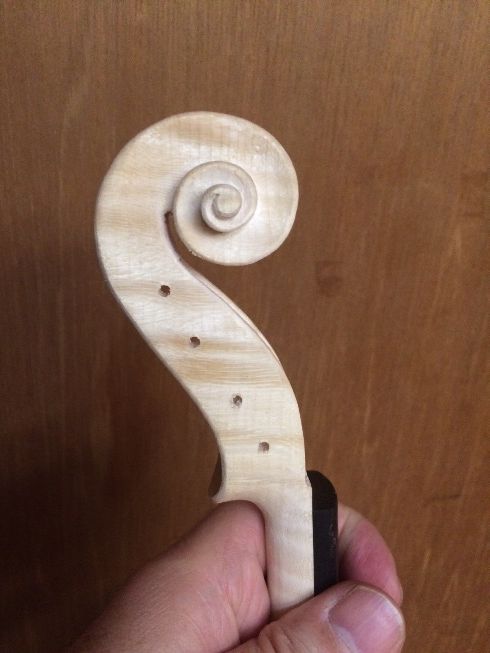
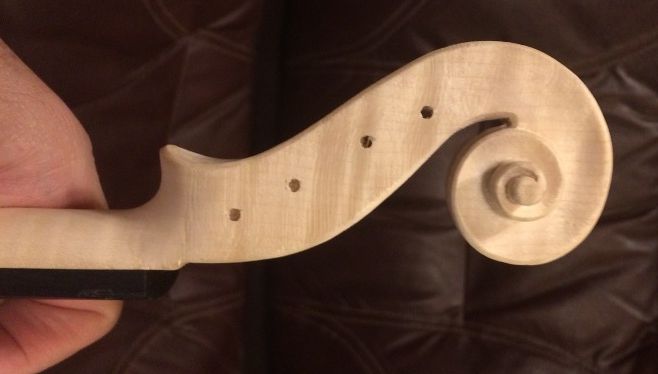
Once the coffee was completely dry, I went to one of the few places in the house where I can get a fairly dim, very low-angle light across the violin, and went over the instrument, intently searching for either rough patches or places where the smooth continuum of the arching is interrupted by a ripple, a ridge, or a bulge, etc. I want the arching to be as close to perfect as possible, and every transition from curve to curve to be flawlessly smooth. (I have never actually achieved this level of perfection, but that remains the standard. Every time, however, after the varnish is applied, I find things I missed.)
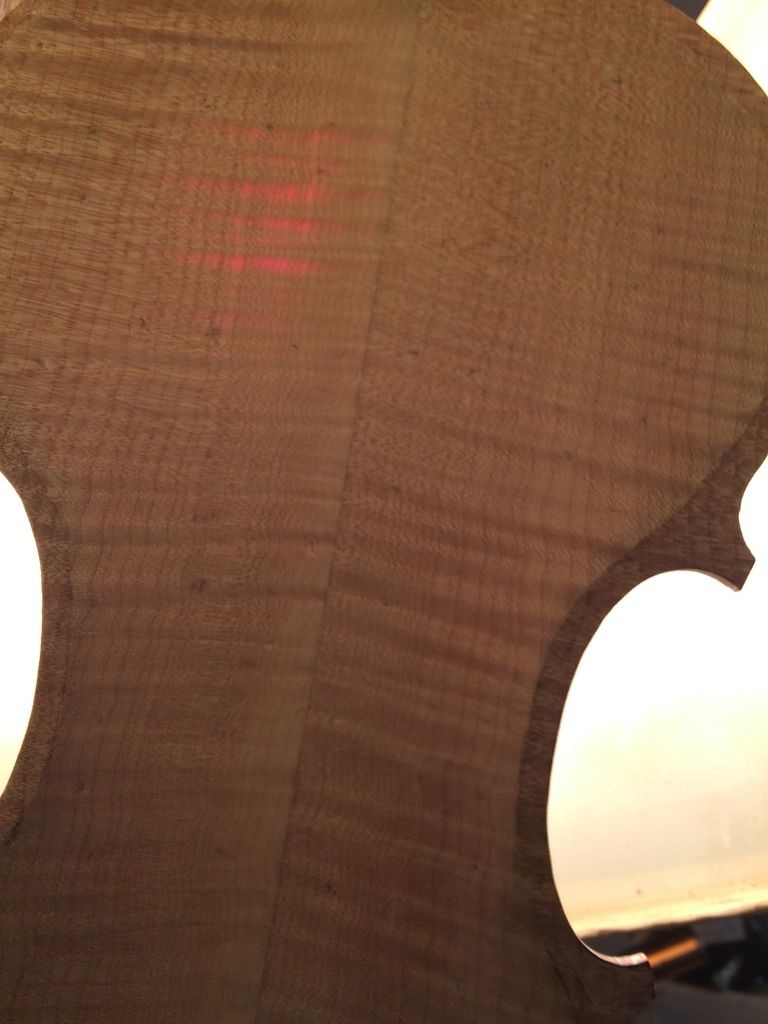
After scraping every surface, very gently, with a sharp scraper, until all seem to be very smooth, I rub the instrument down with coffee again. Usually, this time, the grain will not raise as agressively as before, because I did not press the grain with the scrapers but just “brushed” the surface, taking off mere dust, but leaving the channels and transitions looking finished and shiny-smooth. This is an important time to watch for anomalies of any sort, because once the varnish is applied, it is very difficult to go back and “fix” things. Several of my earlier instruments have an odd pattern of dark stripes in the upper front bass bout, following the curve of the outer edge, and adjacent to the neck. These could have been avoided by careful scraping under a low-angle light. They remain as permanent record of my “learning curve.” (sigh…)
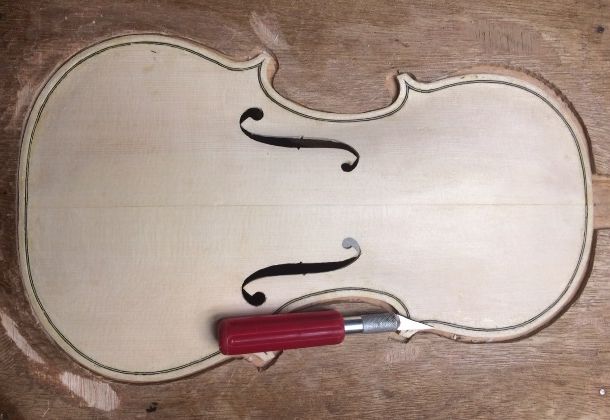
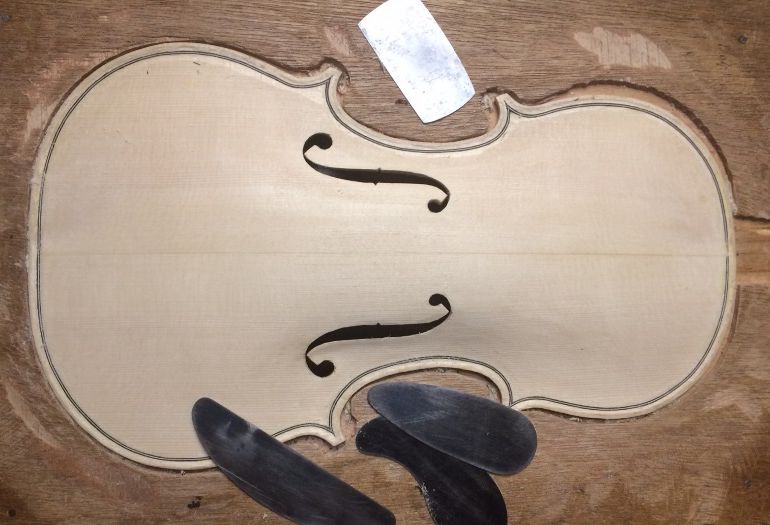
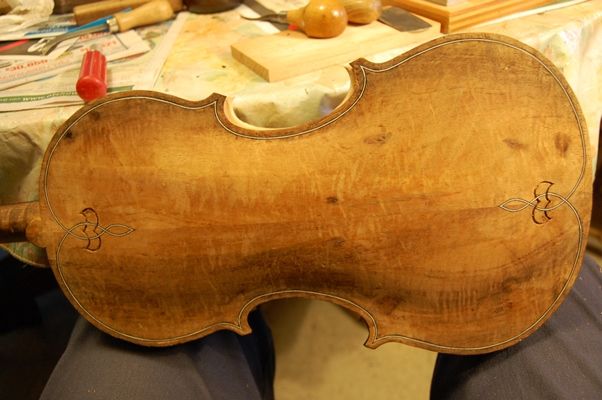
Here is how the instrument looks, ready to begin the finishing process:
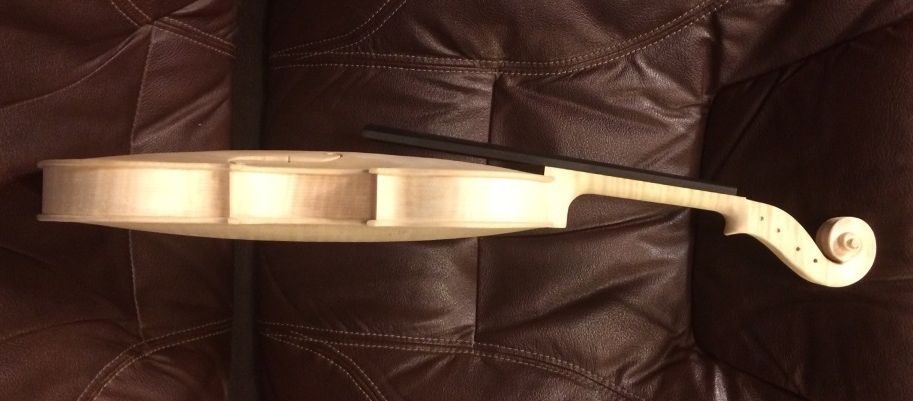
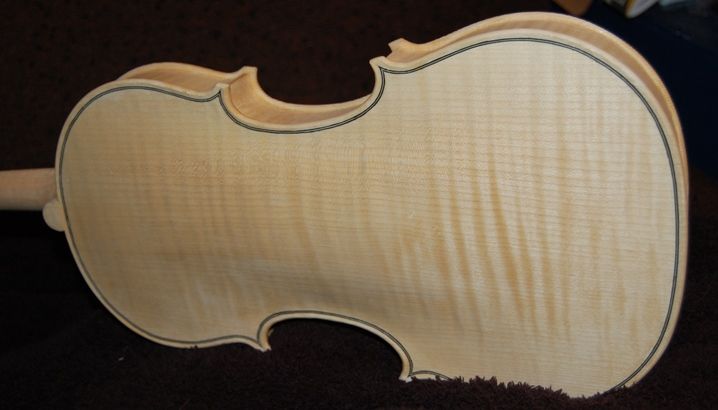
As you can see, there are are a few things I will probably want to touch-up just a little more before I actually varnish, but, overall, I am satisfied that I am ready to move forward. There will always be little things I change at the last minute, but that is just my nature.
What’s Next?
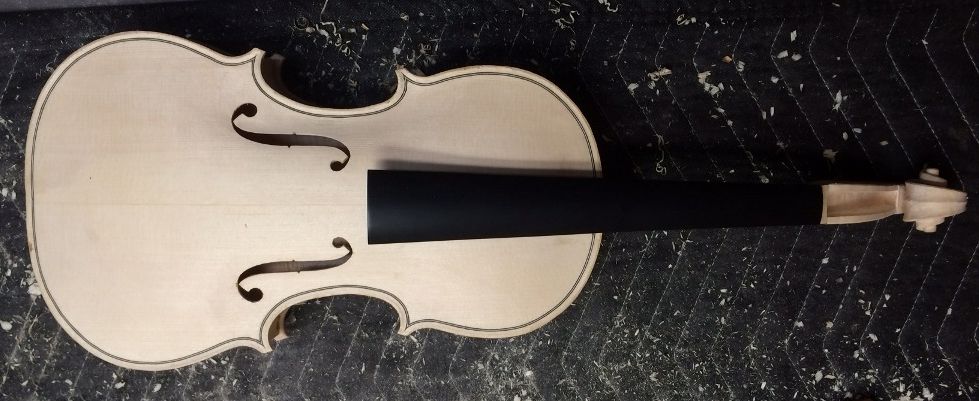
So…the next “big” thing is to remove the fingerboard (easy to do…I only held it on there with three dots of hide glue), and then I will rub very fine gypsum mixed with coffee into the whole instrument, and rub it back off before it dries. The goal is to fill the pores, so that the varnish will not saturate the wood.
After that is dry (and it will look chalk-white), I will apply a coat of sealer (rosin dissolved in turpentine, at the moment), to lock the gypsum down, and further seal the pores. After that; varnish time!
Thanks for looking.