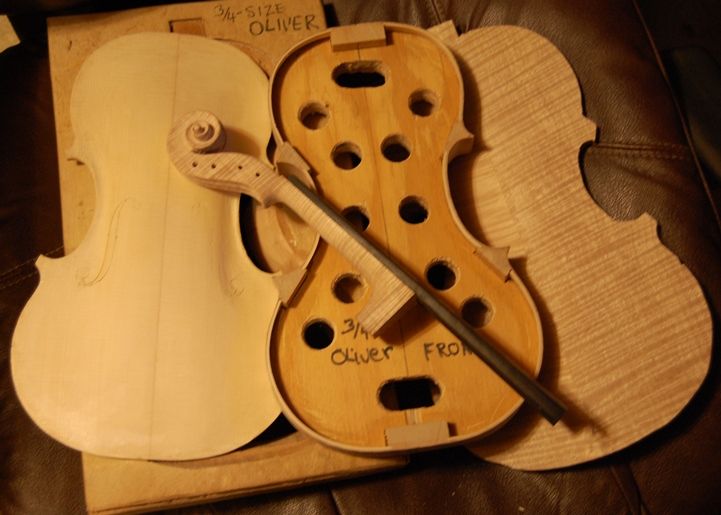
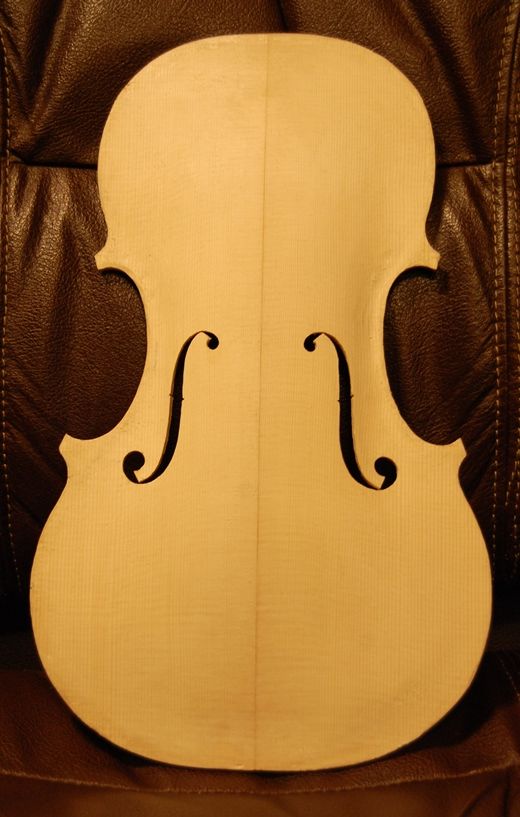
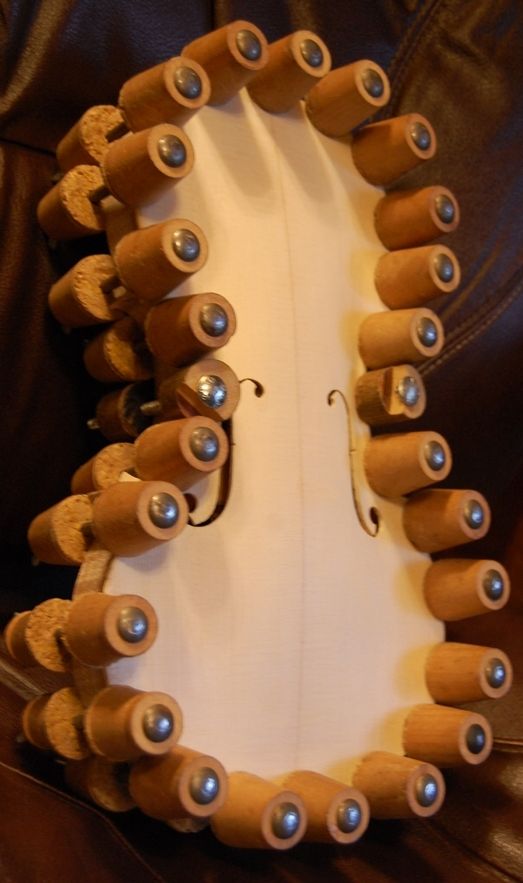
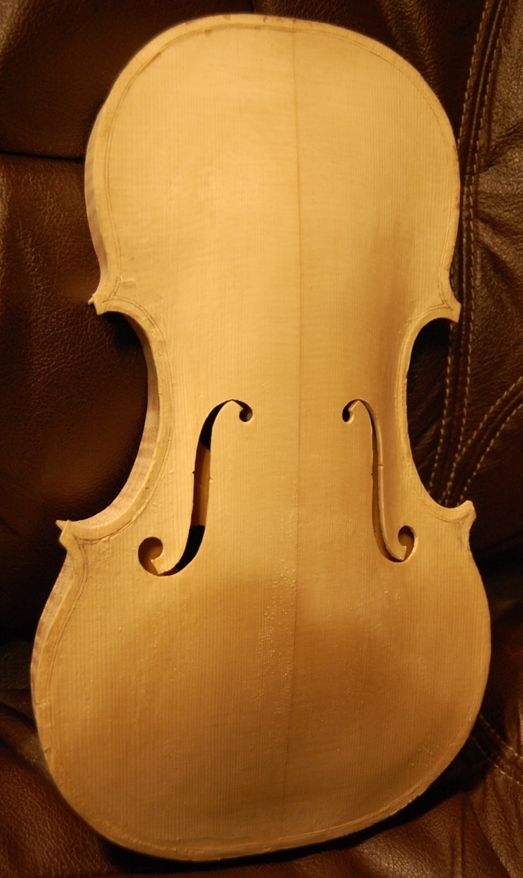
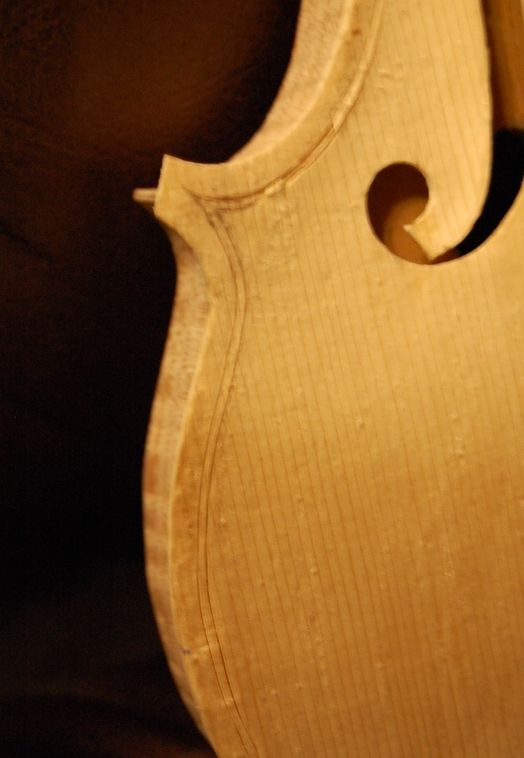
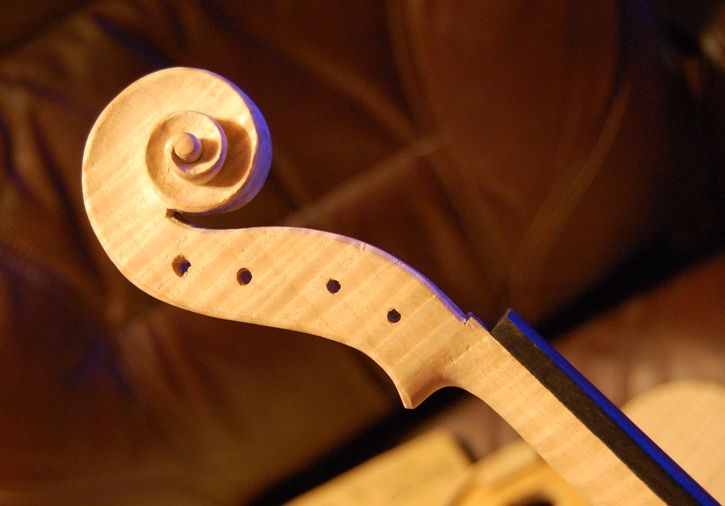
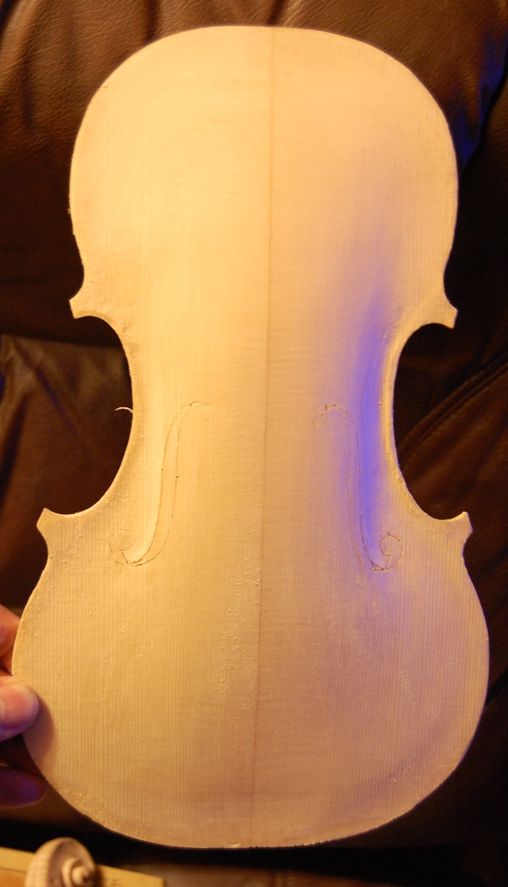
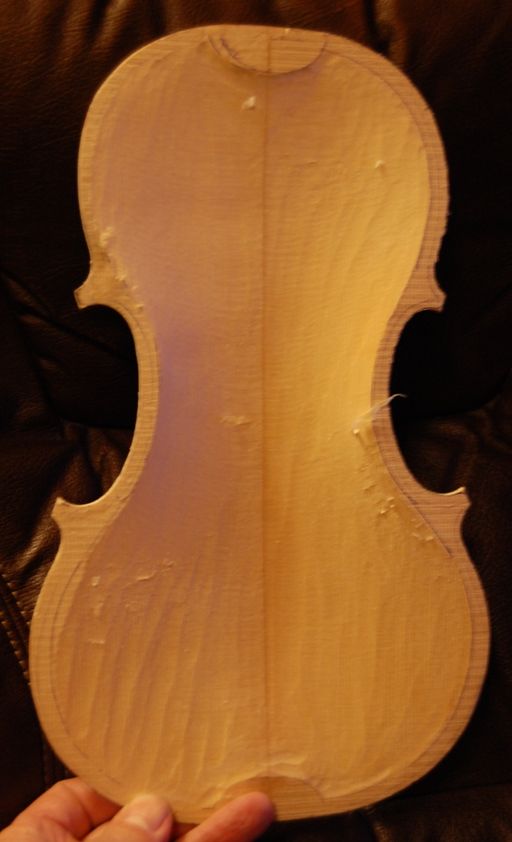
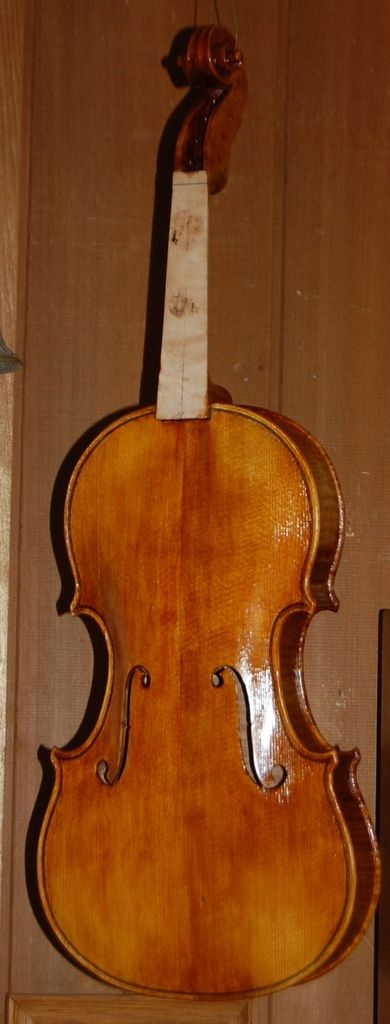
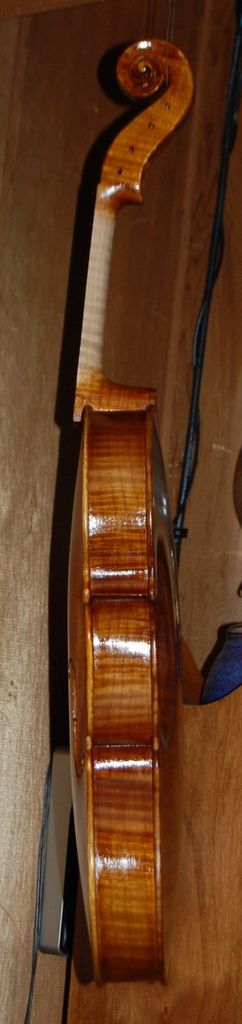
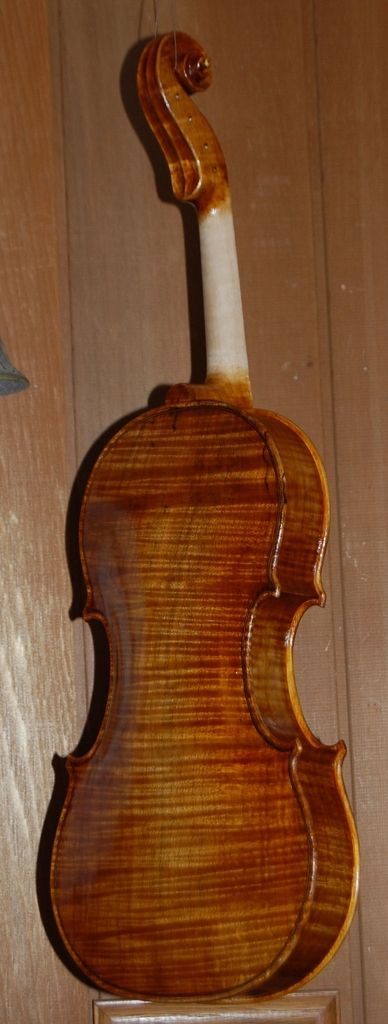
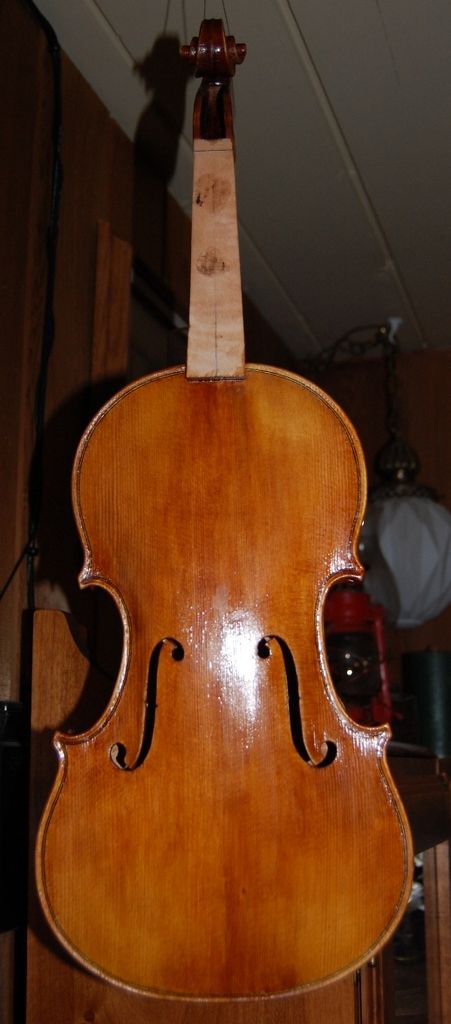
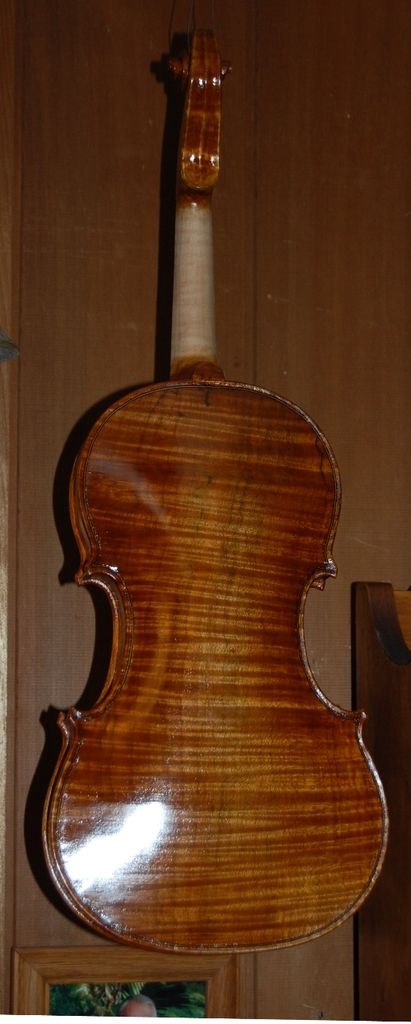
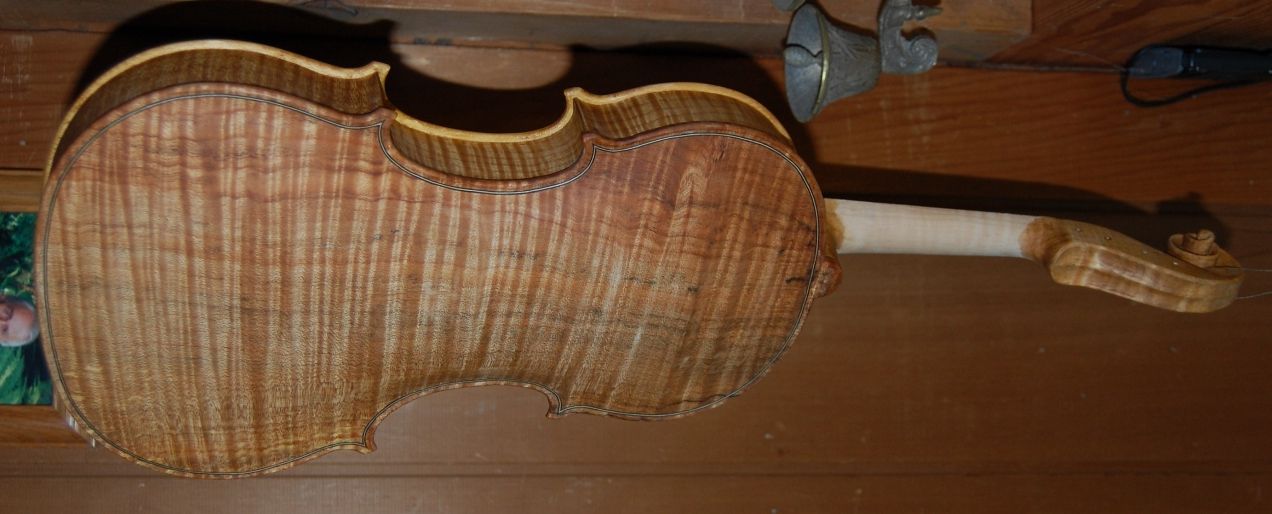
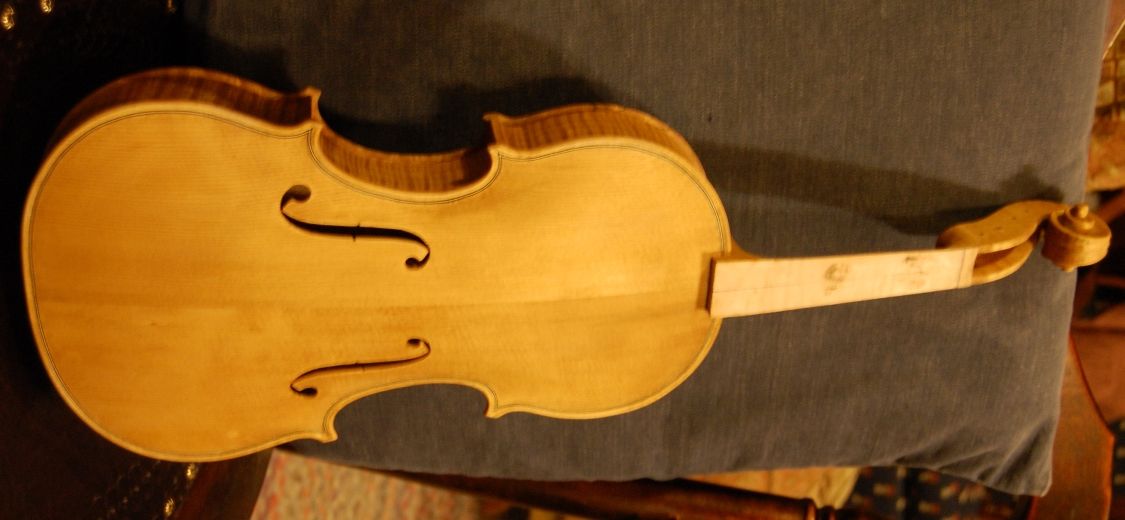
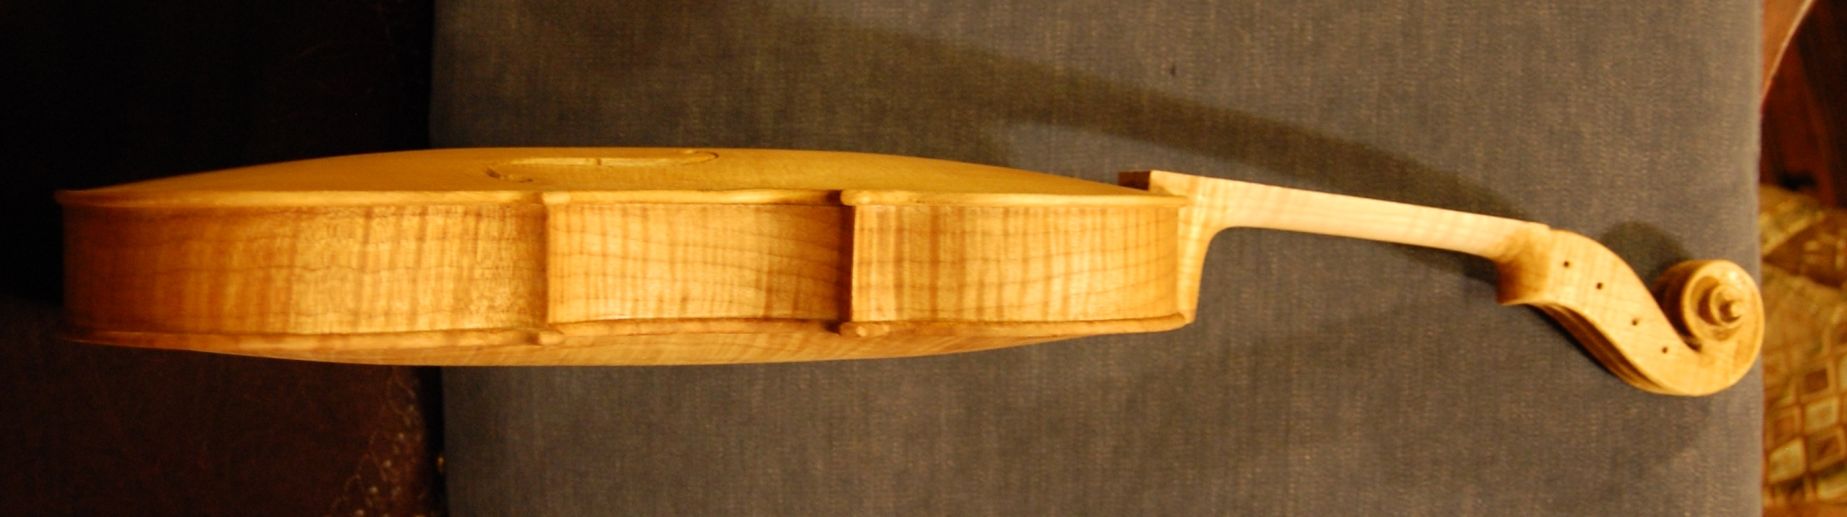
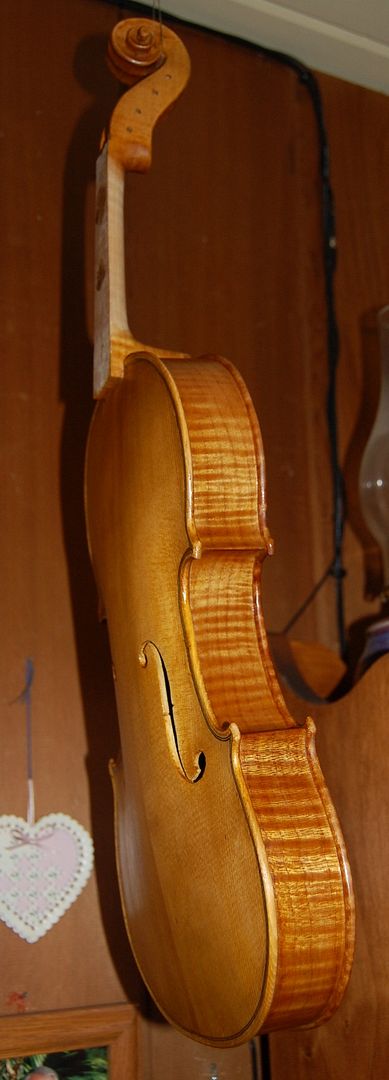
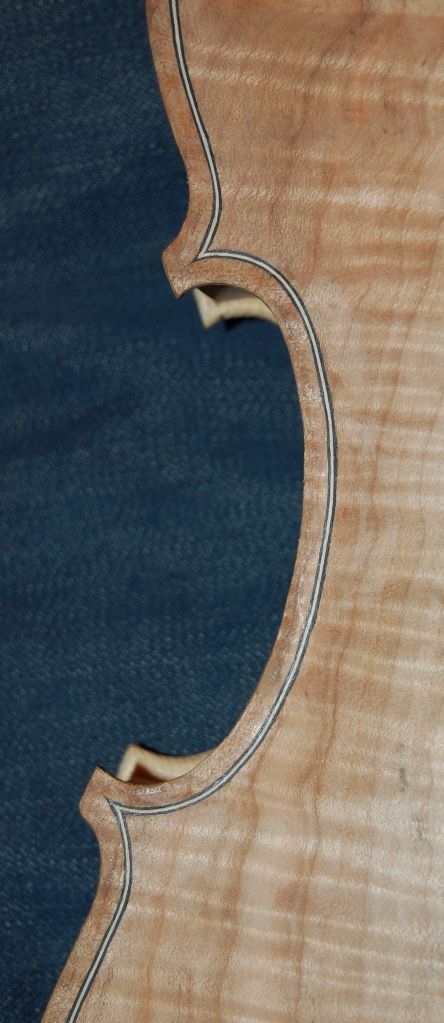
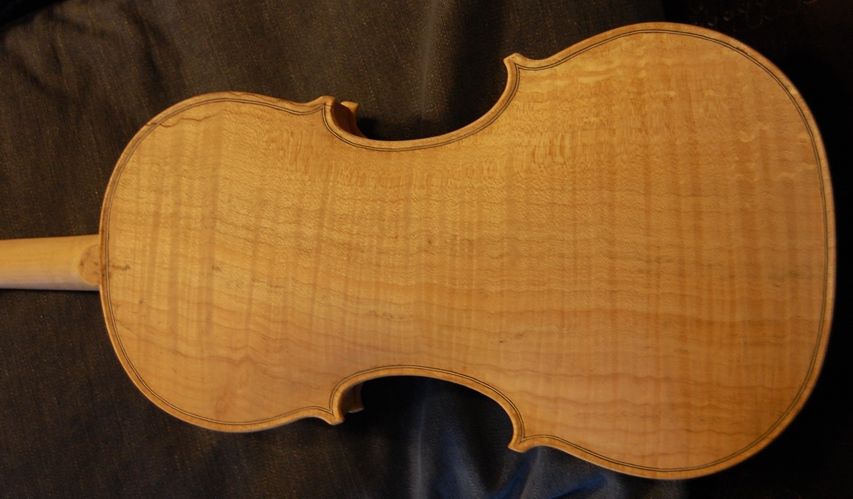
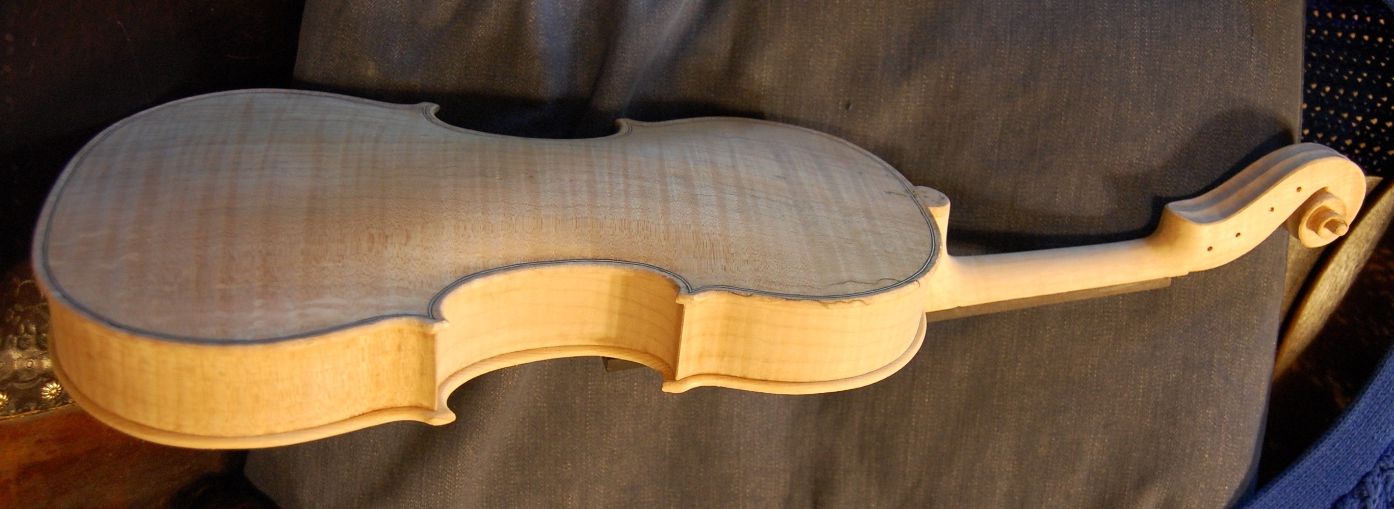
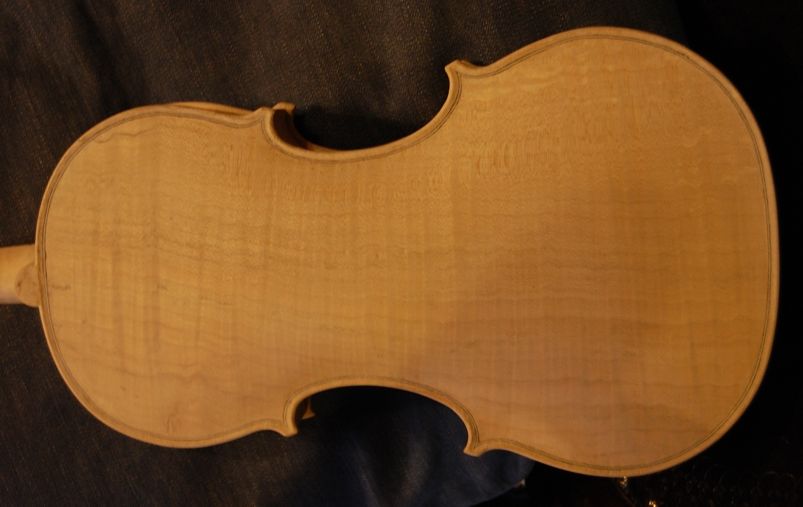
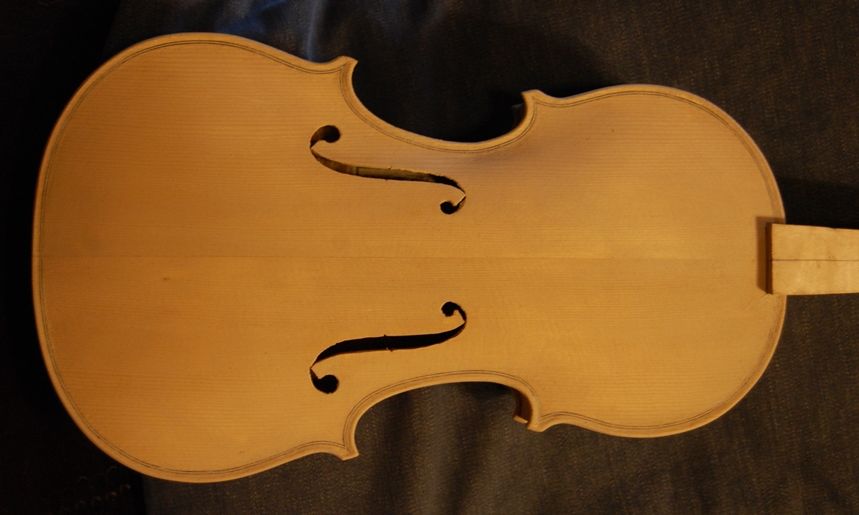
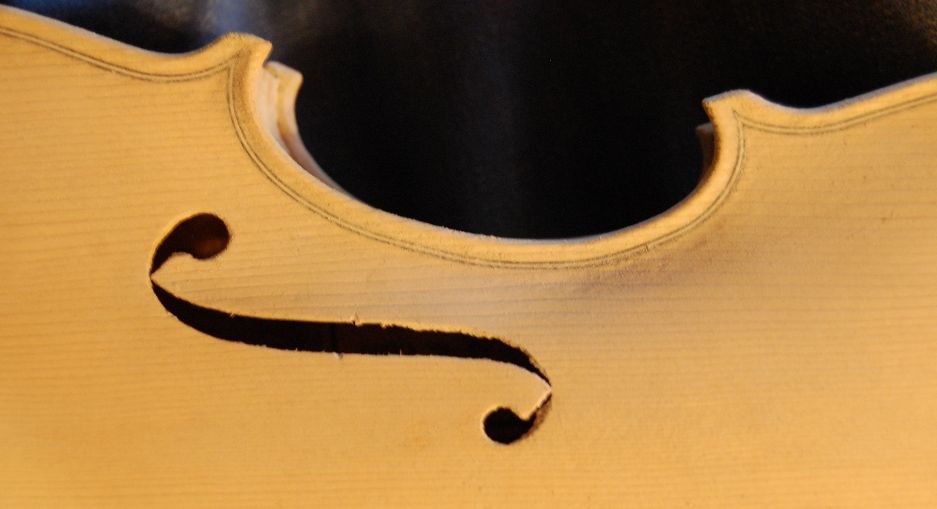
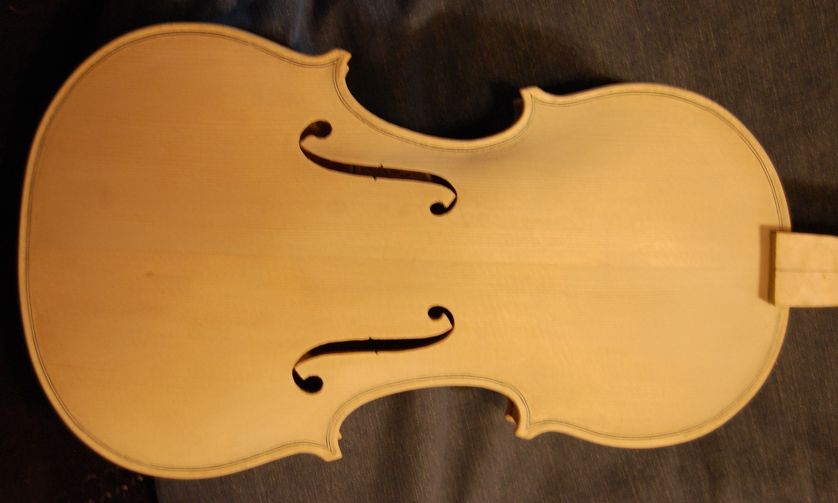
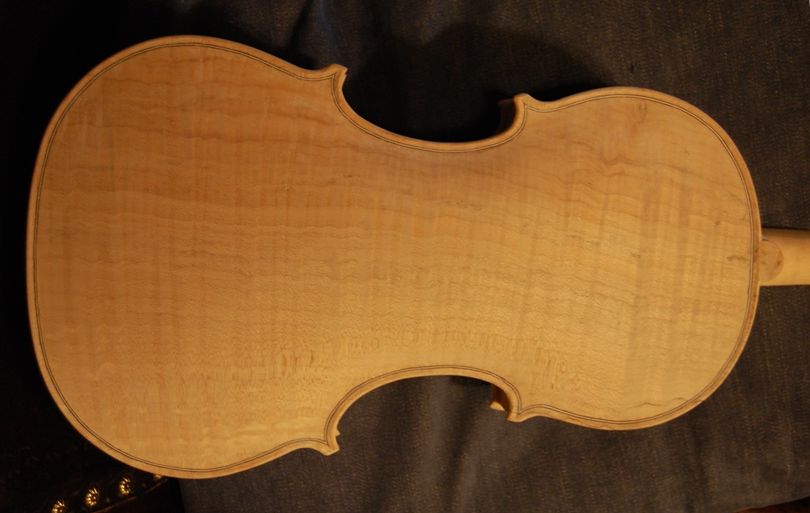
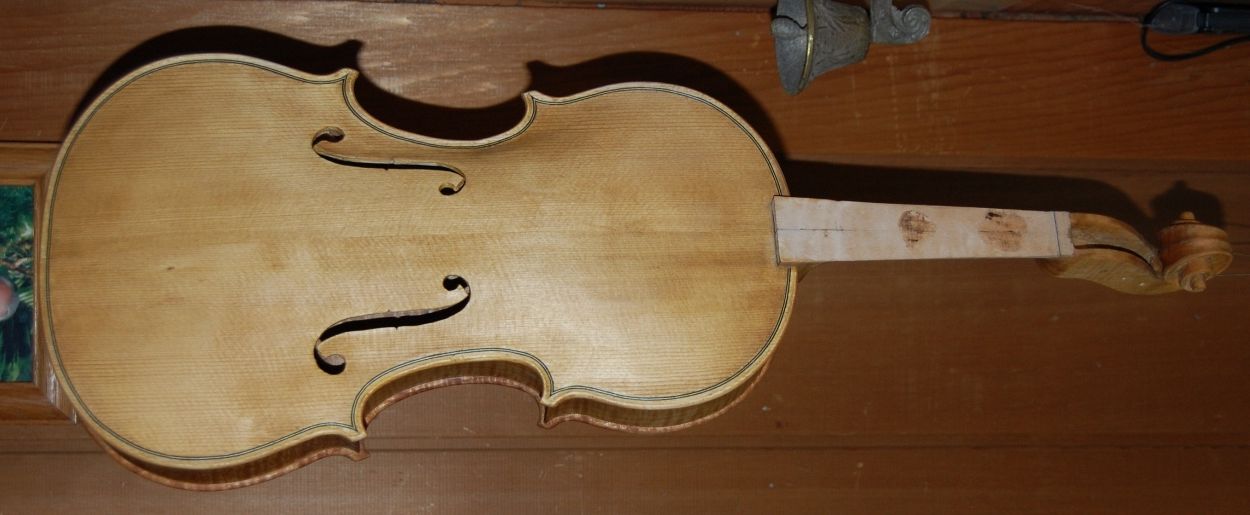
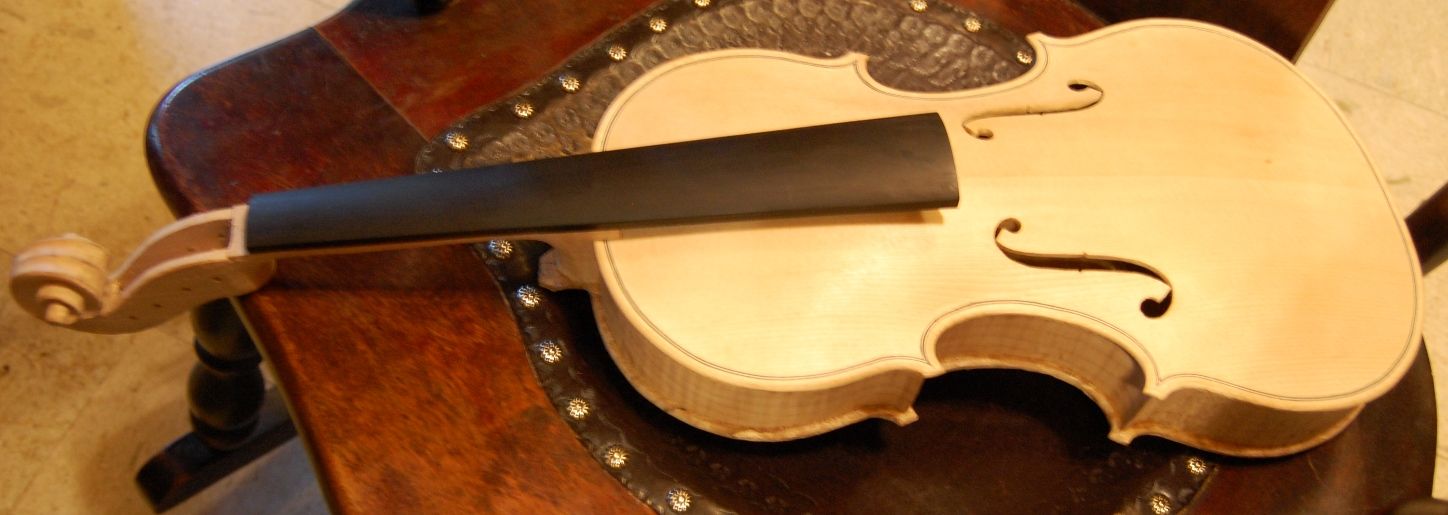
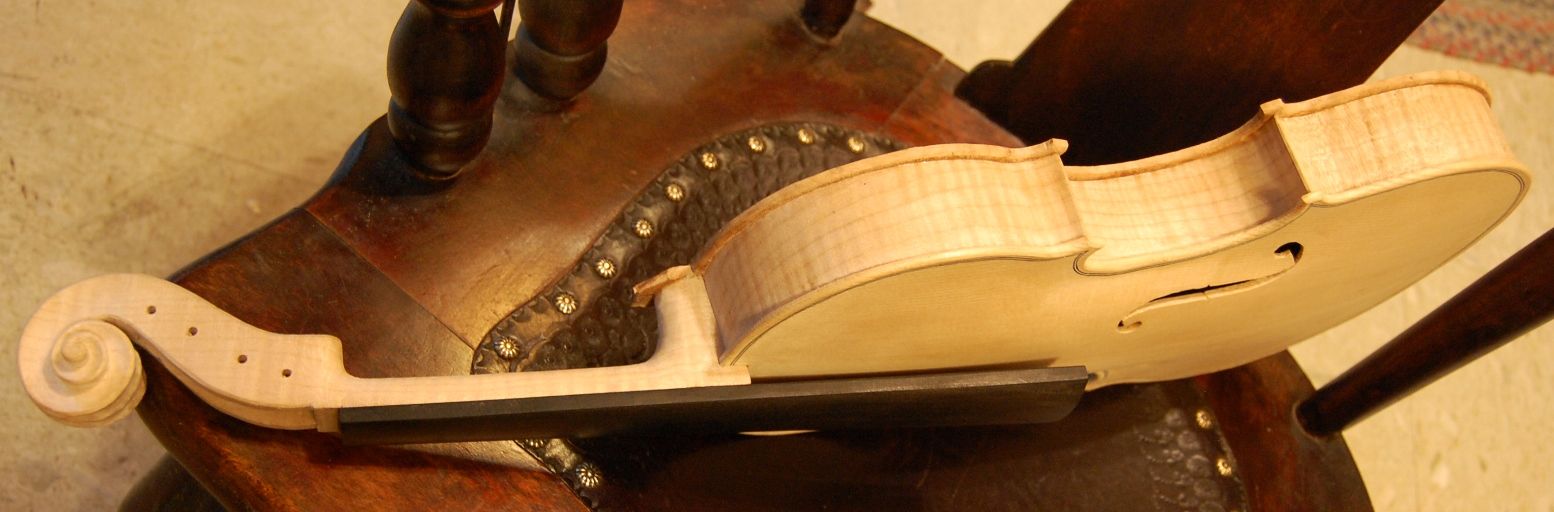
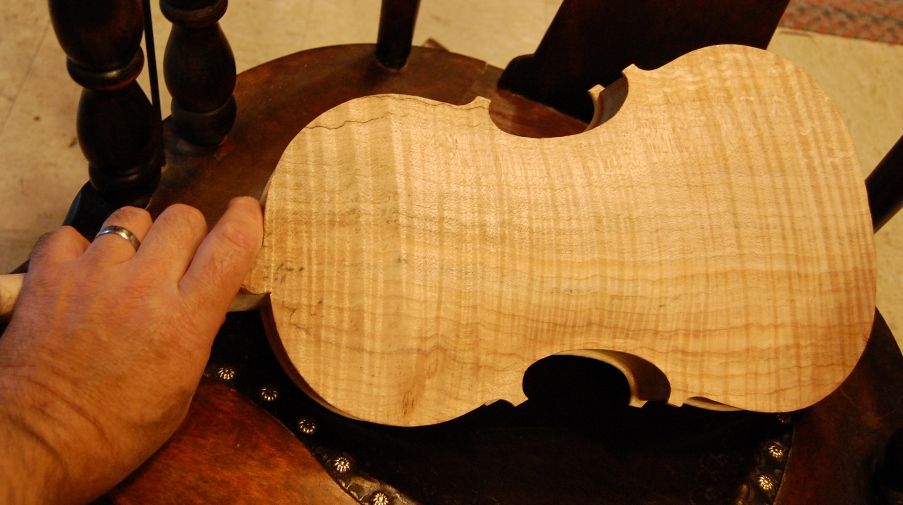
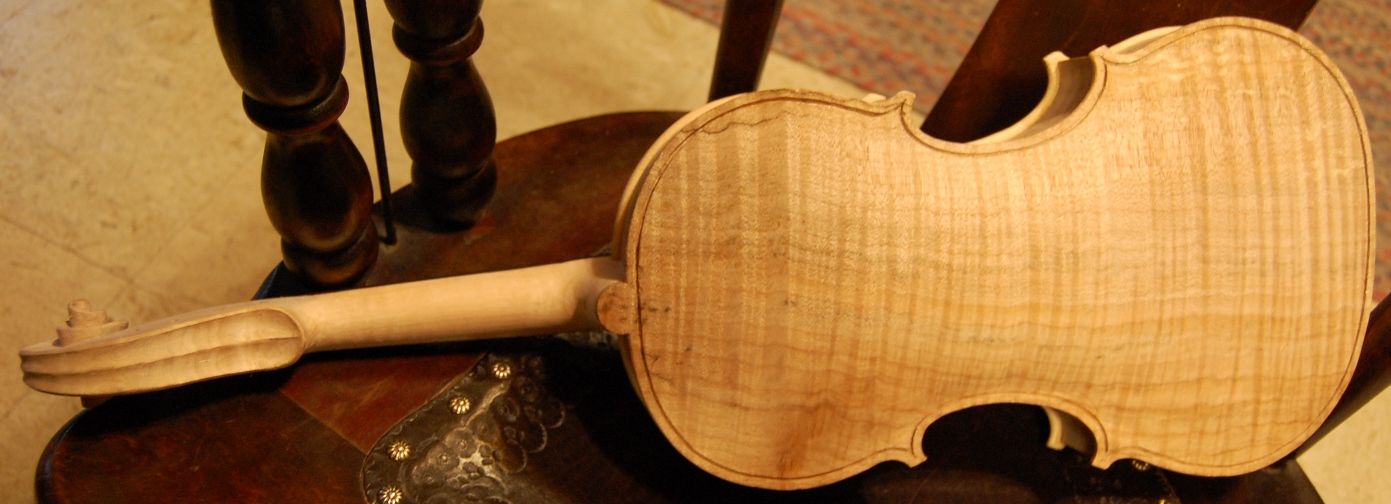
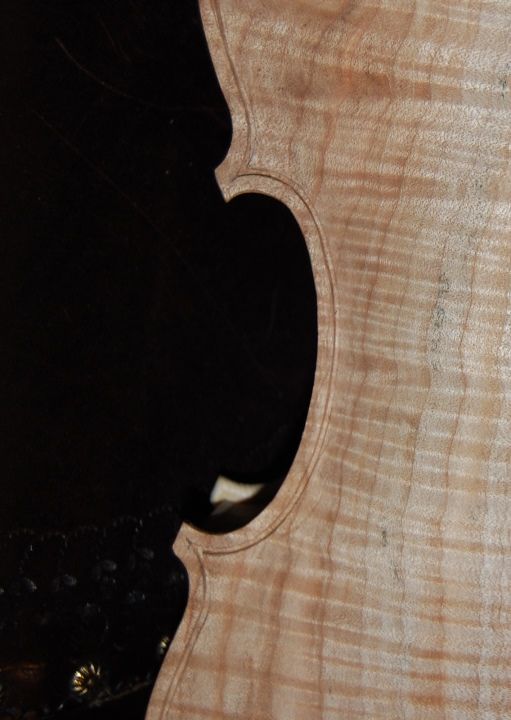
So, I went ahead and cut out those f-holes, using an f-hole “drill” my children bought for me, and an X-acto knife.
F-holes cut out and ready for the bassbar…outside view. They still will require a good deal of refinement.
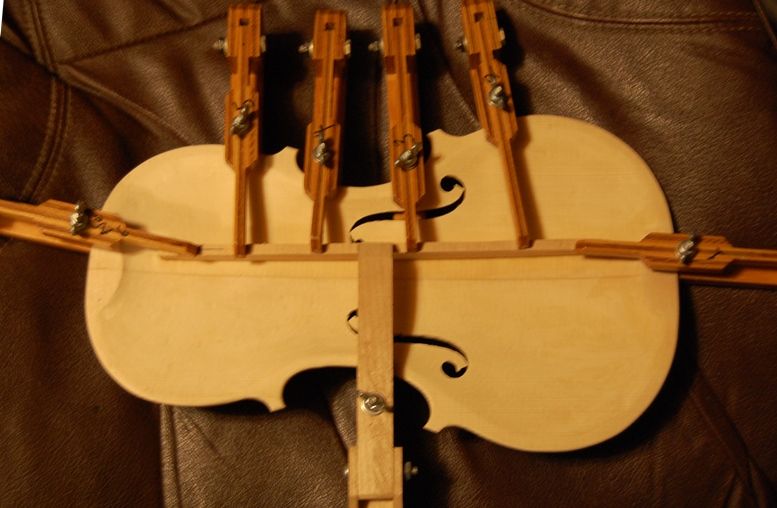
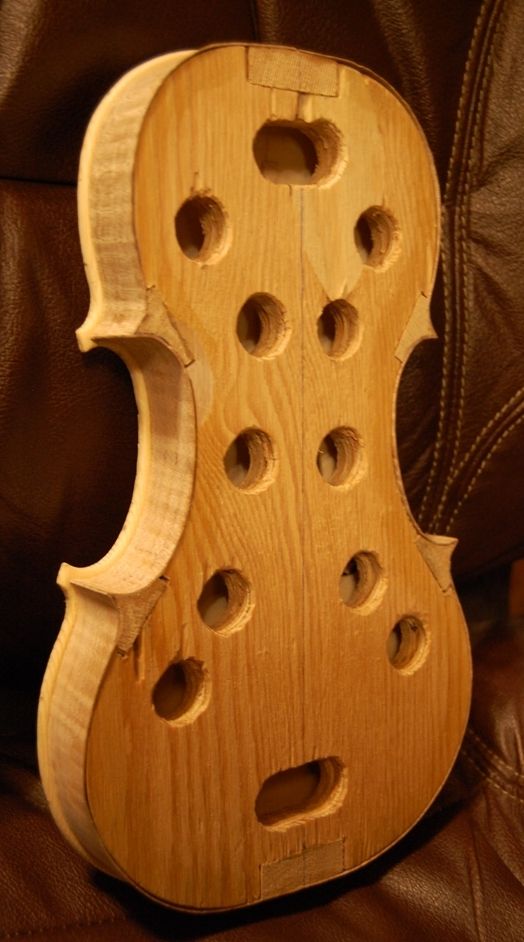
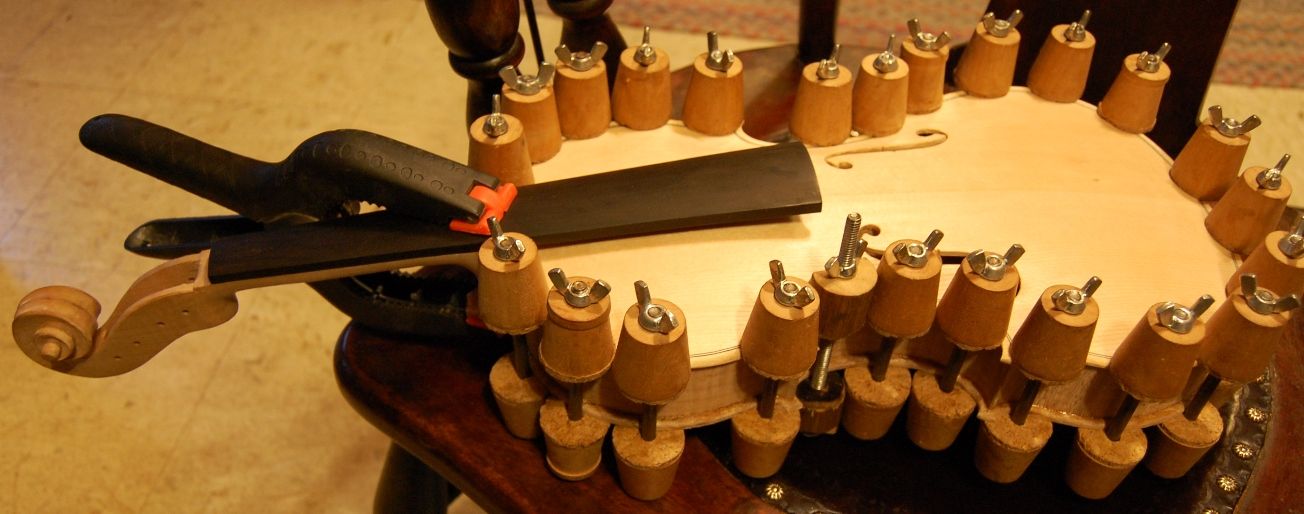
Then I chalk-fit a bassbar blank, and glued it in place, using special clamps made by Jake Jelley, the friend who encouraged me to continue building instruments.
Bassbar blank with clamps. You can see the f-holes cut out…they still need more trimming.
Shaping the Bassbar
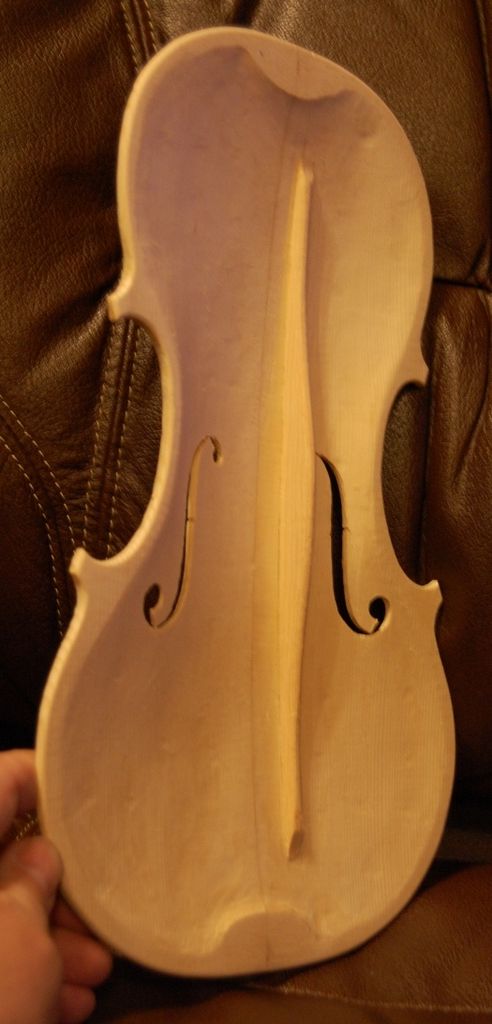
I carved and planed and scraped the bassbar into what I judged to be an appropriate shape for this instrument. Both it and the f-holes will receive a bit more scraping and shaping before they are varnished. The whole instrument, actually, is fair game for tweaking, refining, and perfecting, until the varnishing begins.
F-holes, bassbar and graduations nearly complete. Outer edges have been rounded to approximate their final shape.
Installing the Front Plate
I aligned the front plate as closely as I could with the rib garland, and applied six spool clamps–one for each inner block. Then I loosened one clamp at a time, and, using a thin palette knife, I slipped hot hide glue between the plate and the blocks and linings. I rinsed the edge, overhang and rib quickly with hot water, and wiped it with a rag, then re-tightened the clamp, and added more clamps between that clamp and the next, repeating the procedure untill all the edges and especially all the blocks were securely glued and clamped, and relatively clean.
Front plate installed, using spool clamps. Ann thinks these look like hair-curlers. 🙂
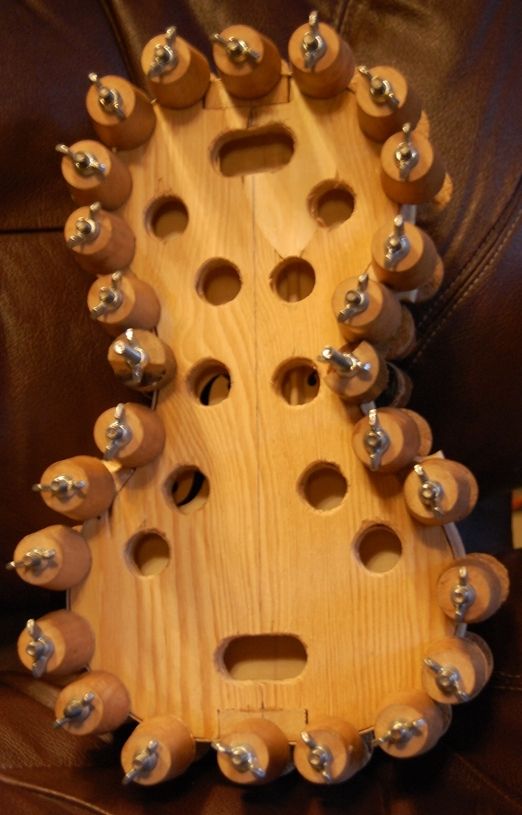
Back view of mold with front plate installed, and spool clamps. The mold will be removed after the neck is set.
Purfling Comes Next
Not everyone does things in the same order. I have had trouble, in the past, getting my edge overhangs even all the way around. If I install the purfling first, then I am locked in, so to speak, and if the overhang is uneven, there is nothing much I can do. But if I purfle after installing the plate, I can take time first to adjust that overhang, using files and scrapers, until I am satisfied that it is the way I want it, and then purfle, following my adjusted edge shape.
Installed front plate, from the mold side, showing the overhang. Notice that there are no back linings, yet.
Purfling laid out and lightly incised. (The shadow is my head– I was too close to the plate.)
The idea at this point is to just deepen the lines a bit, not to try to cut the full depth of the purfling slot. You can see that, in some places, the waste wood begins to pop out on its own. Most will have to be removed using a purfling pick. Here is a closer photo of the incised purfling lines:
Close-up of the incised purfling lines. That corner will still undergo significant shaping and refining.
So…next time, I will show the completed purfling, and the neck-set– I hope. 🙂
Thanks for looking
If you found this post helpful, please share with your friends!
Holidays are a hard time to be Productive. (No excuse; just a fact.)
I took off from work from the 21st of December through the 8th of January, partly because my daughter was going to be in town for that period of time, and partly because I hoped to get some work done at home. However, a couple of days ago (12/29 and 30, 2016) were the first days I had occasion to work (almost) uninterrupted. It was quite a luxury. I had one more such day today (1/2/17), but I have not seemed to have much of my former stamina lately, so I did not accomplish as much as I had hoped. However, I did manage to:
Complete the Red Maple scroll,
Complete (and temporarily install) the Ebony fingerboard,
Complete the neck/fingerboard combination,
Dress the fingerboard (still a little more to do),
Complete the preliminary arching of the European Spruce front plate (still a little more to do, after purfling),
Trim the front linings and shape them, using a knife and scraper,
Layout and incise the f-holes (which facilitated the final correction of the arching), and
Begin the graduation of the front plate (inner arching).
Wood Choices
The back, neck, scroll and ribs are Michigan Red Maple, which I bought from Elon Howe, years ago: really nice stuff. The belly is European spruce, and feels quite crisp under the blade, as well as possessing a very clear bell-like ring, when tapped. It is certainly interesting to observe the differences in how one type of maple or spruce behaves as compared to another.
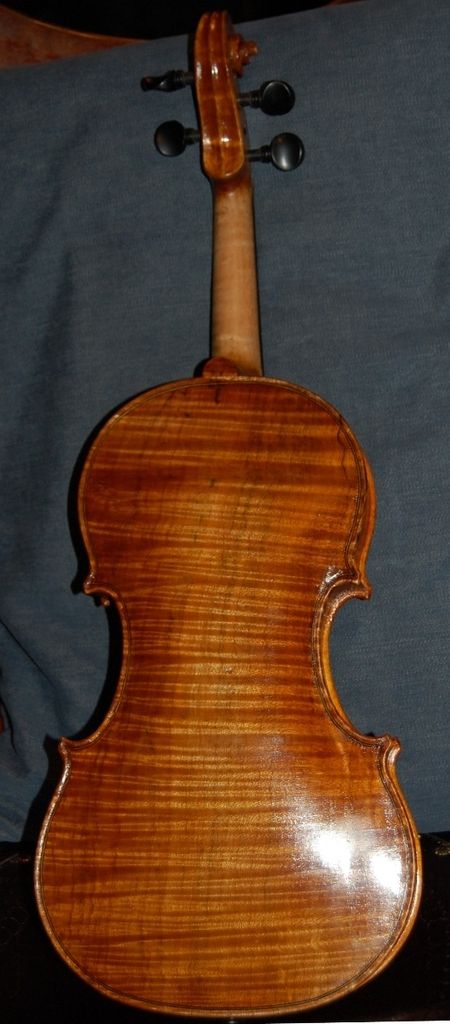
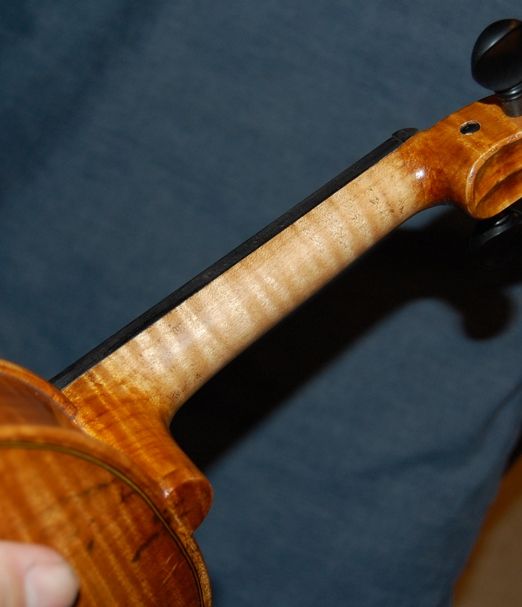
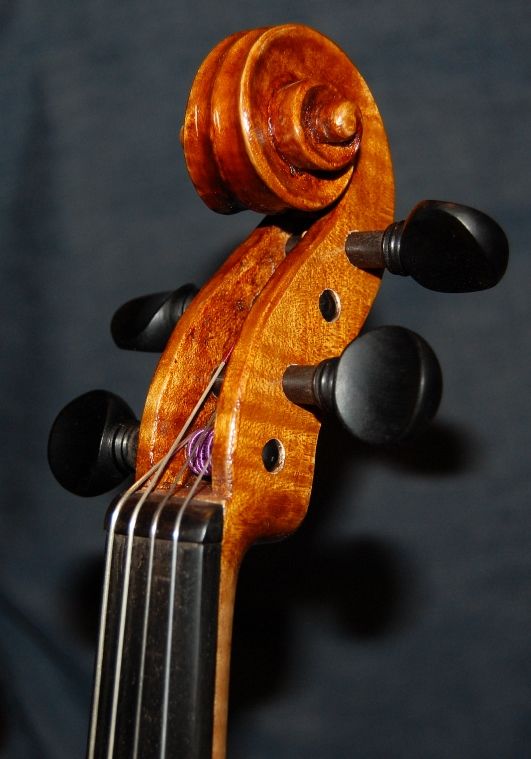
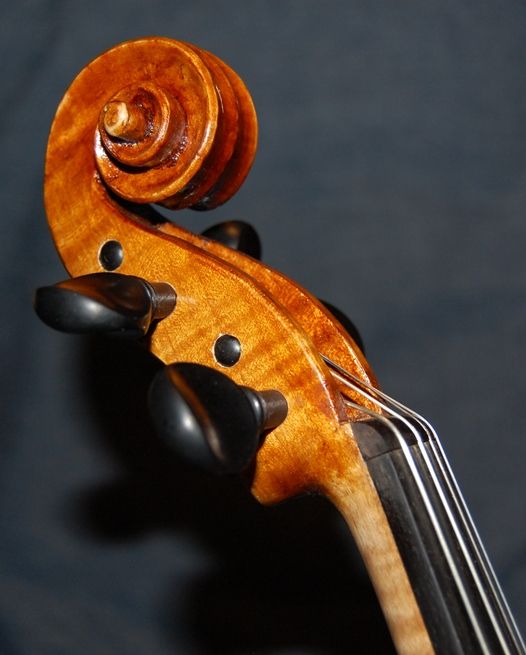
The 3/4-size scroll as of January 2nd.
Arching and f-hole layout.
Beginnings of Graduations
Overall Project Progress as of January 2nd.
Remaining Operations
Next, I hope to complete the graduations, cut out the f-holes, and install the bassbar. Then I will really be “on the home stretch”…or I will feel that way at least. I can install the front plate either before or after purfling it, then set the neck and remove the mold.
After that, I will install the back linings, shape them and the blocks, and complete the back plate.
Potential for Trouble
I accidentally left my gluepot turned on a couple of nights ago. Fortunately, all I lost was the glue. No damage to the pot or the glue jar, and no collateral damage. I’m still sort of kicking myself, though…it is a potentially dangerous mistake. My glue warmer only gets to about 145 or 150 degrees Fahrenheit, so there isn’t musch danger of a fire, but still….
I guess if that is my worst mishap for this violin, I will be doing well. No major setbacks, and no injuries, so far. (It doesn’t happen often, but when one works with razor-sharp hand-tools often enough, it is easy to have a “senior moment”, and nick oneself. Gotta be careful.) I have heard horror stories of serious injuries from other luthiers. So far, I have only needed stitches once, from a “slip” when carving the scroll to my #20 instrument, if I remember correctly. 🙂
Other Projects
During one of the several “hiatus occasions”, during the last two weeks, my wife and I built and installed a storm window in the utility room (we are expecting very cold weather, soon), and we hung curtains, too, among other things. Lots of visiting with family members and friends, of course. I did make a bentwood box for my daughter, too, but I already told about that project, of course. 🙂
As I said, holidays are not an easy time to get a lot of work done. But we keep trying. 🙂
Thanks for looking.
If you found this post helpful, please share with your friends!
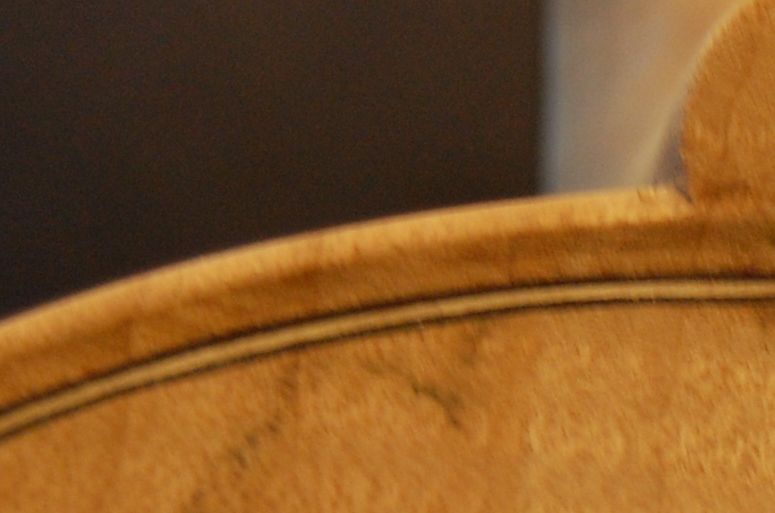
These two violas never had their photos shown, though both have been played by professionals; sometimes in public recitals. I was just starting to put together a website at the time, and had no clue about a weblog, as that was not much of a “thing” back then. When I built this site, I came to realize that it was in fact, a weblog, and that I should be entering posts on a semi-regular basis. So I began to do so.
But, the other day, when I was trying to update the “Chronology” page, I realized that one instrument was completely missing (The Forgotten Violin), while a few others had very poor pictures, or none at all.
So: this post will be an effort to remedy that condition.
My First Really Small Viola (14″):
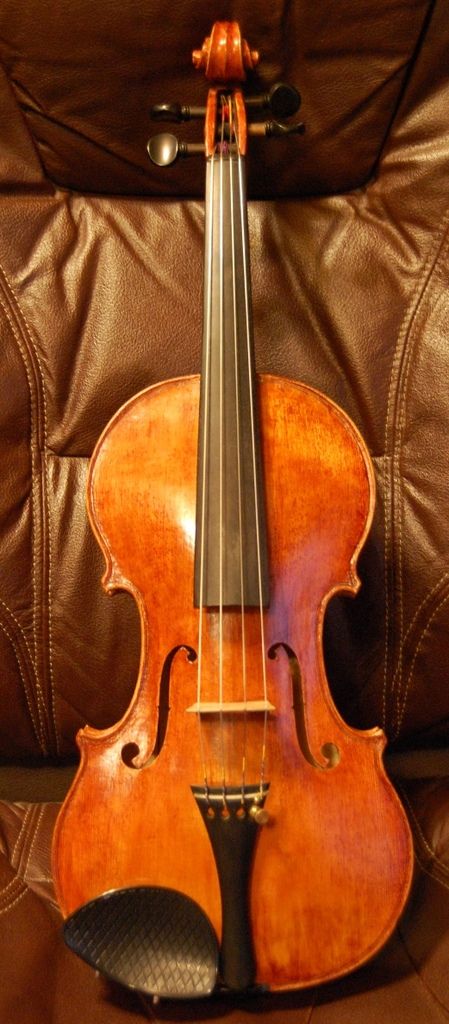
My #5 instrument was actually intended to be a violin, modelled after the 1728 “Milanollo” Stradivari violin. But I was pretty ignorant about arching, and did not follow the arching of the original instrument at all, but bulged it outward, allowing the arching to rise almost directly from the purfling, with very limited “recurve.” I thought I was increasing inside air volume and thereby increasing the size of the resonating cavity, and (hopefully) increasing the sound output of the violin. In fact the results were very perplexing: every person who played it, and who knew anything about how violins were supposed to sound, got an odd look on his or her face, and said, “This sounds like a viola!” I was too ignorant to understand what they meant, so I was puzzled and frustrated, thinking, “It is the size of a violin, the shape of a violin, and it is strung with violin strings…and tuned to violin frequencies! How can it sound like a viola??” But they were right: there is a difference in the sound, just as there is a difference between most men’s voices, and most women’s voices. Much later, I learned more about the physical differences between violins and violas, and even learned to hear some of the difference in timbre. I realized that I had simply, inadvertently built a 14″ viola. So, despite the label inside that proudly says it is a violin, it really is a viola…and sounds like one. So I re-strung it with viola strings, and it turned out to be an astonishingly good viola for its size.
It still has a lot of “marks of the beginner”, in terms of workmanship, but it plays quite well, and, the reason it looks like the work of a beginner is simply… that it is.
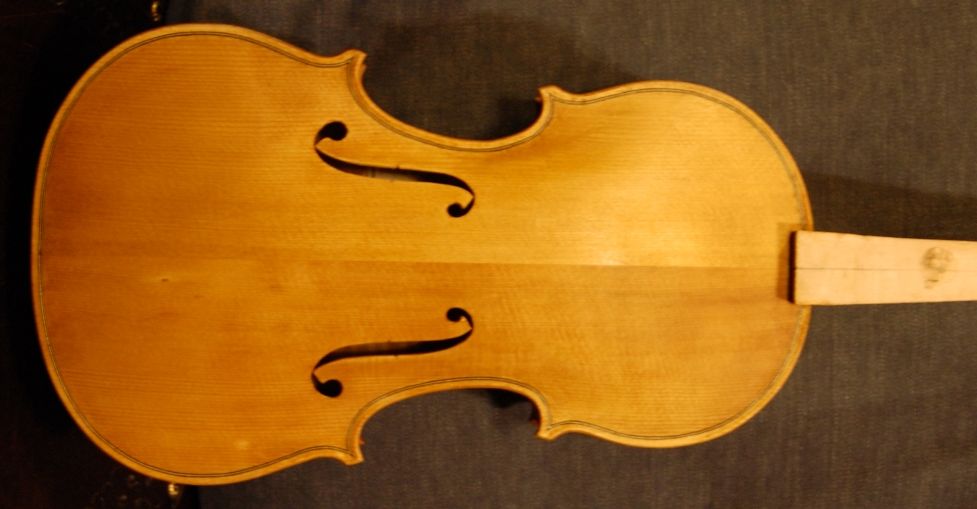
My first very small viola (14″)
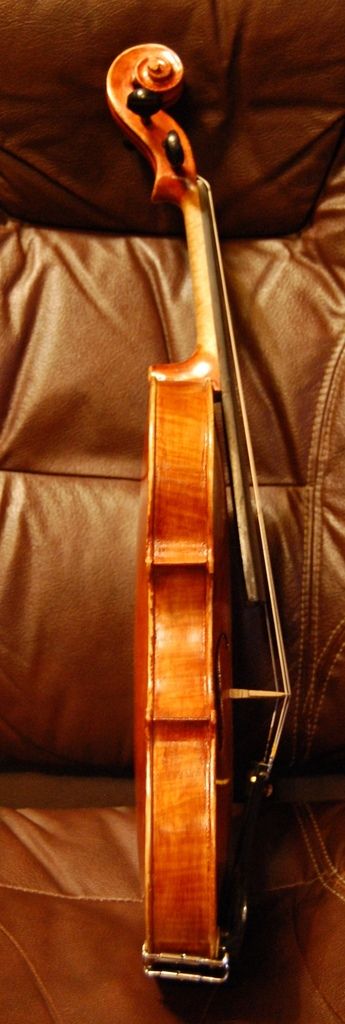
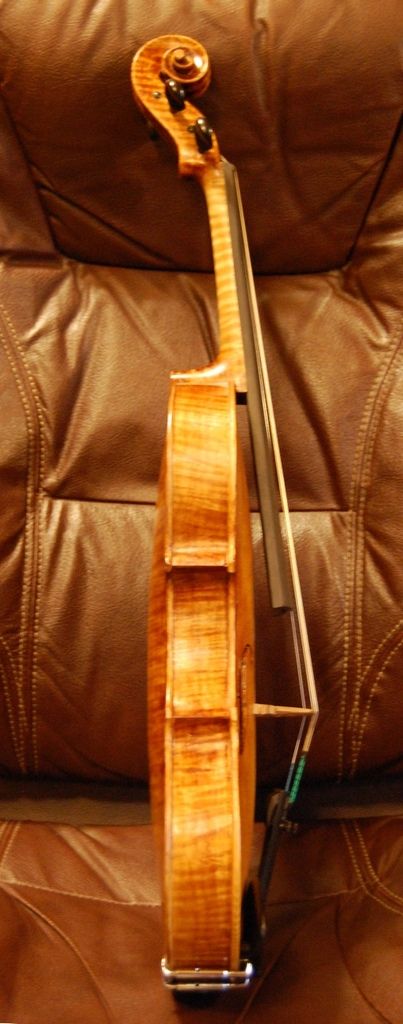
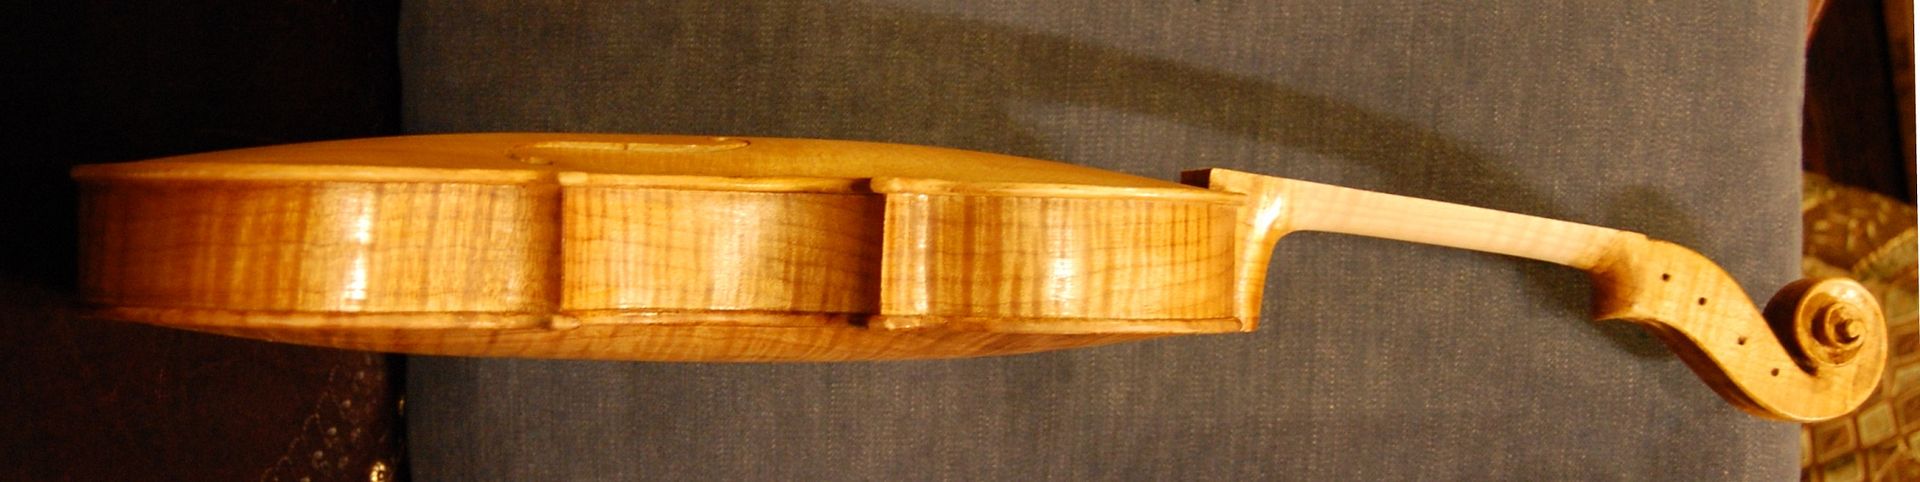
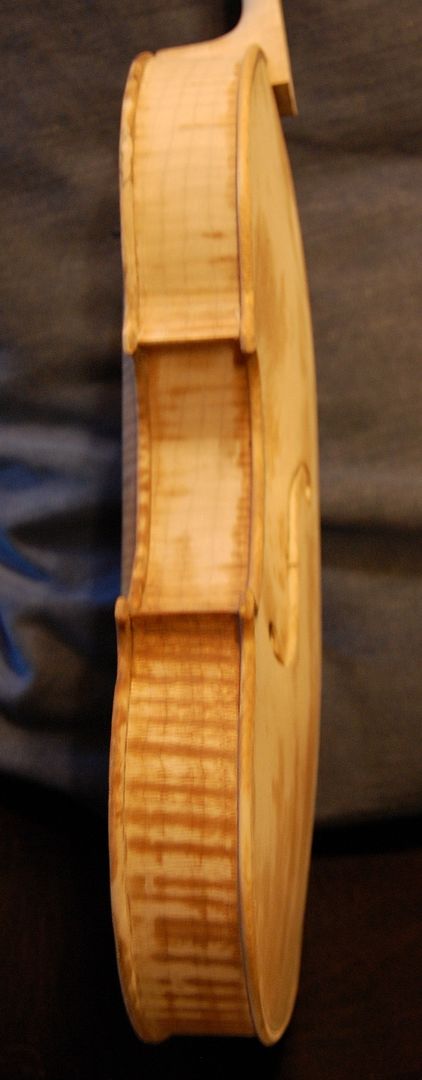
14″ Viola side view
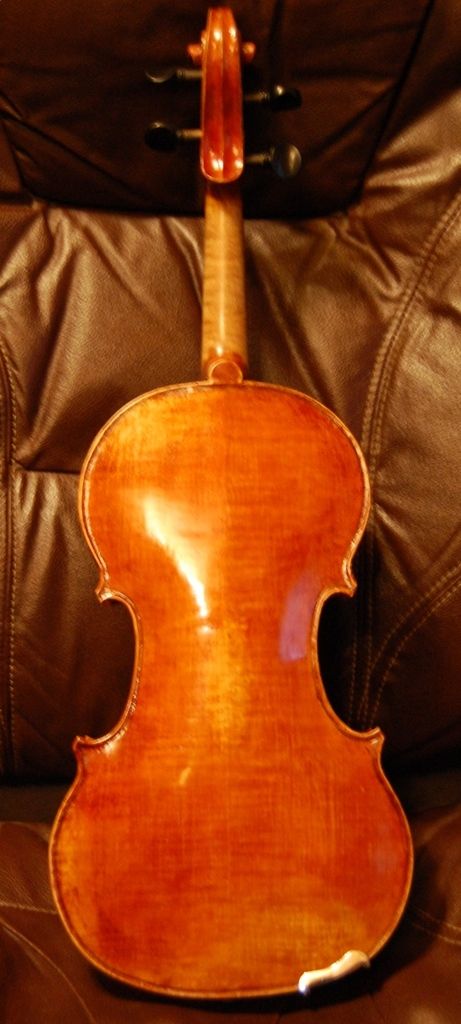
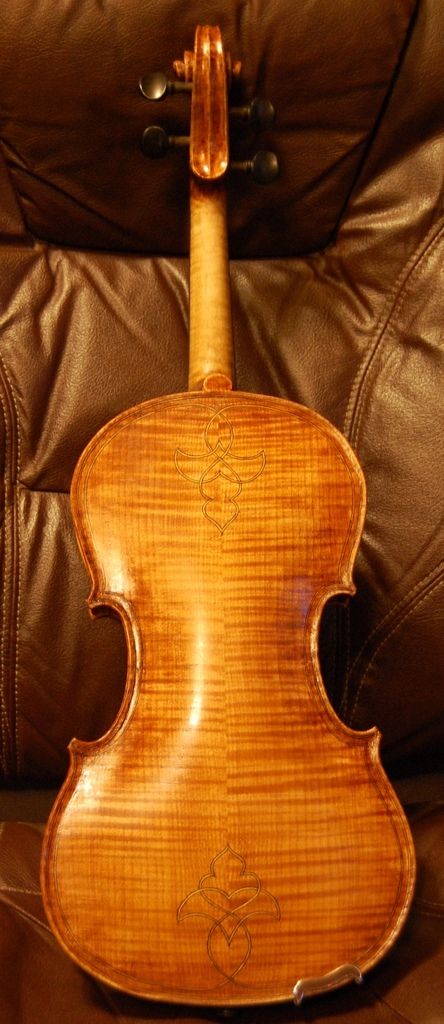
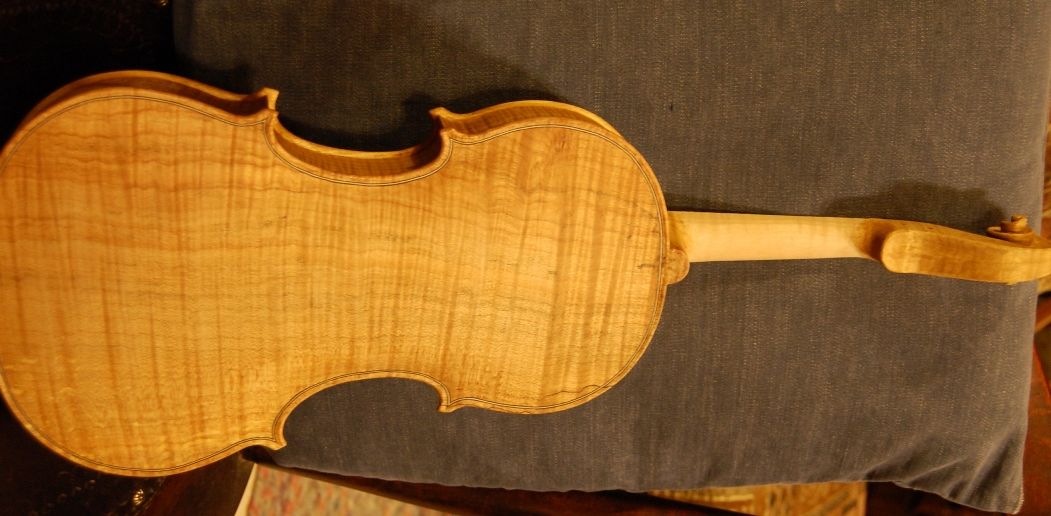
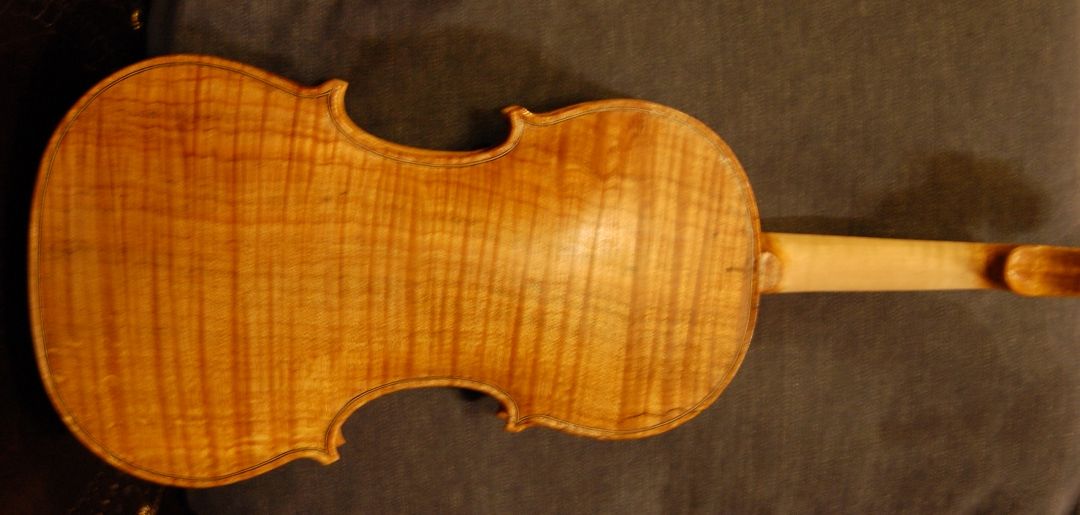
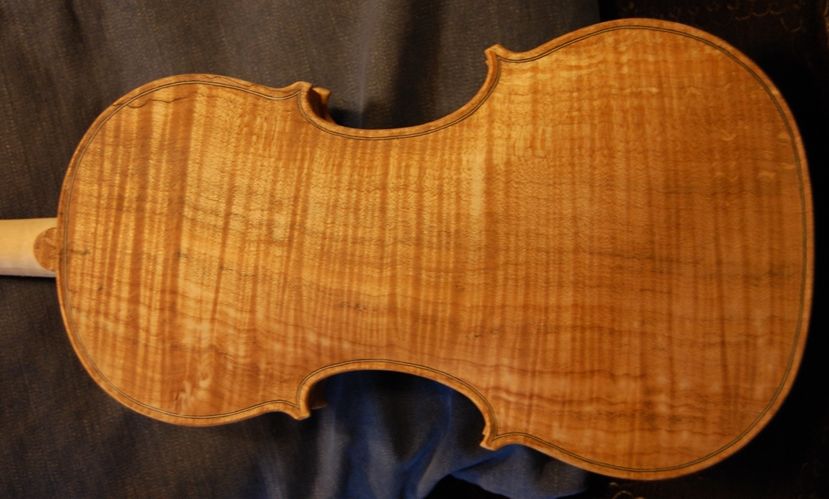
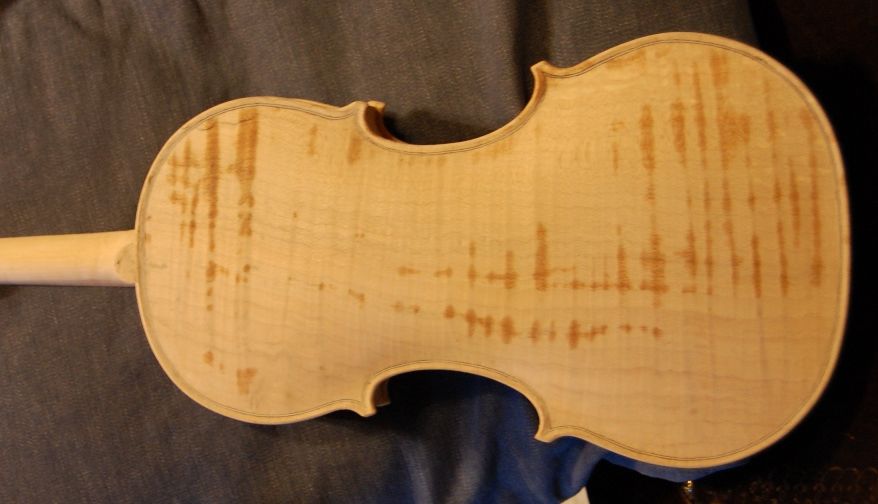
14″ Viola Back
I made the little Viola from “European Maple and Spruce” that I bought on the internet, so I have no idea of the Country of Origin, nor even a way to find out, since back then I was buying on eBay, not from a reputable source (ignorance again…). The few professionals who have played this instruments were really surprised at its open, easy responsiveness and power.
A 14-7/8″ Viola–The “Brian”
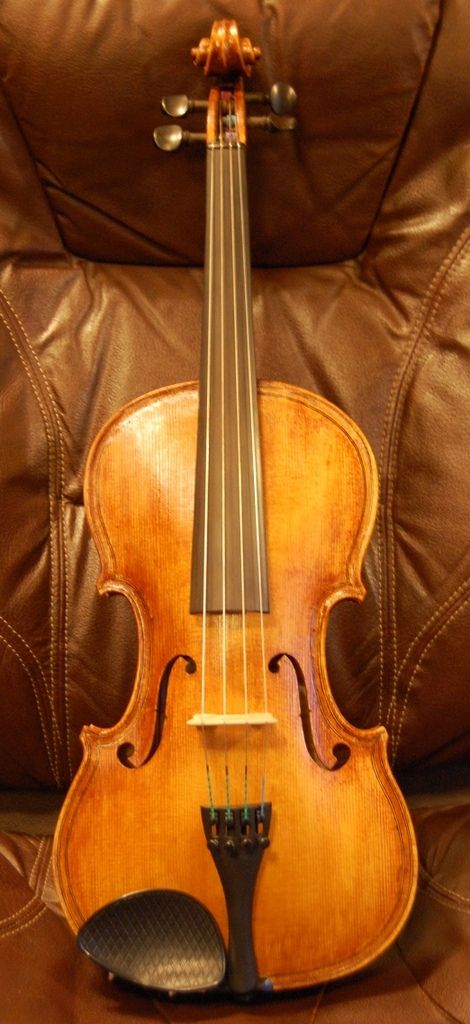
This is my third small Viola, and the second from this mold. It is the same mold as the first instrument I ever made, a viola for my son, Brian, hence the name of the mold. All the violins off this mold bear the label of “Brian”. When I began this viola, I was helping a young man by coaching him through his first instrument, a 15-1/2″ viola modelled after the 1580 Gasparo da Salo “Kievman” viola. It had a charming purfling weave on the back plate, and double purfling, which I liked, so I decided to incorporate those two features into my viola that I was building while he worked on his own. (As it turned out, he took an exceedingly long time to complete his instrument, while I pressed on and completed mine the next summer. His turned out very nicely, by the way.)
The viola took a little while to “wake up”, so to speak: The lower frequency notes were a little flabby, at first, but with continued playing, and soundpost adjustments, it opened up very well, and is a easy-to-play, good-sounding viola today.
So, here is the Brian viola:
14-7/8″ Brian Viola
14-7/8″ Brian Viola Side
14-7/8″ Brian Viola Back
The wood for this instrument is Big Leaf Maple and Englemann Spruce, both from John Tepper, at Tepper Tonewoods.
I updated the “Chronology” page, and added the photos that were missing, there, as well as here.
Thanks for looking.
If you found this post helpful, please share with your friends!
Fractional-sized Instruments (Rationale and progress report: pictures below.)
Most luthiers will not invest time in fractional sized instruments, on the (usually correct) assumption that the player using a fractional sized instrument is a child, and will soon outgrow the instrument, so the parent or guardian (person footing the bill) will not be willing to pay for a professionally built instrument, knowing that in a few months or a few years, the child will need a full-sized instrument.
That is valid thinking, and completely understandable. But there are two (fairly rare) exceptions:
The virtuoso player, 10-12 years old who is physically not able to handle a full-sized instrument, but whose skills already exceed the capabilities of most factory-made instruments.
The adult player with very small hands, and/or upper body mass, for whom a full-size instrument is uncomfortable, but for whom a superior 3/4-sized instrument (for example) would be ideal.
It is not terribly difficult to surpass the quality of most factory made instruments, but people usually don’t want to pay the price of a full-size instrument to buy a fractional size of the same quality, by the same maker. That is not a logical response, because:
The materials cost exactly the same, and
The labor involved is nearly exactly the same.
There may be a few hours less labor to make a fractional sized instrument, but the difference is very slight, and the financial risk in building such an instrument on speculation is much greater because the market is so small.
So…What’s a Luthier to Do?
In my case, I intend to go ahead and make them, and see whether they sell. There must be a few players out there who need (or at least prefer) a good 3/4-size violin, but have trouble finding one. I have a friend who makes a few, knowing that usually the targeted customer will be the child-prodigy player, so he only charges 1/2 the price of his full-sized violins, with the provision that if they bring the fractional size violin back, he will give 100% credit toward the purchase of a full-size instrument. That seems to be a good idea, too.
Earlier this year, at a show I regularly attend (Marlyhurst University Musical Instrument Show), an adult player came looking for a 3/4-sized violin. I did not have one in hand, and she would not give me her contact information, so I could not let her know that one is on the way. I can only hope she turns up at the show again next year. Perhaps she will.
But: that experience alerted me to the fact that there is at least a small demand for such instruments. A “niche-market” perhaps.
Simultaneously, there were several violists who came through and were amazed at the volume and tone quality of a tiny (14-inch) viola I exhibited this year. So, I think there really is a market for smaller instruments, provided they give good response.
I just completed another (better) 14-inch viola (see previous posts), so I hope to arm myself with the fractional violin, the small viola, as well as my usual standard-sized instruments, and then start visiting local teachers, so that they can see what it is I produce.
The Beginning (Progress report for the 3/4-size violin)
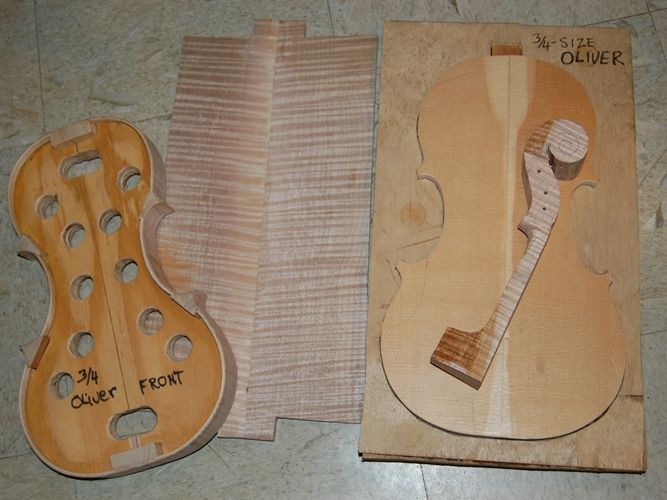
I began this fractional-size violin a few months ago, but I have been swamped with other responsibilities, so it has hardly progressed at all.
The ribs are bent and installed,
The front linings are installed, and
The garland has been leveled.
The back plate has been book-matched, but not cut to shape.
The front plate has been cut to shape, and
The work-cradle is complete, to hold the plates securely while I carve the arching (outside) and graduations (inside.)
The neck block has been roughly cut out, but not carved.
We’ll see how it goes from this point forward. I still have a lot of other things going. (Home repairs and remodels, repairs for customers, etc.)
3/4 size garland on mold with linings, back plate, front plate in work cradle, and rough-cut neck.
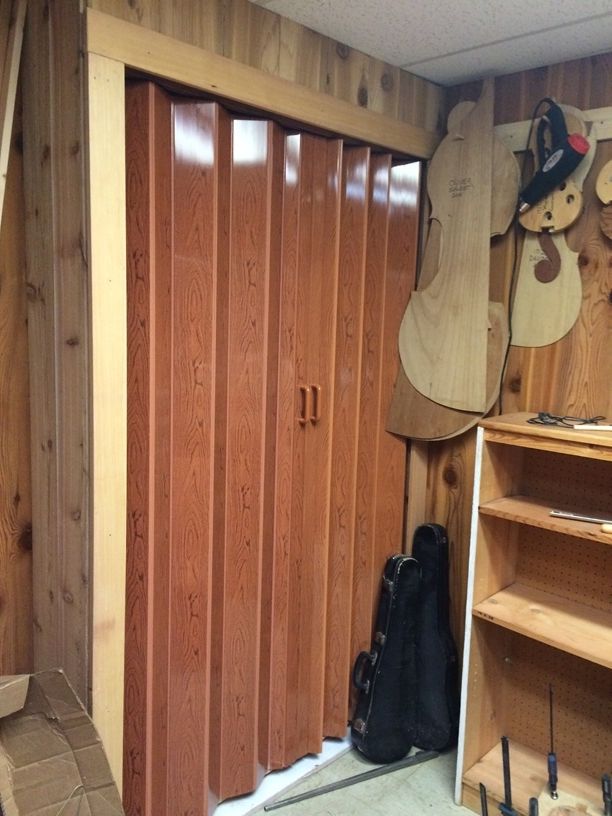
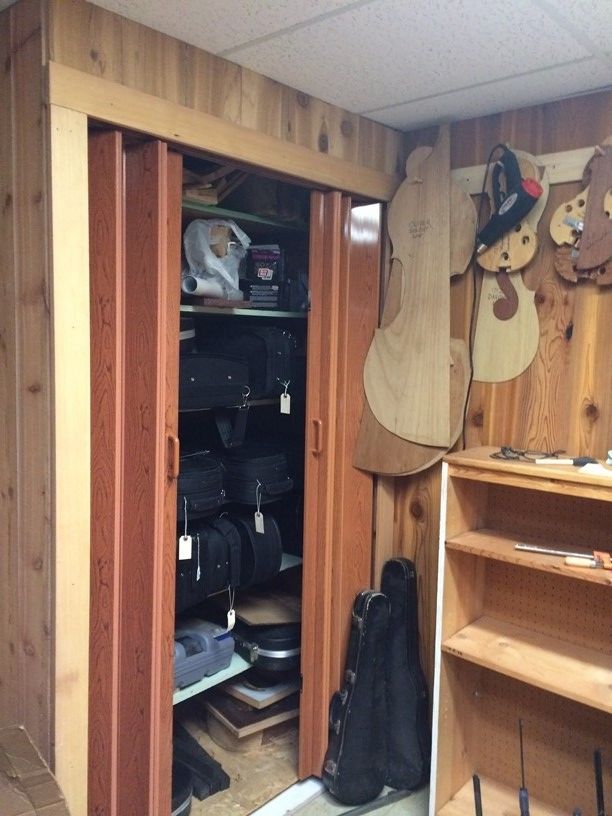
I didbuild a closet to hold my completed instruments, all in cases. 🙂
The closet is 39″ deep by 53″ wide and 90″ tall; it would hold nearly 50 cases, if that is all I store there.
Obviously, instruments are not the only things stored in the closet: patterns, plans, tools, and wood, etc., are there as well.
That makes the room more usable, and it gets the instruments up off the floor. 🙂
Thanks for looking.
If you found this post helpful, please share with your friends!
Set-up can include a fairly wide range of things not related to the actual building of the instrument:
Dressing the fingerboard
Adjusting the string-height at the nut
Fitting the bridge
Fitting and adjusting the sound-post
Fitting (or lubricating) new tuning pegs
Installing strings, tailpiece and chinrest
Final adjustments for sound and playability
Height of strings above the end of the fingerboard
Balance of tone across the strings (adjusted at the soundpost)
Usually the instrument already has the fingerboard and saddle when “set-up” begins.
This Instrument
In this particular case, I had already installed, but not dressed the fingerboard, so I still had to:
Dress the fingerboard,
Install and finish the tuning pegs,
Drill the holes in the tuning pegs for the strings,
Fit and install the nut
Cut the slots in the nut, to receive the strings,
Drill and ream the hole for the end button, and fit the end button
Fit the soundpost, to a preliminary position,
Fit the bridge and adjust it for height,
Install the tailpiece, strings and chinrest.
Perform any “final touches”, to repair small varnish flaws, etc.
I have been swamped with other responsibilities, so, this time, I made no effort to record the process as it was being done. If anyone is interested, one can search the archived articles on this site, to see photo-essays of set-ups. Here is the completed instrument, from various views:
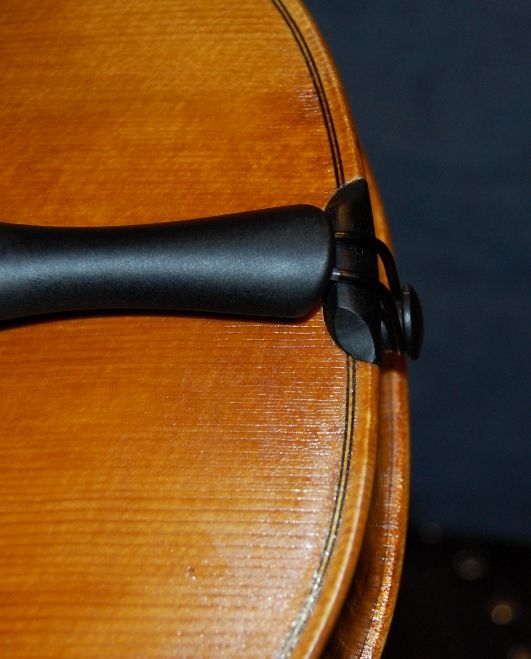
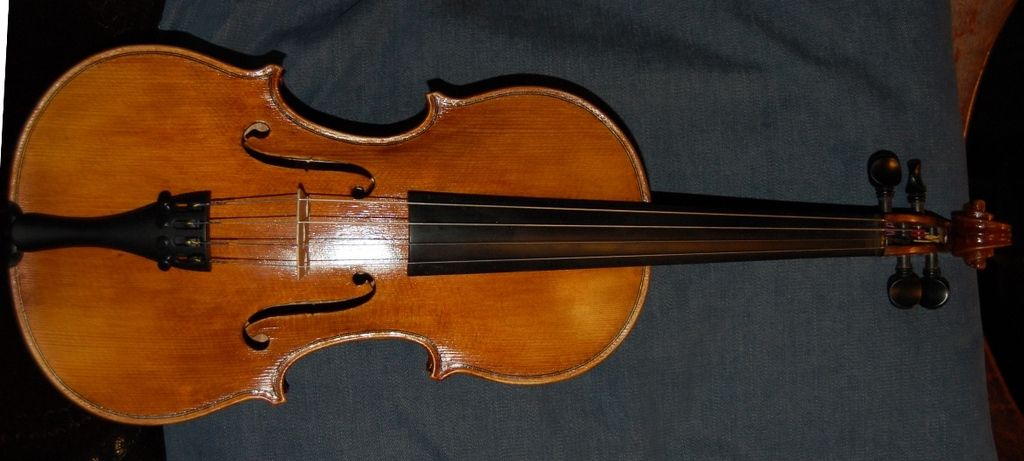
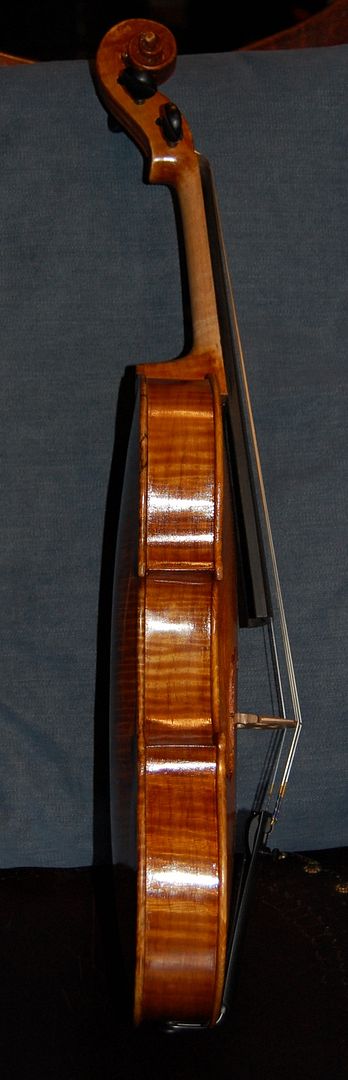
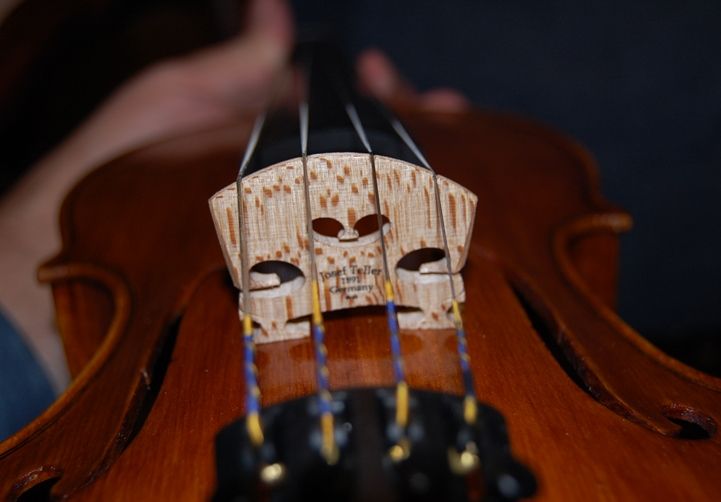
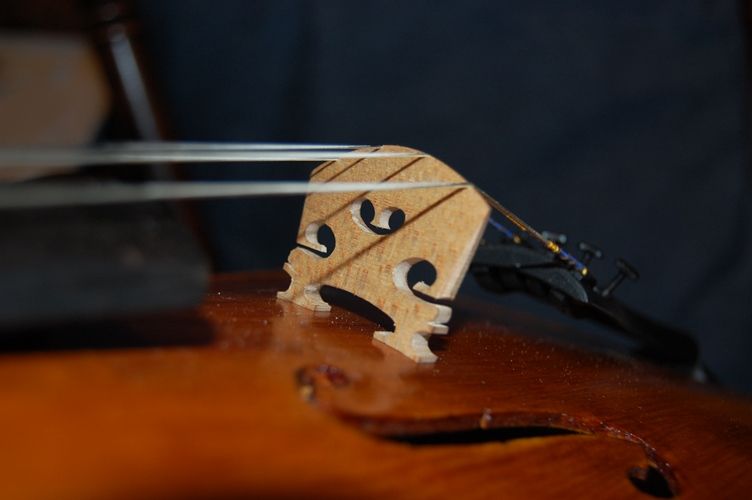
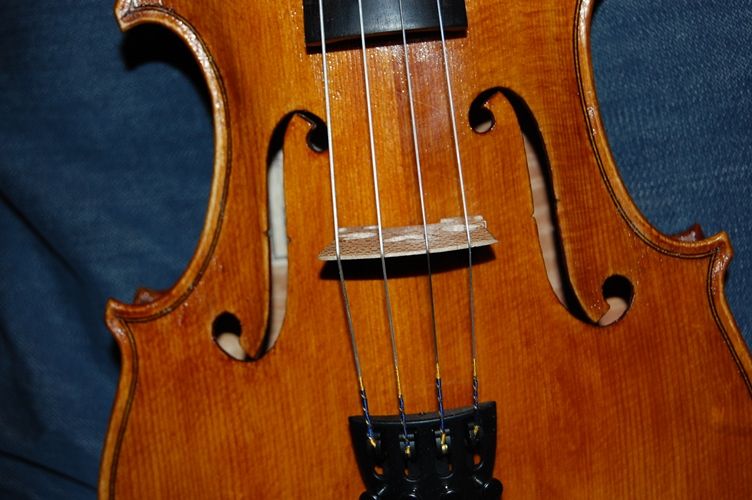
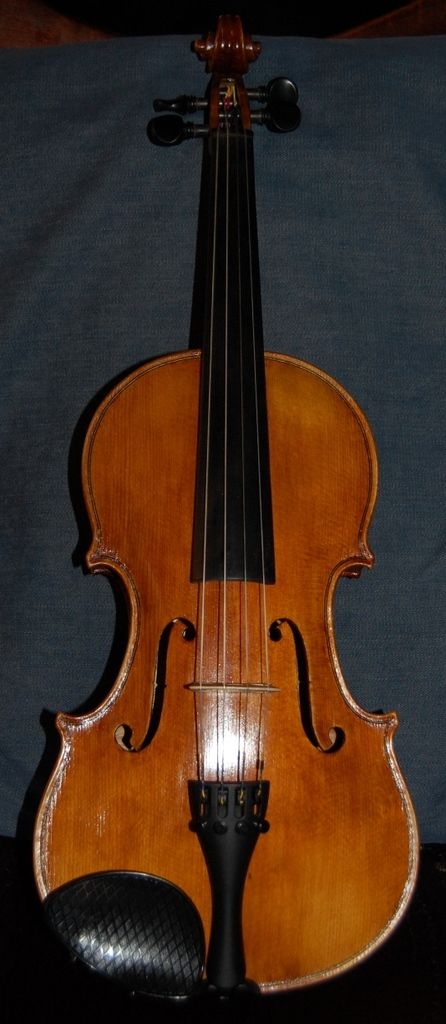
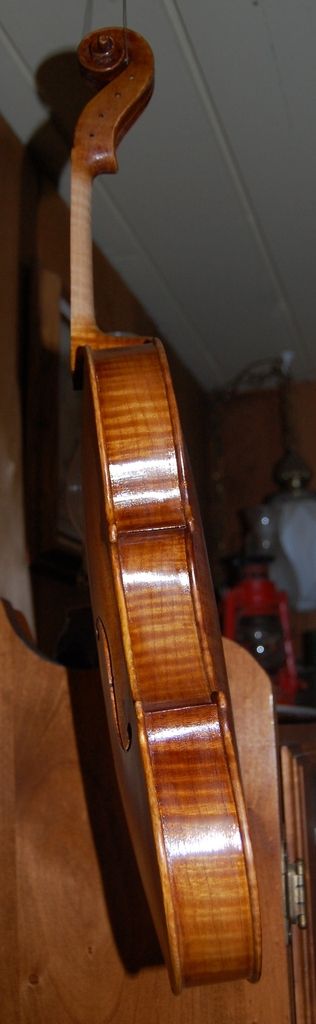
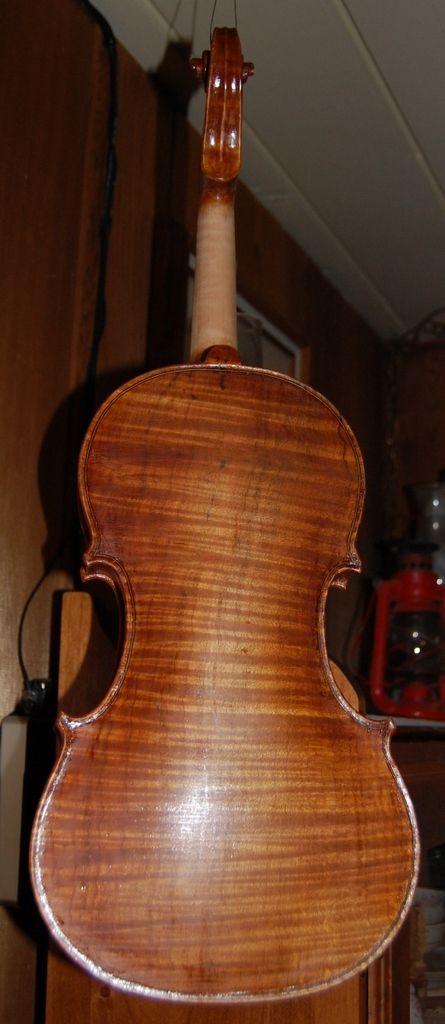
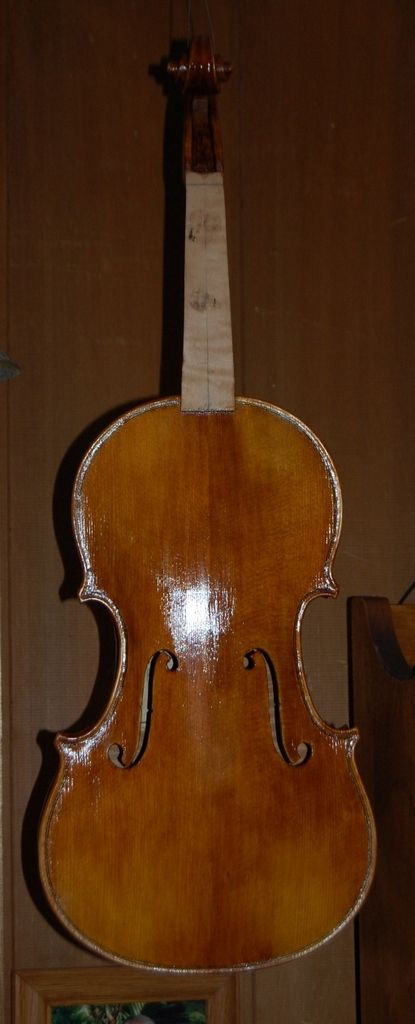
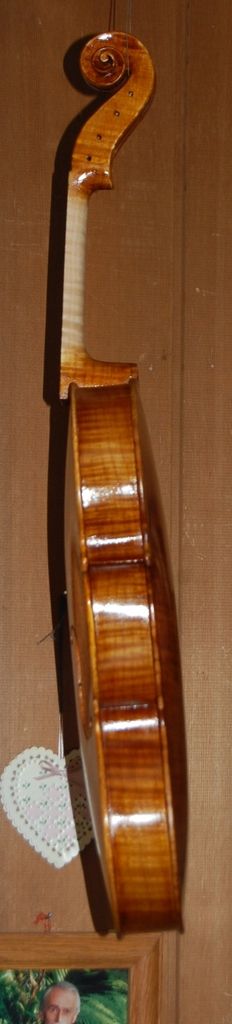
Completed saddle, end-button and tailpiece: notice the curved ends on the saddle.Completed 14-inch viola front side: sitka spruce.Side view of 14″ Viola. Notice the deep ribs.Completed 14-inch viola back. That big-leaf maple is pretty stuff. This was from the log donated by Terry Howell.Completed neck; If you check back a few posts, you can see how different the neck looks before and after polishing and sealing.Completed treble-side scroll. This big-leaf maple, for the scroll and neck, was cut in my wife’s parents’ yard, some time ago.Completed Bass-side scroll.Completed bridge, from the tailpiece side. Those are Helicore strings, and a Josef Teller bridge.Bridge viewed from the fingerboard side.Bridge and sound-holes viewed from the front of the instrument.
So! That is the 14-inch Viola! I will add a chinrest in the morning, but I wanted to get these pictures posted.
So far the sound is good. It is a little unfocused on the C string, but I usually expect some of that at first. I adjusted the soundpost to enhance the C-string, and tomorrow I hope it will have improved. I could tell it was opening up within 20 minutes of hard bowing, so I expect it will be a very good viola. These strings are Helicore: I would prefer orchestral strings, I think, but it is difficult to find a good C-string for a 14″ viola.
This will make a very good viola for some player with small hands.
Thanks for looking.
(Edit: Here is the finished instrument WITH the chinrest. And, as I hoped, it sounds even better this morning. 🙂 It has a good, open, rich C-string and good balance across all strings.)
Completed 14-inch viola with chinrest.
If you found this post helpful, please share with your friends!
There are as many individual styles for violin-family instrument finish as there are makers, it seems, but most makers still face the same sorts of decisions:
What kind of varnish? There are so many variants on this one that I am not even going to try…
The biggest division, though, is the choice between “Spirit Varnish” or “Oil Varnish.”
Basic color scheme: Red, Brown, Amber, or Orange? Or somewhere in between?
And, how do you achieve those colors? With synthetic dyes, natural pigments, or something else? Some people induce color in their varnishes by the making or cooking processes. Some add color afterward.
Thick or thin varnish: one can go too far in either direction.
Too little varnish, and it has a “dry”, thin look.
Too much, and it can look as though it has been dipped in marmalade, and it will deaden the sound, as well.
“Straight” varnish (sometimes called “Full” varnish) or “Antiqued?”
If Antiquing is chosen, how far will you take it?
Just a gentle shading, emulating minimal wear, from careful use? or
Real damage, carefully repaired, “distressing” the instrument, to look as though it has survived several wars and a flood?
Or somewhere in between?
My Choices on This Viola are as Follows:
Spirit Varnish
Golden brown, leaning toward reddish brown
Thick enough varnish to stop looking “dry” or “thin”…just enough to give a sense of “depth” as one looks at the grain of the wood.
Gentle shading on the “antiquing,” adding darker color in the “no wear” areas, and leaving the “worn” areas a little thinner. I doubt it reallylooks like an old violin, but it has some of the general look and charm…I hope. 🙂 I have done straight varnish a few times, and, while it looks nice, I prefer the minimal antiquing.
So…when I last posted, I showed you the viola with the first four coats of varnish:
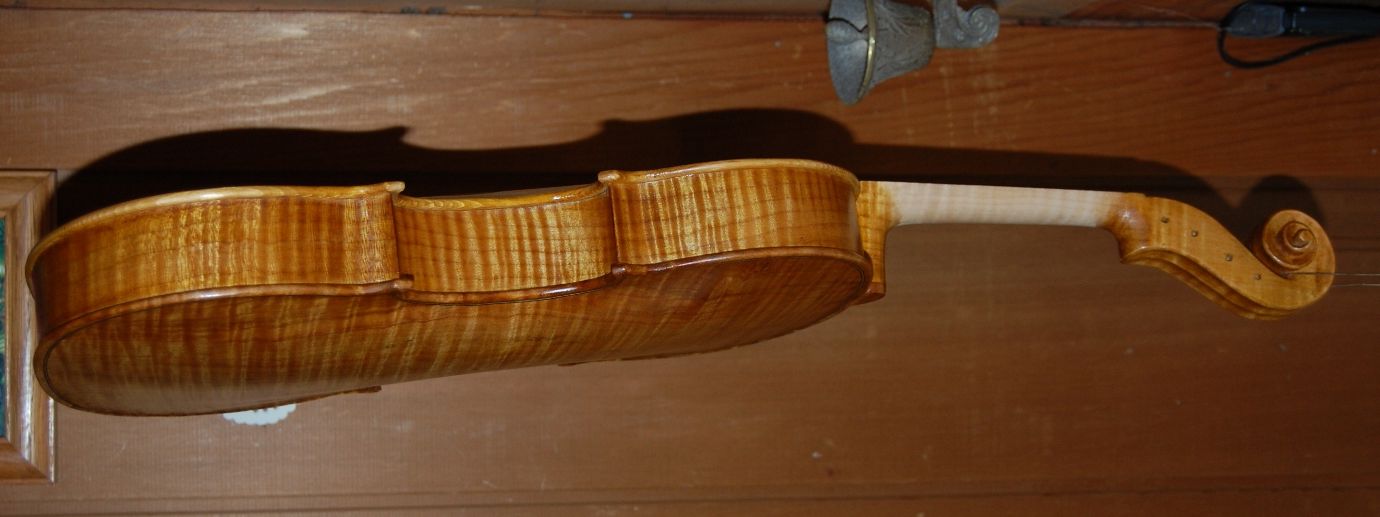
Viola back and side with four coats of spirit varnish.
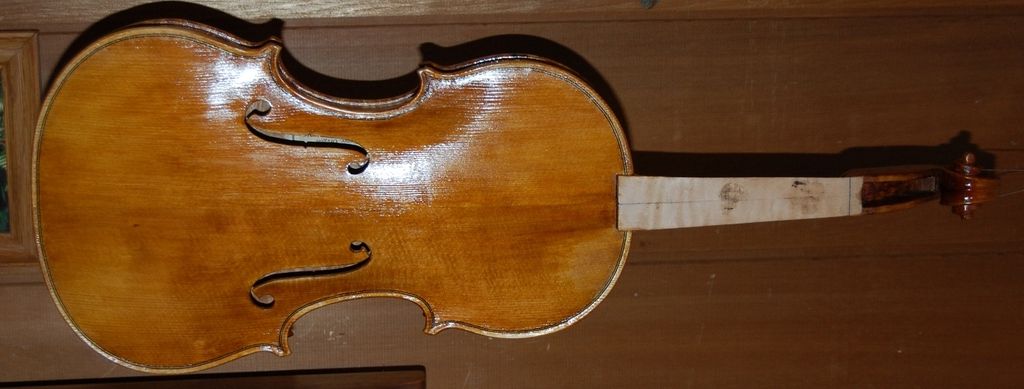
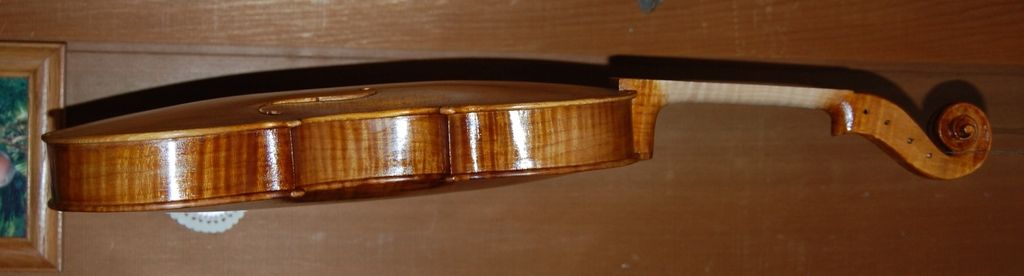
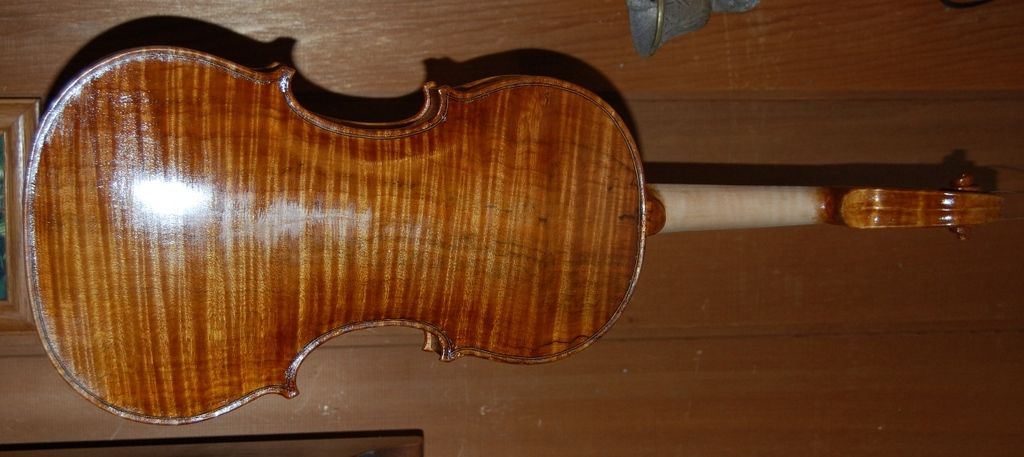
Here is the Viola with Six Coats of Varnish:
Viola front with six coats of spirit varnish. You can see that some touch-up will be needed to even out the color.
Viola side with six coats of spirit varnish.
Viola back with six coats of spirit varnish.
More Color Needed! Here it is with Eight Coats:
It looks pretty good in the above photos, but the camera does some odd things to the color, and it needed a little more, yet. So, here it is with eight coats:
Viola front with eight coats of spirit varnish. It isn’t really this red. It is still in the brown range. I don’t know why the camera affects the color appearance this way…maybe it is the lighting.
Viola side with eight coats of spirit varnish.
Viola back with eight coats of spirit varnish. Still some more work needed.
Final Sanding before Final Coat of Varnish
A careful rubdown with very fine, worn abrasives precedes the final coat of varnish, so that brush-marks, irregularities of any other sort, and rough areas can be reduced as much as possible.
Rubbed smooth, and ready for a final coat of yellow varnish.
By the way, that tiny brown dot in the middle of the lower front plate is a tiny knot in the spruce. It is in the wood, not the varnish. It doesn’t hurt a thing, and adds a bit of character, I think. (Real Spruce wood! It had branches originally! 🙂 ) I regularly use wood with “character.” Several of my early instruments have ribs with a pattern of tiny “pin-knots” in them. Those ribs were all cut from the same billet, and doled out one instrument at a time. I still have a few from that billet, and will use them eventually, as I really like them. Here is the side and back:
Side of viola, ready for final varnish coat.
On this side it is easy to see the dull, freshly sanded surface.
Here is the Final Look Before Adding the Fittings:
This is the final coat of yellow varnish…very thin…to achieve the look I wanted. There will still be a final rubdown and polishing, later on, but this is the last of the varnishing.
Front of 14-inch viola with ninth and final coat of varnish.
Side with final coat of varnish.
Back of 14-inch viola with ninth (final) coat of varnish.
What is left to do?
I will add the saddle and end-pin next, then re-install the fingerboard, fit the nut and tuning pegs, re-touch whatever damage is done to the varnish in the above-mentioned work, then set up the viola, with sound-post, bridge, tailpiece and strings. I’ll add the chin-rest when everything else is in its final state, and, as a very last step, seal and polish the “handle” portion of the neck.
Thanks for looking.
If you found this post helpful, please share with your friends!
When we last posted, I had just applied the sealer coat, and it was pretty fresh, still.
Back with freshly applied sealer.
The sealer does lighten a little bit as the turpentine evaporates…and, of course, the smell changes a lot. I happen to like the smell of turpentine, but it is pretty overpowering when the sealer is still fresh. Once the sealer was dry, I took a few more photos, then did some varnishing. I think you can see the difference, here:
Dry Sealer
Dry sealer on the front plate.
…and the side view…
…and the back.
Beginning Varnish
But then I began the varnish. I usually try to lay down a golden base-color, and then add whatever other color I am working toward. I have ranged all over the board, trying different colors, but usually I end up in the browns or red-browns. I tried a really red violin with a student who demanded it, and he was thrilled with it…I was not. 🙂
So here is the viola after two coats of yellow-gold varnish.
This is the first two coats… Not a lot of change, initially. Varnish takes a while to build up a good film.
Side view with two coats of yellow-gold varnish.
Back of viola with two coats of yellow-gold varnish.
I let it dry for a few days (partly because I had a great deal of other responsibilities that week), and then sanded it gently with worn 400-grit abrasive, rubbed it clean with a dry rag, and added another two coats of varnish:
Subsequent Base Coats
Viola front and side, with four coats of yellow-gold varnish.
Viola side and back with four coats of yellow-gold varnish.
The appearance changed a lot more dramatically with those coats, didn’t it? The colors are getting richer, and the finish is much more glossy. I used the flash on these last two photos, so, to stay consistent, I will try to use it (and the same background) on all the remaining photos of the varnish.
Color Varnish and (Maybe) Antiquing
The next step will be to decide just how far down the “antiquing trail” I want to go, this time. I will unquestionably do at least a little…but I really like the look it is developing right now, so I want to be careful to not lose it. (The neck stain and seal is the very last thing to go on, just in case anyone is wondering. I will explain that later.)
At the very least, I will begin adding some red-brown varnish, to darken things up a little. I will most likely do at least a gentle shading toward “antiqued,” but I am leaning toward minimalism this time. Nothing drastic.
We’ll see. 🙂
Thanks for looking.
If you found this post helpful, please share with your friends!
We looked last time at the viola with the edgework incomplete, and final scraping not done.
Edgeork incomplete
Edgework
Here is the viola with the edgework done. Notice that the outer edges have been rounded inward to meet the edge crest, so that the junction between edge crest and purfling channel makes a clean ridge around the perimeter of the viola. This is just something I do, because I like it…as far as I know, it has no functional value. Many old master instruments have a much less clearly defined crest.
Edgework complete, back view
Edgework complete; angled view.
Edgework detail
Coffee Stain and Re-smoothing
Then I wet the fiddle down with coffee, to raise the grain and add some color. One result is that my edgework all needs to be reworked with a small, sharp scraper. The other is that the wholeinstrument needs to be re-sanded, using 400-grit sandpaper. The water in the stain raises the grain, so that every random fiber that is not closely tied to the surface will swell, and raise up, making the whole surface very rough. So I deliberately raise the grain, and then scrape or sand off the rough surface. Using a very sharp scraper, very lightly, just “brushing away the rough stuff” is probably the best way to do this. I use a scraper for the areas where I want detailed, clean edges, and 400-grit abrasive paper for the broad surfaces. I perform this step at least twice, before moving on to the mineral ground. The result is a surprisingly light, yellow-tan color, all over. Almost just a cream-color. It will darken up nicely under varnish, though, and not glow white from under the varnish.
Come to think of it, the above photos already have the coffee stain, too. I forgot to take photos of just the edgework, I guess. So–those photos are right before I applied the mineral ground.
Mineral Ground
This is a suspension of very fine particles of gypsum…in a coffee-solution, because I still want to add more color, if I can. Other people use other minerals–finely ground mica, finely ground glass, microscopic beads of glass, clay, volcanic ash or other non-organic nano-particles. Some omit this step entirely. Roger Hargrave shared this as having had an important effect on his sound, so I have tried it, for the last several instruments, with what seem to be positive results.
I keep the solution well-stirred-up, and brush it on liberally, then rub it into the wood with my fingers, as vigorously as I can. Finally, I wipe off as much of the excess as I can, using a rag. The stuff goes on looking brown, because of the coffee, but dries to a chalky-white film. I don’t particularly want it on the wood– I want the microscopic particles to fill the pores in the wood, so that the varnish will be less likely to soak deeply into the wood, and deaden the sound of the viola.
The ground dries rapidly, leaving the whole viola a chalky-white, ugly object. I go over the dry instrument, checking everything, and scraping or sanding off all the excess ground. When I can see the grain of the wood everywhere (though dimly) through the gypsum film, I apply the sealer coat.
Mineral Ground, wet…back view.
The ground dried rapidly– this was only about three minutes after the above picture.
And this was only about five minutes.
Here it is, dry–without the flash. In daylight this is chalk-white. See how the grain is obscured.
And the front– you can see the excess pretty easily.
Here, you can see the excess ground in the f-holes, and along the purfling.
All that excess gypsum had to come off. It took a while, but I got it ready to seal:
Viola front is ready for sealer– all the excess mineral ground has been cleared away.
The back, ribs and scroll have been prepared, too. All are ready for the sealer.
Sealer–What kind?
Different makers use different sealers:
Some use a very thin varnish.
Some use Rosin-oil (I’m not even sure what it is….)
Some use shellac.
Some use commercially available sealers.
Currently, I am using a very thin mixture of pine pitch and turpentine, with a little alcohol. The alcohol and turpentine cause the mix to penetrate deeply. The pine-pitch goes into the wood along with the solvents, and remains there. It is interesting to watch the sealer going on…the chalk-white gypsum instantly turns transparent, and effectively disappears, leaving the natural color of the wood, along with whatever staining was added.
Without adding any color to the sealer, this would leave the wood a somewhat pale color. Usually, I have been satisfied to add color later. I added a little amber color to the sealer, this time, though, because my last instrument was a little too light-colored, initially, and I didn’t like the result.
The alcohol evaporates nearly immediately, while the turpentine takes a few days to evaporate, and (I am told) it leaves a bit of residue, as well. But that is OK. Turpentine is a natural wood extract, and I don’t mind it being in the wood.
The pitch dries in the wood, locking the gypsum in place, and sealing the wood against any other substance. Again, the pine-pitch is a natural wood extract, which eventually dries hard, and I don’t mind it being in the wood. Besides, it smells nice. 🙂
Here is the viola with just the sealer. I will show the varnishing sequence in the next post.
Sealed Front., using the flash.
And…here’s the freshly-sealed back; again, using the flash.
The wood will change color just a little as the sealer dries. But it will never go back to the dull-looking finish where the grain is obscured again. The varnish I apply will enhance, not obscure the figure in the wood…I hope. 🙂
Varnish (coming…)
I use a spirit-varnish, currently, though I have used oil varnishes in the past, and undoubtedly will again. I will start off with a yellow varnish to enhance the figure in the wood, then use darker coats to finish. I use enough coats to get the color the way I want it, including whatever shading I choose to do, then add enough clear coats to give it the depth and sparkle I want. Usually 6-8 coats, I guess. I sand lightly after virtually every coat, to reduce any bumps, sags, runs, or brush-marks, as well as looking for brush hairs or bugs, stuck in the varnish film (it happens….)
Finally I rub the surface with extremely fine abrasive (12,000-grit micro-mesh), and then polish it all over, using the dry skin of my palm, or thumbs, rubbing hard enough that the varnish gets uncomfortably hot. This takes away the “glittery” look of the fresh varnish, and leaves the glow of hand-rubbed work. Pictures in the next weblog post.
Thanks for looking.
If you found this post helpful, please share with your friends!
The 14-inch Viola is getting closer to completion!
When I last posted, the viola was still in the spool clamps. The back plate was installed, but that was as far as I got that night.
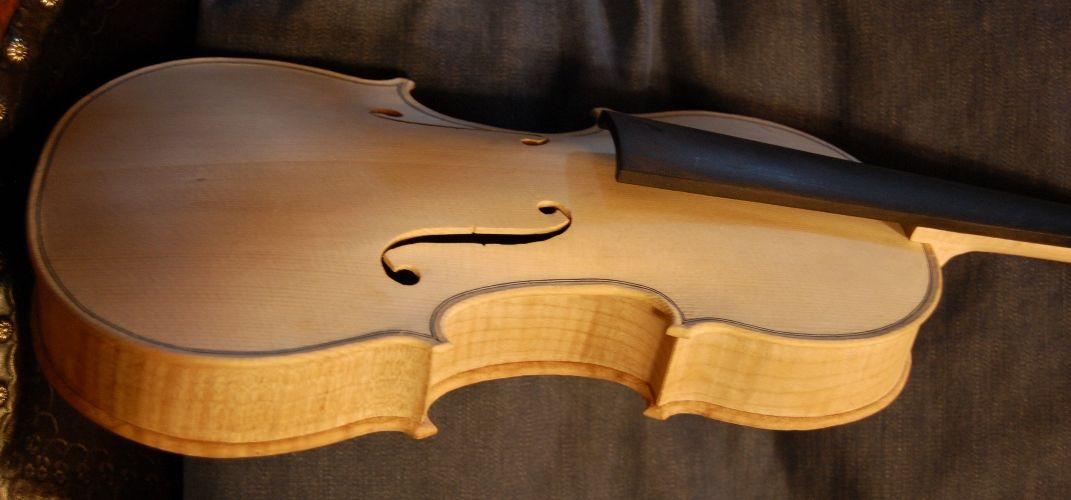
Lots of promise, but not much “grace” in this picture.
Spool Clamps Off: Lots of Work to Do, Preparing for Purfling
So…the next step was to remove those clamps, adjust the overhangs as needed, and get on with the purfling. That sounds pretty straightforward, but there is always more to anything than meets the eye.
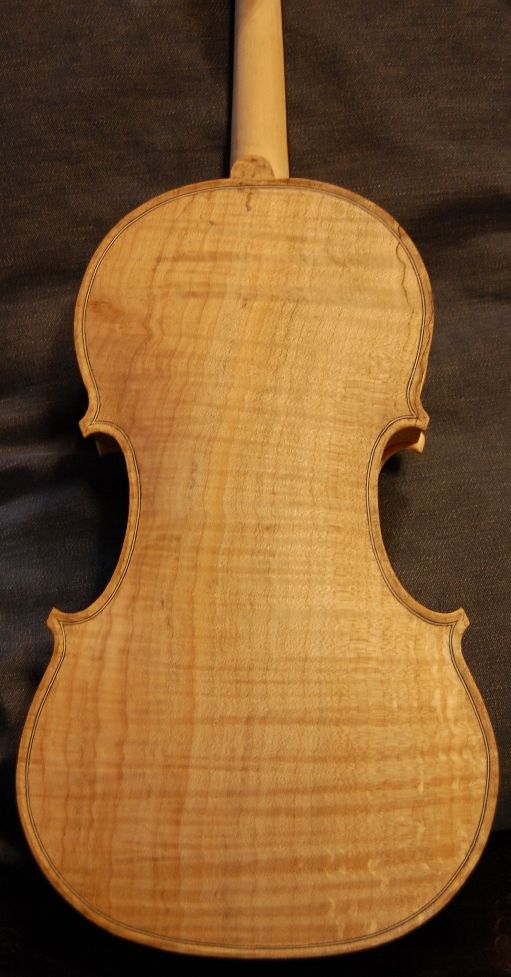
Looks nice, at first glance, but take a look at the neck button (where the back plate overlaps the heel of the neck.)
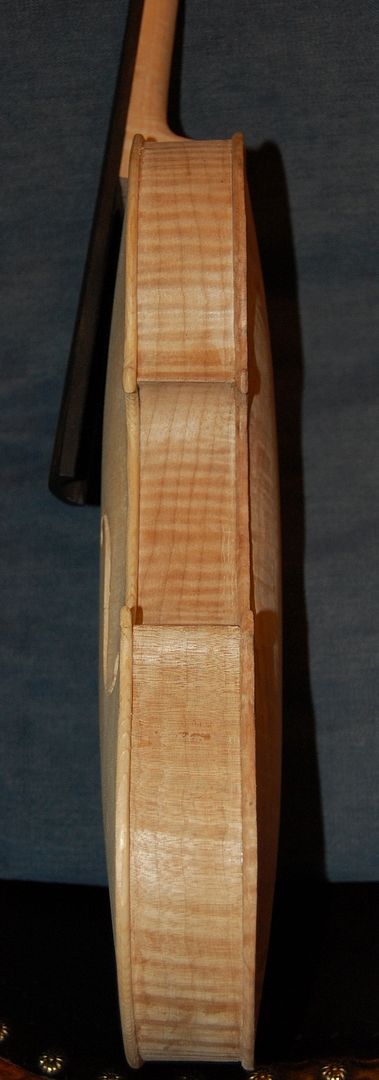
Side view of the same state of the viola.
Back view: button hidden by my hand. No purfling, and no shaping done.
Purfling Groove
I marked the purfling groove, using what is frequently called a “Purfling cutter“, but which is actually a marker. It has two blades that simply lay out the sides of the groove, by scribing them a set distance in from the outer edge…which is why I want the outer edge perfect, before beginning purfling. I have modified my cutter a bit, to make it work more reliably, but the link above shows the type of tool I use. I don’t think I have that brand. I can only use the marker to get within an inch or so of the corners. I lay out the corners by hand, sometimes using a frnch curve to achieve some repeatability.
Afterlaying out the groove in pencil and scribe marks, I incise the lines with a small sharp knife, then pick the waste wood from between the cuts.
Here is the completed groove:
Purfling groove complete. Notice that the button is taking shape as well. The neck, too is getting slimmer, and smoother. Lotsa work…
Here is a detail shot of the groove:
Detail of the purfling groove.
The Purfling, the Channel, and the Finish Work.
Finally I can start cutting and installing the purfling itself. I use a wood purfling, which is very brittle when dry, but bends nicely with a little moisture and a lot of heat. Once the purfling fits correctly, I lift each stip out partway, and insert hot hide glue under it, then force the strip back into the groove. Afterward, I mark the crest of the channel, and cut the channel using a sharp gouge. Finally, I use a tiny plane as well as gouges and scrapers to bring the convex curve of the plate into a fair, smooth agreement with the concave curve of the channel.
The purfling is complete, the channel is cut, and the back curve faired into the channel.
Purfling detail: look closely, and you can see the edge-crest line in pencil.
It is a fairly high-ribbed viola: 35mm. I think it will sound good.
And, it is looking more and more like a viola!
On the Home Stretch!
What is next? Edgework, and final scraping; coffee stain, mineral ground, sealer, and varnish…and then fittings and set-up. (The outer edgework is not even begun on the back plate.)
This is definitely as far as I am going tonight, though…. Getting too tired.
Thanks for looking
If you found this post helpful, please share with your friends!

 Follow