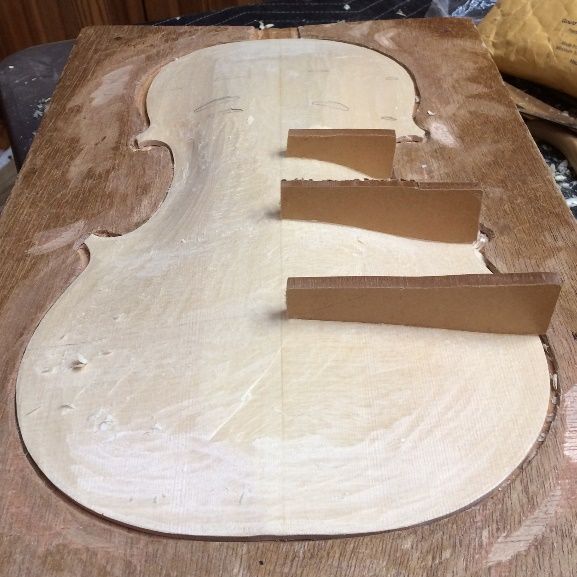
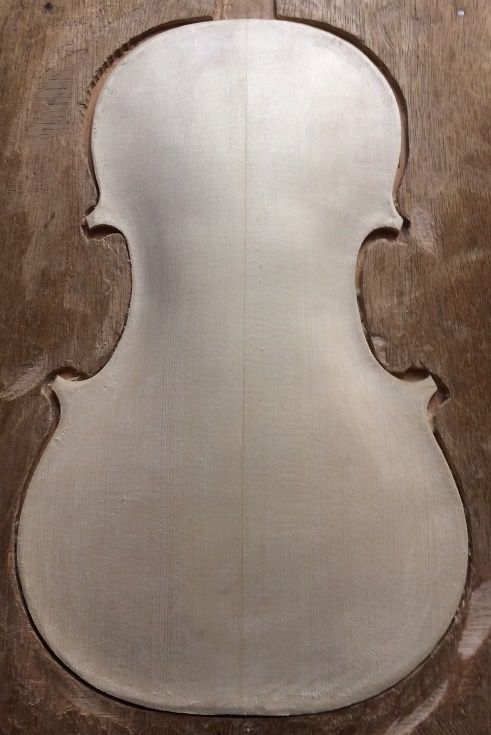
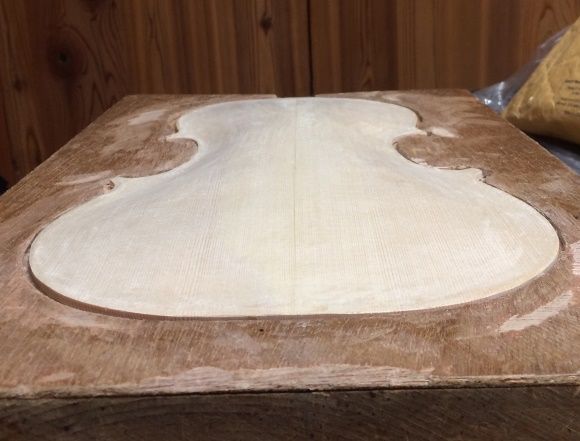
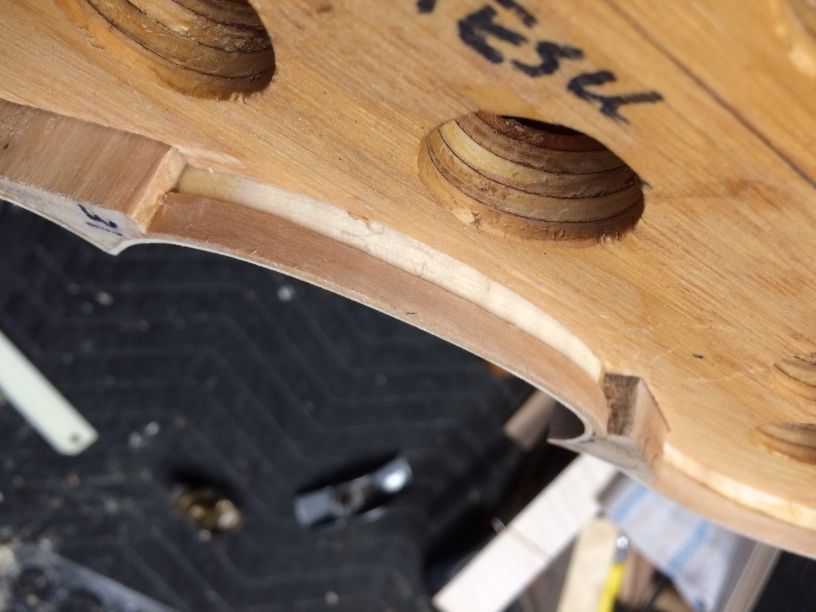
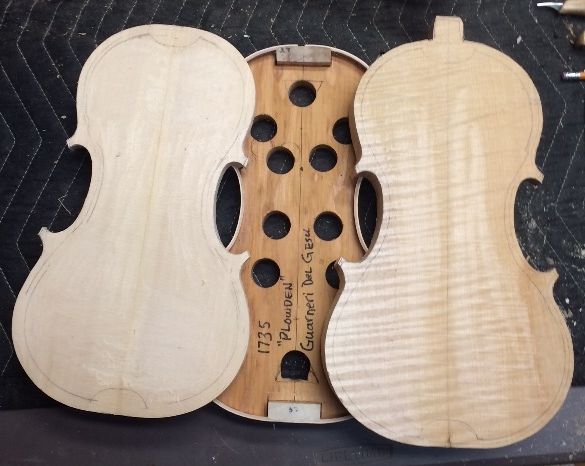
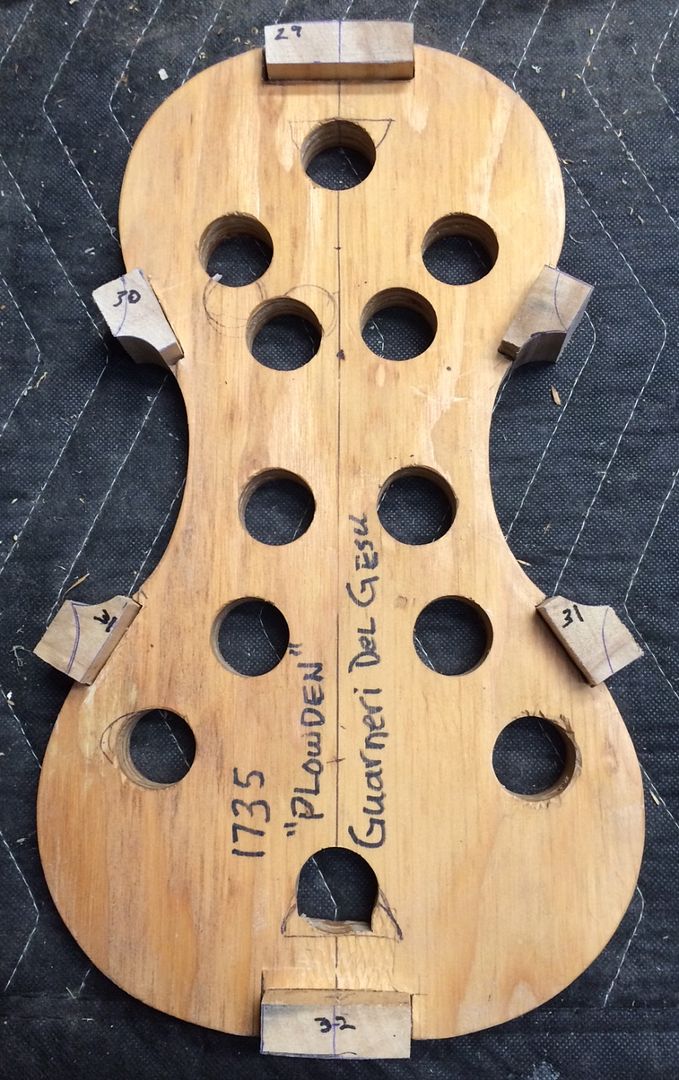
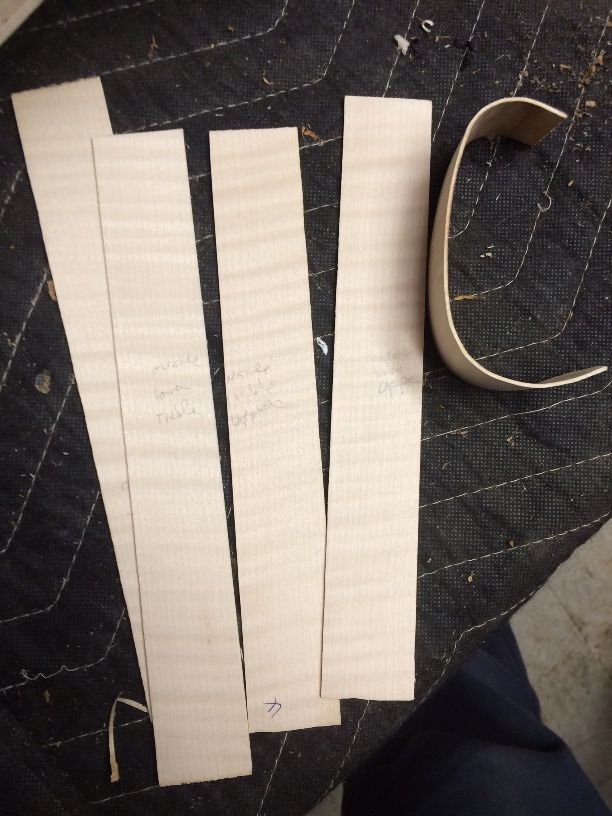
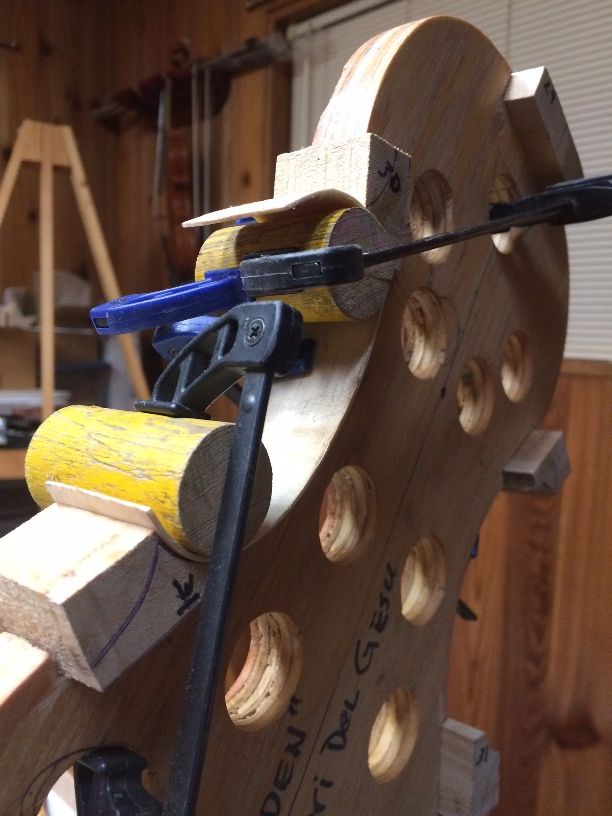
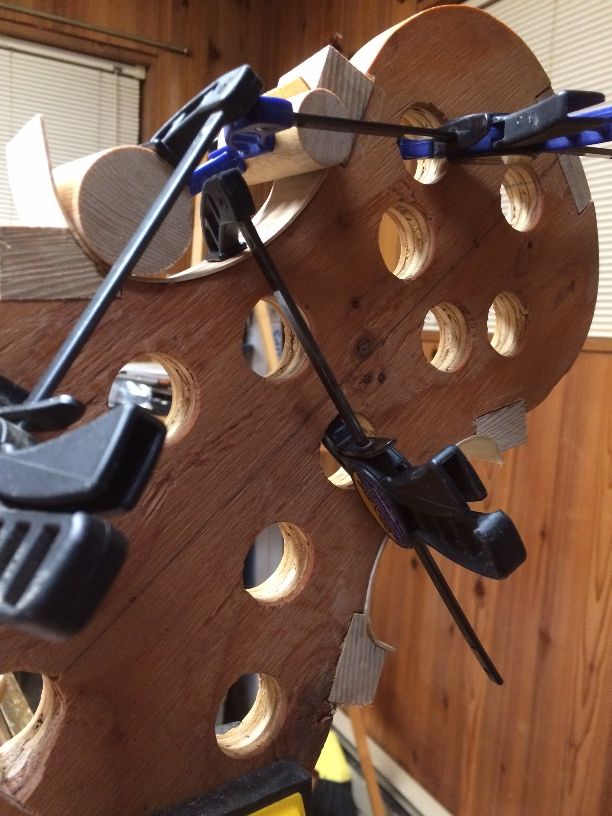
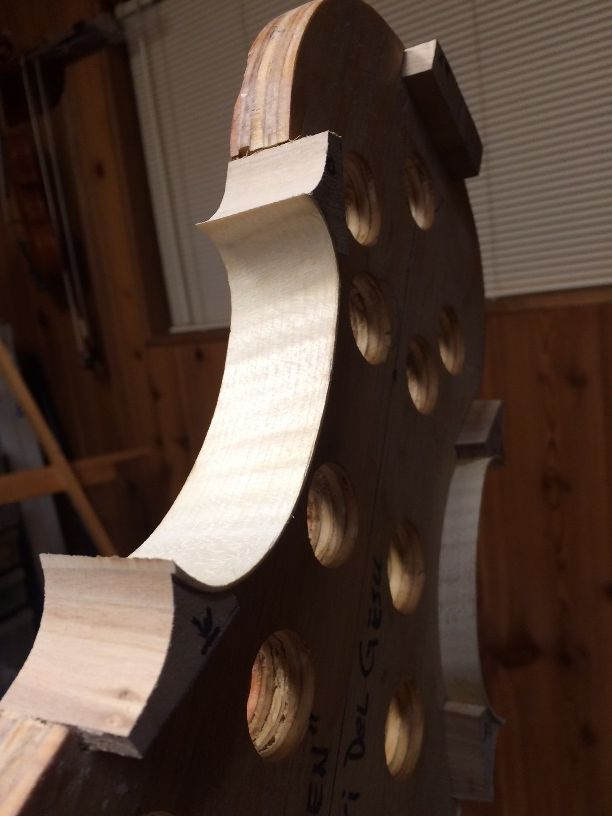
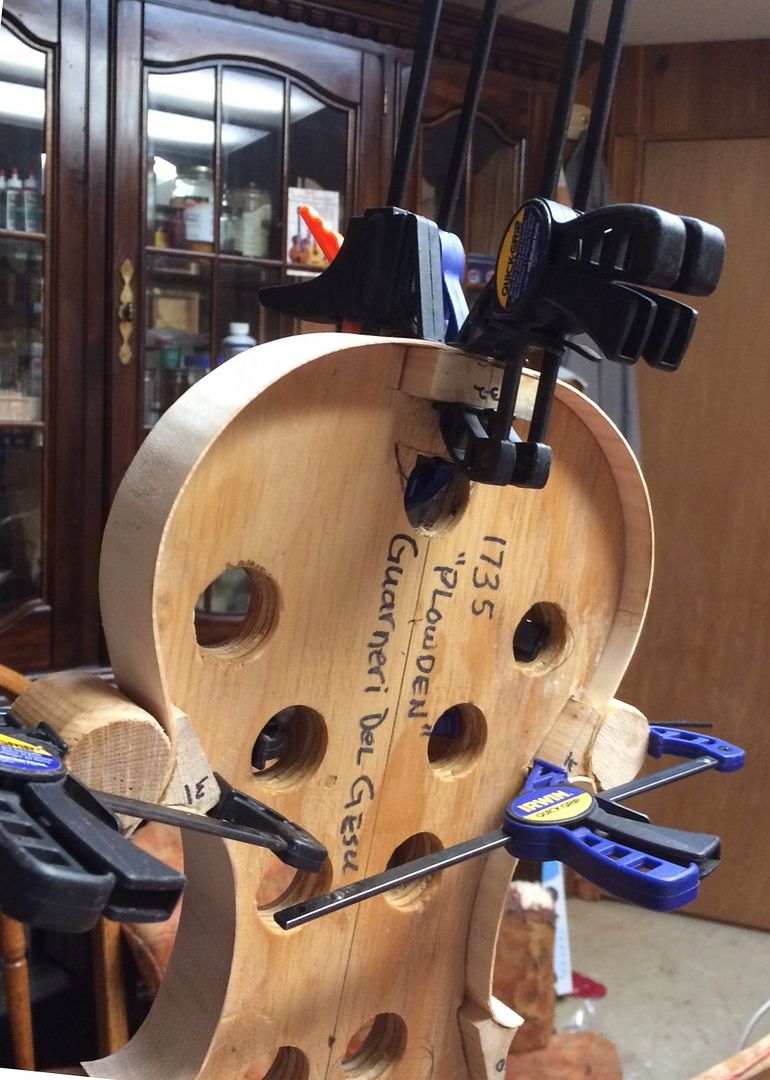
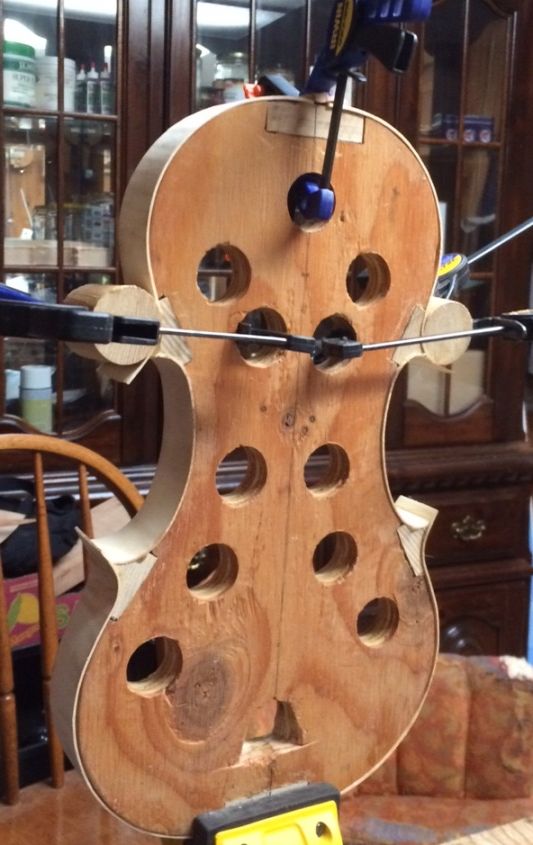
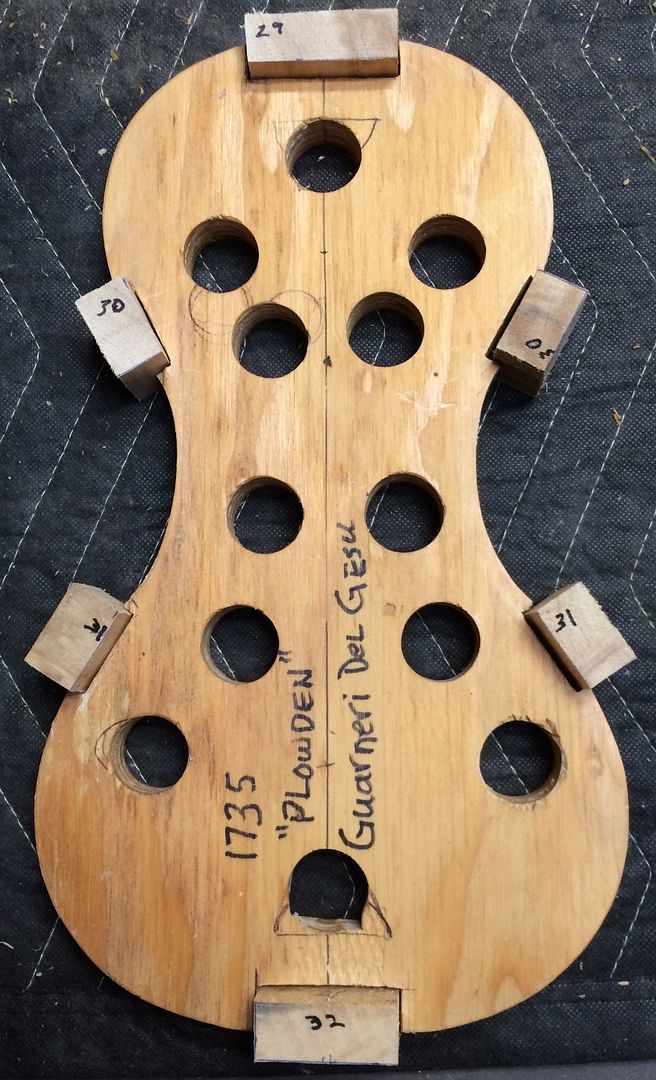
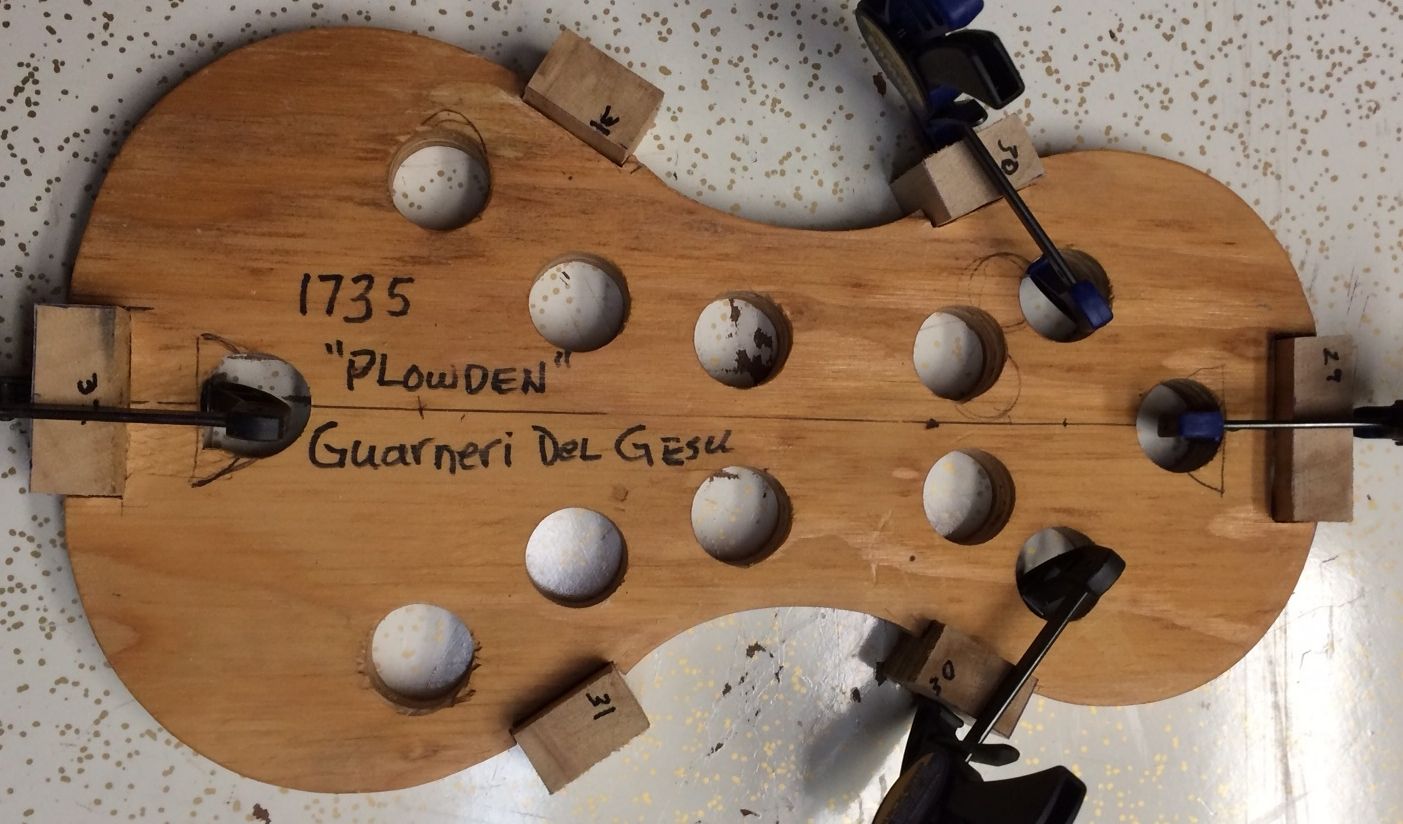
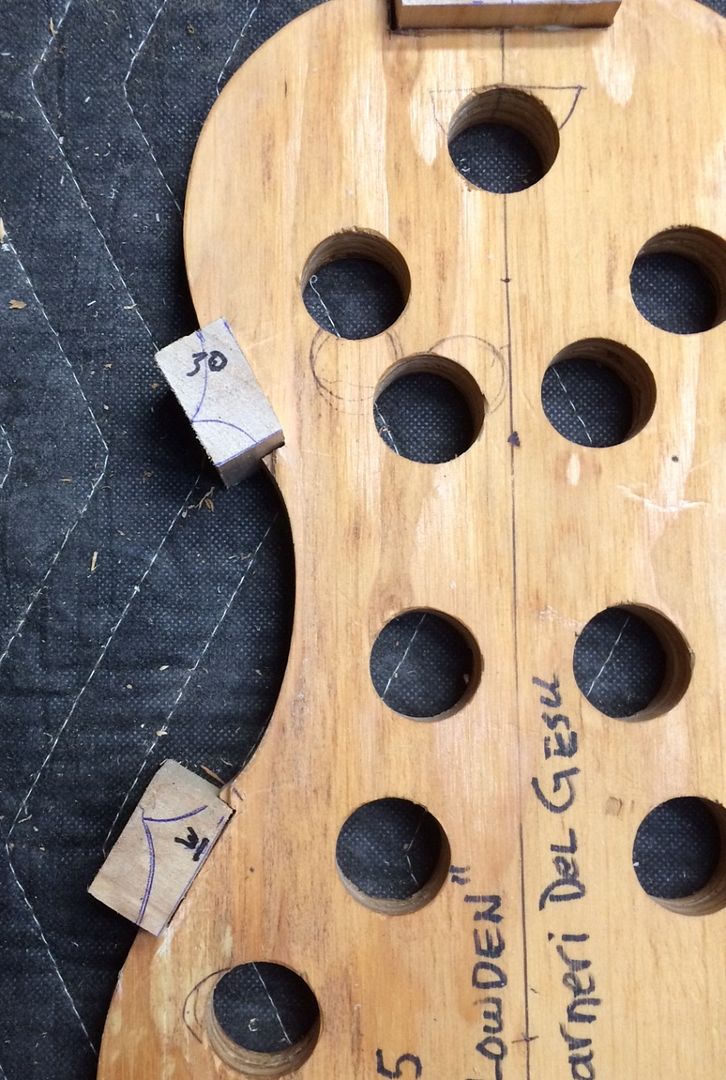
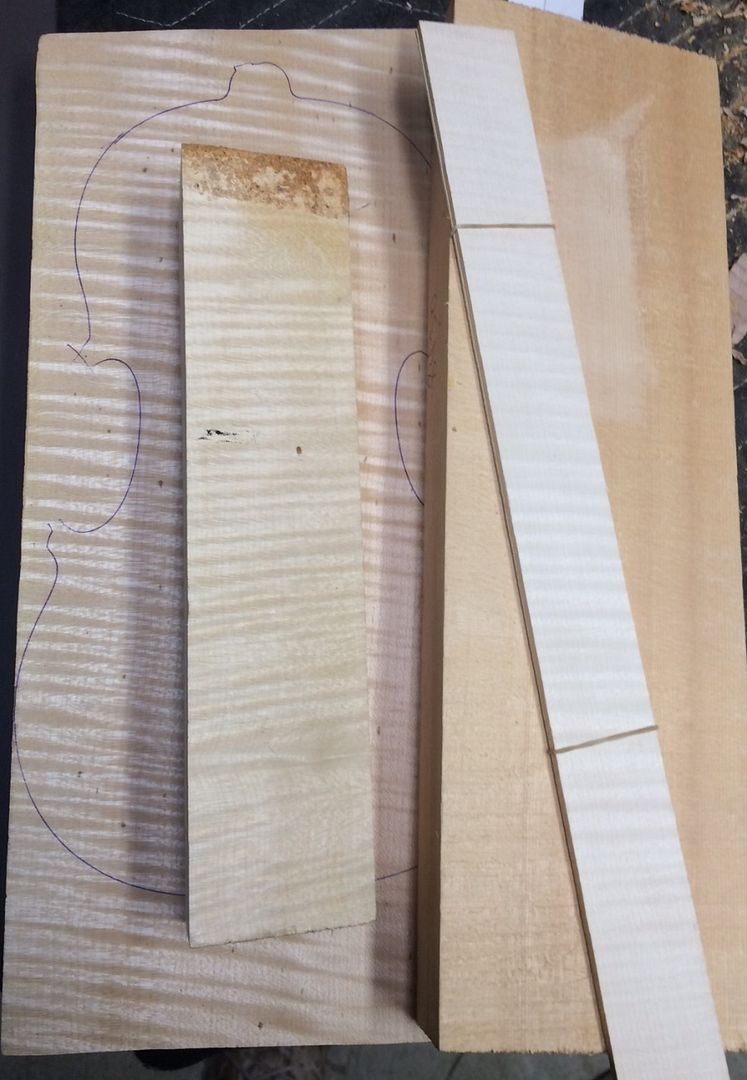
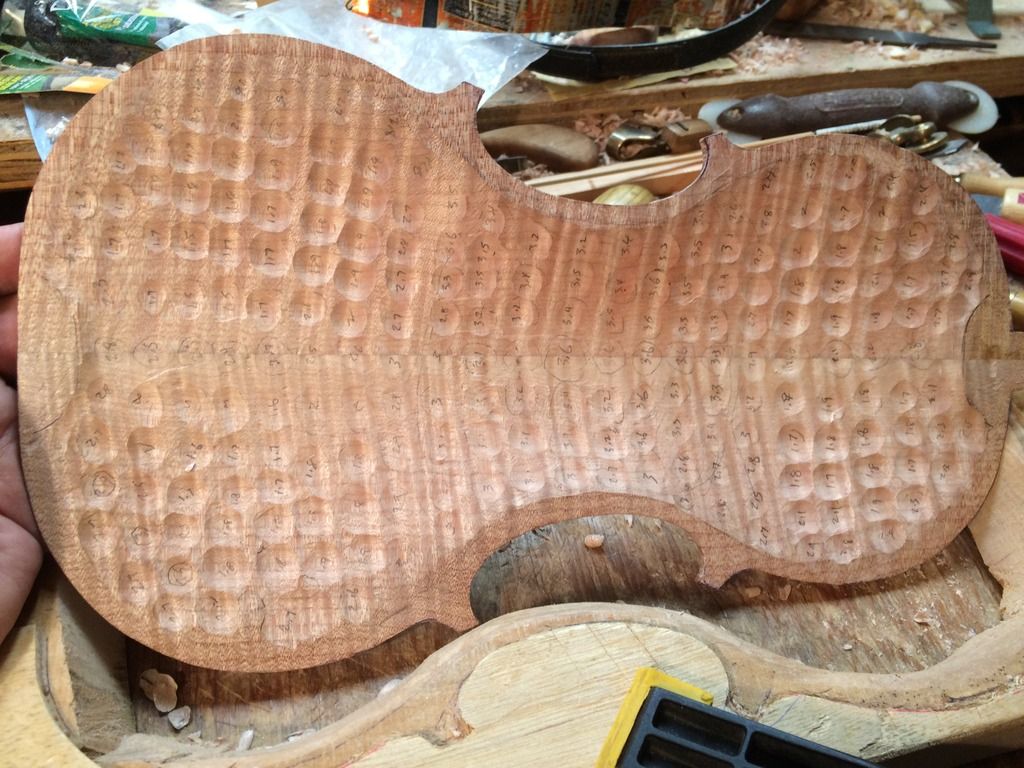
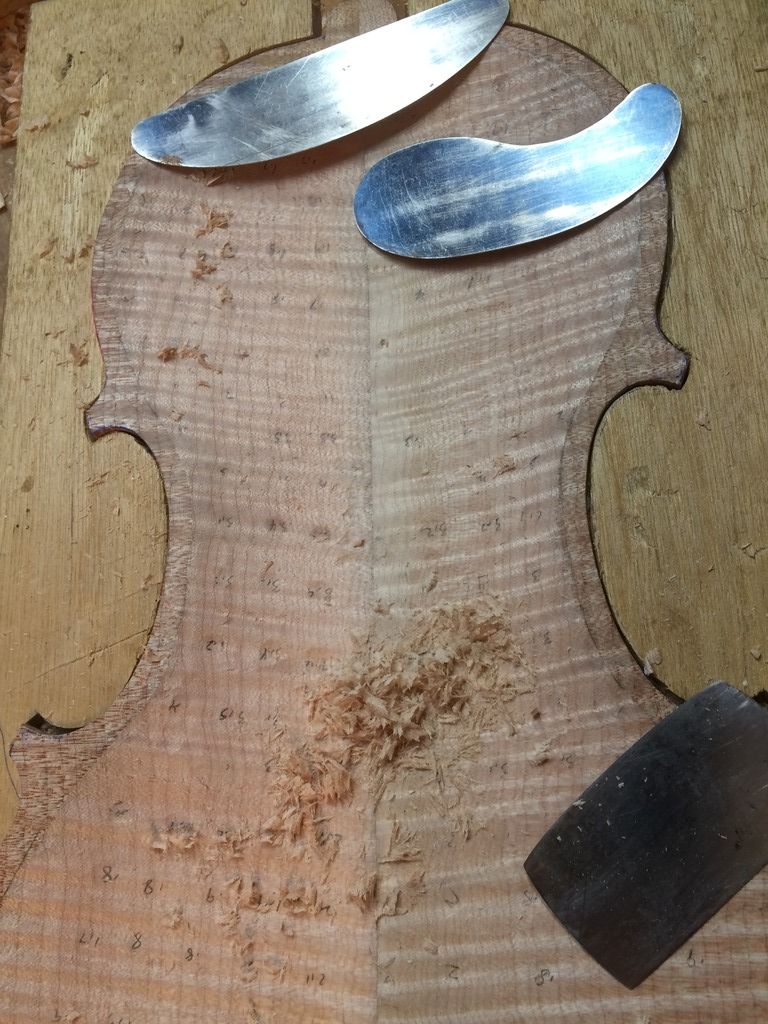
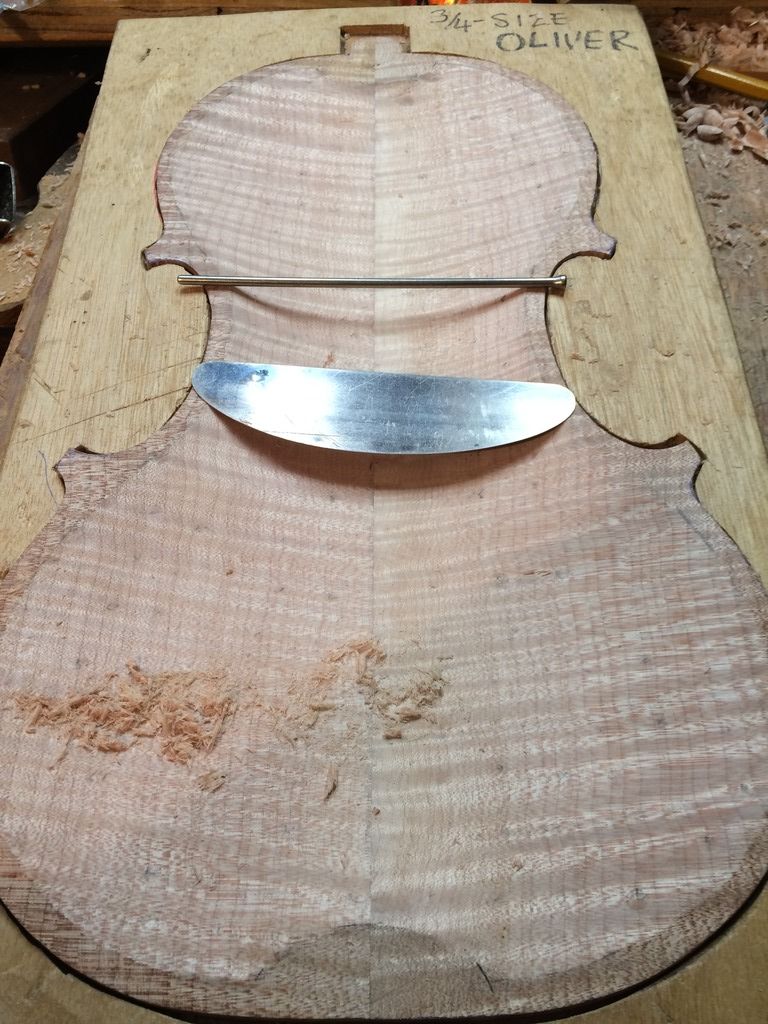
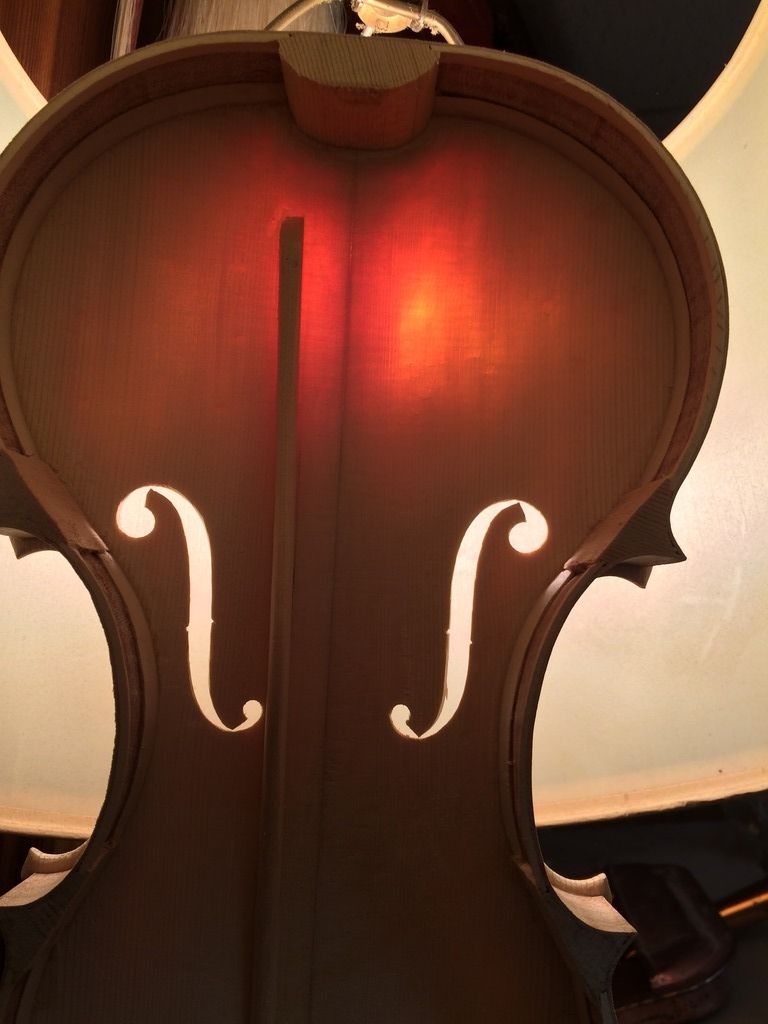
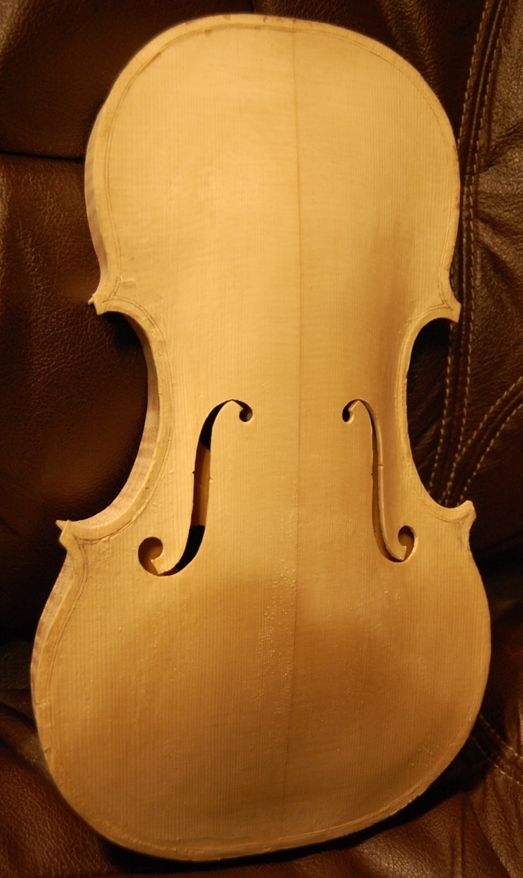
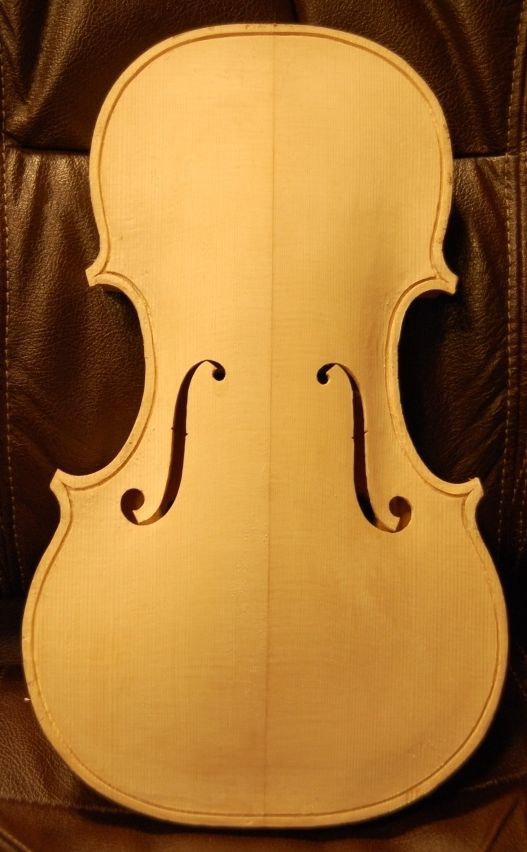
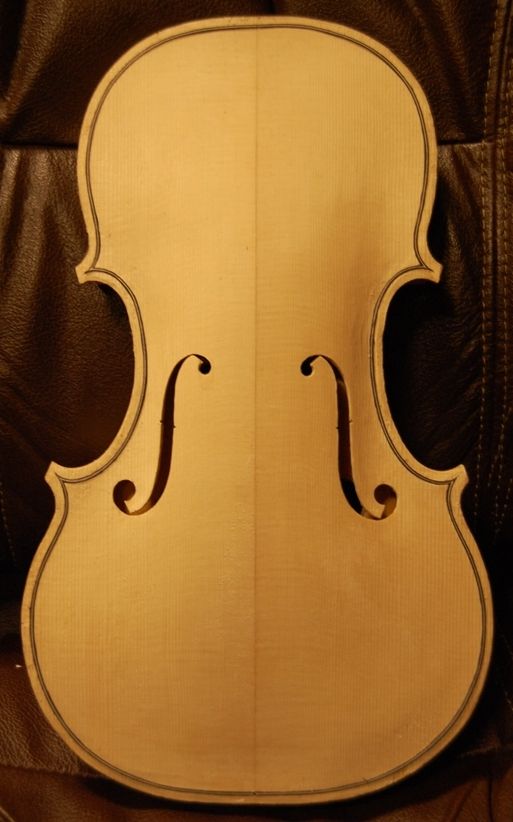
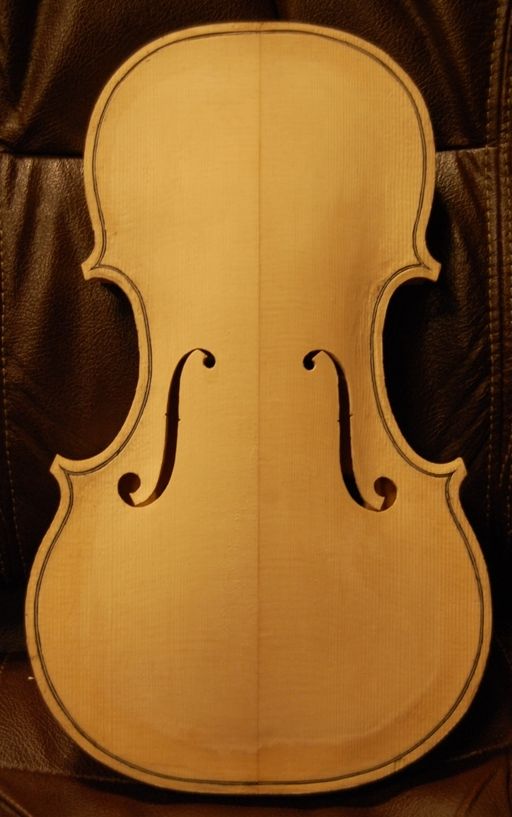
This becomes another critical issue: How thick should the plate be at any given point? I will try to follow the poster to some degree, but it was only correct for that particular instrument, with that particular set of plates. The wood I have may not be anywhere close to the same stiffness or density, so I have to get into some sort of “ball-park” range, and then start making decisions based on this wood that I am carving. How it feels, how it flexes, how it sounds when I tap on it, all make a difference in my mind, though I am aware that there are some standard thicknesses to which many makers adhere.
Others measure the vibrations of the nearly completed plates using a frequency-generator, and try for certain frequencies to make a certain set of patterns (called eigenmode frequencies, and nodal patterns, or Chladni patterns). I have tried this and couldn’t get it to work for me. Then, one day at a workshop, one maker was haranguing me that I wasn’t graduating my plate correctly, and took me out to the plate-shaker thing, and demonstrated to his satisfaction that I had it “all wrong”. I had simply followed some graduation thickness numbers given me by a master maker (who does not want me mentioning his name), so I could not tell him that. I was feeling pretty glum about the whole exchange, when he looked up and saw another maker coming in, who he considered to be an expert at testing plates. He said “Ask him! He’ll tell you!”
So, the other fellow obligingly came over and began setting up the plate-shaker, while the first guy stalked off.
I noticed that the second guy did not set it up at ALL like the first guy had done, but I kept my mouth shut. He ran through the frequencies and numbers, and finally said, “It’s perfect! Don’t do another thing to it! Install the plate!”
So, I walked back into the work area, not intending to say a word, but the first fellow was waiting for me: “Well?! What did he say??” I repeated, verbatim, the second fellow’s verdict. The first guy said “What??!! How come I got the numbers I did??” I replied, “I couldn’t tell you! Idon’t know how to run that machine!” No more interference that week… 🙂
So…the point is, there are a variety of ways to achieve the goal of good plate graduation. That experience convinced me that even just following a set of established thickness values can work just fine. And, ultimately, that is probably about what I will do, on this violin.
Moving Wood
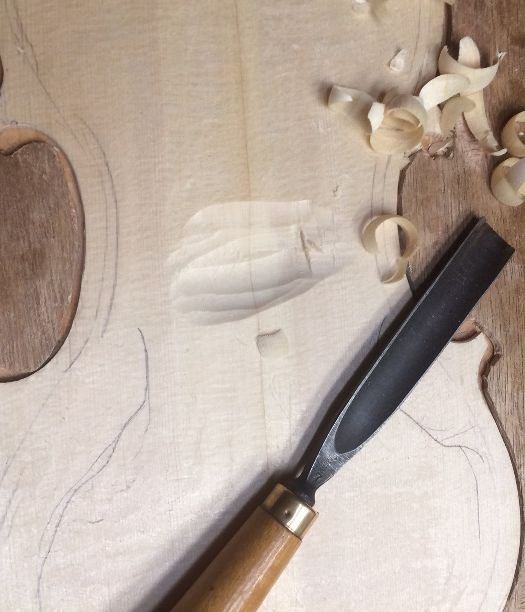
I began with a gouge, trying to get within a few millimeters of the right center thickness.
Beginning inside carving with a gouge.
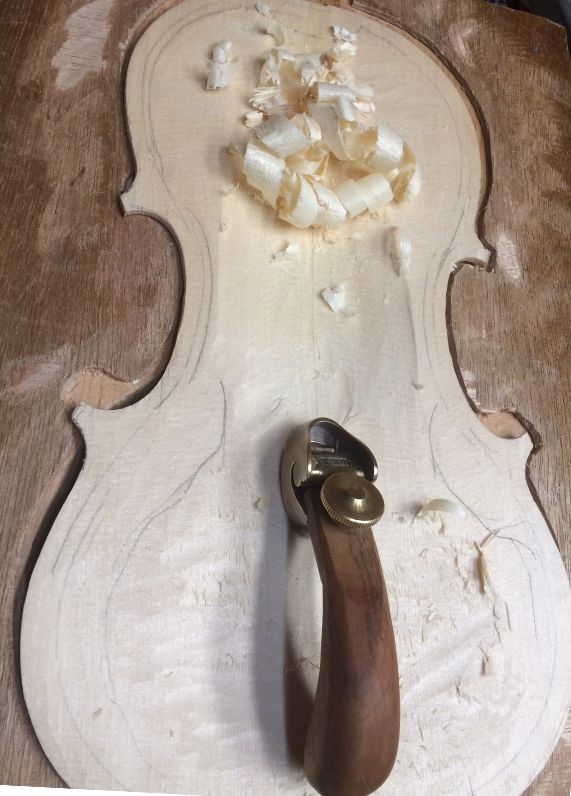
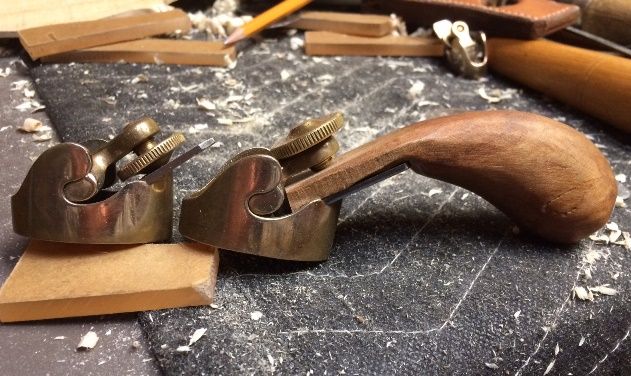
Then I switched over to a toothed plane, which I find more comfortable to use. The handle on it is a modification I added to shift the pressure to the heel of my hand instead of my thumb and forefinger.
Toothed plane progress.
The normal orientation of the screw in the Ibex plane (left) has been reversed to hold the wooden handle as well as the blade.
Repairs
But then I heard a cracking sound: Not a good thing to hear when you are working on a violin. I looked the plate over and could find nothing amiss, so I went back to moving wood. Heard it again, louder. (Sigh…)
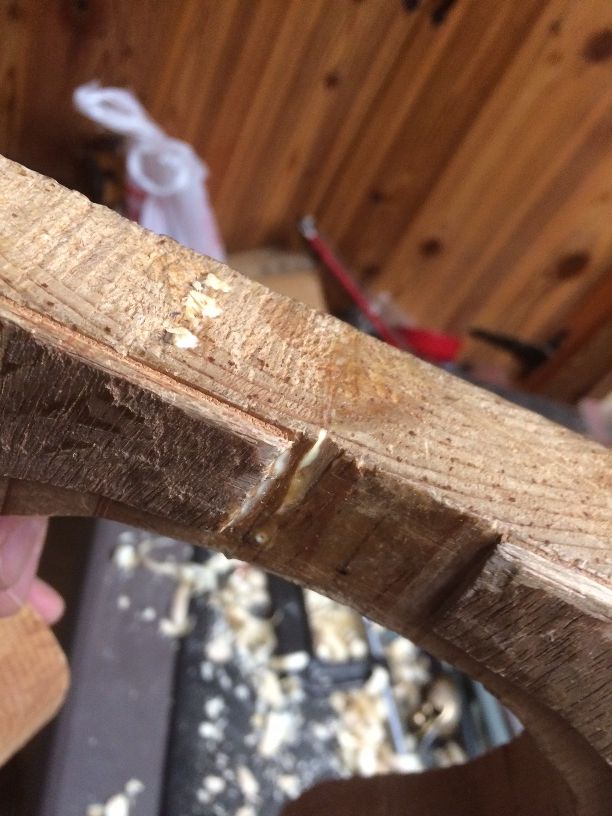
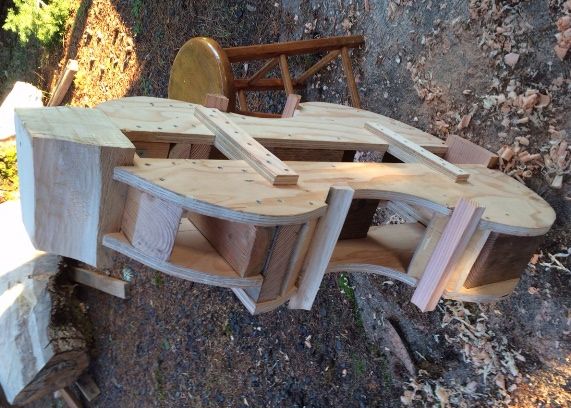
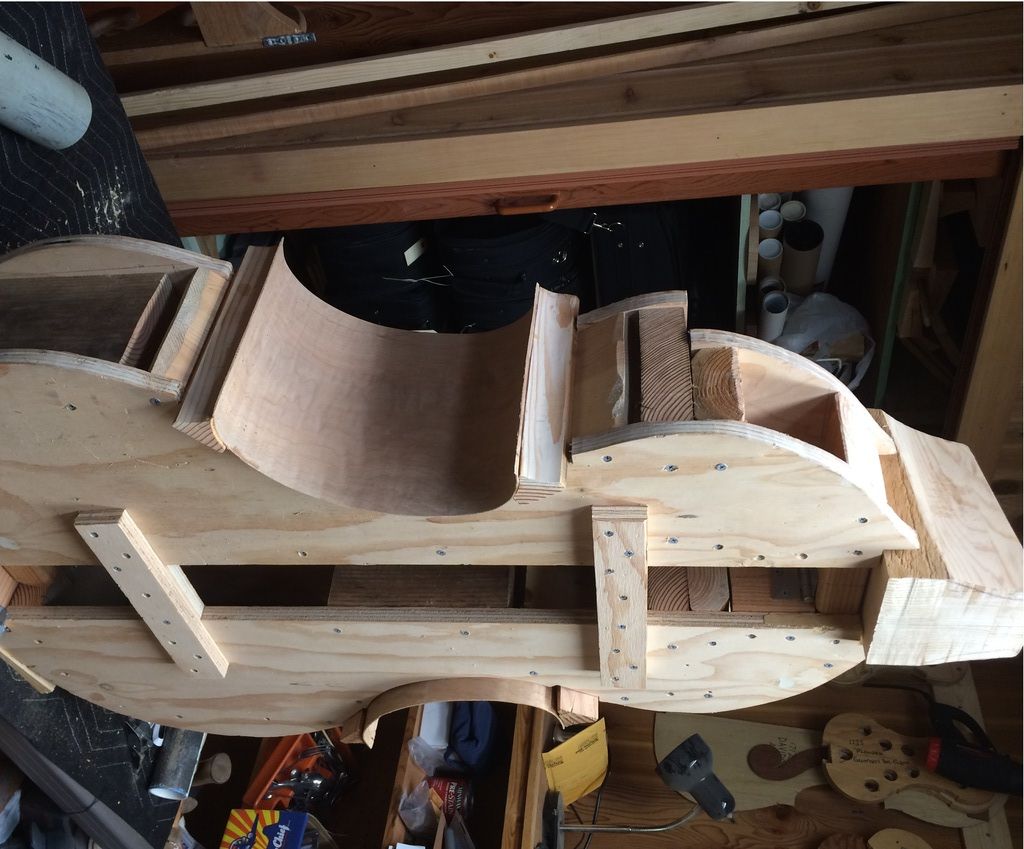
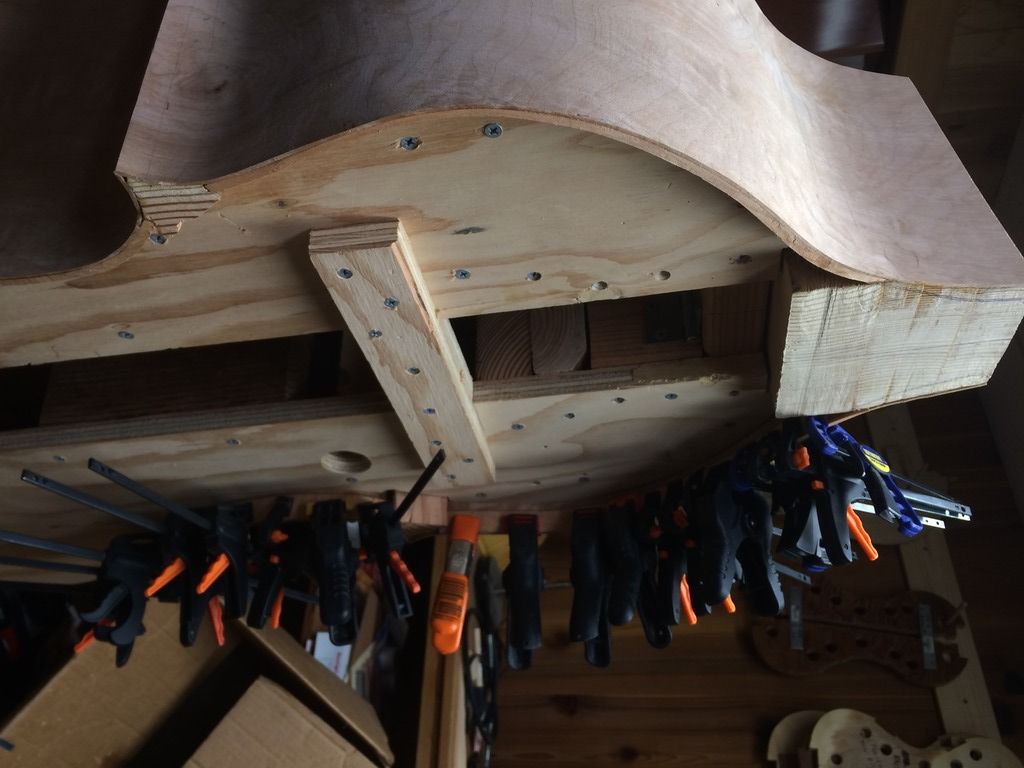
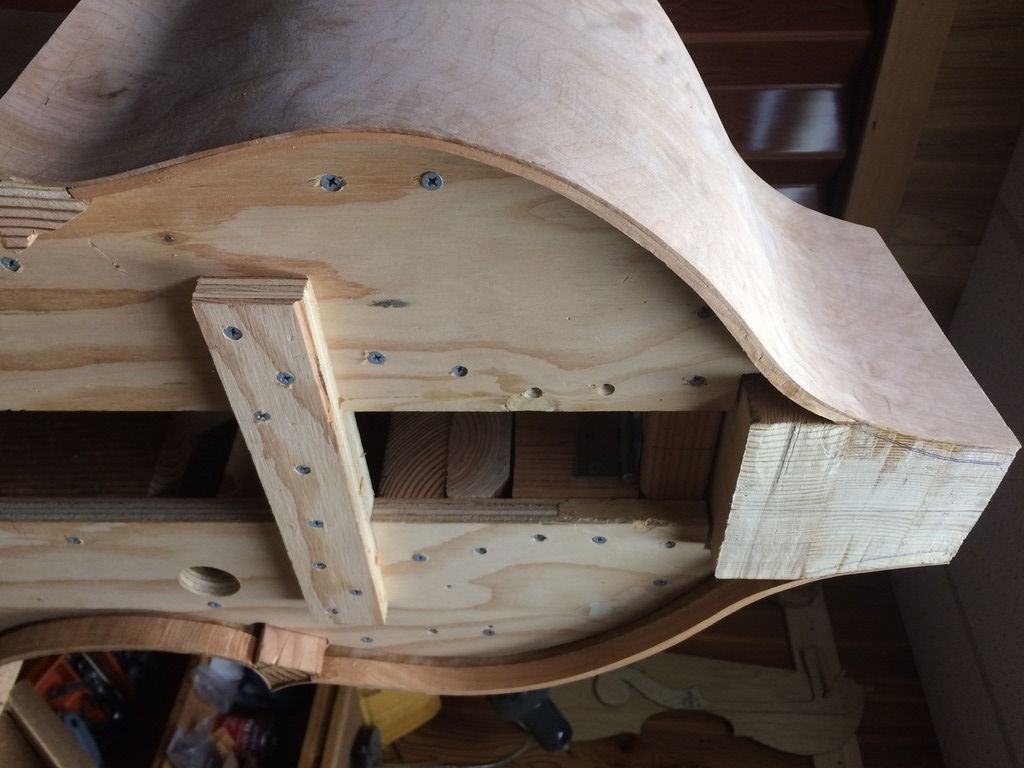
It turned out my work-cradle had broken! (What a relief!) Well, I made it 15 years ago, and it has served well, so I took the time to glue it and insert three dowels, diagonally, through the break, to hold the joint against further failure.
Repair of broken work cradle.
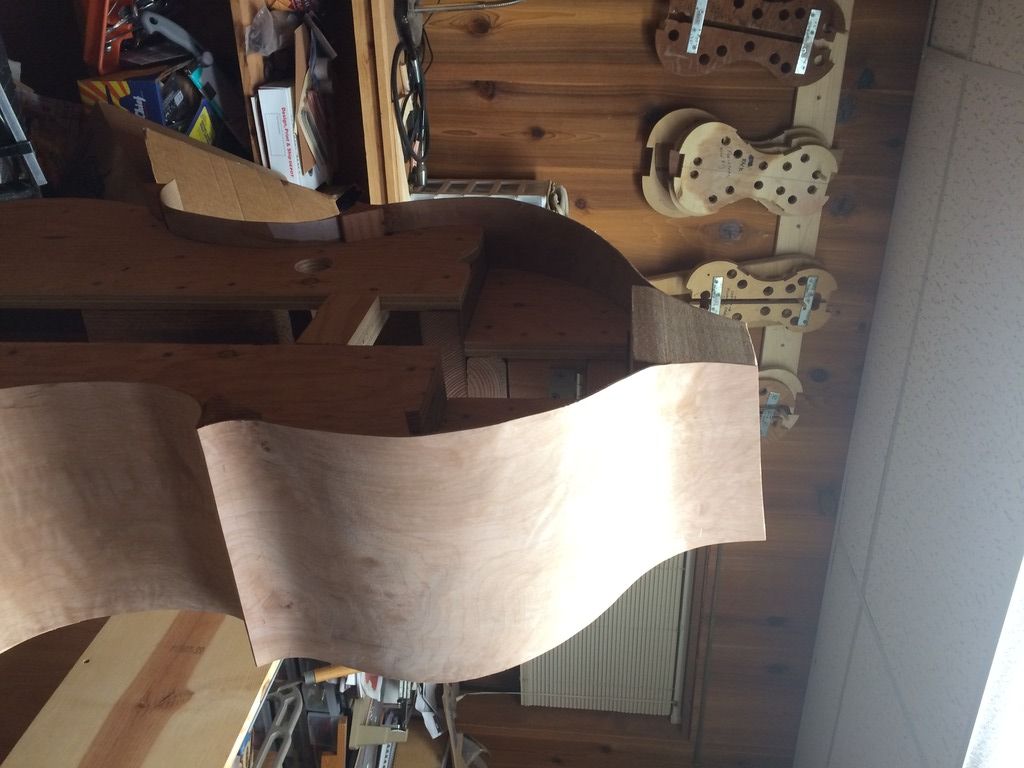
Work cradle construction: a heavy pine plank with a cutout to support the margin of the plate. Thin plywood surrounds the plate-edge.
Back to work:
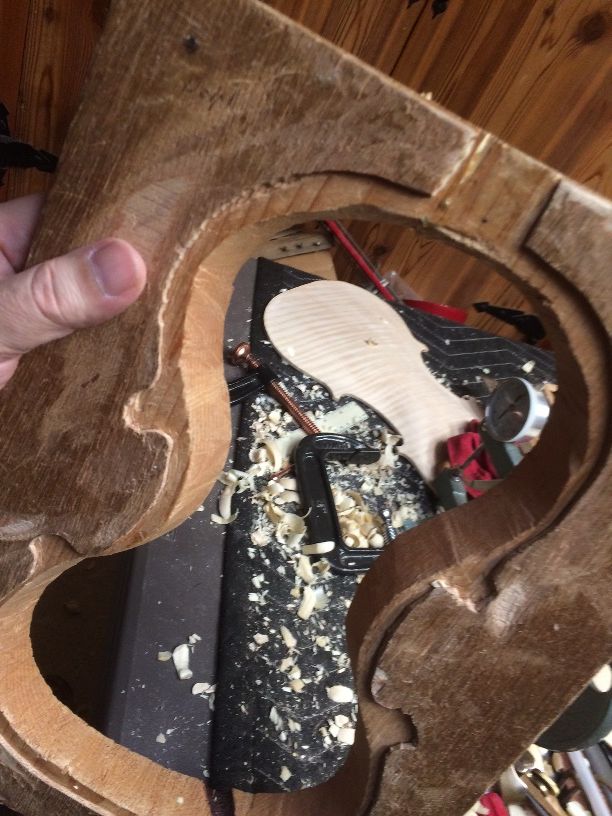
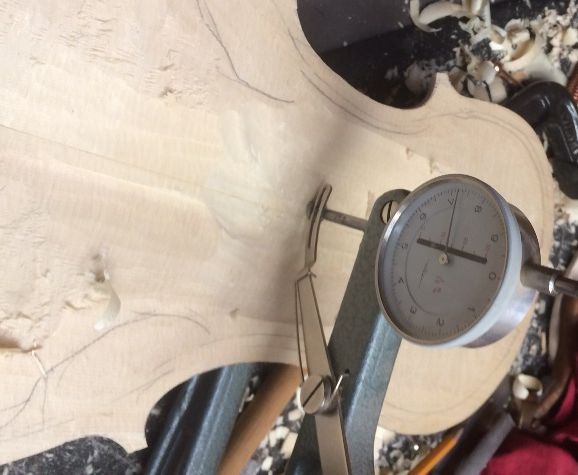
I am aiming for about 4 millimeters in the middle, and all over, which I will refine later to the specific measurements I want. In the photo, below, reading the dial on the caliper, you can see I am nowhere close. But…I’m tired, and I’m going to call it a night. By the way, in case anyone was wondering, those jagged-looking black pencil lines around the lower corners are outlining an area that was pretty close to the right thickness already: I don’t want to touch them until I am on the home-stretch where graduation is concerned. It is VERY easy to get too enthusiastic and carve too deeply in such an area, and ruin the plate.
Long way to go!
So, next time, I hope to have the graduation complete, so I can cut out the f-holes and install the bass-bar.
Thanks for looking.
If you found this post helpful, please share with your friends!
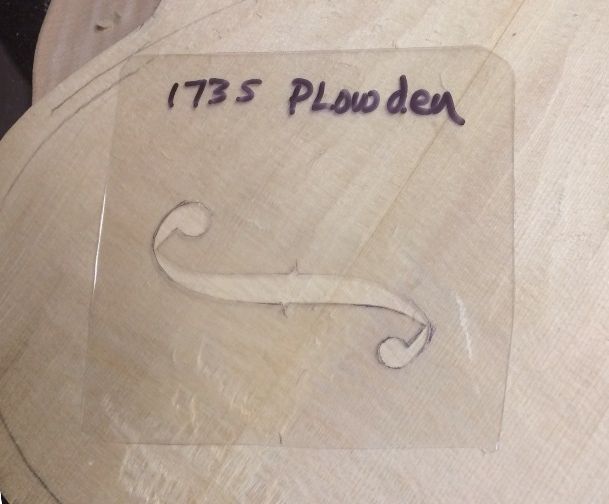
I had to make a new template for the f-holes of the Guarneri model. I thought that I had made one some time ago, but if I did, I guess I must have misplaced it. I measured the image on the poster, to make certain that it matched the dimensions of the technical data on the back, and it turned out to be quite accurate, so I procured a piece of thin, fairly stiff, clear plastic (also called “re-cycled blister pack” from some sort of hardware I had bought), and laid it flat on the poster, and traced the outline of the hole with a ball-point pen. Then I traced the lines with a small sharp knife, until I was able to pop the waste plastic out, leaving a very nice template.
New f-hole template.
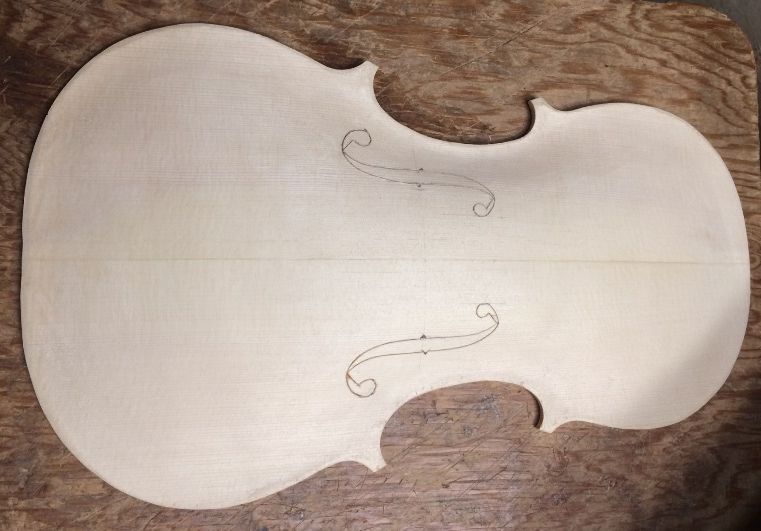
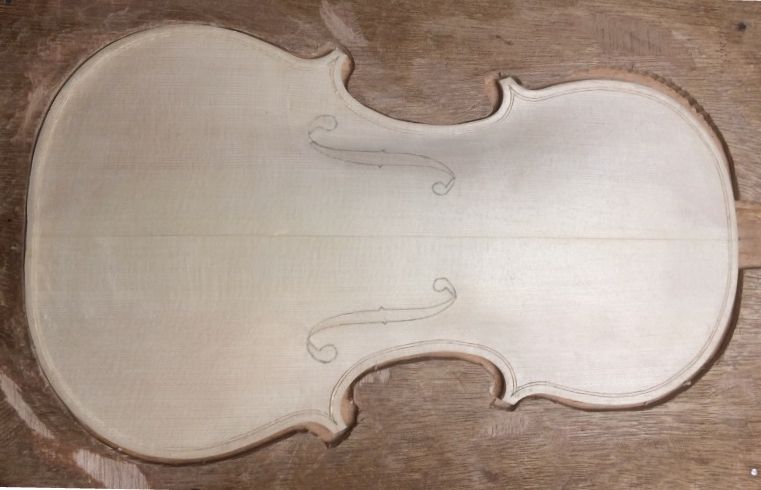
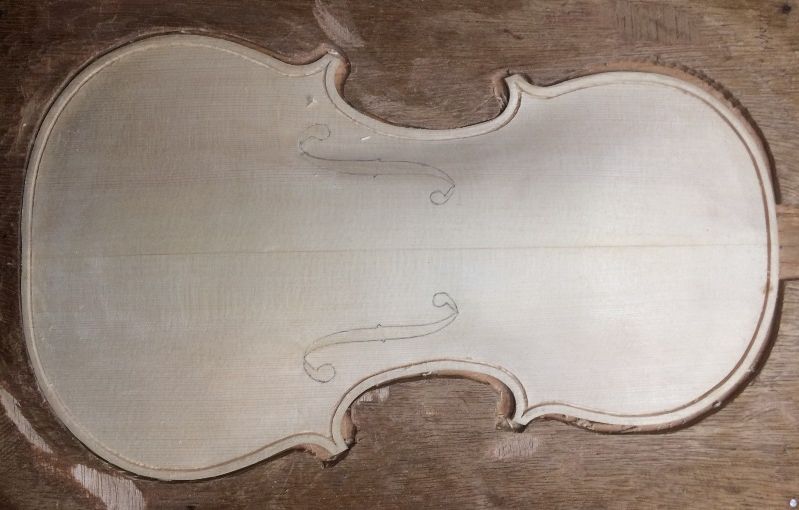
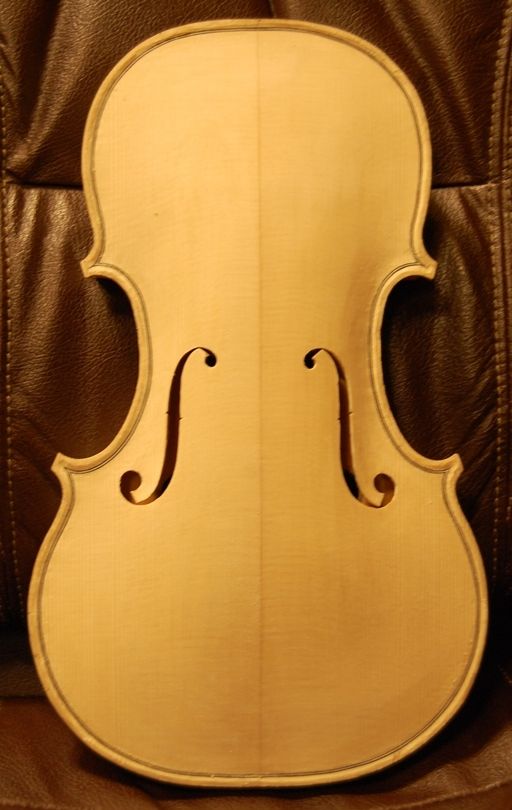
I laid out the “mensur” (sometimes called “stop-length”) on the front plate, for the bridge location, then began to lay out the relative positions of the upper and lower eyes. I had the data sheet to tell me how far apart they were to be, how far off center, and how far from the outer edges of the plate. I simply pushed it this way and that, until everything was according to the data sheet, and then traced the f-hole onto the plate, using a very sharp pencil. Then I flipped the template over and repeated the process on the other side. I double-checked everything, to make sure the layout was correct, cleaned up a few details, and was ready to incise the outlines of the f-holes.
F-hole layout complete. Ready to incise the outlines.
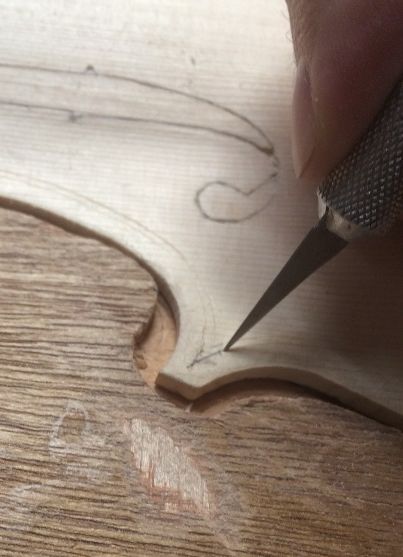
Incising the F-hole Outlines
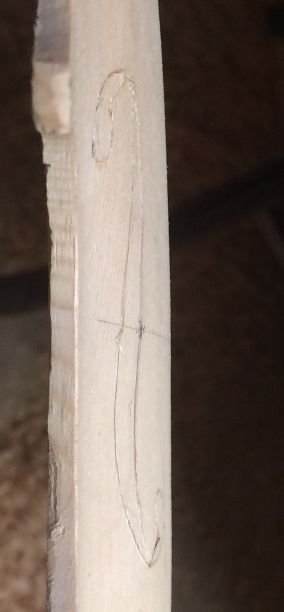
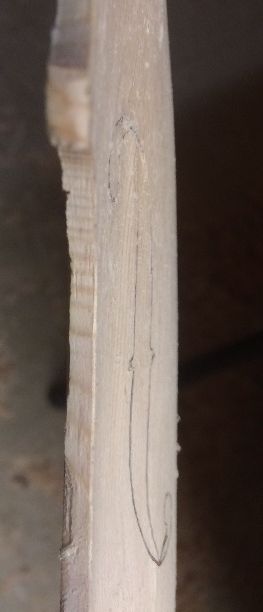
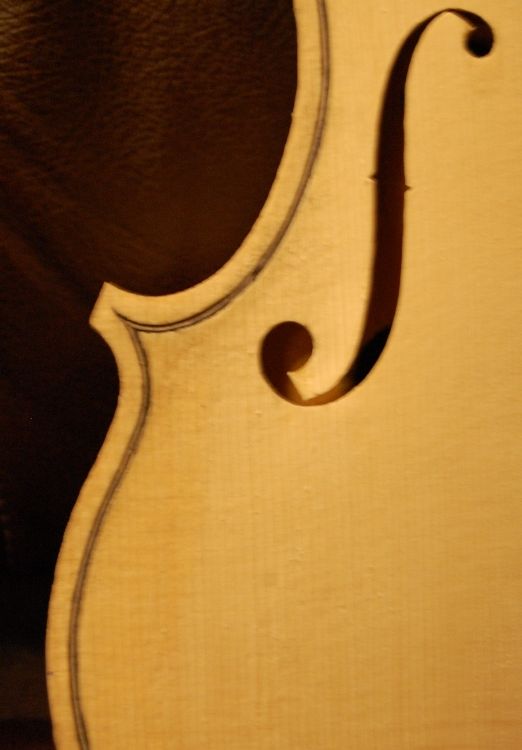
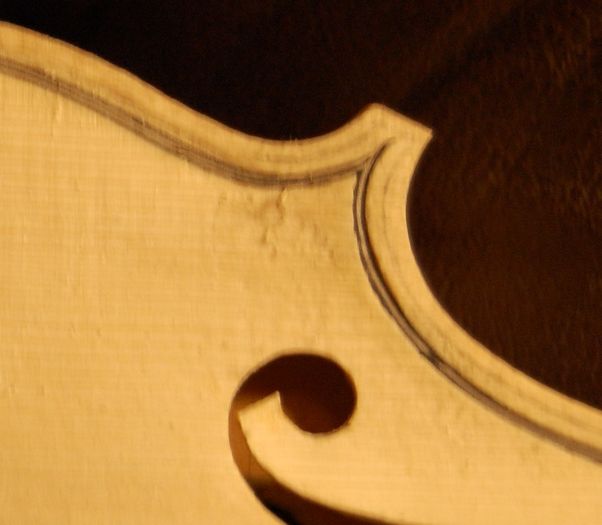
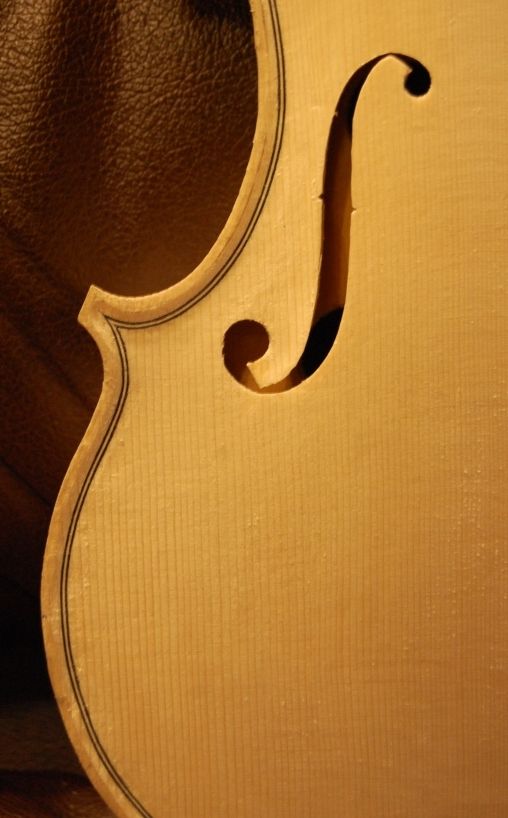
I am only incising the hole outlines at this point, not making any attempt to cut them out: I have found that there is always a small flaw in my archings, in that they are always a little too high at the lower end of the f-holes. The result is that, if I look at them from the edge of the plate, my f-hole outlines look like a letter “S”, laid on its side, whereas when I look at the side view of any of Stradivari’s or Guarneri’s instruments, the stem of the f-holes seem to be nearly parallel to the plane of the ribs. So, to correct this anomaly, I lay the holes out so that they are correct, looking from the front; then I incise my outlines deeply, and finally plane and scrape the “south” end of the holes until the stems look correct from the side. The front view remains unchanged, and now it looks good from the side as well. Here is a “before and after” comparison:
Side view of an F-hole before correction.
Side view of the same F-hole after correction.
Beginning the Purfling Slot
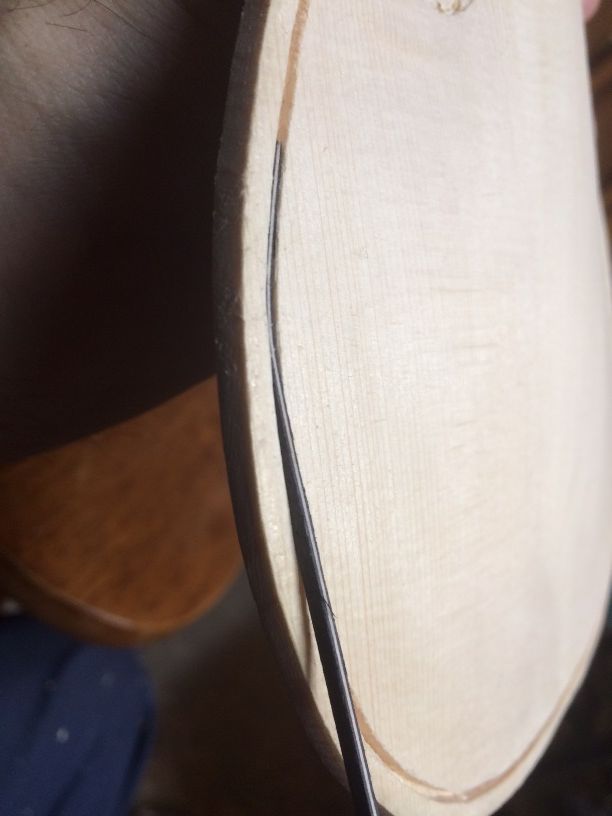
The tool used to mark the location and dimensions of the purfling slot is called a “purfling marker,” or, fairly commonly, a “purfling cutter.” I suppose that, because there are two sharp blades on the tool, which are carefully set to the correct distance apart for the width of the purfling slot, and the correct distance in from the edge of the plate, it probably seems logical to call it a “cutter.” But the fact is, the tool does not work well for that purpose, and it works very well for just creasing the surface of the plate, thus scribing a double line virtually all the way around the plate. Usually the corners themselves must be laid out separately, either by hand and eye, or, by using a special template. (I have done both.)
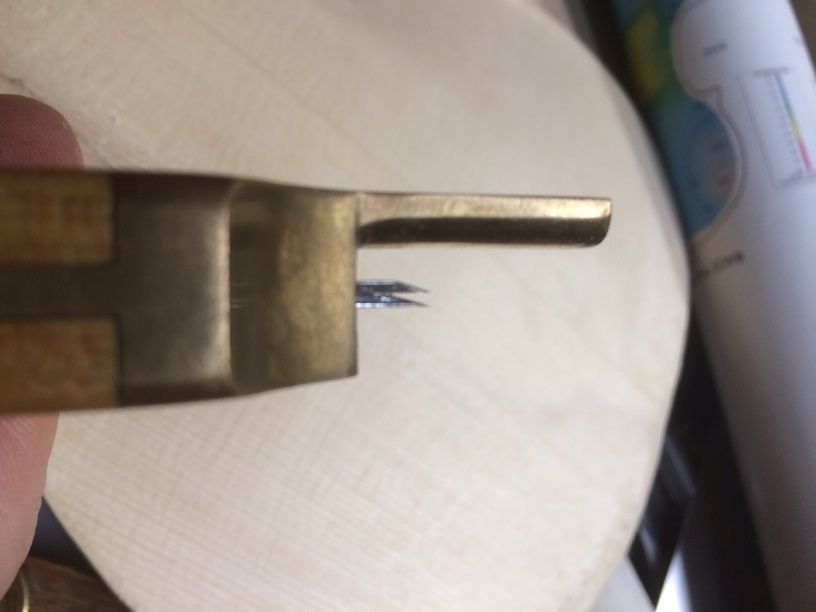
Here is the tool, viewed from the edge, so you can see the two blades. There is a pair of small set-screws that hold the position of the twin blades.
Purfling marker blades. The blades are set for the width of the actual purfling, and the desired distance (4 mm, in this case) from the edge of the plate.
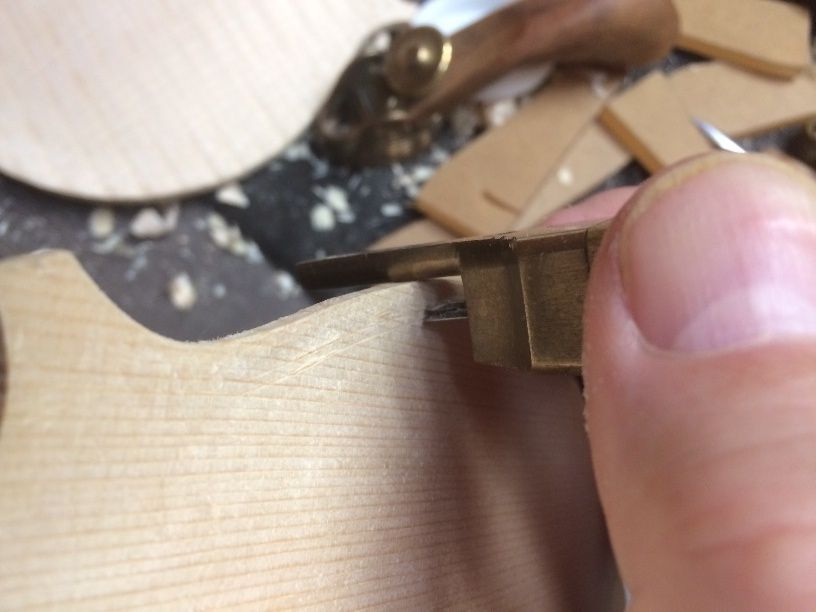
Purfling marker in use. The rounded brass shaft is pressed tightly against the edge of the plate.
Once the slot is marked all the way around, and I am satisfied with the look of the corners, I begin incising the purfling slot. The first time around, I am barely deepening the lines left by the marker; essentially just “darkening” those lines. The second time around, I press a little harder, cutting a deeper path through the wood. After that, I can cut as aggressively as I need to, and not have to worry about the blade being “turned” by a hard winter-reed, and marring the plate. This practice is especially important on the front plate, which invariably of spruce: The summer grains in spruce are very soft and easy to slice. But the winter grains (or “reeds”, as they are called) are much harder, and it is very easy for a harder, winter reed to turn a blade that is trying to cut too deeply from the start. (Hard experience speaking, here.)
Lightly tracing the outlines of the purfling slot with a thin, sharp blade.
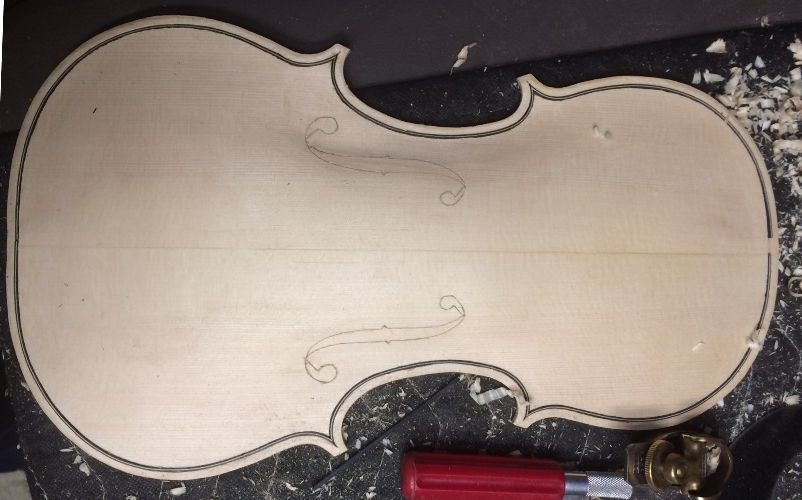
Initial outline lightly incised. Ready for final cuts, and removal of waste wood.
Picking out Waste Wood from the Purfling Slot
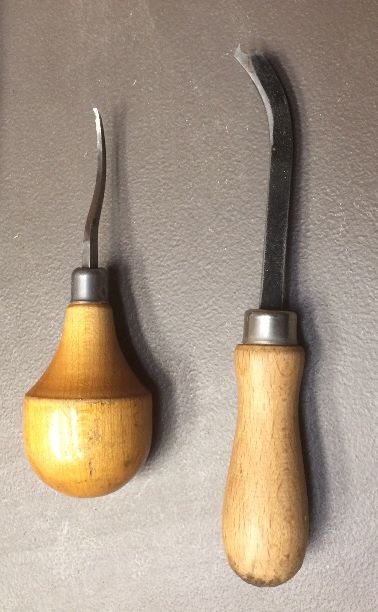
After cutting to the approximate depth I want the purfling slot, I use one of several tools to pick the waste wood out of the slot between the incisions: any of them could be called a purfling pick. One of them is actually a 1/16″ gouge, made by the now-defunct Millers Falls tool people (at least, if they are still in business, I have lost track of them.) One is a tool I made for myself, attempting to achieve an easier, higher-quality cut. (It’s not that great, but it works…I can’t find it, now anyway….) The third is an actual “purfling pick” made by a commercial tool-maker. (I have had other such tools, which were functional to varying degrees. Some I eventually set aside because of poor-quality steel. They wouldn’t hold an edge.) So here are photos of the two I regularly use:
Top tool is a purfling pick from Howard Core Co., and the bottom one is a 1/16″ gouge made by Millers Falls Co.
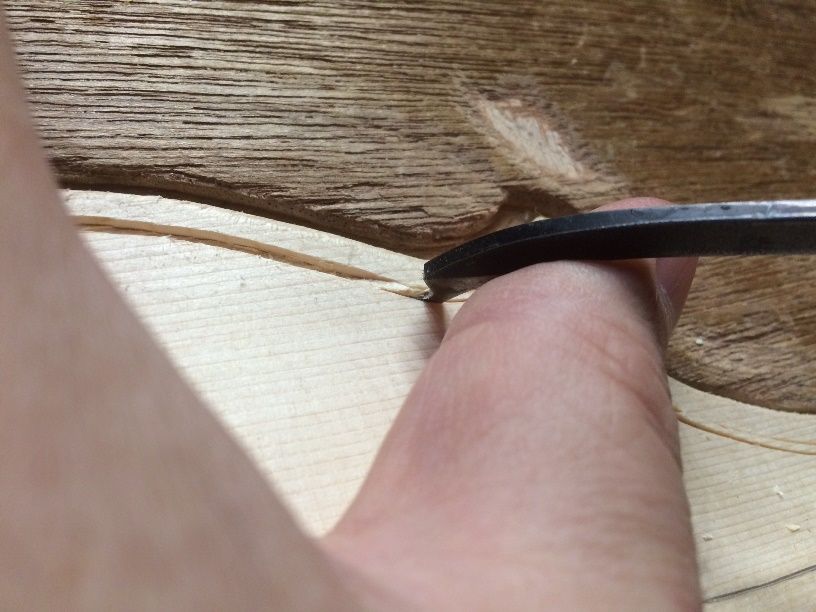
The idea, ultimately, is to end up with a slot into which my purfling will easily fit, but with very little extra room. I want the glue to swell the wood a tiny bit, and make it fit tightly, when I glue it in place. I also want my corners to look good. There is a reason they are frequently called “bee-stings.” I want them to be sharp and clear, and pointed in the right direction.
Using the purfling groove cleaner, (AKA “purfling pick.”)
Purfling slot completed. The dark dot at the top is hide glue, where I repaired a “slip.”
Installing Purfling
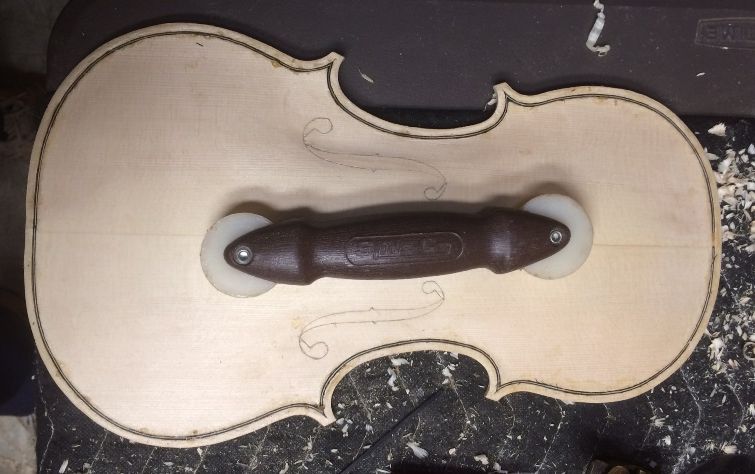
I make certain the slot is the right width and depth, checking it with a piece of scrap purfling, then I cut and bend the purfling to fit, giving special attention to the mitered corners. Finally, I remove one section at a time, slip hot hide-glue into the slot, using a thin palette-knife, and quickly re-insert the section of purfling, using a special roller to press it to the bottom of the slot. Once I have all six (four on the back plate) sections installed, I clean up any excess glue, and set the plate aside to dry.
Checking the depth and width of the purfling slot. I want the purfling to end up just below the surface of the plate.
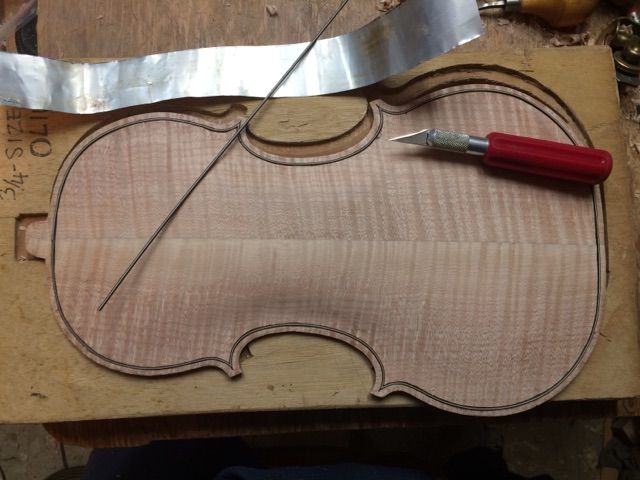
Purfling cut, mitered, bent and inserted into the dry slot. the top center will be removed when the neck mortise is cut.
Purfling glued in place, pressed to the bottom of the slot, using the rollers in the picture.
The back plate is prepared in exactly the same way, except that I like to make the upper and lower purfling sections in one piece on the back. On the front, the top and bottom will eventually be removed when I cut the neck and saddle mortices, so I stop the purfling near the center at the top and bottom of the front plate. In some ways, the back is easier, in that the blade does not tend to wander as easily; but the maple is just a great deal tougher, too, so it is more physically demanding.
Next time, we will (maybe) talk about the final edgework, marking the crest of the edges, and fairing the curve from the bottom of the purfling channel up onto the curvature of the arching. But perhaps carving out the interior would be more appropriate. 🙂
Thanks for looking.
If you found this post helpful, please share with your friends!
I wish I could give a scientific, rock-solid answer, based on the physics of sound, plate vibrations, etc., but I can’t: All I can say for certain is that the arching of the plates is possibly the single most important factor in producing good sound in a violin…with choice of wood being the closest other contender…maybe.
I was told that, during his career, Bob Bein of “Bein & Fushi” violins, could tke a single glance over the individual archings of a pile of violins, and immediately sort them into the “keep” pile and the “discard” pile…and he was consistently correct. The ones he kept became great-playing instruments and the others…well, who knows? They went elsewhere, and someone else struggled with them. But all he was seeing were the archings. These instruments were not even set up– and he was not thumping and listening (as I still do)…his eye told him what the possibilities were. I wish I could explain that, but I can’t.
In the last few years, mainly due to the research of other makers, I have become convinced that a particular curvature, predictable by mathematics, and, importantly, by mathematics that were completely available to the Cremonese makers, may be largely responsible for that sought-after sound. These curves are called either “hypo-cycloid” curves, or “curtate cycloid” curves.
Is it possible, still, that some “holy grail” of tonewood was the key? Sure…but other makers of the same period, using what seems to be the same wood, were not able to capture that tone. Furthermore, some modern makers have managed to acquire wood from that time period and area, and have made violins of it. Nothing remarkable resulted.
Could it still be the subsequent treatment of the wood…some arcane chemical treatment, that gives that special sound? I suppose it could be, but every time someone does chemical analyses of the tiny, precious chips of wood from those instruments, after repairs, all they seem to come up with is that it may have a mineral ground of some sort (jury is still out on that one), and that, otherwise, it simply has a varnish comprised of linseed oil and larch resin, or pine resin, or something similar. Nothing special there, either. Annnd, all the modern-day experiments done with rabbit urine, horse manure, potassium silicate, and a variety of unlikely-sounding candidates for “the secret” have all turned out pretty unimpressive, to the best of my knowledge. So…no secrets to reveal, today. Sorry.
Personally, I had finally come to the conclusion that the Cremonese makers simply were the best makers the world had ever seen. But the hypo-cycloid archings (also called “curtate cycloids”) may actually hold a key. I do know that, since I began attempting to use the curtate cycloid arching curves, players have picked out those particular instruments, and said “Whatever you did on this instrument, keep doing it! This one is the best!” (Or similar accolades….) And (so importantly) it turns out that virtually all of the Cremonese master instruments match these curves with amazing accuracy. (Just as if they planned it that way!)
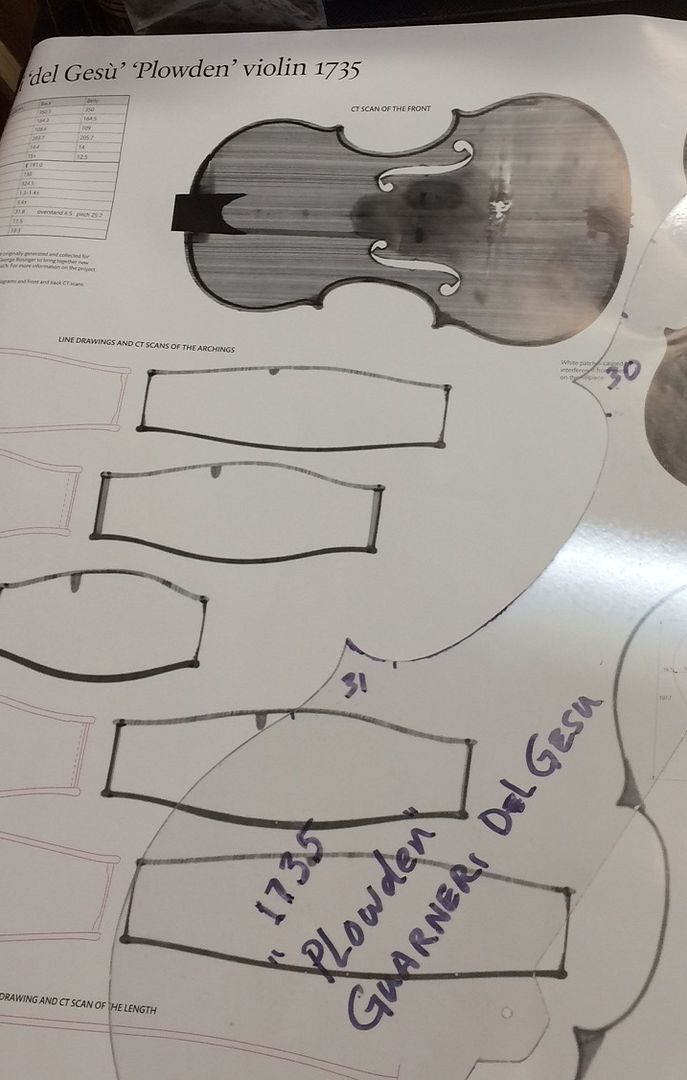
So…No more “by guess and by golly!” I have done it with compass and straightedge and calculator, for my own models, but this time I lifted the arching template designs from the poster. Incidentally, when I take my arching templates directly off the posters, I get the same curves, so…I made the arching templates, both front and back, longitudinal and transverse, and I do try to use them.
Edge Thickness:
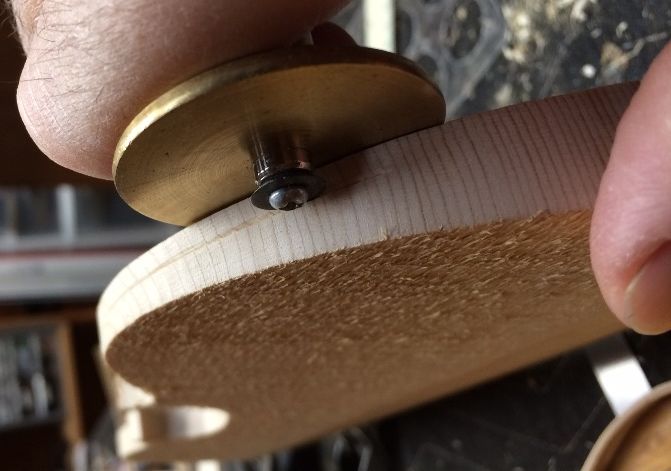
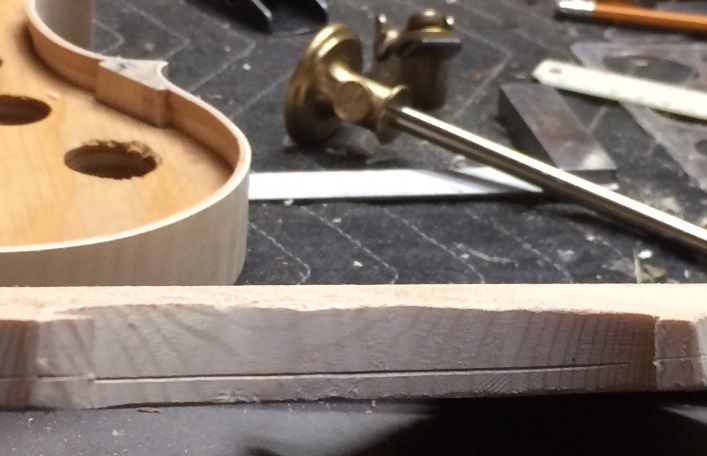
The beginning step is to establish the edge thickness. This particular Guarneri model seems to have begun with 4 millimeter edge thickness, which in some areas ended up more like 3.7 or 3.8. So, I set my wheel marking gauge to 4mm and scribed a line all the way around both plates:
Using a wheel marking gauge to scribe the edge thicknesses. I moved my hand a little while taking the photo…the brass wheel is held tightly against the flat of the plate.
The result is a line parallel to the flat side of the plate, exactly delineating the right thickness for the edge.
Arching, and Arching Templates
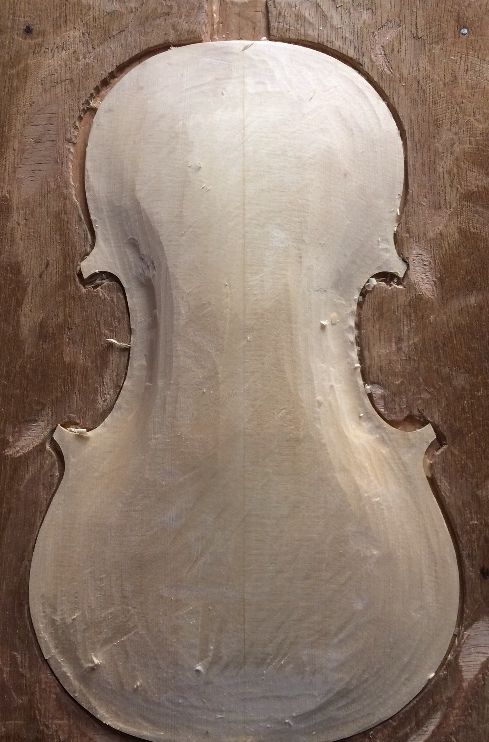
Then I carve away the excess wood, down to the line, making a flat area at least 10-12 mm wide, all the way around the perimeter of the plate, and begin carving away the excess thickness, curving up from that “platform,” up to the center high spot of the plate. At this point I know the arching is still far too high and puffy, but I will begin using arching templates, along with gouges and finger-planes, to bring it into some semblance of an ideal arch. The final shaping will be done using sharp scrapers and low-angle light, to reveal irregularities of any sort. Here is the (very rough) preliminary arching for the front plate:
Preliminary arching (very rough) of front plate. It is still far too high and “puffy”.
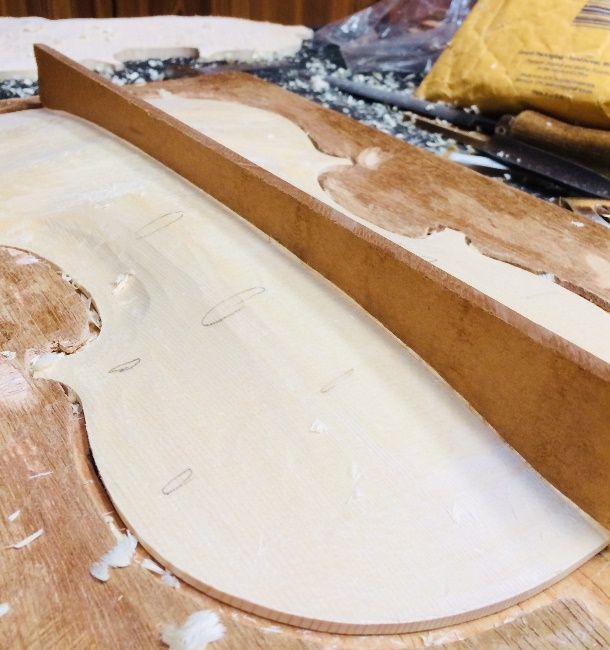
I use arching templates, either derived mathematically, or traced from a poster, to adjust the shape of the plates.
This is the longitudinal arching template, specifically for the front plate. Once this curve is right, I can adjust the transverse archings.
Beginning the transverse archings. The fit has to be nearly perfect, to maximize the benefit of the arching plan.
Things are beginning to smooth out. There are definitely a host of humps and hollows to remove, but I am pleased with the beginnings.
The view from the bottom of the plate. It’s hard to see the curves, but they are looking pretty good.
The back plate arching, though different from the front, is accomplished in exactly the same manner. I will show pictures of it another day. I’m getting pretty tired. Once the outer archings are as close as I can get them, I will flip the plates over in the cradle, and carve the inside arching, carefully monitoring the thicknesses all over the plate. This pattern of thicknesses is called “Plate Graduation”, and they seem to be fairly important, too, though not nearly so much as the archings.
More later.
Thanks for looking.
If you found this post helpful, please share with your friends!
Last time, I had the Garland complete, except for trimming (shaping) the linings, and levelling the front of the garland so I could trace the shape of the plates from the completed garland. I shaped the linings, using a small sharp knife and a scraper:
The linings are shaped using a small sharp knife to cut the taper, and then scraped smooth, using a scraper.
Leveling the Garland and Tracing the Plates
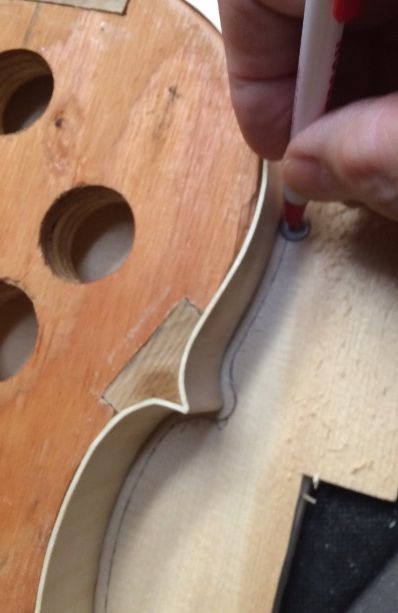
I leveled the garland by rubbing it on a sanding board (coarse abrasive cloth glued to a flat aluminum plate, in this case), and then used a washer to trace the shape onto the front plate. The washer adds 3 millimeters around the perimeter of the garland, to allow for the plate overhang on the finished instrument. I still have to shape the corners separately, as the washer simply makes them round:
Tracing the plate perimeter, using a washer and a ball-point pen.
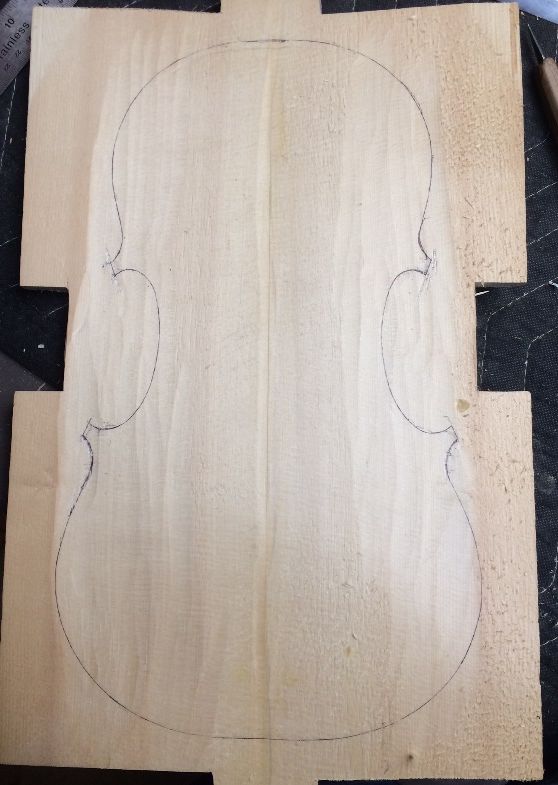
The front plate perimeter as it was initially traced: notice the round corners.
Now the corners have been refined and corrected. I am deliberately leaving them on the long side; I will trim them later.
Cutting out the Plates
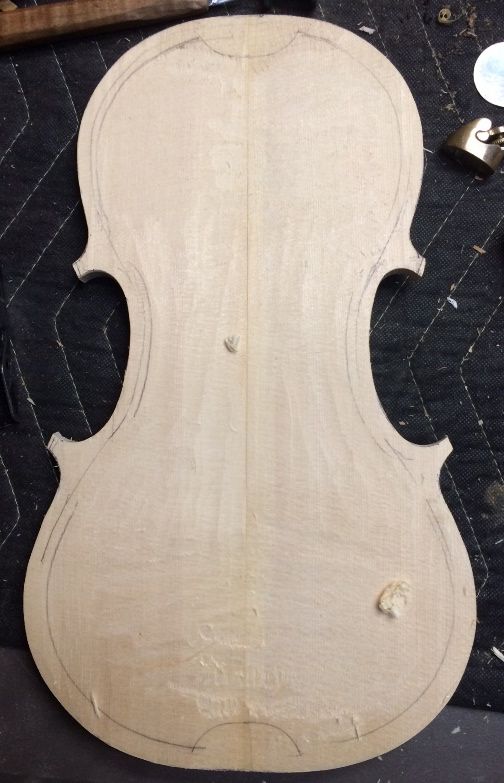
I used a bandsaw to cut out the plates, as close to the lines as I could, without touching them. Then I used a spindle sander to bring the perimeter exactly to the lines, and, finally, I used files to smooth out any ripples left by the sander. I am really not comfortable looking at these extra-long corners, but, once the garland is glued to the plate, it is very easy to trim them to the exact length I want; and much more difficult to put wood back, if I remove too much.
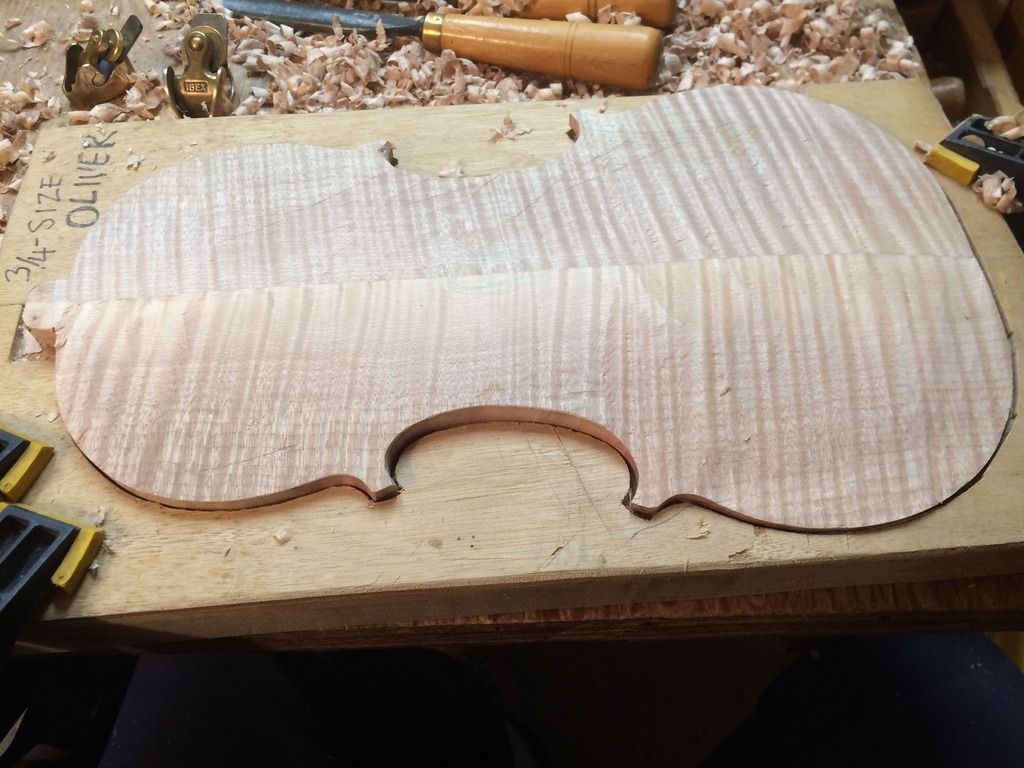
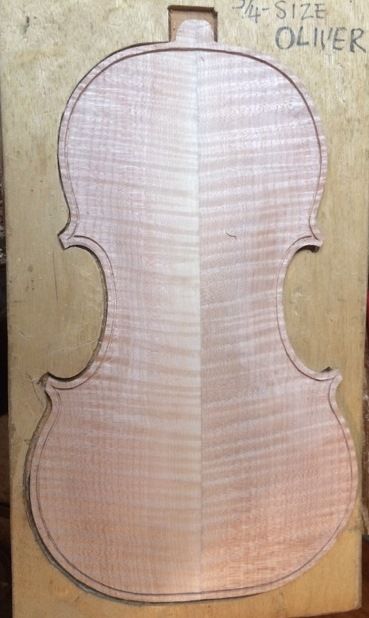
Front plate interior, cut, refined, and ready for carving. The lines show the margins, and the corner and end-blocks’ shapes.
I am deliberately leaving my corners abnormally long, as one of the problems noted by my teacher is that I have had a pattern of making rather short corners. (Ironically, I had only done so as an over-correction to an early tendency to make my corners too long. Sigh…)
I handled the back plate in similar fashion to the front, and completed it next. It was very important that I remember to trace the front plate off the front of the garland, and the back plate off the back. The two look very similar, and will match very well when complete, but they are not precisely symmetrical about the centerline, so; if I forget and trace them both from the same side, then one of them will definitely not fit. (Ask me how I know….)
Now I am ready to begin plate-carving. I will begin with the front plate, simply because it is easier on my hands. Furthermore, the pattern of building I follow requires that the front plate be completed first anyway. But, honestly, the older I get, the more it stresses my hands to carve the maple, so it is nice to have the front plate completely done, and to feel good about that while I begin to tackle the back plate.
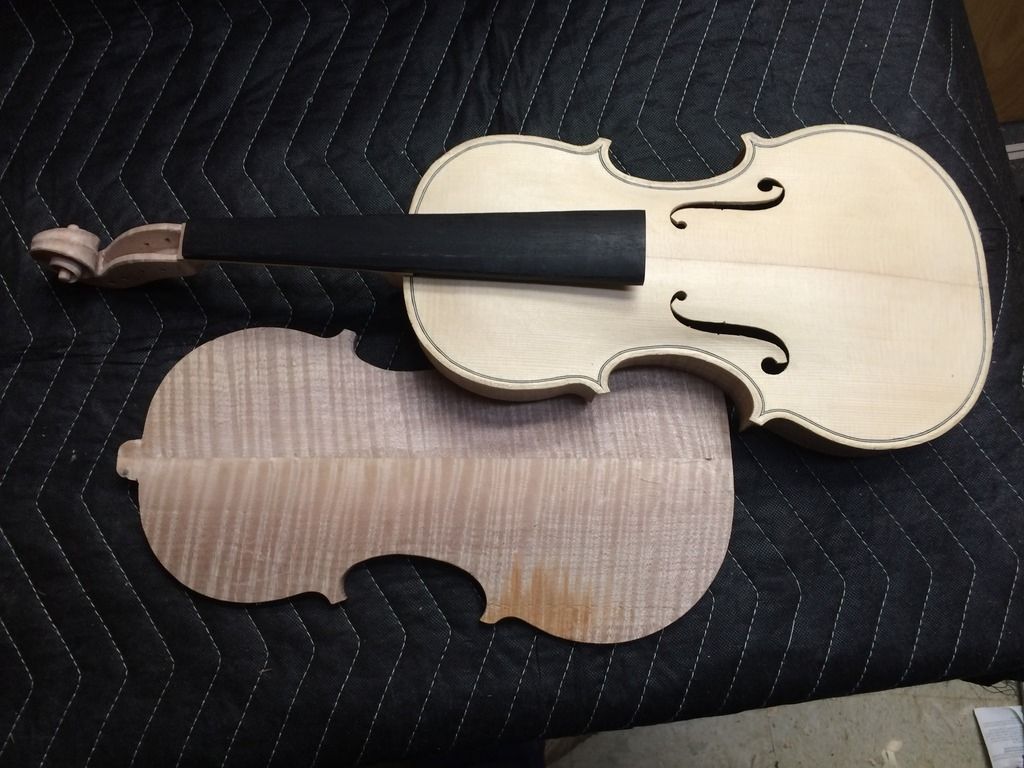
Both plates, along with the completed garland. Looking at the interior of each plate, and the front side of the garland.
To you sharp-eyed observers, the reason the slant of the “flame” on the back is going up from left to right, instead of down from left to right, is that you are looking at the inside of the plate. When I turn it over and carve the outside, you will see that it slopes the same way as the one in the poster.
Over the next few days, I will move toward completing the carving of the front plate. Then…well, you can follow along and see. 🙂
Thanks for looking!
If you found this post helpful, please share with your friends!
Inner curves of corner-blocks, and both end-blocks, first
I learned to shape only the inner curves of the corner blocks, initially, as well as the outer curves of the end blocks, because if I shape both curves on each corner block, then there exists the possibility that, when I clamp the center-bout ribs in place for gluing, the tips of the blocks may deflect outward, instead of holding their respective shapes.
Also, after the c-bout ribs are glued in place, when I shape the outer curves, in preparation for receiving the upper and lower ribs, I shape the ends of the c-bout ribs at the same time, so that they simply continue the curvature of the blocks, to a feather-thin end condition, before gluing the upper and lower ribs in place. Then, when I trim the upper and lower ribs, it is easy to make the glue-lines between the c-bout ribs and the upper and lower ribs completely invisible, matching the corner of the trimmed ribs at the corners of the instrument garland.
So, here is the mold with the blocks shaped as described above:
Blocks shaped in preparation to installing certer-bout ribs.
Ribs are Next
When using figured wood, I have to make a determination as to which angle the figuring will follow on the instrument. I thought I could just copy whatever the Old Master (Guarneri del Gesu) had done, but, as it turns out, he used highly figured wood for the ribs, all right, but the flame (curl) in the maple went directly across the rib at nearly exactly 90 degrees, whereas mine is quite slanted. So, I have to make a decision: Will I have the curl slant “up” (north) from the back side to the front, or the other way– from front to back?
Really, I simply have to make it consistent, on both the treble and bass sides. Some makers have the slant in the C-bouts going the opposite direction from that of the upper and lower bouts. Some, also, have used a single rib across the two lower bouts, and thus had the flame slanting one way on the bass side and the other way on the treble, and then matched the center and upper bout rib curl to the lower bout rib, so that the grain was consistent all the way around, instead of being mirrored between the two sides.
That sounds good: but, in the first place, I haven’t enough rib wood to pull it off correctly; and, in the second place, it can potentially cause problems later on, if the plates shrink (they are made of wood, remember!) and the ribs have to be shortened a little, to match. If there is already a joint at the center, it is relatively easy to simply shorten each side by a millimeter or so, as needed, and re-shape the end-pin hole. But if the bottom wood is all one piece, the repairer will have to cut through that bottom rib, and establish a new center joint; so the two halves will no longer match perfectly, though it will be pretty close.
Anyway: I usually would first thin the ribs to a consistent one millimeter thickness, and then cut them to length, carefully laying them out as to location and orientation, before bending. This time, I consulted with one of my teachers, who assured me that Guarneri ribs were a little thicker. So, since the ribs came to me at 1.3 mm, I will consider that to be the ideal thickness for this particular instrument.
Ribs for new violin (one is already on the mold.)
Then I can bend all the ribs, individually, and set them aside ready to be used. In the case of the C-bout ribs, I clamp them into the mold, where they will cool, and stabilize, in exactly the correct shape. Afterward, I used a small brush to slip glue into the joints, and secure the C-bout ribs permanently to the corner blocks.
First (Bass side) C-bout rib installed.
Second (Treble side) C-bout rib installed.
When the glue holding the C-bout ribs had dried sufficiently, I shaped the outer curves of the corner blocks appropriately: You can see, in the photograph, below, that the center rib-ends have been shaped along with the outer curves of the corner blocks, so that they will cleanly fair into the curves of the upper and lower ribs.
Final shape of corner blocks. C-bout ribs are shaped along with the corner blocks.
I then immediately installed the upper and lower ribs in their respective places. In this particular case, I chose to install the lower ribs first. After the glue dried for a few hours, I installed the upper ribs.
Lower bout ribs installed.
All ribs installed.
When the glue holding the upper and lower ribs had dried sufficiently, I trimmed the ends to the correct length, and filed them smooth. The only “end-grain” showing will be the ends of the upper and lower ribs at each of the corners. I try to make them square with the centerlines of the corner blocks, so that it gives the inpression of a “mitered”corner, but with no apparent glue-joint: the joint is exactly along the corner of the squared-off rib end. The first priority is to have the rib end at the right angle, so it will appear to be perpendicular to the plane of the garland. The next is to file them to look “square” with the corner, as I explained above. Finally, some creative scraping of the C-bout rib-ends will usually move the glue joint to be exactly on the corner of the upper or lower rib, and make it essentially invisible. This one is close:
Corner, nearly complete: a little more scraping will make that joint invisible.
Linings
The only thing left to complete the garland is to install linings on both the front and back sides. The way I have chosen to use my mold (“French” method…ribs flush to one side of the mold) precludes my adding the back linings until after I remove the mold. That is fine: I also intend to leave the mold in place until after I have set the neck, so I have quite a way to go on that step.
Not everyone installs the neck while the corpus is on the mold. I began doing it when building my first cello, and it helped so much with neck-setting that I have continued it ever since. I deliberately allow the heel to “run wild”, in terms of length (or height, depending on how you are looking at it), so that it protrudes past the back of the neck block a little bit. When all my other items (angles, measurements, etc.) are exactly correct, I glue the neck in place, and before installing the back plate, I simply trim the back of the neck-heel flush with the back of the corpus. Then the back plate fits perfectly, and I am not struggling to get that joint tight. But… I am getting ahead of myself…. 🙂
I cut strips of willow to the appropriate dimensions for linings and then plane them smooth; then bend them to fit the curves of the violin, and finally, cut them to the appropriate lengths, and install them. Willow responds very well to both bending and carving, which is why I prefer it for lining material. I can bend all the linings in just a few minutes, and they will all hold their shape until I am ready to use them.
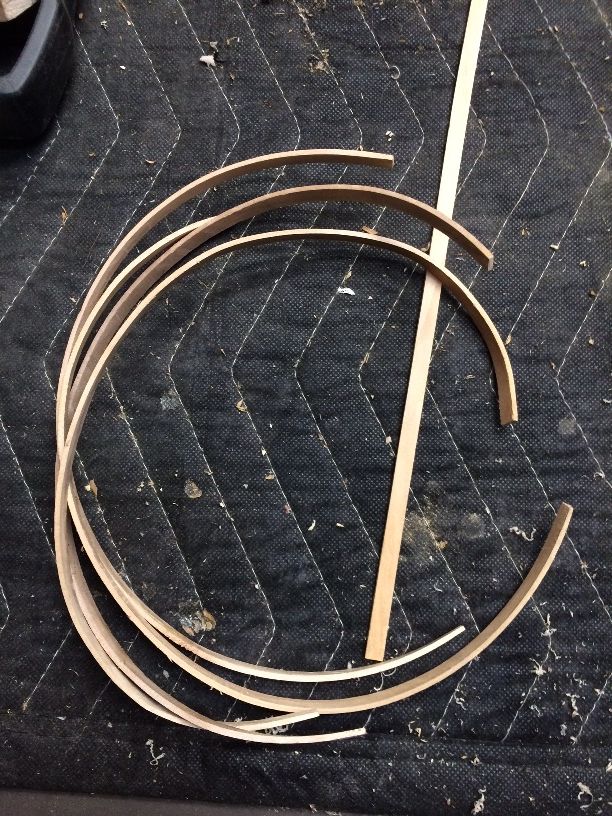
Bent linings, ready to be cut to length and installed. Willow is easy to bend: These linings all started out like the straight one in the photo.
After the corners are all dry and secure, and trimmed, I cut two small mortises in each block, to receive the linings; then cut the linings to exactly the right lengths for a tight fit. The linings serve two purposes: they strengthen the edge of the ribs, which would otherwise be quite fragile; and they triple the gluing surface area bewteen the rib garland and the plates.
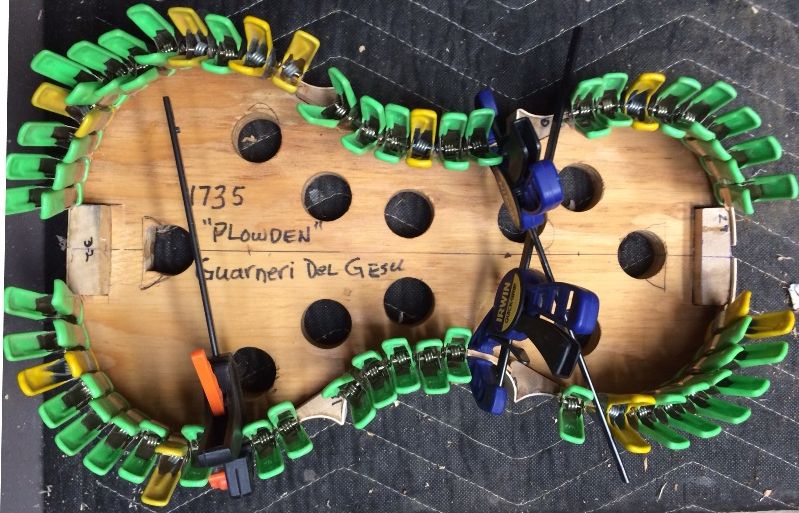
When I have all the linings fitted correctly, I remove them one at a time, apply hot hide glue, re-insert the linings, and clamp them in place, using tiny spring clamps. Sometimes one or more areas are more stubborn, and require a heavier clamp. Then I use something with more authority.
Linings fitted, glued and clamped.
So: there is the garland (rib-structure), essentially ready to use! Next time we will level the garland, and use it to trace the shape of the front plate. At some point before attaching the front plate, I will also trim the linings to a triangular cross-section, so that the inner edges taper to a thin transition, and do not add a stress-riser to the ribs. I’m not certain whether it would affect sound, but the Old Masters did it that way, so I will follow their example. The corner blocks also will be trimmed back to be fairly minimal. I will carve away the end-blocks to each be the shape of half an ellipse, but I will leave them fairly robust, for strength.
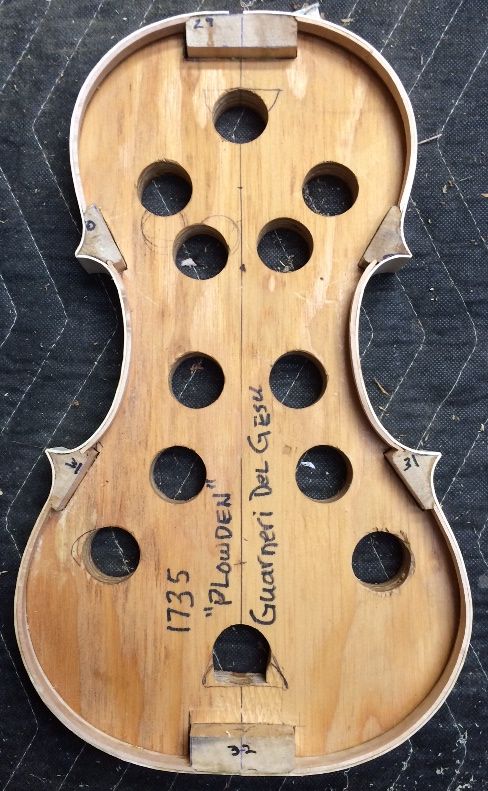
Mold with blocks, ribs and linings.
You can still see traces of ink and glue on the blocks, looking like gaps…that will all go away when I level the garland.
Thanks for looking.
If you found this post helpful, please share with your friends!
I had been pondering (glumly) what to build for the next show at Marylhurst University, and had nearly decided upon one of two “niche-market” items…either a very large “violoncello da spalla”, or an emulation of David Rivinus’s “Pellegrina.” I had spoken to Mr. Rivinus a couple of years ago, and he told me that, for years, he had encouraged other luthiers to use his design, as a partial solution for some of the “work-related injuries” associated with playing large violas…but no one took him up on it, so he just produced them himself for the rest of his lutherie career, ultimately making 100, or so, of the odd-looking instruments. They were all sold, ultimately, and he has stopped taking orders, so I considered “taking up the mantle”, so to speak, and producing instruments modelled after his work. But, as I said, that really is rather a “niche-market” viola.
The violoncello da spalla is possibly even more specialized, as, though it is strung very much like a regular violoncello (cello), it has a fifth string (E), above the standard C-G-D-A of the cello, is only 19-20″ long on the body, and is generally played off the right shoulder, so that the lower bass-side bout is under the chin, and the bowing arm comes up from underneath, so that the player is nearly as comfortable as when playing a small viola, but the sound is that of a cello or extremely large viola–take your pick. Very little classical music has been written for these instruments, so I doubt there would ever be a lot of market for them, though I would love to build them.
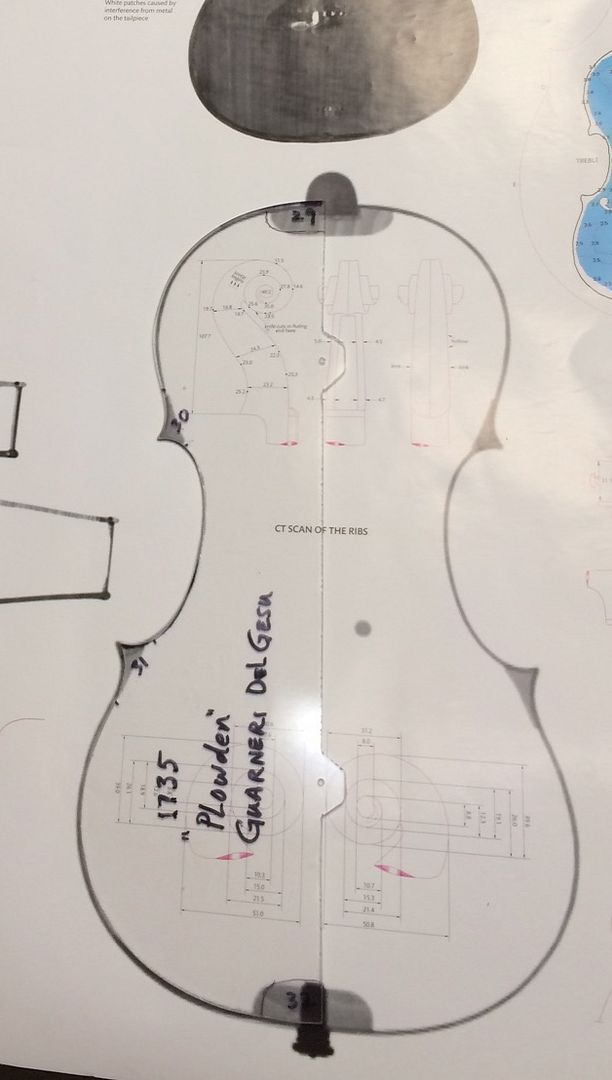
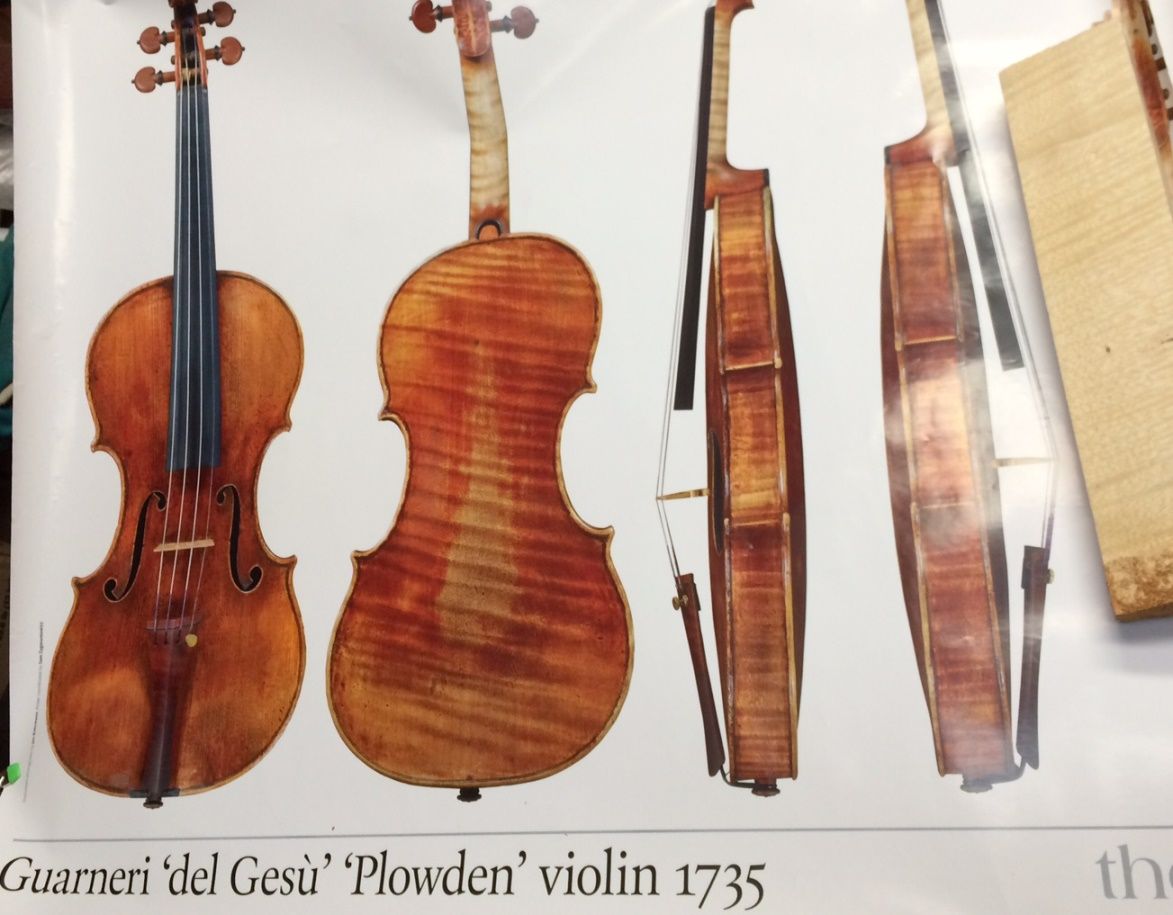
But! in the midst of these ponderings, I had sent one of my teachers a couple of sets of photos of two of my recent violins, and, while he was quite encouraging and positive, he took the time to give me a carefully-considered, and quite detailed critique (what a treasure!) of both instruments, telling me what changes he would want to see, when comparing my work to one of the Old Masters (Guarneri del Gesu, in particular.) So! I changed course, and figured that I have just enough time to attempt another copy of the 1735 “Plowden” Guarneri del Gesu violin, of which I already have the “The Strad” poster, with actual CT-scans of the original instrument, and exquisite photos of the outside, along with technical drawings and tables of measurements. Game on! New Project!
Guarneri del Gesu
(Bartolomeo Giuseppe Guarneri 1698 – 1744) was a violin maker living and working in Cremona, Italy. He was one of the sons of Giuseppe Giovanni, and, though he was not very successful in his lifetime as a luthier (having to supplement his income by other means) compared to the more famous Antonio Stradivari, some of his later instruments are highly prized today, and sell for more than perhaps the very best Stradivari violins. Currently the very highest price (undisclosed, but reportedly in excess of $15M) was paid for the 1741 “Vieuxtemps” Guarneri del Gesu, on lifetime loan to Anne Akiko Meyers. I have never attempted an instrument modelled after the “Vieuxtemps”, but I have made two or three modelled after the 1735 “Plowden.” So that is the chosen model, again.
Starting from Scratch, Again
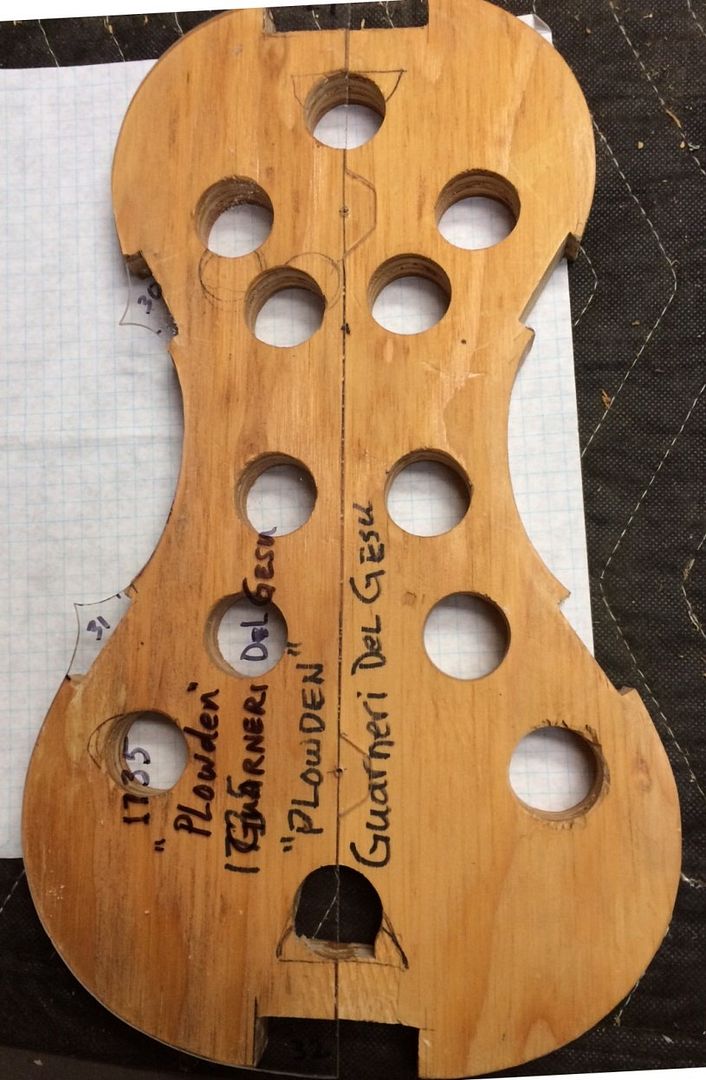
Checking the Mold Template against the Poster CT-Scan…I thought it had been exact, but there were some tiny discrepancies.
The black-marked edges are the places I corrected next. (Not much, really, but striving for perfection, here.)
These are the photos on the poster front. The poster does not want to lie flat– I store it in a mailing tube, to keep it undamaged.
Checking the mold against the corrected mold-template: as it turns out, the corrections were all within the areas of the blocks– the mold is fine.
Blocks cut and fitted…notice the differing heights, marked on the ends.
Blocks glued in place. I use Titebond for this task, but nearly nothing else.
Block shapes, as traced from the mold template.
The Wood for the New Violin
This will be a one-piece back of European Maple, neck and ribs matching the back, and a two-piece front plate of European Spruce. All were obtained from International Violin Co., of Baltimore, MD.
One-piece back, neck and ribs of European Maple, front of European Spruce.
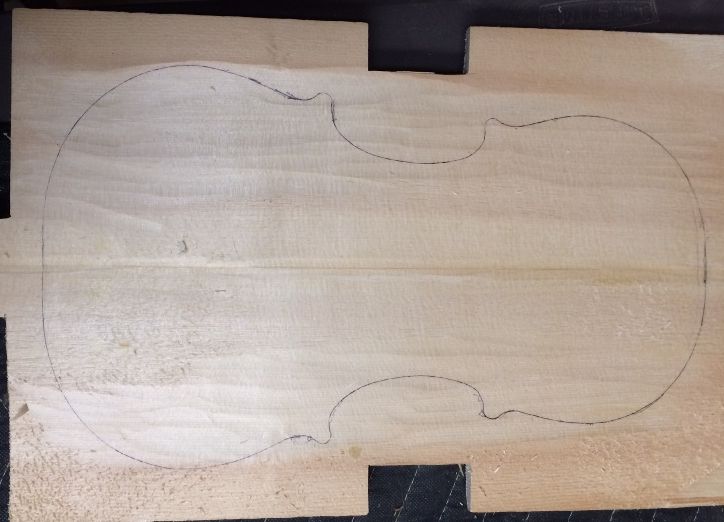
That trace on the back plate was put there by the wood-source people…it does not reflect the shape of this violin at all.
So! That is the Beginning!
I will carve the inner curves of the center-bout blocks next, so that I can bend and fit the center ribs to match those curves. Afterward, I will carve the outer curves of those same blocks as well as the tail and neck blocks, before bending and fitting the upper and lower ribs.
As a precaution against accidentally gluing the ribs to the mold, I already rubbed a paraffin candle all over the edges of the mold, where the ribs will touch, so that if an accidental drop of hide-glue ends up there, it will not stick. (Been there…broke the rib, before I figured out what was amiss.)
This is as far as I am going today…I am still recovering from hernia surgery last week, and I find I still tire easily. But I’m on my way, and will try to keep you posted, with progress reports, here
Thanks for looking.
Chet Bishop
If you found this post helpful, please share with your friends!
Bending and Installing Bass Ribs and Linings: Part 1
Gamba-corners versus Violin-corners
When I built my first bass, ten years ago, I built a bass rib bending “iron” of heavy aluminum pipe, and it worked acceptably for that bass, primarily because it was a “gamba-cornered” bass:
Gamba-cornered bass: no recurve at the corners.
The gamba-cornered basses derive their name from their earlier predecessors, the viols. (Some people still refer to them as “bass viols”.) The violas da gamba were a medium-sized viol, intended to be played in a sitting position, gripped between the knees, like a cello without an end-pin. Their corners had no recurve, so the basses with similarly shaped corners are called “gamba-cornered.”
But this bass, in addition to having a removeable neck, will be a “violin-cornered” bass, with sharp recurves at each corner. And, as it turned out, the old bending iron just wasn’t going to work. So I improvised by clamping a piece of 4″ ABS pipe to the workbench, draping a wet rag over the rib in progress, and “pressing” it with a clothes-iron. Surprisingly, it actually worked, just not all that well. I could get a rib flexible and roughly bent the way I hoped, but then had to quickly clamp the floppy rib into the mold and let it cool and dry there, and regain some rigidity.
Again; it actually worked… just not very well. It was a very frustrating process, and clumsy, much as if I had never built a bass before. I can tell that, before I build another bass, I need to build a better bending iron…and maybe streamline my mold a bit, as well– this one is a real tank, and inconvenient to use, as I did not use good foresight regarding where clamps would fit, so as to actually use the mold. (sigh…)
So, when I last posted photos (16 months ago…things have been busy) I had the mold prepared and the ribs ready for bending.
Bass mold with blocks installed and shaped. The mold will be removed, leaving only the blocks as part of the finisnhed Bass.
Bass ribs ready for bending. The blocks were not shaped yet, in this picture. I ended up removing that neck block and replacing it with Spruce.
Bending and Installing the Ribs and Linings:
I always install the center bout ribs first–usually called the c-bout ribs. When the glue has dried on the c-bout ribs, they can be trimmed to match the outer curve of teh corner blocks, and the upper and lower ribs can be installed.
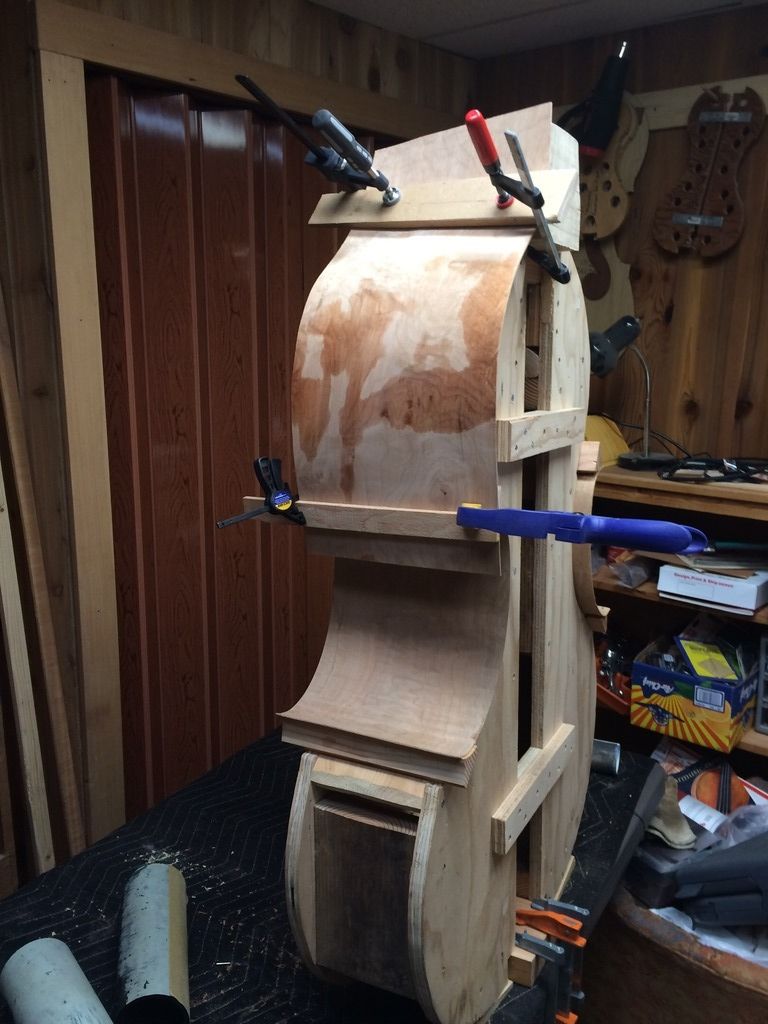
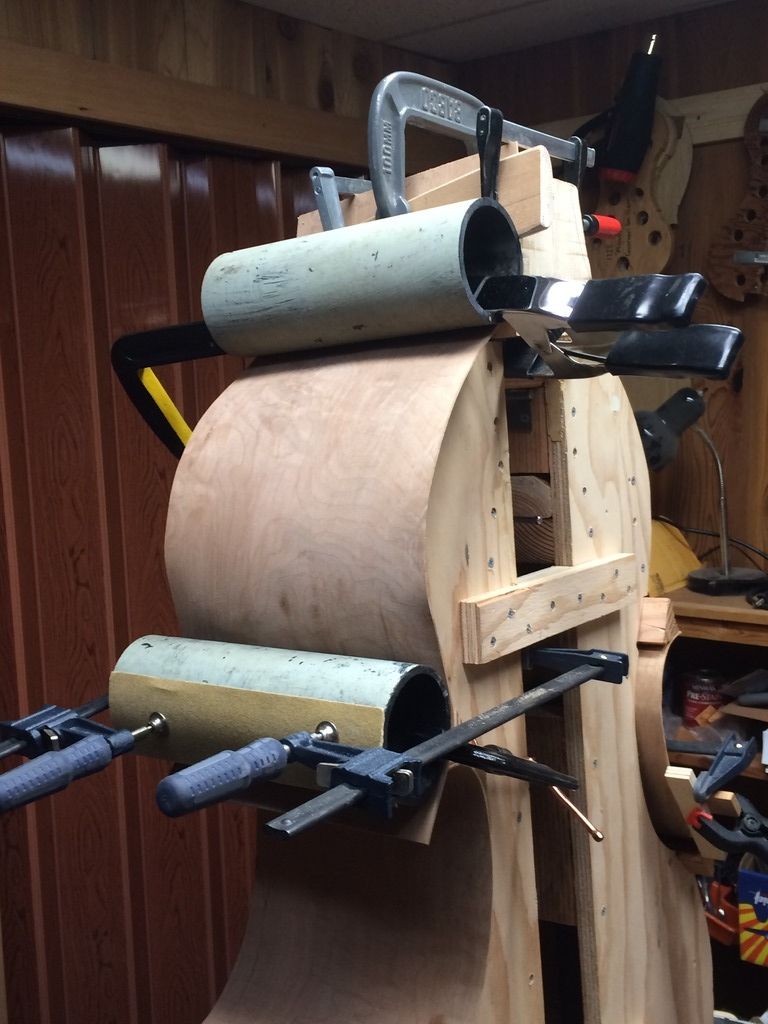
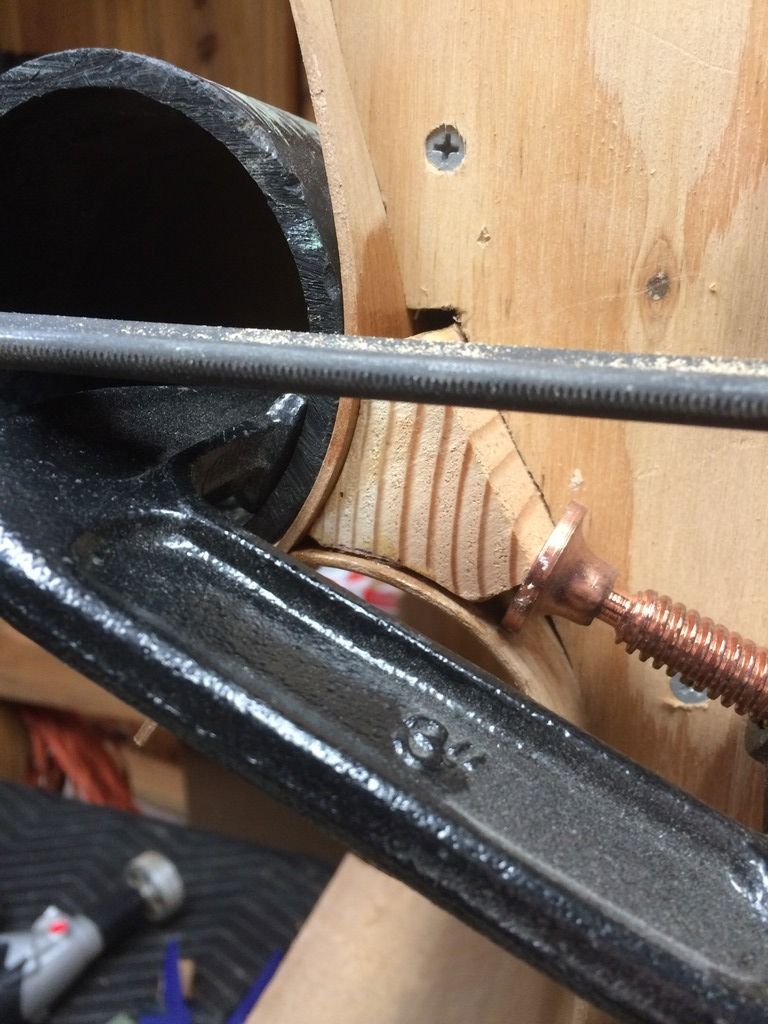
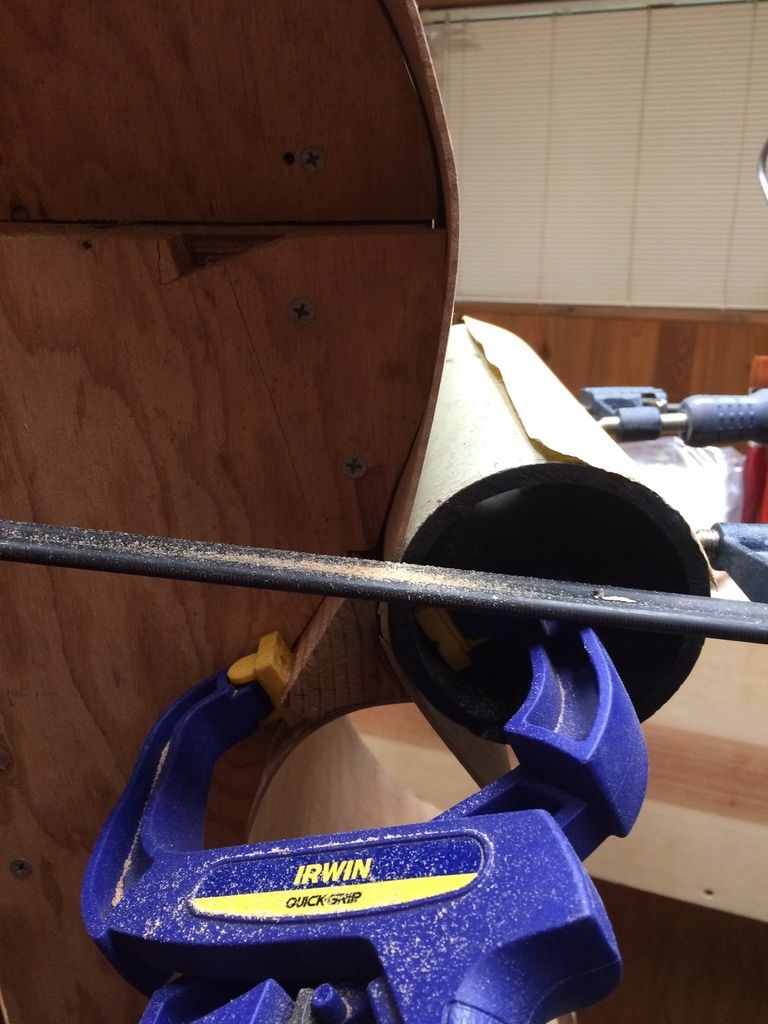
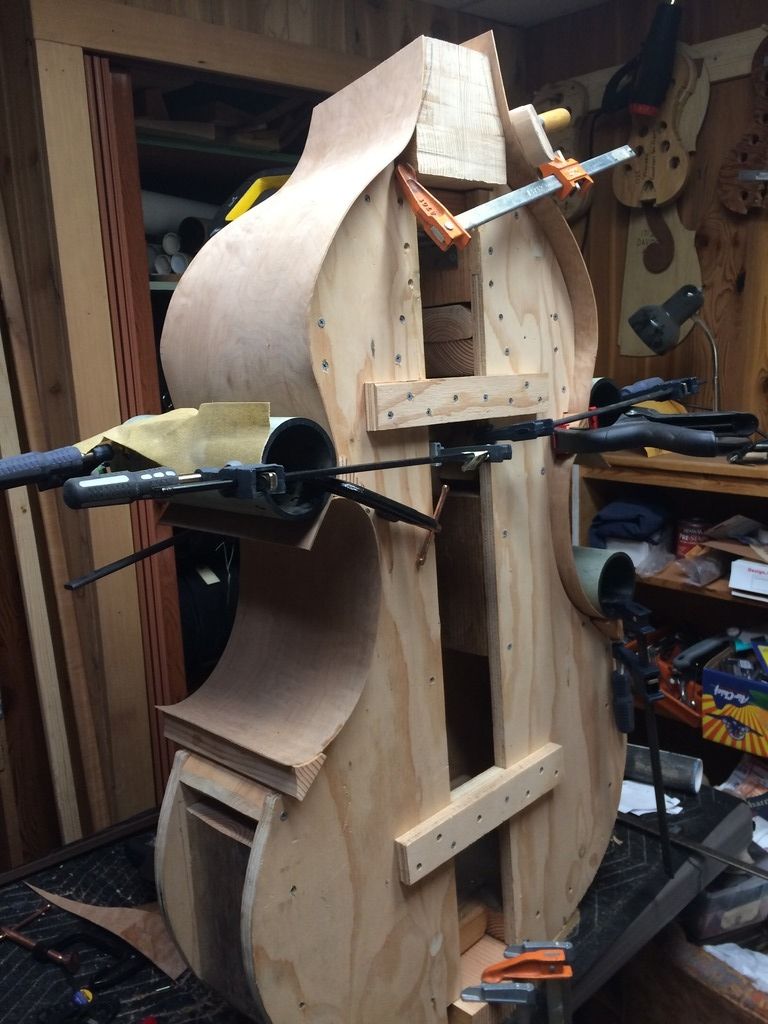
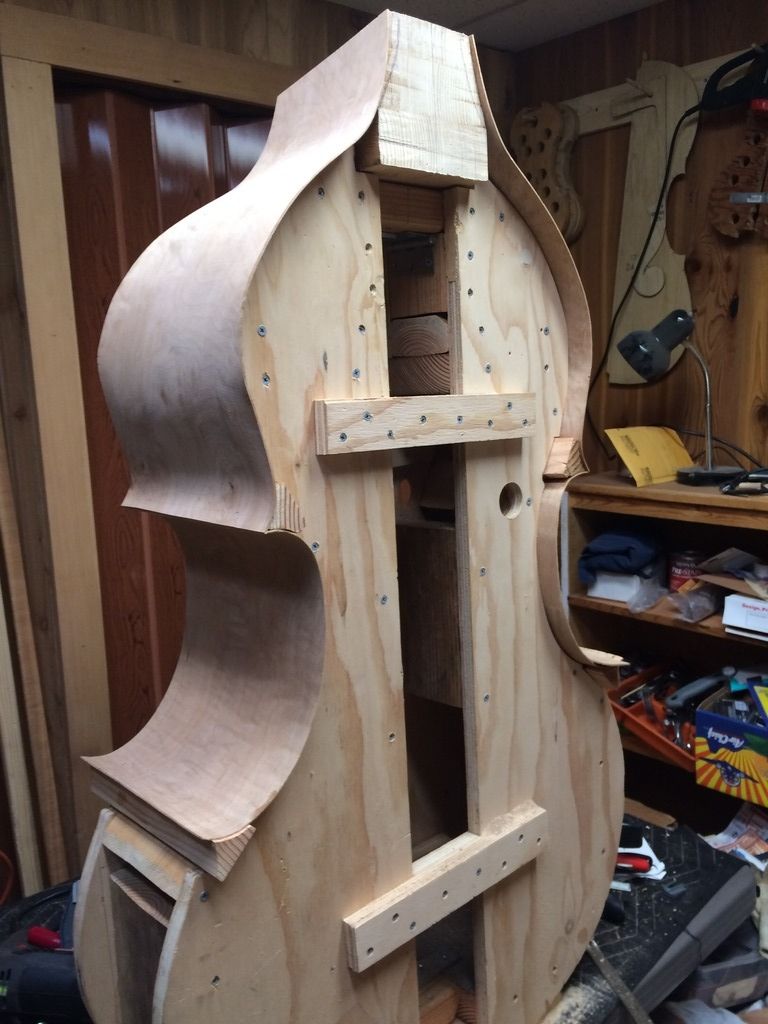
The C-bout ribs have been installed and trimmed. I used salvaged ABS pipe for clampling cauls, and any sort of clamp I could lay hands on.
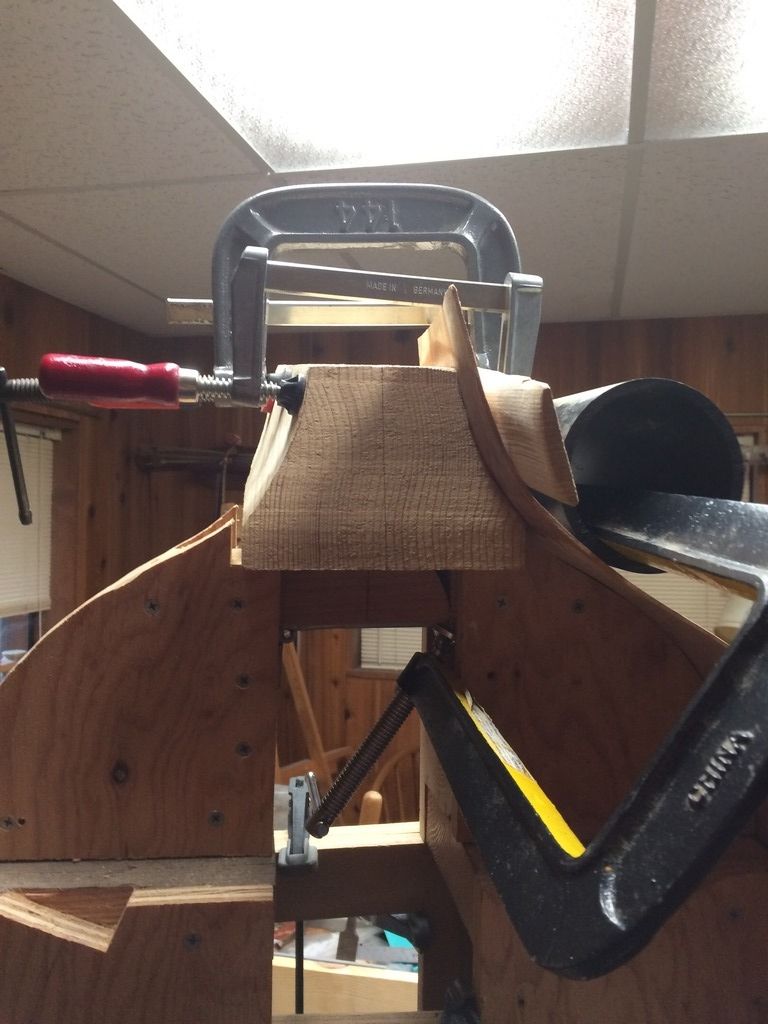
I really will have to improve my clamping arrangement before building another bass. Probably will have to make major improvements on the mold, too. I bend the upper ribs one section at a time, and clamped them to the mold to cool and dry, before making the next bend:
Beginning to form the upper bass-side rib.
Bass side upper rib fully clamped.
Clamping nightmare.
More nightmares! Those pipes tended to roll, throwing off the clamps. (sigh…)
And still more nightmares! those sloping surfaces encouraged the clamps to slide off.
But finally, things began to shape up, one step at a time:
Once both upper ribs are in place it begins to look roughly like a bass.
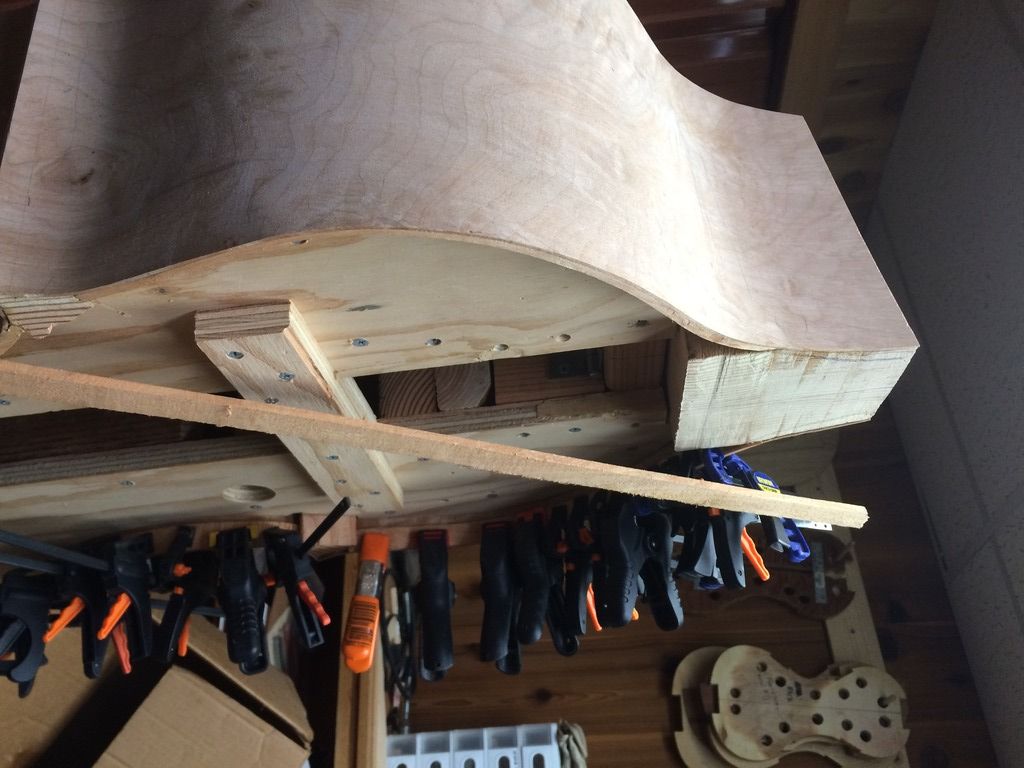
Upper and C-bout ribs installed and trimmed. The bass is clamped to a table-top, so it looks huge, but it is only about 42″ tall.
So, the next step is the lower ribs; but I was uncomfortable handling the mold with the unprotected ribs, so I will install the upper and center linings before attempting to turn the mold over so I can install the lower ribs. The linings stiffen the edges of the ribs, as well as tripling the gluing surface presented to the front and back plates.
I installed the upper linings before trying to up-end the bass and install the lower ribs and linings:
The linings begin as straight strips of weeping willow, as shown. I bend and trim them to fit, then attach with hot hide glue.
I only have sufficient clamps to attach one side at a time. You can see that I have already installed the bass side linings.
No linings at all on the back side, yet…that will be the next step. See how thin the ribs really are!
Upper and center linings completed on front side.
That is all I am going to post for now…the lower ribs and linings are next, but I have to create a fixture that will allow me to turn the bass to a variety of angles in order to work on it. I think I have a plan figured out: we will see how it turns out.
Meanwhile, anotherproject has arrived on my doorstep. A lady sent me a cello begun by her dad, but which was still incomplete when he passed away 9 years ago. My assignment: resurrect that dream-cello! It will have to wait until May 1st, I think, but I am anxious to get started on it. It is made of beautiful bird’s-eye maple and what seems to be Red Spruce. I hope it turns out to be a great cello. Looking forward to the challenge. 🙂
Thanks for looking.
If you found this post helpful, please share with your friends!
I had a number of other projects going, so I neglected to maintain the website presence…the only post lately has been of another violin resurrection. But…I hope to change that.
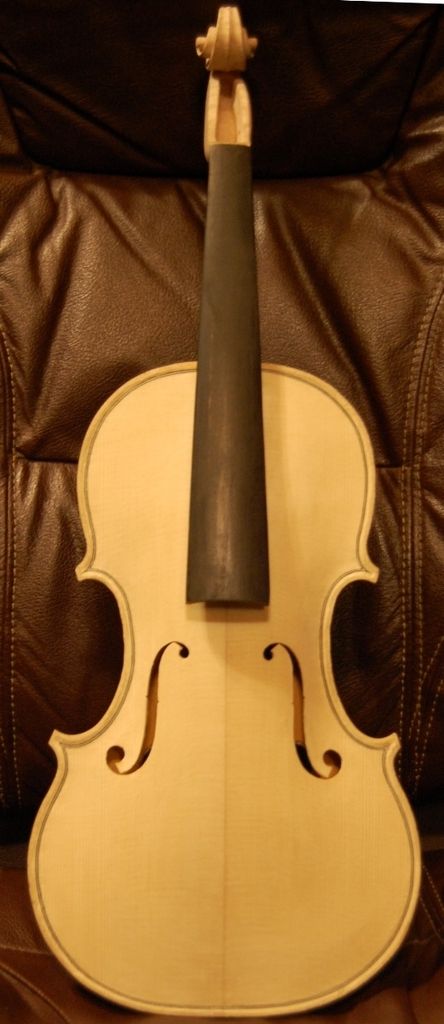
The last post was of the neck-set on the 3/4 violin. It looked like this– but the back plate was not made, yet. Most makers complete the entire corpus, then set the neck. I complete the rib garland and the front plate, then set the neck while the inside mold is still in place. This allows me to get the neck-set perfect, and to level the back of the garland, including the back of the neck-heel, before making the plate. When I install the plate, it fits perfectly, only requiring the final trimming of the heel and button together, to establish the optimum height in the center of the curve of the heel.
Neck-set side view
Completing the Back Plate
So, the next thing was to trace the back plate, and complete it:
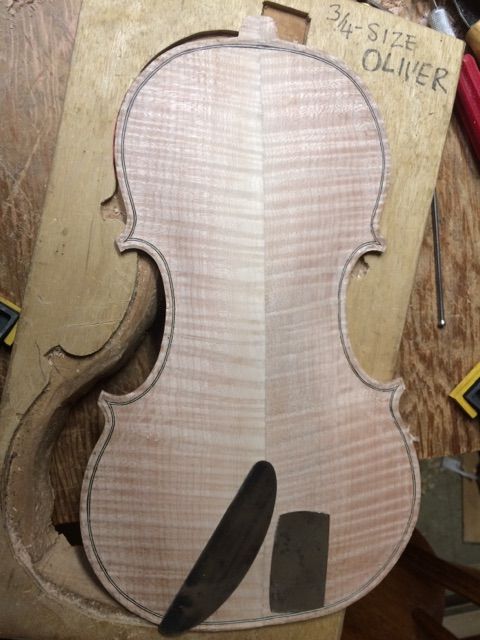
Corpus with back plate blank
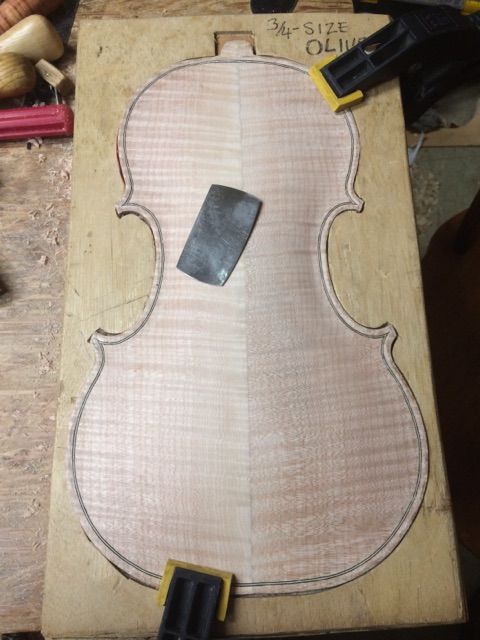
Beginning to carve the back archings. There is a long way to go!
Once the arching is complete, I cut the purfling slot
Then I install the purfling, dry, to make sure everything fits correctly. That strip of aluminum is my bending strap.Then I glue the purfling in place.
Then I mark the edge of the crest, so I know where to carve the channel.
Then I carve the channel, using a gouge, and use planes and scrapers to fair-in the curves of the channel and the archings.
Here, the arching and purfling are complete…but the graduations (inside arching) are not begun.
Graduation
I begin by measuring the thicknesses all over the plate, so as not to run into any surprises and make the plate too thin. Then I use gouges and planes to bring all the thickness close to what I want. But, to make sure I don’t go too far, I measure and carve out small spots all over, to the exact thickness I want in each little “polka-dot”. That makes a “graduation map” that allows me to follow my plan to completion, by removing all the excess wood between the dots, thus “connecting the dots.”
There are other ways to do this. One involves a special tool, commonly called a “Strad-Spike”, because one was found among the tools of Antonio Stradivari. I have seen them and and have actually used them, but have never gotten around to building one. So…
Graduation map laid out.
Final thicknessing in progress.
Graduations almost completed.
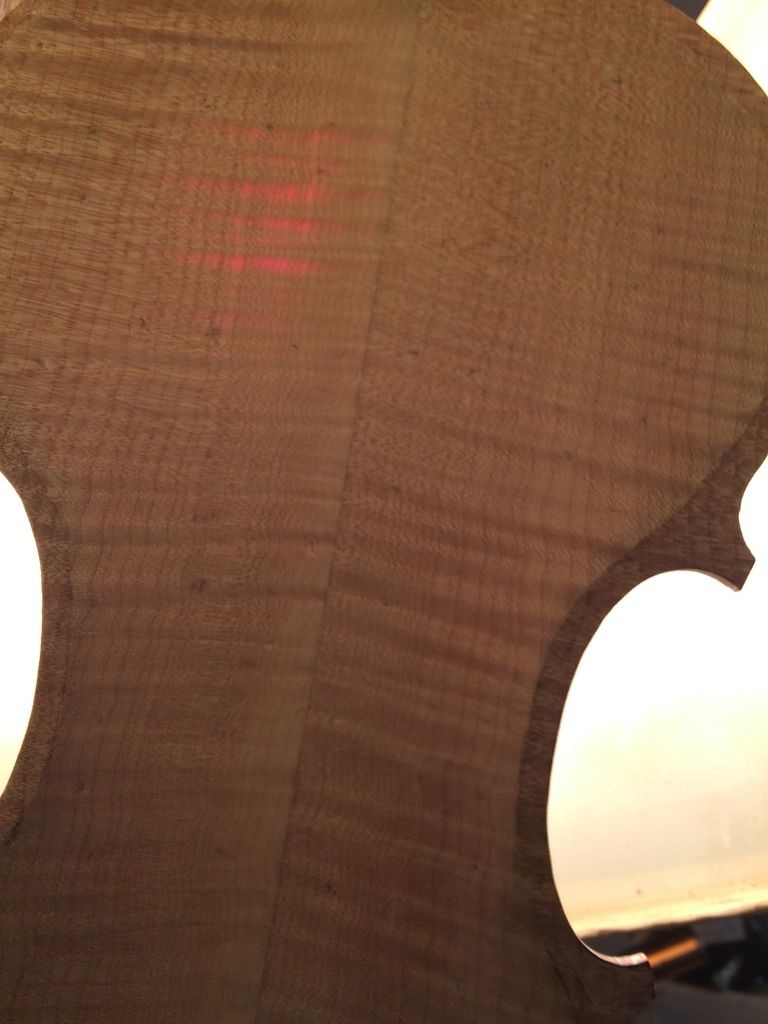
By the way, I think it is interesting to hold the plates up to a lamp and see how much light comes through:
That is a lot of light coming through that spruce plate…it is about the thinnest plate I have made.
Even the maple lets a little light through.
Closing the Corpus
Finally, to install the label and close the corpus. (I always forget to take a picture of the label…sorry.) Most makers put their label in after everything is fully completed. I used to do that, but I found it so frustrating to get a glue-coated label through the f-hole, line it up correctly and get it smoothed out on the back plate…all working through the f-hole…that I decided my labels will go in when I close the corpus; always. That means the label predates the completion by a few weeks at most, as a rule. I think one time there was a long wait, but that was the lone exception.
Closing the corpus
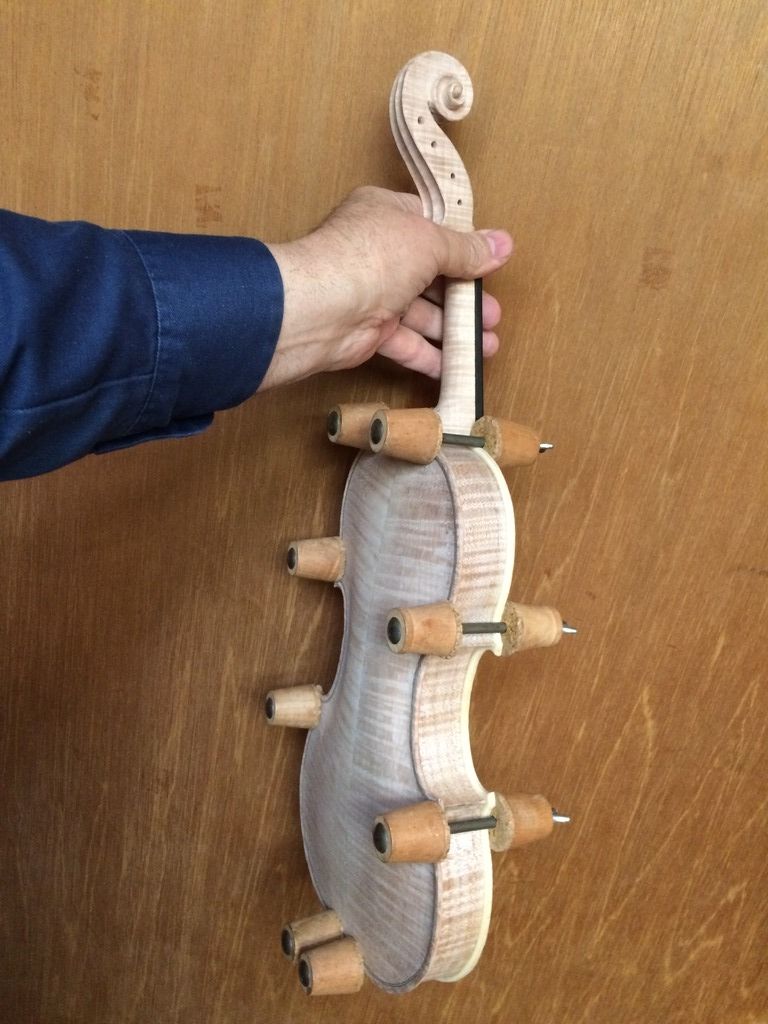
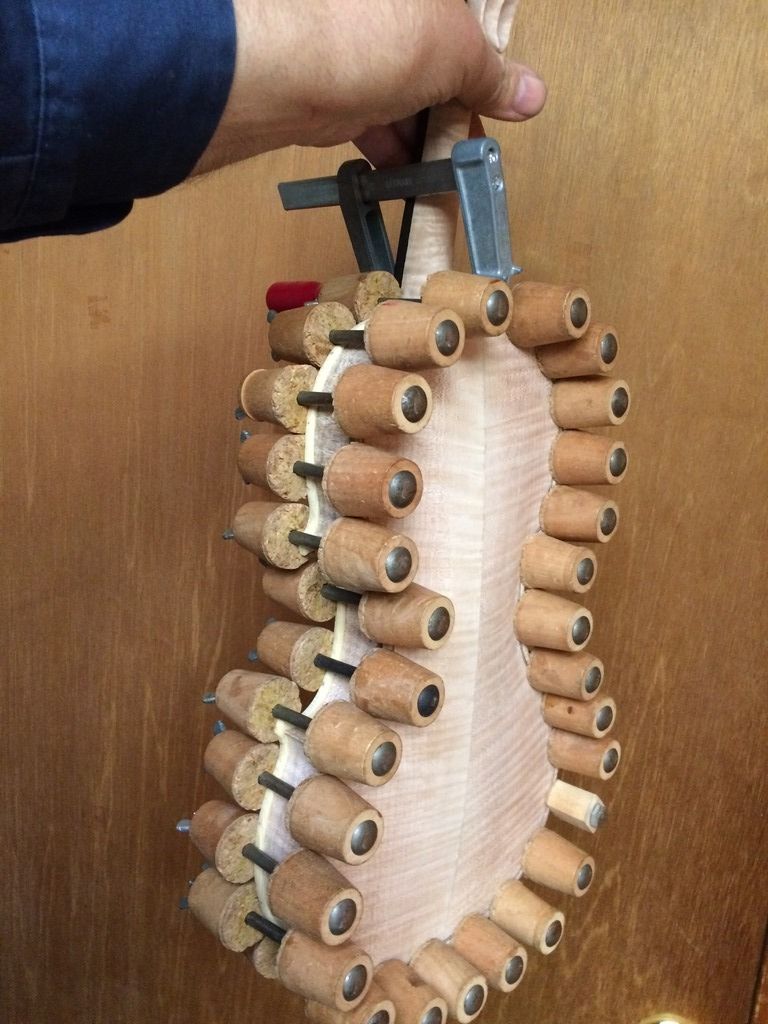
Fully glued and clamped, using hot hide glue and spool-clamps.
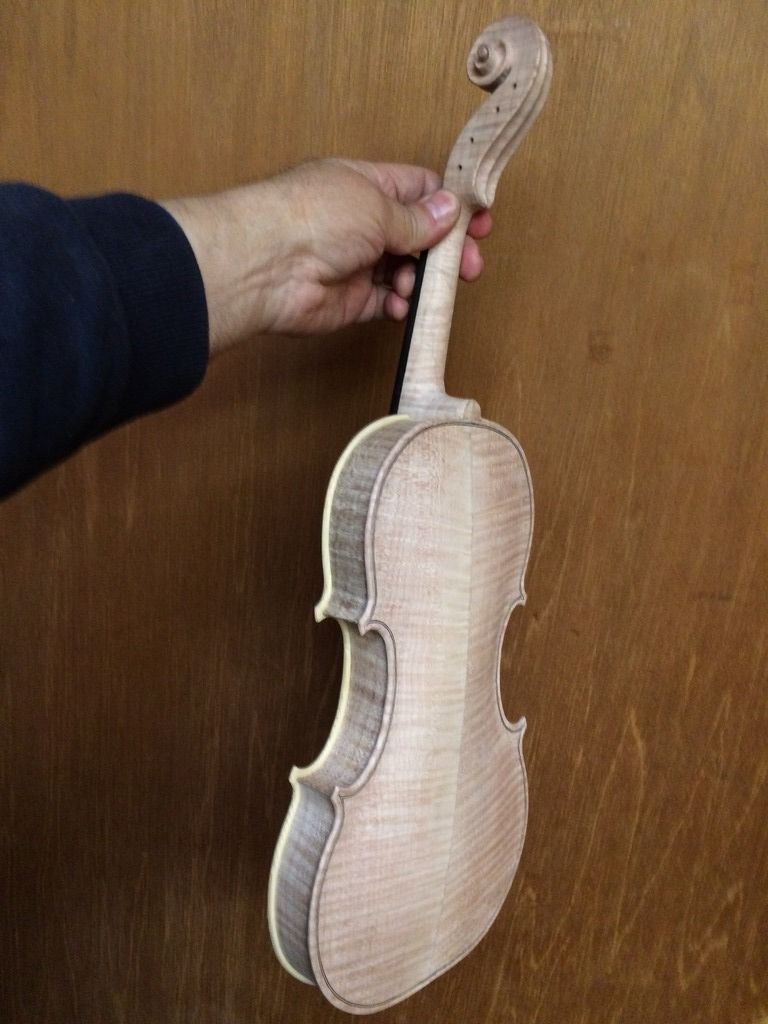
Closed corpus from the back.
Closed corpus from the front. Dainty little thing, isn’t it? This is my first 3/4-size violin, and it feels pretty tiny.
Finishing
I removed the fingerboard so as to be able to easily access the entire exterior, for final scraping and finishing.
After that, I had a lot of “scraping and looking” to do. (Scrape and look, using a low-angle, dim light, then scrape and look some more.) When everything was as smooth as I could make it, and exactly the shape I wanted, I stained the entire violin with coffee, to get rid of the stark-white bare, new-wood look. It takes at least three coats, usually, to get the color dark enough that it will not shine through the varnish. The collateral effect is that the grain raises because of the water. So, I sand it lightly, to smooth the grain “just enough.” I want the grain to be visible in the final state, but not too visible.
Coffee stain
Then, I rubbed in a coat of the mineral ground. I brush it on liberally, rub it in hard, with my fingers, then wipe it off as hard as I can, using a rag. When it dries, the instrument will be whiter than ever– chalk-white, all over. The first time I did this I was pretty alarmed at the look, but I had just watched Roger Hargrave do the same thing, and knew that the white mineral would completely disappear with the first coat of sealer or varnish. And it did!
Here is the violin with the sealer applied:
With three coats of coffee, and the dark sealer, the wood looks pretty dark. But it will look good under the varnish.
The back, with the seal-coat.
After that it was a case of applying several coats of golden varnish, then a few coats of red-brown varnish, and a final two coats of the golden stuff.
Front varnish nearly complete
Back varnish nearly complete.
There is the front with the final coat of varnish.
Set-up
Standard set-up, and the violin will be done! That includes the saddle and endpin, as well as re-installing the fingerboard, fitting and installing pegs, a bridge, the nut, the soundpost, tailpiece, and strings. A chinrest completes the instrument.
Bottom of the violin before the endpin and saddle were installed.
Endpin installed: saddle is next.
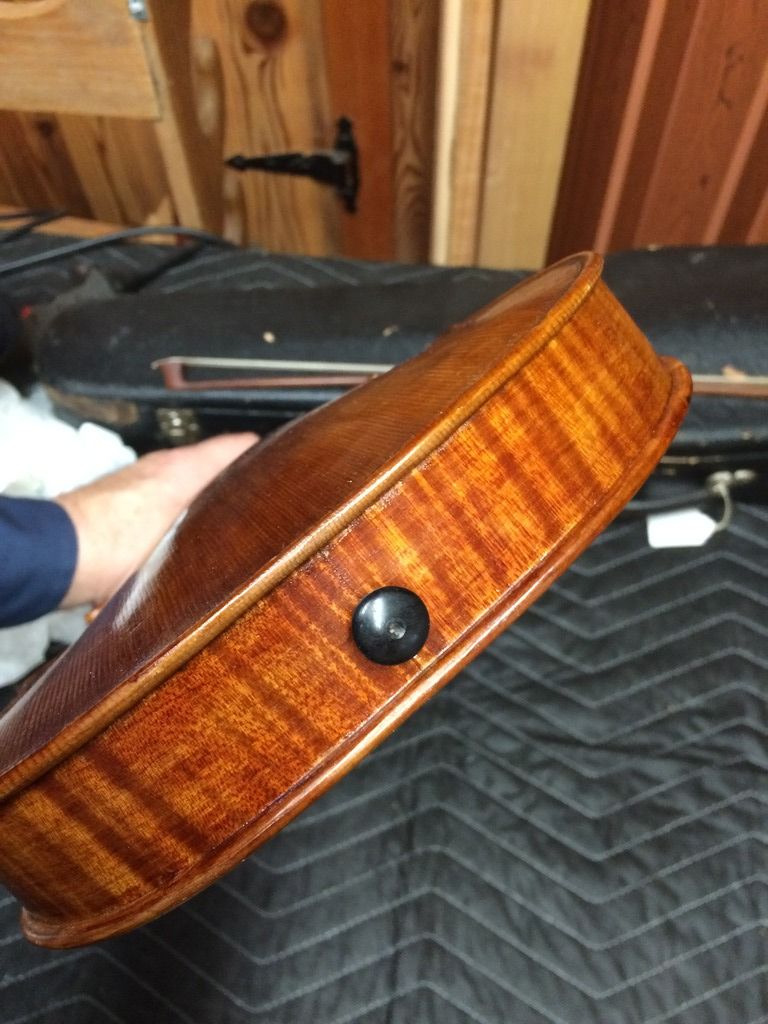
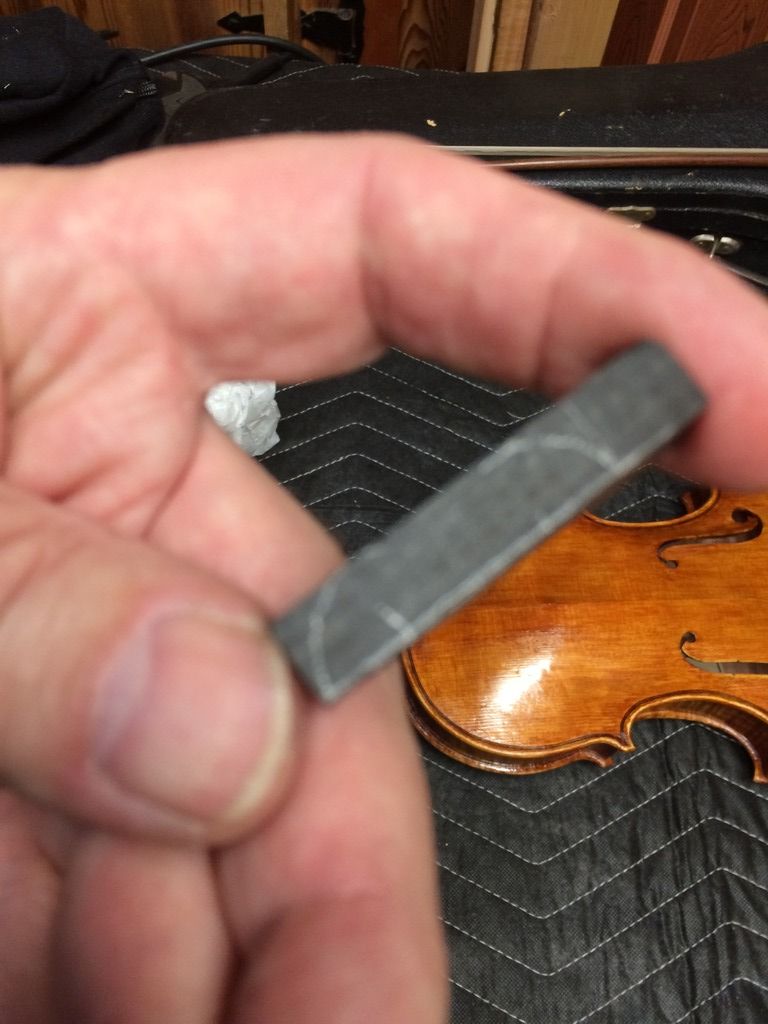
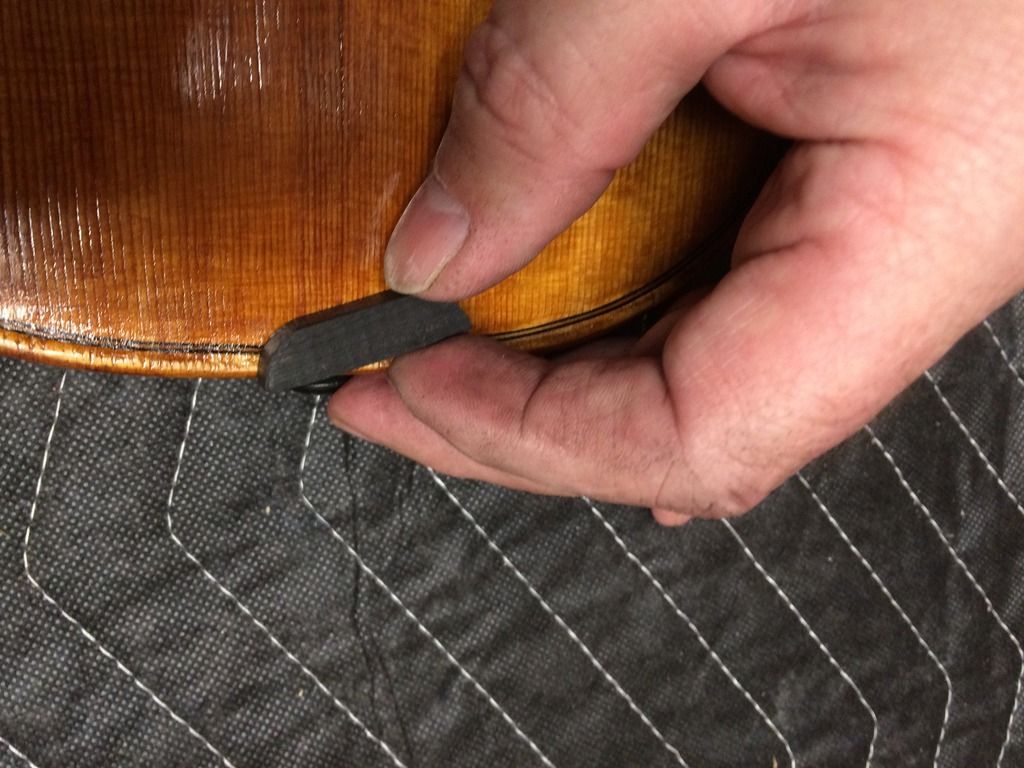
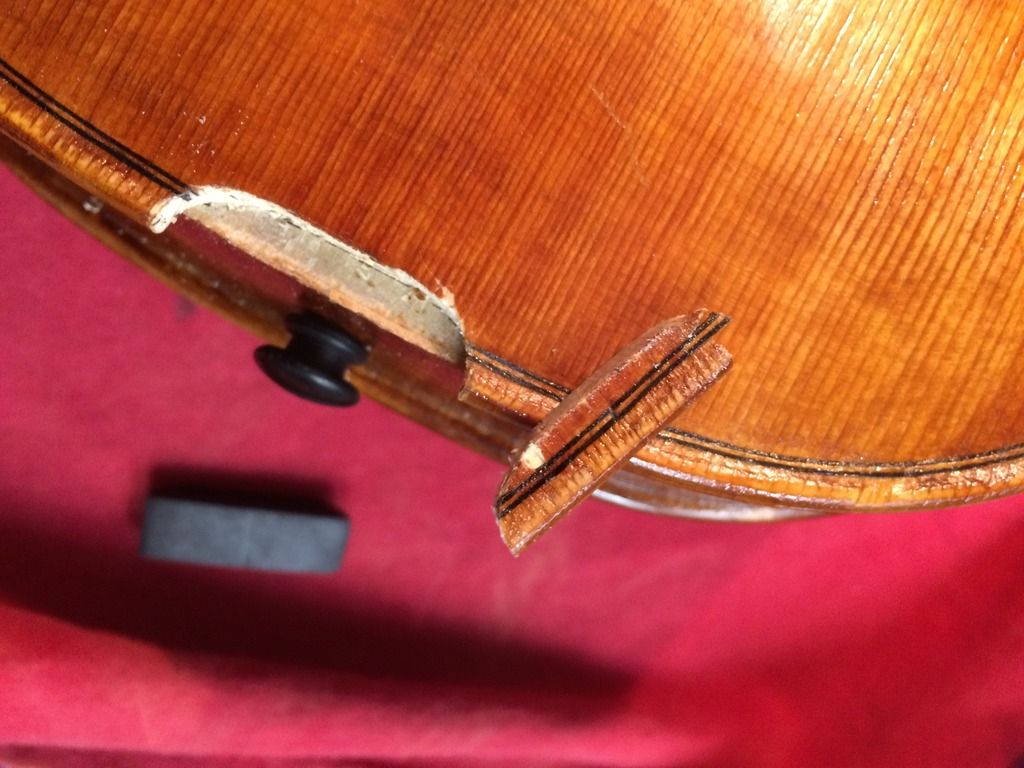
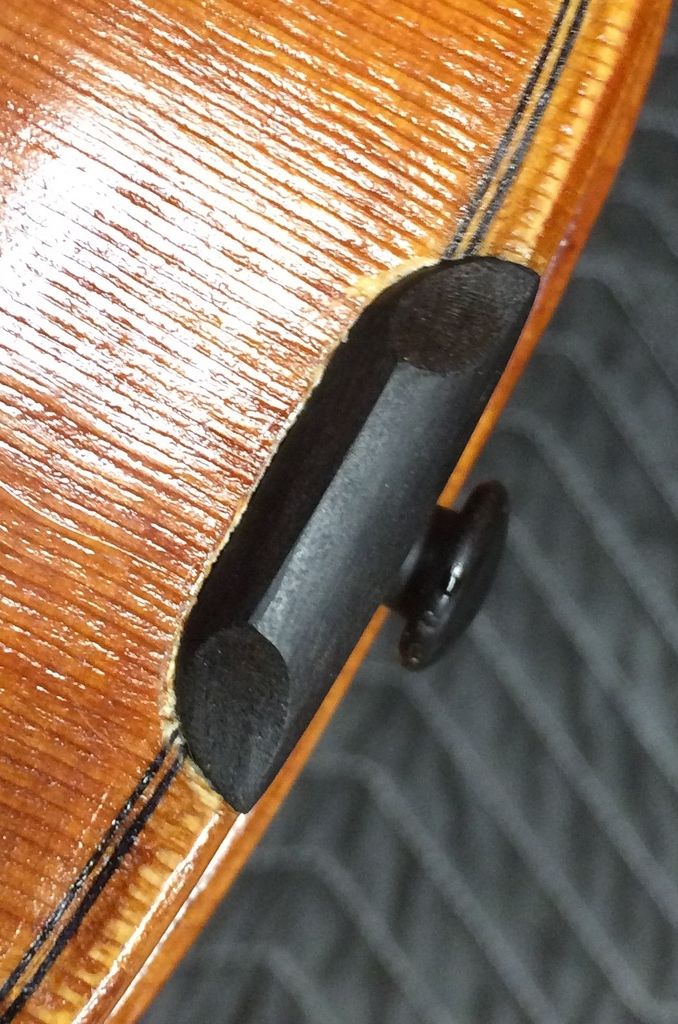
Heres the plan: a rounded saddle to prevent “saddle cracks”. They work because there is no sharp corner to act s a stress riser.
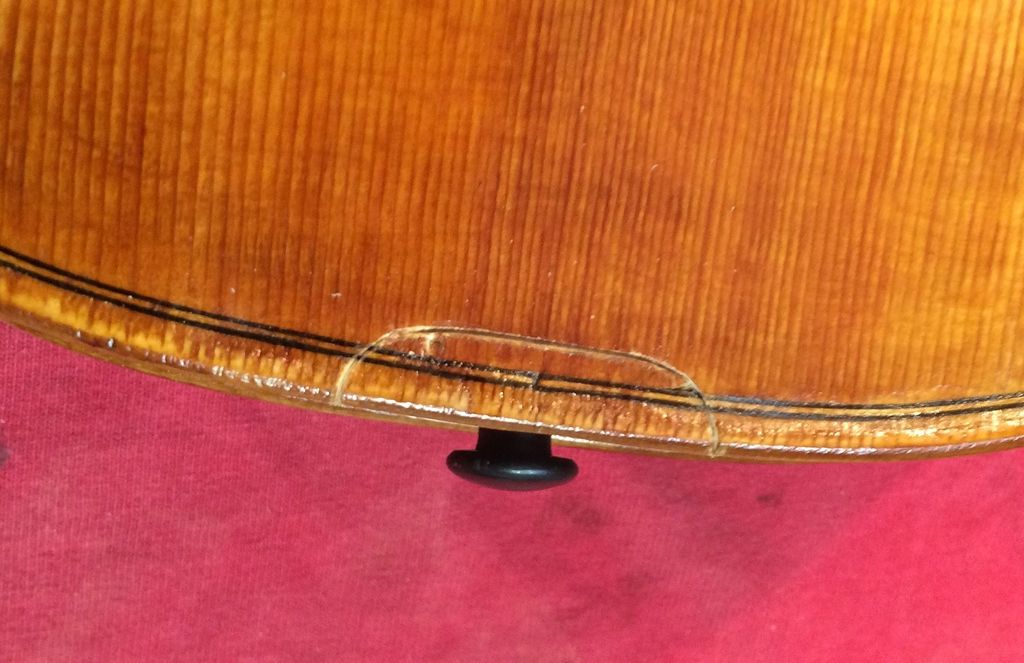
There’s the footprint of the saddle: no further shaping is done until I cut out the mortise in the front plate.
I traced the footprint onto the front plate, and began cutting out the mortise.
Then I cut out the mortise using sharp gouges and a small knife. Any nicks in the varnish will be retouched later.
The varying thicknesses of the top plate can then be traced onto the saddle itself, and final shaping can begin.
Saddle and endpin are nearly complete. The saddle will be filed a little more, and the varnish retouch will happen later on.
I reinstalled the fingerboard, and while the glue is drying, I fit and installed the tuning pegs.
Fingerboard and pegs complete. Notice the nut is also intalled.
Completion
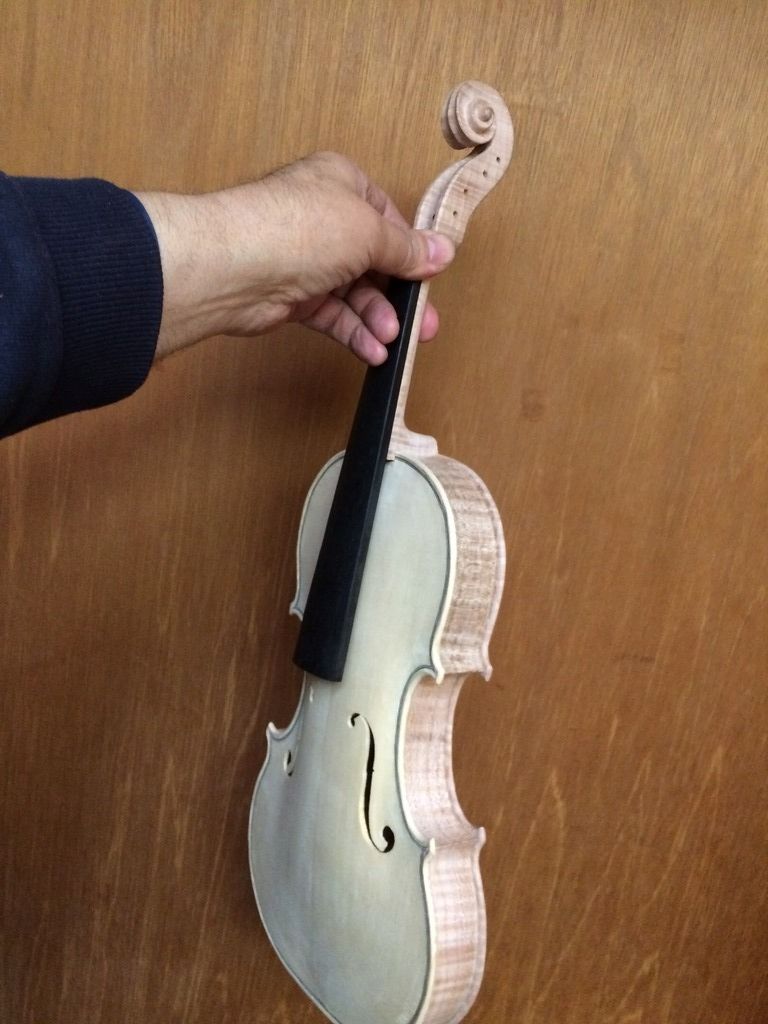
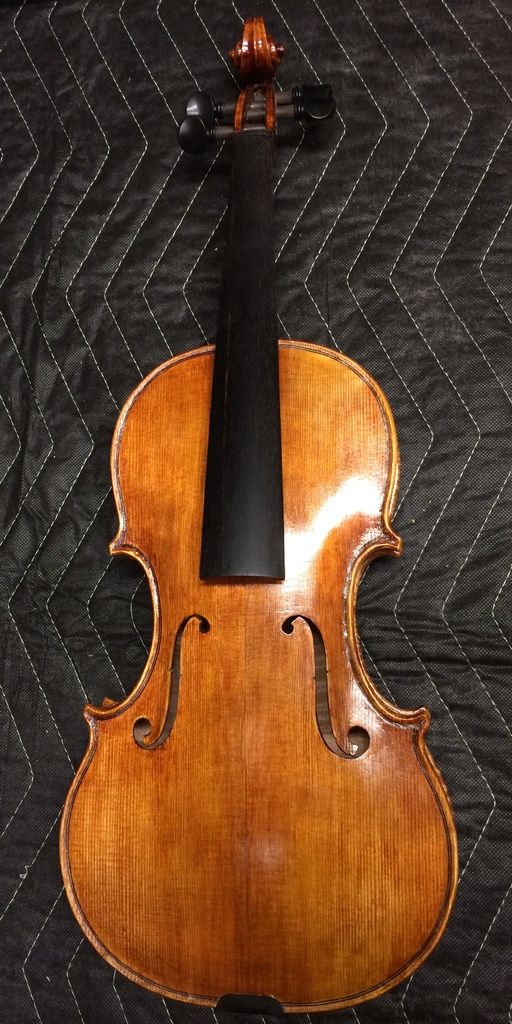
Finally the little violin is complete!
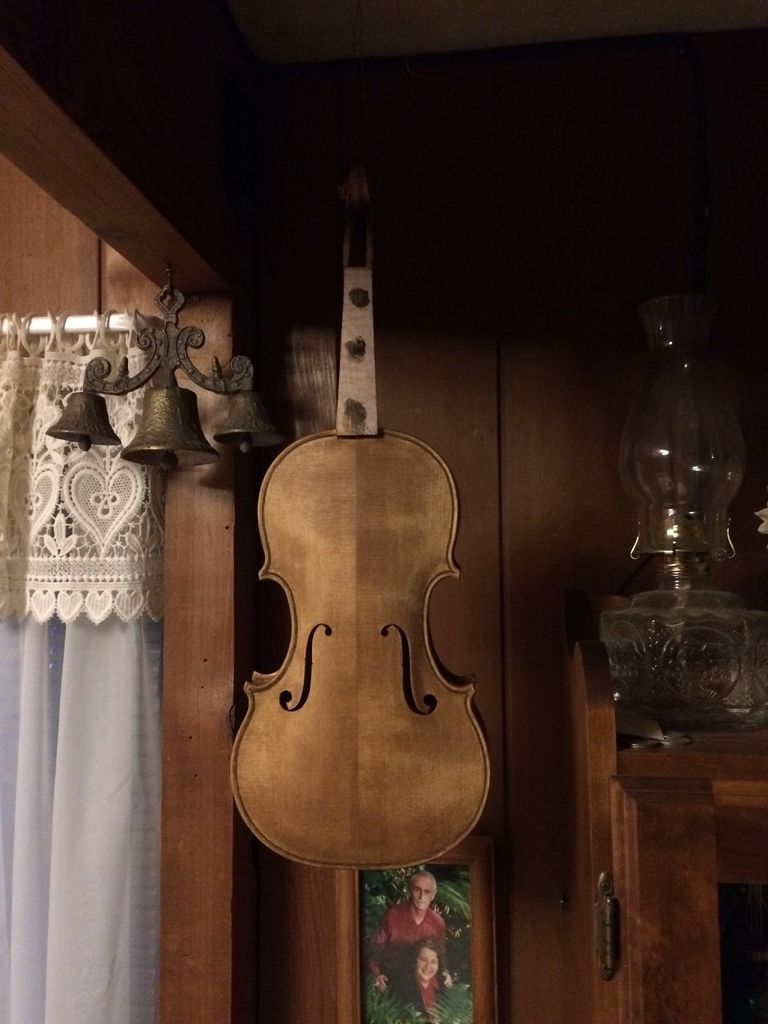
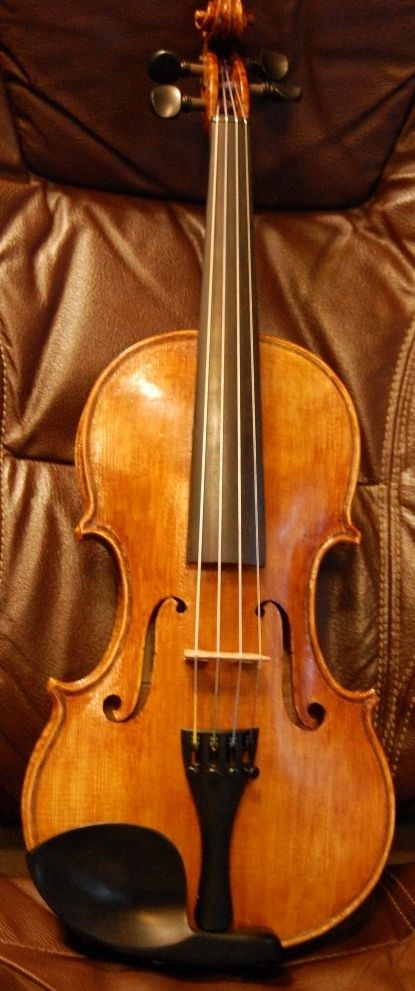
Front view of completed 3/4-size violin
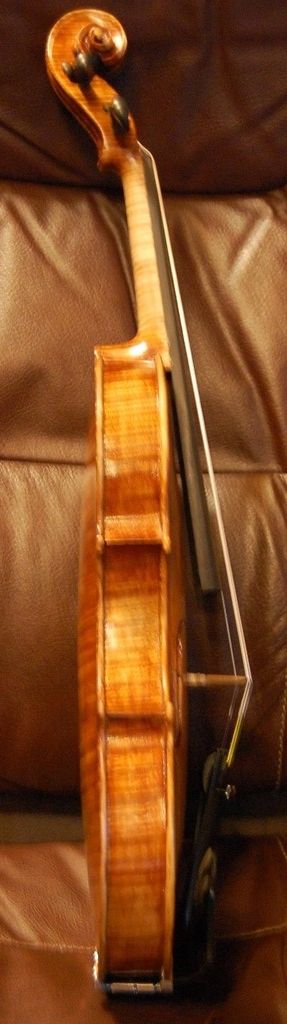
Side view…
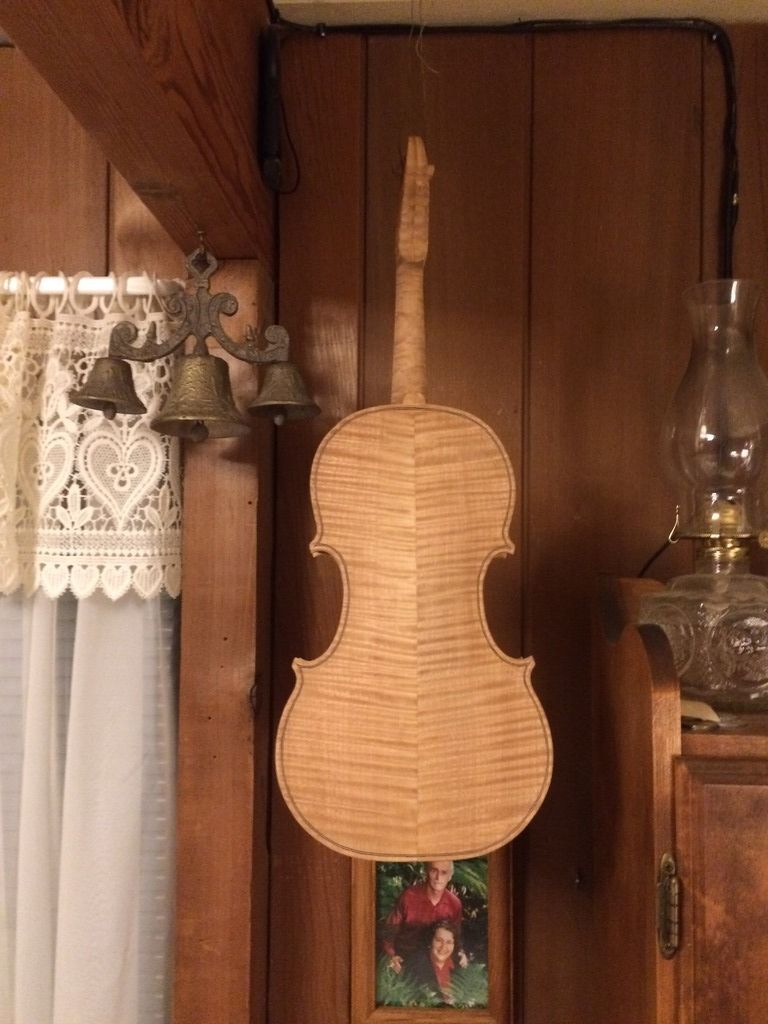
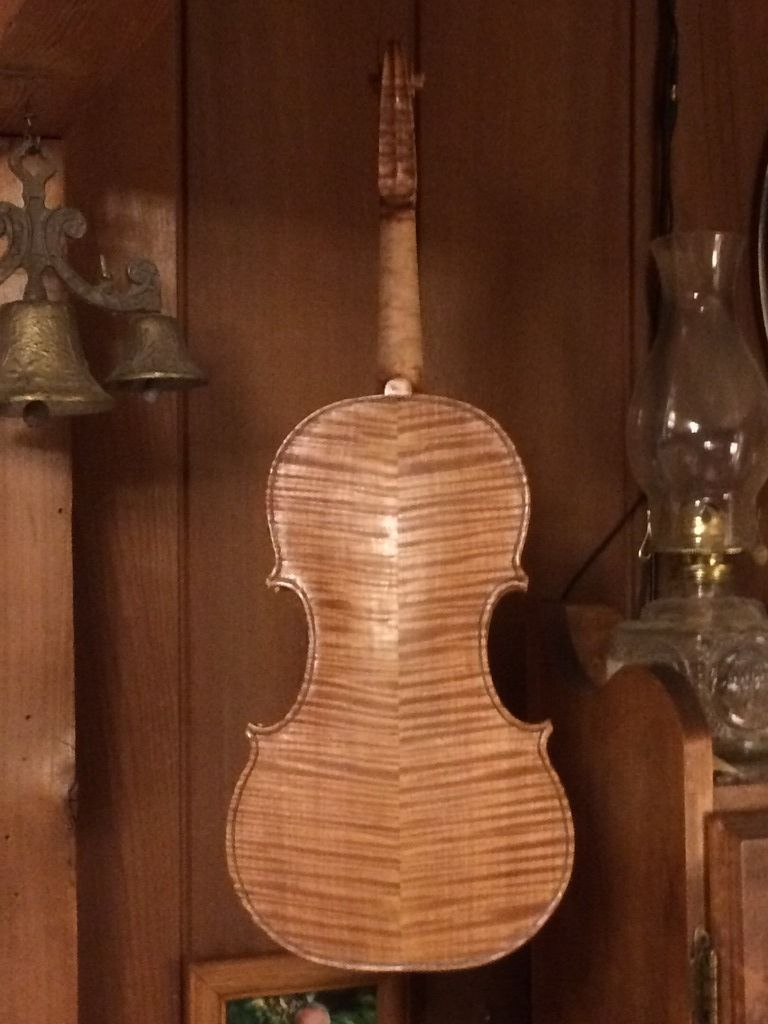
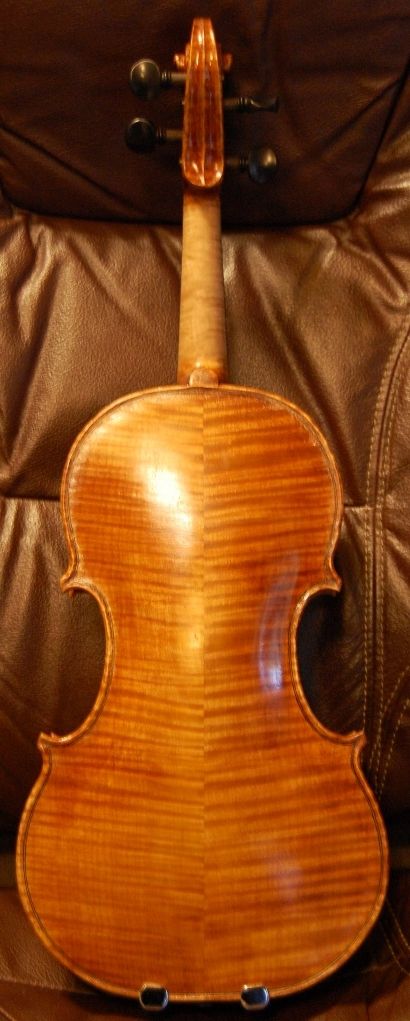
And the back view.
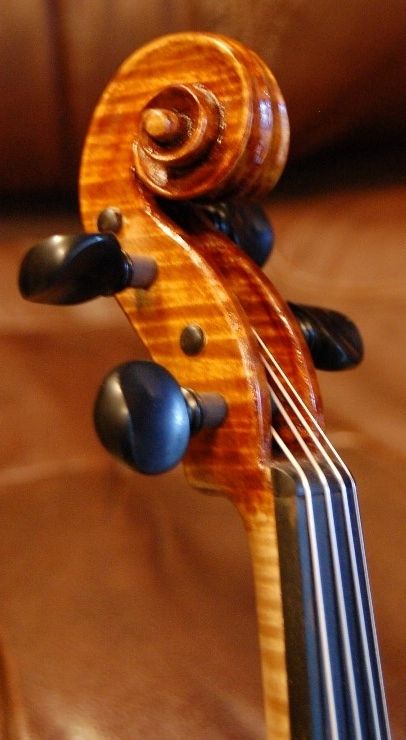
Close-up of the scroll
Thanks for looking. Please keep in mind that the Marylhurst Musical Instrument Show will be April 29th and 3oth. If you can make it, I hope to see you there. This little violin will be there for you to test drive, along with others.
If you found this post helpful, please share with your friends!
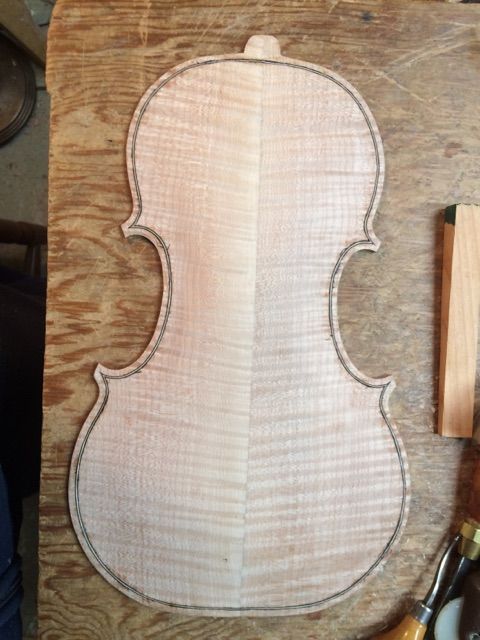
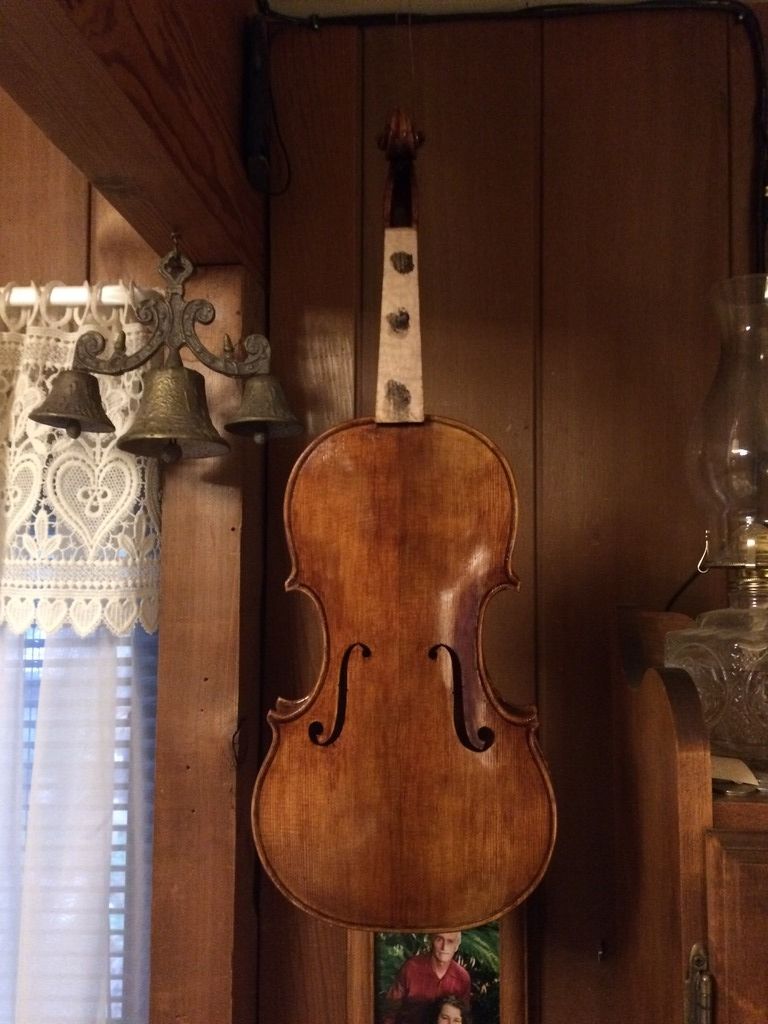
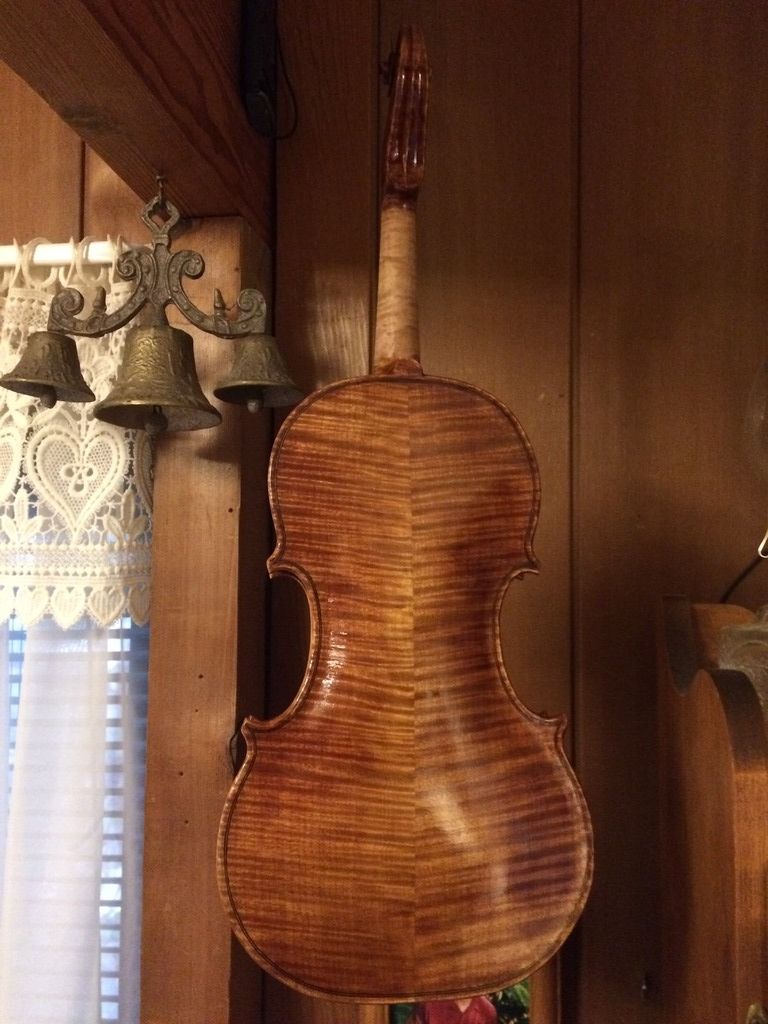
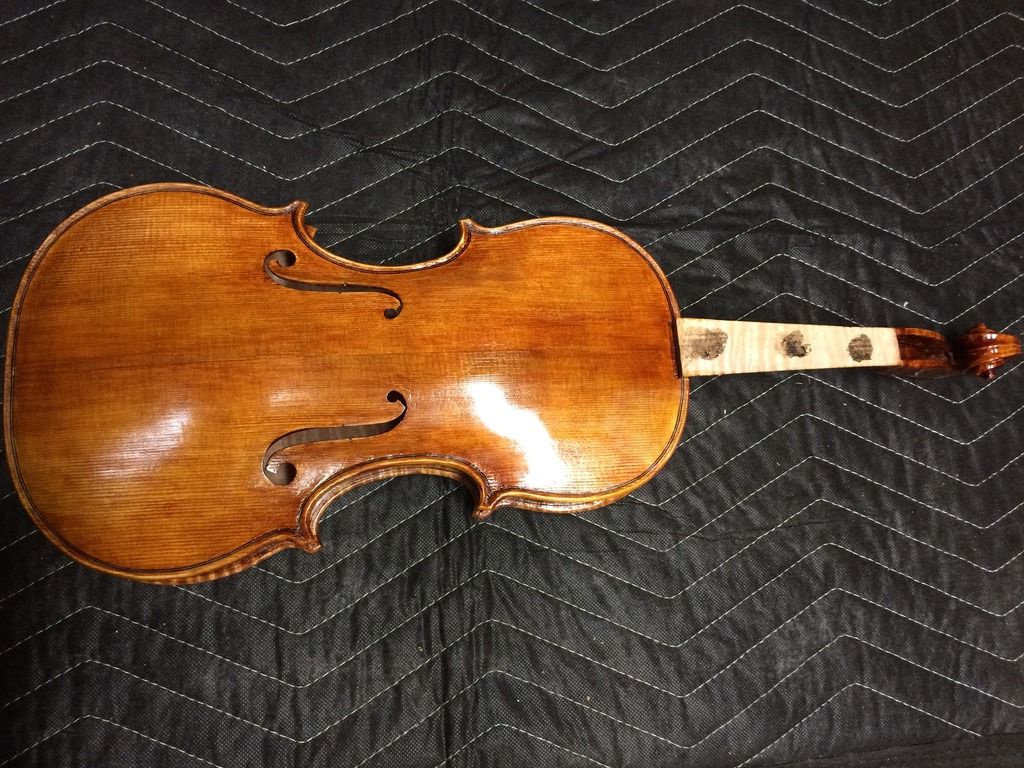
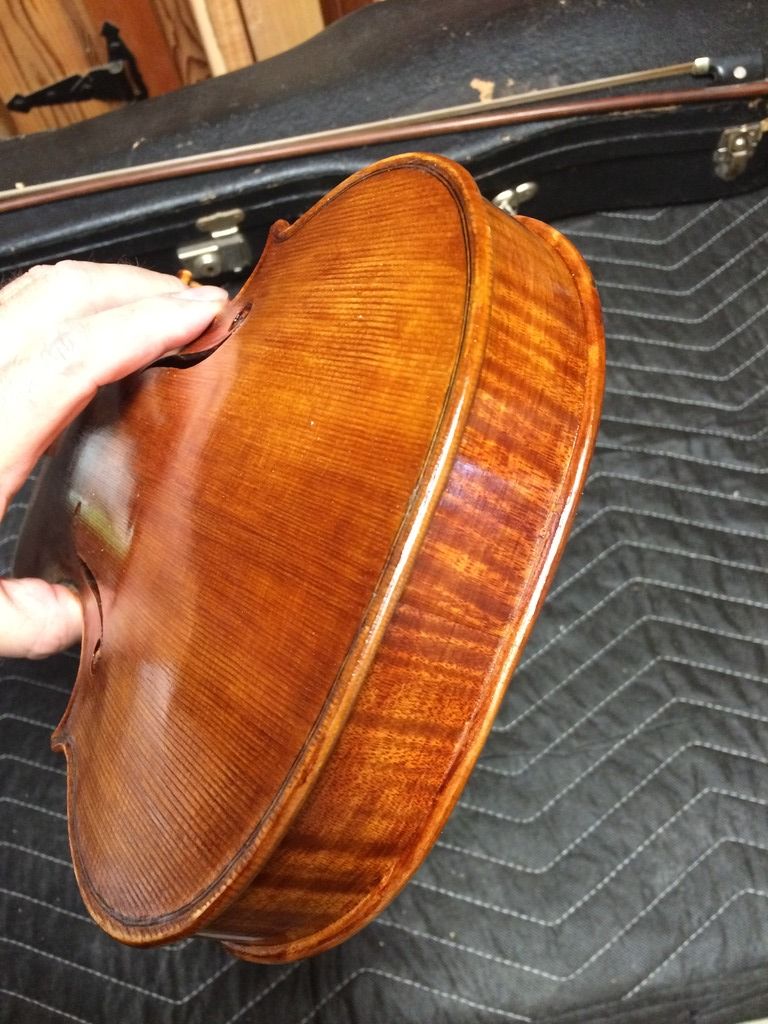
3/4-Size Violin in Progress. Purfling and Neck-Set
Purfling first, then Neck-set
When I last posted, the fiddle looked like this:
Purfling Slot incised, but not completed.
Installing Purfling
This next step was to go back over the incisions, cutting them to the correct depth. Then I used a purfling pick (there are many different types) to shave out the waste wood from between the incisions. The last thing I do, before installing the purfling, is to go all the way around the slot, checking the width and depth with a scrap of dry purfling. I want the fit to be snug but not tight, and deep enough that the purfling will be flush with the surface of the plate. Here is the completed slot:
Purfling slot completed
I used a bending iron to shape the sections of purfling, installing the Center bout sections first, and mitering the corners to form the desired “bee-stings.” As I cut the ends of the upper and lower bout sections, I have to check and be sure that the two mating miters will form a single sharp point, shaped exactly the way I want. This takes a good deal of practice. As one of my teachers told me, “Sure, this is tough! If it was easy, everyone would be good at it!” (Funny, that seems to be true in most walks of life…) Once the purfling is all in place, dry, I can begin gluing. Here is the dry fit:
Purfling Dry-Fit
Next I pry up the center of each of the center-bout strips, and, using a thin palette knife, I slip hot hide glue in under the lifted purfling, then, working quickly, I push the purfling back into the slot, and drive it home using a special tool. I start at the center ans work toward both ends, so that the glue being forced from under the purfling is driven along toward the ends of the center bout purfling strips, into the mitered corners, so that it glues the ends of the upper and lower purfling strips in place, as well.
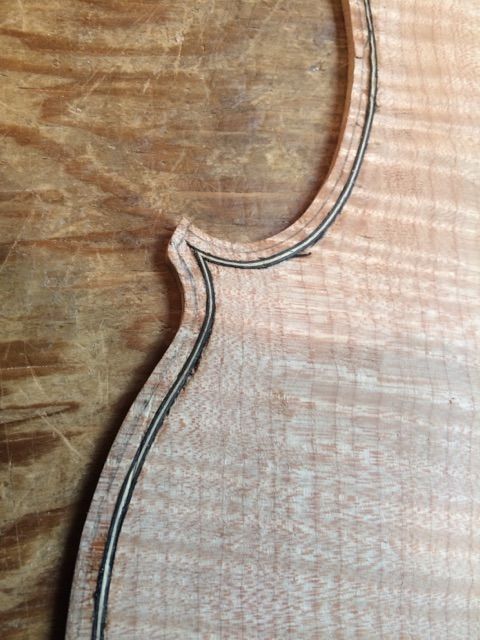
Here is the freshly glued purfling, driven as deeply as I could manage, into the slot:
Freshly Glued Purfling
Freshly glued Purfling Detail
The next step is to sketch in a line 40% of the distance in from the outer edge, toward the purfling. It is a faint pencil line, but it serves as a guide to show me the limits to the channel…the broad trough around the edge of the violin:
Edge Crest boundaries inscribed…it’s a blurry photo, but you can see the penciled lines.
Then I begin cutting the channel: a trough whose outer edge is the line I just inscribed, but which cuts only as deep as is necessary.
Beginning of the channel. The Edge crest is still visible. I have just begun to cut the channel.
Purfling Channel Completed
Purfling channel Detail
Neck-Set
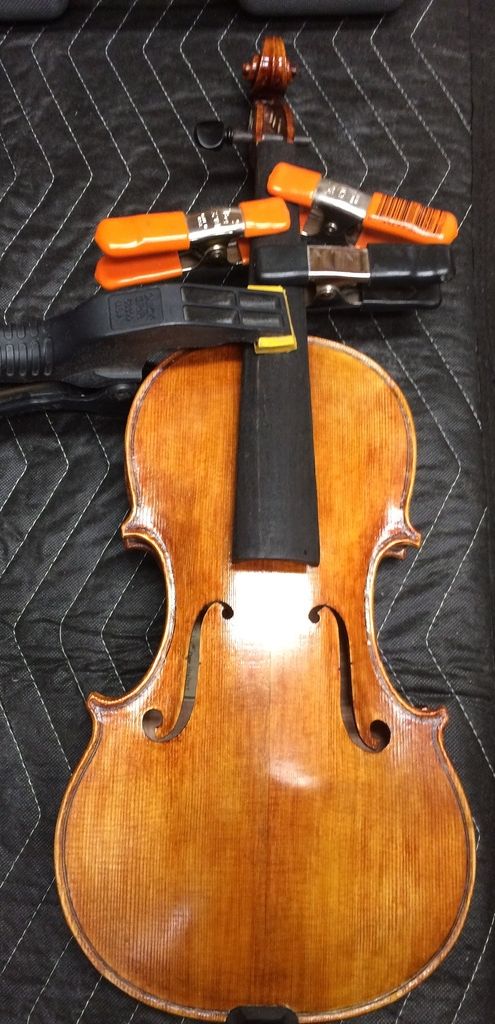
I laid out the neck mortise, using pencil and straightedge. Then I cut the edges of the mortise, using a razor-saw, and carved the wood away to form the mortise. It is somewhat tricky (like all the jobs in lutherie), but I got it done. Once everything was perfect, I glued the neck heel into the mortise, using hot hide glue:
Neck-Set Front
Neck-Set Side
That was all I did that day. 🙂
The next step will be to remove the mold and install the back linings to the ribs.
Thanks for looking.
If you found this post helpful, please share with your friends!

 Follow