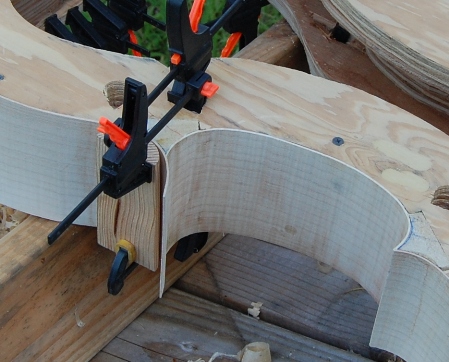
Step #8–Trace the shape of the cello plates, and cut them out;
Tracing the plates is pretty easy, provided you did a good job of two things. Joining the plates and flattening the mating surfaces of both the garland and the plates. Place the garland on the flat side of the plates. If you can see gaps, then you need to address that first. Assuming you already flattened the garland, you now need to flatten the plates.
Flatten the Plates
This can be done using a hand plane, and a straight-edge. But, do you have a cabinet shop nearby? (The place where you found that wide sanding belt is perfect!) That is a really good place to get the plates dead-flat. Glue some blocks on the two sloped sides of the plates: The outside of the plates. Strips of 2 x 2 pine would be perfect. You want to produce a flat surface on the sloped side of the plates, parallel to the desired inside surface.
Turn the plates flat-side-up, on a table. The sloped side should sit flat on the strips of wood, with the center joint touching, as well. Plane the blocks until the “flat-side-up” orientation (on a level surface) results in a more-or-less level plate surface.
Then, go talk to the owner of the cabinet shop. Ask if you could pay him to run those two plates through his wide-sander. That machine will produce a dead-flat surface in an incredibly short time. 80-grit or even 60-grit, probably, is fine…the surface does not have to be polished: Just smooth and flat.
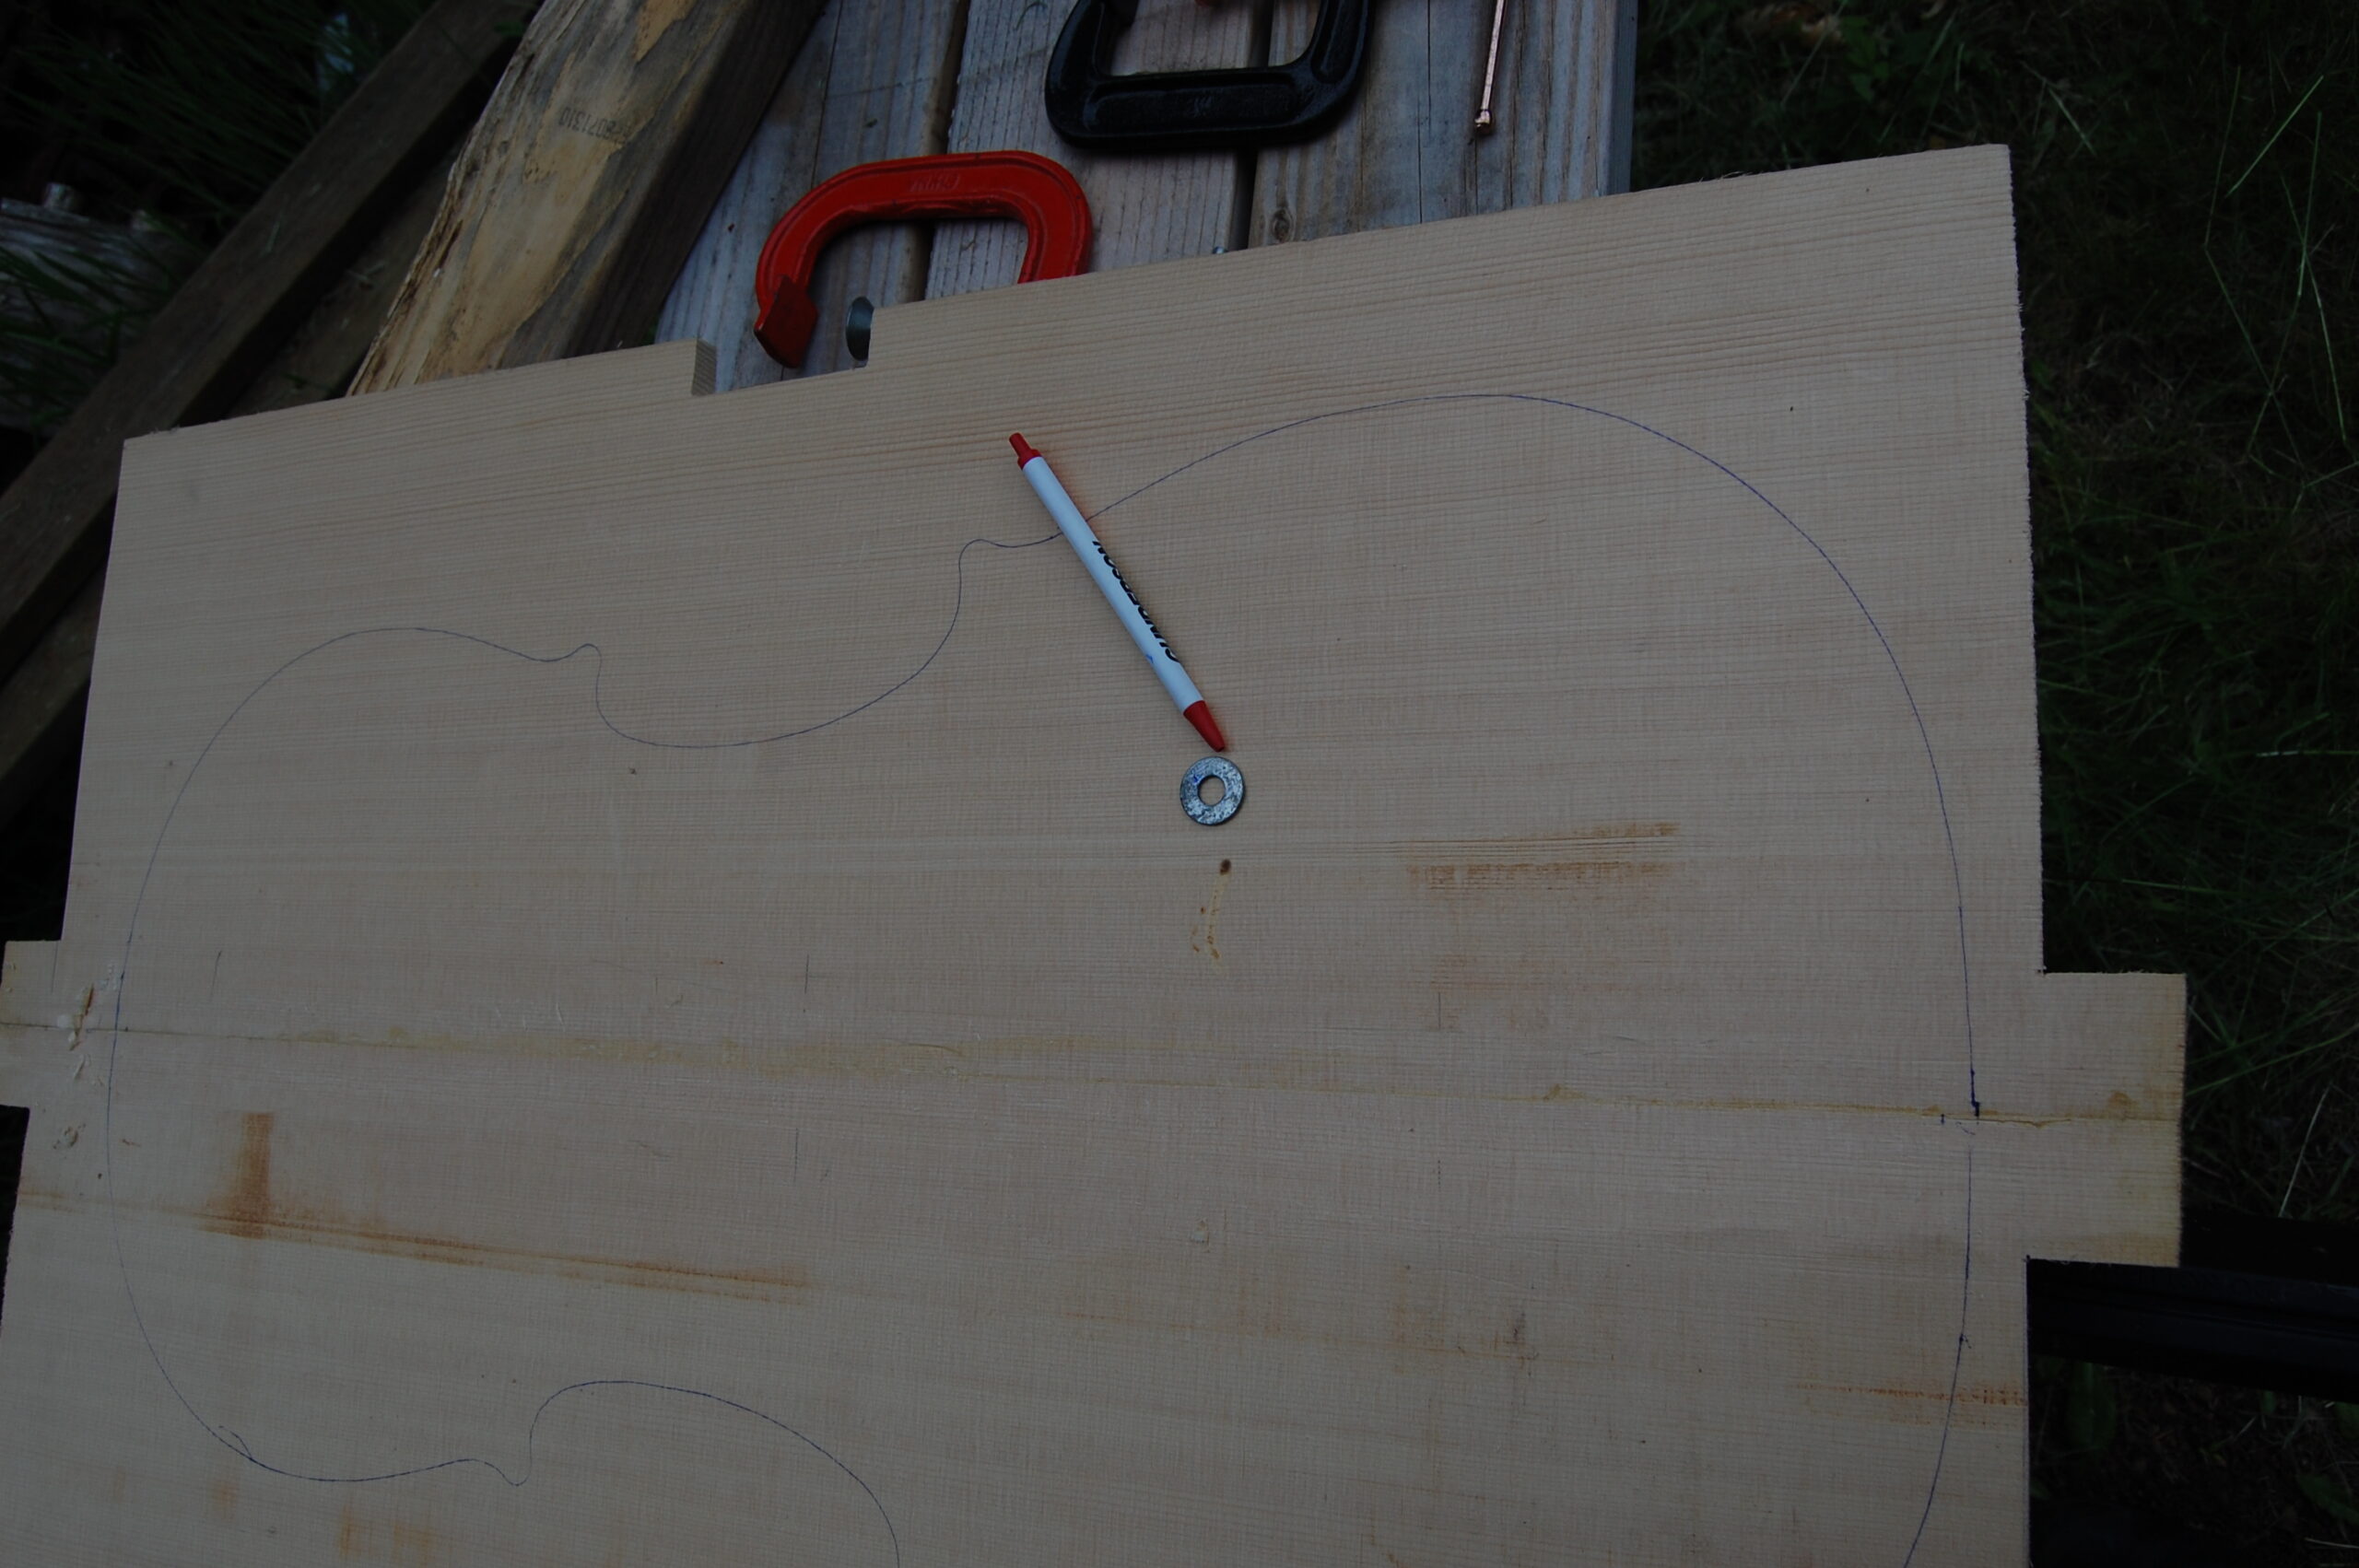
Once you have a flat surface, you can lay the garland on the plate, aligning the center line of the garland with the glue-seam on the plate. Trace around the garland, using a flat washer and a very sharp pencil. Choose the flat washer for the dimension of the “flat” portion. You want the width of one side of the washer to equal the desired width of your overhang. (The distance you want the top and bottom plates to extend beyond the ribs.)
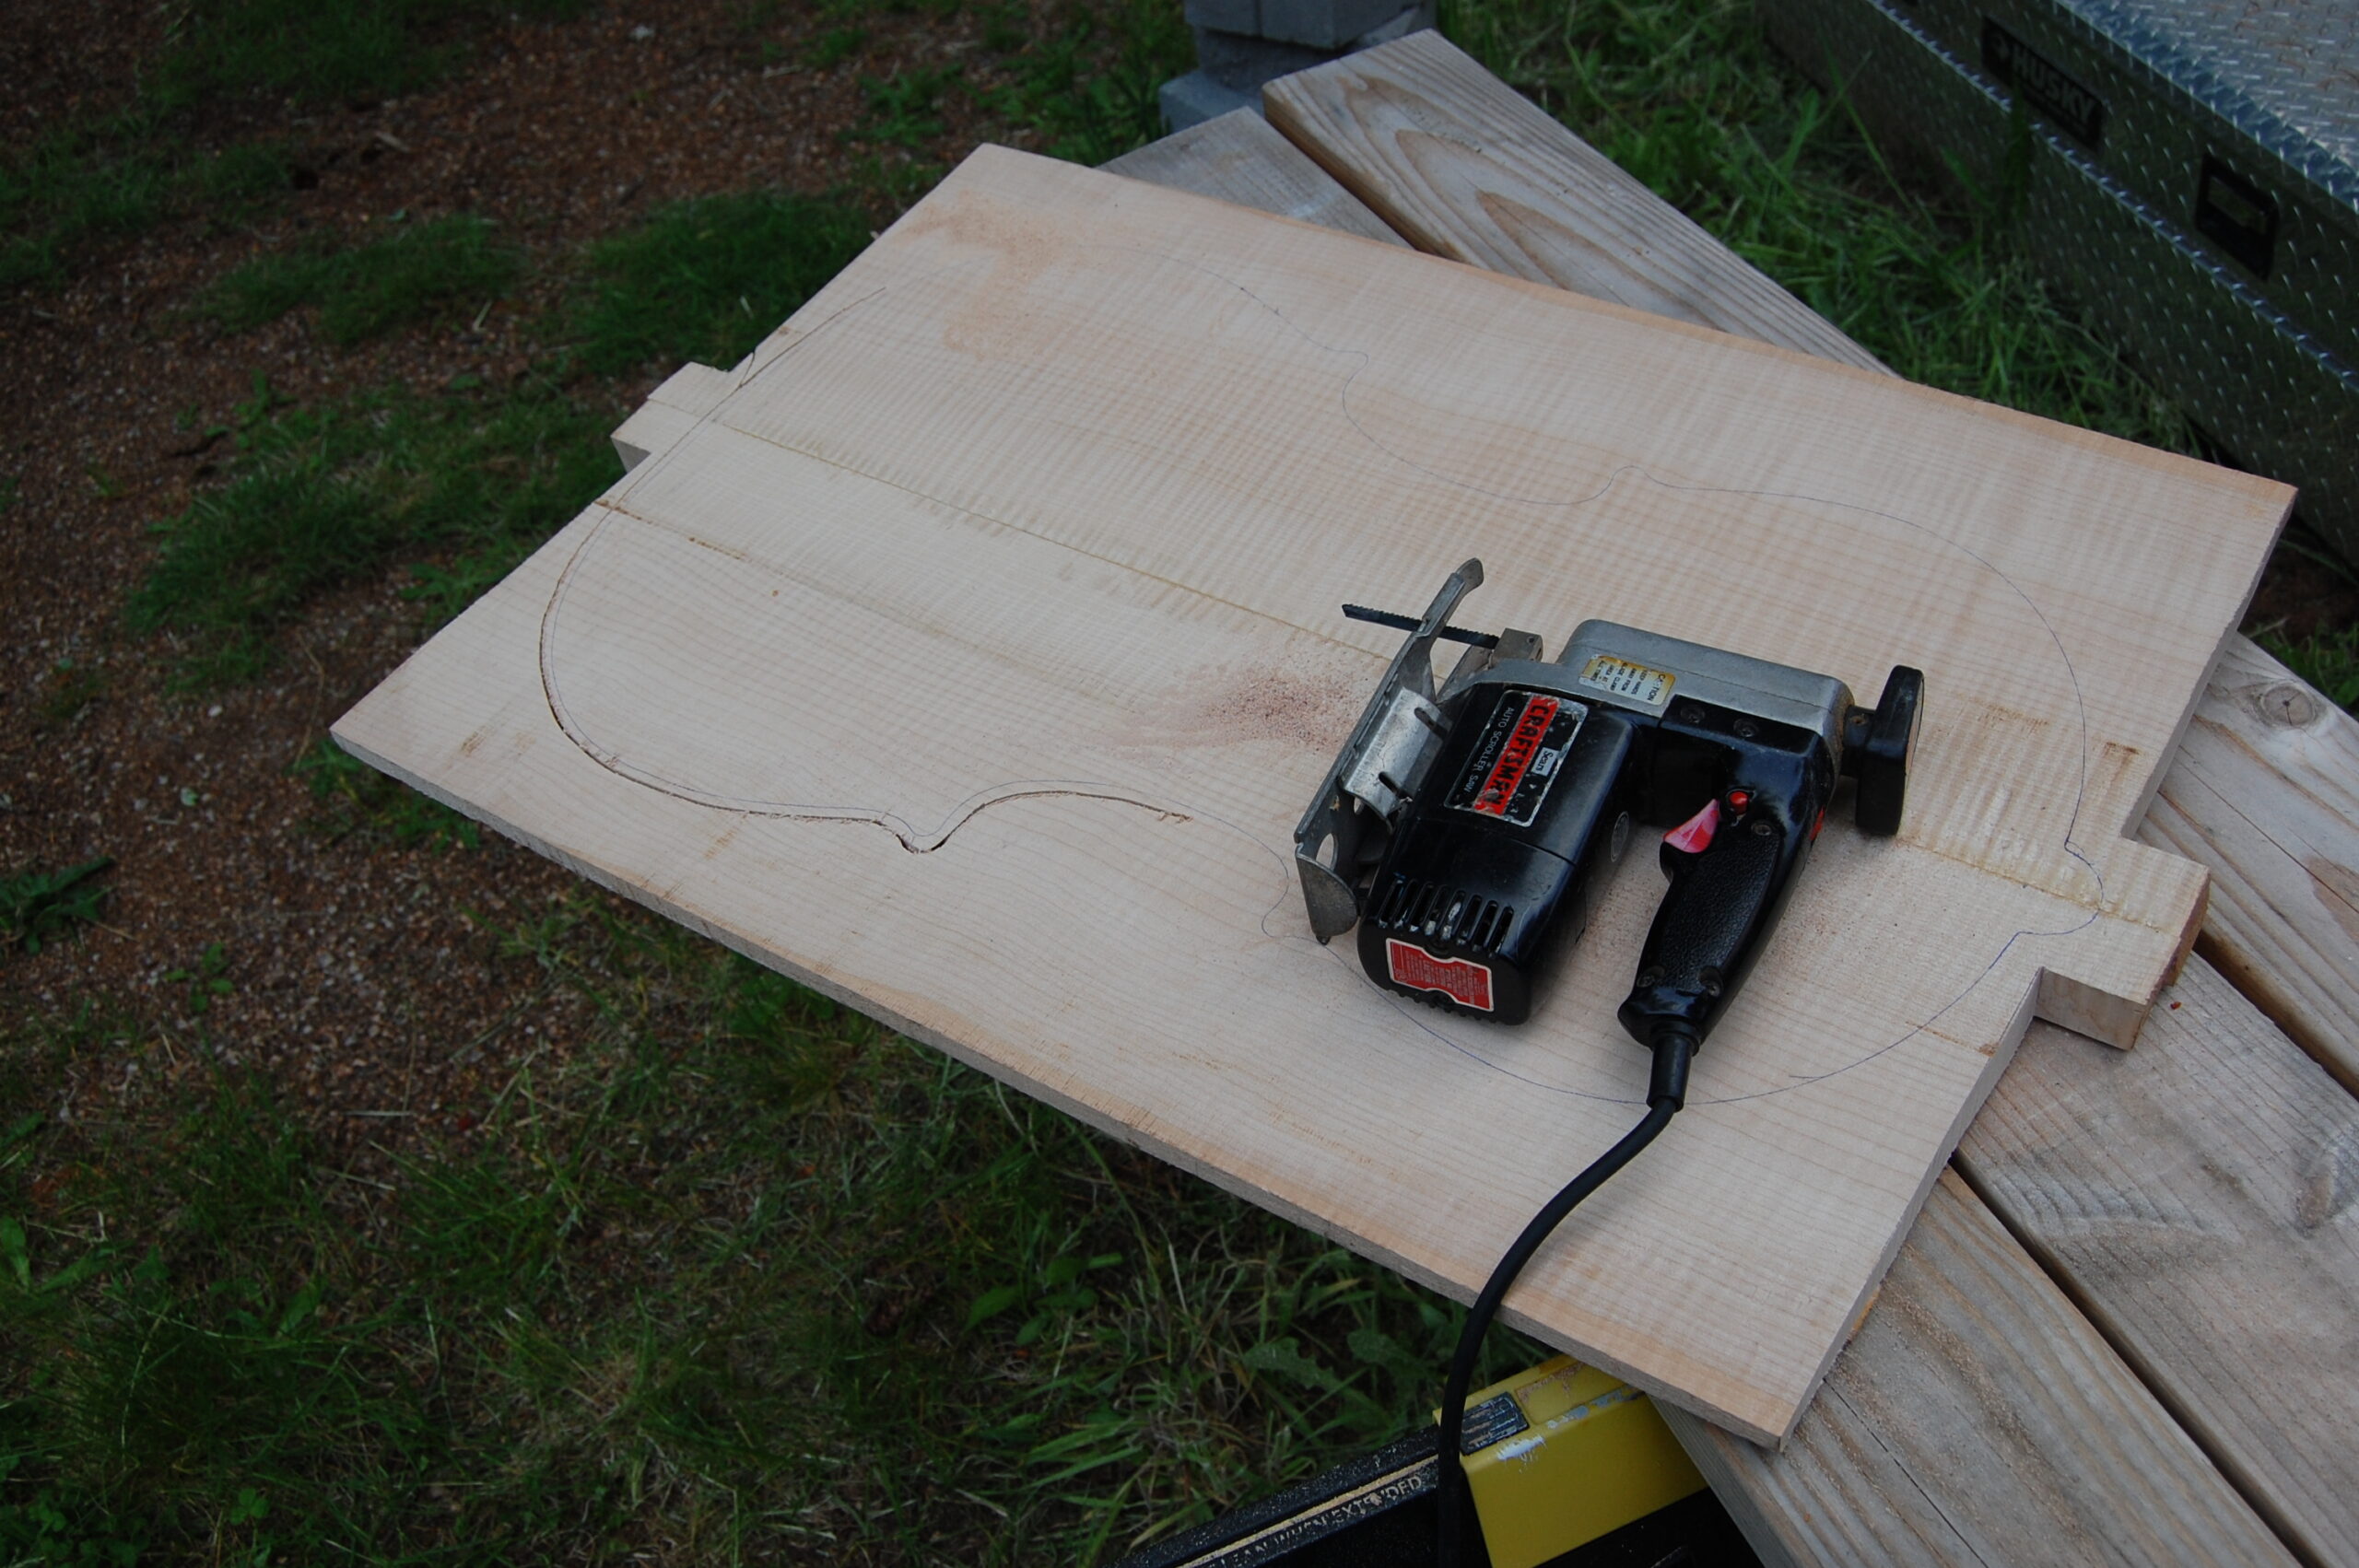
I used a large washer first, to produce a deliberately over-sized plate, to be sawn out using a hand-held saber-saw, or “jig-saw” as some call it. the only reason I did this is that the cello plates were too big to comfortably cut out on the bandsaw.
I used the large washer to trace an oversized perimeter for the plates so I could fit them into my bandsaw.
Cutting Out The Plates;
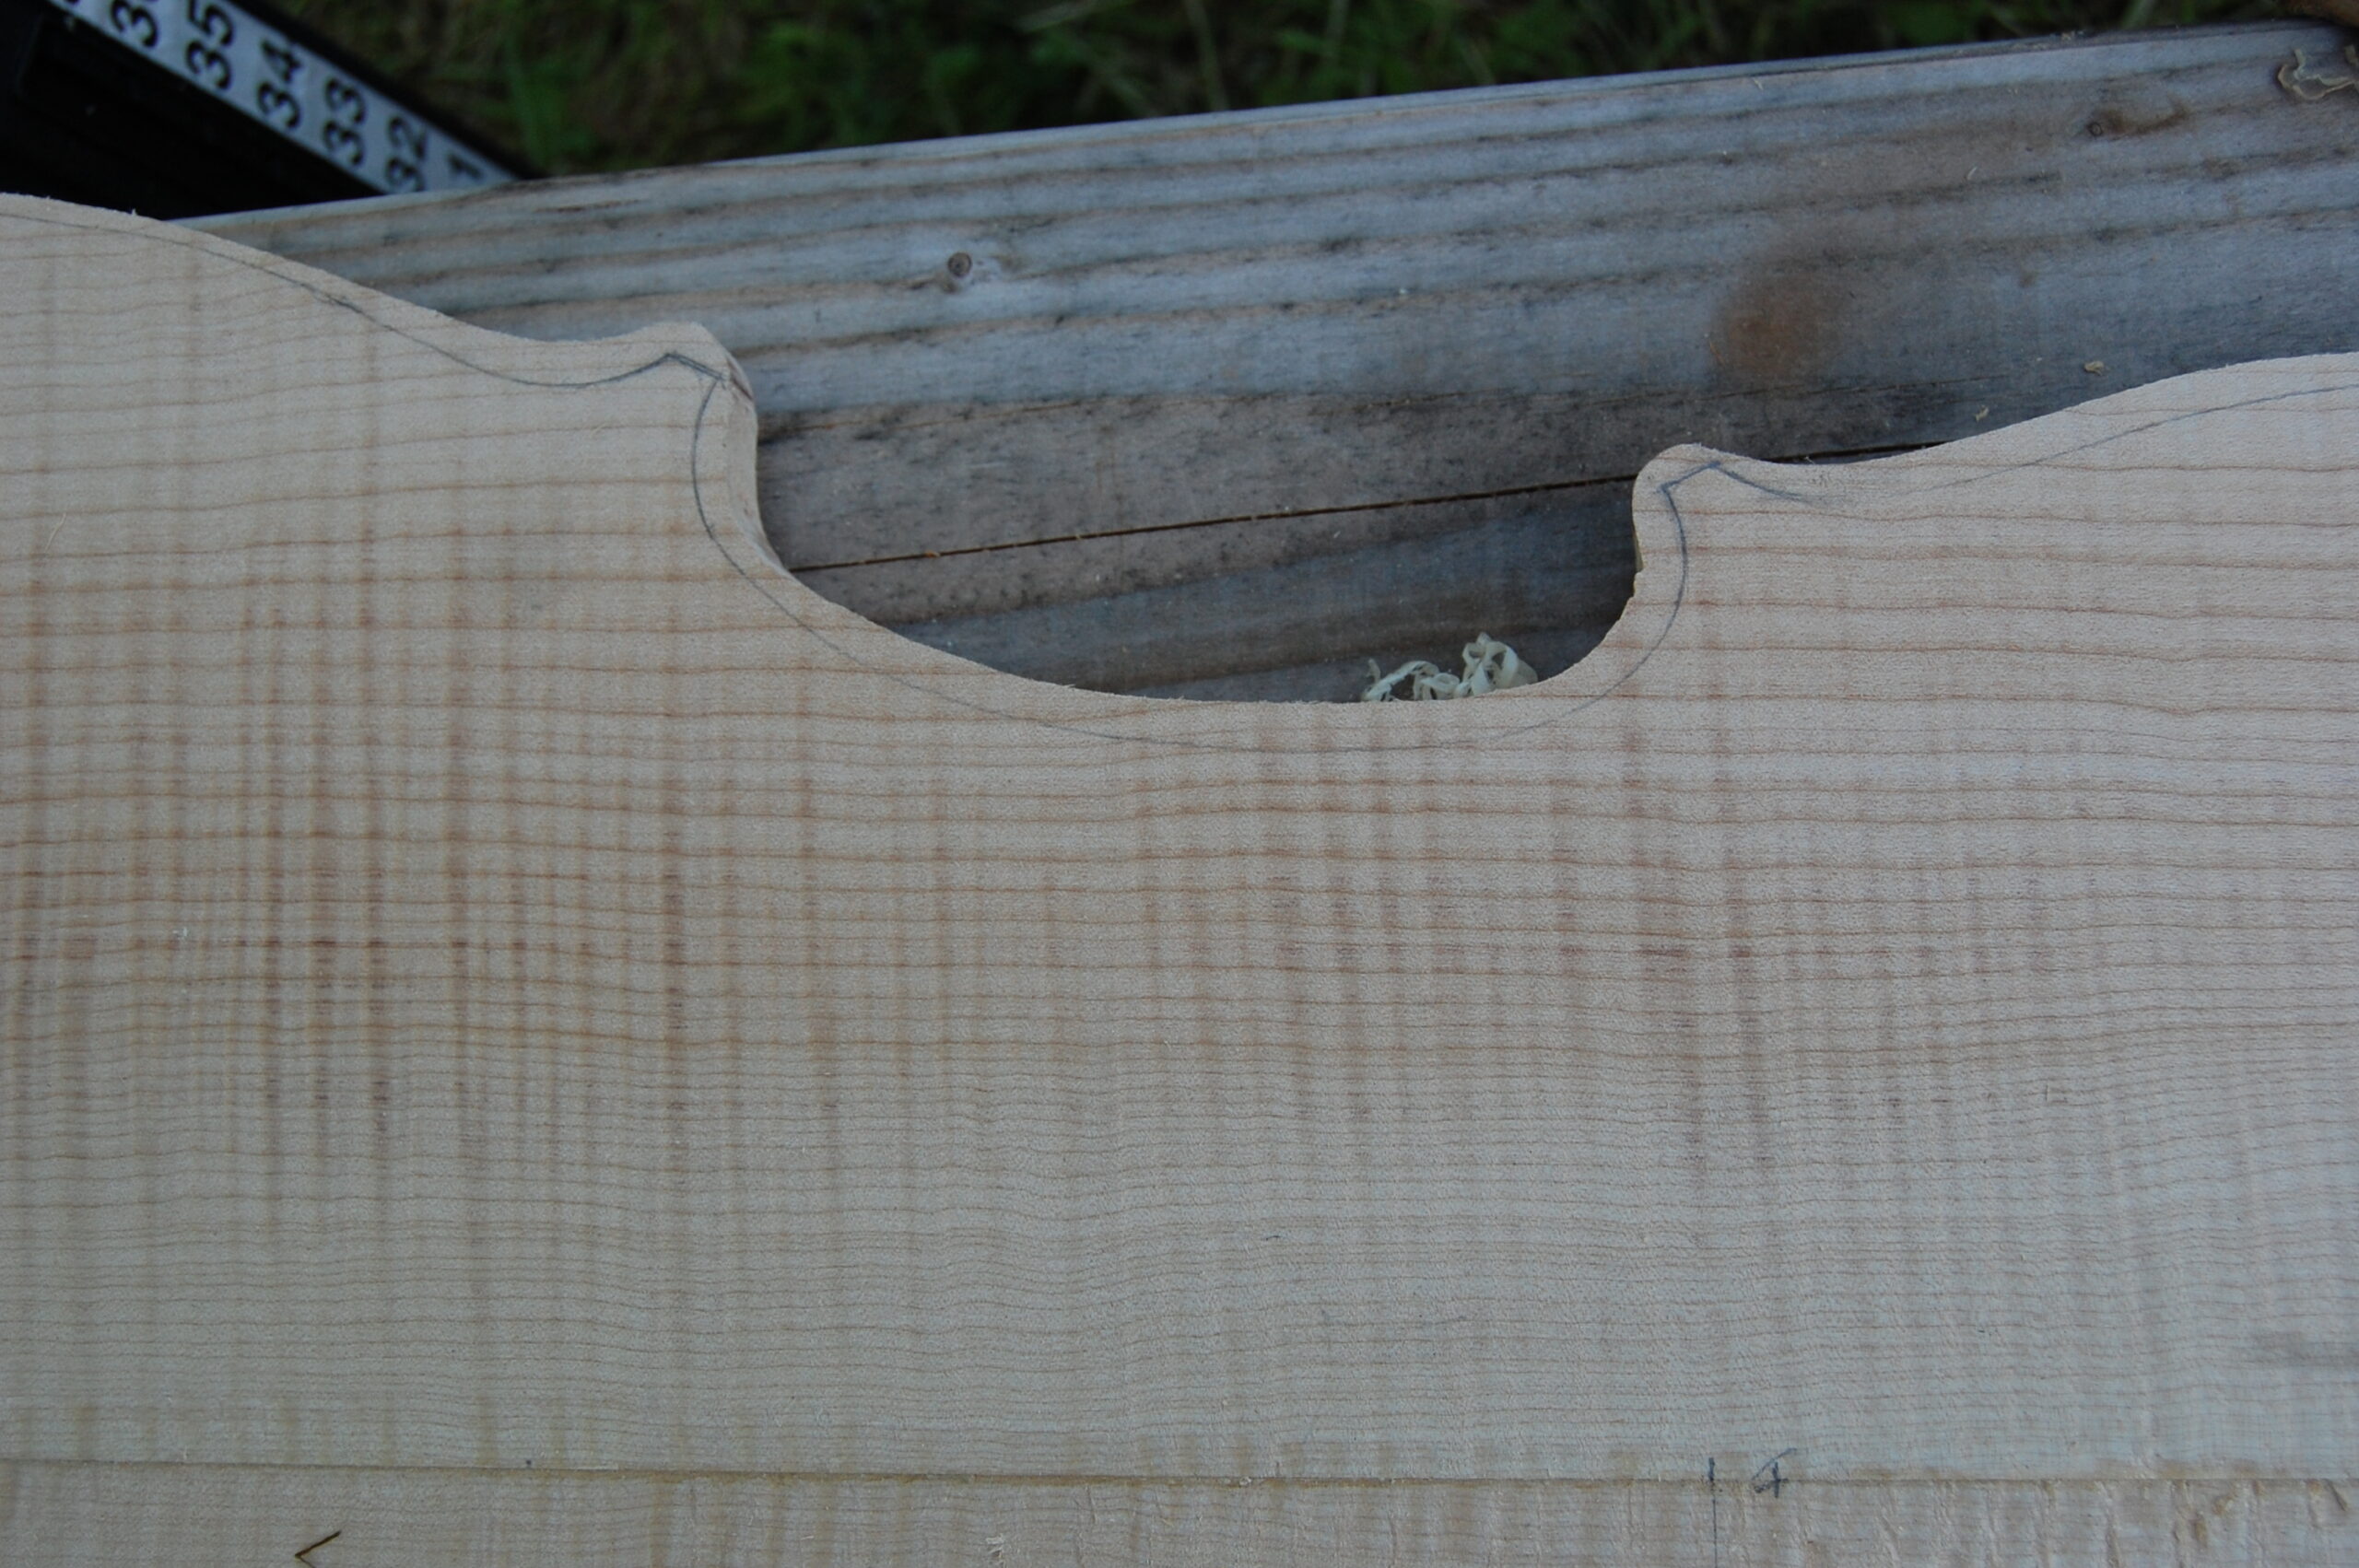
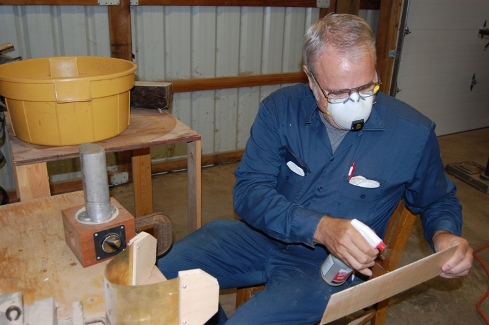
The maple was hard to cut with the small saw– I had to stop every so often, and let the motor and blade cool. Notice that I was cutting well outside even the oversized margin– I could not afford any mistakes at this point.
The Maple was very tough. I had to stop and allow the saw to cool, every so often.
After cutting out the oversized plates, I retraced, using the correct sized washer (actually, a very short section of aluminum tube with the correct wall-thickness…the additional height made it easier to control.) This gave me a correct outline, except that the corners were round. So, using a straightedge, I established a line from about a millimeter inside each of those round corners, reaching to the glue-line at the opposite end of the plate. It is approximately a 30-degree angle off the center-line, I guess, but that is how I did it. This is what the corners look like, after the lines are drawn, the “dots connected” and the round corners erased:
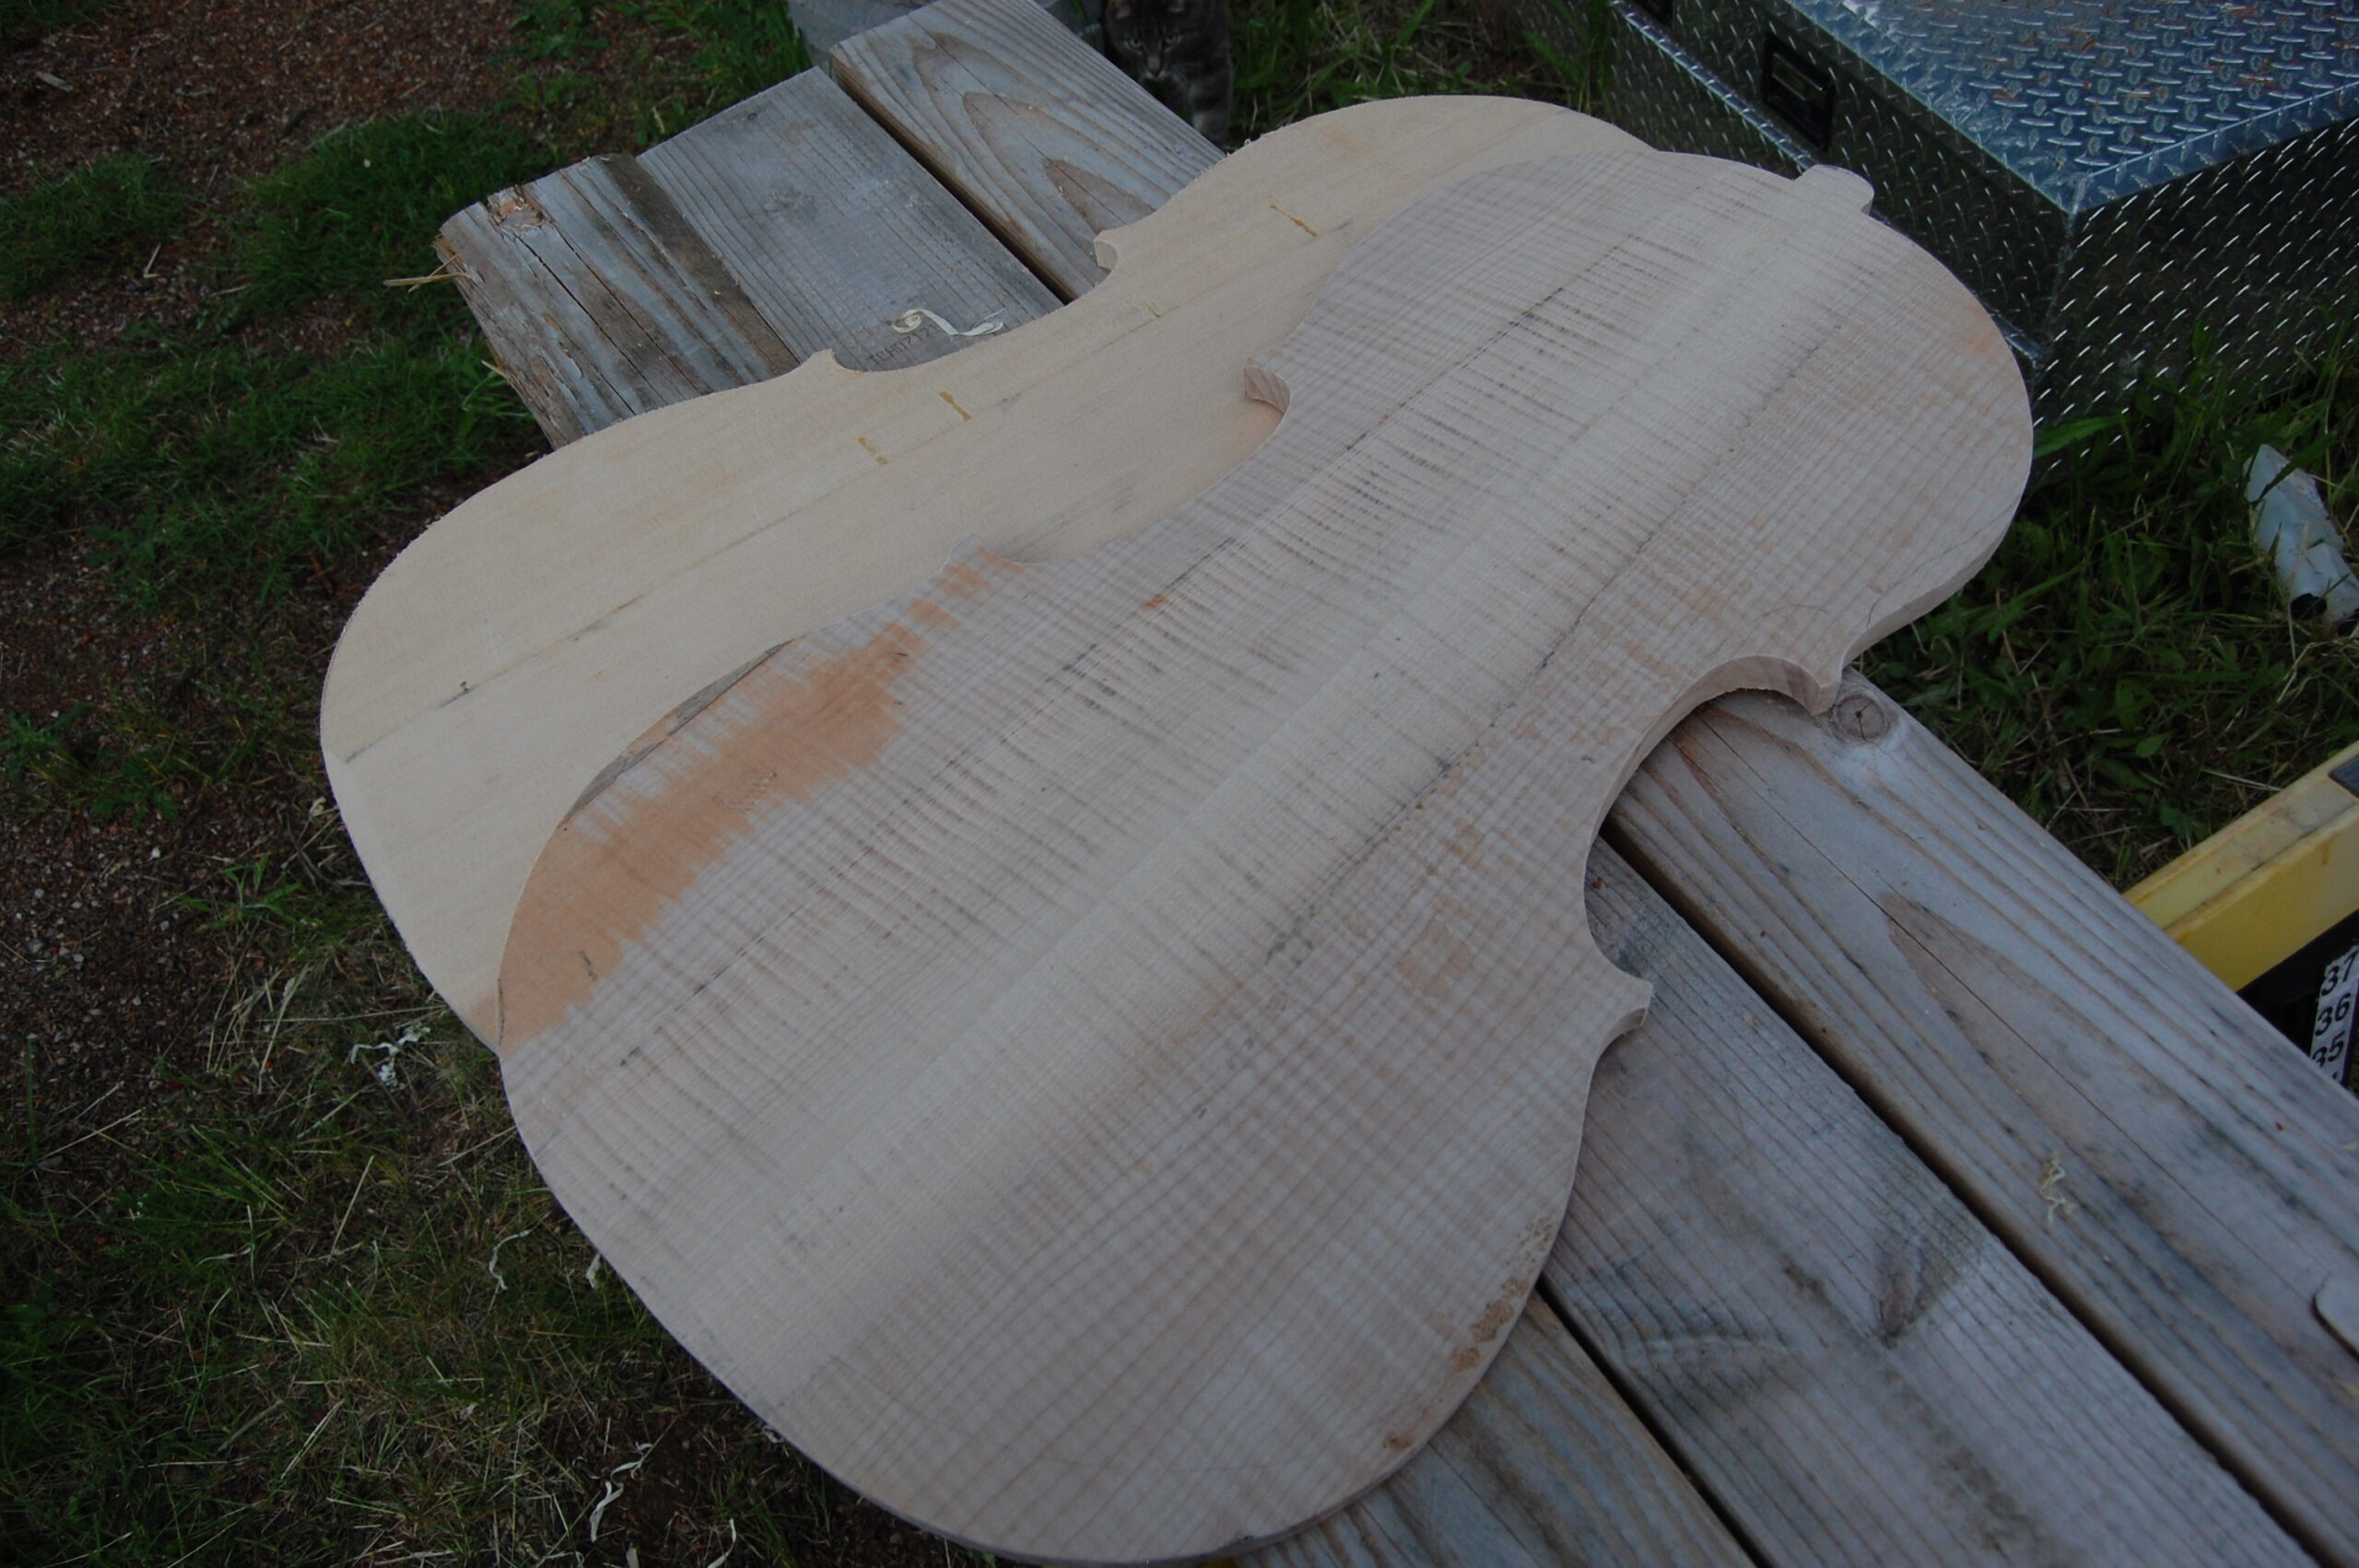
Final outline traced and ready to cut on the bandsaw.I cut out the final outline of the plates on the bandsaw, and perfected them with the Drum sander and files.
Perfecting The Edges;
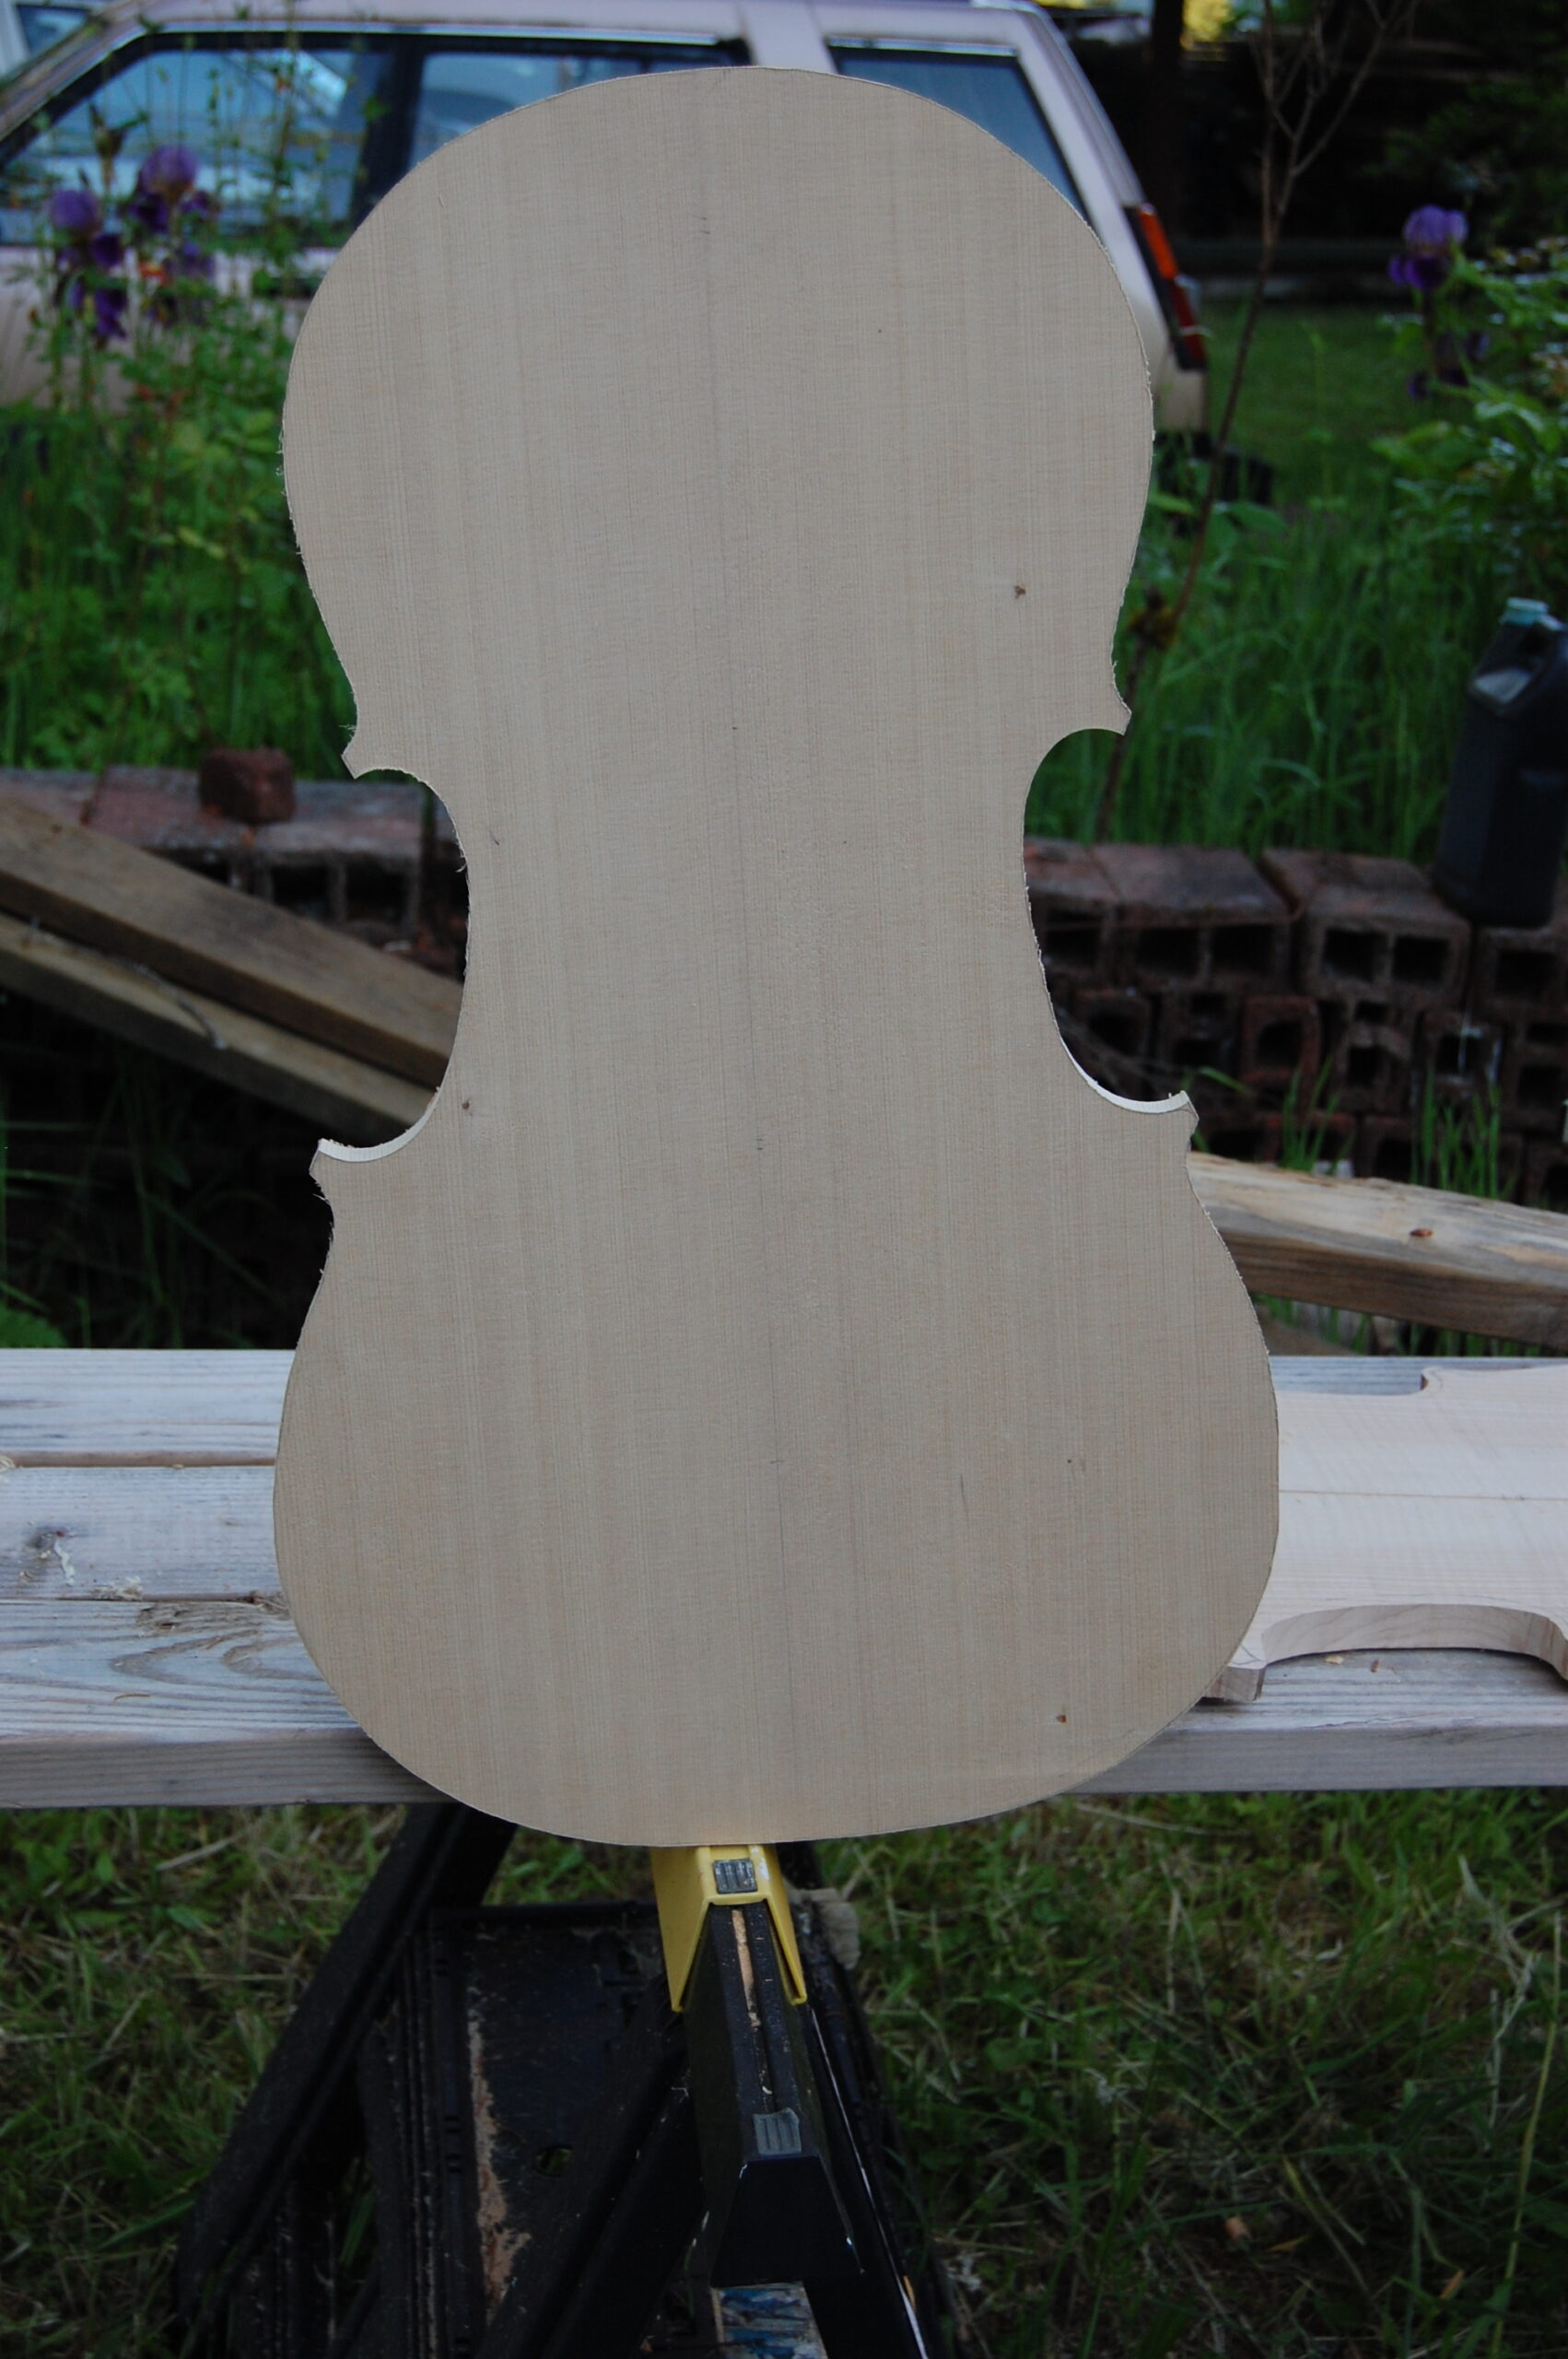
I cut out the final outline on a bandsaw, then perfected the edges on an oscillating spindle sander. Here’s how the plates look, at this point:
The plates are ready for carving. (The black lines are just dirt, and they will be carved off immediately.
The black lines are just dirt– it went away when I began arching the plates…which is the next step, by the way.
If you found this post helpful, please share with your friends!
I don’t have many photos of this. I forgot about the camera when I was joining the plates for the cello. Not all instruments have a glue seam down the center of the plates, but most do: Especially most cello-sized instruments. It is simply too difficult to find good tonewood that is big enough for one-piece backs.
One-piece tops are available (especially if you use Sitka spruce, as the trees are huge.) But nearly everyone uses two-piece tops. We usually “book-match” the plates. (A pie-shaped wedge of a log is split lengthwise to make two very narrow pie-shapes. Then the wide edges are planed and joined in a hide-glue seam. It makes a cross-section similar to that of a low, double-pitched roof.) The grain begins tight on both sides of the glue-seam. It broadens fairly symmetrically as it extends toward the outer edges. I don’t know whether this really makes any difference, acoustically, but it looks nice.
Planing the Center Seam
I used to do all my center joints with a #8 Stanley Jointer Plane (hand-jointer). That was a lot of work, and difficult to get it really flat. Nowadays, on large instruments, I run the edges through a powered jointer first. In this way, I can get the glue-seam as close as possible to being perpendicular to the inside plate surface. The jointer is a fast, reliable way to get close to a good joint, but I have never gotten a good enough joint JUST using the jointer that I could go ahead and glue the pieces together.
I always end up using a good straightedge and a small, very sharp hand plane to fine-tune the joint faces until the fit is perfect– airtight. I check the full length of the face, at each edge and the center, then diagonally across the face, in both directions. If I have to, I use a scraper to remove very small humps.
Once I have one plate perfect, I put the second one in a vise, and use the first one as a “try” surface–I run through the same routine with the straightedge, but then put the first glue surface on top of the second, and rotate it, to see if there are “pivot points” which indicate high spots. I use a scraper to bring those down until there seems to be an even friction all over, and an absolutely airtight, light-tight joint everywhere the two plates touch. Some luthiers use a “shooting board” to get the same results. This is essentially a plane affixed at a 90 degree angle to a flat board, along which the instrument plate is pushed; the plane stays still, and the board moves.
Preparing to clamp the book-matched plates
Then I saw out notches at the ends and (usually) in the center, near where the C-bouts will be, so that I can get clamps in three places. I try the clamping first (quite tightly) while the plates are dry– if the notches where the clamps sit are at a bad angle, they may force the plates apart rather than hold them squarely together.
Ready to Glue
When I am ready to glue, and the hide glue is hot, a brush is ready to use, etc., I heat the gluing surfaces with a clothes-iron, until they are hot to the touch. Be careful on this step, as it is easy to scorch the plates–especially the spruce. Another way to do it is with a heat-gun or hair-dryer. I have one plate secured in a vise, and the other ready to match against it.
With the plates hot, and the glue hot, (and pretty runny– not water-thin, but not viscous like honey– maybe more like thin syrup) I brush the glue liberally on both plates, then quickly match up the plates, rubbing the top one hard against the bottom, so that glue seeps out all around the edges. I want it to squeeze out everywhere.
I only have a few seconds to get the joint tight, and lined up exactly right, because the glue quickly begins to gel, and then it will lock up. It seems best to line up the corners, then apply clamps at both ends. I take the plates out of the vise, and apply a bar-clamp to the center notch. Set it aside and allow it to dry overnight. It will actually be strong in much less time, but I REALLY don’t like to have center-joints fail, so I allow them to dry overnight.
Completed Plates
You will notice that in the two photos below, I did not center-notch the maple plates. I don’t recall why…sorry.
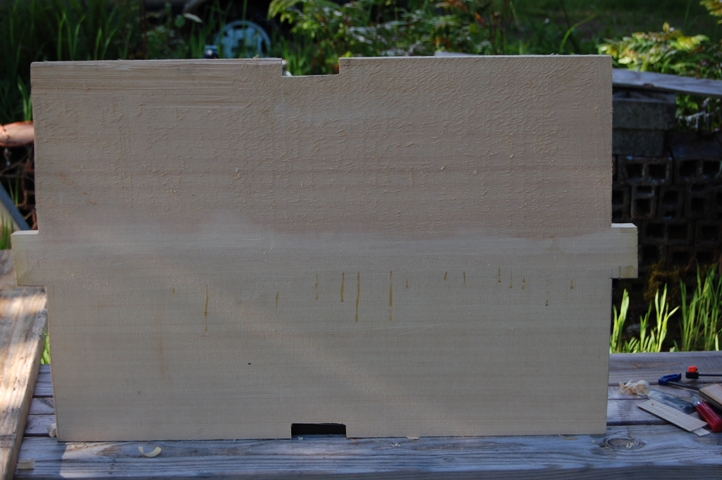
This is a completed, book-matched joint in a Sitka spruce cello top.
Sitka Spruce, from the Wood Well (tonewood dealers near Port Townsend, WA).
This is a Big Leaf maple cello back, from the Wood Well, in Port Townsend WA.
Big Leaf Maple, from the same source. On the Spruce plate, you can see the remnants of the glue that squeezed out during clamping. They are not visible on the maple, probably because they are camouflaged by the curl (flame) of the maple. (nice wood, huh?)
If you found this post helpful, please share with your friends!
The best tool for this job is the traditional bending iron. You could make one that would be quite functional, for very little cash outlay. But the nice thing about the “traditional” ones is the variety of curves available. You can buy them at International Violin Co. and many other sources,
The Iron (by the way, they are no longer iron, but rather, aluminum. The name has stuck, though.) They usually have an “egg-shaped” cross-section. On the small end, they have a tight enough curve to form the tight bends at the corner blocks. But at the center, they are flat enough to gently curve the flatter areas. For instance, the portions of the ribs where they span the lower bouts of a large instrument such as a cello.
This is how we use a Bending Iron to bend a Cello rib to the correct shape.
The Bending Iron MUST be hot!
One key to successful cello rib-bending: You MUST heat the wood all the way through before commencing the bend. If you don’t do this, you can almost guarantee you will break the rib. How hot? Good question.
I used to use a clothes iron and wooden molds, around which I would bend my ribs. I rigidly fixed the clothes iron in position with the hot side up, and the thermostat control set on “linen”. At that temperature, if you are not careful, you can scorch the wood. Also, if you dribble water on the iron, it dances and bounces, as it boils away to nothing. It can’t just sit there and steam. So that is my test on the commercial bending iron as well. I want the water to dance and boil instantly, not just sit there and simmer. On the commercial bending iron, it takes 20 minutes or so to get hot enough…maybe longer. Be patient: this is critical. The iron has to be hot.
The bend has to be gradual, with constant, firm pressure on the bending strap.
Bending Strap
Of course, you can buy a bending strap, but if you can secure a thin strip of aluminum (aluminum roll roof-flashing is almost too thick, but it will work) you can affix wooden handles, and it will be fine. For small instruments (violins and violas,) I cut up a large beverage can in a spiral (similar to a cardboard tube.) This will produce a strip about 40mm wide, and long enough for a bending strap. But, for a cello, you need a strap that is more like 100-120 mm wide.
The bending strap accomplishes several things. The most important, in my mind, is that it supports the outside of the curve and prevents the wood from “stress-relieving” through fracture. Especially in heavily figured woods, it is very common for an unsupported rib to break along the curl. (Rats! Your beautiful rib just became beautiful firewood!)
The second thing is that handles allow you to put pressure on the whole part of the rib you are bending without endangering your fingers. The wood gets hot enough to really hurt you if you touch it. It is a good idea to put handles on the bending strap. (By the way, some people use cloth, instead of metal, for their bending straps. Brass or aluminum are the most common metals used, though.) Metal transfers heat pretty rapidly, so wooden handles are very helpful. Thin gloves aren’t a bad idea either, but I usually think of that after I am well into the bending process, and it is too late to stop and put them on.
You don’t want the rib saturated with water…that will result in a broken rib–just spray it all over, quickly, and immediately begin heating it for bending.
How Much Water?
Some folks bend their wood dry. Some soak their wood. I use just enough water to get the wood wet on the outside (spray it on; no soaking) and enough to produce a little steam while I am heating the wood. I want it completely dry when I remove it from the heat.
Bending the Ribs
Method
Press the wood against the flatter portion of the iron while it is heating (count off at least ten seconds.) Then slide it toward the end with the curve that most closely approximates the bend you need, and slowly, firmly press the wood into shape.
Use the bending strap to hold the rib tightly against the bending iron. Hold it another ten seconds or so, and then let off a little, to see if it will hold that curve. If it springs back, pull it tight again, and hold it some more.
Pay attention to smells, at this point. It should smell like something baking in an oven. You do not want to scorch the wood. (Try this with wood you can afford to lose, a few times, before using the nice, expensive rib-stock you bought.) I broke and/or burnt a number of ribs, while trying to learn this skill.
Bending Options
But I know a guy who uses an old piston from a diesel engine for his bending iron, and heats it with a propane torch. Others have used water pipes, curling irons, charcoal briquette lighters, and the like. I finally got a “real” bending iron only after I had made 15 instruments.
Specific to cellos: I made my thickness 2mm, and used a large bending strap, as shown. You can’t see the mold in the photos (I forgot about the camera until the real cello ribs were done and installed.) But, what I did was to set the cello mold nearby, and bend a rib, then check the bend against the actual mold, to see if it was close to correct. Then, back to the bending iron, to correct it. When a rib was satisfactory, I immediately clamped it in the mold, to hold that curve while it cooled. Once it was cool, it would hold that curve permanently.
Sequence
The reason we do the inner c-bout ribs first is that there is frequently a fair amount of pressure put on the ribs during the gluing/clamping process, and if the corner blocks were cut to their final shape, they could flex, and permanently change the shape of our corners.
After the c-bout ribs are glued with hot hide glue, and thoroughly dried, I shape the outer sides of the corner blocks. The black lines you can see below are ink, where I accidentally allowed the template to move as I was marking the corner blocks. Those marks were removed when I leveled the garland, which we will talk about in a later article. The curve of the outer side of the blocks is extended through the C-bout rib, so that the upper and lower ribs overlap the C-bout ribs.
This is how the bent ribs are fitted into the mold and glued to the blocks.
Clamping and Gluing
I cut clamping “cauls” (curved wooden blocks) to help hold the ribs tightly to the blocks while gluing. The holes in the mold are positioned in such a way that the clamps will be pointed the right direction to achieve maximum hold while gluing. Do four or five “dry-runs” before actually applying the hot glue. In fact, it is a really good idea to have things clamped in place, and just remove the clamps on one end long enough to apply the hot hide glue and re-clamp immediately.
Clean up around the joint, immediately, with hot water and a rag or brush. Let the glue dry overnight. If you have to re-work a joint, a teakettle’s steam, as close as possible to the spout, will un-glue a joint in about 20 seconds. Watch the fingers. Steam is hot. (Close to the spout, where the steam is invisible, is where you want to be.) You can get a serious burn if you are careless.
How I Do Things…
I use a $3 “potpourri heater” from the Goodwill store for my glue heater. Put an old yeast jar in it, and fill with water around the jar. I keep the lid on the jar when I am not actively using the glue, to keep it from drying out. It seems to work pretty well. I am told that 145 degrees F. is the correct temperature for hide glue. You can get good glue from a variety of places. I’ll talk more about glue, and the glue-pot, in a later article.
After the glue is completely dry, I cut off the excess upper and lower ribs at a right angle, exactly at their intersection with the C-bout ribs, so that the glue lines follow the inside corners of the upper and lower rib ends, and are essentially invisible. (I do NOT “miter” these corners–I hide the joints by putting them right on the corners of the squared-off ribs.)
If you found this post helpful, please share with your friends!
Ruggieri, Montagnana, Stradivari, Amati, Maggini, Guarneri, Gofriller, Gasparo da Salo, Strobel, etc.
What Cello should I build?
There are almost as many different models of cello as there are of violins. Stradivari made them, as, apparently, did Giuseppe Guarneri, as well as those before and after them. Both Andreas Amati and his illustrious grandson, Nicolo Amati, made celli. Franscesco Ruggieri, Andrea Guarneri, Gasparo da Salo, Giovanni Maggini, Matteo Gofriller, and Domenico Montagnana are other makers famous for celli. But I really was going to choose between only three possibilities:
1. Someone had given me a plan for the Montagnana “Sleeping Beauty” Cello, which has a good reputation for a big sound.
2. There are two complete sets of plans in Henry Strobel’s book, Cello-Making, Step-by-Step–one a full-size model, and the other a 7/8 size.
3. I had bought a poster from The Strad Magazine, with a detailed drawing of the 1712 Stradivarius Cello known as The Davidov.
The Davidov cello was being played by Yo Yo Ma, a world-class cellist. I really liked the looks of it (the Sleeping beauty is kinda chunky), and it is a known entity (those in Henry Strobel’s book are lesser known). So, with all that (and the fact that Paul Schuback assured me it was a good choice) I settled on the Davidov. Nothing arcane about it– I just grabbed the one I liked, really.
One thing that had been a vote in favor of Henry Strobel’s cello plans is that the plans were already drawn, including the lines for the mold. The poster gave all the information for the original instrument, but I had to come up with the mold template myself. That was OK, but I ended up a few millimeters oversize. My fault.
Photo-Essay of my first cello-build
In case anyone wants to see this whole series at once, here is a link to the original blow-by-blow photo-essay on Maestronet. It took 13 weeks of spare-time work from start to finish–between 250 and 300 hours, I would guess.
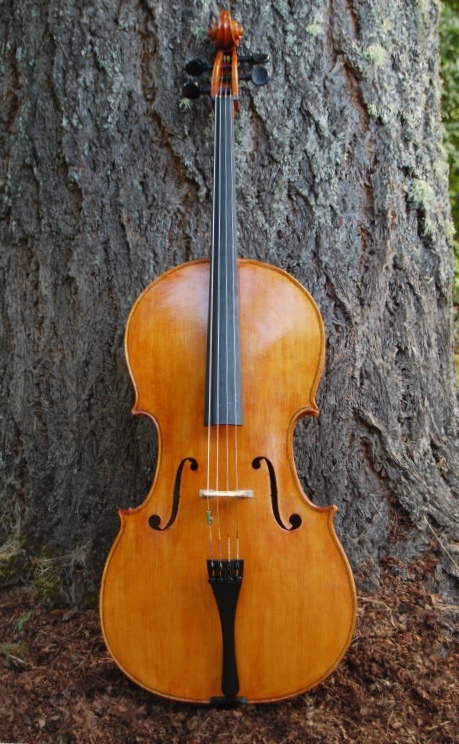
My First Davidov Model Cello Build, Completed and Ready to Play
If you found this post helpful, please share with your friends!

 Follow