
 Follow

Step #8–Trace the shape of the cello plates, and cut them out;
Tracing the plates is pretty easy, provided you did a good job of two things. Joining the plates and flattening the mating surfaces of both the garland and the plates. Place the garland on the flat side of the plates. If you can see gaps, then you need to address that first. Assuming you already flattened the garland, you now need to flatten the plates.
Flatten the Plates
This can be done using a hand plane, and a straight-edge. But, do you have a cabinet shop nearby? (The place where you found that wide sanding belt is perfect!) That is a really good place to get the plates dead-flat. Glue some blocks on the two sloped sides of the plates: The outside of the plates. Strips of 2 x 2 pine would be perfect. You want to produce a flat surface on the sloped side of the plates, parallel to the desired inside surface.
Turn the plates flat-side-up, on a table. The sloped side should sit flat on the strips of wood, with the center joint touching, as well. Plane the blocks until the “flat-side-up” orientation (on a level surface) results in a more-or-less level plate surface.
Then, go talk to the owner of the cabinet shop. Ask if you could pay him to run those two plates through his wide-sander. That machine will produce a dead-flat surface in an incredibly short time. 80-grit or even 60-grit, probably, is fine…the surface does not have to be polished: Just smooth and flat.
Trace The Plates
Once you have a flat surface, you can lay the garland on the plate, aligning the center line of the garland with the glue-seam on the plate. Trace around the garland, using a flat washer and a very sharp pencil. Choose the flat washer for the dimension of the “flat” portion. You want the width of one side of the washer to equal the desired width of your overhang. (The distance you want the top and bottom plates to extend beyond the ribs.)
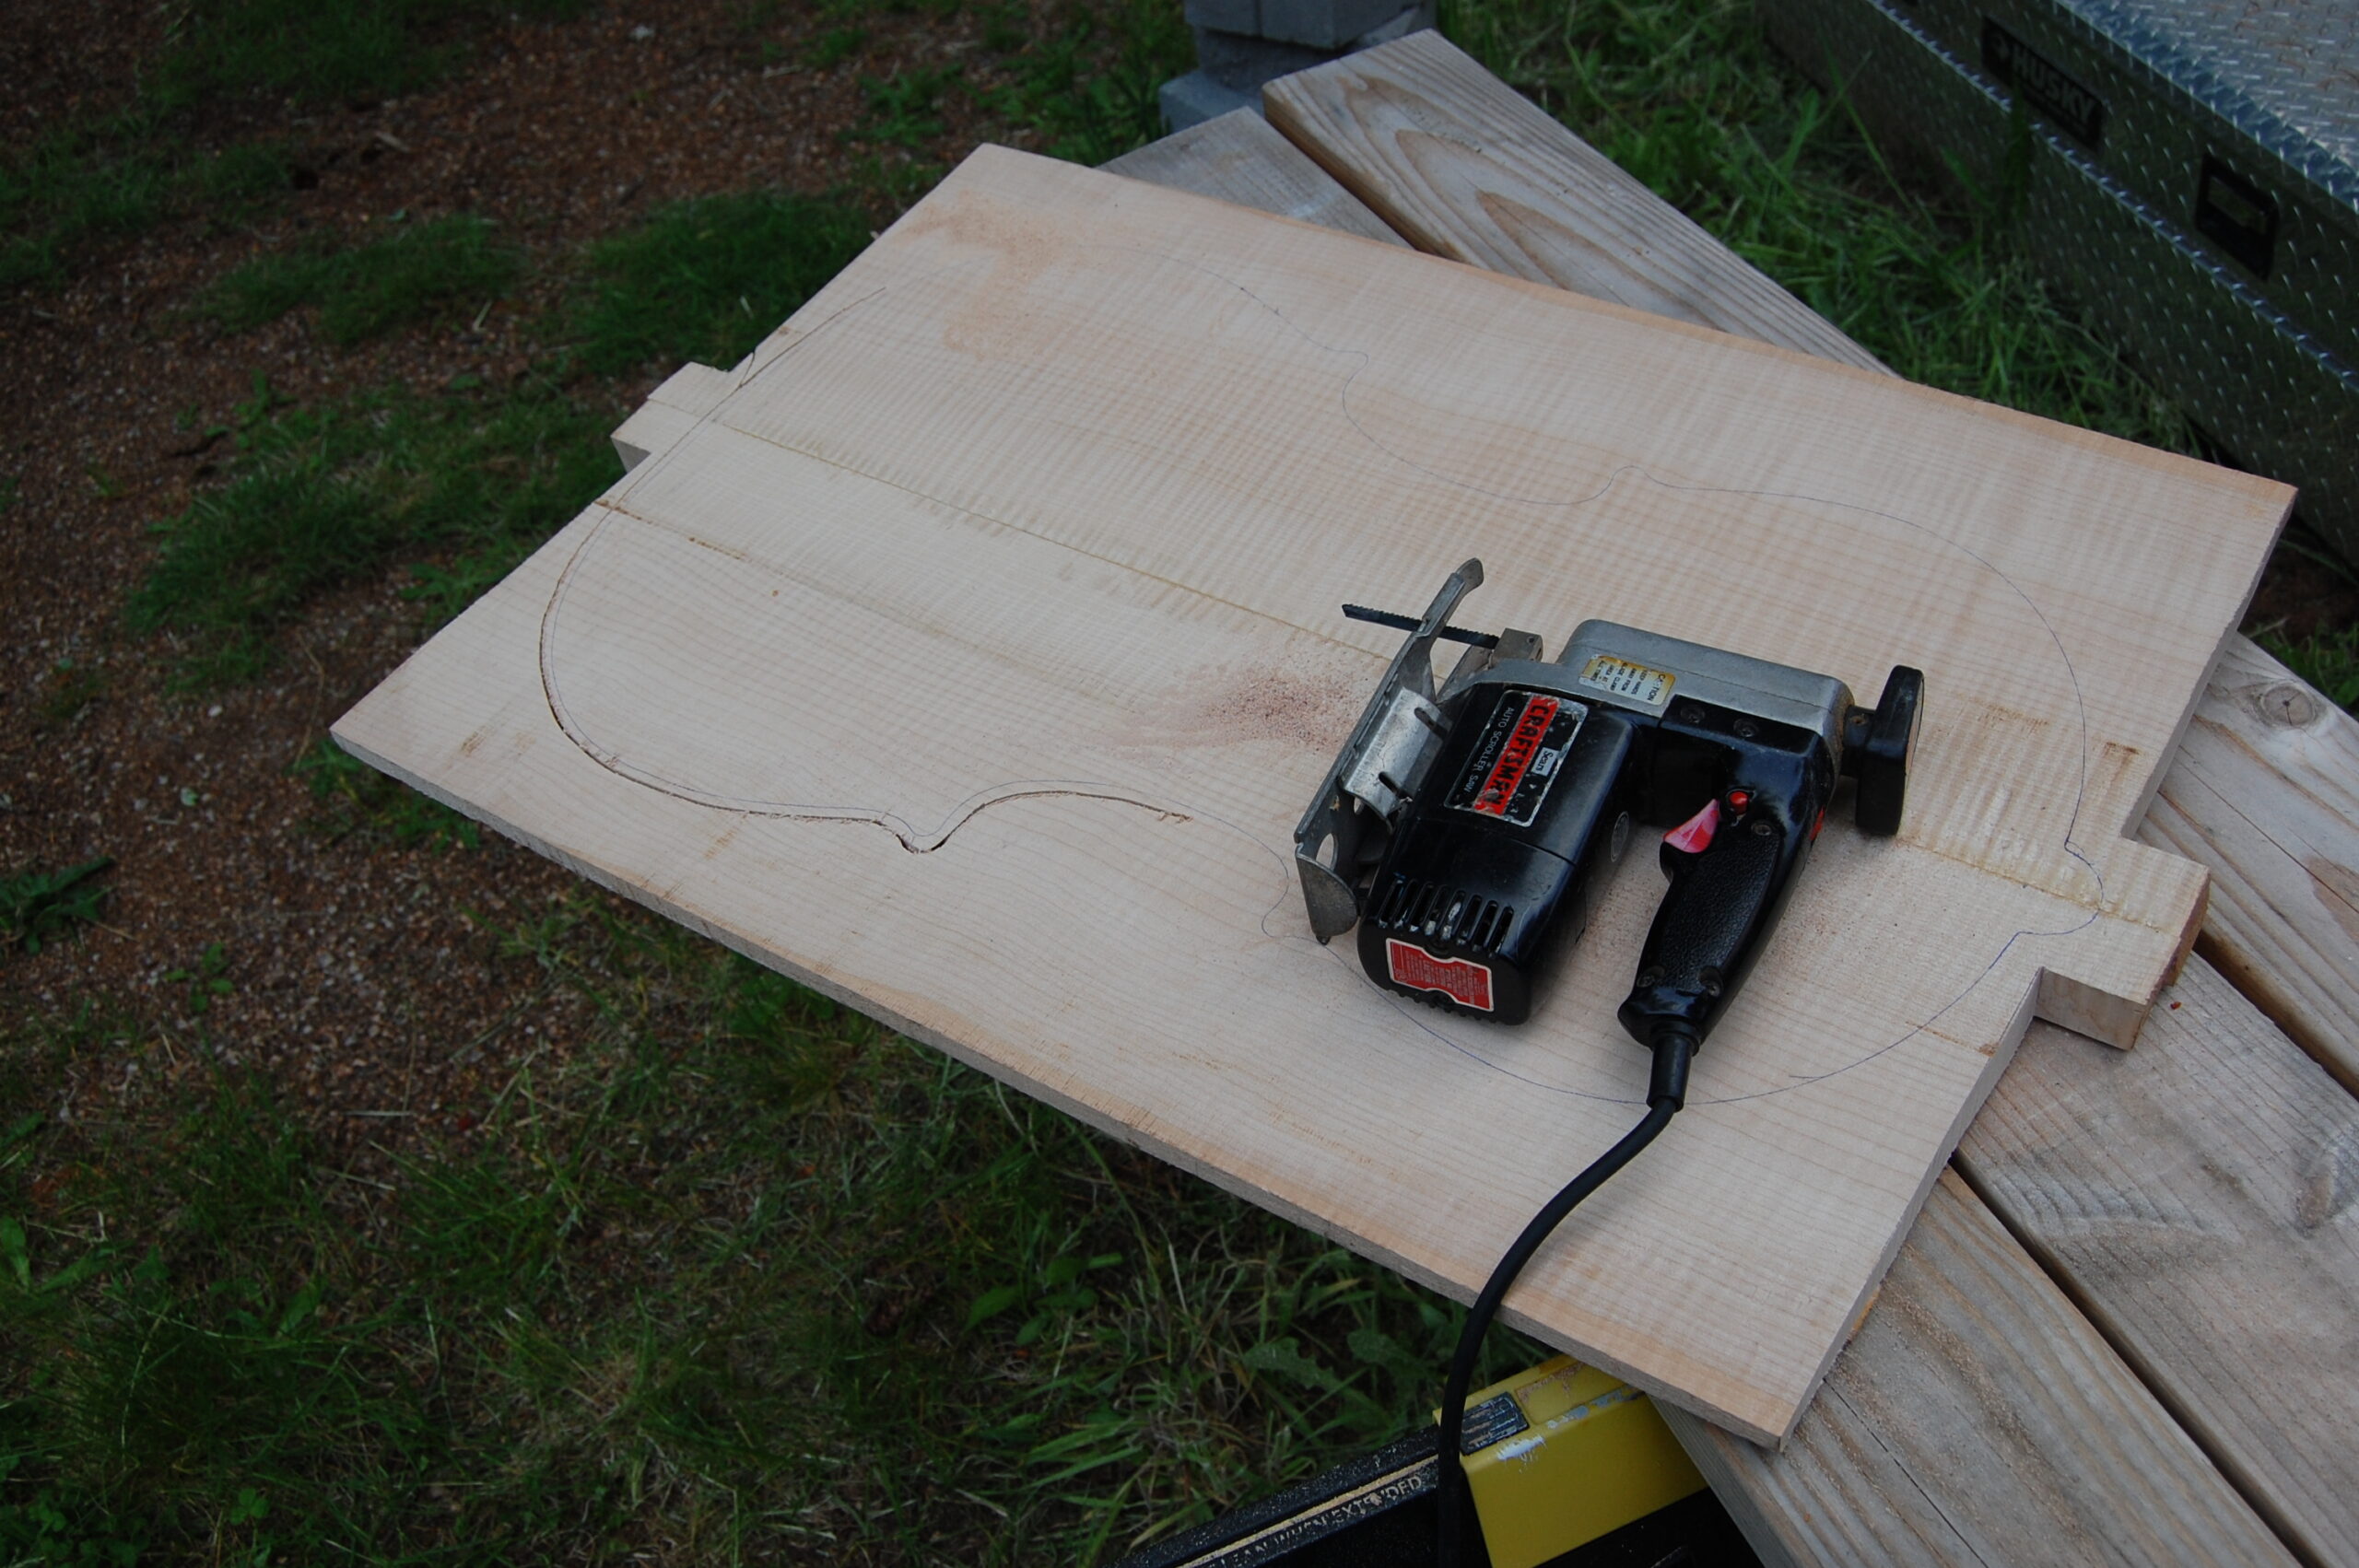
I used a large washer first, to produce a deliberately over-sized plate, to be sawn out using a hand-held saber-saw, or “jig-saw” as some call it. the only reason I did this is that the cello plates were too big to comfortably cut out on the bandsaw.
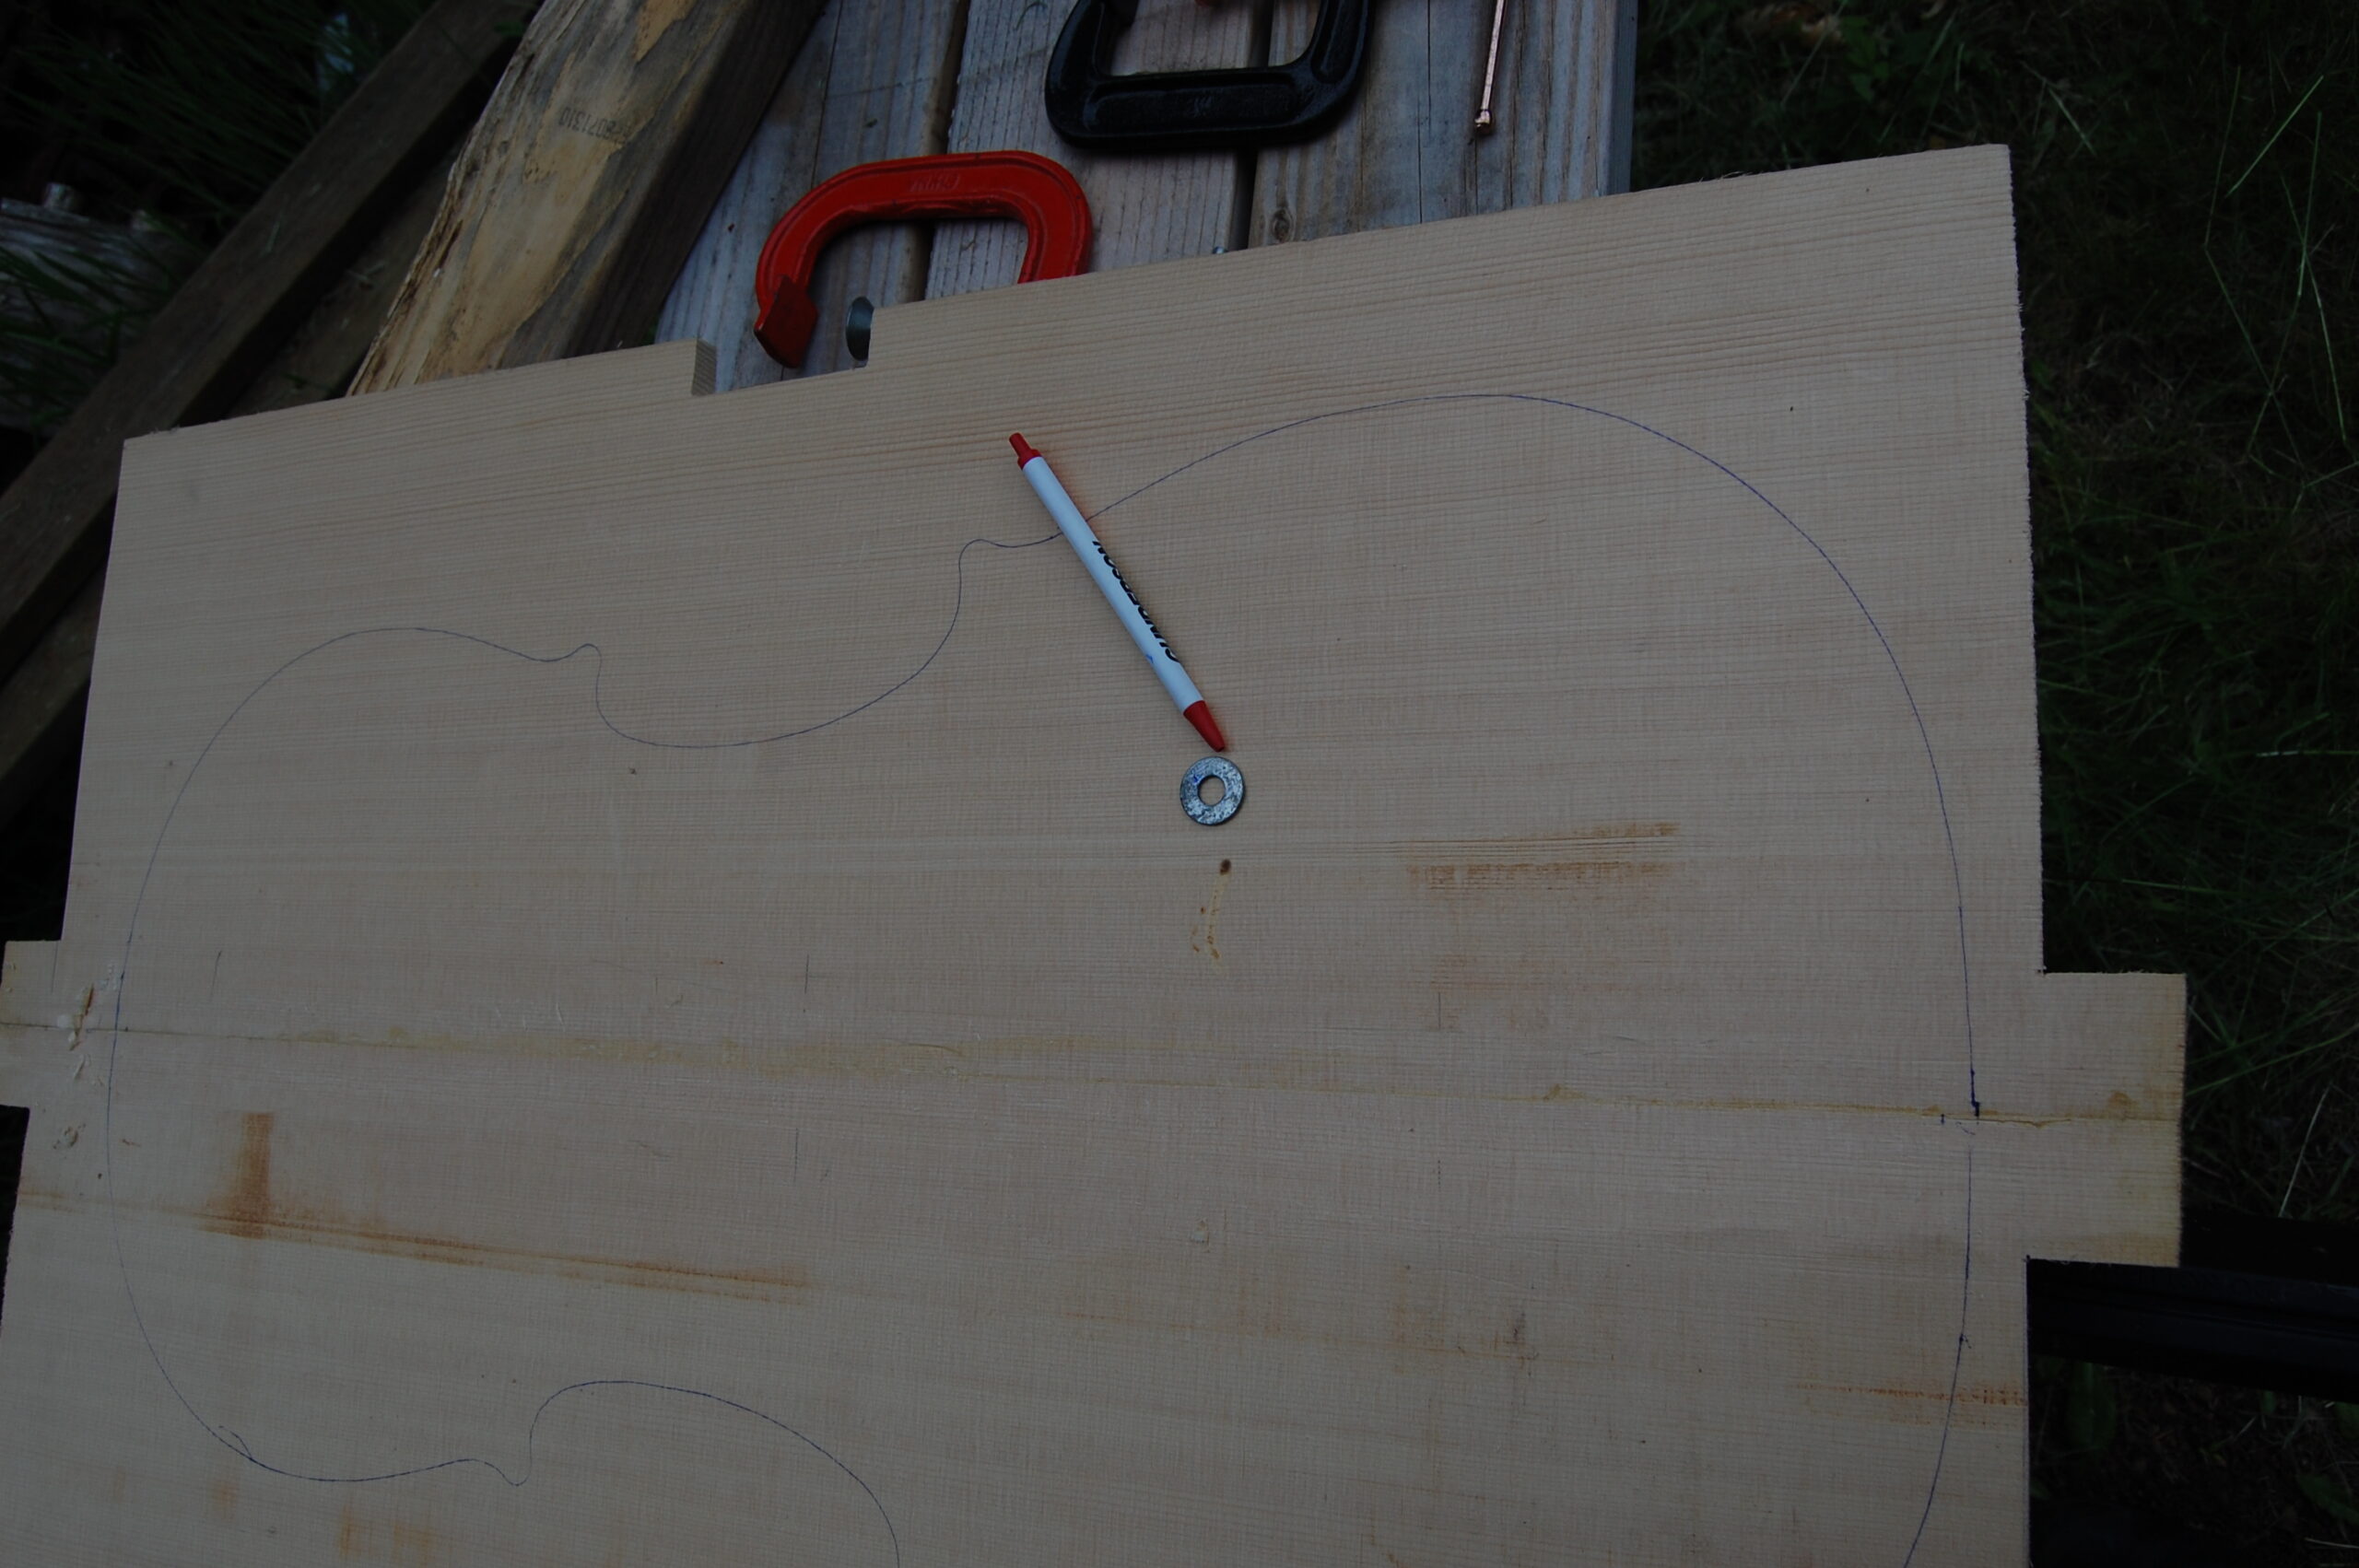
Cutting Out The Plates;
The maple was hard to cut with the small saw– I had to stop every so often, and let the motor and blade cool. Notice that I was cutting well outside even the oversized margin– I could not afford any mistakes at this point.
After cutting out the oversized plates, I retraced, using the correct sized washer (actually, a very short section of aluminum tube with the correct wall-thickness…the additional height made it easier to control.) This gave me a correct outline, except that the corners were round. So, using a straightedge, I established a line from about a millimeter inside each of those round corners, reaching to the glue-line at the opposite end of the plate. It is approximately a 30-degree angle off the center-line, I guess, but that is how I did it. This is what the corners look like, after the lines are drawn, the “dots connected” and the round corners erased:
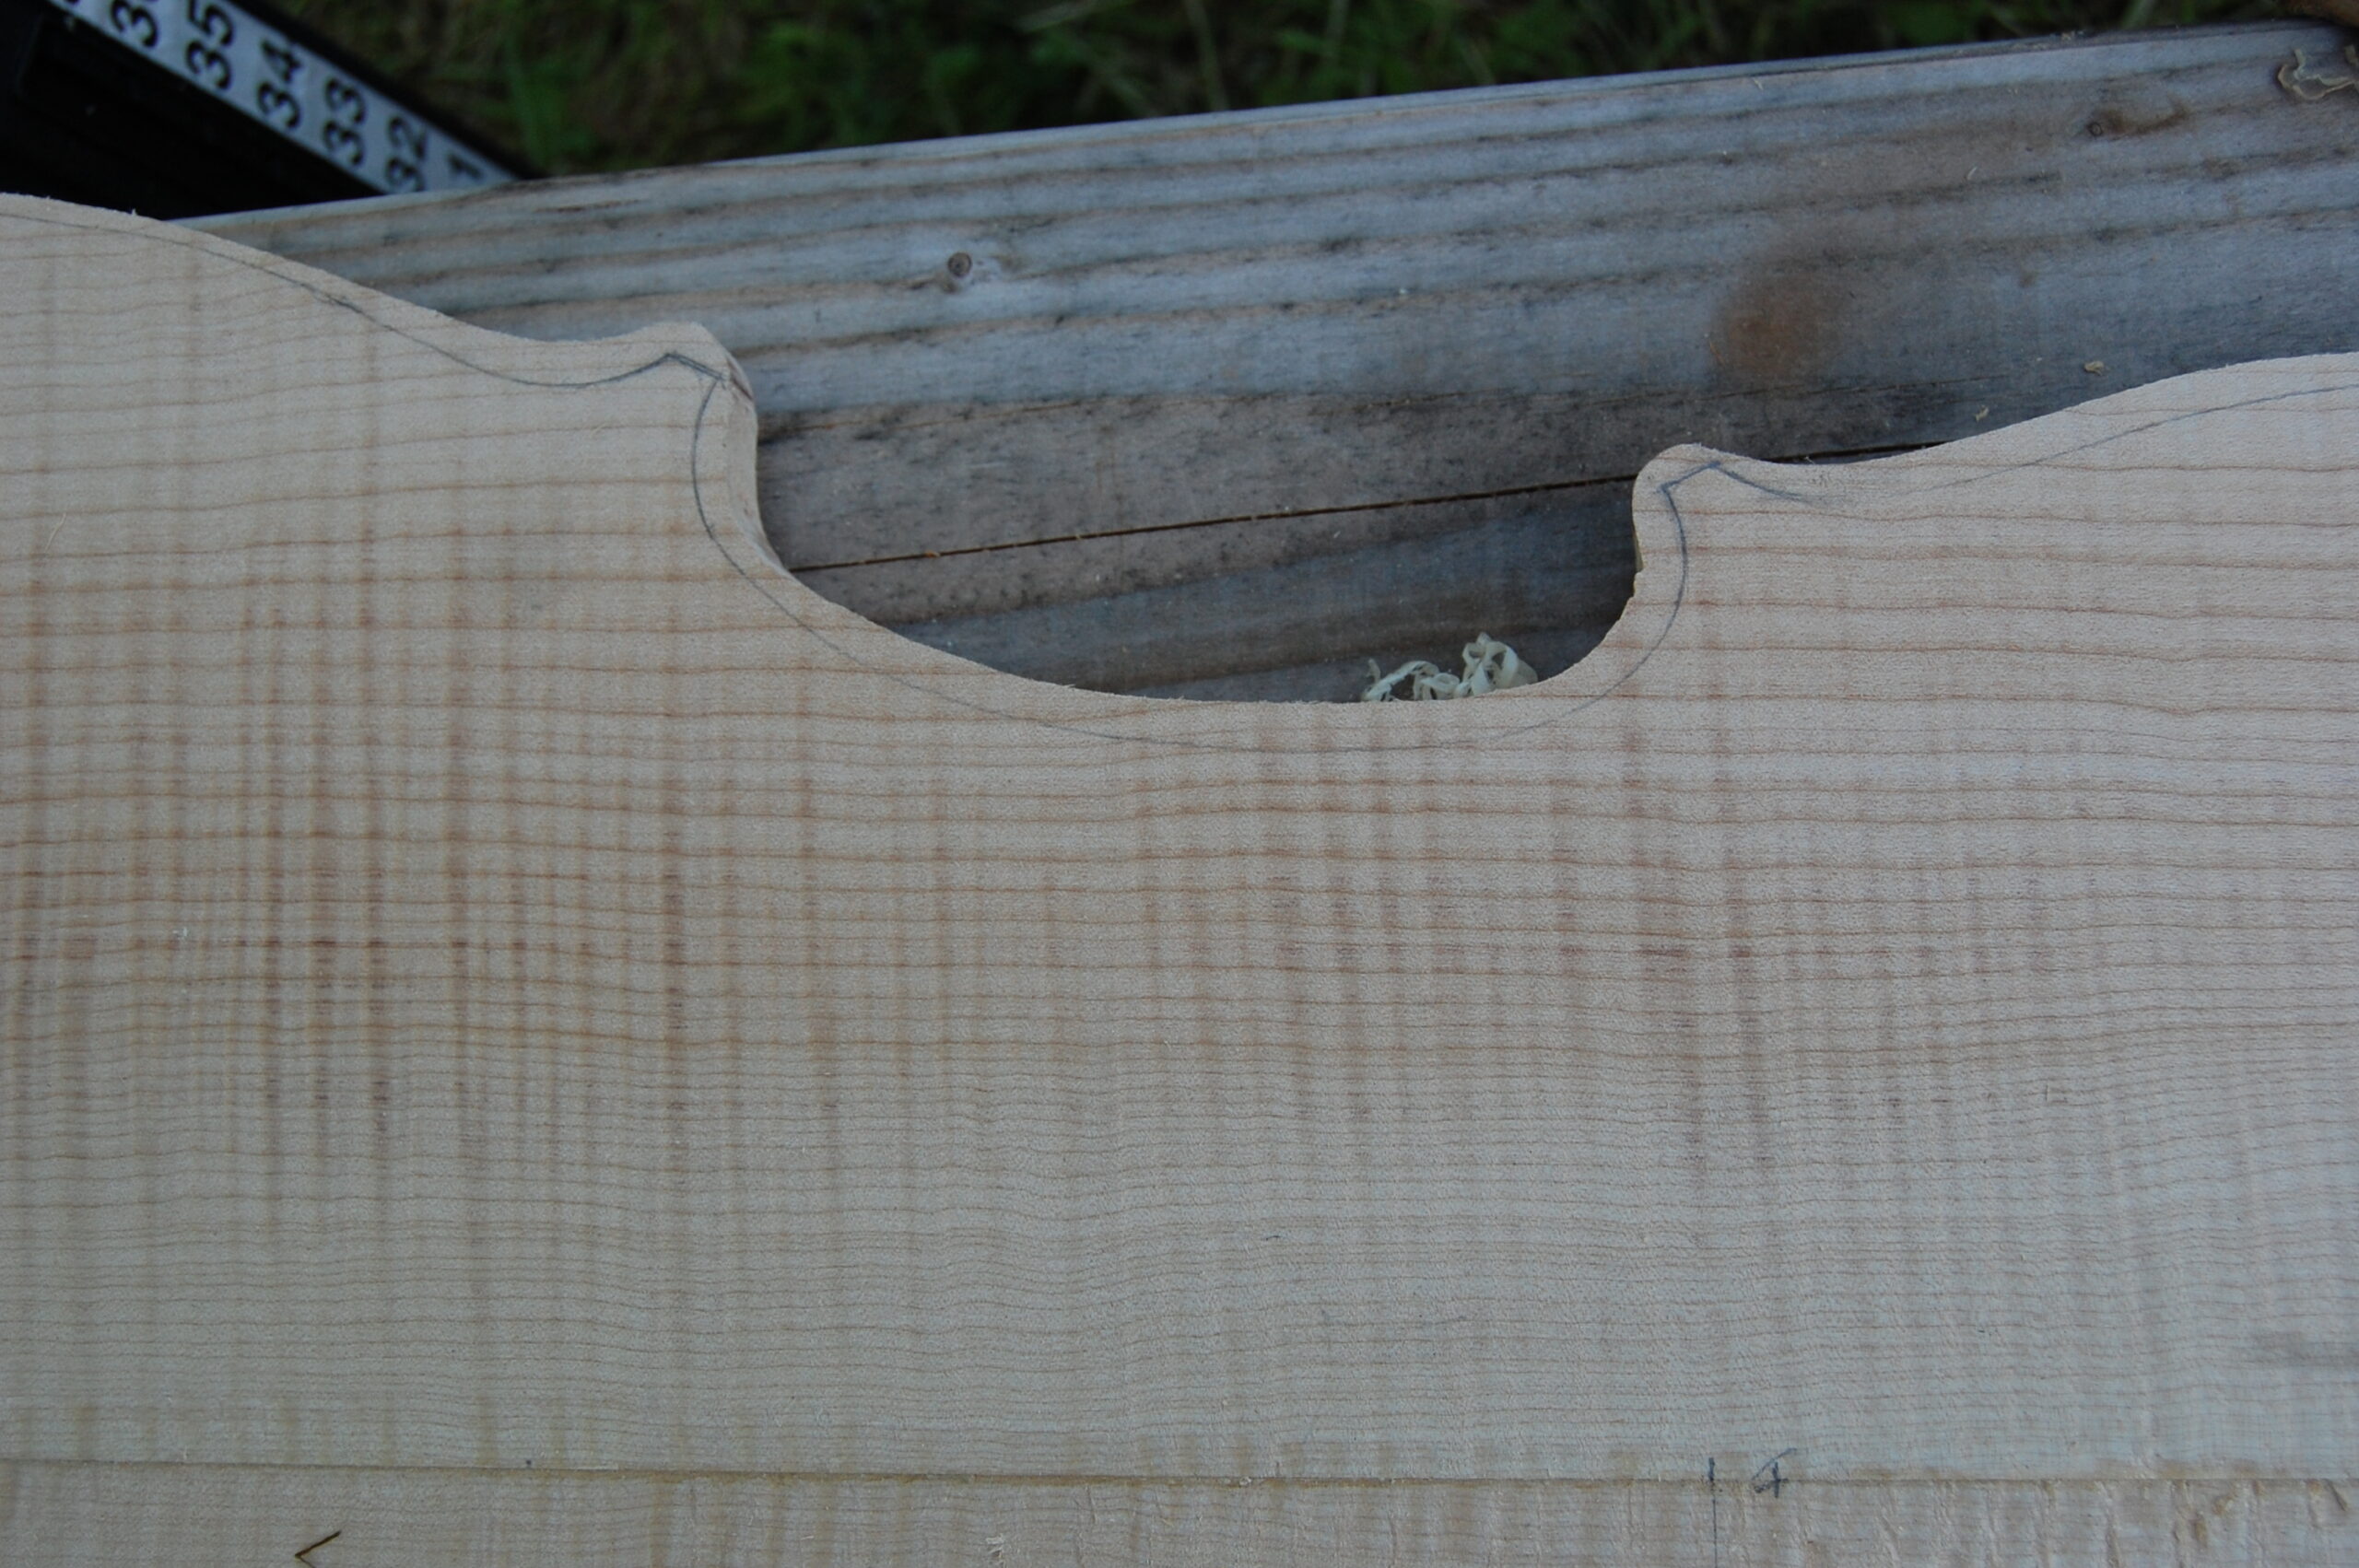
Perfecting The Edges;
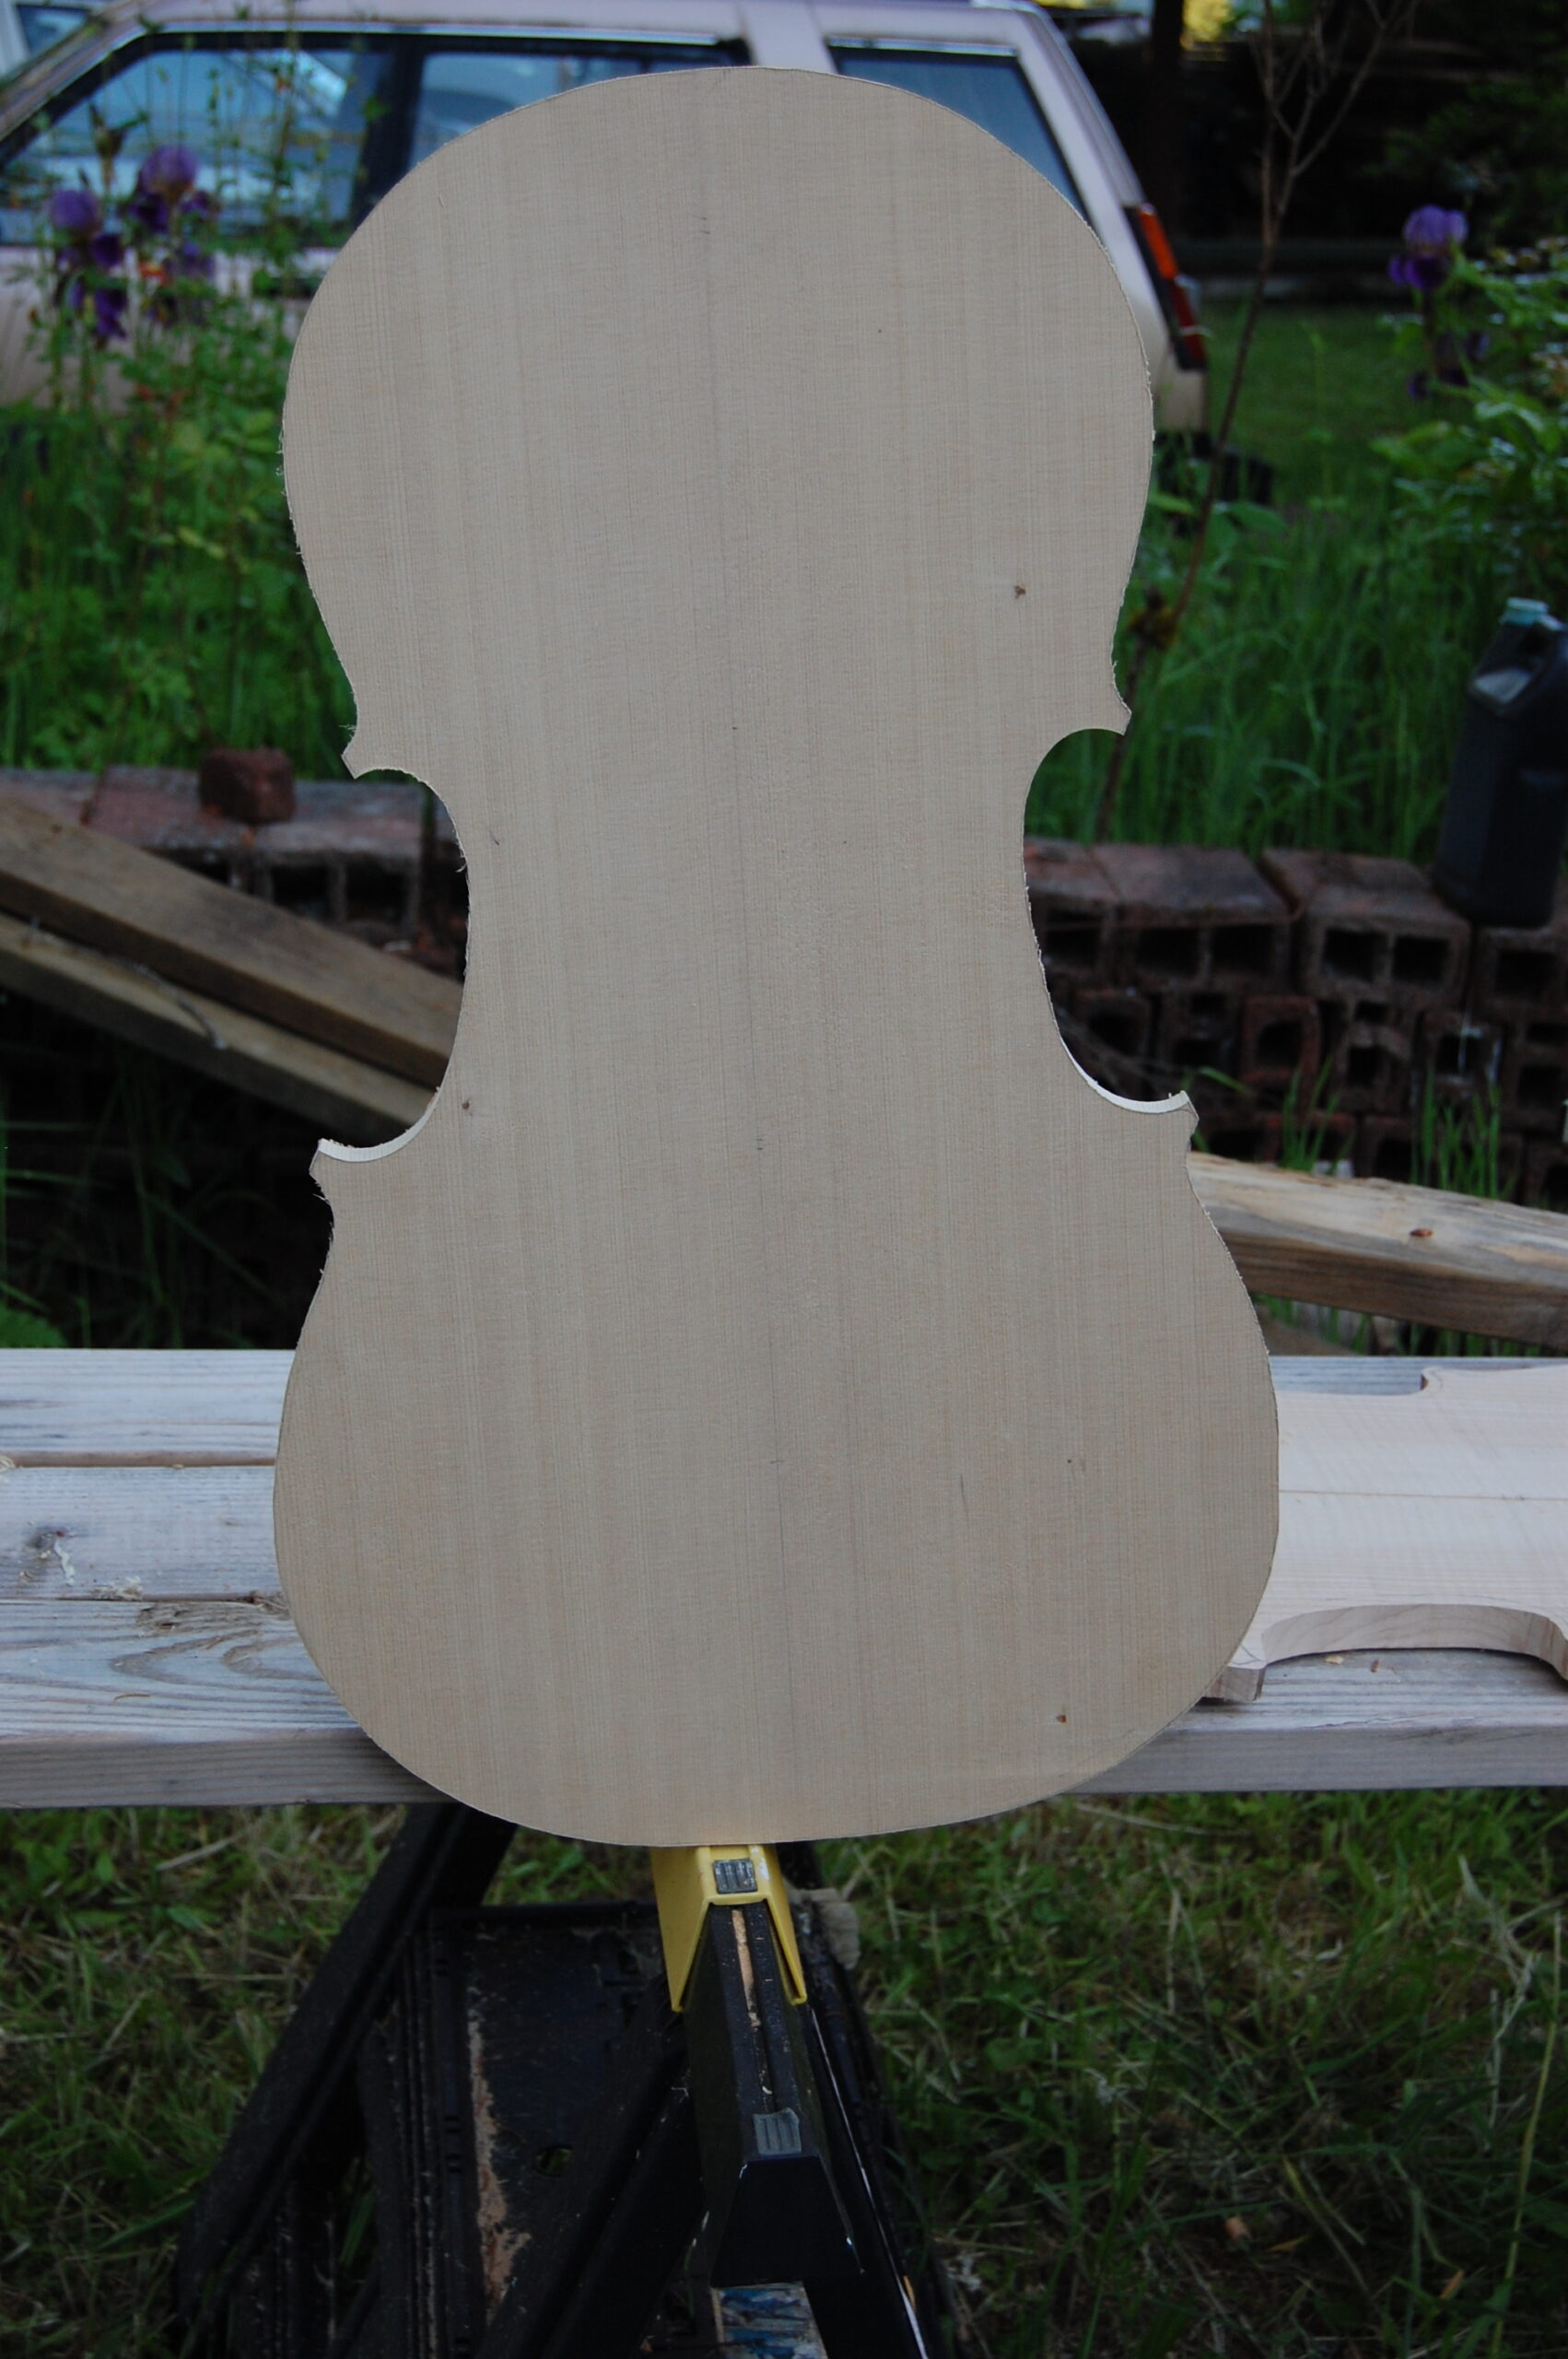
I cut out the final outline on a bandsaw, then perfected the edges on an oscillating spindle sander. Here’s how the plates look, at this point:
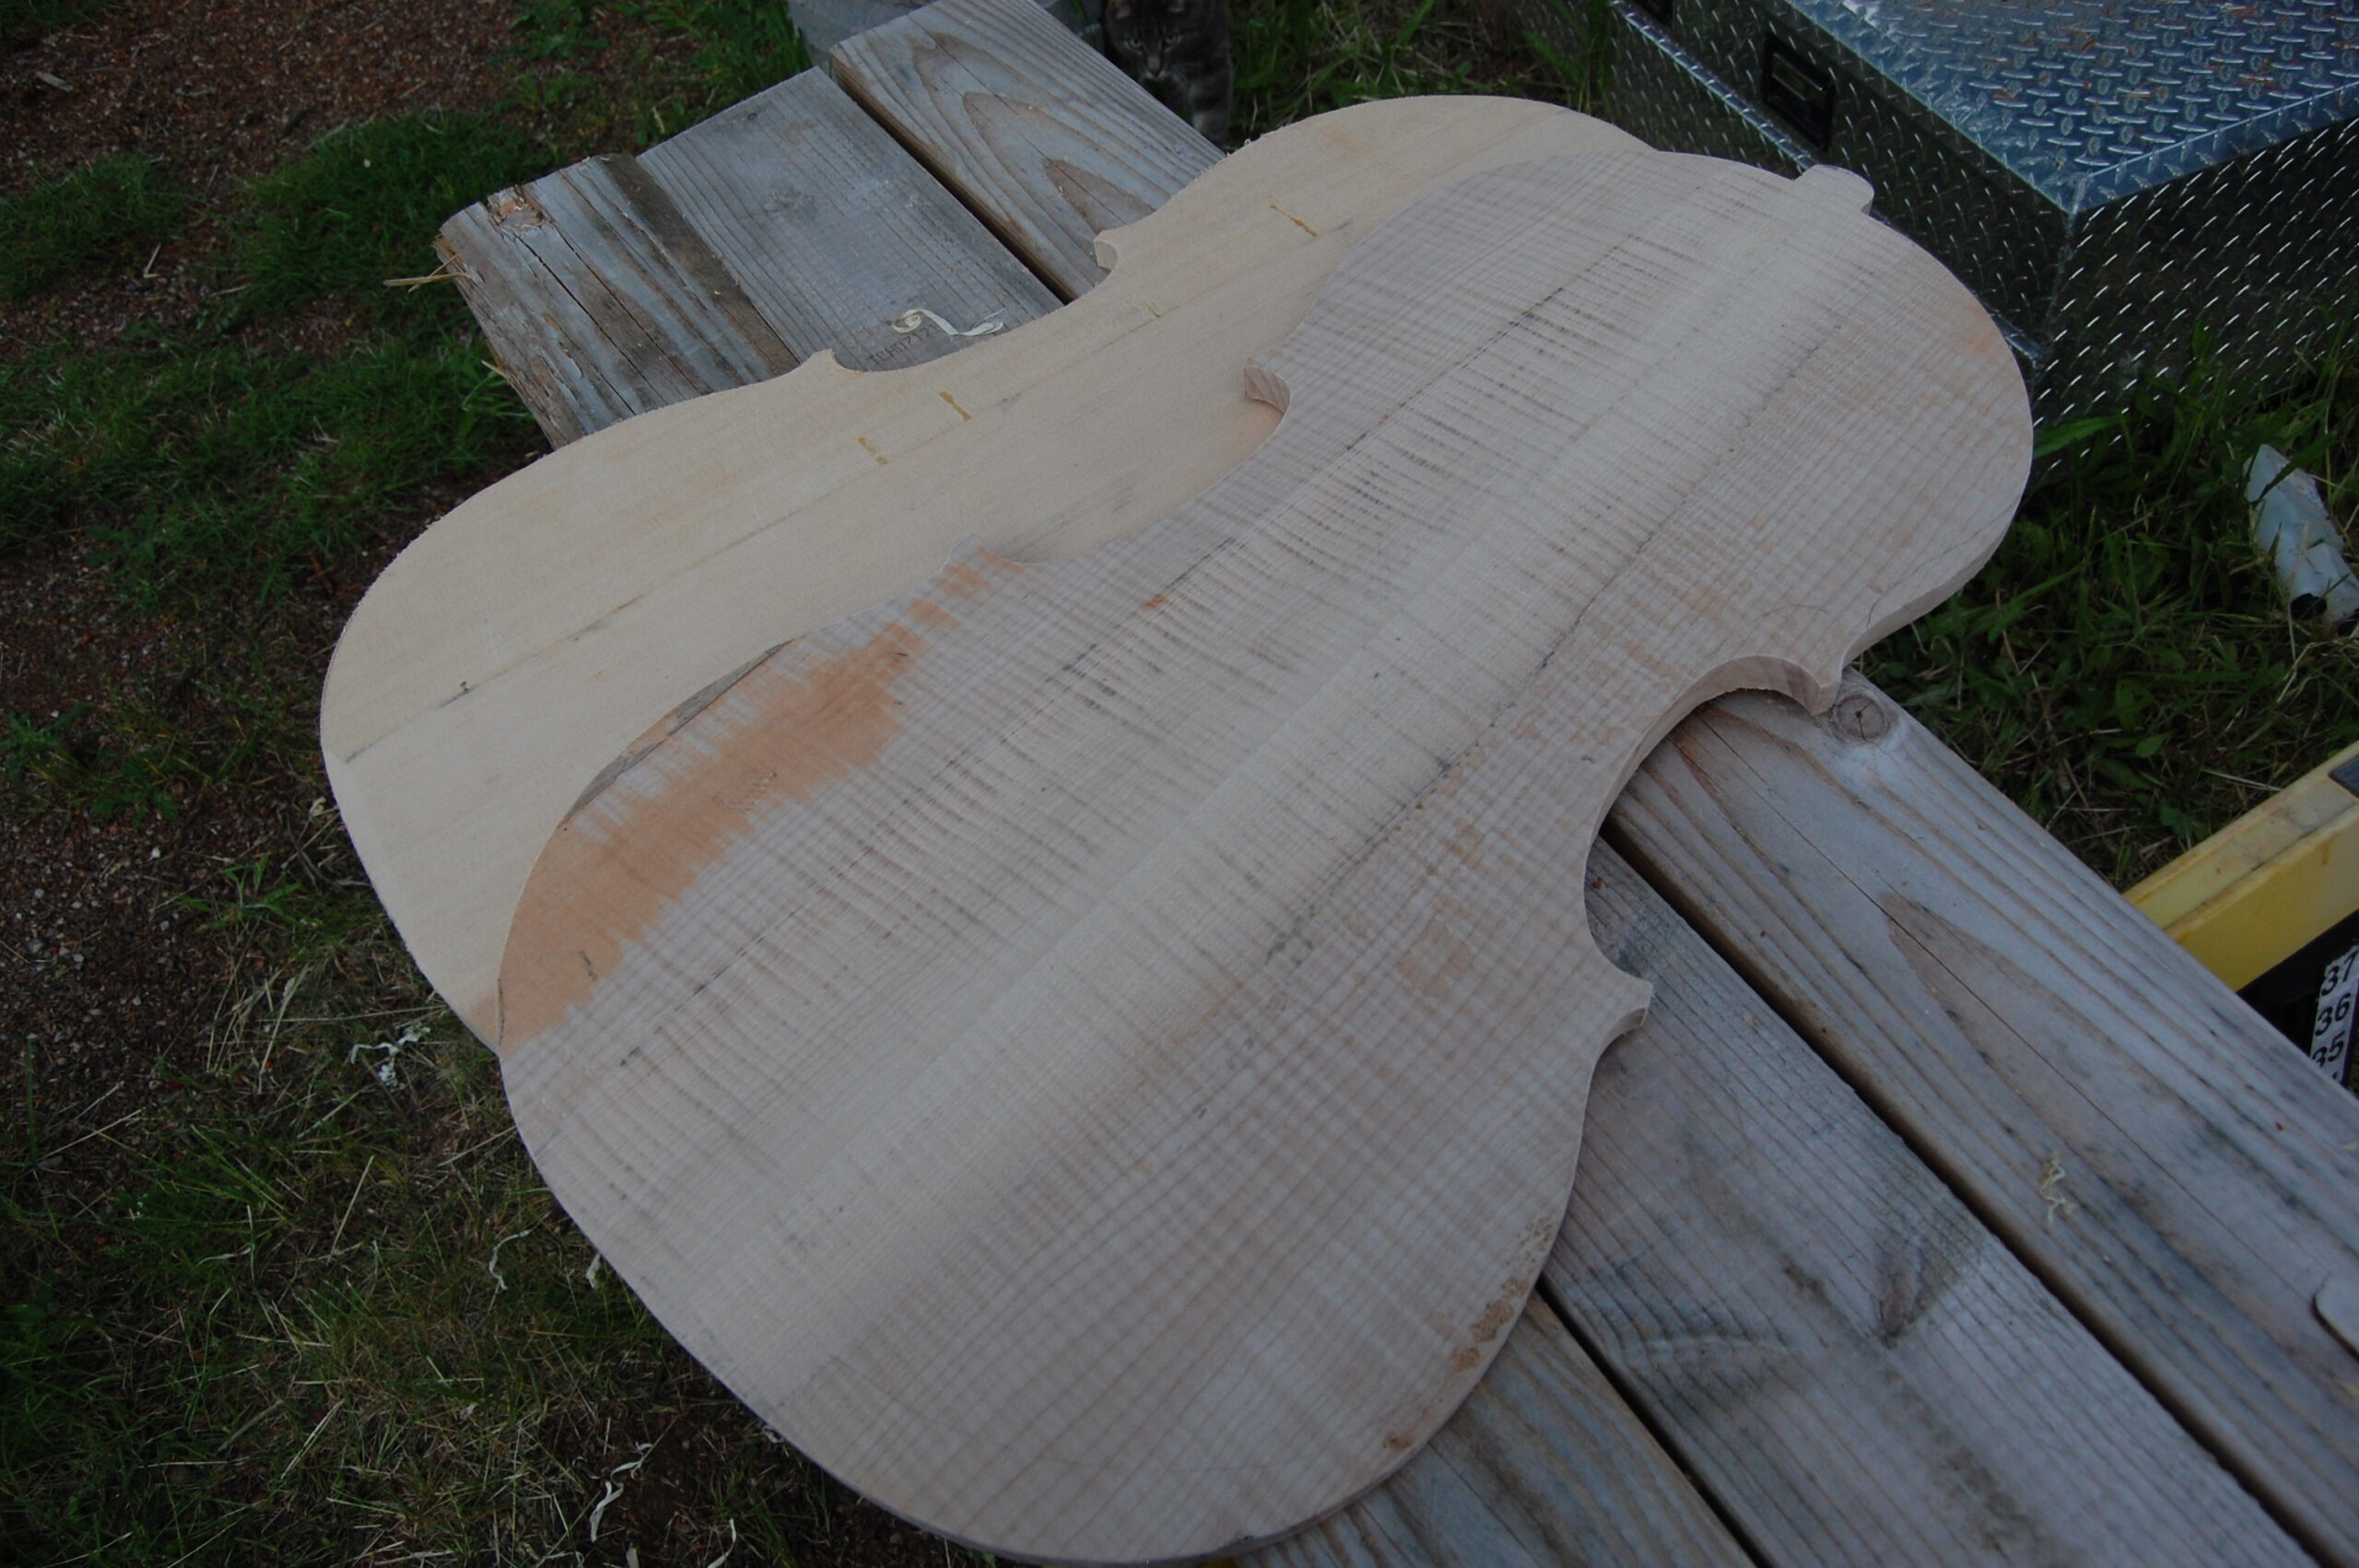
The black lines are just dirt– it went away when I began arching the plates…which is the next step, by the way.
am ready to make a home made flat-plate (slightly arched top and back) cello like I make guitars – BUT – have questions about the neck angle and tuning pegs.
thanks for any tips
Well…I don’t know what to tell you– I have never seen such an instrument. If you have the Henry Strobel books “Violin Making, Step-By-Step, and Cello-Making Step-By-Step, I think you will find the information you want…but right now I don’t know what you are asking. Do you want the angle that the strings make, going over the bridge? Just the angle that the neck makes at the heel? the angle at which the neck-mortise is cut into the neck block?
And…what is the question on the tuning pegs? Send me an e-mail (see the contact page) and I will try to help.