
 Follow

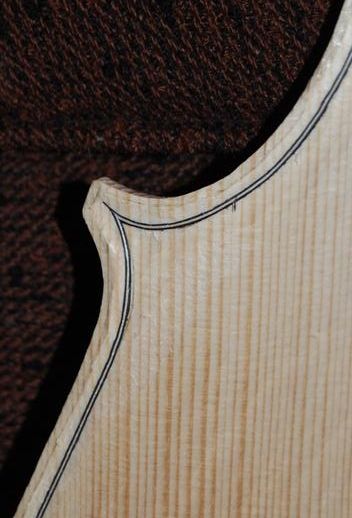
Front Purfling Channel Cut: Final Arching Begun
First mark the Crest of the channel, then cut the channel!
When I first began making fiddles, it had never occurred to me that there was a specific distance from the edge that I should aim for– I just started cutting, and eyeballed the whole edge. As a result I had some very rough-looking fiddles. Now I mark about 40% (2mm, in this case) in from the outer edge, and cut my channel so that the edge of the channel hits that mark, while the top of the purfling gets trimmed back so that it is clean and smooth.
I used two gouges to cut the channel–a small one to carefully trim back the narrow lip of wood between the purfling groove and the marked crest, and a larger one to cut the rest of the channel.
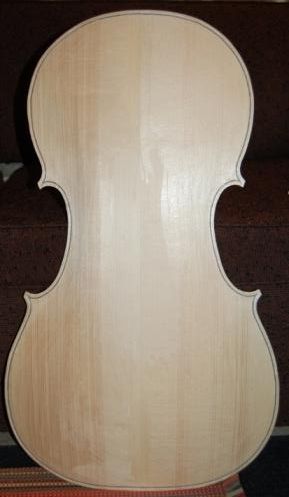
Then Begin The Final Arching
Once the channel was relatively close all the way around, I began cutting the longitudinal arching down to the final level. I will not complete it tonight…I had two phone calls and a customer (future) show up, so that took up a bunch of time, and now it is getting late. Here’s what it looks like for now:
Anyway…that’s it for tonight! The Spruce cuts very easily with a small, sharp plane. I hope to complete the arching tomorrow evening.