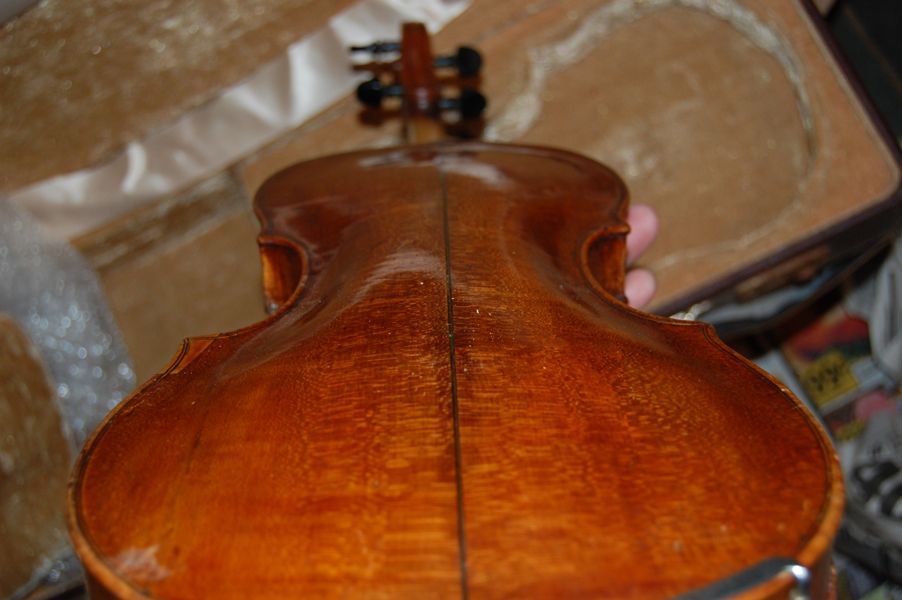
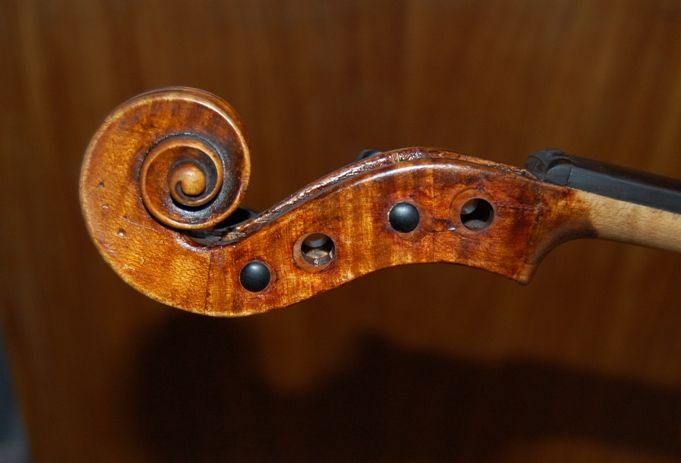
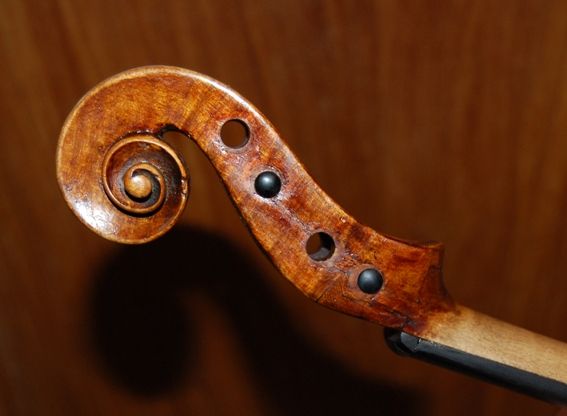
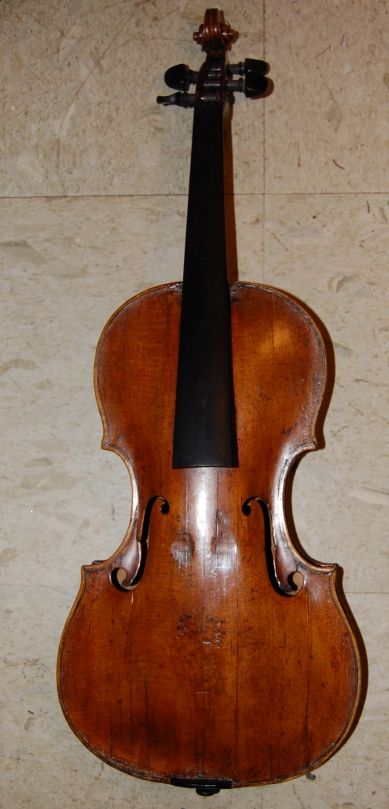
Other Student Instruments

Please share with your friends!

Beginner-Level Fiddles

MY Beginning:

When I first began learning lutherie, in 1999, as I noted on the “about me” page, I began by purchasing about 70 instruments and a bunch of bows (60, maybe) on eBay, and practicing repairing them. I mostly sold them for pretty cheap prices.

Some were white violins I bought so that I could practice varvishing and set-up.  Some were old Pfretschners or Ton-Klars, or other student instruments from the mid 1900’s. Others were surviving relics of the hundreds of thousands of cheap violins that came out of Germany and other sources in Europe, and flooded the market around the 1890’s through early 1900’s.

Some were modern cheap student instruments, made in China, poorly set-up, with horrible cheap strings and pegs. And, then, some were simply a mistake to buy, and are what we call a “VSO” (violin-shaped object). Those were not really fixable, and I eventually burned them.

What is a student violin?

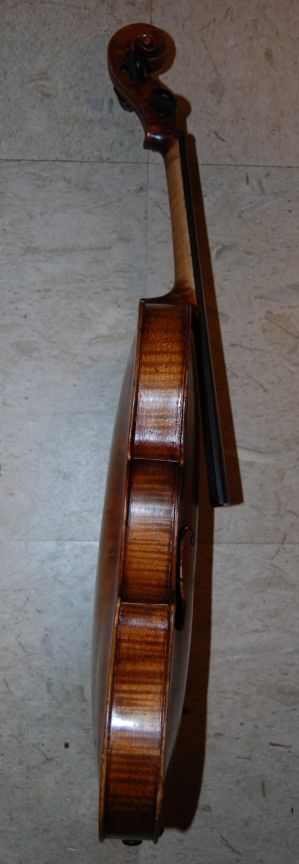
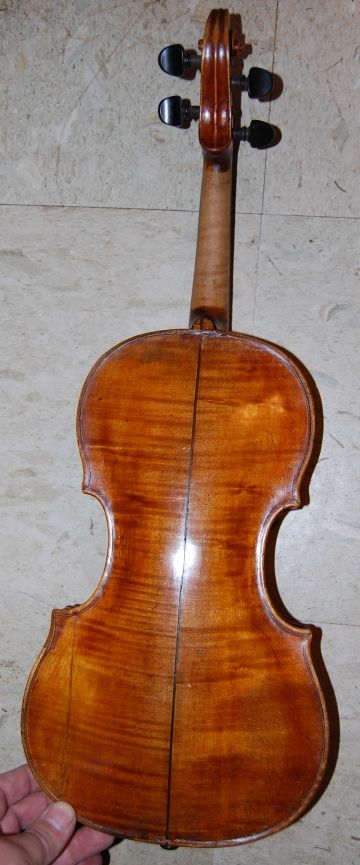
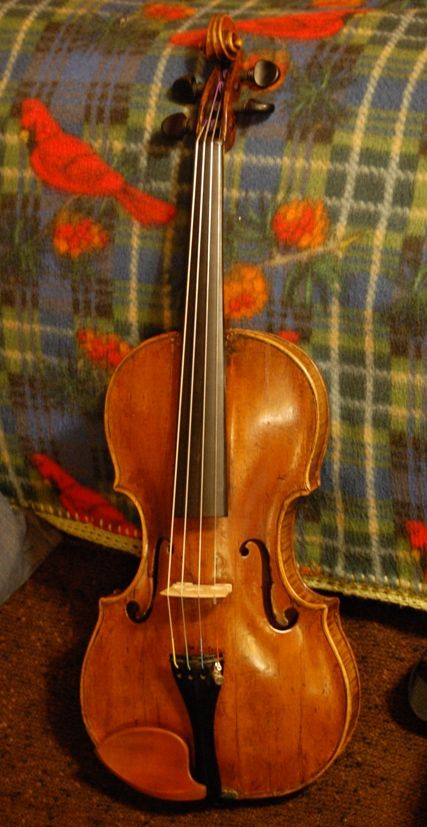
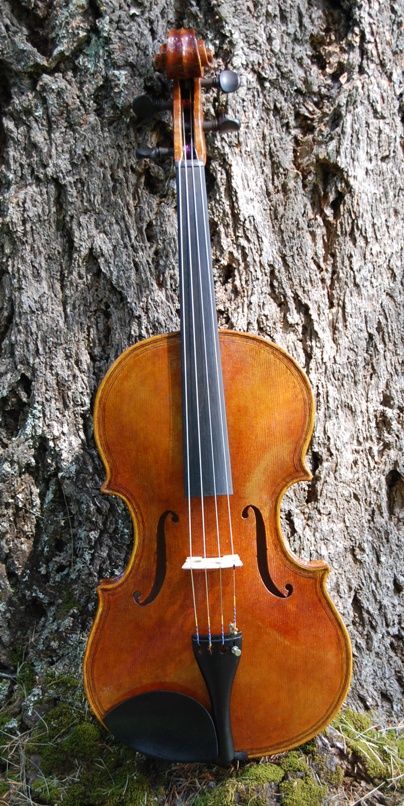
Student violins technically could span the realm from VSO to fairly expensive factory-made instruments and still bear that name…obviously on one end we have instruments that are sold to an unsupecting public, and that cannot be made to play in tune, let alone sound decent. Those are a sad part of the trade. They frequently sell for less than $100, and the amount of work it would take to make them a workable musical instrument is far more than the purchase price…and still might not result in a decent instrument.

Unfortunately, right at about that same price-level, I have seen some amazingly good-sounding violins coming out of department stores, etc. where they wouldn’t know a violin from a plastic ukulele. And they sounded pretty good.

How long would they sound good? I have no idea. What percentage of the instruments actually sounded good? Again, I have no idea…the ones I picked up, tuned, and played were discouragingly good: I thought, “If a $100 instrument sounds that good, what chance do I have to compete?” But all is not lost…there are still folks who have a discerning enough ear to hear the difference, and a discerning enough eye to see the difference…so not everyone will run to Wal-Mart (or wherever) and grab their violins.

Still, a student violin does have to be affordable, or parents will sadly tell their kids, “Sorry, we can’t afford a violin. Want to play a trumpet?”  So, in my mind, there is still room for the parent who can only afford a $300-$500 instrument. But how can you get one that sounds decent?

Staying Tuned and Sounding Good

What I have done (beginning with those eBay specials, and moving to other sources later) was to obtain the cheap, approximately $100 violins, and fix their problems (new, properly fitted pegs, new, properly cut bridge, new strings, etc.), and then sell them for my costs plus the labor of upgrading them. Thus, what was a $100+ instrument ends up being a $150-200 instrument, and so forth. And if I happened on an antique that was a gem, I cleaned it, repaired it as needed, set it up with good strings, a case and a bow, and sold it for $350-400.

I have only had two come back, ever– one because the climate it was taken to was far more humid, and the fingerboard warped badly (I replaced the fingerboard at no charge), and the other because the soundpost kept falling over. (??)

I re-set it three times, but finally asked the young player (a strapping tall lad with big hands,) whether he had been holding the instrument (a large viola) by gripping it across the c-bouts with his thumb and fingers. He said, “Uh-huh!” I sighed and said, “Don’t do that! That is why the soundpost keeps falling over– you have enough strength in your big hands that you are flexing the front and back plates, making the soundpost so loose it falls over.”  (It never fell over again.)

All this is to say that ALL of the players (and their parents) were completely satisfied…I did have one orchestra director from an upscale school who flatly told the parents that they were to get their daughter a more expensive violin. The quality and sound was not the issue…the looks were. It did not look expensive.  Sorry…

Beginner-level Student Instruments

Initially I tried to maintain a stock of every size of beginner-level student instrument…but there was never much money in them– it barely paid to handle them…so I eventually decided I only wanted to deal with the better instruments. I began offering advanced student instruments at much higher prices– still less than half what I charge for a hand-made, luthier-made instrument. But it made too big a gap– there were people being left out.

This was brought sharply to my attention recently, when a friend asked whether I could get his sister-in-law a student violin. He said she was going to get a $60 violin from eBay. He had tried to dissuade her, telling her that what she would receive would not sound good, and would not stay in tune; but she was really reluctant to spend any more money, especially because it was a 3/4 size she needed, and she knew her daughter would soon outgrow it, and she would have to spend the money again for a full-size.

So I agreed to send three instruments, at three prices. I sent a cheap “Cremona” brand student violin at $150, with Red Label strings; a somewhat better grade “Cremona” at $250, with Calvert strings, and a 60-year old “Ton-Klar” with a beautiful, one-piece back, and great tone, at $350, with Dominant strings. Each had a new case, bow, and rosin, as well as the inevitable straps to turn the violin into a backpack.

Failing the Test

(Some of you may see right away what I was doing: I put strings on the violins to match the price-point;  strings that would sound better with the higher priced instrument.) I hoped that she would be able to hear the difference, but I felt that if she could not tell the difference, there was no point in arguing. They asked whether it was OK to take it to their teacher and have her play all of them. (Absolutely! I knew the teacher could tell the difference!)

The outcome? The lady still bought the cheapest one, at $150; but the teacher jumped on the $350 Ton-Klar, and bought it immediately, as she definitely saw it as a bargain. A week later, a friend of the first lady asked whether she could get one of the $150 cheapies (sigh…). But that’s OK. They will play dependably, and I back them just like I do the expensive instruments, trade-in and all. I figure maybe someday that child will want a good violin. However, I have stopped dealing in the very cheap imports. 

Intermediate and Advanced Student Instruments

I can supply a decent Intermediate-student instrument for about $2,000. I That should help close the gaps, so that people can afford to play, and trade up to a better instrument later, still without bankrupting themselves.

I can buy an unfinished instrument, in the white, and do every bit of the work to complete the finishing and set-up. Because I don’t build them from scratch, they are not “signed, numbered and dated instruments;” but they are the next best thing, in terms of sound and playability. and I can sell them for about a third of what I charge for my handmade instruments.

If you need something even less costly, I will help you find one with someone else.

Used Instruments will usually fit into the Student Instrument or the Advanced Student instrument category. I do whatever upgrades are needed and sell them at prices I think are fair.

All my instruments carry the same guarantee.

If you found this post helpful, please share with your friends!

Luthier Repairs

Please share with your friends!

(Repairs to the Luthier)

I haven’t felt very good for most of this year, but usually nothing very specific– back-aches, belly-aches, indigestion, etc. Nothing that would send me hurrying to a doctor, for sure.
Then, back in May or June, one evening after I had showered and was getting ready for bed, I noticed a definite, thumb-sized lump in my abdomen. I could easily feel it by running my hand across it, and it was quite firm…and hadn’t been there before.
It did not feel like a hernia, so I figured the only two things it could be were a subcutaneous cyst or a tumor. I called in my wife, Ann, to examine the thing, and she could actually see it, poking up when she pressed down the skin. She concluded, too, that it must be either a cyst or a tumor, and insisted that I see a doctor (I would have anyway– I’m not stupid, I just don’t run to the doctor everytime something happens.) So I went off to sleep, intending to call for an appointment in the morning. The problem was that, in the morning, the thing was gone. I mean completely gone! No trace. We marvelled over the disappearance, and figured that it must have been some sort of cyst, and, with our probing, we must have caused it to drain overnight. We shrugged and went on with life…nothing to show the doctor…no other symptoms; no reason for an appointment.

So, last Thursday, after work, I had a fairly severe bout of belly/back pain. It seemed to begin in the solar plexus area and radiate through to the middle of my back so completely that I was really unsure which was the source of the pain…but the pain was severe enough that if I had possessed some type of narcotic pain reliever, I would have taken it (another thing I don’t often do). So I took maximum doses of Tylenol and Advil, and called in sick on Friday. Saturday morning I seemed to be a little better, but it began to get worse again, and Ann prevailed upon me to call the doctor. So I did, and ended up, an hour later, at the St. Vincent Providence Hospital ER.

By the time I got there, the pain was much more severe, and had moved around to where I had a band of pain all the way around my waist at the level of my solar plexus. They immediately ran test after test, and within an hour had it pegged as the gall bladder. The surgeon came in Saturday night and palpated my abdomen, and she commented on how rare it was to be able to feel the gall bladder through the abdominal wall. (?) I reached down, and, sure enough, there was that “cyst” again!

10:15 Sunday morning, they took the thing out. They were able to do it Laparoscopically, so I have four tiny incisions instead of one large one, and recovery is two weeks, not six. They said they had to partially empty the monster before they could get it out, as it was the size of a small squash. That’s hard to believe…I had no idea they could be that size…but they said it was completely blocked, and filled with “sludge” (their word). They emphasized several times how unusually enlarged it had been.

The hospital stay was extremely positive. Every single member of the medical team, care staff, orderlies, radiologists (or whatever the correct term is) and other technologists…EVERYone was completely kind, compassionate, helpful, professional and supportive. I always felt completely surrounded by care, not criticism, or anything negative.

I was home by Monday evening, and am feeling pretty good, all things considered. There are not even any stitches to remove– the stitches inside are the kind that eventually are absorbed by the body, and the outside incisions were closed with superglue. (I love it!)

I hope that all the general malaise had been caused by the one incipient source, and that I will enjoy good health again. I had gotten pretty discouraged for a while, and was losing interest in lutherie (as well as most other things), so I hope this will improve my outlook a little.

I did sell four (cheaper) student violins this past month, so at least I am getting rid of old stock, if not selling my better instruments. Product flow is product flow. I’m not complaining.

I need to get back into the shop and get building again.

Update, November 10th: I ended up back in the hospital last Thursday. It turned out that there was a small (6mm diameter) stone that had already moved down into the bile duct before they removed the gall bladder, so I was plugged again within about two weeks, and had exactly the same symptoms again. I was pretty despondent about it, as I really did NOT want more surgery, but as it turned out, they were able to remove the stone using a special type of endoscope, without surgery at all.  What a relief! I came home Saturday afternoon, and I really do hope I am finally on the mend now.

My thanks to all who have extended friendly wishes.

If you found this post helpful, please share with your friends!

Bass Bow Progress

Please share with your friends!

Bass Bow Journey Continues

It has been a while since I felt that I could afford the time to work on the bow…I would go by and look at it, sometimes, but I had other things to do– cleaned the chimney, took apart the wood stove and re-cemented gaskets, etc. It’s funny–the commercial chimney sweeps all tell me that my chimney is too dangerous, and they will not touch it– (very steep roof– 12:12 pitch– and quite high).  So I have to do it myself every year. Ah, well…it gives me something to grin about…and leaves me sore for a few days every year. I’ll be 60 this month: the irony that I have to go clean the chimney that men half my age refuse to attempt is not lost on me.

Making a Stainless Steel Bow-tip Plate

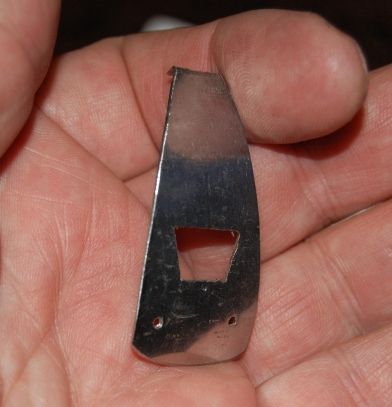
Anyhow, I finally took apart one of the stainless utensils I had bought for a dollar at a resale shop, and hacksawed out the rough shape of the tip plate. Drilled holes for pins, cut out the trapezoidal window for the tip mortise, and bent the little tab on the end of the tip plate. Felt pretty good about it…bent it to fit the curve of the bow tip. Looked pretty nice.

stainless steel tip plate for a bass bow
First try at making a stainless steel tip plate for a bass bow.

Making the Ebony Liner for the Bow Tip

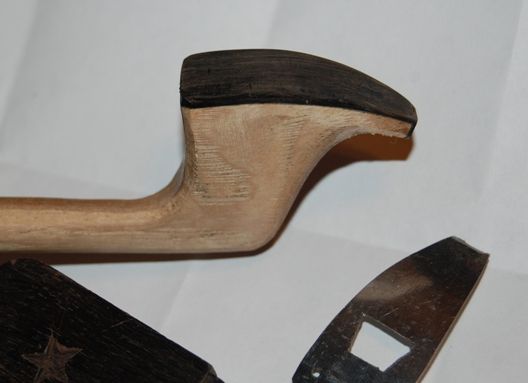
I had a terrible time bending ebony to fit the bow tip (probably a little too thick), but I managed to do it, and even got it fitted, glued, and trimmed to size:

Ebony lining with stainless tip plate, for Bass Bow.

Fitting the Tip Plate

Then, I had hoped to glue the tip plate in place, and even went to the auto-parts store and bought some black epoxy that is supposedly “specially formulated to glue all metals”. But when I got home and looked more carefully, trying to fit the tip plate to the ebony liner, it turns out that I had used up all my tolerances on the stainless and it was just a little too small to fit the bow correctly. (Rats!) That left me two choices:

  1. Modify the bow to fit the stainless tip plate, (which would be dumb) or
  2. Go make another tip plate and be more careful this time. (sigh…)

So I will do that later. (This is not a new thing for me– I have a long history of trying to make something a perfect fit, and finding out that I went just a bit too far…thus proving the wisdom of the adage, “measure twice, cut once.”)

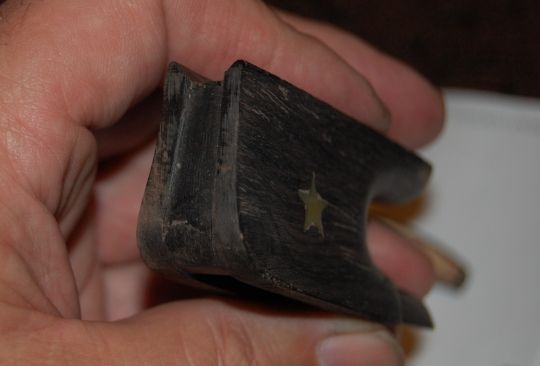
Gold Star Inlays for the African Blackwood Frog

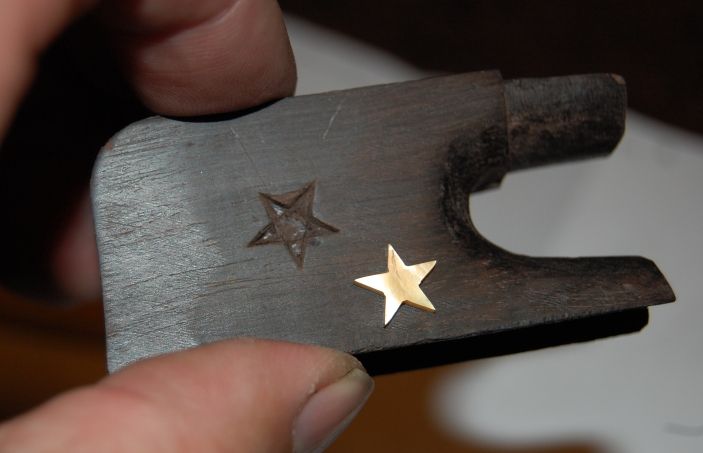
I decided to work on inlaying the little (10 mm) gold stars I had bought from Andy DePaule. I laid out the locations as accurately as I could, then lightly glued the stars in place with a tiny dot of superglue. When the glue was hard, I used an X-acto knife to scribe around the stars, cutting as accurately as I could, into the African Blackwood  of the frog. Then, using a small flat gouge, I popped the mother of pearl stars back off, and began to carve out the cavities for the inlays.

Inlay in progress
Inlay in progress

I cut around the perimeter as deeply as I could with a tiny chisel, then scooped out the excess wood with an even tinier chisel, and finally used the tip of the X-acto blade to clean out the sharp corners. When (many attempts later) the star finally dropped into place , I put gel-style superglue under the shell, and pressed it into place. One has to be gentle with the shell. It will not stand much pushing around before it snaps–it is quite brittle. So one has to simply try and try again until the piece fits as deeply as if needed, with hardly any pressure.

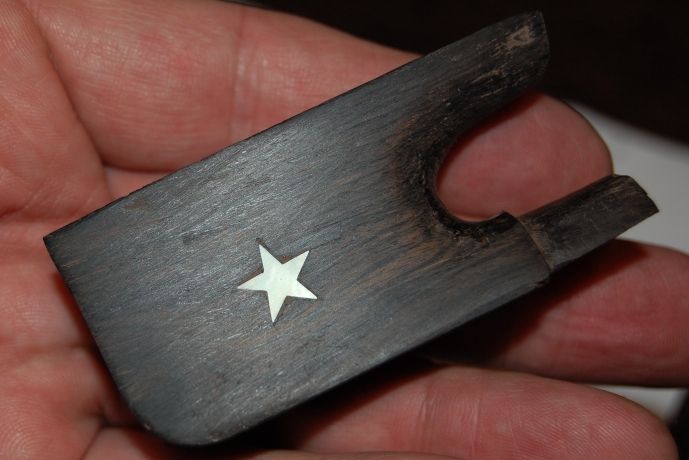
As soon as the superglue gel hardened I added some ebony dust to the very small grooves around the stars where I did not get a perfect fit, then dropped a drip of water-thin superglue into the area, and sanded it flat.

Finished inlay of Gold star on Bass Bow Frog

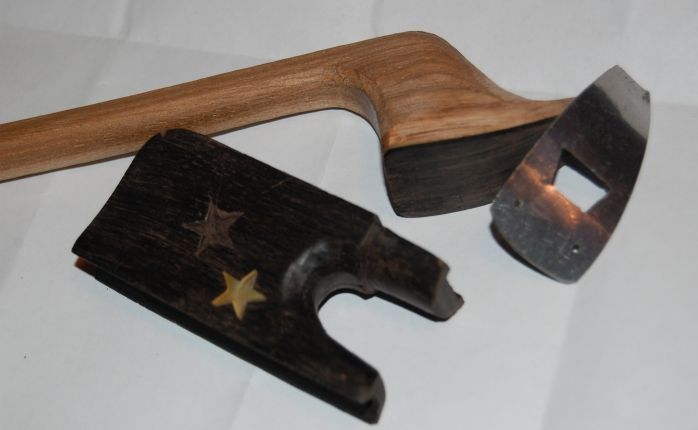
It is interesting to see how the different light reflects differently. Those gold stars can just look pale, or they can shine like real gold, in the right light. Here’s sort of an end-view of the frog:

End view of unfinished Bass Bow Frog.

So– that’s the progress report: I will install the second star, make a new tip plate, and complete the frog and button, then I can hair the bow and see what I have got. Here’s the pile as it stands:

A work in Progress.
A work in Progress.

I will post more photos when I get a little further along.

Thanks for looking.

If you found this post helpful, please share with your friends!

What is an Archetier?

Please share with your friends!

Bow-making! An Archetier is a Bow-maker!

Of course, some people just call them “bowmakers”. (This is, of course, not to be confused with a bowyer: Those guys make bows for archers.) An archetier (yes, yes… bowmaker!) is someone who makes bows for instrument players– violins, violas, cellos, basses, and so forth.

Violinmakers are seldom bowmakers, and vice versa. The two are not necessarily mutually exclusive, it is just that they are definitely two complimentary but very different skills. Few people actively pursue both.

However, Paul Schuback, who is an extraordinarily fine violinmaker, was also trained in bowmaking during his apprenticeship in France. There he met a young woman, Lynn Hannings, who was training as a bowmaker. She followed on in that discipline and became a well-known professional bowmaker, and Paul went on to be a famous violinmaker (luthier).

Both have been my teachers, though briefly, and I have long desired to try to learn bowmaking as well as violin-making. I had taken Lynn’s class once, in California, just to learn to correctly re-hair a bow; but as I watched her other students building bows from scratch, I found myself wanting more and more to try my hand at that discipline.

So…you guessed it! I am trying to build a bow. I decided to try a bass-bow, simply because I think they are likely a little more forgiving in terms of exactitude (not much, but a little), and because they are bigger, thicker,  and probably easier for me to handle. (I could be wrong….)

For anyone with similar interest, here is a link to a priceless list of resources.

Wood selection:

By far, the most ideal wood for violin-bows is Pernambuco, from the Amazon rain-forest in Brazil. But…that wood is now an endangered species, and illegal to cut or ship, so it will be harder and harder to acquire. There are tons of it already cut and dry, but it is difficult to get. Other woods include Brazilwood, Snakewood (also called “Amourette”), Ipé, and Bloodwood.

I am told that they are experimenting with farming Pernambuco in Brazil, planting the Pernambuco seedlings interspersed with the rubber trees on rubber plantations; but we won’t know for some time how that will work out. So, in the meanwhile: I can experiment with domestic woods, such as Osage Orange and Hickory and learn the hand/eye skills, then try some lesser tropical hardwoods, such as Ipé and Bloodwood. If I like it, and the bows turn out well (probably requiring a second (and third, etc.) “bout” with Lynn Hannings), then I may buy some pernambuco blanks and try some “real” bows. But Pernambuco is selling for around $200 per stick, now, so this is not for the faint of heart!

I ordered some Osage Orange, which is commonly used for archery bows (and sometimes double-bass bows), and while waiting for it to arrive, decided to experiment with hickory (also sometimes used, though not usually considered optimal). This time, however, I happened to have a select piece of straight, clear, vertical-grain hickory, about 20+ years old (OK, OK… it was a broken-off splitting-maul handle…but still: it was everything I just described), so it seemed a good way to get started.

Building Process:

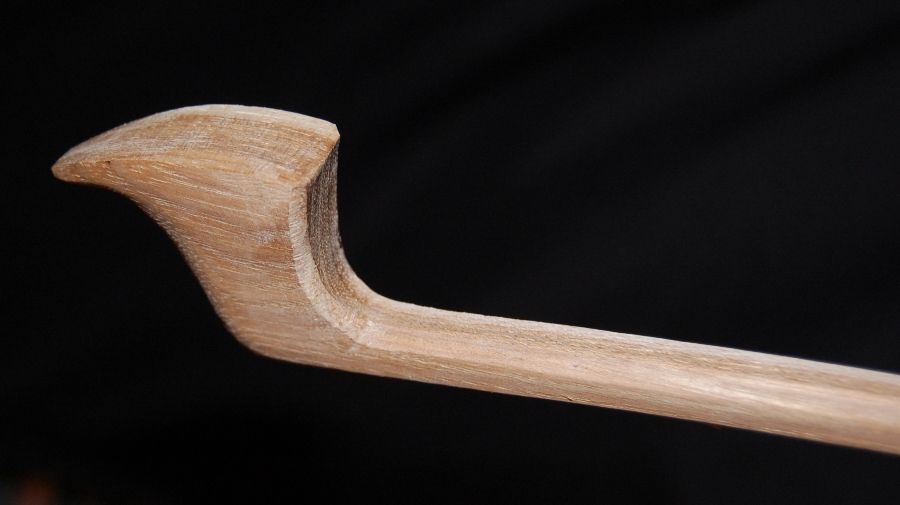
I began by  “cutting away everything that didn’t look like a bass-bow”, and tapering it as I thought it should be. I heated it with a heat-gun, and cambered it (bent it to the correct arch). Then I drilled the screw-way and carved the eyelet mortise.

Hickory Bass Bow head
Still rough, but this is the general shape of the bow-head. Still have to cut the mortise and attach the metal tip, etc.
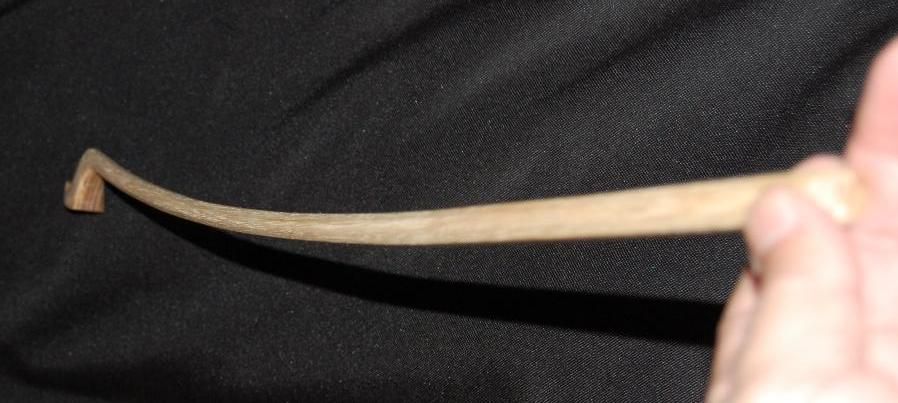
Bow-stick after cambering.
The bow-stick is cambered by heating it all the way through, and then bending it in my gloved hands. It has to be really hot all the way through to bend easily, without breaking.
Eyelet mortise and screw-ways.
The mortise is to allow the frog eyelet to travel smoothly back and forth as the player tightenes or loosens the hair. The Screw-ways is the channel through which the screw passes, to reach the eyelet.

The Frog:

Then I began a frog: I bought some African Blackwood remnants from a local hardwood dealer, and carved one into a bass-bow frog–still very rough-looking, but I am not done with it yet. I kept looking at a good frog someone gave me, to see what needed to be done next. There is still quite a long way to go, but I am waiting on some parts I ordered.

African Blackwood Bass-bow Frog interior, rough-carved.
This is the interior of a very roughly carved bass-bow frog, made of African Blackwood–similar to Ebony, but heavier and harder, I think.
Side view of rough-carved bass-bow frog.
Side view of same frog…still a long way to go.
Underside of rough-carved Bass-bow frog
Underside of the same frog. I intend to line it with stainless steel, since I haven’t any Nickel or Silver. (Should wear well!)

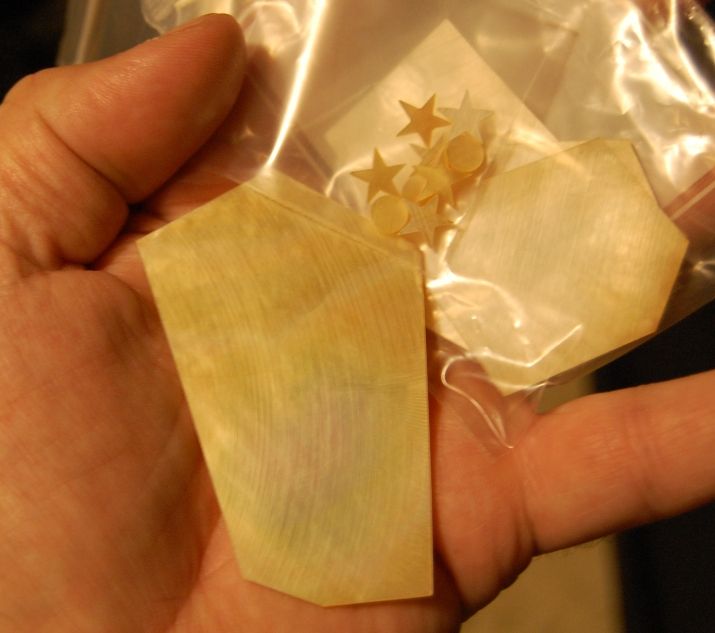
I ordered some gold MOP (mother of pearl) from a local supplier, and hair, screw and eyelet from a more distant supplier. (Here is a photo of how it looks so far:

Gold Mother of Pearl for inlay and slide.
The pearl slide will be cut from the blank stock. On a whim, I decided to inlay gold stars on the sides of the frog. The dot will go in the end of the bow-button.

(The hair and screw and eyelet were all ordered from the same distant supply place, and have not yet arrived.) I chose stainless steel for the ferrule and underslide, because it was readily available. (I went to a resale shop and bought some pieces of cheap stainless steel flatware in the thicknesses I needed…total outlay: $3, for enough metal to build several bows.)

How did it turn out? Not done yet. Tune in later for a progress report!

If you found this post helpful, please share with your friends!

Latest Violin Repair

Please share with your friends!

Repairs to Irene’s Violin

(Completed 5/27/14)

This was only intended to be a functional repair, not a full “restoration”. It turned out to be quite extensive, though, and somewhat intimidating at times. The owner is very happy with her “resurrected” violin, so all is well.

Before:

The violin came to me after a mishap involving a water-heater failure, which had resulted in a heavy steaming of an already fragile, old violin.​

Open seams and broken button

The violin had several open seams, obvious from the outside, and numerous older repairs. Some of the repairs were done in a workmanlike manner—some were not. (I am not pointing fingers; just stating a fact…it is a very old violin, and has had encounters with a variety of repairmen.)

Bass side scroll cracks

I could see that the pegbox had sustained some pretty severe damage, but did not immediately detect the cause: as it turned out, the scroll had been grafted (guessing around 1850, just because so many were done about that time, and this fiddle is old enough to have been around for that), and it was/is the poorest job of a scroll-graft that I have personally ever seen. Someone tried to correct it with some patches, but it was in pretty sad shape. I wasn’t sure I could do much to help it.

Treble side scroll--more cracks and worn-out peg holes

The peg-holes were so badly worn that they absolutely required bushing and re-drilling, reaming, and installing new pegs. (As it happened, the old pegs were in fair condition, so I simply shaved them to the correct size after all the pegbox repairs were completed, and so maintained some small sense of continuity.)

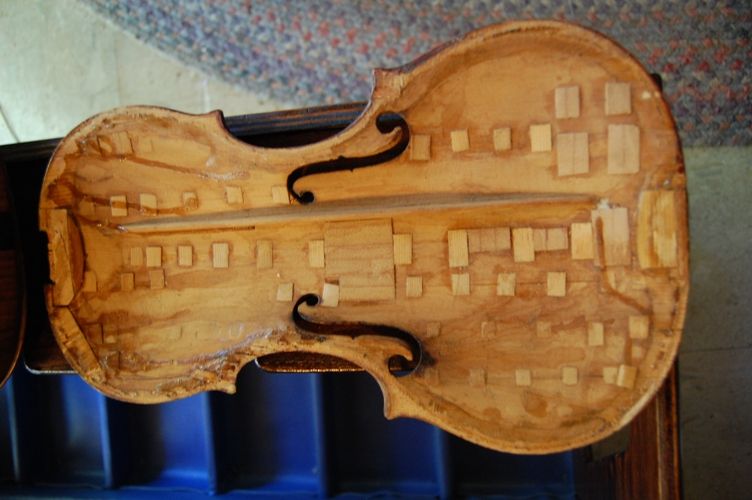
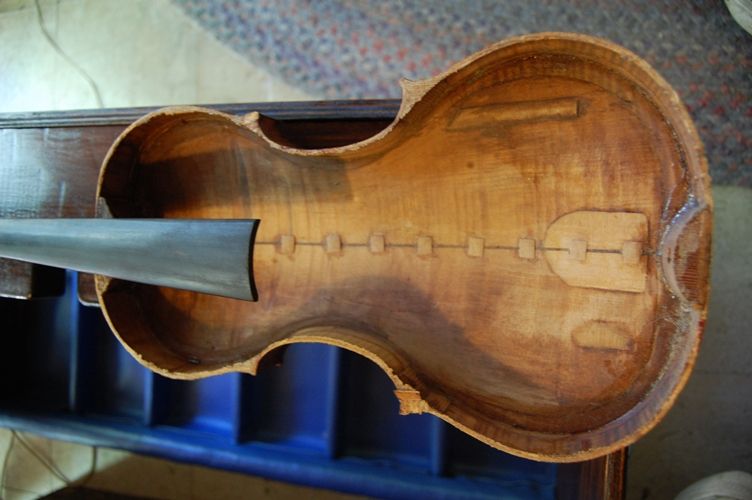
When I opened the body (by removing the top/front) I found that there were nearly 50 cleats inside, each to help reinforce the various cracks that had been repaired over the life of the instrument. The entire area around the neck block simply fell off. Some of the old cracks had re-opened because of the steam-bath, but most were holding, it seemed. The whole area under the soundpost area had (and still has) a patch about a millimeter thick, and 35mm by 50mm. Missing wood had been replaced haphazardly in many places, including the entire edge of the plate all the way around.

old inside repairs and relaced wood-- and lots of glue.

Same on the back plate, though not quite so severe:

back plate repairs--old, but mostly sound.

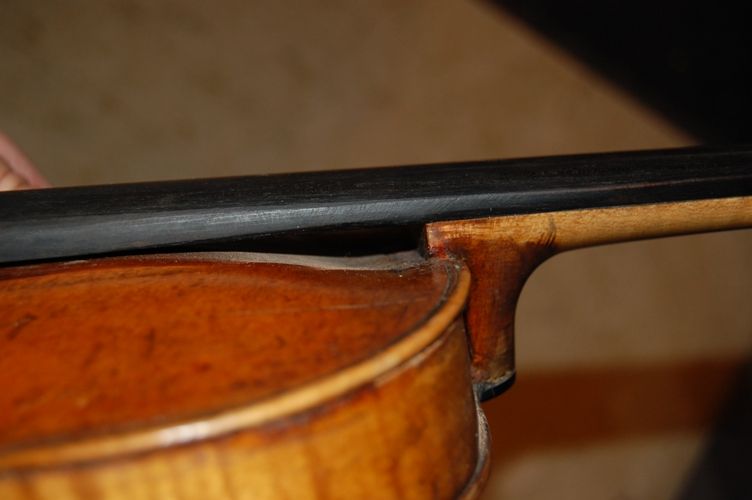
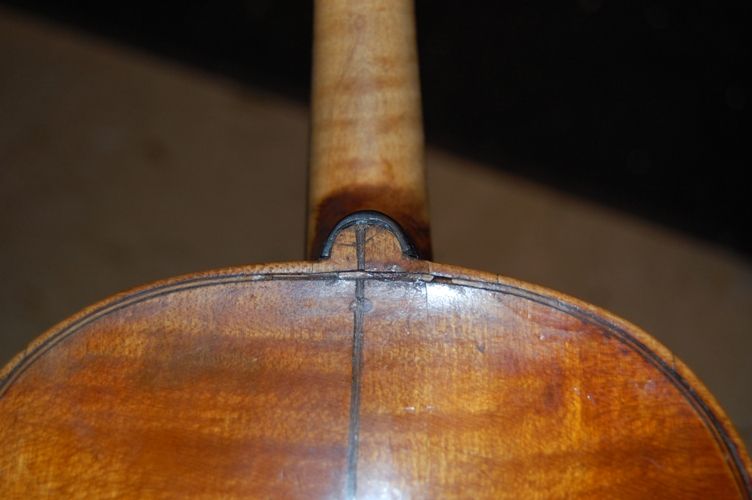
The neck was set incorrectly, with an extremely high overstand (10mm), and low projection, as well as being quite crooked. The ebony crown on the heel of the neck was broken, and simply crumbled, necessitating making a new one.

high overstand and low projection angle

crooked neck and cracked ebony crown

crooked neck

I am not sure what the rationale was with the insert up the back center seam, nor why it had been relocated so far off center. I wonder whether the instrument was originally something larger and was cut down to be what we see today, especially because the f-holes are so far apart.

The button was broken off at the purfling line, which seriously weakened the neck, so, after complete repair of the front plate, I removed the back plate and patched the button by removing a section of wood across the break and replacing it with a perfectly fitted patch, restoring strength to the joint. (Explained later)

The Repair Process: 

(Forgot to take pictures of the actual process…wasn’t in “Photography Mode”… sorry.)

First, I re-glued the section around the neck block which had dropped out—there were several patches from previous repairs that had come loose, but I glued them all back in just as they had been originally, and the joint now seemed secure. There were also some missing sections of spruce, so I replaced them, gluing in new wood. That also seemed to stiffen the area a good bit.

The cleats along the longest cracks were still holding, though the cracks had opened, so I cleaned the cracks with water, then worked hide-glue through the cracks and clamped the plate flat, so that the cleats forced the cracks shut, squeezing out the excess glue. I cleaned off the excess with a warm damp rag, and let it all dry.

Then I could tap the plate and listen for buzzes. There were lots of them! I would tap and listen, tap and listen, and then use a thin blade (palette knife) to pick at various things to find out what was moving. To begin with I found that many of the cleats were only barely holding, and were starting to come loose, so they were vibrating. I glued all the loose ones, one by one. Then I found cracks around the edges, and loose purfling, etc. and glued all of those sources. Finally I found enough of them that the buzzing stopped, and I glued the top back on the violin, after first removing the neck which I had determined to be crooked.

Once I had the body closed, I re-set the neck correctly and straight, ending with a 6mm overstand and a standard height (21mm) at the end of the fingerboard. The result is that I could not use the original bridge (not a surprise), so it got a new (taller) one. As I said, the ebony crown on the neck heel was very thin and cracked, so it simply crumbled off in pieces. I made a new one. It is also very thin, but not broken.  At some point in the violin’s lifetime, someone decided to move the neck (or the back plate?) off to one side…I can’t change that, but you can see the effect at the button—the center line seam is no longer in the center.

After setting the neck, I removed the back so that I could repair the broken button. I carved out a shallow curved scoop almost the full width of the button, and all the way through the neck-block gluing surface—about 1-1/4” long and almost ½” wide, by about 1/8” deep at the center. I used a curved scraper to perfect the shape, then chalk-fit the patch to match it perfectly, and glued it in place with hide-glue. After the glue was fully dry, I planed the patch down to be absolutely flush with the surrounding wood of the back plate. This patch restored the strength of the button, which (unknown to many) is the main strength of the neck joint. (Forgot to take a photo of this—too bad; I was very pleased with it.)

I reamed the peg-holes far enough to get into clean wood, then shaved down some tight-grained Eastern Red Maple into tapered pegs to plug the holes. Once they fit perfectly, I glued them in place with hide glue, and allowed them to dry. Then I cut them off inside and out, using a tiny saw, and shaved them flat with a small carving gouge. I stained the inside with dark brown spirit varnish to match the existing color, and matched the color of the outside of the box to the best of my ability, sanding between coats, and trying to make the patches as nearly unnoticeable as possible. (Bushed peg-holes are always visible, but they don’t have to look terrible. Many older violins have had the holes bushed more than once. This is a first for this fiddle.)

I re-drilled the peg-holes, shifting them a little, to establish a more normal location for each, then reamed them to a small size, and shaved the original pegs down to match the new holes.

I got looking at some of the gaping cracks in the pegbox, and decided I wanted to try to repair them, so I cleaned them out with a small knife and then shaved a small piece of red maple to fit and glued it into the crack. It worked surprisingly well, and I was pretty pleased with the results. Naturally, that required smoothing the patch down to be flush with the original surface, and retouching to match the varnish as best I could.

repaired scroll, bass side

repaired scroll Treble side

The original saddle and endpin were still useable, so they are in place—I think I probably could have used the original soundpost, but I made a new one before I thought of it, so, for the moment, it has a new soundpost. But I suspect that the original is nearly identical, though I used a very thick soundpost. Perhaps later a thinner one could be put in, if it seems too dampened by the thick post.

The nut, however, was very poorly made, and cut so deeply at the E-string that the string rested on the fingerboard. It broke when I tried to re-shape it, so I simply made a new one.

I was able to use the original fingerboard, though it had been coming off, and required some re-work to get it to fit well. I had to do extensive re-shaping and dressing of the surface, too, as it had a very round contour close to the neck, though normal at the wide end. Whoever originally put that fingerboard on did the violin a real disservice: there is a deep gouge of wood missing from the neck itself, all the way up the middle, and a similar deep gouge out of the inside of the fingerboard, so only about the outer third on each side has any contact. This wasn’t something I could change, so I cleaned it up and glued it back together. I assume they thought they were making the instrument lighter. (Not Good.)

Finally, I retouched the varnish anywhere it had been damaged, and tried to give it a good (gentle) polishing all over. I think it looks pretty good, but I never saw it in its “glory days” so I have no idea how that would compare.

finished front

finished side

finished back

The Result:

The owner has a playable violin again. It still has many repairs, some dating before any of us were born, some more recent. I have no idea of its market value, and, in my opinion, that is not important. Its value is primarily that it is cherished by the owner because of who she is and from whom she got it. As long as it is well cared-for, it should still give many years of service.

I uased the original fittings except for the bridge and soundpost, so it looks essentially unchanged from before the damage, except for the peg-hole bushings and repaired pegbox cracks, which she assured me were there when she got the violin originally, nearly 50 years ago.

I never heard the instrument before the damage, so I can’t compare that, either: all I can do is adjust it to what seems optimal now, and trust that, as the owner plays it, it will settle in to sound as good as she remembers it to have sounded. To me, it sounds pretty good, and well balanced.

(Later footnote: The owner contacted me and is thrilled with her violin. She swears it sounds better (and brighter) than she remembers it ever sounding before it was damaged, and she is again playing it in her local orchestra. That is nice to hear…)

Completed violin

If you found this post helpful, please share with your friends!

Student Finally Completes his Copy of the 1580 Gasparo da Salo Viola!

Please share with your friends!

Copy of 1580 Gasparo da Salo 15-1/2″ viola finally completed.

Student finally competes his viola!

It took a while, but he finally pulled it off! And it sounds great, with a huge, growly bass-end and very clear but not shrill, on the treble end..well balanced, very strong, and easy to play.
.

Good Intentions…

This young man was recommended to me by his orchestra director, eight years ago. Originally I agreed to work with him weekends and evenings for that summer.  I said I thought he could complete it in 200 hours, with close supervision and diligent work…so I was volunteering weekends and evenings for 10 weeks, 20 hours a week. He agreed, and we got started.Within a week or two, I could see there were going to be glitches in the plan…he got a summer job, and started showing up at the time I needed to head for bed, as I was working a full-time job and had to be up at 4 AM. At the end of the summer, I think he had the rib garland done…maybe…and the plates traced and cut to size.So, we decided we would try again the next summer. It was even more spotty, but he got the scroll carved, as I recall. To be fair, I want to point out that the young man involved had never held a tool in his hands before– never built anything, never sharpened anything. Didn’t know what a “vise” was…etc. So this was ALL very new to him, and he made a great deal of progress over the journey.

Then he disappeared for a number of months and eventually called me during a Christmas vacation and asked if he could come up and work. My daughter was home from school, and I wanted to spend time with her, so I said I was not available at the time.

That time he disappeared for a couple of years or more…parts of his instrument were gathering dust in my shop, but I didn’t hear from him until the summer before last, I think. He wanted to come back and finish up…so…we started up again…Saturdays, if and when it was mutually workable.

Anyhow, it finally emerged from its “larval stage” as a full-fledged viola today. It is a copy of the 1580 Gasparó da Saló viola (a fairly asymmetrical, odd-looking instrument, but still played professionally after 430+ years), and, for a first try, not bad at all. It is quite similar to the original; I am very pleased, and, as you may imagine, vastly relieved.

Gasparó da Saló viola front

Front view .

Gasparó da Saló side

Side view .

Gasparó da Saló back

Back view .

First time maker with viola

New maker with new viola .

What a relief!

I guess he feels pretty good about it, too.

If you found this post helpful, please share with your friends!

How to Make Yourself a Great Classical Cello (9/30)

Please share with your friends!

Step #9–Arching the Plates

Arching the Plates

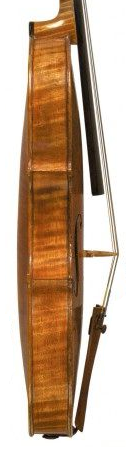
If one looks at a violin-family instrument from the side, to see the front and back longitudinal arches simultaneously, it is easy to observe that the front and back are not arched the same, longitudinally. Here is a good example.

Side view, showing front and back arch difference
Front and back arching differences

Some may argue that they began as identical arches, but that since the stresses on front and back are not the same, the wood has crept. Therefore the Old Master instruments are no longer the same shape as when they were new.

(OK…I wasn’t there 300 years ago, so I don’t know. Neither were you! And if we had been, we wouldn’t remember, since we would be 300+ years old, now!)

But we can see that, however they were shaped back then, they are not the same now, and the best instruments all seem to have certain things in common.

Longitudinal Arching

The back Longitudinal arch is essentially a circular curve. But the front is different: There is an area in the high middle that is nearly flat, by comparison with the back. The area between the f-holes and between the bouts flattens out considerably, compared to the back.

This is an important difference, and it is critical to the sound. Go online and look at a bunch of side-view photos of fine old violins. Once you see it, it is unmistakable.

Transverse Arching

Until a maker masters this aspect, it is truly wise to make a set of longitudinal and transverse arching templates. And then use them religiously until you can see the arching and tell whether it is right or wrong through personal experience. The arching templates will keep you out of trouble, just as using a map keeps a person from getting lost.

Furthermore, the transverse archings may be the single most important factor for good sound, after wood choice.

Make The Templates, And Use Them!

partially carved front plate arching of cello
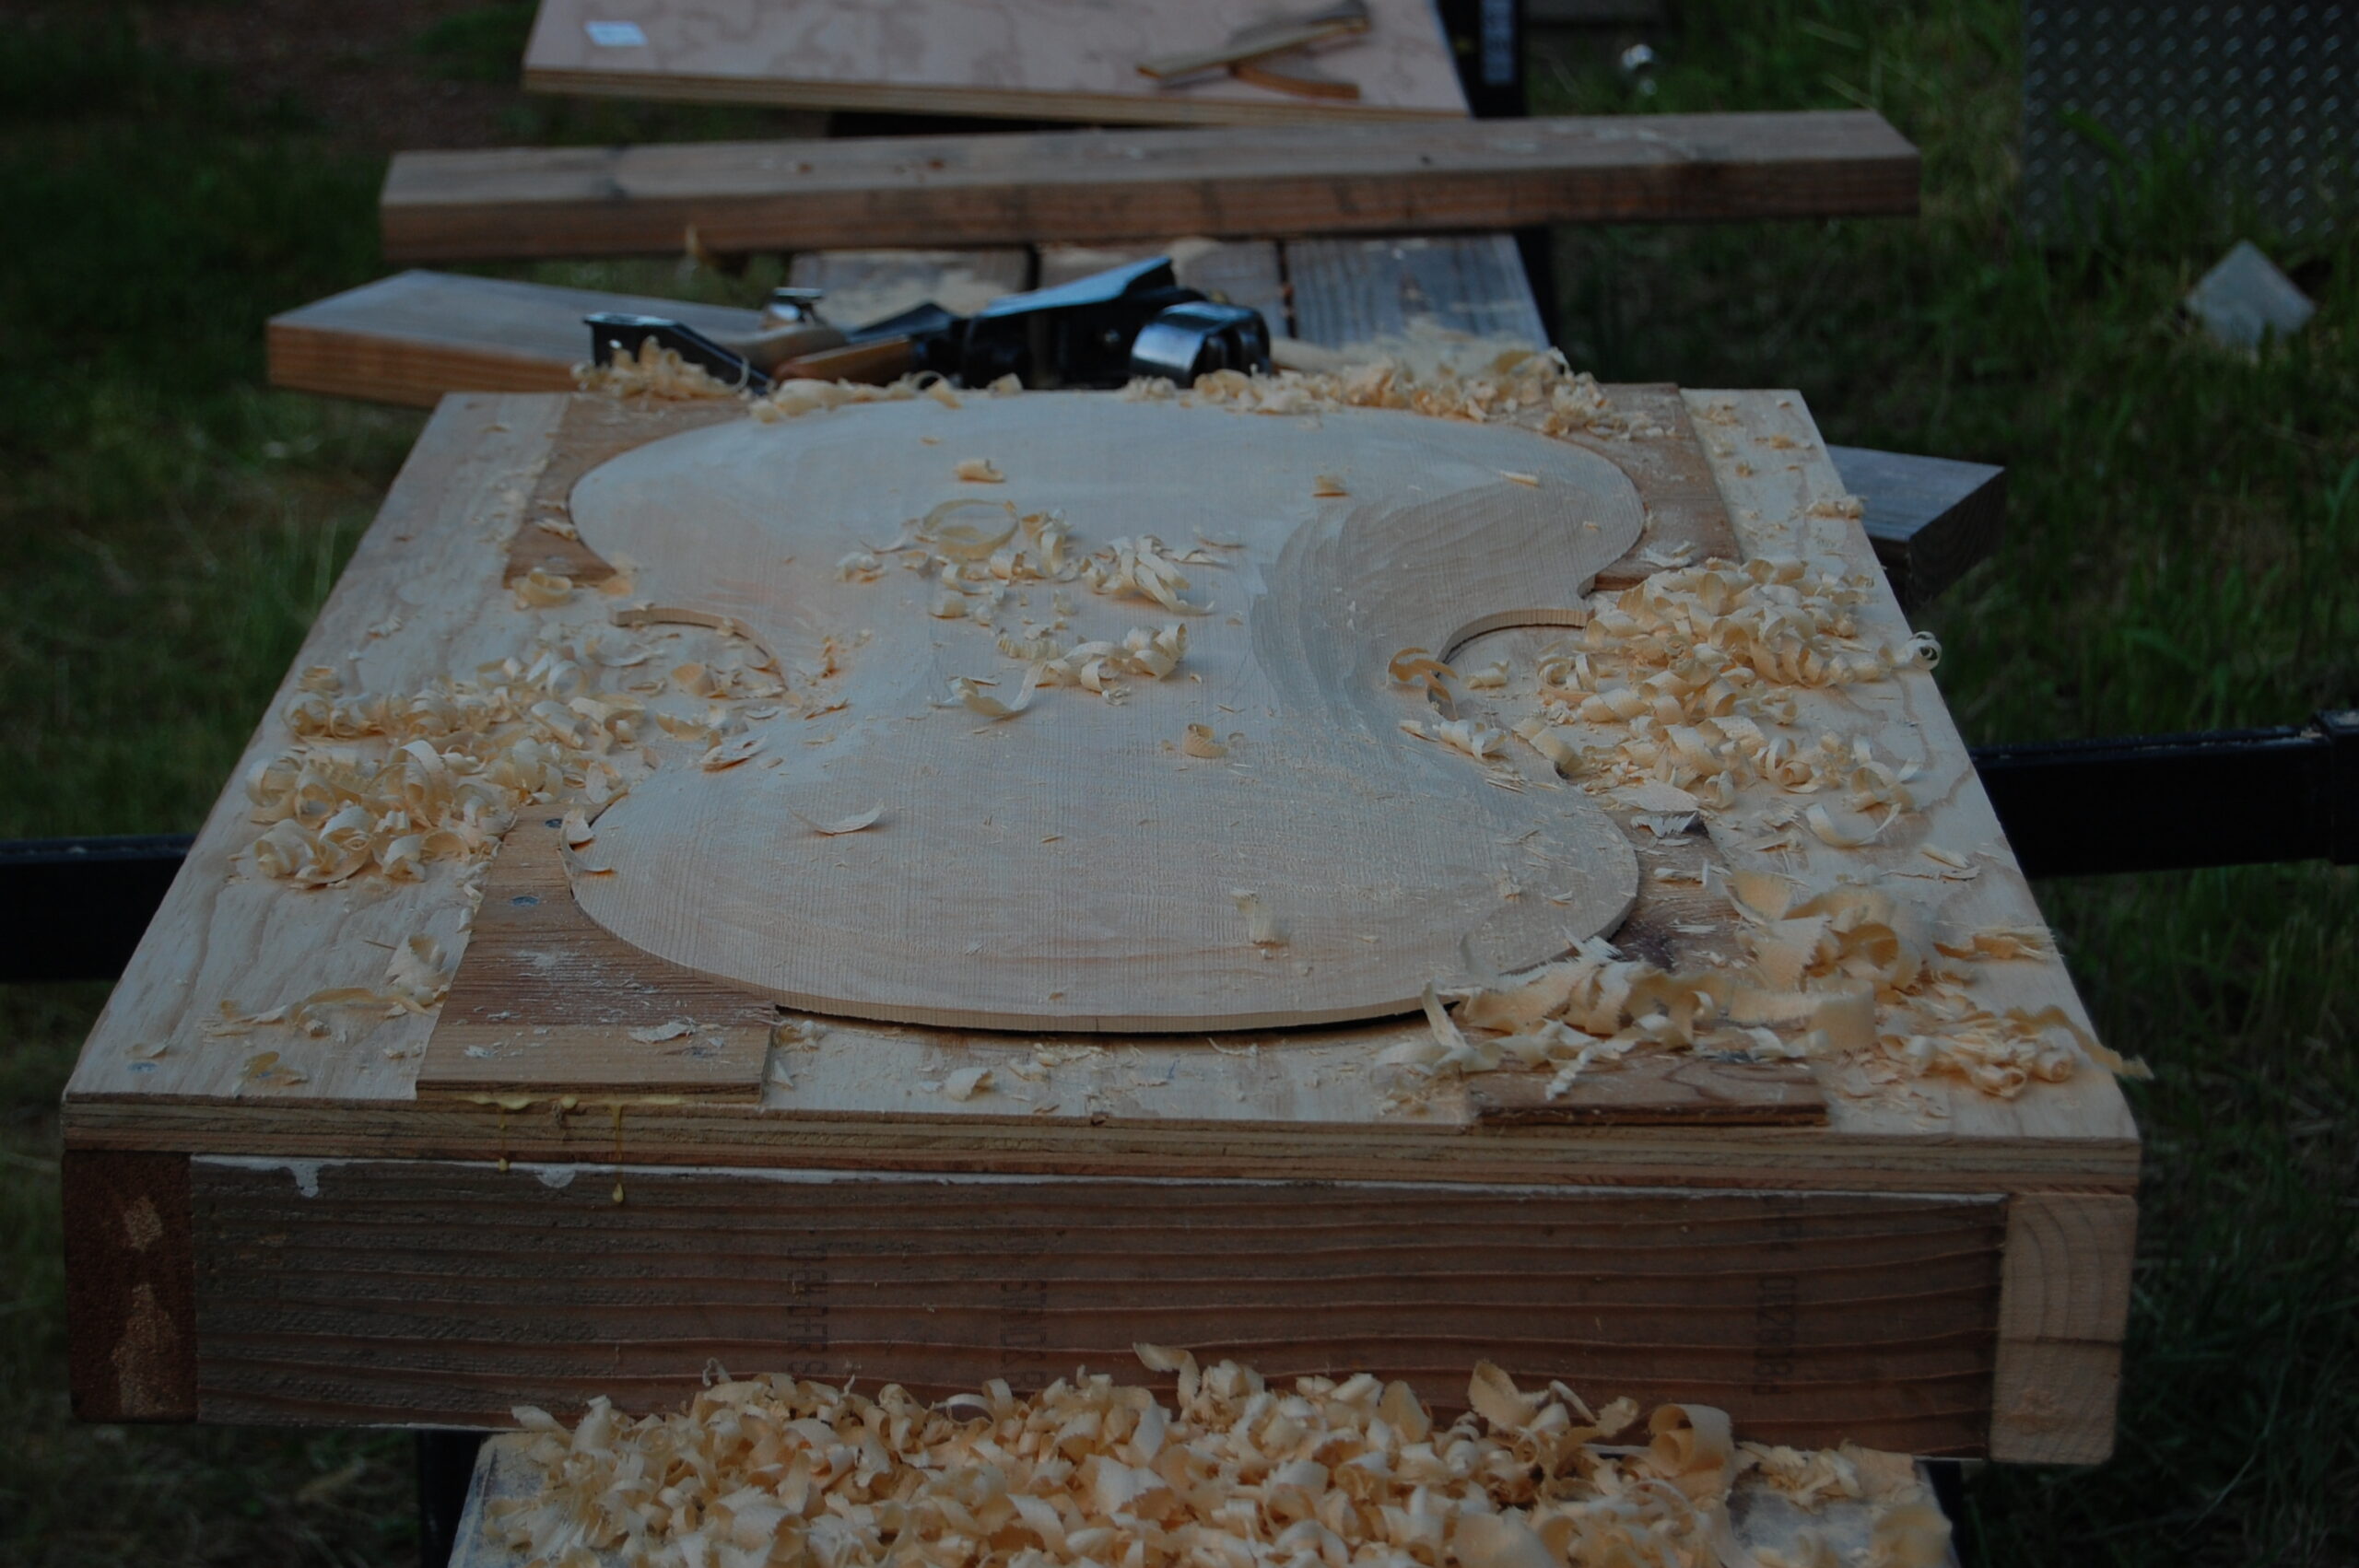
Rough Front arching, showing the Semi-flat area in the center of the Sitka Spruce Cello Top.

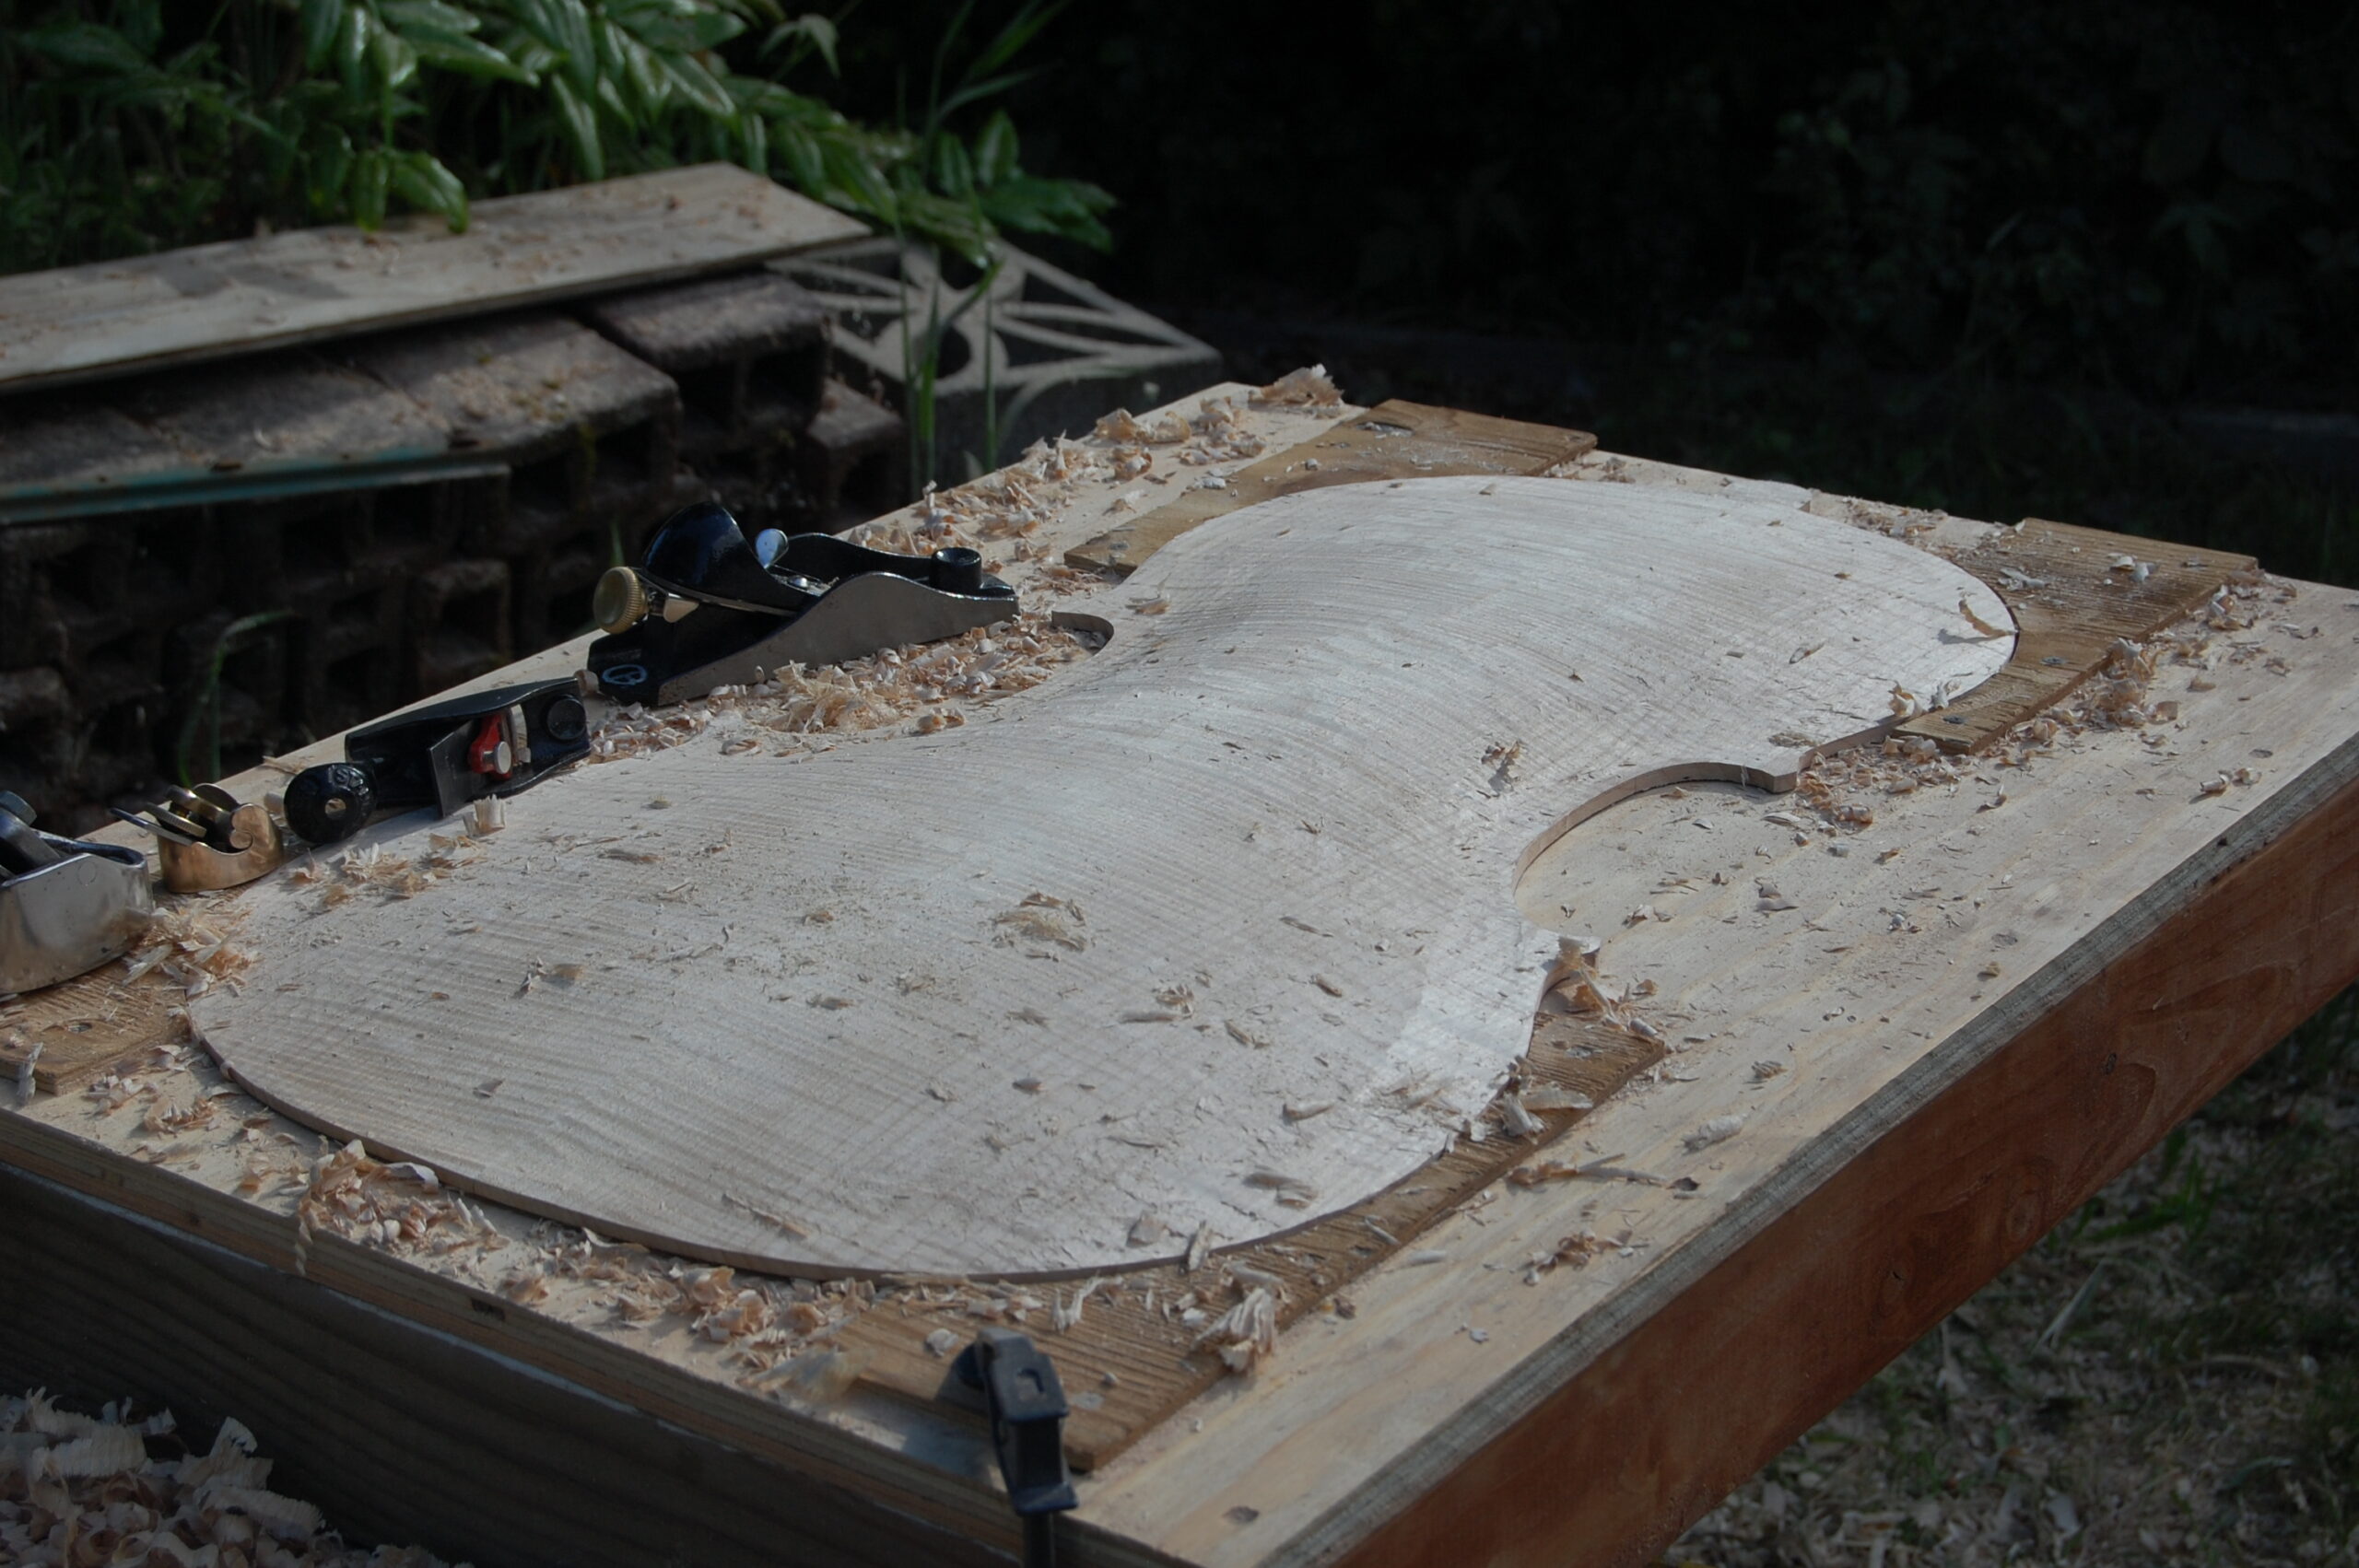
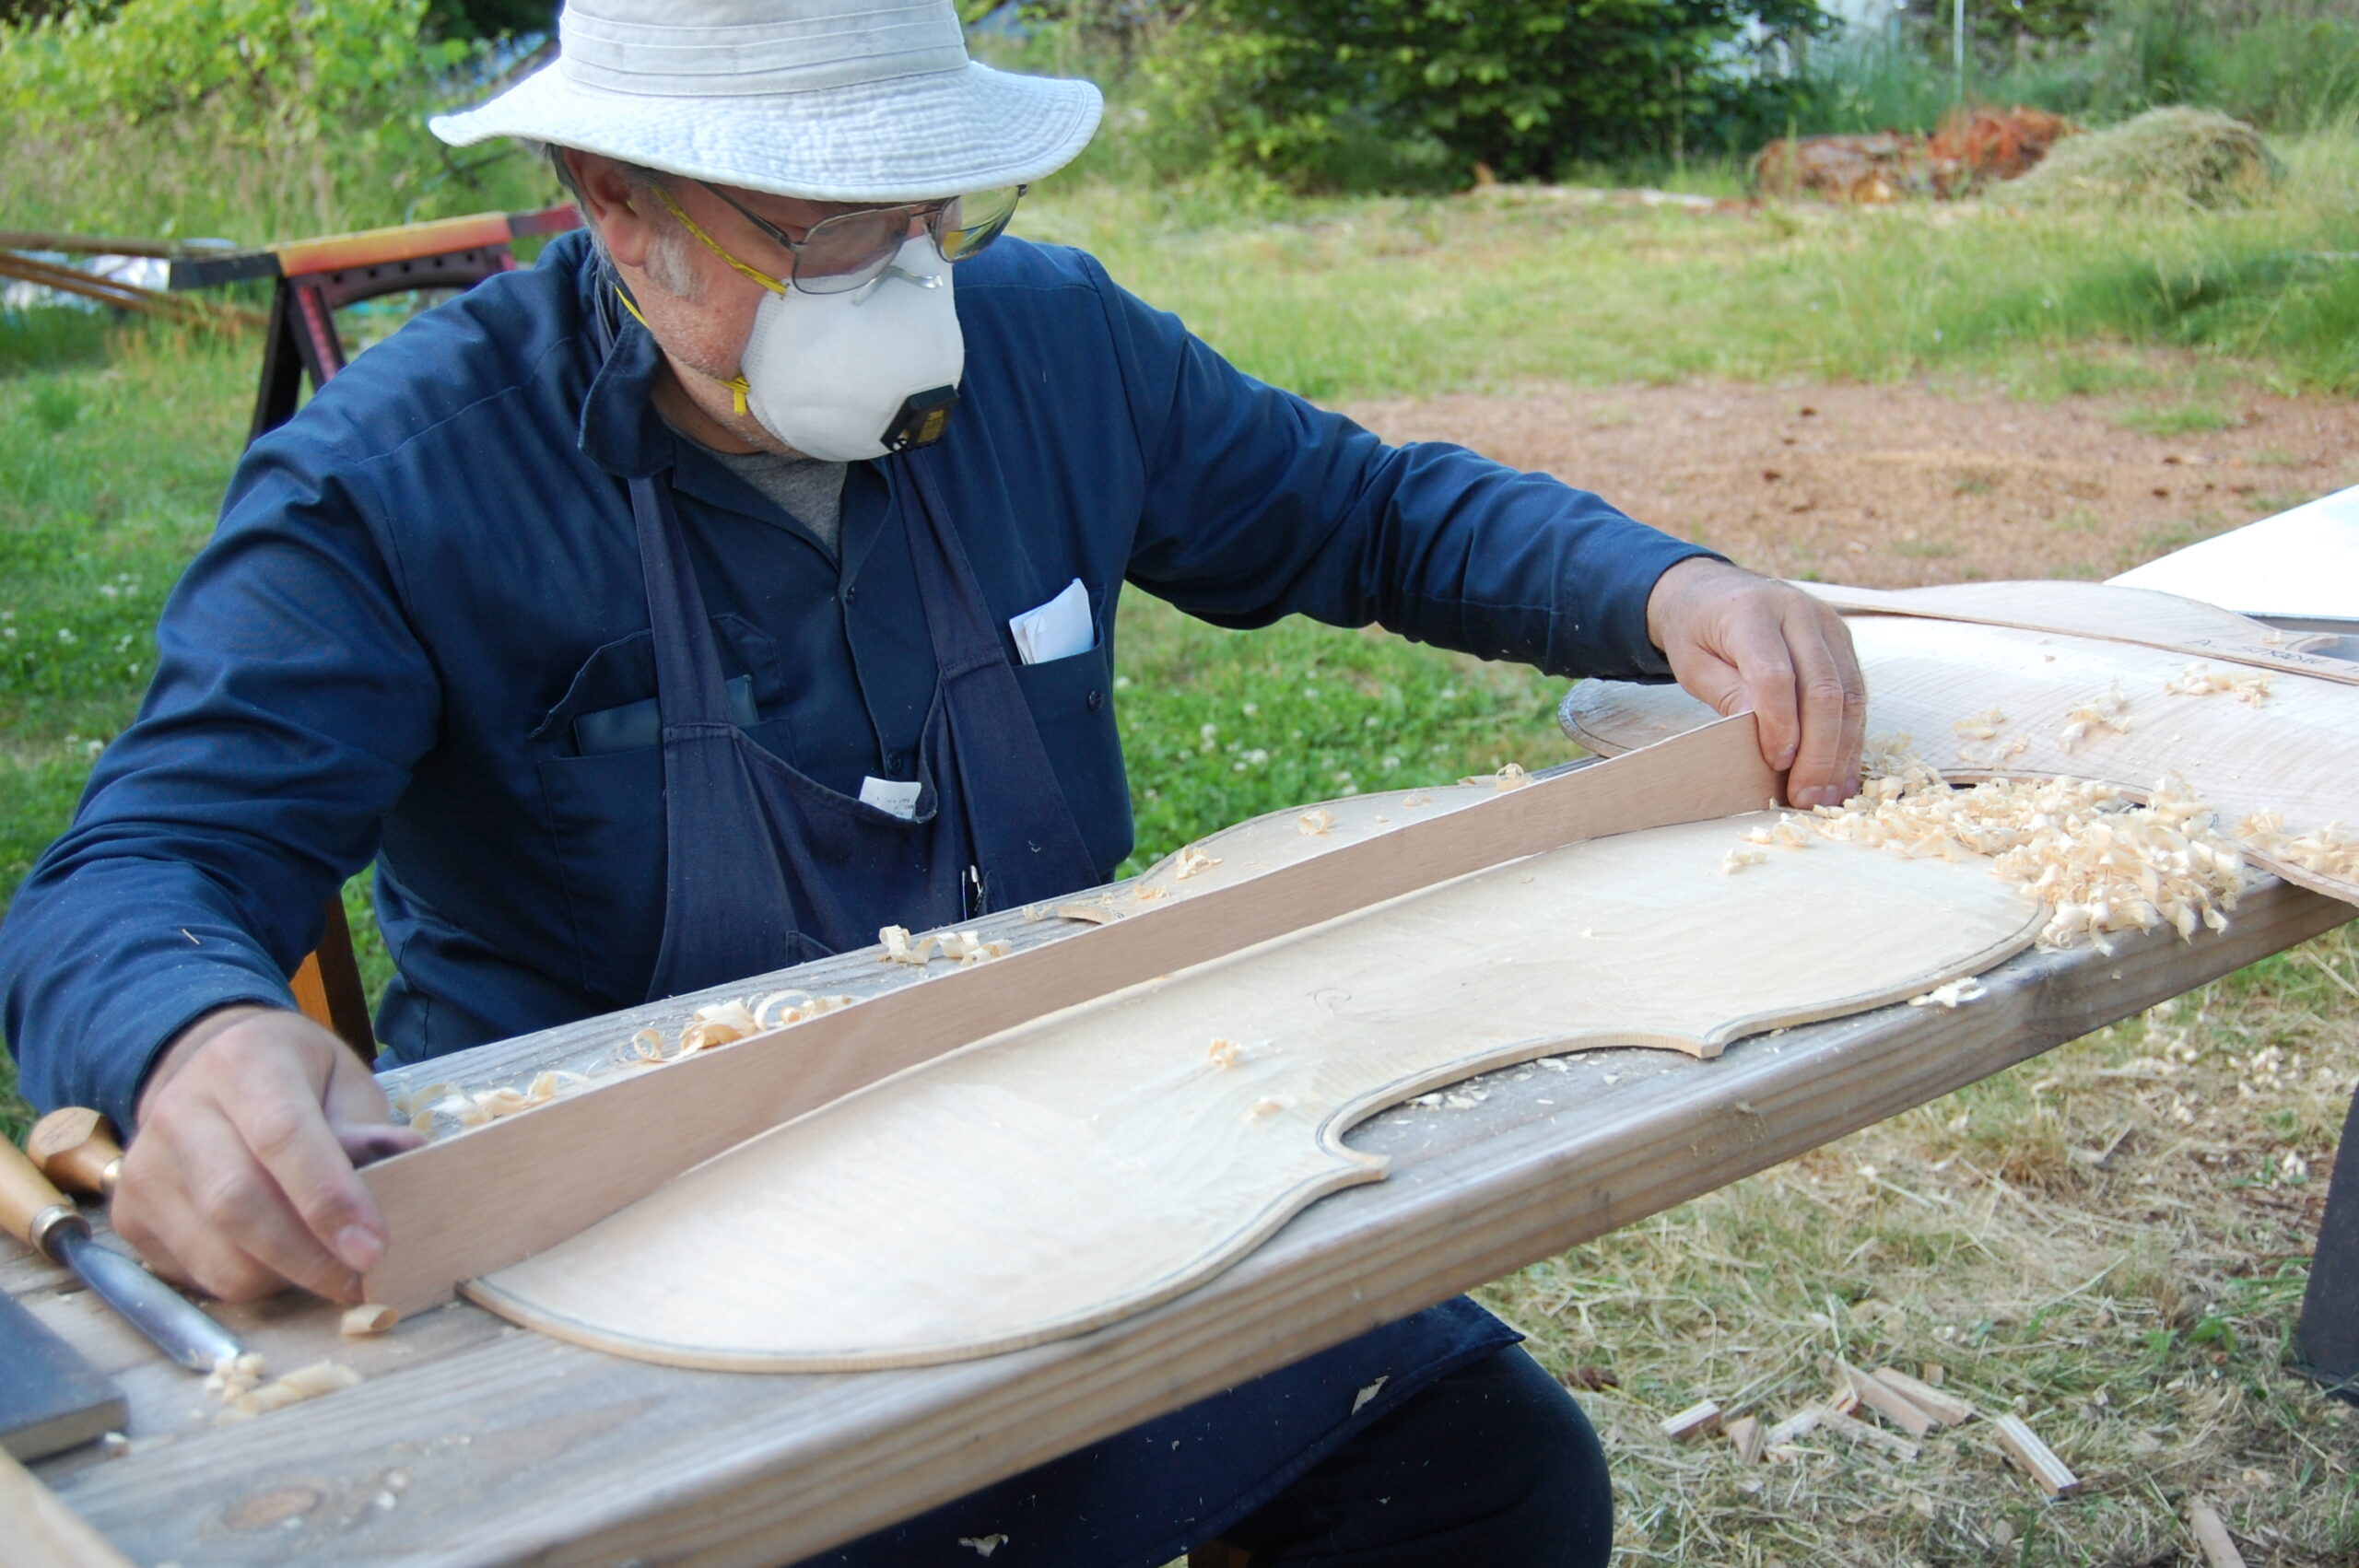
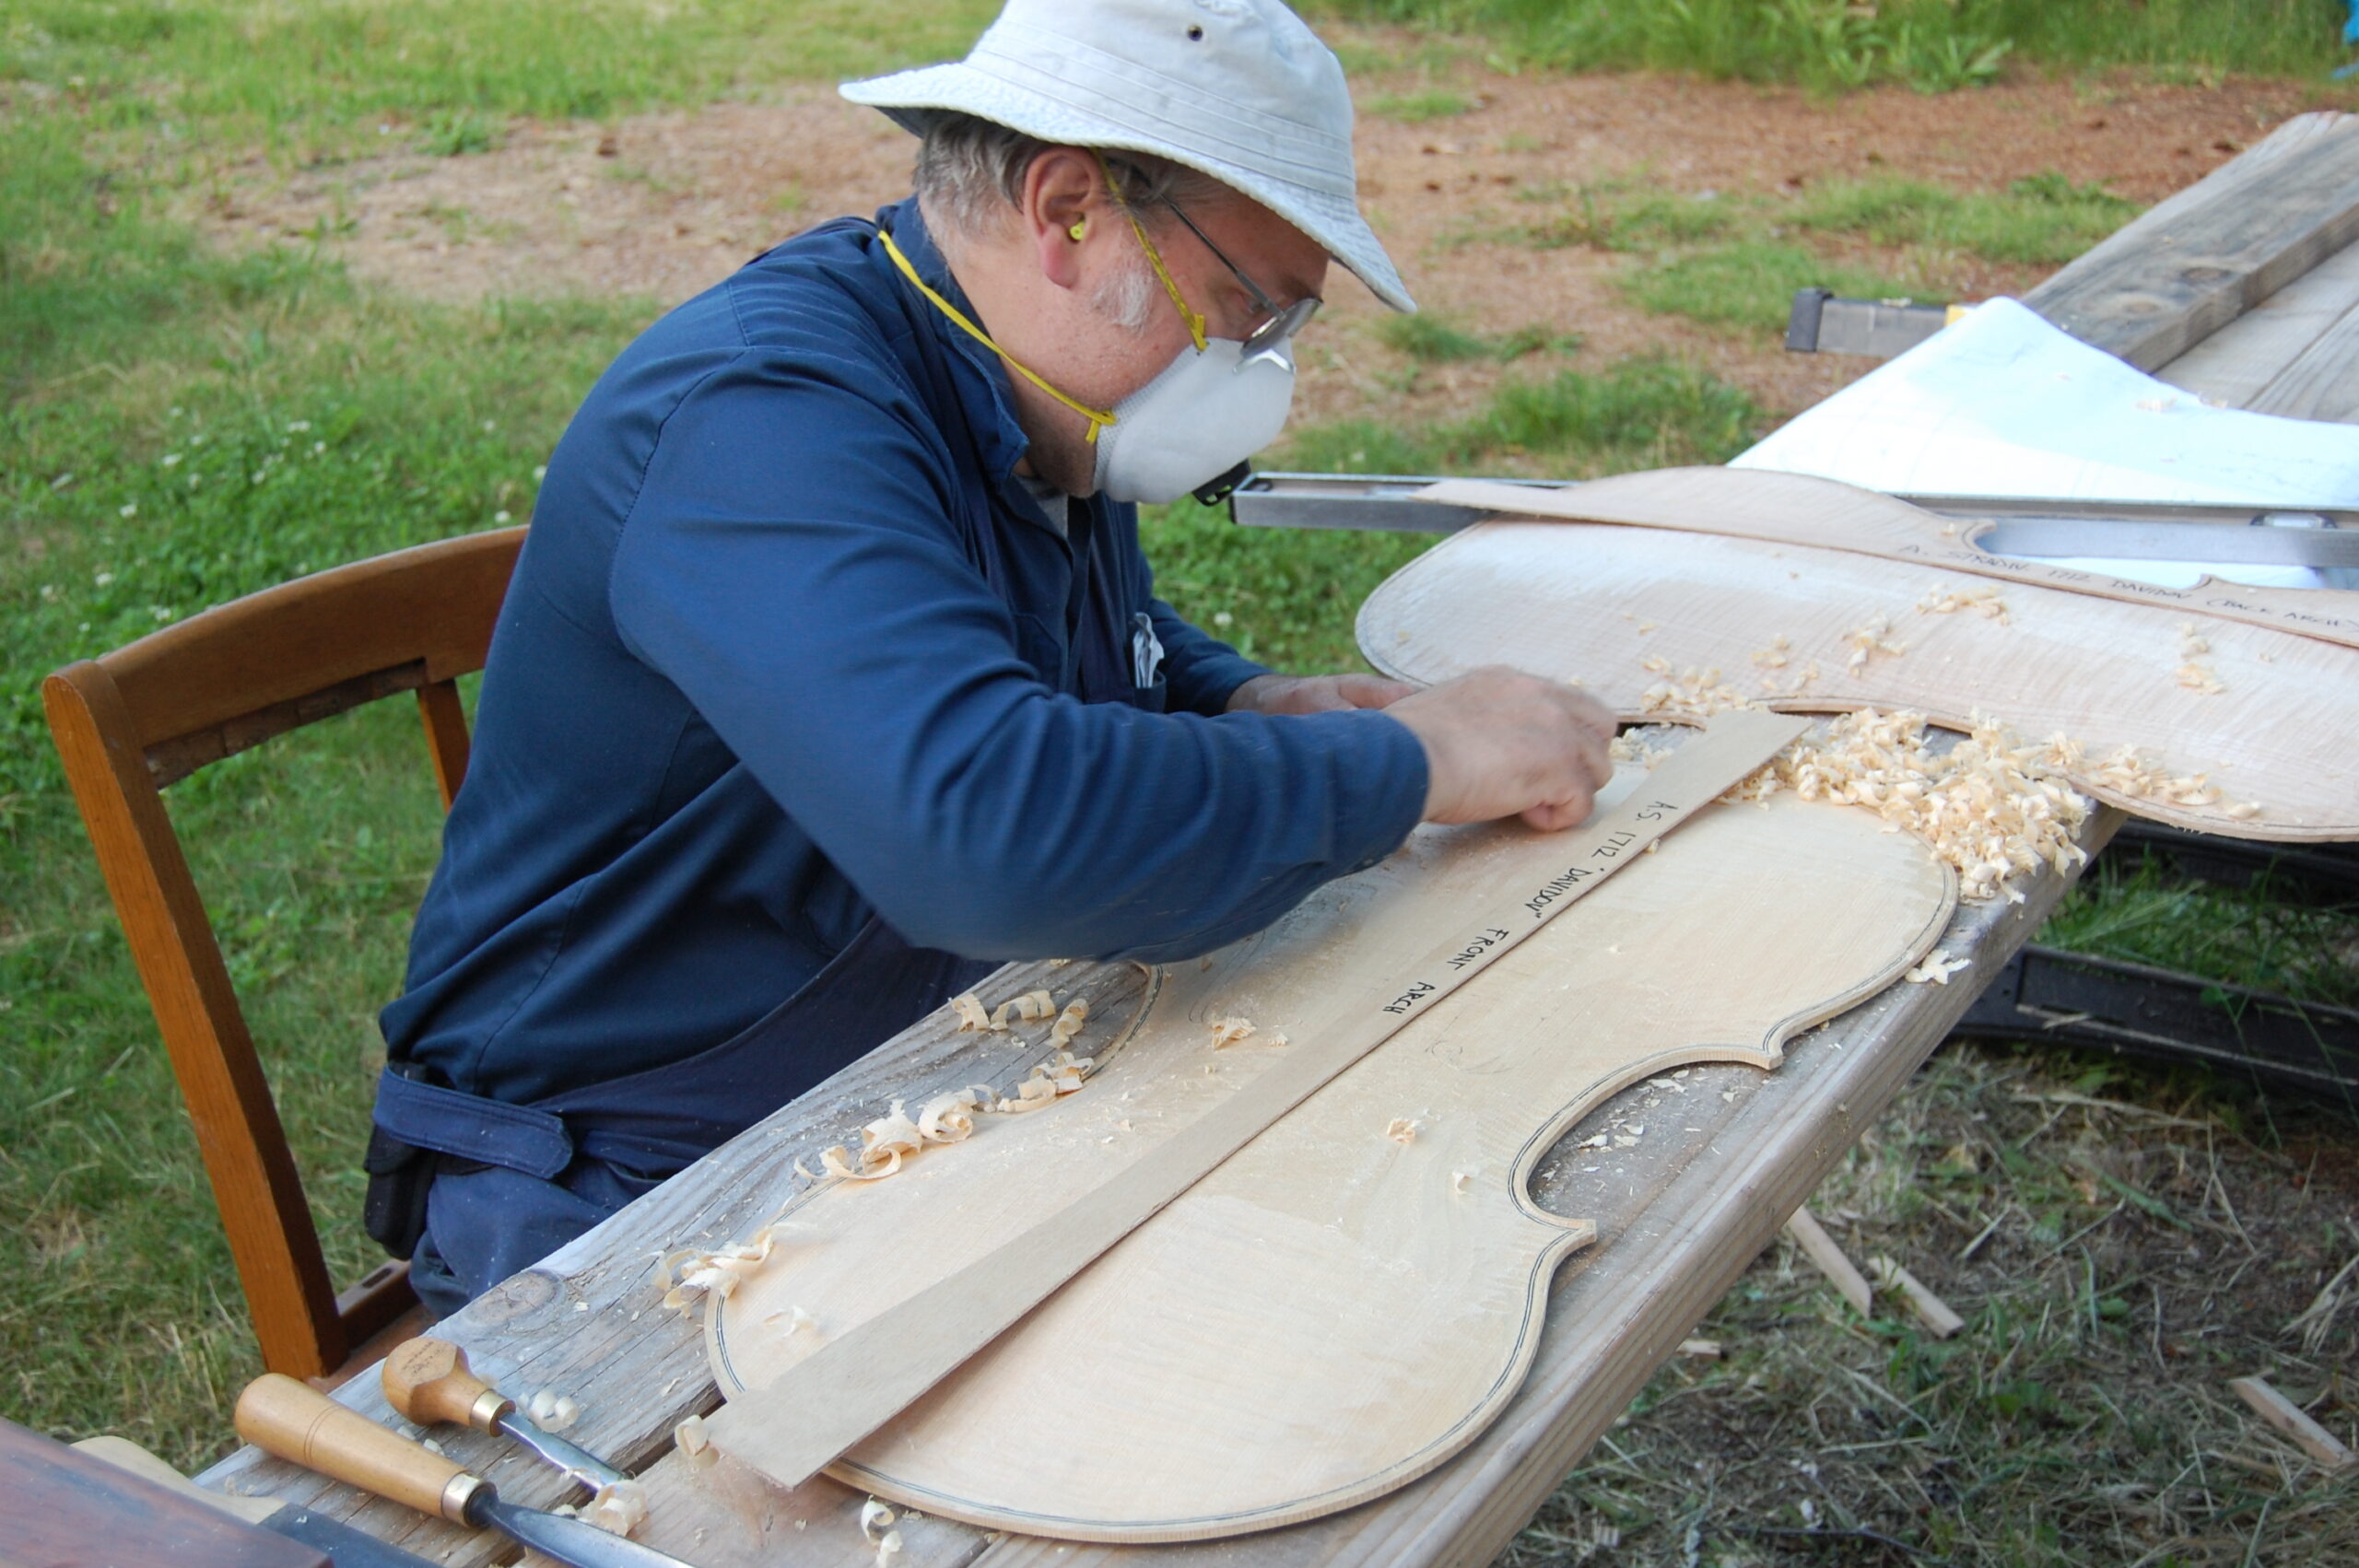
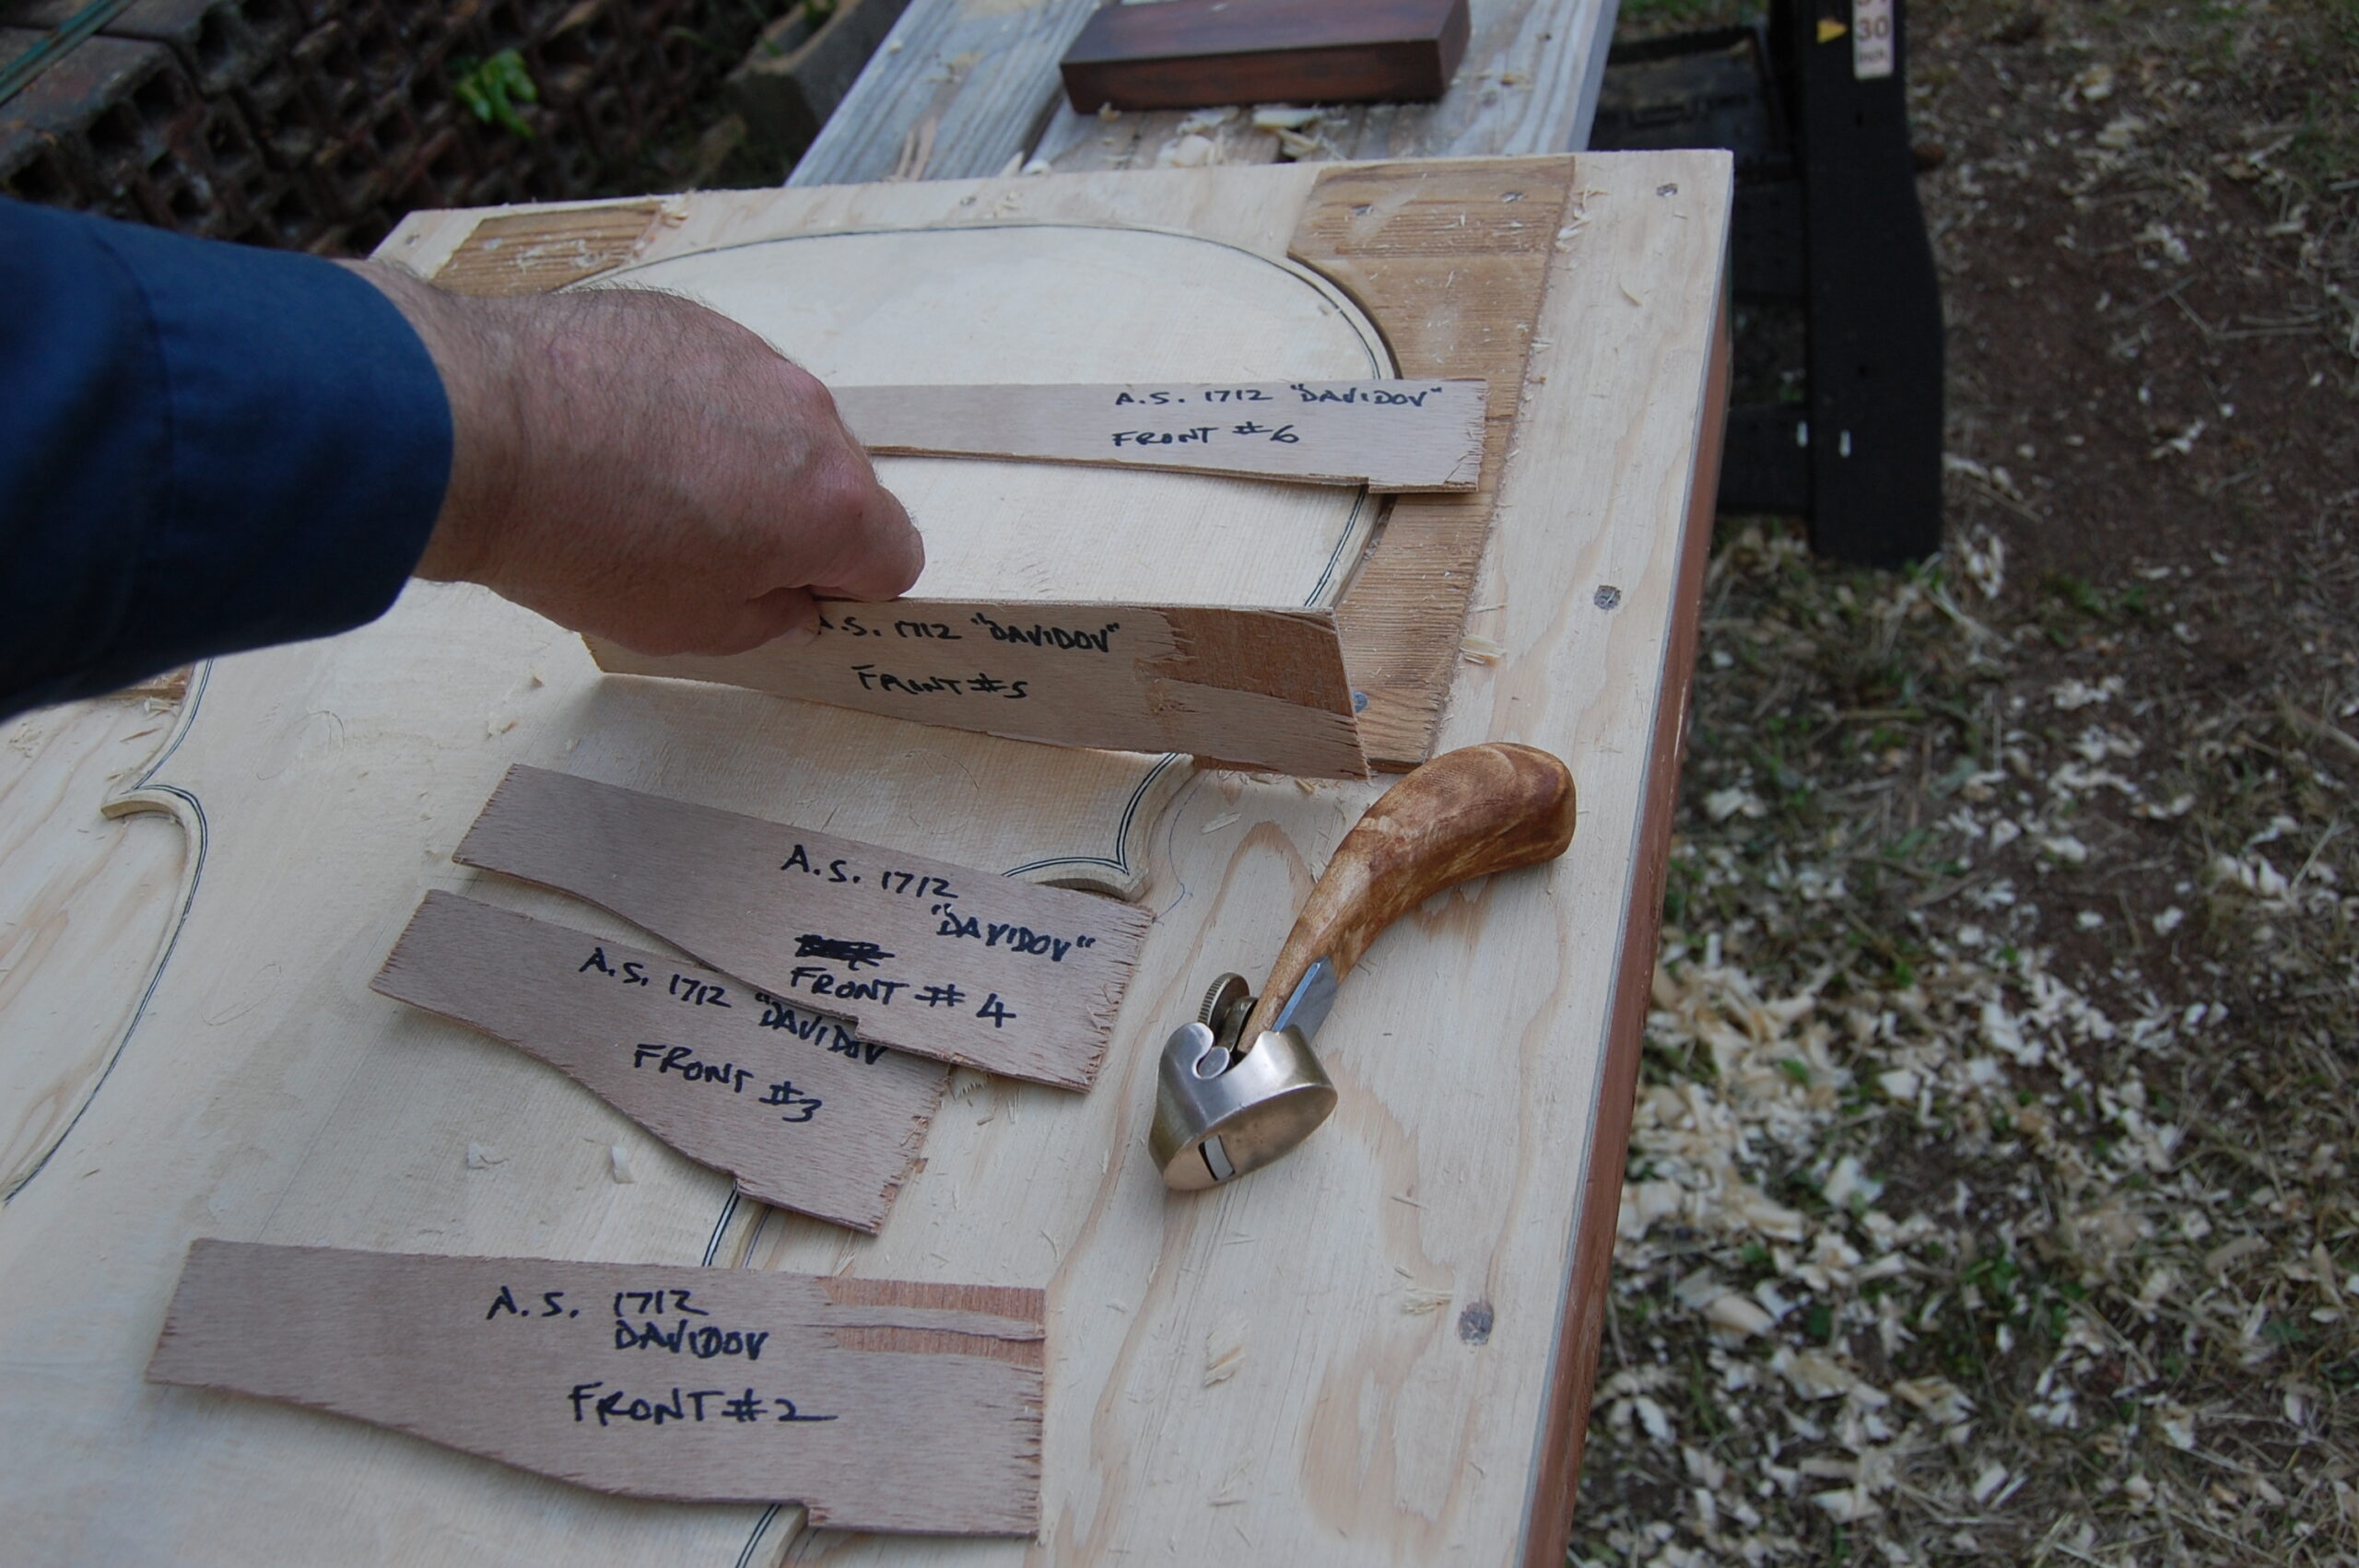
I used the drawings on the back of the Davidov poster to make a set of arching templates. I have enough experience to start out without the templates. But not enough that I trust my eye to just cut the arches by instinct. Here is the rough arching before I used the templates…you can sort of see the “table” area in the middle, where the shavings are sitting.

I rough out the front and back, using gouges and planes, and get the area around the edges pretty close to exactly the thickness I will want the finished edge. Then I install purfling (which we will discuss in the next topic), and use templates to finalize the arching.

I have made a few instruments, so I have the confidence to get pretty far along in my arching before using a template. There is nothing wrong with using them from the first attack.

Here is the back, ready for purfling, but before using the templates. Still too “puffy” in places, but looking like a cello back.

Cello back plate arching partially completed
Back Plate Arching begun and making good progress. Nearly ready for purfling.

Using the Templates

Here are the templates in use (notice the purfling is in place).

Front arching Template in use:

Using arching templates
Beginning to refine the front plate, using the longitudinal Arching template.

Using the back arching template to refine the back plate
Back arching template in use.

Here are the transverse arching templates: We use them in the same manner.

Transverse arching templates for cello.
Beginning to use the Transverse arching templates.

When the arching matches the templates as closely as I can manage, I begin using scrapers to smooth and give final shape to the plates. Then it is time for inside arching. But first, we need to talk about purfling, since that was done in the middle of this article.

If you found this post helpful, please share with your friends!

2014 Musical Instrument Makers’ Show at Marylhurst University

Please share with your friends!

Marylhurst University Musical Instrument Show

For those who missed it:

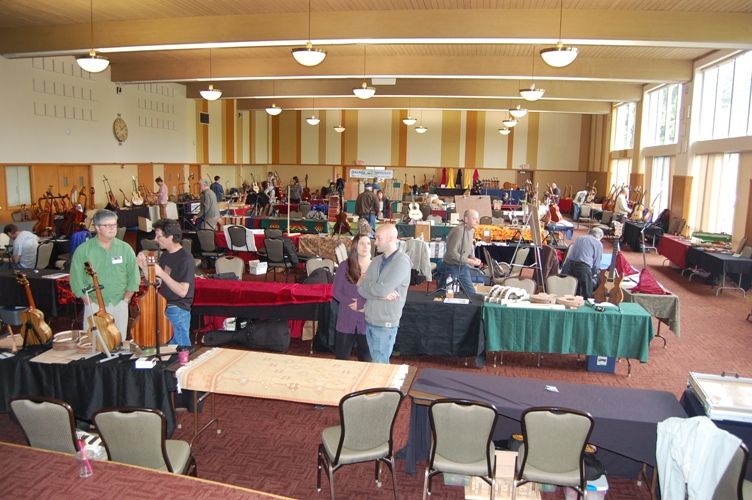
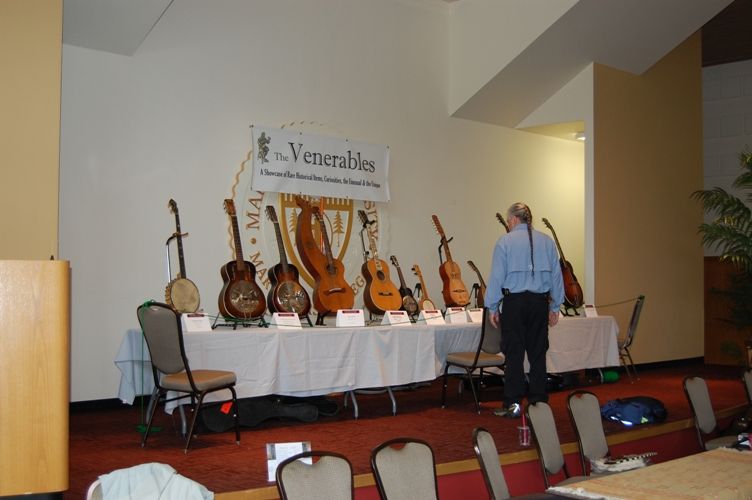
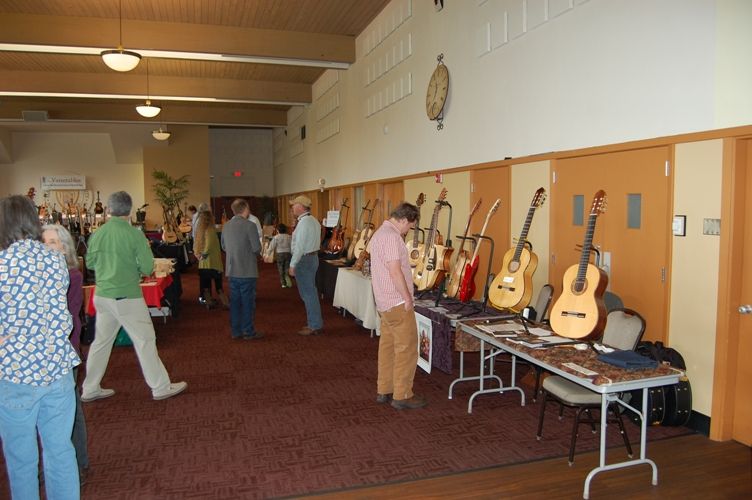
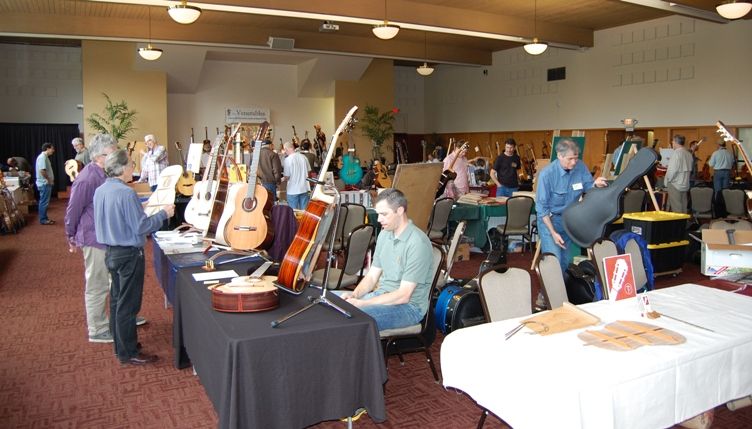
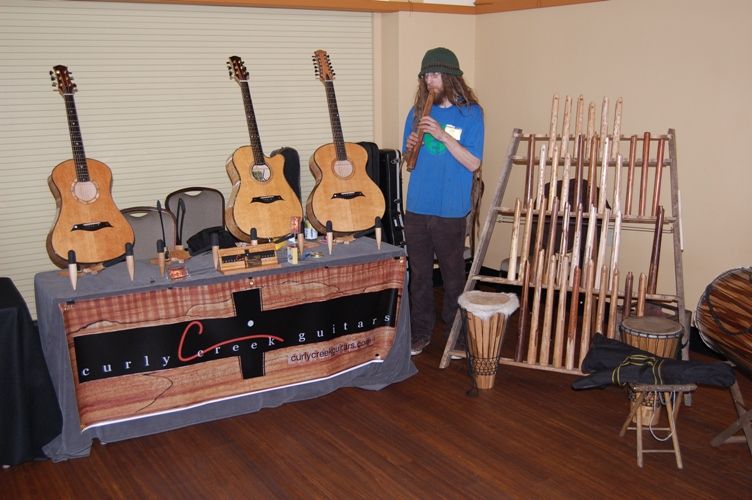
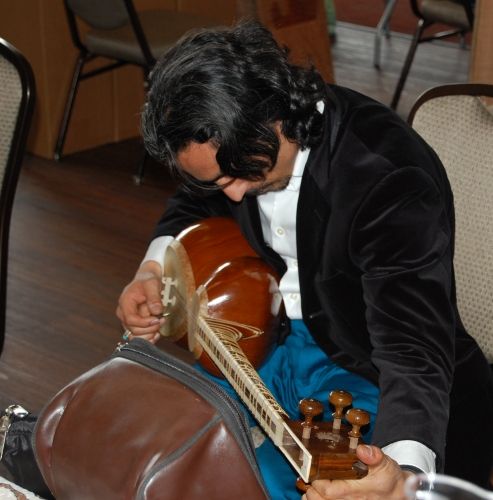
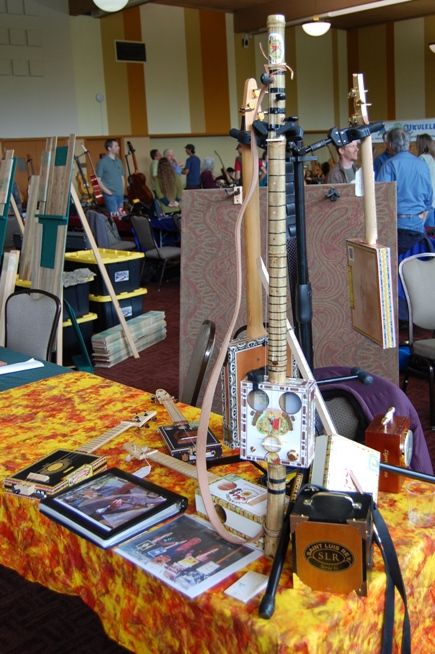
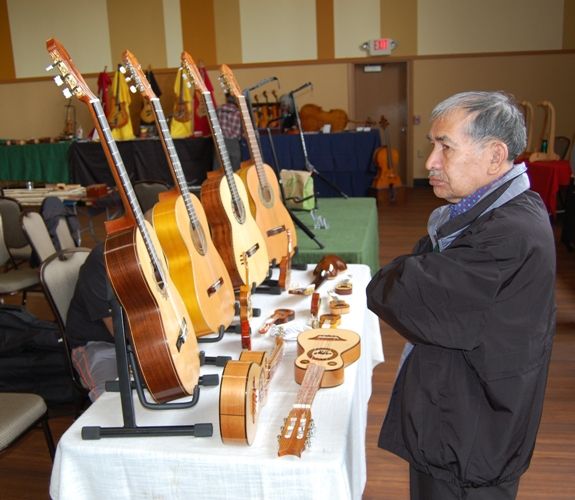
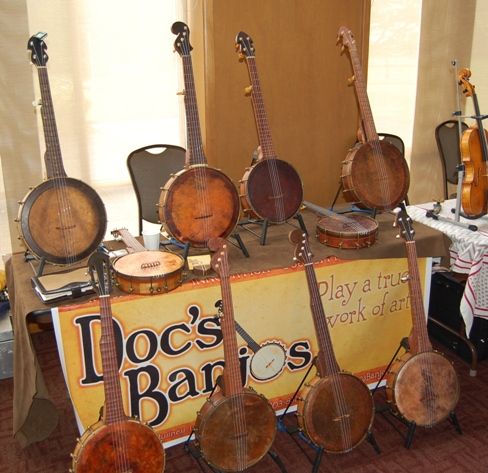
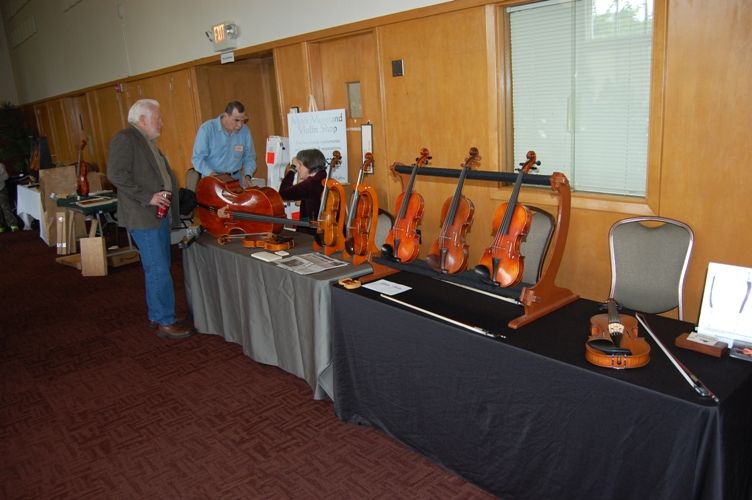
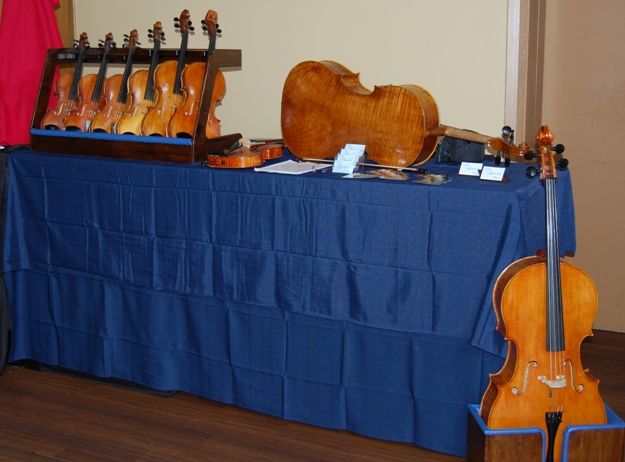
The following photos were all taken before the public was allowed in, so the tables are not fully set up, but you can see the size of the room, and some of the instrument displays. I believe there were 80 tables, and each table had one or more makers exhibiting, so probably in the neighborhood of 100 makers. Possibly ten were violin-family makers. One was a maker of wooden flutes and drums. Usually there is an orchestral harp maker there, but he was not there this year. There were several mandolin and ukulele makers, some makers of middle-eastern or South American instruments, one or two banjo makers, and all the rest were either guitar-makers or vendors selling materials to makers.

Once the doors were open, I am told we had about 300 visitors the first day, and 500 the second day. I don’t know how accurate those numbers are, but it definitely seemed more crowded the second day.


No sales at our table this year, but lots of interest, and several good players. A good weekend all the way around. The one-piece-back cello, of Oregon Big-leaf Maple was very popular, as was the five-string fiddle and the Lion-head Viola.  I did not have a double bass there this year, but several people asked, so I intend to do so next year.

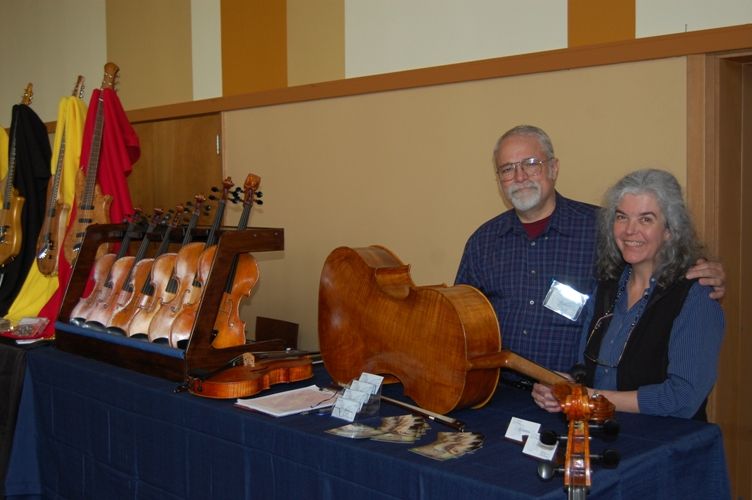
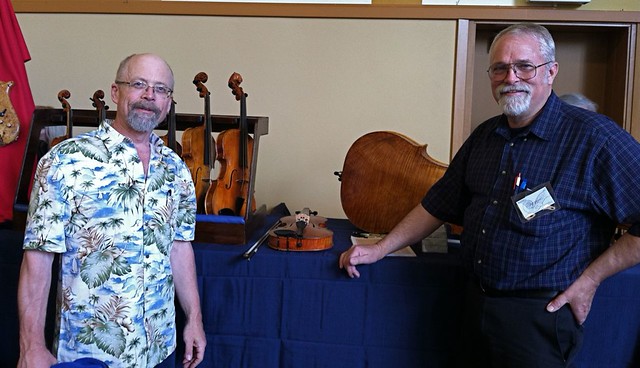
We had a very pleasant visit from violin-maker Kenneth Pollard and his lovely wife (who took the photo below), both of Nampa, Idaho. He and I have corrresponded in the past, but this was a first “face-to-face” meeting. Hope to see them again sometime…maybe at the next show, if not before.

Ken Pollard and Chet Bishop at the 2014 Marylhurst Musical Instrument Makers’ Show


If you found this post helpful, please share with your friends!

5-String Fiddle Finally Complete

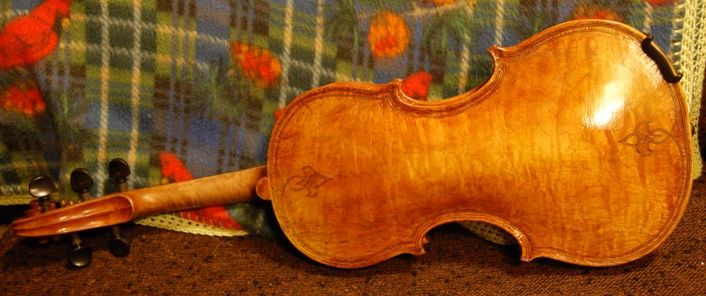
Back view of Oliver 5 string fiddle
Please share with your friends!

Five String Fiddle completed…just in time for the Show!

The Maryhurst University Musical Instrument show is this weekend,  Saturday and Sunday, the 3rd and 4th. Admission is only $3 … this is a really good deal, and a great “peek” at up-and-coming makers, as well as the more well-established ones.

Last year there were two banjo-makers, three or four mandolin makers, one double-bass maker, one maker of traditional Persian instruments, one maker of electric Kalimbas, one maker of traditional Mexican instruments, three or so Ukulele makers, possibly  ten makers of violin-family instruments, a couple of cigar-box ukulele makers, one orchestral harp maker and probably fifty to sixty guitar makers, of all varieties.

Handmade Bluegrass fiddle took months to complete

I have had more discouraging setbacks on this instrument than in any instrument of the last ten years, probably. I got sick early in the making, and was very busy with work as well, so that slowed things down. Twice I made errors and had to scrap the neck and start over. (Boy, is that frustrating!) Then I somehow got a serious muscle spasm in my back, and could hardly walk for several weeks.

However, perseverance pays off, and I finally completed the five string fiddle last night. There are still some spots to touch up on the varnish, and some other cosmetic issues, but for purposes of practicality, it is complete– and playing very well.

Oregon Bigleaf Maple and Sitka Spruce

The maple wood is from the same log  from which I made last year’s five string fiddle. The flame is not quite as spectacular, as it came from a different portion of the log, but still definite eye-candy–the back looks like a cloudy golden sunset in the right light.

If you’d like to try it out, please come to the Marylhurst show this weekend. Meanwhile, here are some photos:

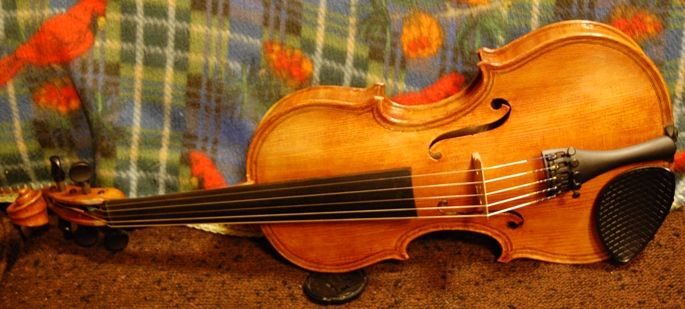
Front of Oliver Five String Fiddle
Front of the fiddle– colors are close, but in person it is more brown/red…less yellow.


Back of Oliver 5-String Fiddle
The back looks pretty good, but it is better, of course, in person…you can see the flame better.
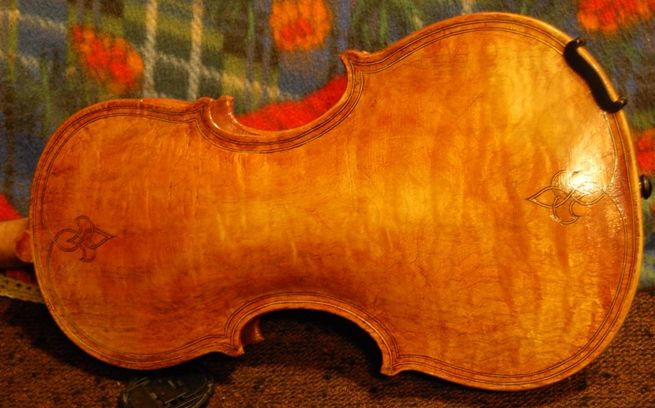
Close-up of Oliver 5-String Fiddle Back
Here is a closer view of the grain of the back. It really requires the changing angle of the light, to get the best view of it.
Back of Oliver Five-String Fiddle neck
Here’s the back of the scroll. I really like the flame in the neck.
Side View of Oliver Five-string Fiddle scroll
And, finally, the side of the scroll itself. Not much flame in the wood, but I like the way it turned out, anyway.

Come and try it out at the show. I’ll hope to see you there.


If you found this post helpful, please share with your friends!