
 Follow

Beginning Two New Violins
First Things First:
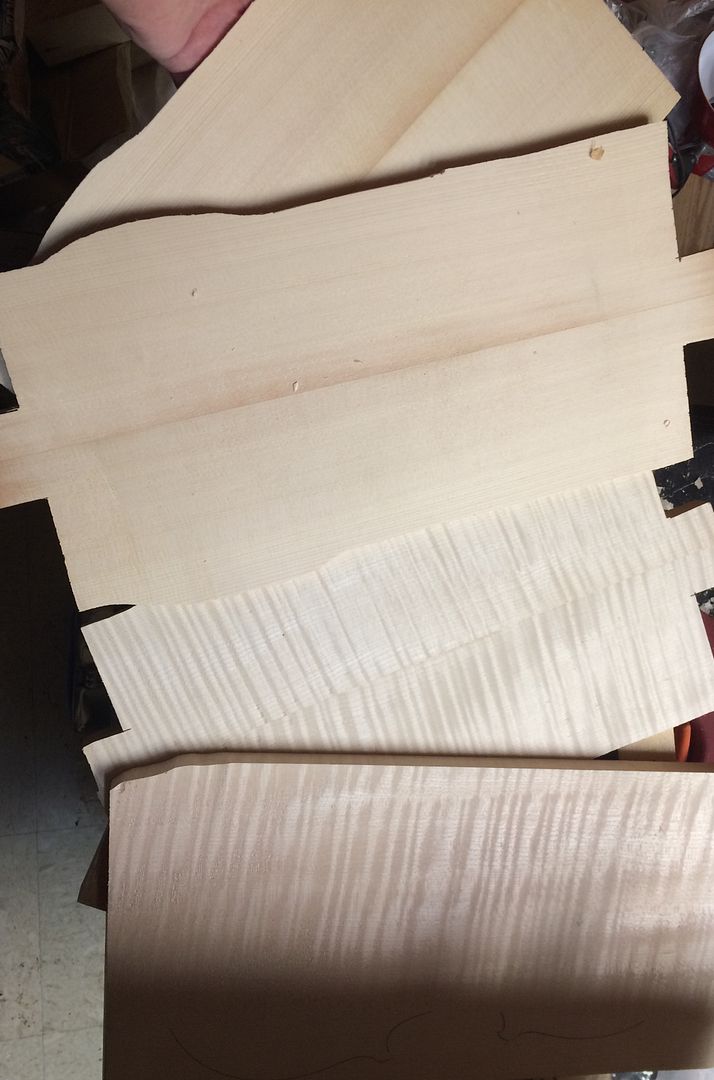
I began by making sure that I had appropriate wood for both instruments: I wanted a one-piece back for the Guarneri model instrument, with deep flames sloping downward from left to right, and I wanted a heavily flamed two-piece back for the Stradivari model…both of European Maple, with ribs to match them, and European spruce tops. I had them, all right, so I bookmatched the two spruce tops, and the back for the “Titian” Strad attempt, and left them to thoroughly dry. Afterward, I visited my son’s guitar shop and used his power planer to flatten the plates, and bring them each down to the thickness I wanted for the arching height.
Working Vacation
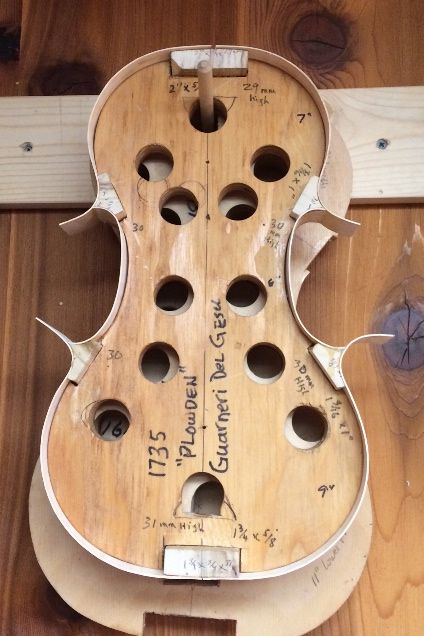
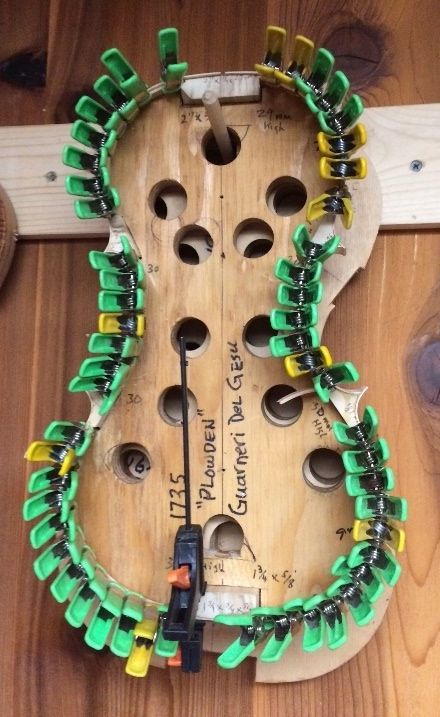
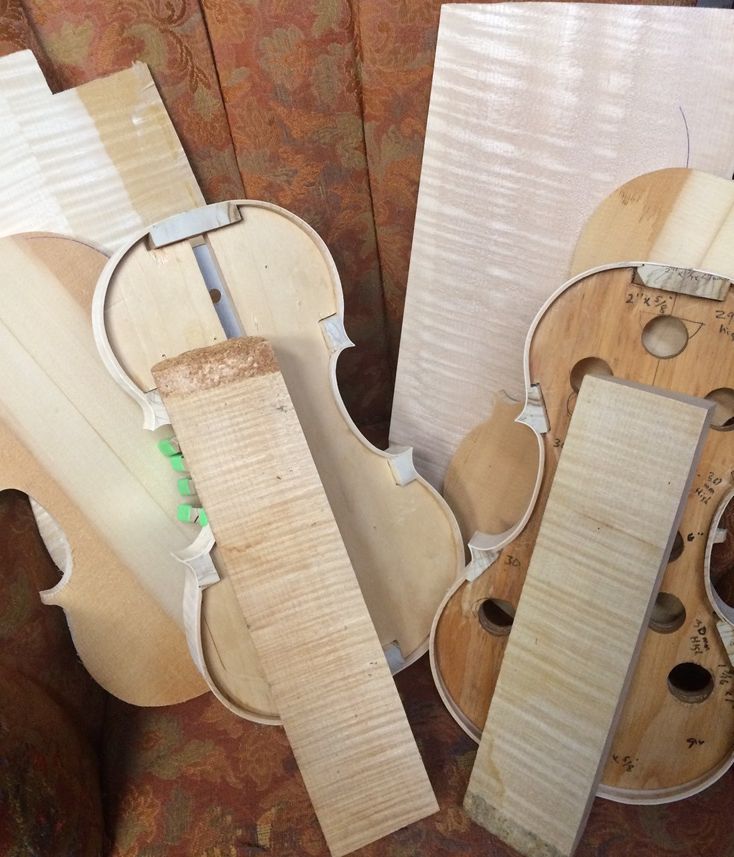
I took a week off from work, intending to “get a lot done” on the violins, but ended up sick for most of the week. Besides, Winter is coming on, and we needed to get firewood in, so Ann and I loaded and hauled and stacked firewood for a couple of days, and I got about two good days of work on the violins. During that time, I installed blocks in the molds, shaped them to receive the ribs, thinned and bent the ribs, and installed them. Last, I installed linings, to add stiffness to the edge of the rbs, and additional gluing surface. The ribs, like the back plates, are European Maple, but the blocks and linings are willow…not sure what variety. I like weeping willow the best, because it carves and bends so nicely, but other willows work well, too, sometimes.

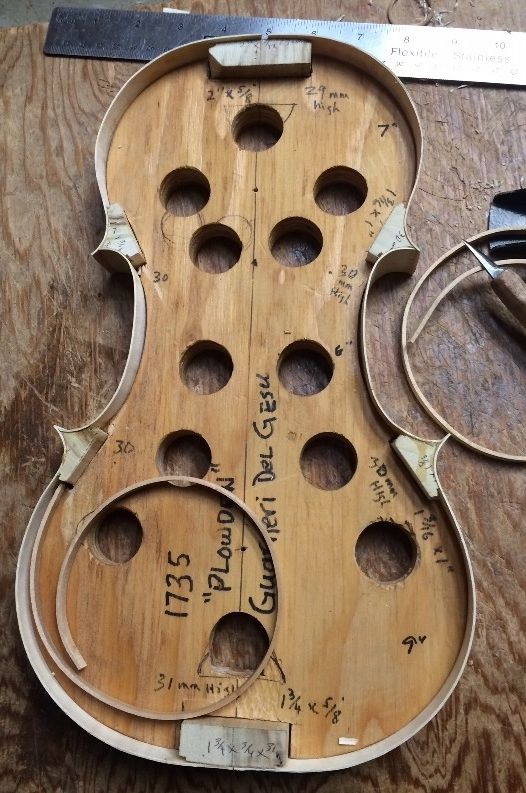
Then, once I had the linings in place, I trimmed the rib corners to their final shapes, and flattened the front face of garlands, after which I used the garlands themselves to trace out the shape of the top plates. Finally, I cut out the top plates and shaped them to the exact outlines I wanted, and I was ready to begin arching. I will do the same thing for the back plates later.
Slow Start
I didn’t get much of anything else done, this week, as I was at work, mostly, annnd, Thursday, some fellow failed to yield on a roundabout, and totalled my wife’s car, as she was coming home from the grocery store. The roads were very wet, which may have contributed to why he was unable to stop, and why the impact spun her car around, 180 degrees, and hurled it off the road, into a field, next to the roundabout.
Ironically, she had also just gone to DMV, and had paid $193 to renew the DEQ testing, and registration, as well as filling her gas tank, to the tune of $40. So all that was wasted, too, but she is completely unhurt, for which we are deeply grateful. Guess it is time for her to get a newer car. 🙂 There was also a dented can of beans, and two squashed bananas…but I ate the bananas, and tonight we ate the beans. No loss there. 🙂
This evening, however, I got home fairly early, and I got most of the arching done on the Stradivari-model top plate, so at least that feels better, in terms of productivity. I will try to complete it tomorrow and repeat the effort on the Guarneri top plate.
I will post more pictures later.
Thanks for looking