5-String Progress Report #4
Graduation
Graduation begins with measuring in the spots where it already feels a little thin, so as not to make a fatal mistake and carve right through the plate. (It happens!)
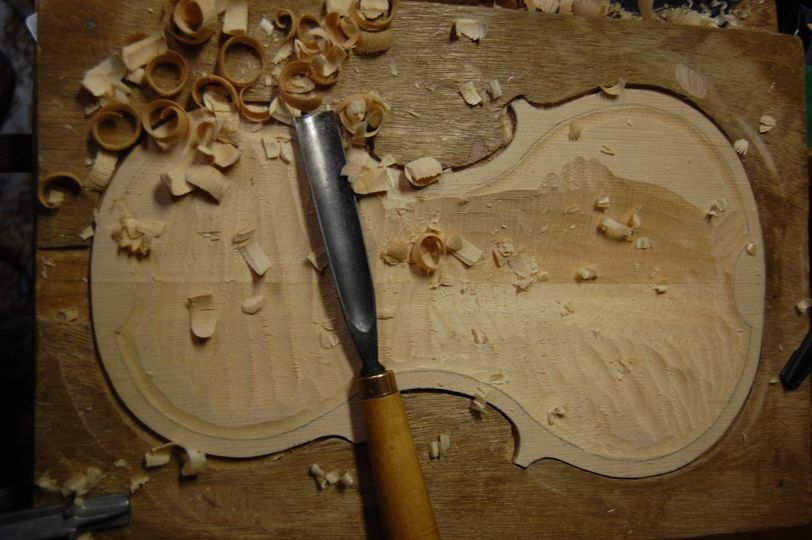
Once I know where I am free to carve, and where I need to take it easy, I begin by carving cross-grain with a medium-large gouge. I check periodically with a caliper. When it begins looking closer to the right shape inside, I measure again, and double check those special spots.

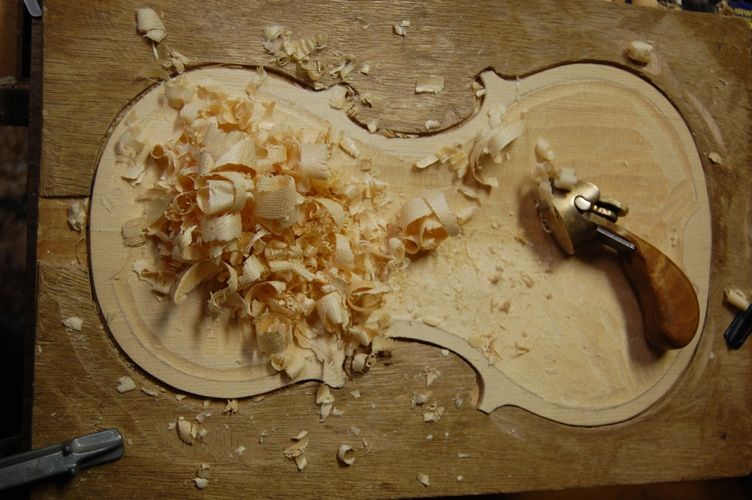
Then I go after it with a toothed finger-plane. This is really just an Ibex 18 mm finger-plane with a toothed blade, and a wooden handle added to save my fingers. I originally added that handle to keep from blistering my forefinger and thumb, as I had done so on every single instrument up to that point. (That was my #16 instrument– a cello.) I was surprised to discover that it also gave me much more power and control so that I was able to set the blade deeper and carve much more aggressively, taking off much thicker shavings.

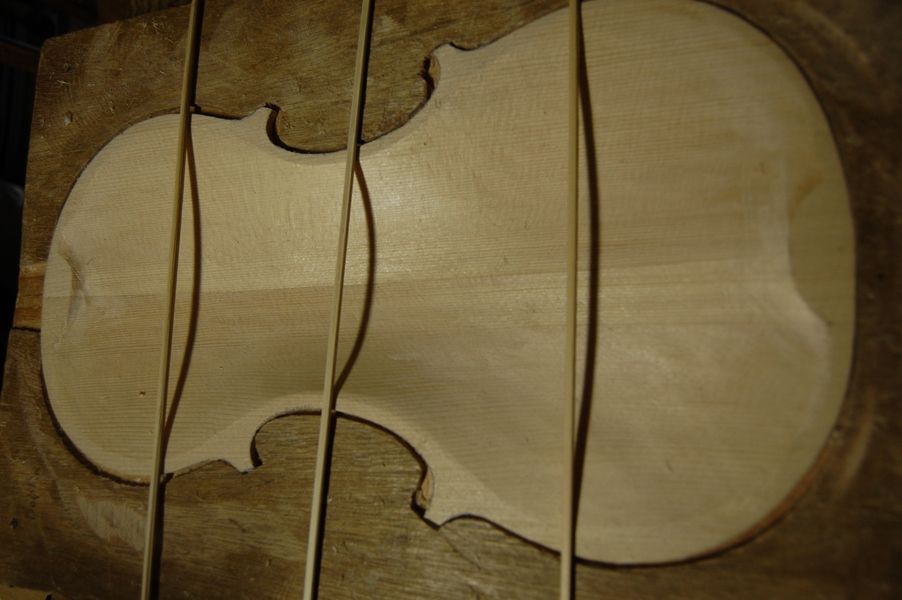
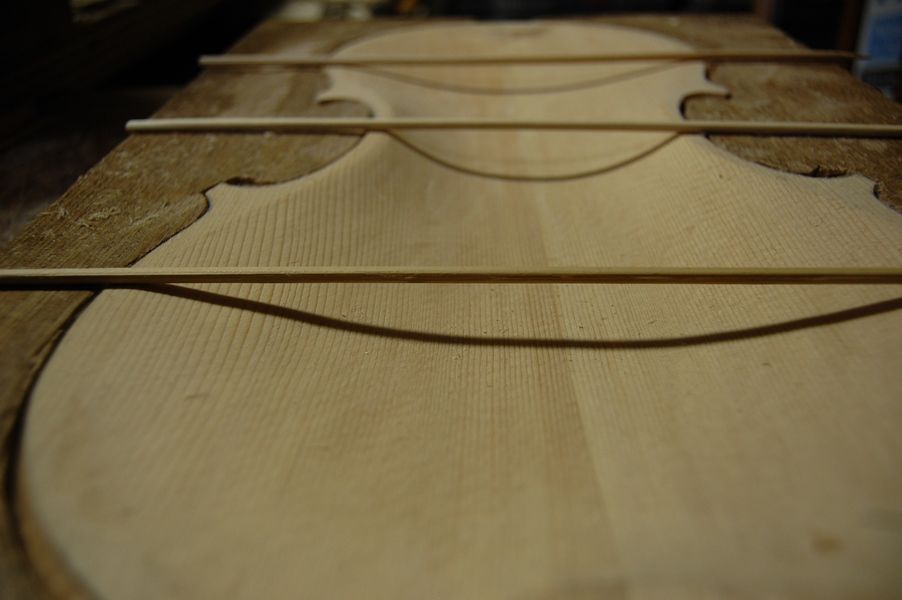
Once it is smooth inside, and within a millimeter or so of completion, I switch to a smaller finger plane and cut more gingerly, until it is all within a few tenths of a millimeter of the goal thicknesses, and then I finish with scrapers. Here is how the plate looks at that point:


Usually, by that point, I am beginning to see the interior of the f-holes, too, because, as you may recall, I had incised them pretty deeply. Once the inside is complete, I finish cutting the f-holes. Many people use a jeweler’s saw, a fretsaw, or a coping saw to cut out the f-holes. I generally just use the knife, except that I do have a special tool for cutting the round upper and lower eyes.
And that is what I will show in the next post…which, hopefully will be sooner this time.
Thanks for looking,
Chet

 Follow
