
 Follow

New Sawmill
Rationale: Why buy a sawmill?
Brian was given a large maple tree, partly cut up, which has a great deal of curly, highly figured wood in it. Ann’s parents had paid to have the tree removed, because it was rotten in the center and beginning to be dangerous. But there was a lot of very good wood, too, especially in some of the larger branches.
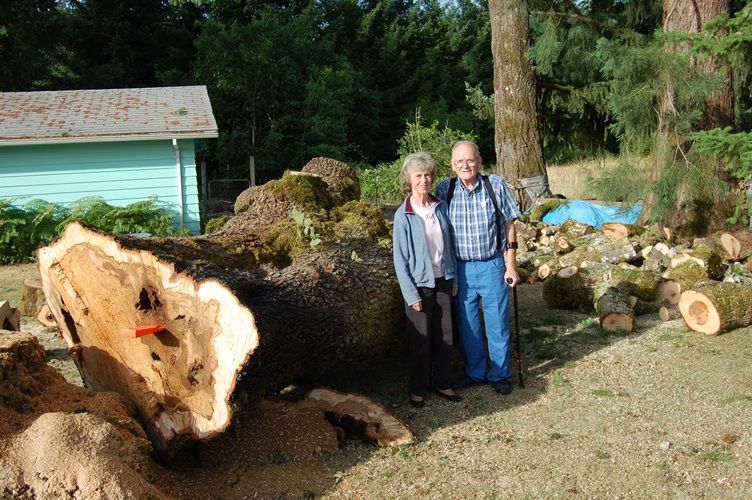
We did not have a way to mill it, and people who do that sort of thing usually charge a good deal for their services. We had read a number of positive reviews online regarding the Harbor Freight sawmill, so we decided to buy the saw, mill up the wood, and, if we really didn’t need it any longer, then we could sell the saw after we were done. (Rigghht, like that’s gonna happen!) Also, we had to hire a young neighbor who logs for a living to bring his big chainsaw and slice that big log into pieces we could more easily move around. (Still very heavy.)
Purchasing the Saw
All of us did a lot of looking, online. There were many reviews of this particular saw, all stating that “for what it is (a home-owner’s sawmill, not a commercial machine)” it is a great buy. Everyone complained about the assembly manual (it is problematic, yes, but we got it done), and everyone said there were things they would want to improve, or modify (that’s fine, too.) But all concluded that the saw worked amazingly well. And…it was affordable. So we bought it and waited for it to arrive.
Getting it Home
I decided that the best way to get the thing safely home was to meet the truck at the distribution center, so I drove Brian’s pickup to the Con-Way trucking “will-call” center, and they kindly loaded the seven-foot long, 746-lb. crate into the pickup, pallet and all. They gave me a length of bright yellow 1/2″dacron line with which to secure it, and I headed for home.
But, having gotten it home, I realized that unloading it was going to be an issue…no forklift on this end. So, I used an engine hoist to lift the back end of the crate high enough to get the pallet out and insert a sheet of plywood to protect the bed-liner, then three 4 x 4 posts to serve as an off-loading ramp. Then I lowered the crate, and began shifting it inch by inch, using the rope. I threw a bowline around the top rear bar of the ladder rack, then stuck the dacron line through the front bottom of the crate, used a “trucker’s hitch” to cinch the line as tightly as possible, and a few turns around the bar to hold it. Then I threw my whole weight (the “incredible bulk” at work) on the rope, transverse to the tension, deflecting the rope by maybe six inches and moving the crate an inch or so. Re-tightened the rope and repeated.
It took me 2 hours to get the crate off the truck, and on the ground, using this method, but I got it off safely, and without damage to the saw, so all was well. By the time Brian arrived, we were ready to uncrate the saw. We used the engine hoist again, to lift the saw mechanism out of the crate, and set it on blocks.
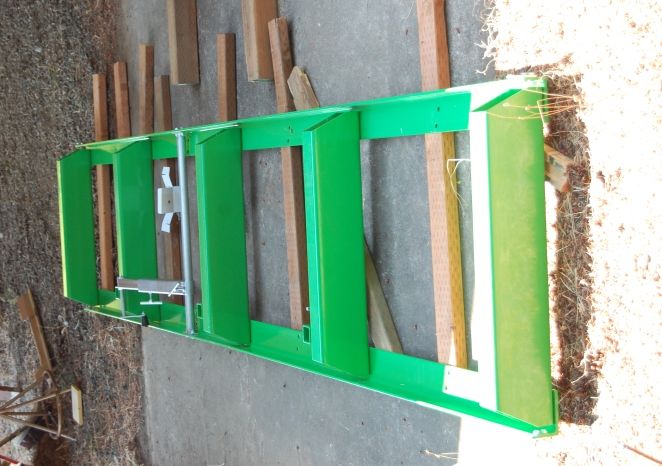
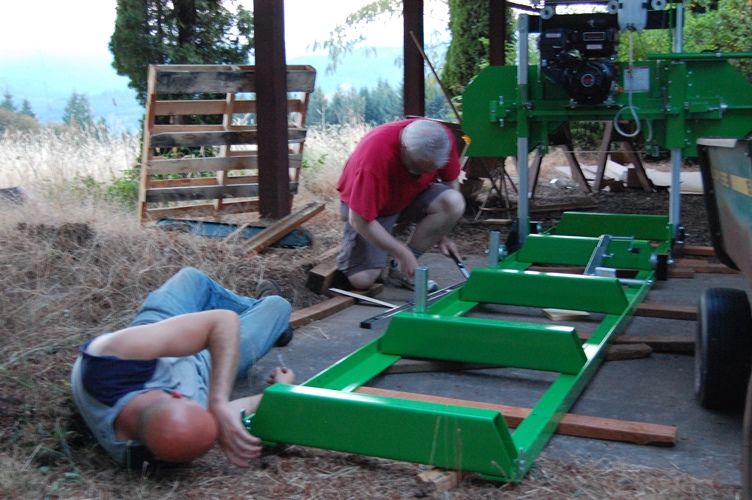
Then we had to sort through all the pieces, look at the manual, and figure out how to put it together. The manual was definitely not the worst I have seen, but could surely be better. All that said, we didn’t really have any complaints. Here are the parts: very heavy duty steel, and a nice finish. (Yes, I do like green!)
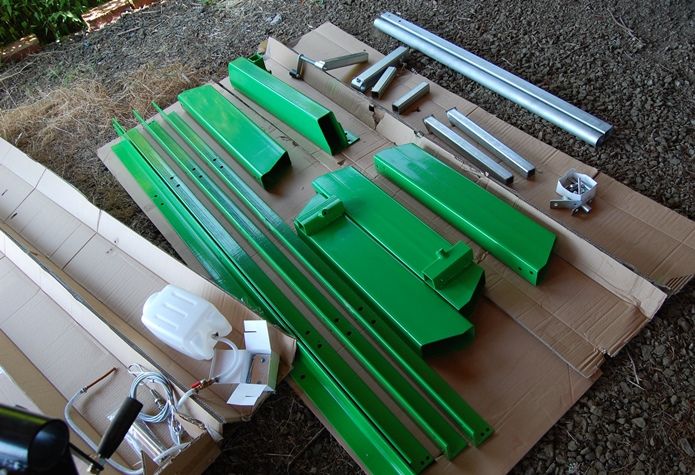
We began assembly, following the manual step-by-step. It was not too difficult to do, even though we had only hand-tools. (Some of the online reviews were done by people using pneumatic wrenches…that does speed things up a bit.)
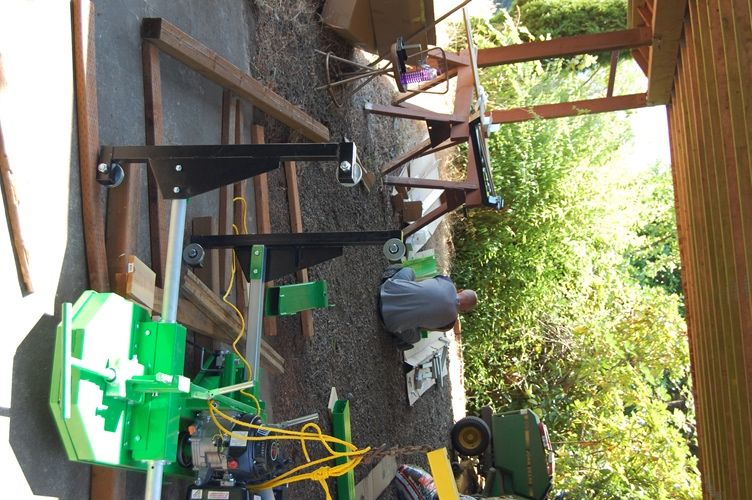
The track went together pretty smoothly, though we did find that it is a good idea to use a c-clamp to align the track ends, because the finish is so smooth that when we tried to tighten the last bolts, the track would shift slightly, so that the track ends were out of line. The clamp held securely until the bolts were tight, and no further movement was detected.
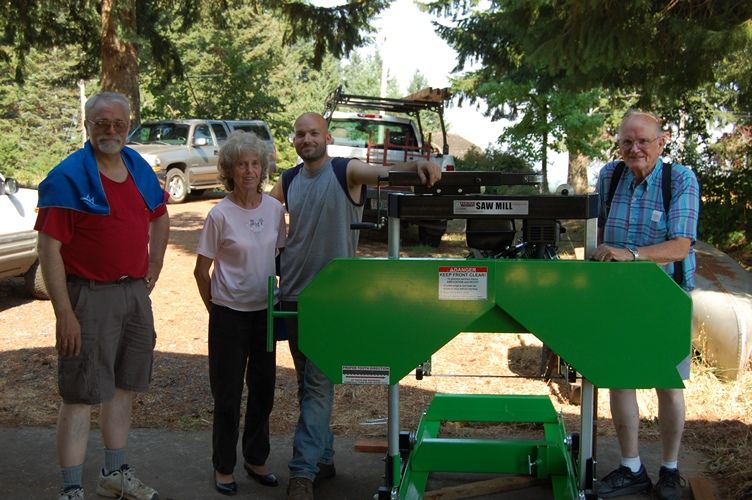
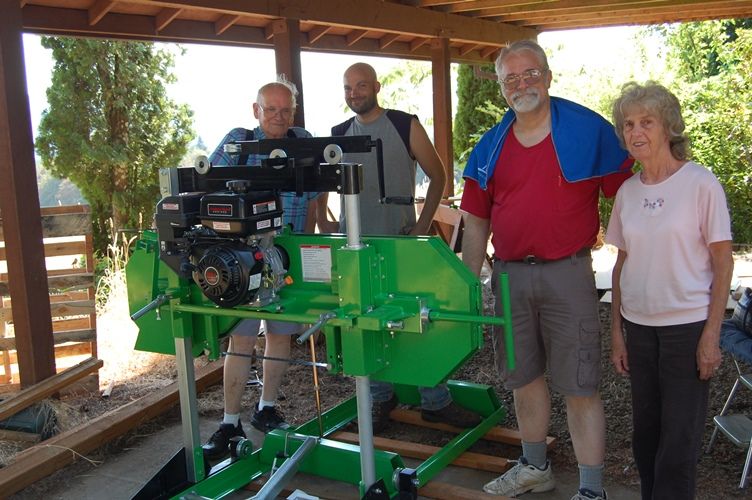
Grandma and Grandpa showed up to enjoy the process…we were all pretty enthusiastic.
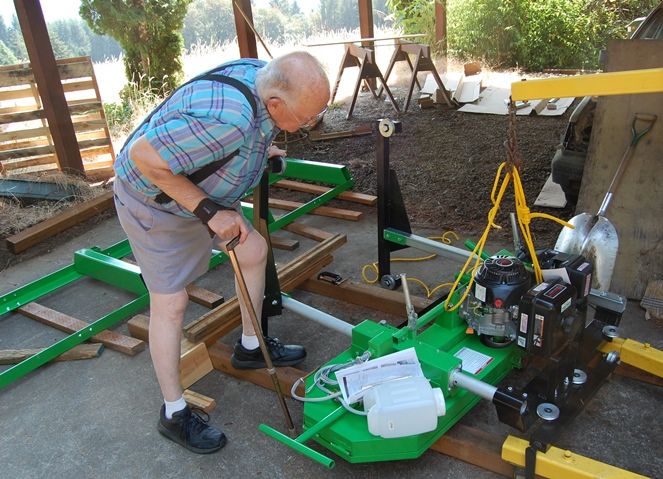
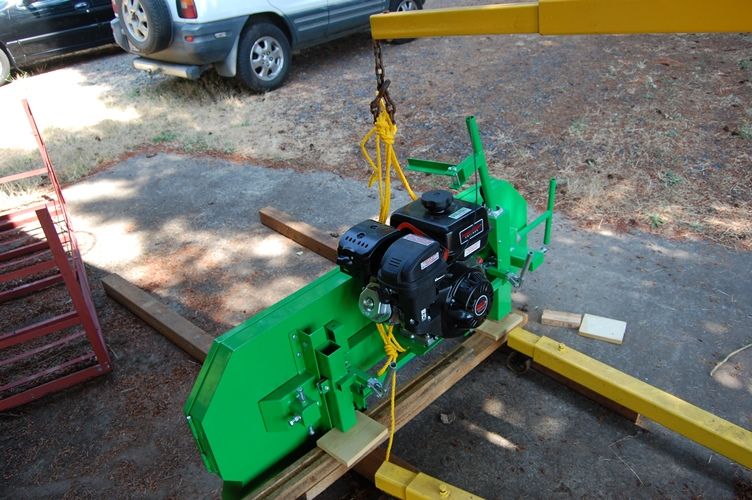
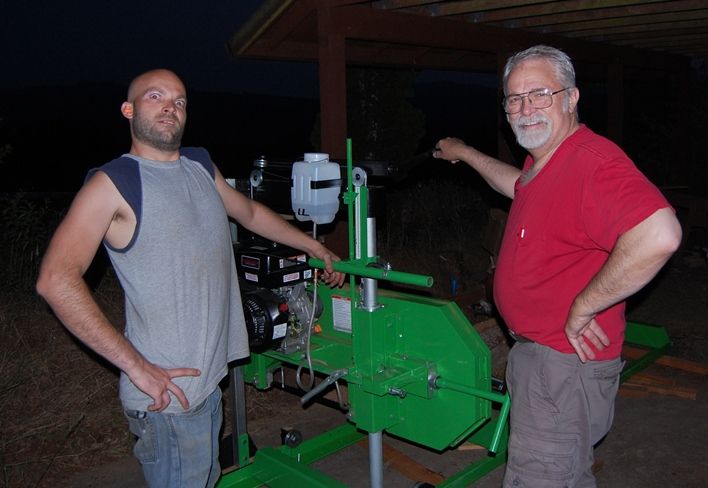
We lifted the saw mechanism onto the tracks, and were nearly ready to go.
Here’s a photo of the other side of the saw:
Finally, we leveled the track, using “line-of-sight” and wooden shims.
Then we decided to experiment with a very dry, old, willow log.
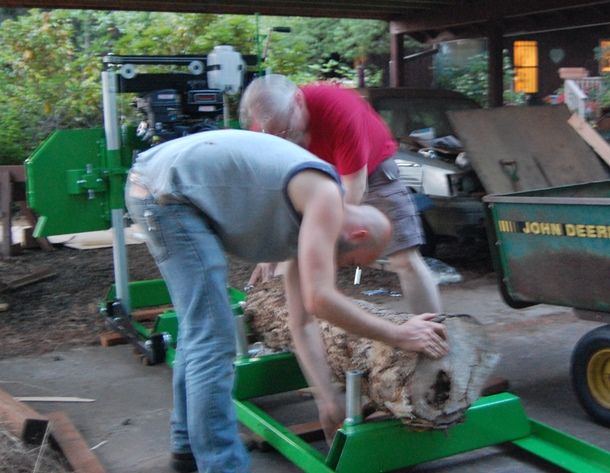
We filled the engine-sump with oil, the tank with fuel, and the blade-coolant jug with water, and started the engine (301 cc Predator–a four-stroke gasoline engine comparable to a 9hp Kohler, I am told). It started on the very first pull, and ran very smoothly… no problems at all. So we made a trim-cut to get the lumps off the log, and a few very thin (7mm) cuts to experiment. The saw cut with virtually no effort. In the photo it looks as though Brian was pushing hard, but in reality, he was bending down to see what was happening…it was getting pretty dark by that time.
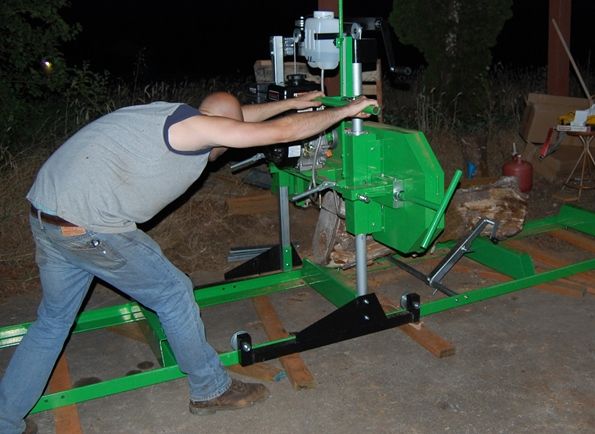
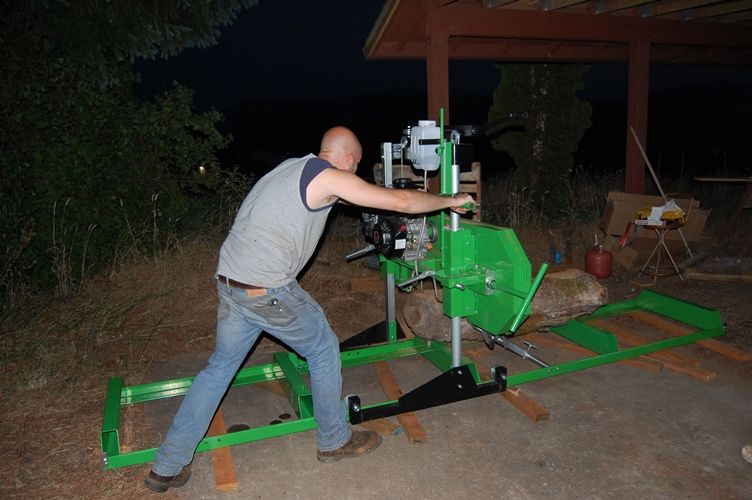
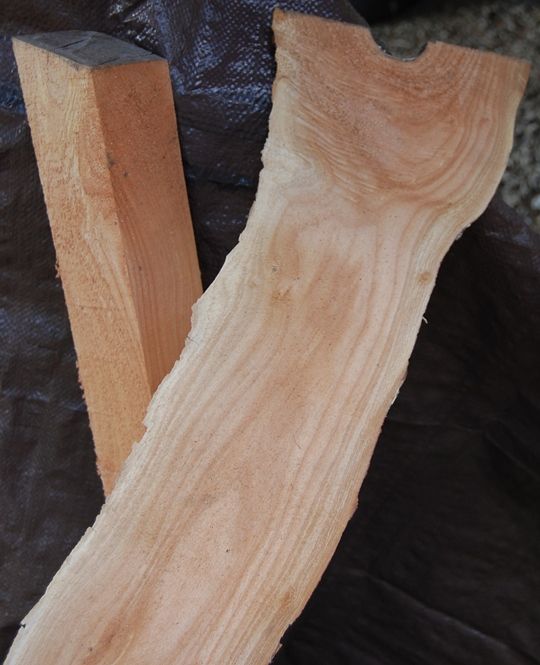
We decided to call it a day. Brian came back the next day and finished cutting the willow up into slabs that I will later shape into blocks and linings for cello, viola and violins. Here is some of the salvaged willow (the old log had a lot of ant-damage):
It was a good day, all in all. (Obviously Brian was still feeling like clowning. 🙂 I was pretty tired.)
Now we just need to get the maple chunks to the saw, and learn how to handle them safely (they are still quite heavy and unwieldy.) I’ll keep you posted.
Meanwhile, I need to get going on that five-string fiddle. It will take priority for the next month. Brian knows how to run the saw, so I will let him play with it, while I make a fiddle.
Hi Chet
Great article. Looks like you took on a beast and are winning. Not sure I would tackle it. Last time I did something like that, I ended up with a hernia :(… and the tree wasn’t near that big. Good luck with the rest of the wood and the next fiddle!
Joe
Thanks! The only way to eat an elephant is one bite at a time, they say. We had a neighbor slice the “beast” up into smaller “servings” (still too big to safely move) but will have to elicit some help in “feeding” them into the saw, I’m afraid. Green maple is pretty heavy stuff.
I have devised a way to secure the shorter pieces in the cradle, so as to safely slice them into violin/viola billets, but may have to do some fancy rigging to lift the larger (cello and bass) billets. I have no materials handling equipment. This will have to be rope, lever, ramp and pulley stuff. But the saw works fine, and my new blades arrived Monday, so we are good to go.