
 Follow

Step #5—Installing Linings on a new Cello
Strengthening the joint between the ribs and plates. Willow or Spruce.
After the ribs are exactly the way you want them, you will still need to add linings. The linings are strips of wood (usually spruce or willow.) They add thickness to the edges of the ribs and triple the gluing surface. Thus, they strengthen the joints between the rib garland and the plates.
In a violin, the linings are 7-9 mm wide and 2mm thick. On a cello, they are 12-15 mm wide and 4mm thick, or so. I happen to prefer willow for blocks and linings, but many well-known makers prefer spruce. Also, I like the way that willow behaves under the knife. I especially like the way it retains a bend after I form it to the shape of the rib.
Cutting the Linings
One very effective way to make linings is to use a bandsaw or table saw to cut “boards” a little thicker than your intended goal for thickness, but several inches wide, and as long as you can manage. Then plane or in some other way re-thickness the “board” to exactly the thickness you want for the linings, and use a wheel-type marking gauge (http://www.rockler.com/product.cfm?page=21921) to score the edge from both sides, deeply enough that you can simply break off each strip. The result is linings that are exactly the same, every time, and with minimum effort.
Bending the Linings
You can use the bending iron to pre-form the linings to approximately the same shape as the intended bouts. But if you use willow, as I do, You can easily form them by hand, especially with some dampening with water.

Fitting the Linings
I inlet the linings into the blocks at either end of the rib, and carefully fit the lining so that it will fit tightly when installed. Once I have them all cut, I go through and glue each one: I remove the lining, brush it thickly with fresh, hot, hide glue, and re-install it, clamping continuously, with the small spring-clamps. I try to keep the edge of the lining just proud of the edge of the rib. I want to remove lining wood, not rib wood, if possible, when leveling the garland.
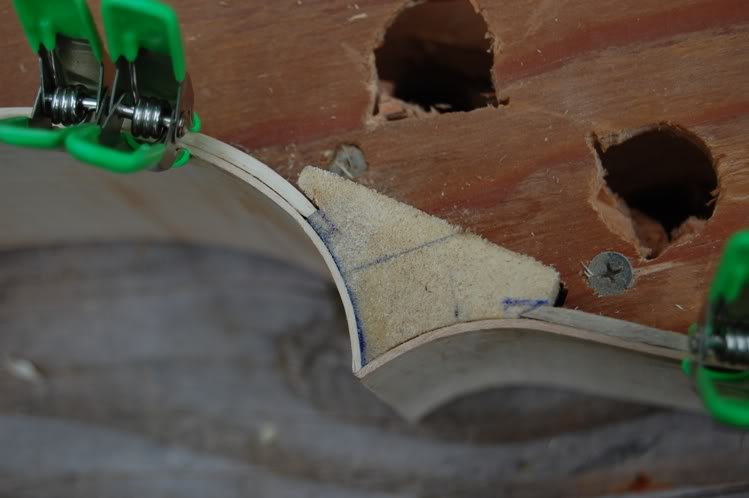
Gluing and Clamping the Linings
As I recall, it required about 108 or so of the small clamps to clamp all the way around one side of the cello garland. It is a good idea to have a few tiny c-clamps, as well, for stubborn spots where the spring clamps just aren’t providing enough pressure. The small f-clamps work well, too.
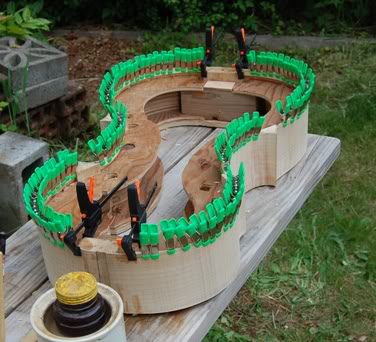
Using the Clamps; Warming the glue-joint.
The way I use the spring clamps: I pinch the lining to the rib with my left hand, tightly enough to see the glue squeezing out, then, while the joint is still under pressure between my thumb and forefinger, I apply the green clamp. Then I move over one space, and repeat for the next clamp. If I can’t get the joint tight that way, I use a tiny C-clamp, or one of the f-clamps in the photo. Also, I don’t hesitate to warm the ribs with a heat-gun, or my clothes-iron, to re-liquify the glue.
After both sides are complete and dry, I begin leveling the garland (next step).
One Reply to “How To Make a Great Classical Cello: (5 of 30)”