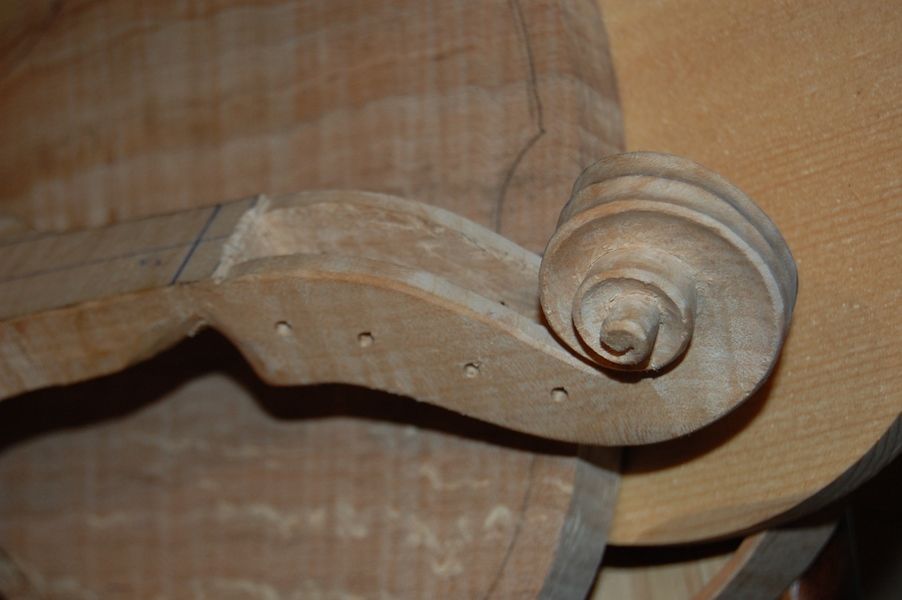
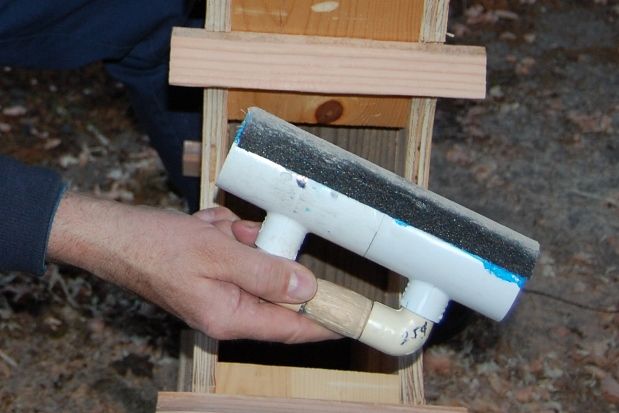
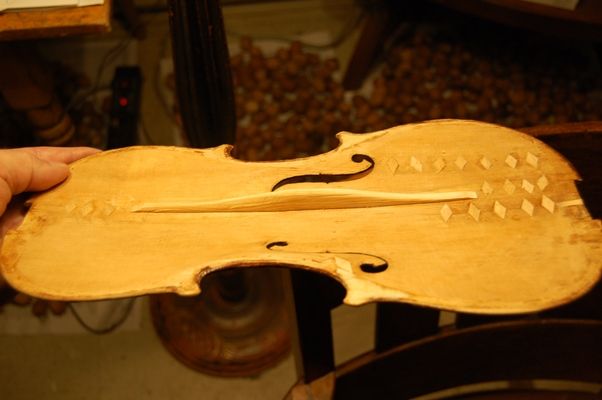
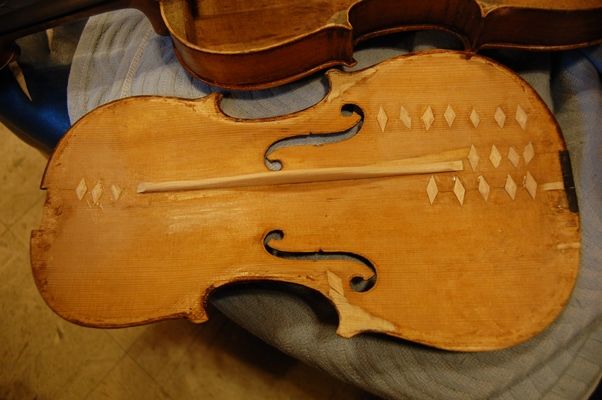
I spent most of Saturday working on carving the viola scroll. I am not as fast as a lot of luthiers seem to be. It takes me more than eight hours to carve a scroll, and I can’t go at it for eight hours straight, anymore, anyway. So, between the heat and my other responsibilities, this is pretty much all I got done. It is still not complete, of course, but it is looking closer to complete, and it feels encouraging, to look at it.
This is a Big Leaf Maple scroll and back, on top of a Sitka Spruce top plate. It is interesting to carve domestic maple in close proximity to European maple. They are not the same at all. The big leaf maple is much softer, and feels almost fuzzy, under the scraper. Much lighter-weight, too, and has a different ring, when I tap it. European seemsto be superior for violins, though domestic maples seem to work fime for larger instruments (or possibly it is the lower tones involved.) This instrument will be a good “experiment” in that regard. If this instrument is very good, then the lower tone is the issue– if it is questionable, I may repeat the experiment immediately with European Maple and see if that corrects it. If it does, then the size of the instrument may be what is the problem.
But I suspect it will be a very good viola. I have made other very small (14-7/8″ on the body) violas using the same woods, before, and they were very good. This will be the smallest I have made, using domestic woods.
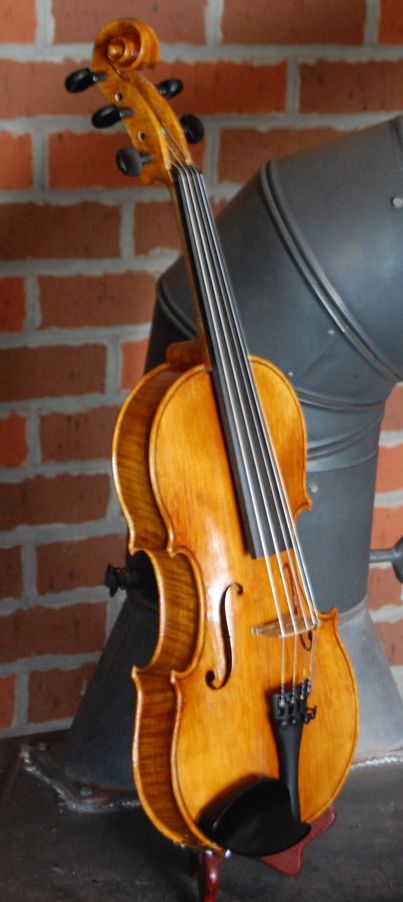
Partially completed scroll for the 14″ viola
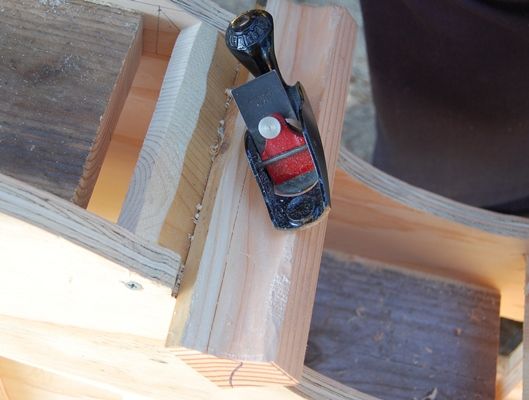
Planing and flattening the plates
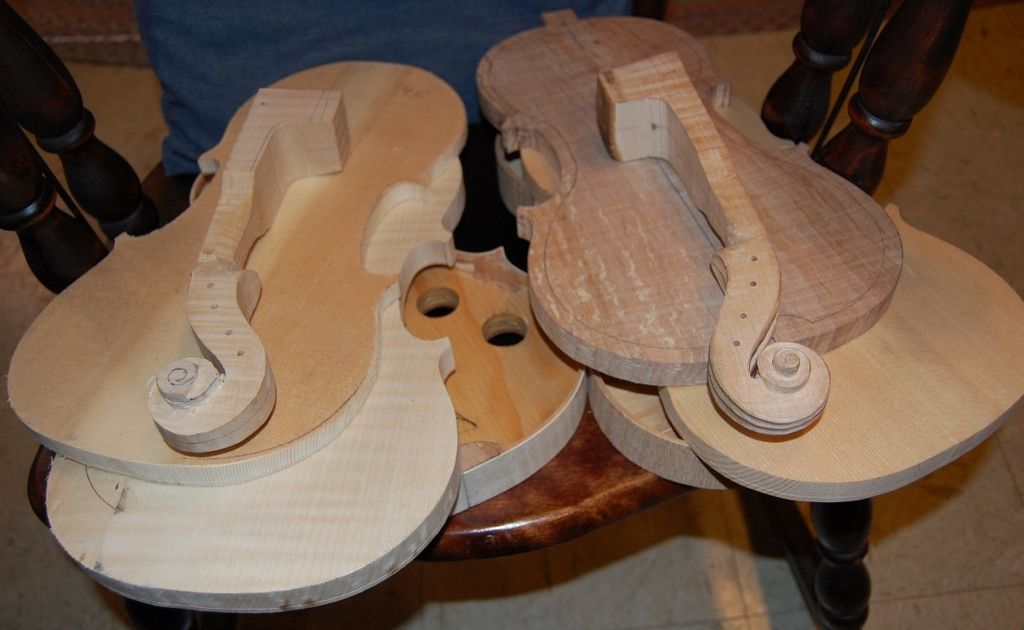
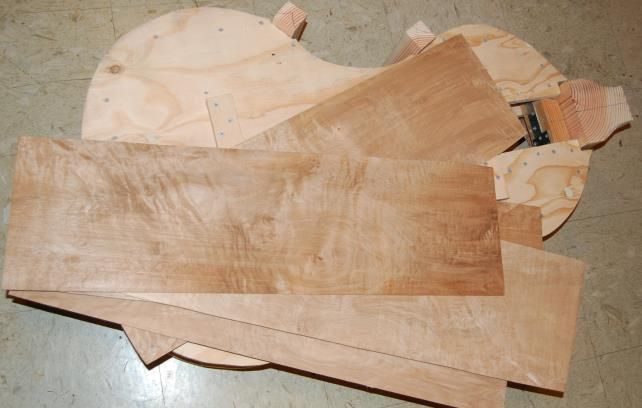
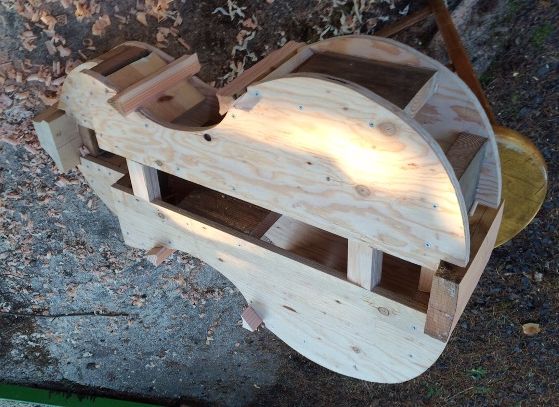
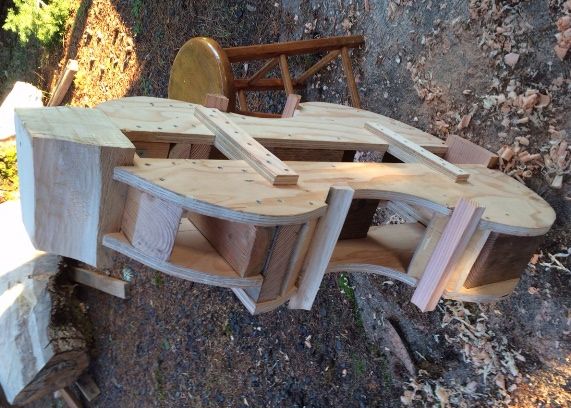
Actually, come to think of it, I did do a little more– I went and used my son’s tools and planed the two violin plates to appropriate thicknesses to start working them. I was shooting for about 17mm thick, to begin with, so that my finished arching will be close to that thickness, after everything else has been carved away. Then I laid-out the shapes of the plates by tracing them from the completed garland, and cut them out at home. So, here is what the whole pile looks like today. Last week, some of the plates were still square and flat, and very thick…this week they are all the correct thicknesses, and one scroll is nearing completion.
The lines on the right-hand maple plate (the viola back) are sketching in where the carving will happen on the inside of the plate: I will carve the outside first, to get the exact arching I have planned, then carve the inside to a similar shape, to get the exact thisknesses I hope to achieve (called “graduations” because the thickness is different in different areas, and changes gradually from area to area.) Both the arching and the graduations are critical to the final resulting sound. In my opinion, the arching is probably more important, but I can’t prove it.
I do know that when I accidentally arched some of my early violins the way (I later was taught) a viola is supposed to be arched, those violins sounded like violas, in spite of everything else about them being “violin.” It was very perplexing to me, at the time, as my ear was not well-enough trained to hear the difference, and all I knew is that it was a violin! And these crazy players kept telling me it sounded like a viola! They were right! The arching was the issue that decided the character of the sound. Good learning experience.
Current State of the Fiddles
The wood on the left is European maple and spruce I bought from International Violin Co., in Baltimore, MD. I have used their wood before, and it has worked well. Both have linings and blocks made of weeping willow.
As you can see, both instruments have one-piece backs, and two-piece, book-matched fronts (sometimes referred to as tops, or bellies). In both cases the ribs and necks/scrolls are of wood matching the back plate.
I will keep you all posted.
Thanks for looking.
If you found this post helpful, please share with your friends!
Progress Report on the 14″ Oliver Viola, and the Violin Modeled after the 1735 “Plowden” Guarneri.
“Life is what actually happens while you are making other plans.”
Well…company came and went, and the week didn’t happen exactly as I wanted it to; There were other things to do, and people to spend time with. My only daughter was here all week, which was nice– she flew in from Switzerland, with about a week’s notice. We went to the beach, Monday, and spent the day infiltrating all the art and clothing stores in Cannon Beach, then had fish and chips and headed home. 🙂
My younger brother dropped in for a surprise visit today, with my young neice. That was a nice visit. While they were here, a neighbor couple showed up, too. We ate and visited, and had a nice evening. Afterward, I helped Ann trim a hedge and haul the branches to the burning pile. All good things.
So! Progress report:
I am trying to keep the two instruments on parallel tracks for completion…hoping to keep them no more than a few hours apart in terms of progress.
Progress in building 14” Guarneri-model Viola and Violin:
(Hand-carved instruments begun on May 25th, 2016)
Cut and install the blocks. (May 25th)
Prepare the ribs, by sanding (using a plywood jig I made to use with my spindle sander). (May 25th )
Bend the ribs, using the bending iron, and install them on the blocks (several steps). (May 26th, 27th)
Prepare, install and shape the front linings. (May 27th, 28th)
Use the sanding board to flatten front of garland. (May 30th)
Prepare the plate stock (book-match and flatten inner side) (Front only—one-piece backs on both fiddles.) (May 30th)
Use the completed garland to establish the shape of the plates. (May 30th)
Cut the front plate exactly to size, including filing and sanding. (Only got the viola cut out. I will cut out the violin tomorrow night if it isn’t too hot when I get home. )
Lay out and cut out scroll and neck. (May 26th)
(Began carving both scrolls using gouges and small finger-planes—spent a good part of May 28th doing that, while waiting for bending irons to heat up, etc. More time as time and strength allow. That maple is tough stuff, and my hands tire quickly anymore.)
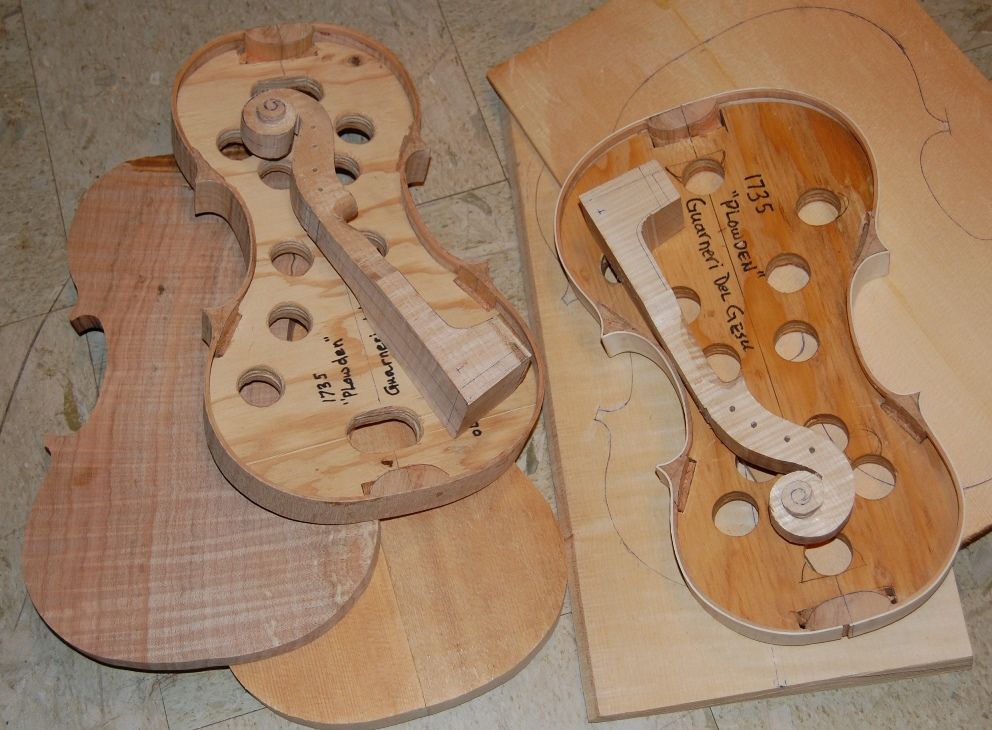
Here is the photo-evidence: Handmade in Oregon 🙂
May 30th Progress Report.
The instrument on the left is the 14″ viola, and is made of Oregon Big Leaf Maple, and Sitka Spruce. The one on the right is the violin, and is made of European Maple and Spruce. Both have blocks and linings of weeping willow.
I ran out of time and energy, so the cutting out of the violin plates will have to wait until later. Once they are cut out, I can begin arching the front plates, and get these things looking more like fiddles.
As you can see, I am trying corners that are a little longer, this time. I may end up shortening them after all, but I left extra in case I wanted them longer. Usually I make pretty short corners.
Vacation is Over– Back to Work!
That’s all I have to show, for today. I go back to work tomorrow. Classes are over for this term, but I still have to prepare certificates, and arrange make-up tests for those who need them.
(For those who don’t know, I teach Welding Supervision classes at Gunderson, Inc. where I have worked for the last nearly 30 years. I began there as a welder, but nowadays I mostly lecture. Print-reading classes, remedial Math classes, Welding Inspection classes, Safety, Metallurgy, etc. It is not as fun as making fiddles, but it is steady. :-))
Thanks for looking,
Chet
If you found this post helpful, please share with your friends!
I had a fair amount of positive feedback on two particular instruments at the Maryhurst show: a “1735 Plowden” Guarneri model violin, and a 14″ Oliver viola that has pretty amazing sound. So I decided to see if I could repeat the successes, and am building a new one of each model.
1735 Plowden Guarneri model
This is a very powerful instrument, pretty classic Guarneri style and sound. I took my measurements from the Strad poster and technical drawings, and copied the archings from there, as well. The first one had a rich powerful tone from the day it was first strung up and playing. So, I hope the second try at the same instrument will be even better.
This one (like the first one, and, like the original) is European maple (one-piece back) and European spruce. I am using willow for blocks and linings. I am always impressed with the difference in how the European wood handles under the knife, gouge or plane. I have been told by all my mentors and teachers that, at least for violins, the European Maple is definitely superior in terms of tone. I am going to take their word for it…they are all very experienced makers who really ought to know. They did say, however, for violas, cellos, and basses, that domestic woods seem to work fine. Must have something to do with the higher-frequency sound or something like that. Although, that last five-string fiddle I made, of Myrtle and Port Orford Cedar, has very good high end tone, as well as good low notes…so I don’t know why one is better than another. The Myrtle is definitely harder, heavier wood…maybe that helped.
14-inch Oliver Viola
This will actually be off the same mold as the Guarneri violin (a duplicate of it), so it will have exactly the same “footprint”, but the arching and graduations, as well as the rib-height and other differences will definitely make it a viola, not a violin with viola strings. It is comparatively easy to make a large viola that sounds great, but much more difficult to make a very satifactory small viola. Fortunately, I fell into (quite by accident) an arching pattern that worked very well, and later had it confirmed by one of my teachers, so I had early (accidental) success with small violas, and have gotten better as I learned to understand what was happening with them.
I like the viola sound, and I am big enough to play my largest viola model (16-1/2 Guarneri model) comfortably, but I can see where a professional player could encounter some problems holding his/her arm out at that distance for hours of practice or orchestral performance. So, the small violas have a special attraction in terms of comfort…and if they can sound comparable to a larger instrument, so much the better. I also make a 14-7/8″ viola, but the 14″ viola is the smallest I have made.
This one is Big Leaf maple and Sitka spruce. Willow linings, same as the other new instrument.
Parallel Processes
I will be attempting to complete the two new instruments side by side, step by step, so that whatever stage I am at in one will be where I am on the other, as well (give or take an hour or two.) We’ll see how that plays out.
I’ll post pictures in a few days.
Thanks for reading.
Chet
If you found this post helpful, please share with your friends!
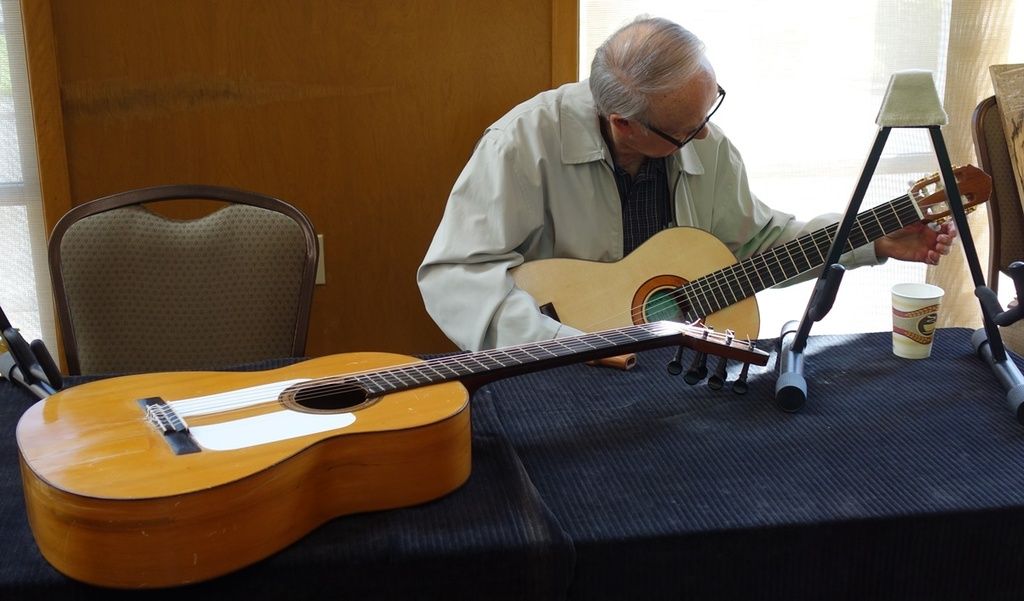
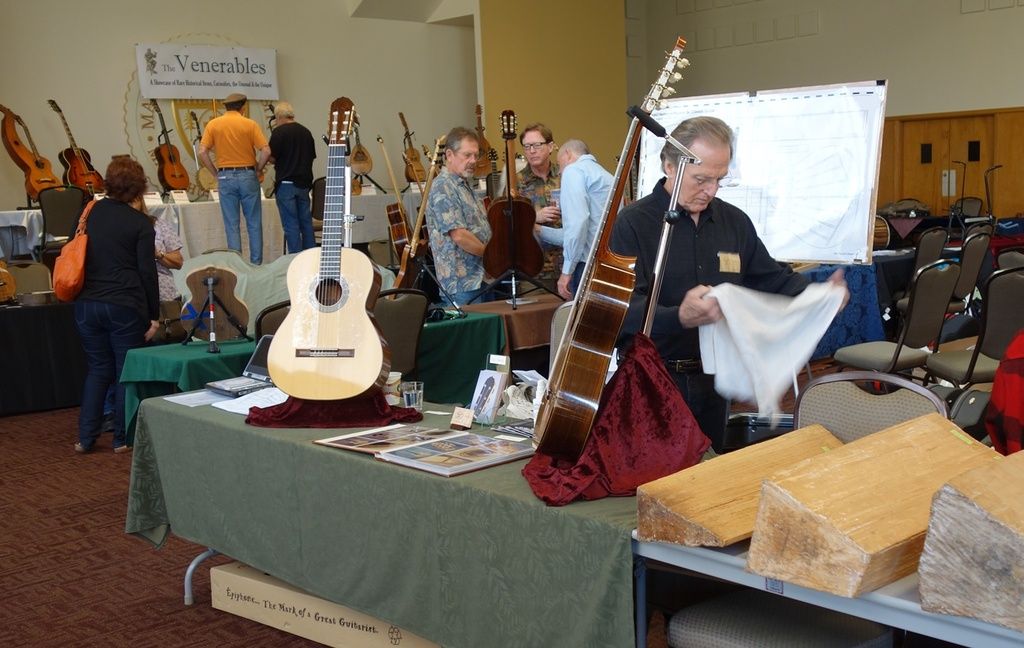
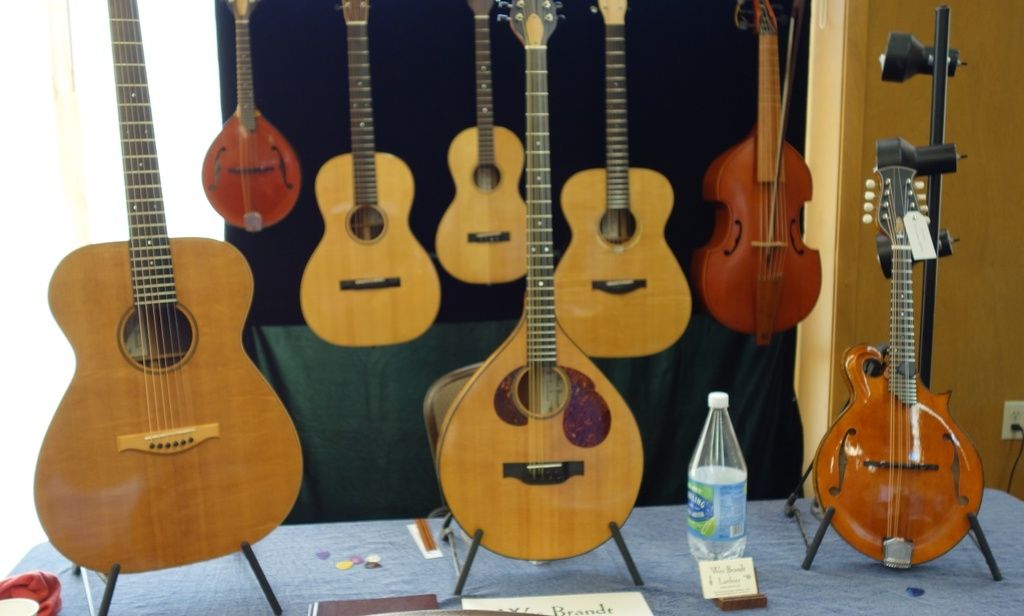
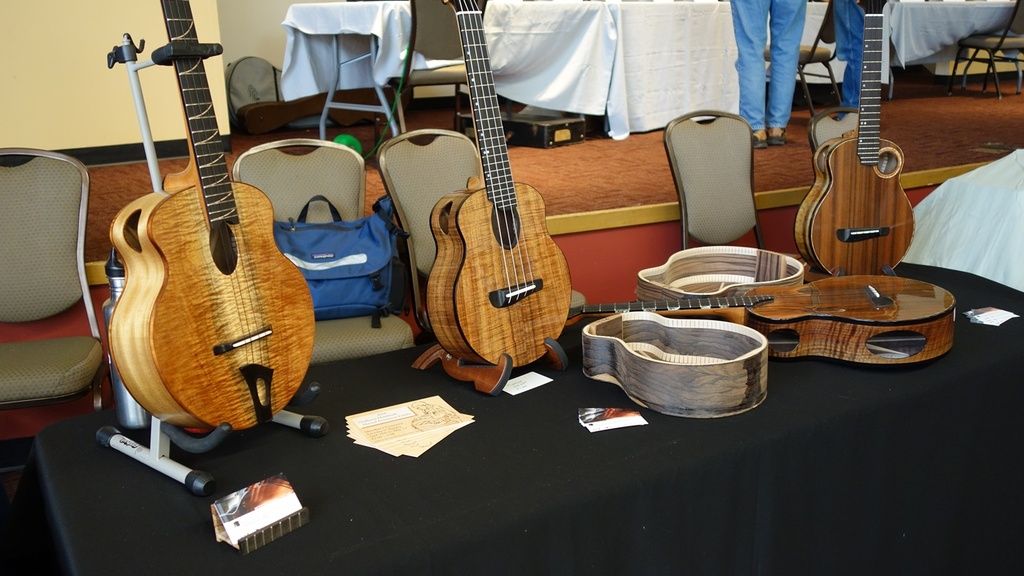
Musical Instrument Makers’ Show at Marylhurst University
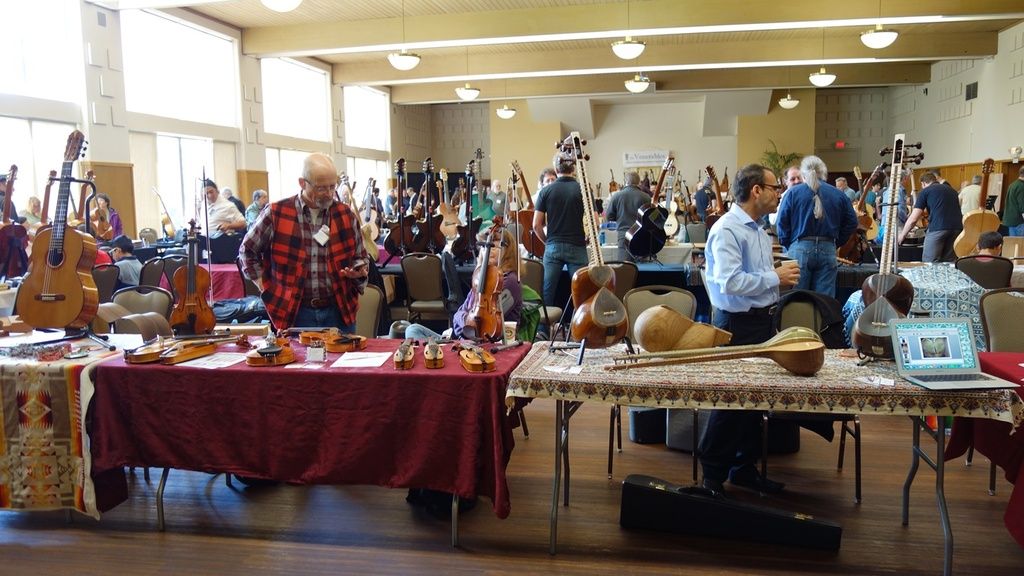
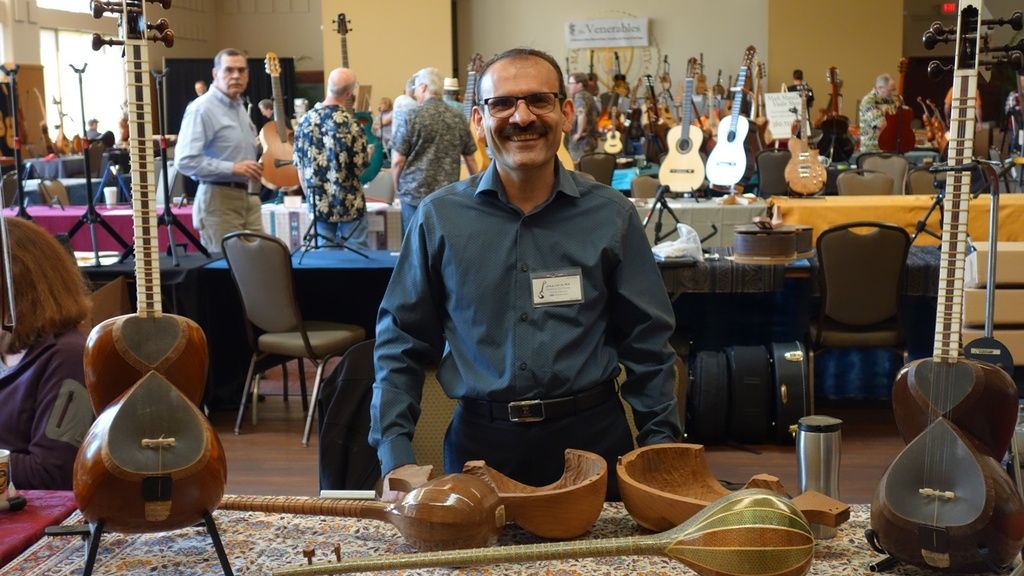
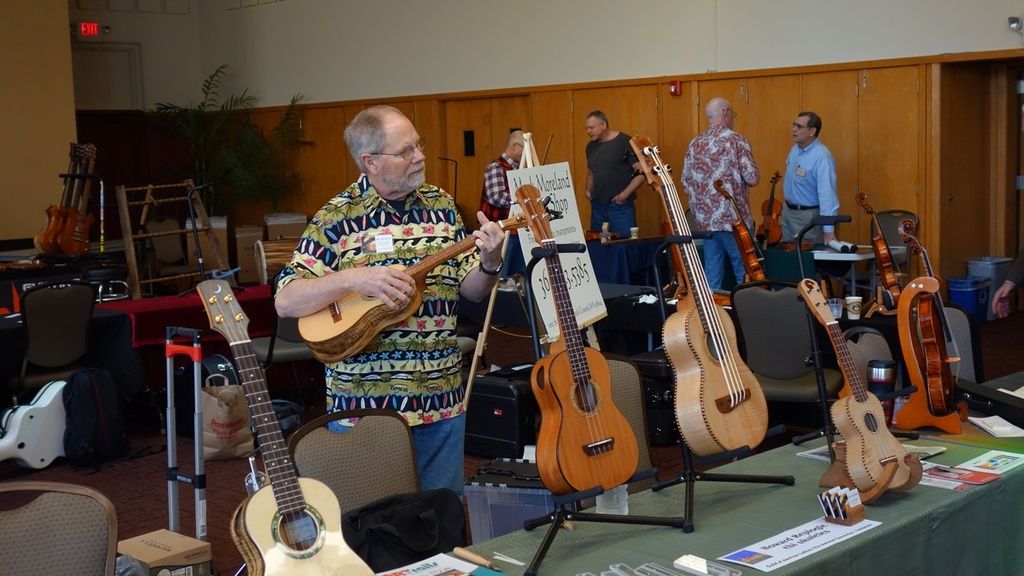
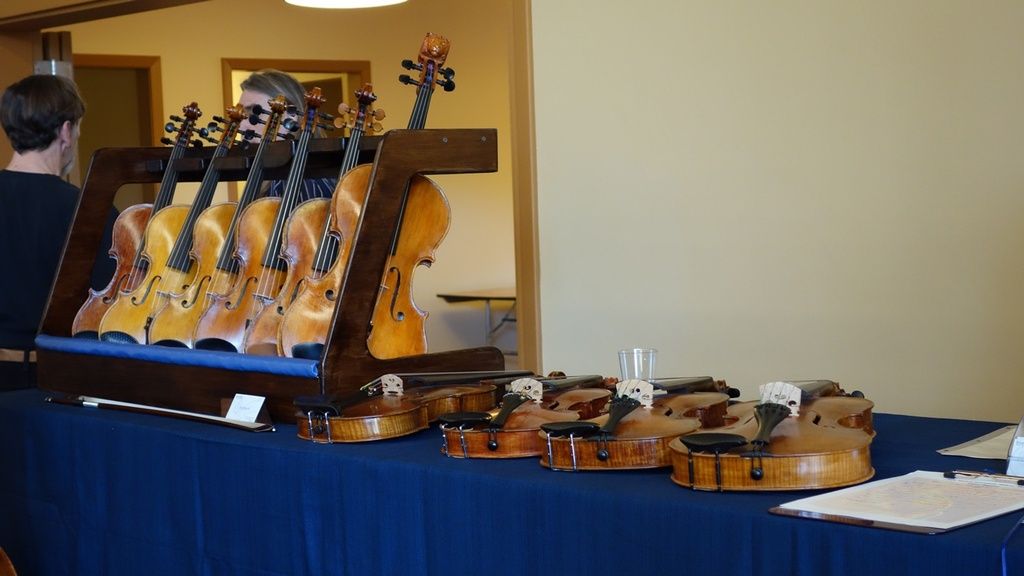
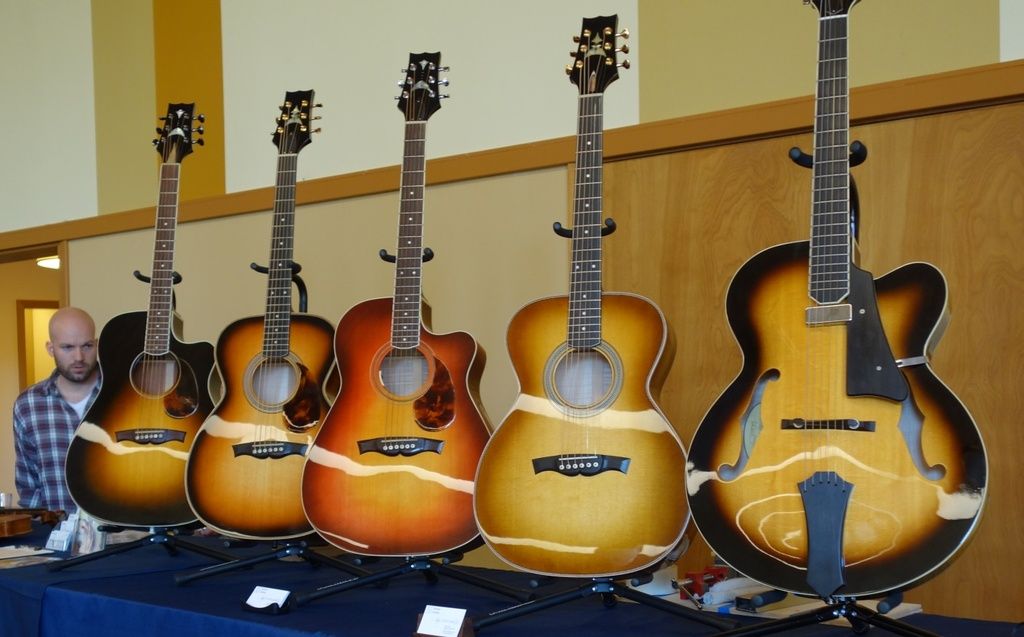
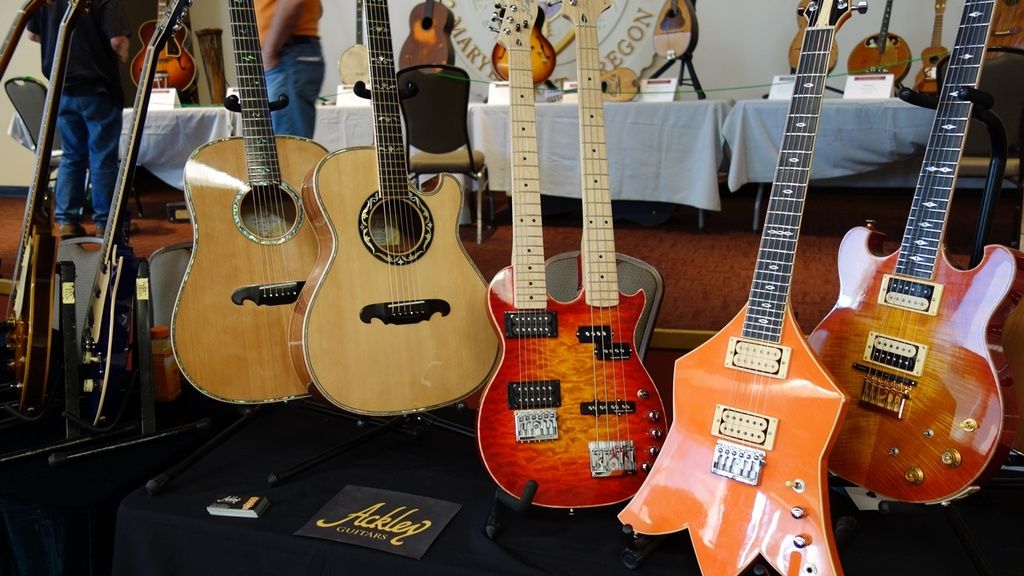
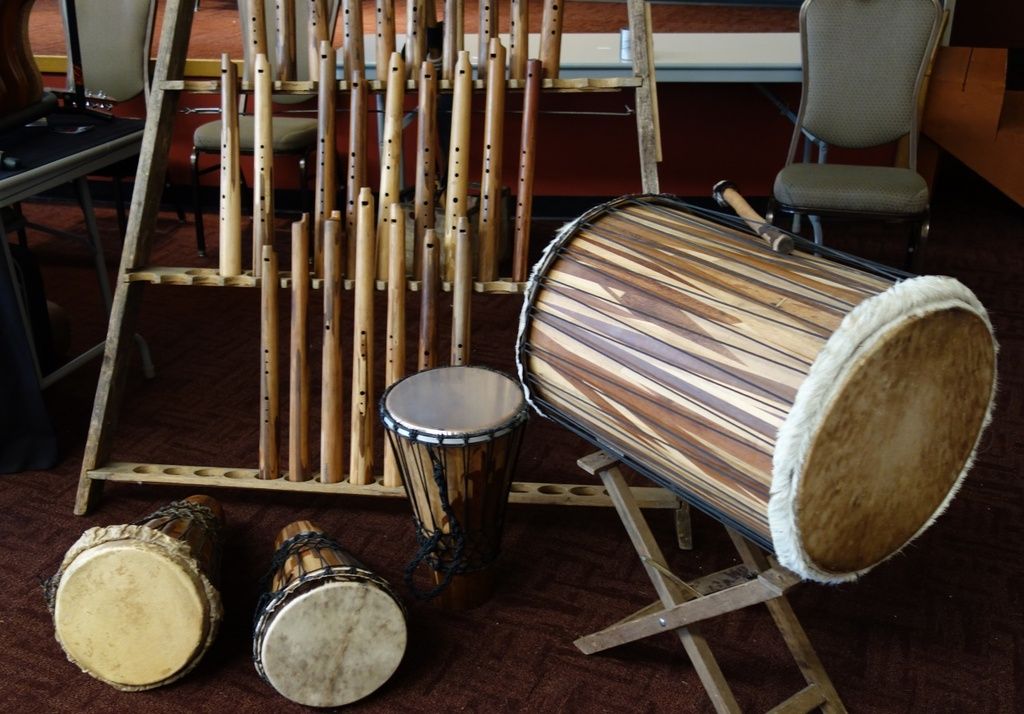
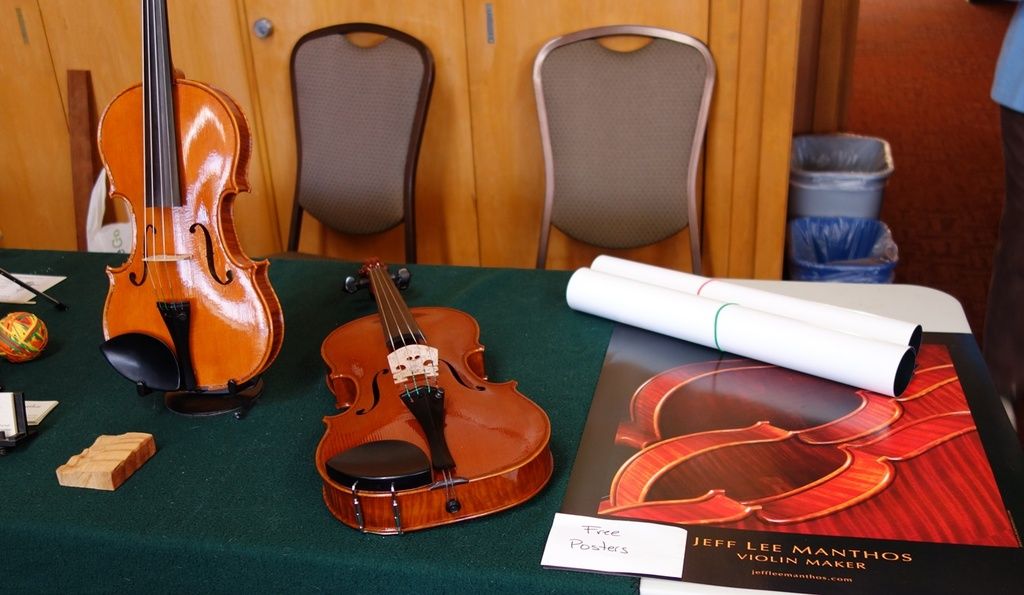
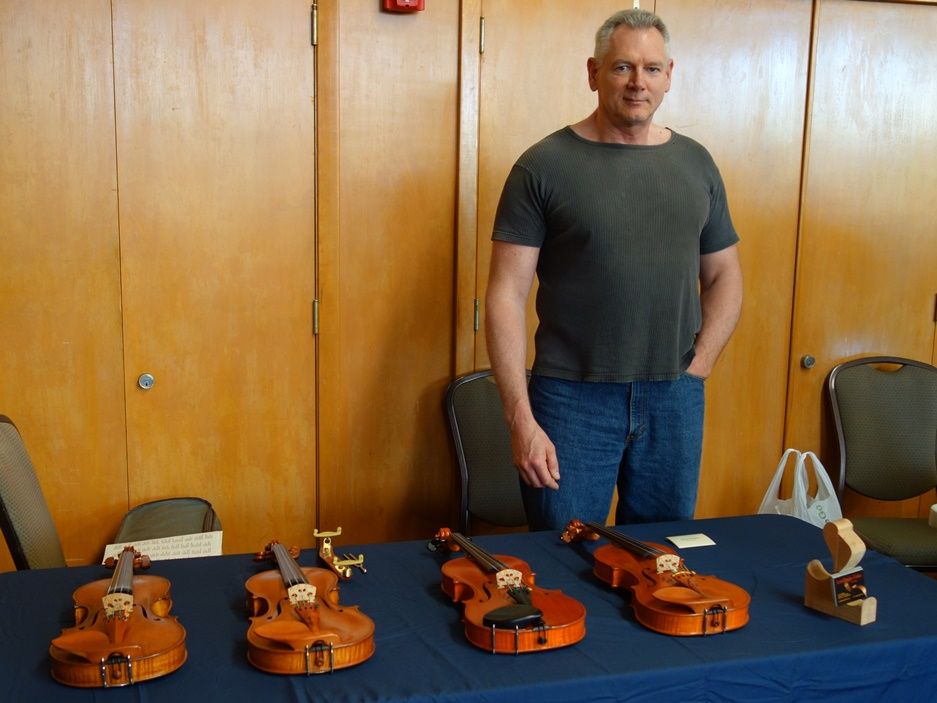
We had about 80 makers exhibiting at Marylhurst again, this year, and about 800 visitors over the two afternoons that weekend (April 30th/May 1st). It was a very positive experience, though physically and emotionally exhausting.
Ann took a few photos the second day, mostly before the visitors began showing up, so you are seeing the exhibitors setting up.
Our tableOur son Brian’s table.
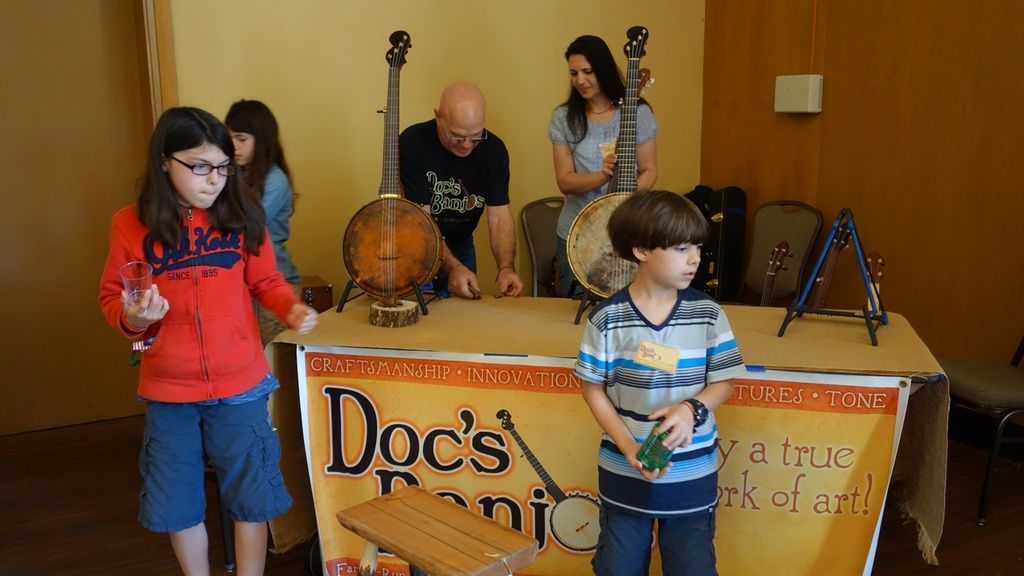
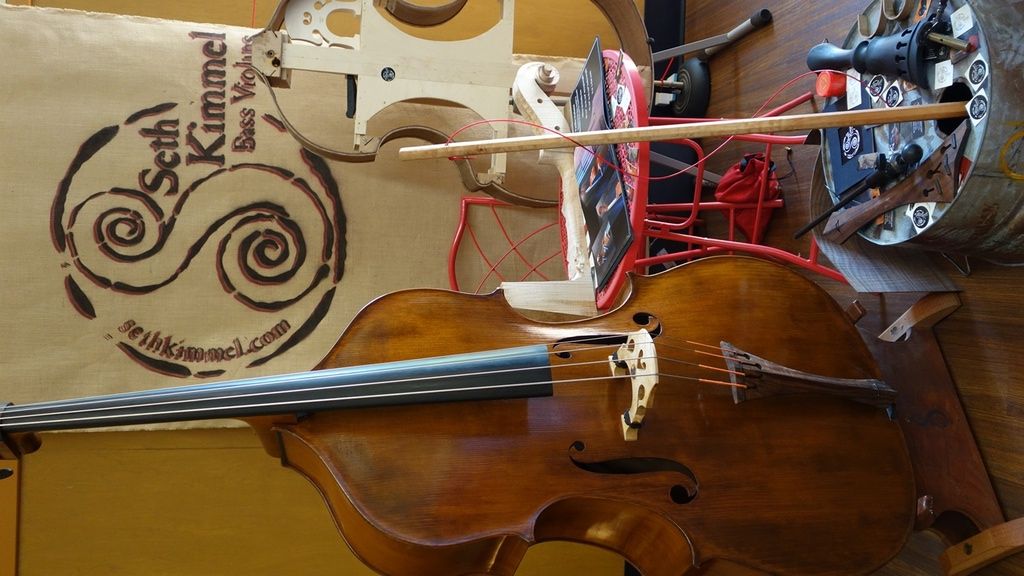
Doc’s Banjos…his kids were watching Seth Kimmel set up his Bass-making exhibit.
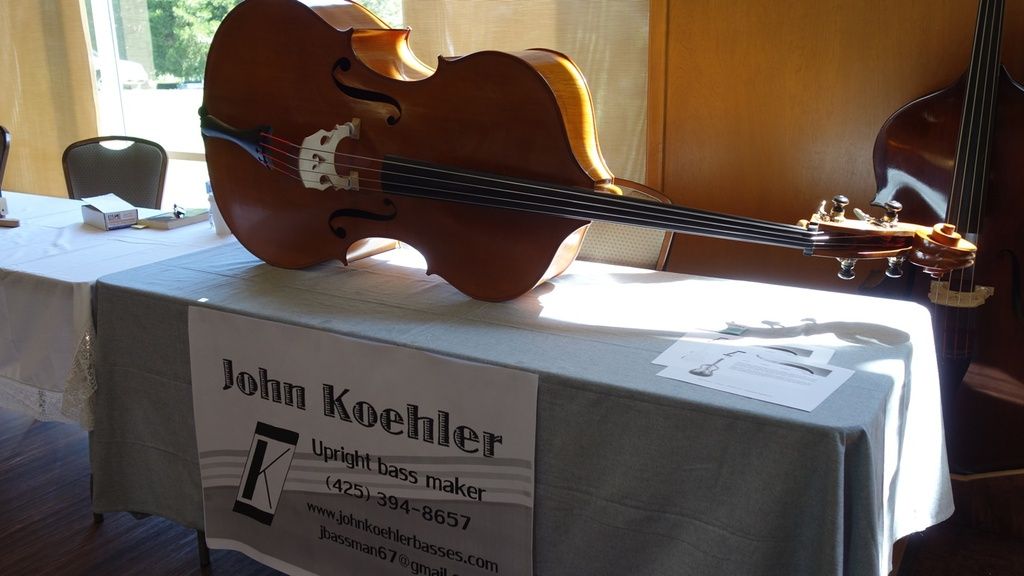
Another bass-maker…all the way from Seattle.
Traditional Latino Instruments
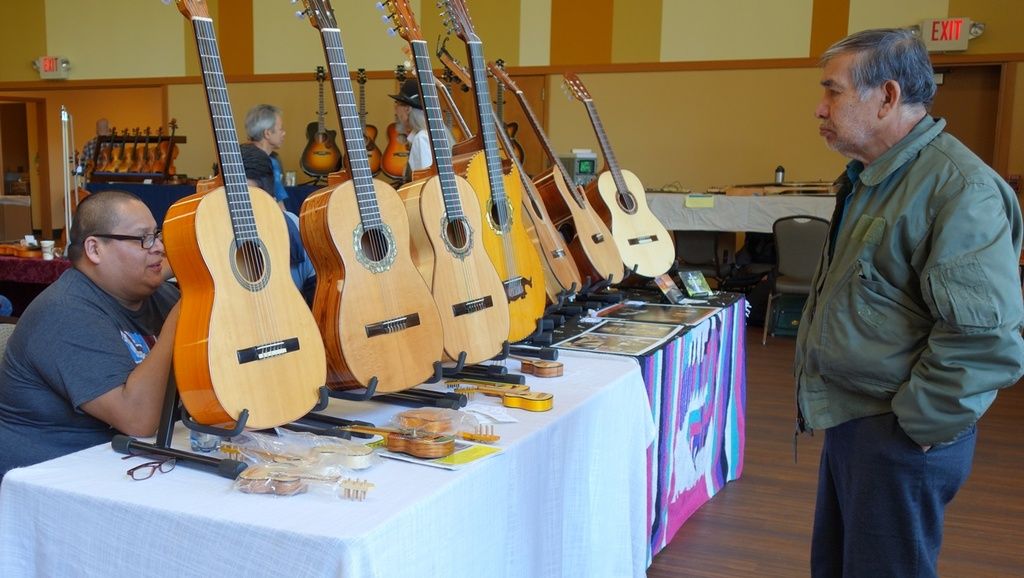
Flamenco guitars
Classical Guitars
Other instruments
Modern Ukuleles
Every kind of guitar imaginable.
Flutes and Drums
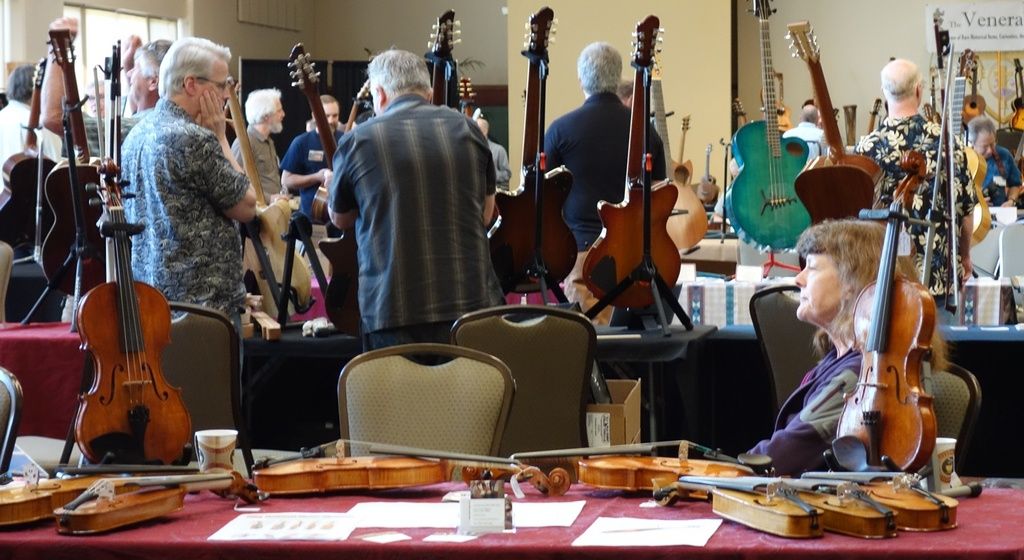
Violins
More violins and/or fiddles
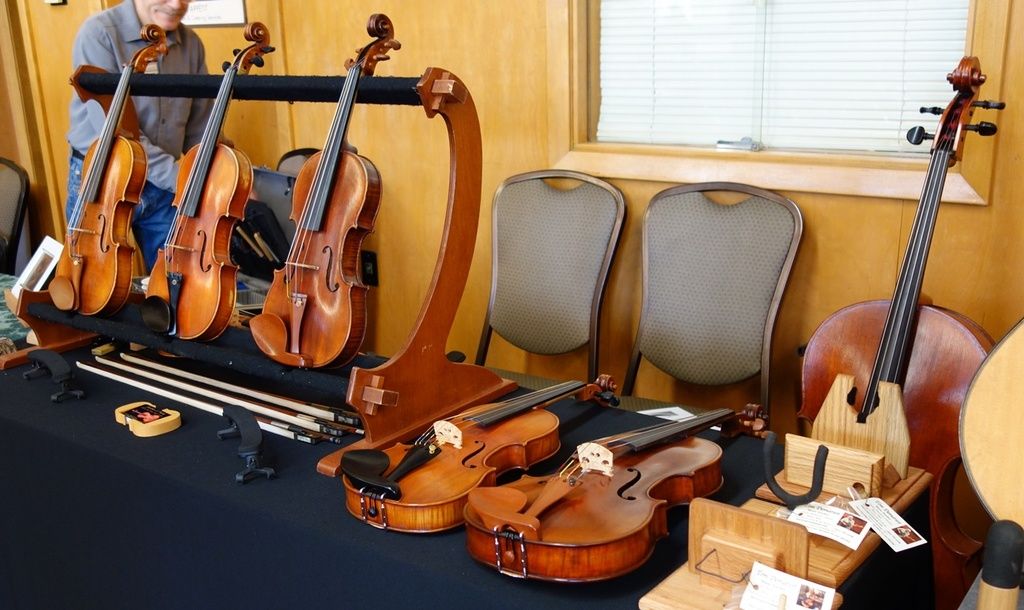
Violins, violas, and a cello
And Bows!
Pochettes and fiddles.
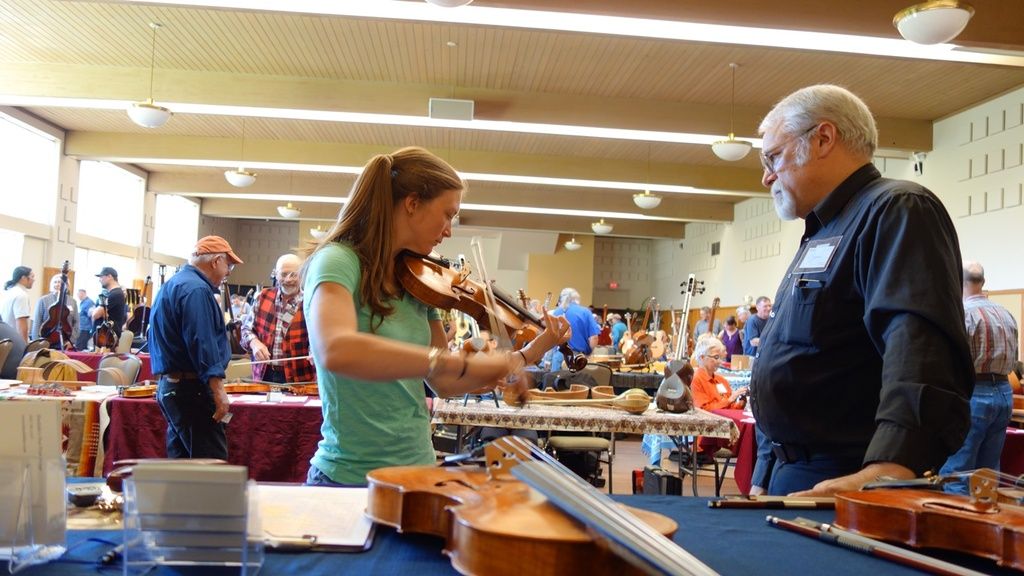
Visitor test-driving one of my violins
Obviously there was much more to see. I stayed pretty close to my table virtually all the time, and was very busy, so I missed seeing all the great work people did. For three bucks, that show is the best deal of the year, though. Plan on attending next year, if you can come. It is the last weekend of April every year.
Thanks for looking.
If you found this post helpful, please share with your friends!
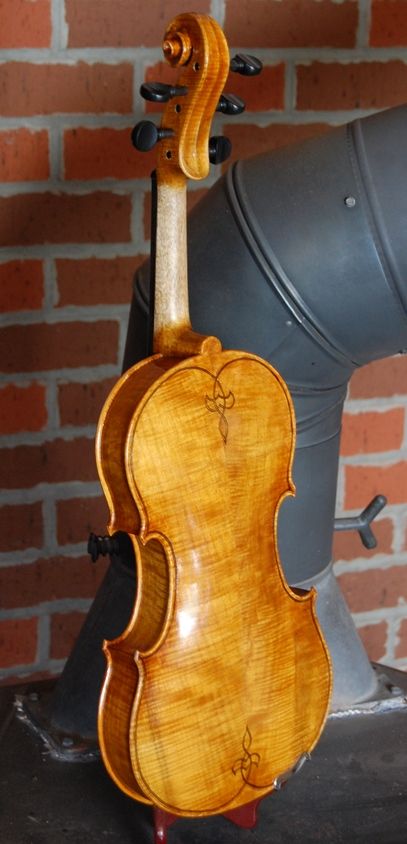
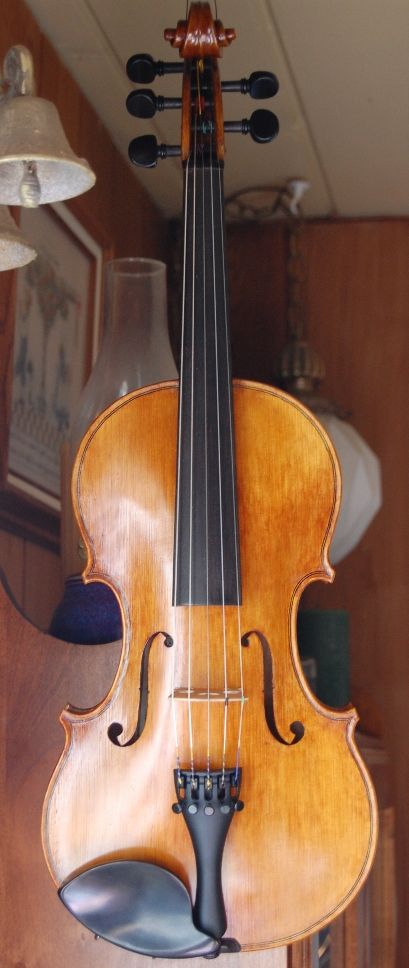
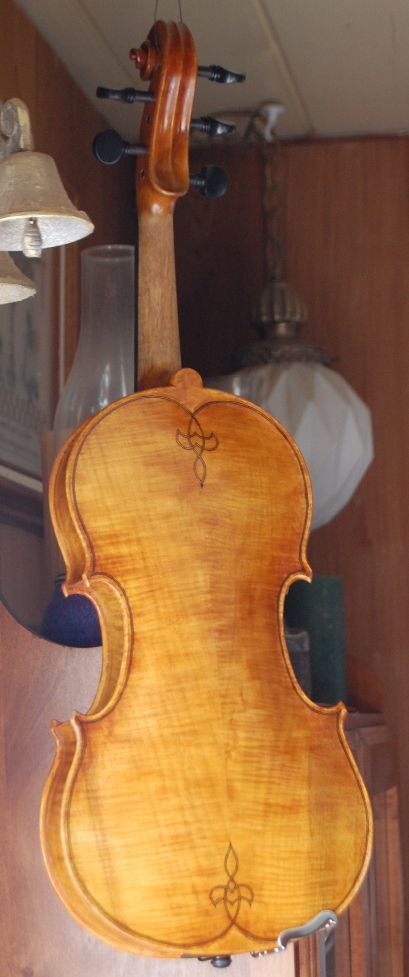
Some time ago, a friend (Cliff Stansell, of the Pistol River Trio) asked me to build (strictly on speculation) an Oliver five-string fiddle of Oregon Myrtle wood (for back, sides and neck) and Port Orford Cedar (for top and bassbar). He prevailed upon his brother (Les Stansell, a maker of Guitars and Ukuleles, using those woods) to donate the wood for the experiment. This is the result:
New 5-string fiddleBack view
Front view, hanging upBack view hanging up
What about Sound?
Well, quite honestly, it has been strung up for less than 12 hours, and, though I have spent some time playing it, and adjusting the soundpost, etc., it is really still too early to be sure how it will sound.
So far, I feel pretty positive about it. I know the arching and graduations are good, but I have never used this combination of woods before, so it is hard to be sure what is a product of the wood, and what is a product of the luthier.
It feels heavier to me, quite naturally, simply because Myrtle is a harder, heavier wood than Maple. But that may be OK. I know that Bubinga (even harder and heavier) is regularly used for five-string fiddles, and I actually have some Bubinga to try someday soon. The Koa I used for the 5 string fiddle last year was also very hard and heavy, and it turned out to sound very good. So I am hopeful that this one will too. It already sounds good…but I want it to sound Great!
(Update: by the next morning the sound had improved remarkably, as new instrument frequently do: I had adjusted the soundpost just before calling it quits for the night, and such adjustments frequently take a few hours to “settle in”.)
Marylhurst Show is coming up in two weeks.
For anyone interested, the Annual Marylhurst Musical Instrument Makers’ Show (click the link for details) will be April 30th and May 1st this year. I hope to see you there. Come and test-drive this fiddle and the others.
Thanks for looking.
If you found this post helpful, please share with your friends!
When I am presented with an old violin, regardless of the origin, there are certain things I am looking for: the very first thing is to determine, in my own mind, whether the instrument is one of the (literally millions of) mass-produced violins that came out of Europe in the late 1800s to early 1900s.
If it seems, instead, to be a hand-made instrument, thus possibly of some greater value, then I may need to take it to someone who can appraise it, before I begin work on it. There are some instruments on which I do not feel qualified to work, and which I will not repair beyond minor things like an open seam, etc., though I have occasionally worked on instruments nearly 300 years old.
I look at the general finish (the old factory instruments all seem to have a similar look), the scroll (especially under the throat of the scroll—does the fluting end suddenly at about “6 o’clock”, or does it continue all the way around?), and the f-hole ends (Is there any fluting of the f-holes? There usually is not on the cheaper instruments.) I also take a quick look at the purfling, to see if it gives me any clues. Some of the cheaper ones don’t actually have purfling—it is simply painted on, to look like purfling.
What About the Label?
I glanceat the label, but the fact is, unless it plainly says “Made in Germany” (or Czechoslovakia, or whatever), the label isn’t really going to tell me much, because virtually all of the old factory instruments were apparently made by “Antonio Straduarius” while he was on vacation in central Europe. That label is extraordinarily common, and is only a sign that it is a cheap copy. Some labels make less wild claims, but false attributions are so common as to be the norm. Usually, I am looking at what is effectively a “dead fiddle”, and am hoping to effect a “resurrection” of sorts.
Once I have determined that the old fiddle is not some priceless “Old Master Gem” (not likely), and that I am free to make the repairs needed to make it playable, I have to ask myself:
What Does it Need?
I then look at the general condition. I am looking for:
Cracks, (how severe, and where are they?)
Are the cracks clean, or packed with dirt and/or polish, etc.?
A soundpost crack may be a deal-breaker…same for a bass-bar crack. Most other cracks are workable, so long as you are willing to open the instrument, and know when it is appropriate to do so.
Open seams, (and are they clean or dirty?)
Missing wood, (how much is missing, and where?)
Pegs:
Peg-hole diameters (will they need bushing, re-drilling, etc.?)
Peg Taper: Is the taper of the existing pegs reasonable? Modern pegs are tapered to 1:30 ratio, but there are other ratios. Sometimes they are so steep that they will not reliably stay in tune.
Either of the above (or broken/missing pegs) requires a new set of pegs.
Neck joint: Is it tight, and at an appropriate angle? What is the height of the overstand? What is the height of the end of the fingerboard over the belly?
Fingerboard: Will it need dressing? And is it thick enough to stand being dressed? A new fingerboard is not out of the question, but it is a lot more work.
Nut: Is it serviceable? Sometimes a nut is missing or broken. Sometimes the string grooves are bad (too deep, too wide, or in wrong locations), requiring a replacement nut.
Saddle: Is the saddle serviceable? And, does it need to be re-glued?
End pin: (is it loose, or broken?)
A badly worn end pin hole will probably require reaming, bushing and re-drilling/re-reaming as well as a new end pin.
Interior: Using a light and dental mirror, can I see interior issues?
Soundpost: Is there a soundpost in place? Does it fit appropriately? (I usually assume I will have to fit a new soundpost.)
Bridge: I assume in advance that I will need to cut a new bridge, but if there is a bridge present, and it fits the top exactly, and it is the correct height, etc., I have been known to use them. Bridges don’t wear out, under normal use, provided they are maintained to prevent warping, etc.
Fittings: Are there fittings present? Are they usable? I like to use an old tailpiece, as they frequently have a charming look, but many fiddlers want four fine tuners, and it is usually a mistake to use four steel tuners added to an ebony tailpiece, because the additional weight proves to be parasitic, and diminishes volume. If that is what is there, I mentally add the cost of a new tailpiece with four built-in tuners.
It the tailgut serviceable? The old “genuine gut” tailguts worked just fine, but they will eventually break, so I usually replace them with a modern synthetic.
Strings: New strings are a given. Choose your brand and style according to what the fiddle will be used for. I use Dominants if the violin is to be played in an orchestra or any other traditional venue, but if the player is a fiddler, I will use Helicores. (If there is a customer already involved, I will use their preferred string…these are just the ones I like to use.)
Cleaning and (at least some) polishing are also a given. I do not want to produce a mirror-bright instrument, as a rule: “Old-Fiddle Chic” is the goal. It partly depends upon what the previous condition was. If it has obviously been kept glossy in the past, but is just very dirty, then cleaning and polishing will include bringing it back to the deep gloss that was intended.
What Will It Cost? (And what is the “Cut-off Point?” This is to the repairers, out there…)
Cost?
This will depend on the shop hourly rate you have set, and, to a lesser degree, how fast you work. In an automobile shop, there is such a thing as a flat-rate book, where the time required for a given task is laid out, and they call out the cost of a job by estimated time and materials. (If they say there is a 2-hour flat-rate charge to replace a radiator, for instance, you will pay for a new radiator plus two times whatever their shop-rate is.) So, if the mechanic gets the job done more quickly, he gets paid better…if it takes him longer, he loses money.
Unfortunately, we don’t have a “flat-rate book” for luthiers, so you have to develop your own. You have to keep track, and see how long repairs actually take you…or should take you. Maybe ask around and find out how long similar repairs take other people, too. There are a few shops online who advertise their prices.
In my own case, for example, it usually takes me about an hour to fit a set of pegs and install them, ready to use…maybe a little less. So, I add the cost of a set of pegs to my shop-rate for one hour, and that is what I charge. The same can be done for all of the above tasks. If the materials don’t cost much, sometimes I don’t even add the materials cost, though I probably should.
I guess I usually estimate about $200-400 for setting up an instrument, if that is literally all it needs. It will often be less, but sometimes there are more open seams or a peg needs more work than first seemed likely, and it’s nicer to surprise the customer with a lower bill than to wish I could add to it (which I don’t do…ever.)
Cut-off Point?
If you add together all the estimated repair costs, plus materials, and the “repair estimate” far exceeds the potential value of the instrument after the repairs, then you have to re-think what you are about to do, and decide whether you want to do the job at all.
I do a fair amount of “pro bono” work, and that is my privilege…but I don’t pretend to be a non-profit organization, and there are some jobs I have turned away quite firmly, though politely, and with genuine regret.
On the other hand, if I think “this young player may come back later for a better instrument”, then I may decide to repair the current fiddle, at an extreme discount, to make it play as well as possible, and just count the work as an investment in my reputation and toward future business.
Let the customer know what you are doing, but don’t be “pious” about it…explain that, in terms of market value, the instrument does not justify the repair, but that you try to keep people playing when possible, and that you choose to do this particular repair as a sharply discounted rate…and that you hope they will come back to you for a better instrument as their skills advance. (I like to hand them a series of nice instruments to play while they are waiting, and when they take their repaired instrument home, though it probably plays better than ever before, it still is nowhere near the sound of the instruments they were experiencing in my shop.) (Sneaky, huh?)
Sometimes I have done repairs that I knew would exceed the original cost of the (fairly new) instrument, let alone the re-sale value (we are talking cheap Chinese student instrument, here) just because I wanted the experience at performing that particular repair, and I knew I could not hurt anything by the attempt. (The one I am thinking of had a bad soundpost crack, where the post had been driven through the top in an accidental fall. It required a full-thickness inlaid patch. The result was nearly invisible, and it was a very good learning experience for me. I counted the labor time as “tuition” in my learning-curve.)
However! If you know that the amount you will charge for the repair will exceed the value of the instrument after repairs, you mustinform the customer of that, before even considering the work. This is an ethical matter. Don’t do the work without the customer absolutely knowing what they are getting. I have done work of this sort, because the customer wanted “Great-Grandpa’s fiddle” back in playing condition. I explained very carefully that what they were buying would be the nostalgia of having great Grandpa’s fiddle, and that under no circumstances could they hope that it would be salable at that price. They wanted it anyway, so I went ahead and did the work.
Some luthiers will not do such work at all; that is their choice. But people buy very expensive boxes in which to keep their loved one’s ashes: so, what is wrong with an “expensive box with strings on it”, in which to keep the memories, and upon which to play the remembered tunes? It’s your call…. I choose to do the work.
One last thing to consider is “Do I want my name associated with this thing??” That could be the deciding factor: Your reputation could be at risk. I have rejected work due to previous “repairs” done with epoxy. I knew I could not undo the damage, and the epoxy and (very bad) earlier repairs could end up being blamed on me…. So I flatly refused to do the repairs. They were not happy, but better just they were unhappy than them and me, too.
What is the Exception?
What if the fiddle belongs to you, and you are hoping to sell it? Let’s say you have found it at a garage sale, and are trying to decide whether to buy it. Then you have to decide, “Am I willing to work for less money per hour, in this case, just because it is important to me to return this fiddle to the market?” If the answer is “No!” then you simply can’t repair it. And, if you are offered it, you can’t take it…it’s that simple.
There have been instruments that I have acquired, one way or another, and later realized they were so cheaply made, or so badly damaged, that I was simply unwilling to mess with them. In those cases I have either given them away to be used as a decoration, or, in some cases, I simply burned them. Sounds terrible, I know, but there is such a thing as a “violin-shaped-object” (VSO) that was truly junk the day it was brand-new.
Some Final Notes:
There is a pretty wide spread in prices to cut a bridge (and other tasks): Some luthiers offer a “student-cut” and a “professional-cut”. A student-cut bridge has feet that conform to the violin, and it holds the strings at the right heights. Other than that, it is simply cut to a standard set of measurements. A “professional” bridge has more care taken with the fitting, and is cut with the tone of the violin in mind. This may take hours. Also, the bridge blank may vary from as little as 2 or 3 dollars to as much as 20 or 25, or more.
The most expensive blanks are not appropriate on most instruments, but the difference between a $3 and a $10 blank may be quite noticeable, so the range of prices is understandable. I don’t think I can do a “professional” cut well enough to justify the claim, so I charge the same for a bridge, regardless. And I do careful work, regardless.
Your Hourly Rate
Try to be aware of what mechanics shops in your area are charging per flat-time hour. If you know you are charging less per hour than they are, then you can stand by your prices, and your customers can rest assured they are not being overcharged. That should help put the final bill in perspective.
This is definitely “skilled-labor”—or you shouldn’t be attempting it. I did not begin charging for my work at all, until after I had repaired more than 50 of my own instruments, which I had bought in various states of disrepair, and used as learning tools. (They were mine, and, whatever I did, they were better off than when I got them. I sold them at low prices when I had them set up and playing well: their owners were delighted with them. It was a “win” all the way around.)
Remember that if you are maintaining a shop, insurance, and the like, you must take all that into consideration when setting your shop hourly rate. Otherwise, you will be losing money and won’t know where it is going.
I hope this is helpful… If I have a fiddle come in sometime soon, that fits this scenario, I will add photos; but for now, this is the best I can do.
If you found this post helpful, please share with your friends!
As you may recall from the previous post, the blocks on this upright bass were pretty huge, compared to what they needed to be, so there was really a lot of wood to remove.
Mold with blocks and ribs. Blocks are still way oversized, and the ribs are still straight. Gotta change all that.
“Kutzall” Tool
So! A drastic need makes for drastic measures. Ordinarily, on a smaller instrument, I would use the bandsaw and oscillating spindle sander to shape the blocks, but this mold is reeaaalllly heavy (over-built, I think…oh, well, it will be removed and the bass will be normal), even though it is a soloist bass, so I can’t see trying to manhandle it around on my big bandsaw. The saw could handle it, but the table for the saw is not big enough to hold the mold steady, and I am not strong enough to just hold it up there by sheer strength…. So… what to do?
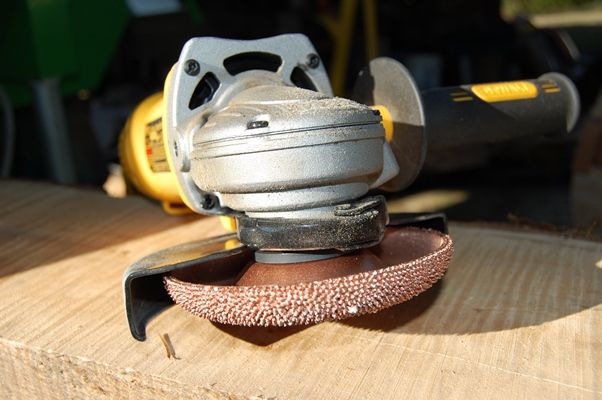
This tool (carbide abrasive disc) is something my wife bought for me a year ago (Christmas), but I had never used it much. It is called a “Kutzall”, and it tears away wood incredibly rapidly, without loading up, and without burning the wood. So I used it to remove the large rough sections, then used the plane to remove the torn surface, and finally, to shape the blocks:
Kutzall disc, with 5″ DeWalt angle grinder: Not for the faint of heart! Absolutely wickedly effective, but not as dangerous as the Lancelot tool.
Stanley #100-1/2 Squirrel-tail Plane
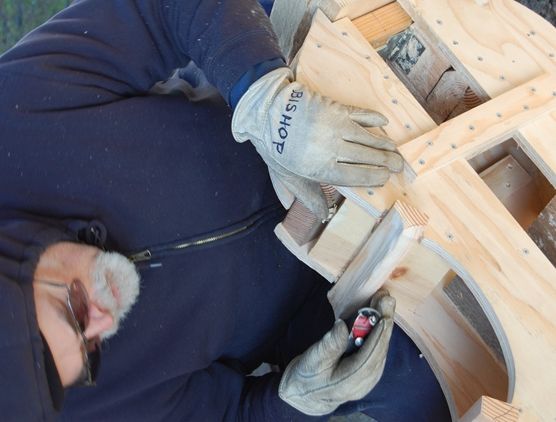
It was about 37 degrees, F, outside, but the sun was bright, so I worked outside.
Smoothing and shaping the corner blocks, using a Stanley “Squirrel-tail” #100-1/2 hand-plane.
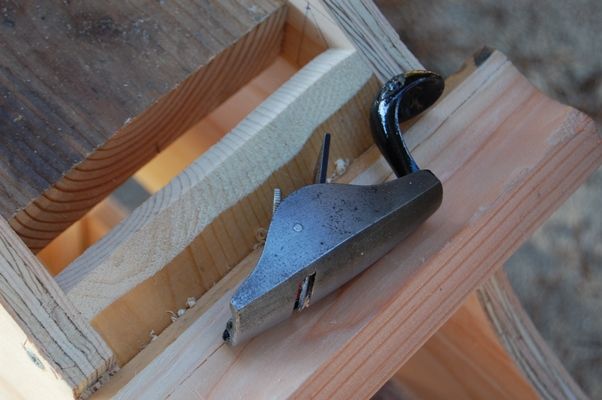
The little plane is somewhat hard to control, because the curvature of the sole is so extreme, but, if it is sharp and if the blade is set for a very shallow cut, it works well.
It does have to be sharp! (Time to sharpen….)
Stanley # 100-1/2 curved-sole plane…for those of you who are unfamiliar with it.
I was able to shape the blocks pretty close to finished shape with the little plane, but there are some irregularities. I have another tool for that problem.
The bottom block was planed entirely with a low-angle plane (also Stanley– can’t recall what number.) but it worked very well, and the bottom block was easy…I didn’t use the grinder at all on this one. So here are all the blocks, pretty close to finished:
Bottom block planed with a small, flat-sole, low-angle plane.
And, here you can see the finished blocks, ready for sanding:
All the blocks, ready for coarse-sanding. The small plane leaves ripples. The sanding tool should remove them all.
Homemade PVC Sanding Tool
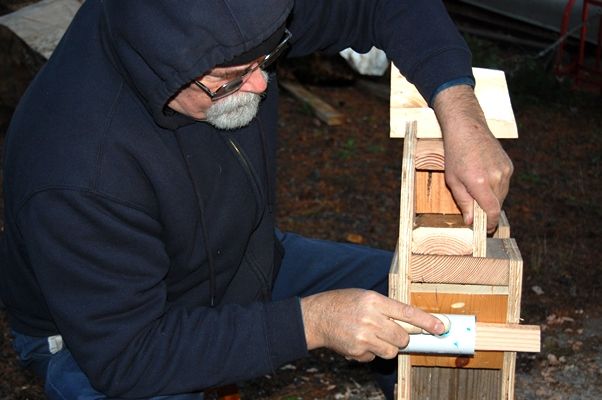
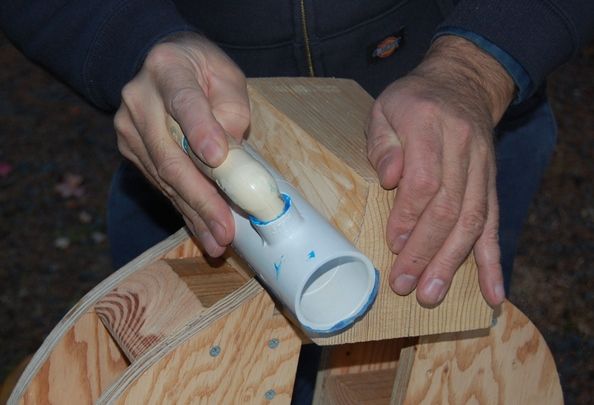
As I mentioned earlier, the oscillating spindle sander I have would not be tall enough for these blocks even if I could manhandle the mold up onto the machine. So, I made this little sanding tool out of re-claimed PVC fittings from the “Habitat for Humanity Re-Store”, and spent more on the little can of PVC cement from the hardware store than I did on all the other materials…about $2.50 at the Habitat store. I used PVC cement to affix the abrasive cloth to the pipe, too, and bound it up with strips of plastic bag until the solvent outgassed and the cement was set.
Sanding block fabricated from four PVC fittings and a 2″ section of 2″ PVC pipe, with a little piece of wood for the handle grip. Comfortable, efficient, and cheap.
The homemade sanding tool worked extremely well for the small corner blocks, and did very smooth work. On the neck block I used it cross-grain, holding the tool parallel to the “trough” of the curvature, and sliding it up and down the curve. It worked well, there, too, just not as perfectly as on the corner blocks. All in all, it is a very satisfying tool.
Sanding the corner blocks.
Sanding the neck block, I kept the block parallel to the “trough” of the curve, and pushed it up and down, across the grain to get a smooth surface.
Change of Plans
You may have noticed that, though I had planned to use Willow for blocks and linings, those blocks are not willow: the corner blocks and end block are all Douglas Fir, and the neck block is laid up of three layers of clear, vertical grain Sitka Spruce. It was a matter of availability. I do have willow for the linings, and, as that in my preferred wood when I have a choice, that is what I will use. It cuts easily, bends easily, and is very pleasant to work with for both linings and blocks.
I have really felt that I was “spinning my wheels” on this project. It is large enough that I feel the necessity to work outdoors whenever possible, but the weather has not cooperated very well…it rained nearly every day for the last month. In addition, I have been struggling with a cold or some such virus. Today I was cold in the house when the thermometer read 75 degrees, so that is not normal. I finally felt a little better, this evening, and went outside for the few minutes it took me to sand the blocks, but it has been cold out, so I didn’t stay long.
Ah, well, that’s life. I’m grateful to be back on the project again.
Thanks for looking.
If you found this post helpful, please share with your friends!
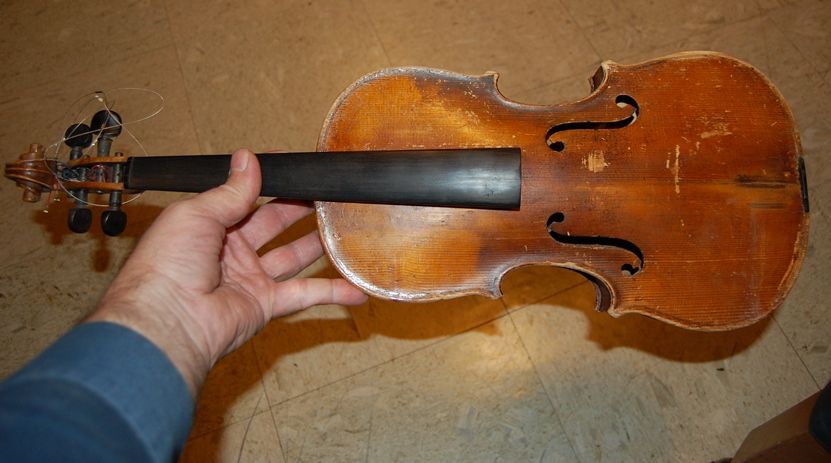
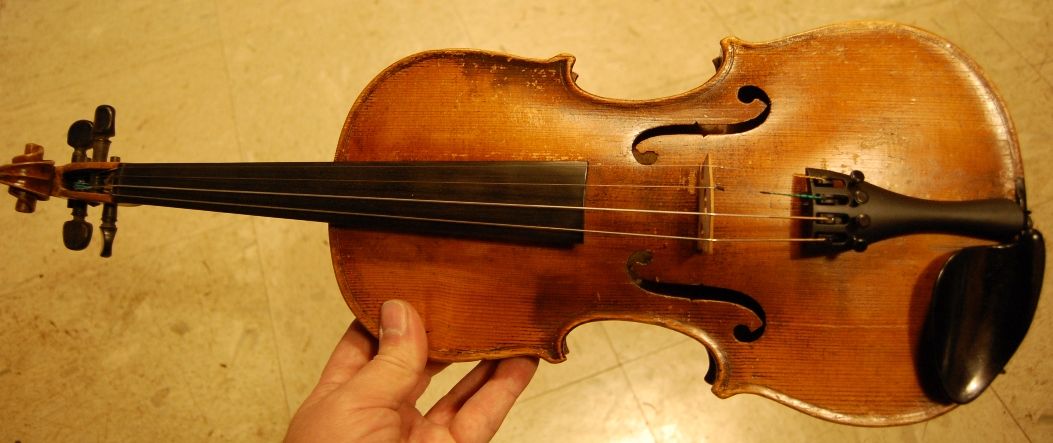
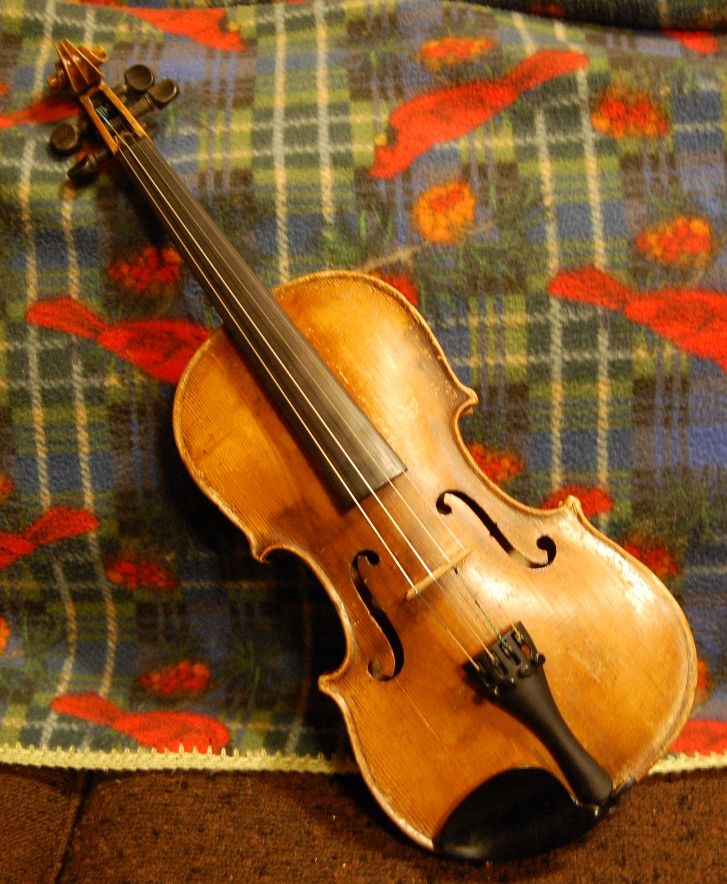
We frequently hear the term “basket-case” in reference to one’s mental-state, but it originated in the reality of all the parts of a dilapidated mechanism or household furnishing being literally placed into a basket and delivered to a craftsperson who (it was hoped) could put it back together and make it functional.
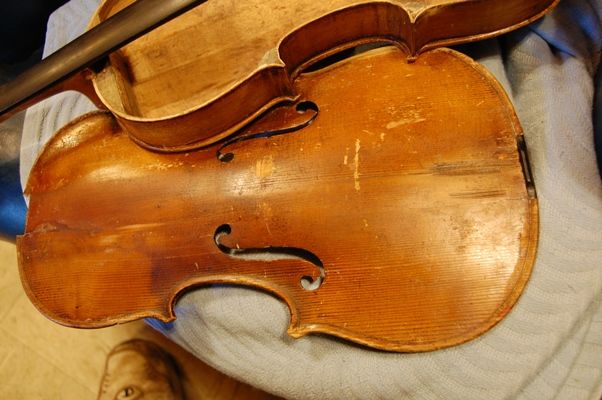
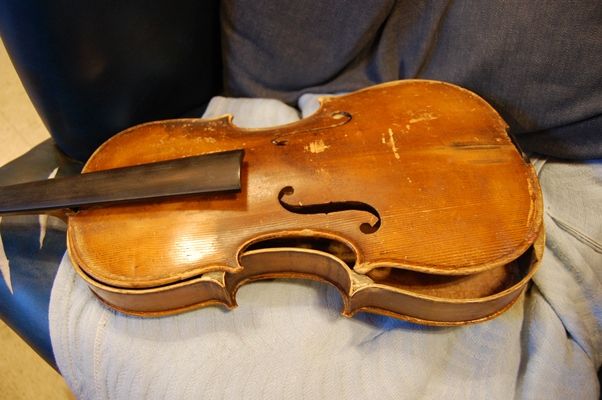
There have been a few times when I have received such a violin…usually either having belonged to the customer’s Great Aunt, or Grandfather, or something, or a relic from their own childhood (which they are trying to hang onto.) In some cases it is worse– the customer simply acquired the instrument at a garage sale (or some similar “depository of fine musical instruments”), in pieces, and wants me to make it work.
In all of the above cases, I try to kindly explain that the labor involved will cost far more than the instrument will be worth when completed, and they must decide whether they want the instrument badly enough to pay that much to have it playable. (We are not talking about a full restoration, just bringing a dead fiddle back to life.)
“Bread-Bag Fiddle”
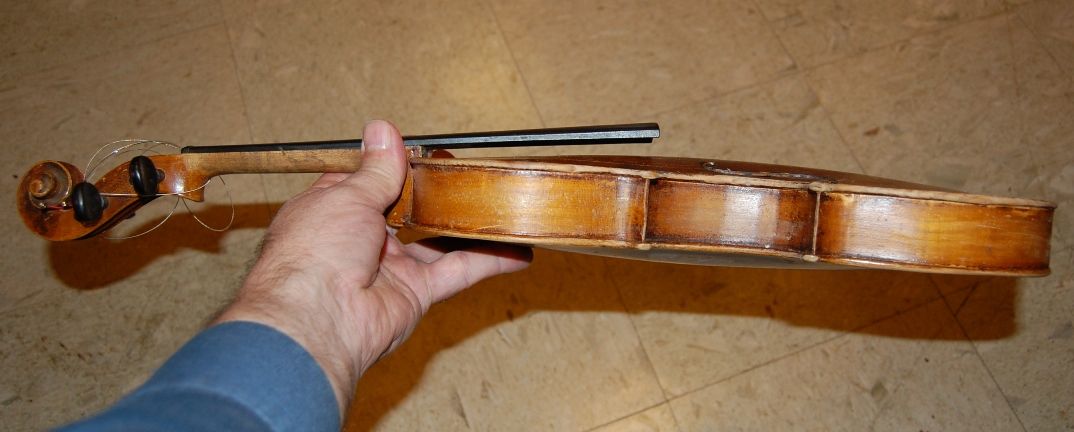
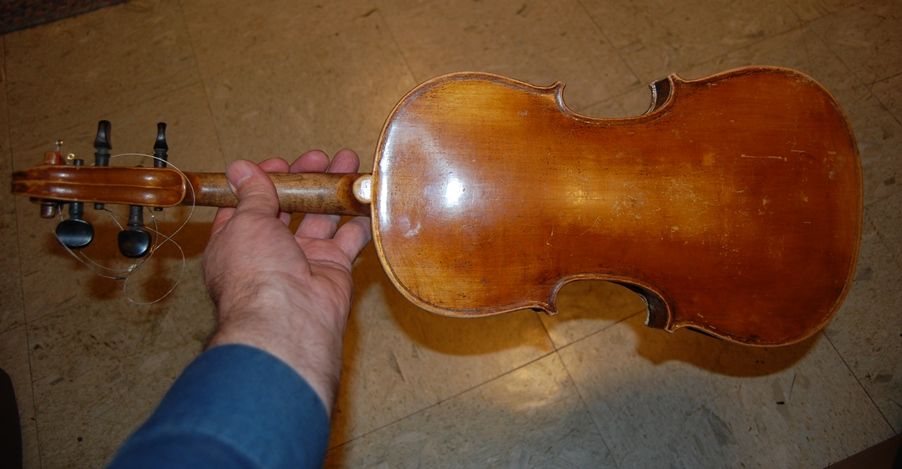
In the particular situation at hand, it was a mix: The violin was coming to pieces, and was literally in a bread-bag, with the mouth of the bag tied off, to prevent the escape of any pieces. BUT, the person who brought it to me was not asking me to fix it for him…he simply offered it as a potential “project” fiddle. I gave him what he had paid for it at a junk-shop (styled “Antique Shoppe”) and tossed the bagged corpse in a box to gather dust, thinking that perhaps someday I could do a photo-story of sorts with it, in a “sow’s-ear-to-silk-purse” type of story. (Given the relative quality, I should probably edit that to say, “calico-handbag” as opposed to silk purse, but that is another matter.)
A few months ago, however, a parent contacted me, asking whether I had an “old fiddle” (full-size) for sale at a reasonable cost, to replace her daughter’s fractional size violin. Initially, I told her I did not, but upon further reflection, it occurred to me that I had the “bread-bag fiddle”. I told her exactly what it was, to the best of my knowledge (I had not opened it sufficiently to see some of the surprises), and suggested that, if I could make it a reasonable player for a price she could afford, that perhaps it would meet her expectations.
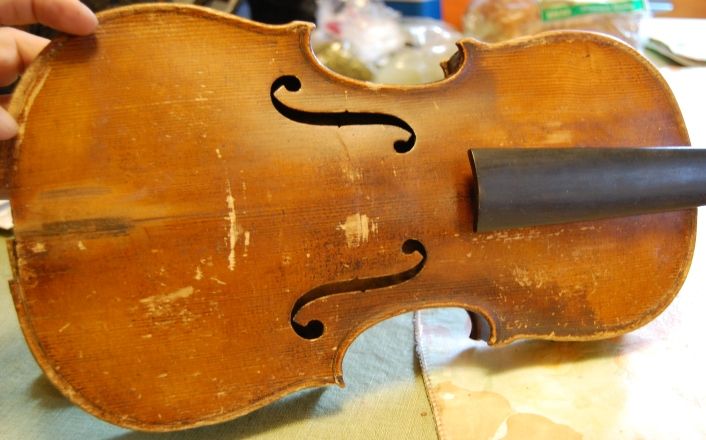
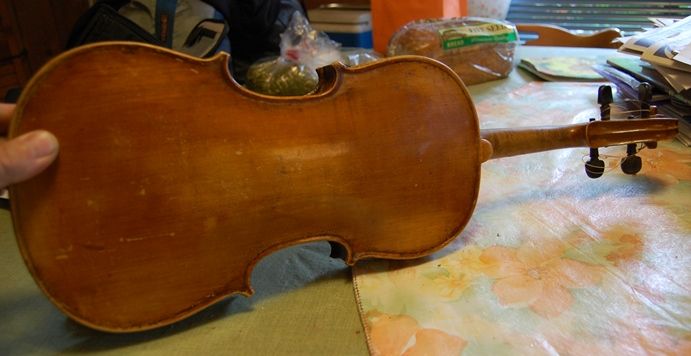
I sent her some photos, so she could see that, at least for now, it sort of “put the ugh in ugly”, and that it would never win any prizes for looks, regardless of what I did.
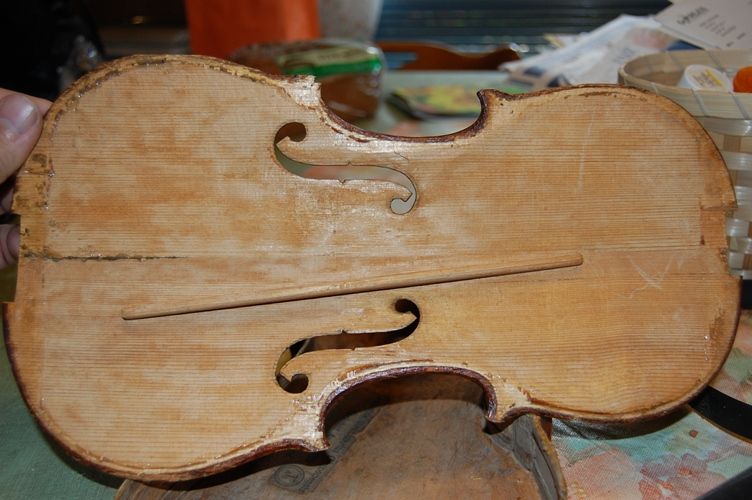
Front plate condition
Back was not as bad, but very plain.
But–some folks like old fiddles! As it turned out, she and her family were pleased with the prospect, and told me to carry on with the “restoration.” (I repeat…this is not a true restoration, but rather a “revival” or “resurrection” of a dead or nearly-dead violin.) I had another commission going at the time, and I let them know that I could not begin immediately, but they were not in a hurry, so it was agreed that their project was next in line. I was able to begin about a month later.
Diagnosis: YOW!
Outside
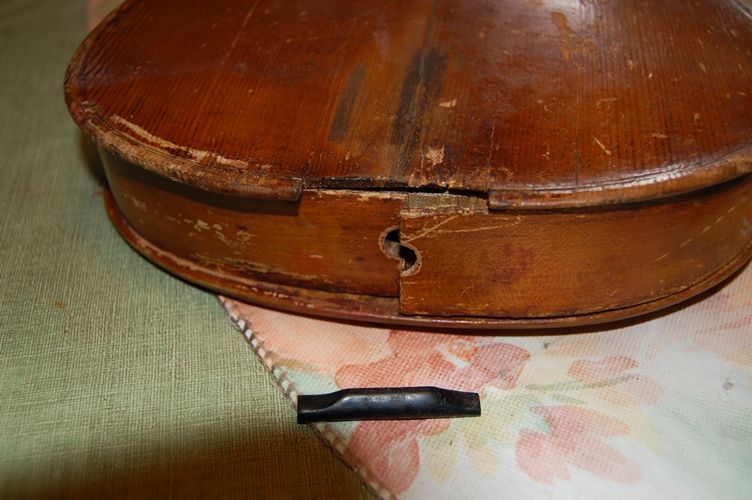
The back had come loose from the ribs, partway around, and the (monstrous) lower block was separated from the ribs, as well, and (despite my best attempts) would not fit together perfectly. (sigh…)
Loose ribs, detached saddle, separated top and bottom plates. End pin was long-gone.
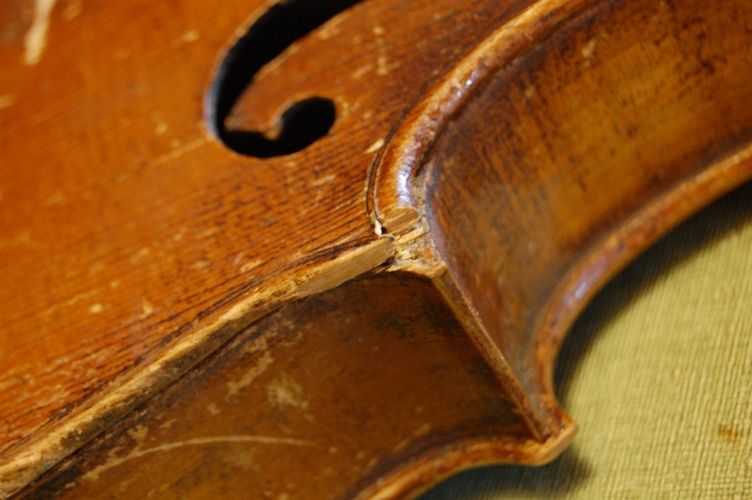
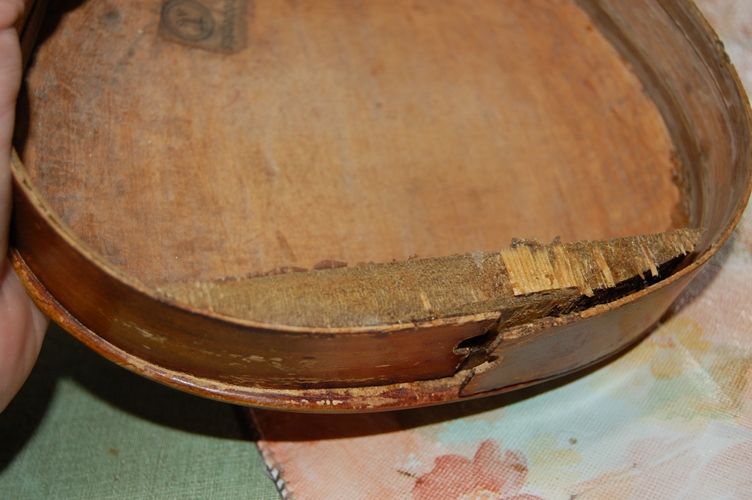
Three of the four corners of the spruce top had missing wood, along with one lower-bout edge. One of the three had wood broken off, not just chipped or worn.
Missing corner wood, snapped off at the purfling miter.
Inside
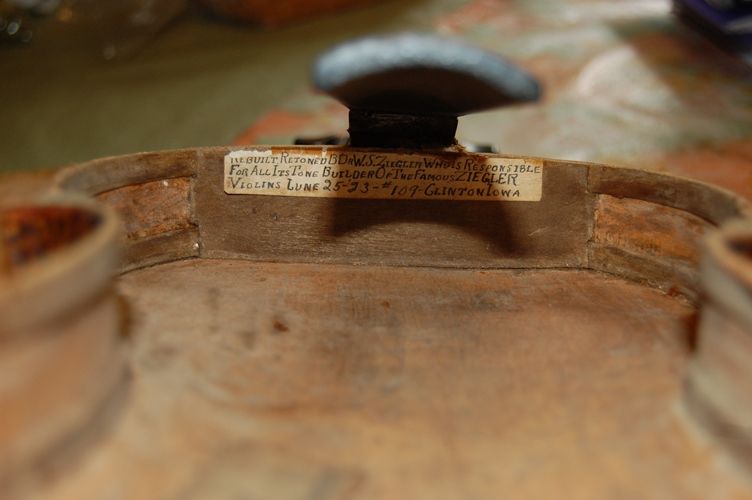
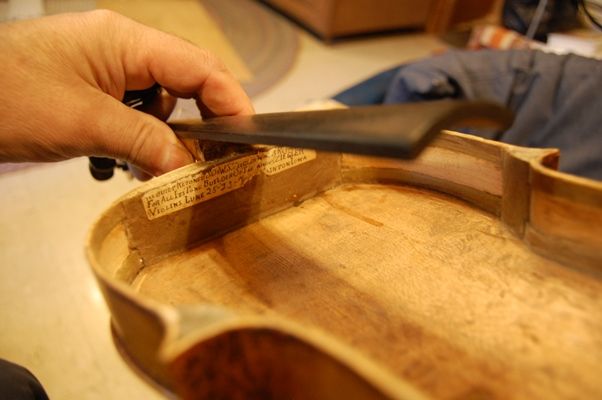
The exterior was bad enough, but when I opened the corpus I found the history, literally written on a label, and proudly claiming responsibility for the carnage within.
Repair/innovation label; June 1923.
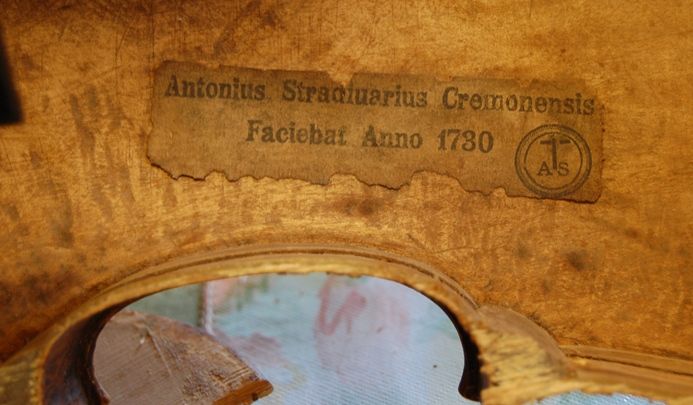
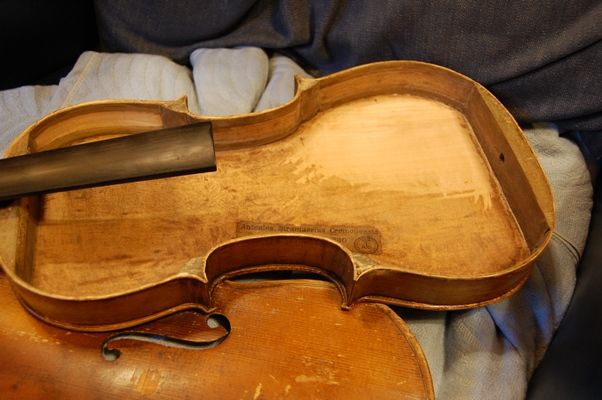
And, as usual, the “Tony Stradivari” label is there to confuse things further: I left it there, of course, and glued it down securely, so it would not fall out. 🙂
The inevitable “Stradiuarius” label: inserted in literally millions of instruments churned out of factories and cottage industries in the late 1800’s.
Here is a photo of the tail-block and loose ribs:
Those chips of spruce stuck to the end block were glued back in place in the top plate, along with other, earlier missing wood.
The “repairer-rebuilder-innovator” had removed the normal blocks and replaced them with very heavy, oversized, hardwood blocks. That was bad enough, but he had also (in response to a bass-bar crack) installed a bar at about a 20 degree angle across the longitudinal axis, rather than the 2 degree (or thereabouts) angle that is normal.
One thing to be observed, too, is the peculiar “mottled” look of the inside of the top plate, and how much fresher the wood appears here, than inside the back. From this, I see that this instrument was originally one of the very cheap fiddles for which the maker took not even the trouble of smoothing the inside of the top plate, but left it extremely rough, like chainsaw sculpture, in the knowledge that few, if any, would ever see it, whereas the back was very smooth inside, where any eye could glance inside and see the work. The “re-builder” smoothed all the rough gouge-work, removing the original “integral” bass bar (which had been carved in place, out of the same billet as the rest of the top, not carved separately and fitted to the plate), and had continued by adding the big blocks, slanting bar, etc.
How do I know? Because I have smoothed such an instrument myself, and that is how the top plate looks afterward. The areas where the most wood was removed are quite bright, whereas the places where only a little smoothing was in order are darker, showing the oxidation of the years. No harm done, there, and he did a fair job of it.
Whack-o bass-bar. Bad-repair of center-seam, too.
The ribs (as they came from the low-end European factory) were 2-3 times the thickness they should have been , in the upper bouts, though pretty close to normal in the lower and center bouts. There were several cracks. Some I had seen from the outside– some became obvious when I opened the box. Inside (due to inexpert top removals over the century or so of the fiddle’s existence), sufficient wood had been lost in the areas of the corner blocks that I felt it was necessary to replace wood there, as well.
First things First
Since the back was relatively undamaged, and it had to be re-secured to the blocks so that I would have a firm foundation from which to build, I reglued the blocks to the back, and
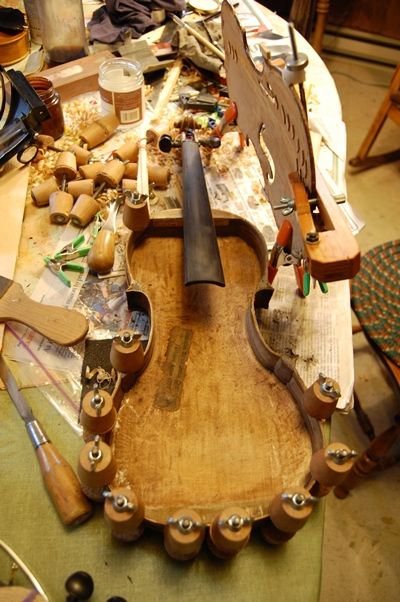
Re-gluing the back to the garland. You can see that I was also working on the top plate.
I scraped and scraped the block and ribs, to try to get the loose ribs to fit back in place perfectly, but, in the end, they still were pretty rough. I kept telling myself that this was not a restoration, just a resurrection.
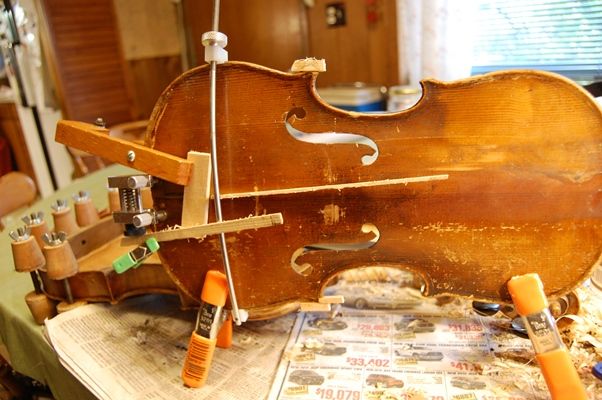
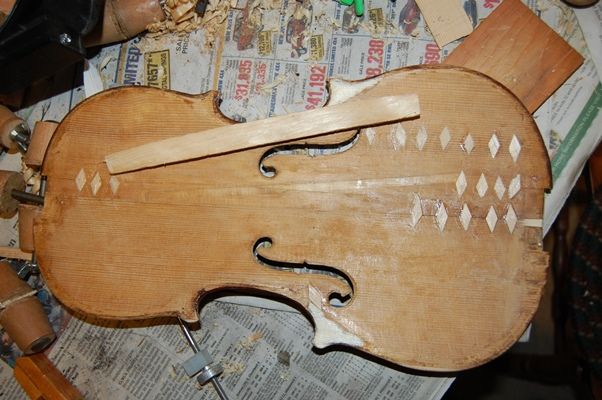
I soaked loose the old, dirty glue in the center seam, and pulled it together as tightly as possible, then re-glued and clamped it. I went ahead and glued as many cracks as I could manage at the same time, wedging them in or out, as was needed to make them flush on the outside and tight, edge-to edge. I added the orange clamps as two pairs of “legs”, so that the plate could stand on edge and not twist under its own weight and that of the clamps.
Multiple repairs in progress: center-seam, cracks, and missing corners.
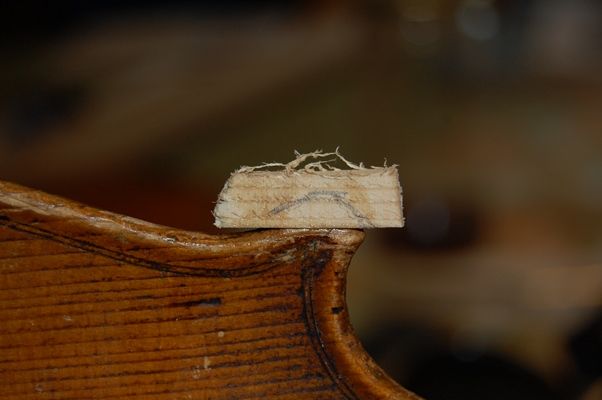
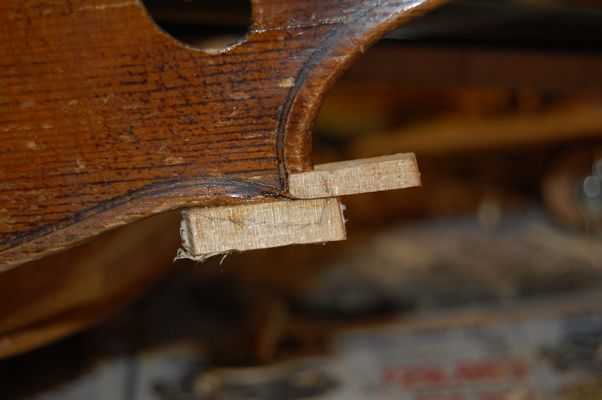
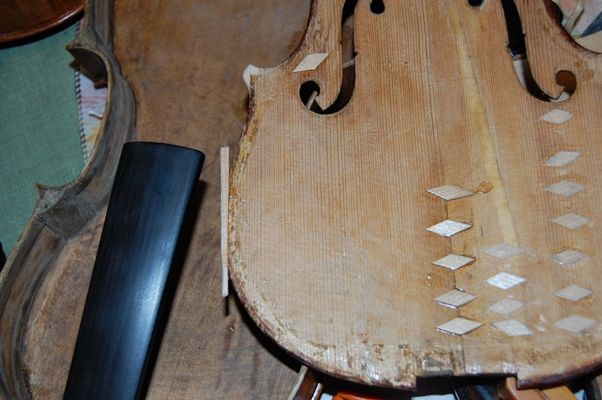
As you can see, I also began replacing the corners at that time; here is how it works:
Spruce block glued in place, and shape of corner traced on the block.
Two blocks required on this corner.
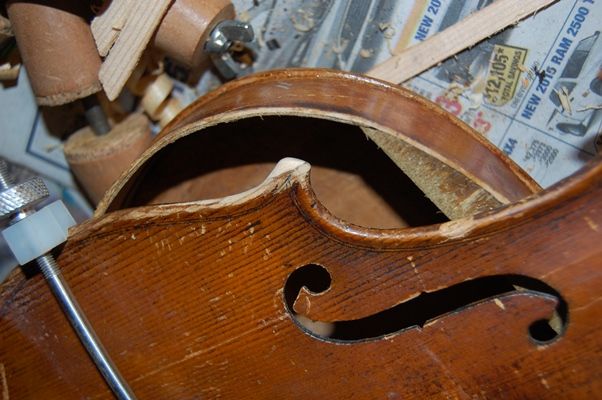
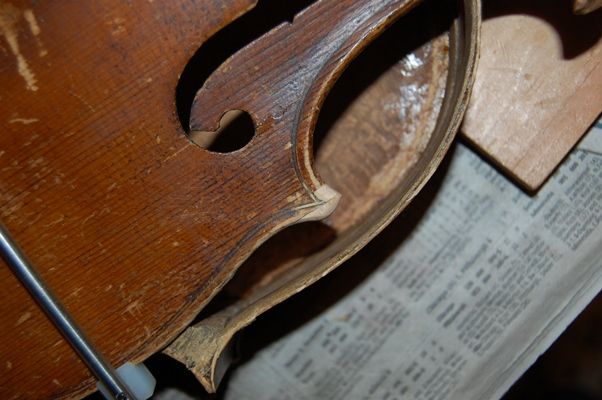
There was a third corner needing a minor wood-replacement, and a lower-bout edge worn (and splintered) off, as well. the procedure for replacement was the same in all cases.
After the glue was dry on the replaced corners, I carved and filed the new wood to match the old shape.
One new corner nearly complete.
Another replaced corner nearly complete.
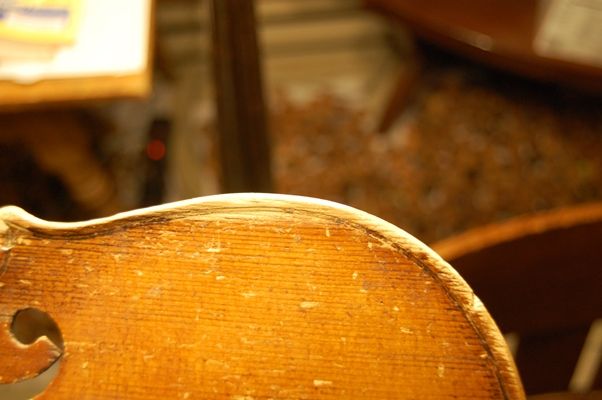
One lower bout had a missing edge, too, so I glued new spruce in place, and, after the glue was dry, I carved and filed it to match the original curve.
Missing wood replaced on lower bout edge. The wood will be filed and carved to shape.
Replaced edge ready for coloring and varnishing.
Later, I will stain the new wood to match the old, using coffee, dirt, and ash, then retouch the varnish to match the old varnish.
Heavy repairs
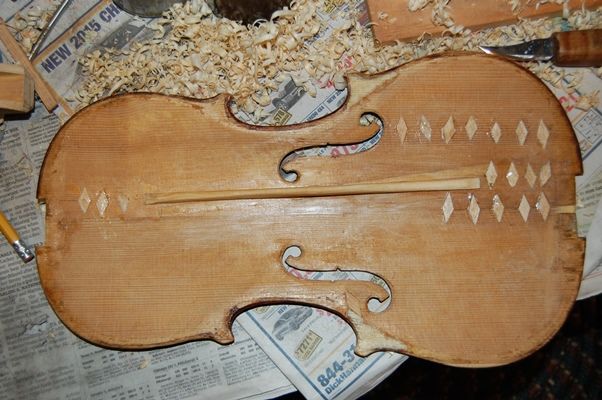
The bass-bar had to come out, so, after the glue had dried in the various cracks, I planed out the old bar, (and glued “cleats” on the inside along each crack) and prepared to fit a new bar. The bass-bar was going to have to be shorter than usual, as the huge end blocks crowded the normal position.
Cracks and center-seam cleated from inside; old bassbar planed out, and new one ready for fitting.
You can see that I had already begun replacing the wood missing from the inside corners: I sawed a 1 mm-thick “veneer” of clear, vertical grained spruce, glued it to the smoothed and flattened corners, and later planed it flush with the surrounding areas.
The bass-bar fitting went quite smoothly, using chalk on the inside of the top plate, and pressing the bar against the chalked area to disclose the high spots on the bar. I had it ready to glue in a pretty short time, and trimmed it the next morning, after the glue was dry.
New bass-bar, glued and trimmed.
Side view of new bass-bar, stained with coffee (which also raised the grain.) I sanded it afterward, to smooth it again.
Almost Ready for Re-assembly
Once the entire interior was smooth, with all missing wood replaced, I could start thinking about closing up the body of the violin. I re-fit and glued in place the saddle that had come with the fiddle.
Completed interior.
Meanwhile, I had checked the back and ribs for appropriate thickness– a few areas of the back were abnormally thick, so I planed and scraped a millimeter (or so) of wood out of those areas, then even more from the upper bout ribs, where the wood was three times the normal 1 mm thickness. Perhaps it will help….
Scraped upper bout ribs showing white against the patina of age.
Lower back was too thick on the treble side. Other than that it wasn’t too bad.
So, I was ready to close:
Ready to close!
Looking more hopeful!
I dry clamped the whole corpus (body) in exactly the way I wanted it to go together, using spool clamps, just like the ones used when I was gluing the back to the garland, above.
Then, when I was sure everything was right, I heated hide glue, and, loosening a few clamps at a time, I used a palette knife to carefully insert the thin, hot, hide glue between the front plate and the linings and blocks. Then I re-applied those few clamps and repeated the process with the next few clamps until I had glued all the way around. I seldom think to take photos of thsi process, so…there aren’t any. Sorry.
Once the glue was dry, I could take off the clamps and get ready to begin final touch-up of varnish, and general polishing.
Closed, and ready to begin finishing. Old strings still tangled on the pegbox.
Back view.
And, the front! Still lots of “owies…” But, when I tap it, it tries to talk…I think it’s gonna sing pretty good!
So, I spent a few evenings cleaning, and touching up varnish, so that nothing sticks out as damaged, nor as “new”. Not too shiny, but not too grubby, either. What I am attempting is “Old fiddle Chic.”
New Helicore strings because that is what the customer prefers. (Installed after the photos.)
Looks as though the bridge was a little crooked when I snapped the photos– it was straightened later, as well. 🙂
And, there it is, ready for new adventures! Just a tad over 100 years, and ready for another century. 🙂
Warm, friendly Old Fiddle, headed for a new home.
Not all of the old scars have become invisible (though some have)…some are a permanent part of this old fiddle’s character, and simply show that is has been well-loved and well-played. Future things will undoubtedly include a new fingerboard (someday) and new pegs (eventually). But for now, it is ready to sing.
The old fiddle turned out to have a rich, deep voice, and the new owners are very happy with it. I hope to hear the young lady play someday.
Thanks for looking.
If you found this post helpful, please share with your friends!
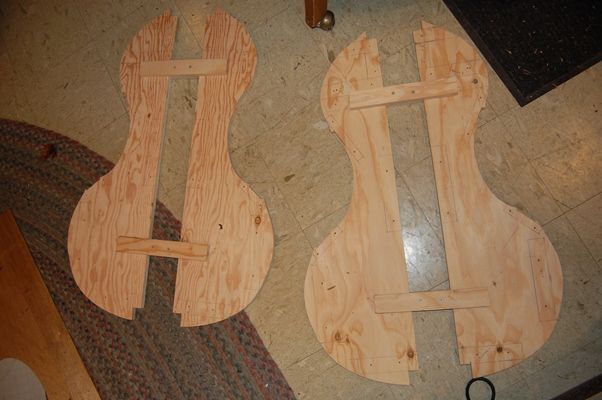
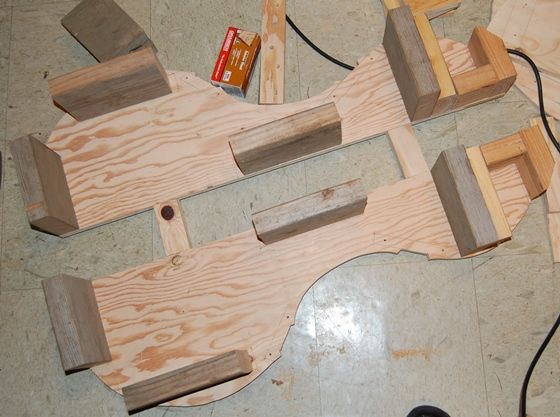
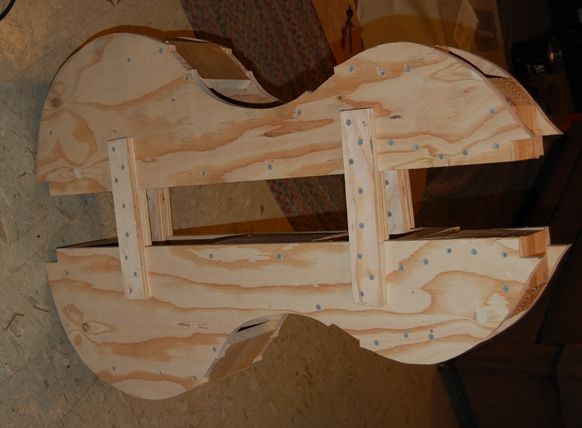
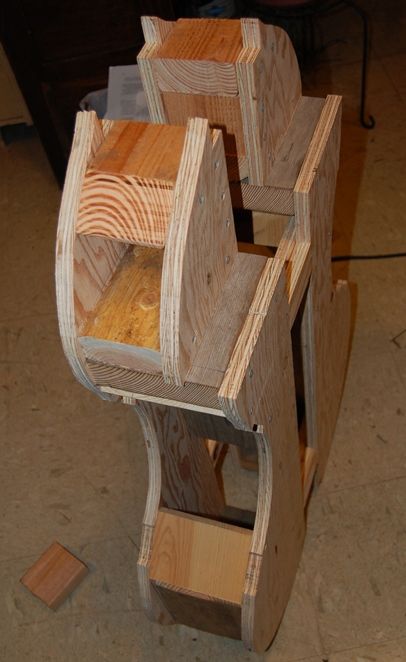
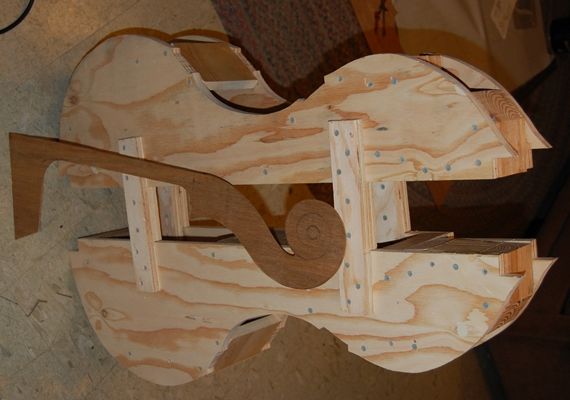
I designed this upright bass mold to be collapsible and to allow me to affix the blocks to the mold with screws, so that there is no glue to have to separate later. I also wanted the mold to be slender enough from front to back that I could install the front and back linings without running into the mold, so I gave myself a 1″ clearance between the front and back faces of the mold and the front and back edges of the ribs. Since the back will taper in the upper ribs, losing two inches of depth between the middle of the upper bout rib and the top rear edge of the neck heel block, I had to accommodate that taper as well: I simply made a 2″ “step” in the mold to allow the taper to occur.
Finally, I wanted the mold to be stout enough to allow me to handle it without fear of damage. So, the construction is of 3/4″ plywood, spaced by blocks of 2 x 6 and (in the upper half of the upper bout) blocks of 2 x 4. The corner block mounts are of 1 x 6, so I do not have to use large screws to affix the corner blocks. The neck and tail block mounts are of heavier stock; 2 x 4, and removeable, to allow the mold to collapse laterally, and clear the ribs for removal.
Using the Mold Template
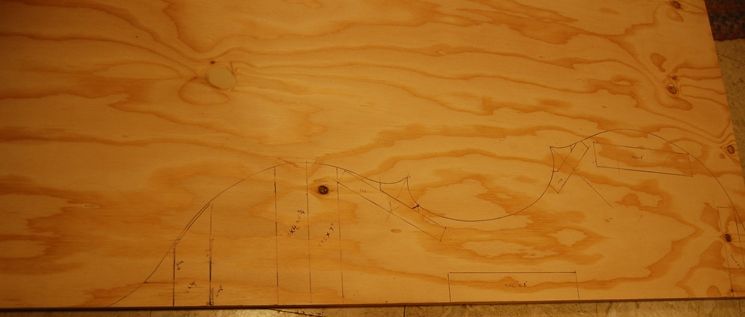
In the last post, I had completed the mold template, and had commented that I would use it to make the mold, and then, later, to establish the shape of the blocks. So this is how that works:
I bought two quarter-sheets of 3/4″ plywood from Home Depot. That is a pretty expensive way to buy plywood, but it solved two problems:
I really don’t need a whole sheet of plywood, and
Even the quarter sheets were difficult to get into my car…but not impossible.
I took the quarter-sheets home, and positioned the mold-template flush with one end of one of those sheets, and offset by two inches. I am building a collapsible mold, and I want 4″ clearance between the mold halves. I don’t need that much for mold removal, but I do need enough for my hands and forearms to reach up inside the mold and remove the screws holding the molds to the blocks. So a 2″ offset on the template will result in a 4″ gap down the center of the mold.
I traced the mold template onto the quarter-sheet, and it looked like this:
Template design traced onto mold plywood.
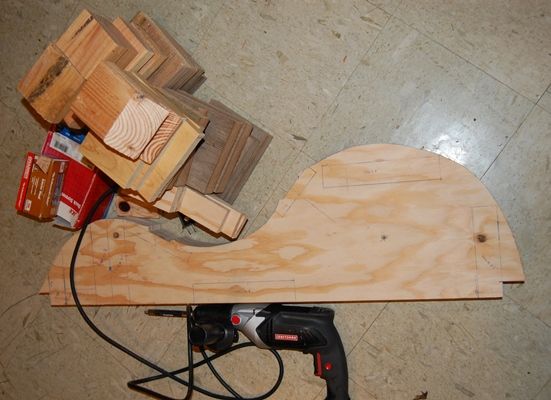
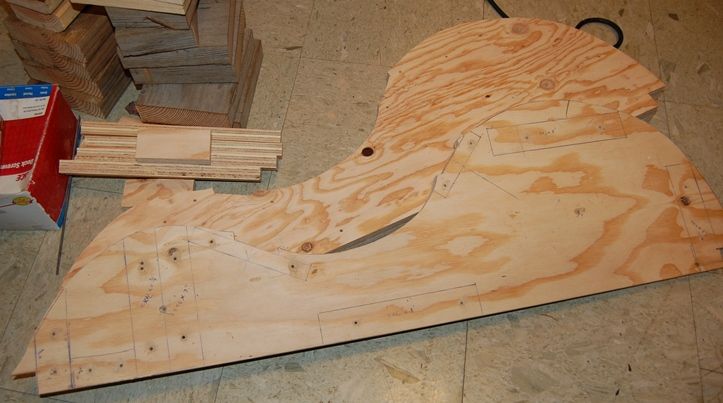
You can see that I also laid out the location and outline of the instrument blocks, the block mounts and all the spacer blocks that would become part of the mold. This took less than half of one of the quarter-sheets of plywood, so I sawed the sheets into strips, 11″ wide , and about 39″ long, and stacked them into a “sandwich” of four pieces, held together with two screws, countersunk flush with the surface. Then I sawed the whole sandwich out on the bandsaw, and smoothed the edges with the oscillating spindle-sander.
I cut all the needed blocks to complete the mold, and I was nearly ready to begin assembly.
All the mold parts–the four mold quarters are still screwed together in one piece.
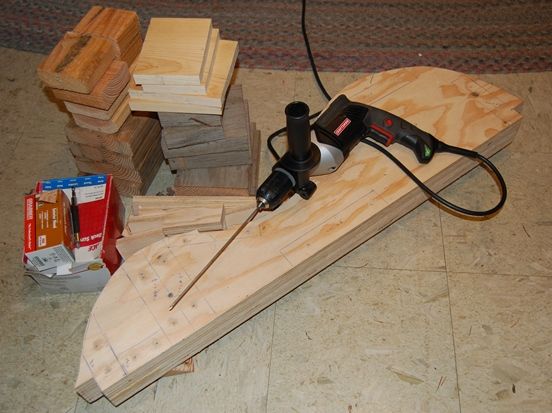
It was tempting to take the mold quarters back apart at this point, but, fortunately, it occurred to me that I could do all my drilling at once, so things would line up, and so that I only had to drill each hole once. So I made a drill bit out of a welding rod and drilled every screw location through all four plywood quarters. (Welding rods are way too soft for most uses; they use extremely low-carbon steel for the core wire of welding rods, but it was OK for this soft plywood.)
All the holes in one step.
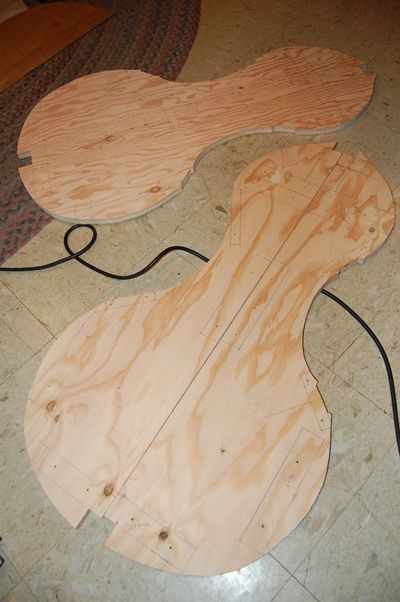
Finally I separated the quarters, and countersunk all the screw-holes.
Separated mold-quarters.
Assembling the Mold
I laid the mated pairs side by side, and lined up perfectly, then transferred the block locations and lines to each panel so that I could see where the blocks were to fit, on all four pieces.
Transferring the lines– it looks kind of funny, because the center 4″ is missing.
Then I assembled my spacer blocks and installed them:
Front and back with spacers.
Once the spacers were attached with screws, the front and back were pretty stable and I could begin assembly. The back plate still needed to be cut off at the beginning of the rib taper, so it could accommodate the taper, but I began by assembling (as many as possible of) the internal members to the front plate of the mold. It turned out to be pretty easy.
Beginning mold assembly process.
Then I positioned the back plate pieces on the internal blocks and screwed it down tightly. I have used no glue in the mold, so, if I need to make modifications it will be easy to do.
Front plate of the (nearly) completed mold.
Bass mold showing back plate “step”, and corner block mounts.
Bass mold with neck template for size comparison. Upper and lower block mounts are not yet installed.
The way by which I had intended to attach the upper and lower block mounts does not appear to be workable, so I will have to re-think that part. I had planned to install them on hinges, and to be able to screw down a steel bracket on one end to secure them, but it turns out that it will be too difficult to access the screws, so I will have to give it some thought and re-design that aspect of the mold.
At any rate; that is where the project stands for now.
I called the wood supplier, and they assured me that my European Spruce should show up today or tomorrow. No problem, really, but I want to get those plates joined soon. (I already have the local Big Leaf Maple in my shed, waiting to be used.) By this weekend, I hope to have the blocks installed and shaped, the front and back plates joined and the ribs cut. We’ll see how it works out.
Thanks for looking.
(P.S. : The wood showed up this evening… Good looking stuff!)
If you found this post helpful, please share with your friends!

 Follow