
 Follow

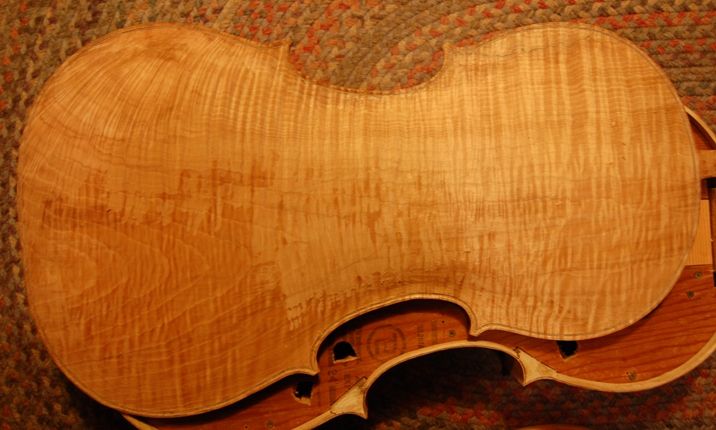
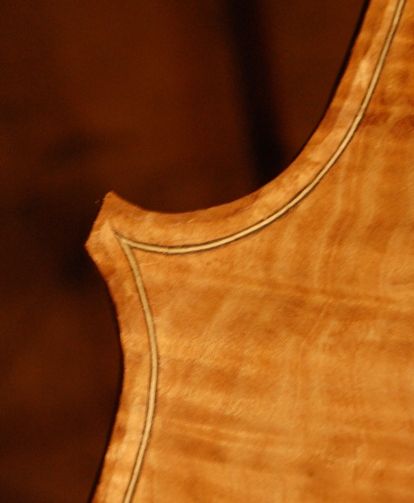
Purfling channel and recurve begun, with final arching on the way.
Mark the crest, first
There are several ways to do this, but I used a compass, with the pencil withdrawn a few millimeters. I wanted to establish the crest of the edge about 40% of the way in from the outer edge of the plate to the edge of the purfling. In this particular case, the purfling is 5mm from the outer edge, so I set the compass for 2mm, and carefully traced all the way around the plate, so that I had a visible guide to follow with the gouge as I carved out the channel.
What gouge?
I used three different gouges: two have a curvature about like the ball of my thumb…no idea what specific sweep…one with a long handle, the other quite short. The third is a much smaller gouge I used specifically in the corners. Every few minutes I stopped and honed the gouges, or at least stropped them. You have to work very carefully to avoid tear-out in carving the channel on very curly maple. I used a rotating motion with the gouges, so that the wood and purfling was being sliced away, and was less likely to split.
What plane?
Once I had the channel cut all the way around, I switched to Ibex planes and began fairing the curve from the bottom of the channel up onto the highest areas of the plate. Occasionally I switched to a tiny flat Stanley plane to smooth out the ridges left by the curved sole Ibex planes.
It is still pretty bulgy, but looking better. All still quite rough…at this point I am more anxious to move a lot of wood than to move it smoothly. As I get closer to the final shape, I will take pains to make sure everything is smooth.
Here are a couple of pictures…not terribly clear, but I think you can see the progress.
I was getting pretty tired, so I am going to call it a night. I hope to get more done tomorrow night.
Tonight I worked with the small planes until I was soaked in sweat and a blister was beginning on my thumb. All I got done was the longitudinal arch pretty close to final and all the cross-arch positions on the treble side fairly close (not done at all, just in the ballpark). I was hoping to get a lot more done, but I am calling it a night.
Once I get all the cross-arching locations (1-5) as close as I want, I will have a checkered surface with bulges between all the cross-arches and along both sides of the longitudinal arch. But those “grooves” along the template lines will be my guides, so that I don’t go too deep anywhere. So I will plane the bulges down until all the curves fair together into one reasonably smooth continuum, smooth it all with a toothed Ibex plane, then a stiff scraper, etc. until I am satisfied, using a low-angle light source, that there are no bumps or hollows left to smooth down.
Then it will be time to work the inside.