
 Follow

Two Bass Bars
How I install bass bars:
The bass bar in a violin-family instrument serves to support the bass-foot of the bridge, and the bass-side of the front plate (also called the “table” or, the “soundboard.”) Without adequate support in the proper place anong that side, the bass tones will sound quite flabby and unconvincing. The following is only a description of how I install the bass-bar, not telling anyone else how it ought to be done.
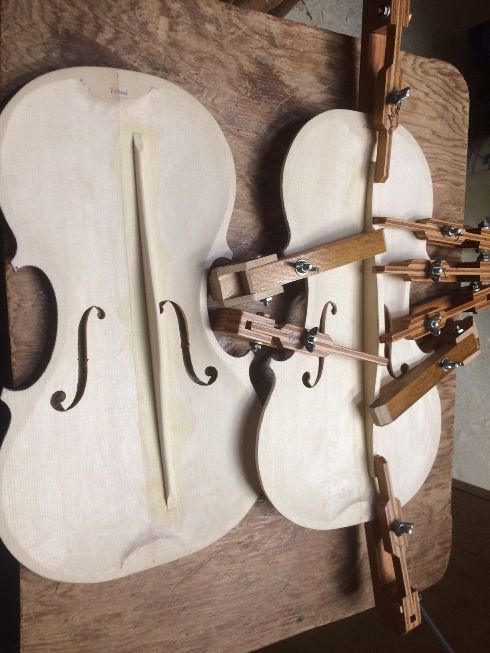
We always make the bass bar of European spruce, with the grain vertical to the plate; thus, flat-sawn to the bass-bar, itself. I begin by laying out two locations, one seventh of the distance from the center seam to the widest part of the bass-side edge at both upper and lower bout. That usually translates into about 15 mm off the center, at the widest point of the lower bout and 12 mm off center for the same place in the upper bout. I strike a line through those points , checking to see if it is far enough away from the inner eye of the bass-side f-hole to actually accommodate the completed bass-bar If it is not, then I move the line over a couple of millimeters, as needed, to gain clearance at the f-hole. Then I measure 40 mm inboard along the line from the upper and lower edges of the plate, to designate the end locations for the bass bar.
I cut the bass-bar blank to length, and plane it to the appropriate thickness, then hold it on the lines I have laid out, essentially perpendicular to what will be the plane of the ribs. I use a compass, set to the maximum gap at the bottom center of the bassbar, to scribe the contour of the plate onto each side of the bass bar. (Notice that, due to the compound curves of the violin plate, the two marks will not be the same. This is important.) Once I have both sides traced in accurately, I carve away the excess wood outside the line, to follow the line as closely as I can manage. I try to achieve a straight line between the two, regardless of where the two lines go, because that will follow the complex curves of the plate.
I double-check the bass-bar against the plate, and usually it is surprisingly close to fitting, at this point. So I use a strip of the paper-gauze tape available in pharmacies, about an inch wide, to cover the layout lines I had scribed into the plate, and then proceed to chalk-fit the bass-bar on top of that tape. The tape is very thin, so that I can see the lines through it (although I do trace them again onto the tape, to make them even easier to see.) But the tape is also so thin that, if I can get a perfect fit on the tape, when I remove the tape, I will have a perfect fit on the plate, as well, and no chalk residue to remove.
The hardest thing for me to learn in chalk-fitting, was to only remove the transferred chalk and the wood immediately under it, not the whole area. Frequently the culprit in an imperfect fit is actually quite a small area, so it is counter-productive to remove too much wood.
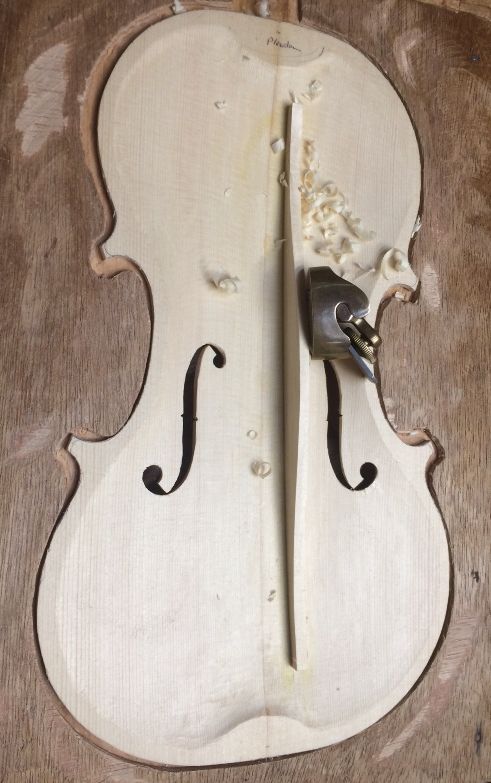
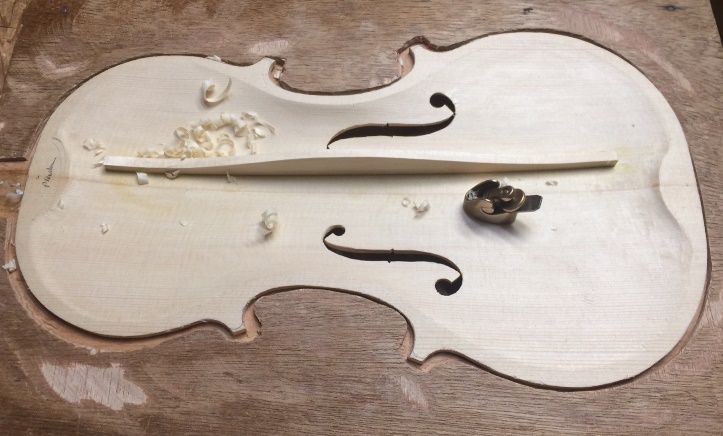
I chalk the tape, along the layout lines, and then press the bar into place, sliding it lengthwise a few milimeters back and forth to pick up some chalk;. I plane or scrape off the high spots where the chalk transferred, then try again. When I get a more or less full transfer of chalk from tape to bass-bar, I know the fit is acceptable. Then I carefully remove the tape, and (finally) glue and clamp the bar into place. Usually, I trim the bar a little, first, so it is nearly the correct shape on the top surface, so the clamps will fit more easily.
After the glue has dried and the bar is rigidly secured, I use finger-planes to trim the bar to the size and shape I want.
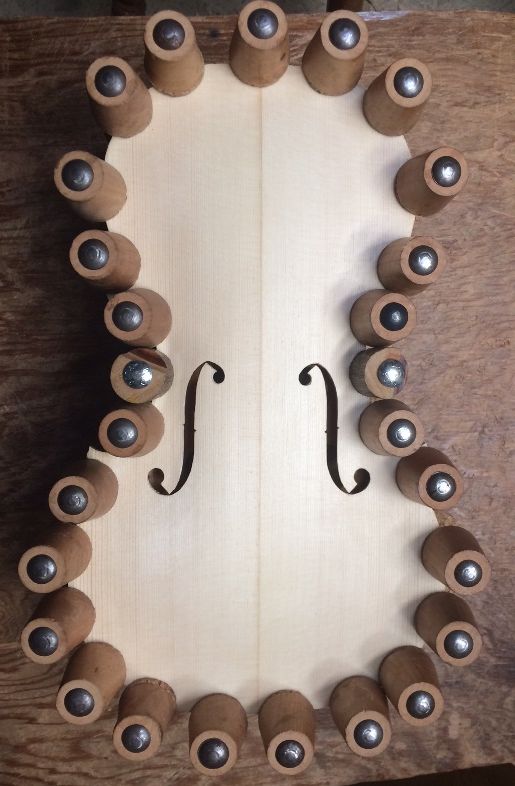
Installing the top plates
So, the next task is to complete the inner edgework, and then install the top plates on the rib garlands. I plane a tiny bevel around the edge of the plate that will face the ribs; then file it to a curve, nearly quarter-round, flush with the outer rim of the plates. Then I position the plate on the garland as precisely as possible (sometimes things seem to have moved a bit, so I have to compromise a little.) Finally, I loosen a few of the spool clamps at a time and slip hot hide glue into the joint, using a thin palette knife. I clean up all around, so as to not leave glue on the outside of the violin.
Finally, the plate is fully glued and clamped, and I wait for it to dry.
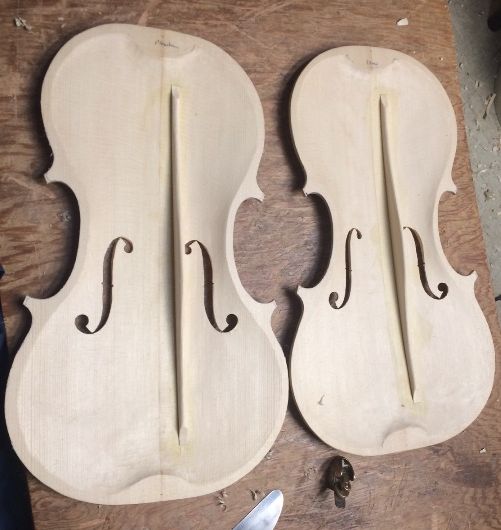
After the top plates are installed, I trace the European Maple back plates and cut them out. Here are the two garlands with the top plates installed and the back plates cut out:
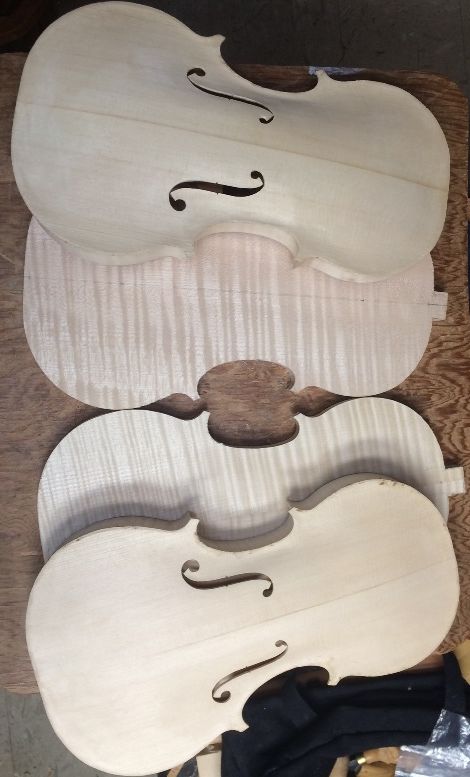
Next stop will be arching the back plates.
Thanks for looking.