More Plowden Progress

Please share with your friends!

More Plowden Progress

Graduation

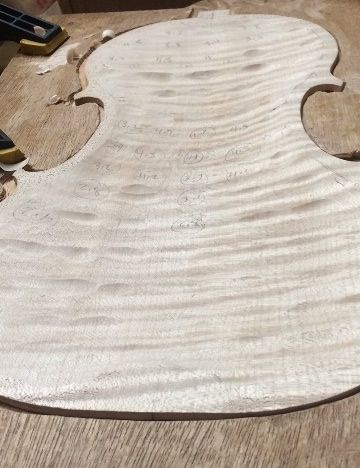
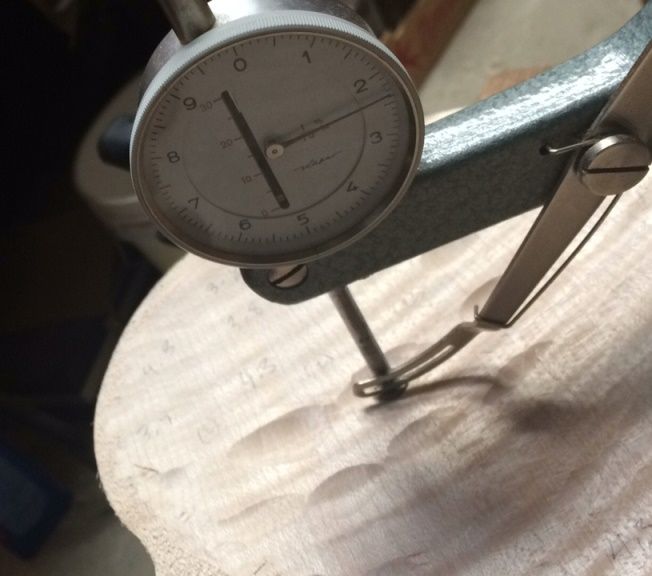
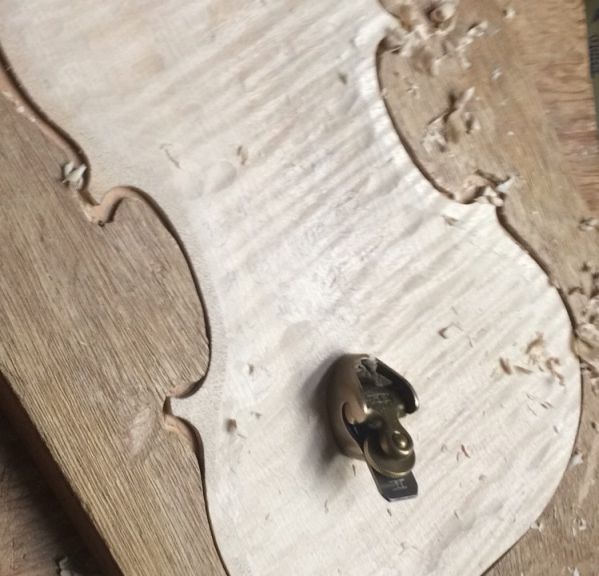
Graduating hard maple can be a tough, laborious job. Besides, there is always the possibility of carving too deeply and ruining the plate. So, I try to cut the risks by creating a “map” by marking the thickness every few centimeters, and then carving the “dots” until each “dot” is about the thickness I want. Finally, I connect the “dots”, using planes and scrapers, checking for thickness as I progress.

Creating the dots.
Creating the dots. The circled numbers are already the correct thicknesses.


Checking thickness.
Checking thickness. Pretty thin plate!


Connecting the dots.


Getting there!
Getting there!


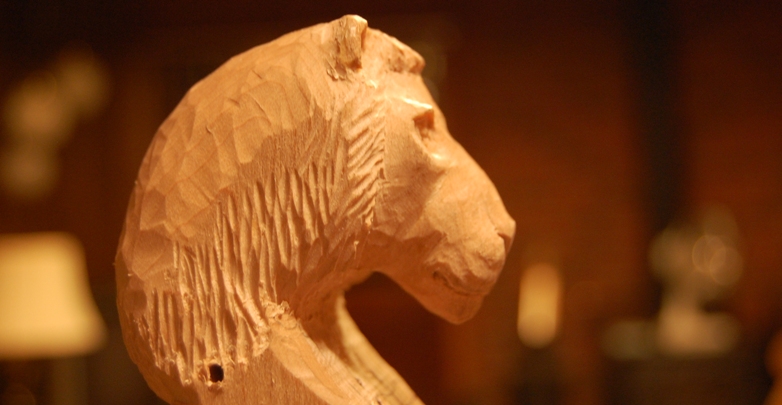
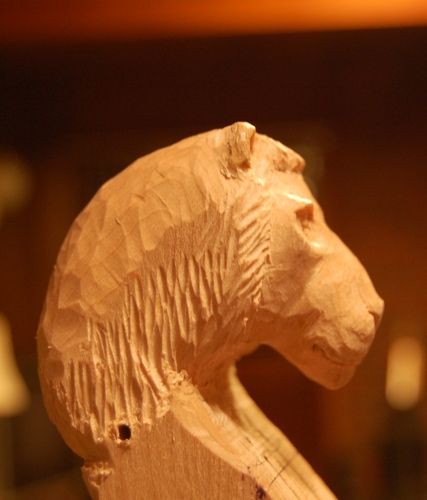
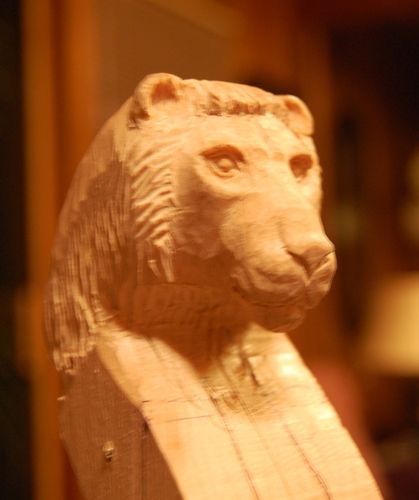
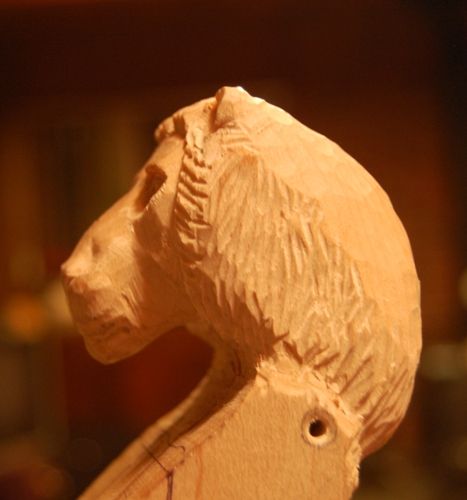
Grafted Scroll and Neck-Set

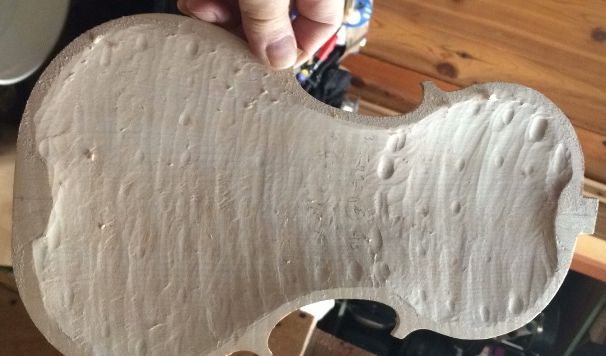
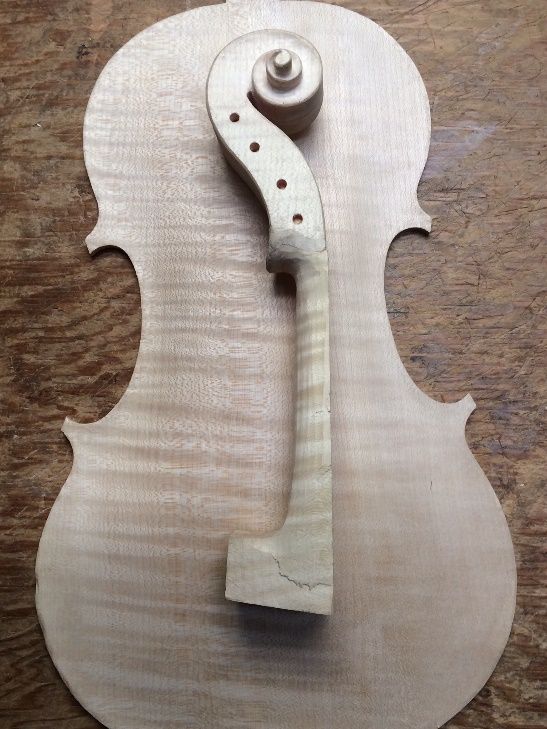
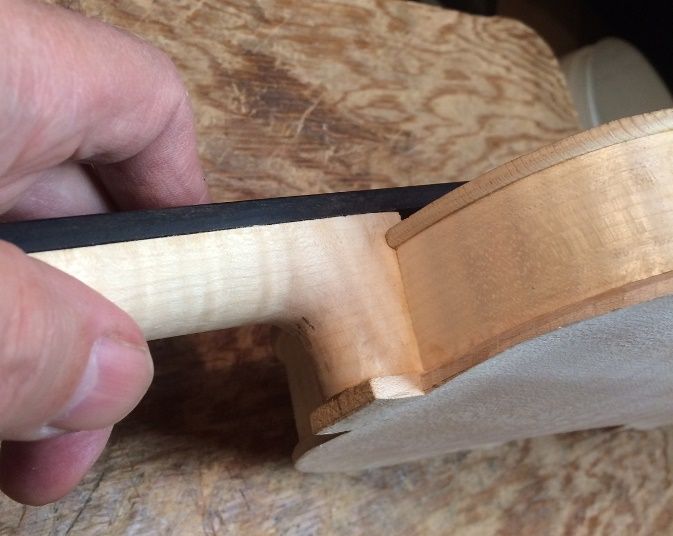
Once the graduations are complete, and the inside of the back plate has been scraped completely smooth, I install the label and I am almost ready to close the corpus. In this case, however, I also had decided to use the scroll I had carved, but graft a new neck to the scroll, as the original neck was too thin: so there was a good deal more work involved. Here is the grafted neck, partially shaped, with the completed back plate:

Completed back plate with neck-grafted scroll.
Completed back plate with neck-grafted scroll. The heel was still not shaped.

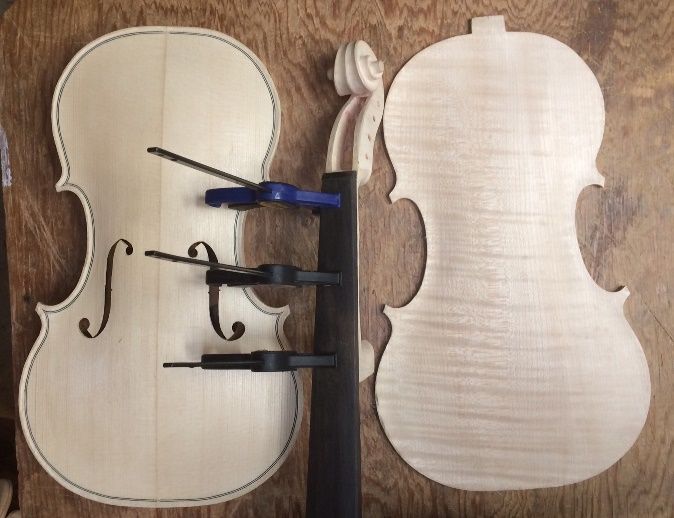
I had been anxious to complete the back plate, and had not yet set the neck. So I completed the neck and installed the fingerboard.

Fingerboard installed.


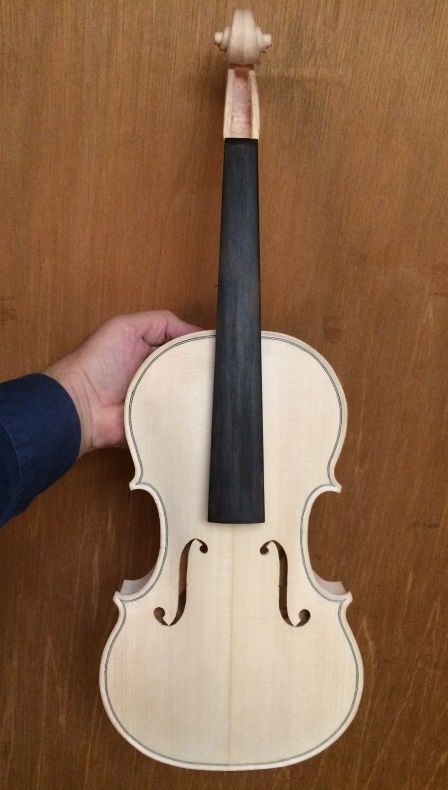
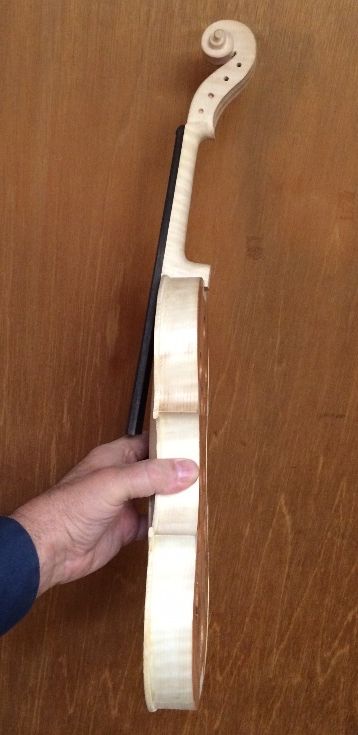
Next I set the neck, so that the angles were all correct.
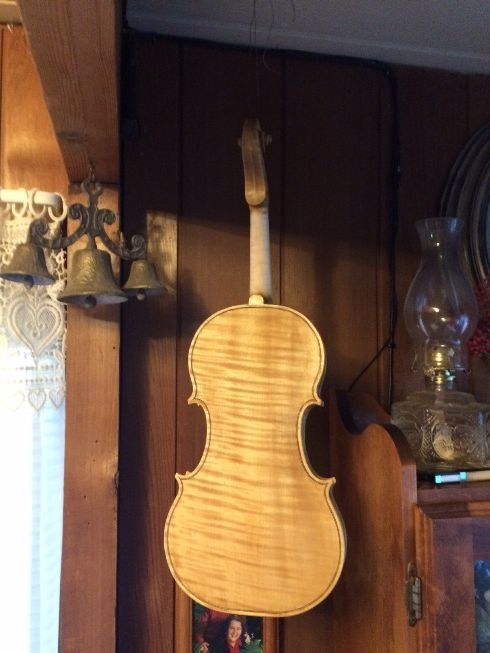
Neck-set, front view.
Neck-set, front view. The mold is still in place.


Neck-set, side view
Neck-set, side view. Notice that the neck heel has not been trimmed flush, yet.


Closing the Corpus

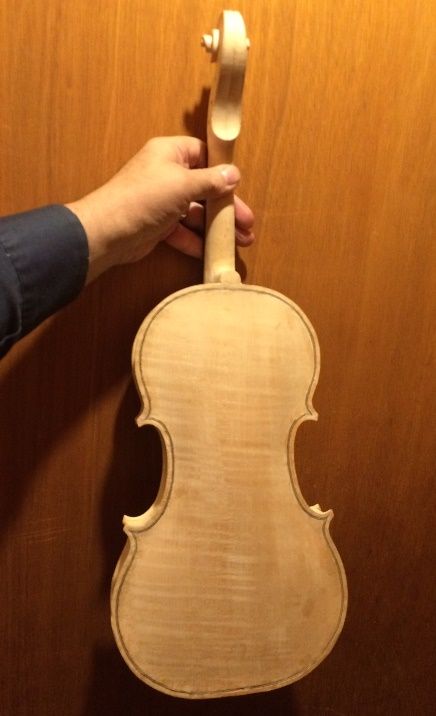
Then I removed the mold, and installed the inside linings on the back edge of the ribs, shaped the linings and the blocks, flattened the back of the garland, and installed the back plate. I use spool clamps and a single large spring-clamp to close the corpus. My wife thinks the spool-clamps look like old-fashioned hair-curlers.

Closed corpus with spool clamps and a spring-clamp.


Trimming the Button and Neck Heel

Once the glue was dry, I removed all the clamps, cleaned off any glue that had squeezed out of the joint, and trimmed the button and heel. The dimension from the juncture of the top edge of the front plate and the side of the neck heel (from each side) to the very center of the curve of the heel, should be right at 26 mm. You can see the two marks I laid out with a compass, testing that distance: it was still a little too high in the center of the curve, so the neck needed to be trimmed a little more.

Ready to trim the button and heel.


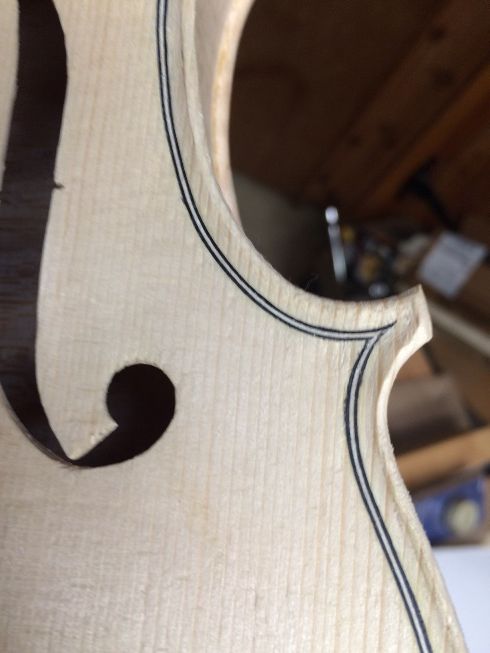
Purfling the Back Plate

Once the neck-heel and button were trimmed, I still had to perfect the outline of the back plate, making certain that the overhang was even all around, as much as possible. Then I laid out the purfling slot, using a purfling marker, and began incising the outlines of the slot.

Incised purfling slot.
Incised purfling slot. It will be corrected, and fine-tuned as I work, and look good with the purfling.


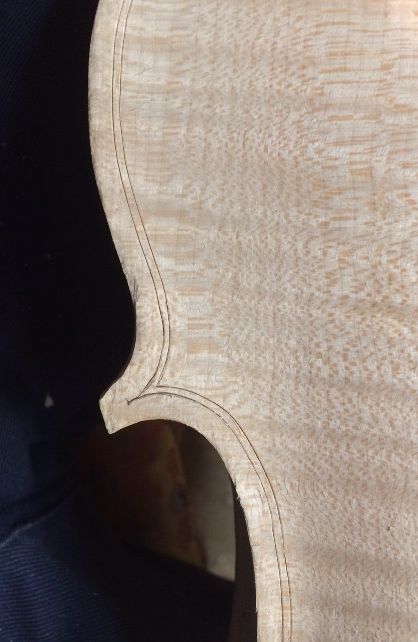
Next I cut the slot out, using a small knife and a purfling pick, then dry-fit the purfling, after bending it on the bending iron. Finally I glue it in place, using hot hide-glue.
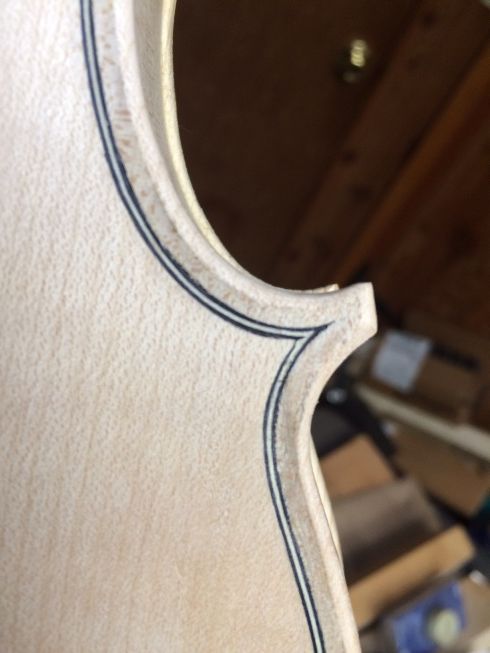
Purfling installed, and glued in place.


Edge-Work

I marked a crest-line, about 1.6 mm in from the outer edge, then used a gouge and scrapers to carve the channel, and fair it into the plate surface. The edges were all still quite rough,and crude, so I began shaping them, using a small plane, and a half-round file, then sandpaper to get a smooth edge all around. I don’t use sandpaper much, but this is one place where it is appropriate.

Trimmed purfling, smoothed channel, and edges taking shape.


The front edges have to be finalized as well.


Finishing Process Begun

Once all the varnish preparation is complete, I brush a coat of coffee all over the instrument, to tan the wood a little, and raise the grain. When that is dry, I sand off most of the raised grain, using 400-grit sandpaper. This ensures that the grain will not raise too much during application of the spirit varnish, later. Afterward, I rub in a coat of gypsum in a coffee suspension, to fill the pores of the wood with particles of the mineral. This keeps the varnish from saturating the wood, and possibly dampening the sound.

Mineral ground drying.
Mineral ground drying. See how it obscures the wood? that goes away when the sealer is applied.


Back with sealer.
The sealer renders the mineral ground transparent, and it will never be visible again.


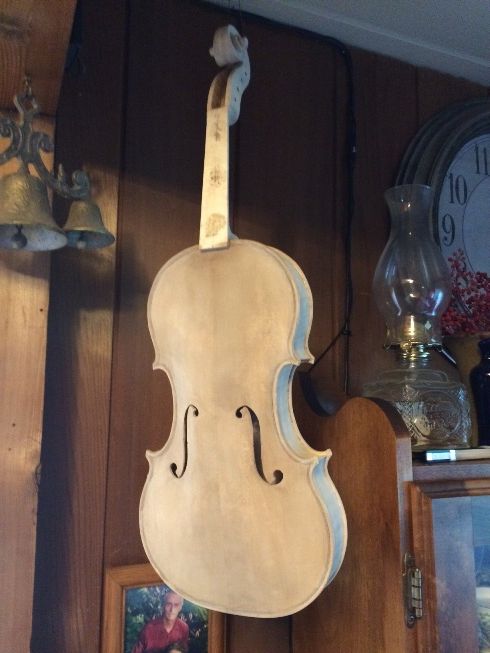
I expect that, by tomorrow, the sealer will dry sufficiently that I can begin varnishing. I am getting anxious, as the show is a week from tomorrow, and I am far from completing this instrument.


Thanks for looking.


If you found this post helpful, please share with your friends!

Lion-head viola in progress

Please share with your friends!

Not your “typical” Lion-head viola

So many of the “lion-head” instruments of the past have been either so highly stylized that they were unrecognizable, or so poorly carved as to achieve the same result, or, when done in a completely recognizable fashion, were representative of a snarling, dangerous beast which I find difficult to associate with a viola. I wanted the dignity and power of the lion– the majesty, to coin a cliché, and not the predatory beast.

Grafted Scroll

I wasn’t even sure I could carve such a head, so, rather than risk a perfectly good neck-billet on a gamble against my questionable artistic ability, I decided to plan a grafted scroll. I have done this in the past, but this is the first time it was planned. Usually, a scroll graft is a repair, or a major alteration. In some (relatively rare) instances, a maker will perform a scroll graft in the new-making process, so that the new instrument will seem to be old. (No deception involved, it is just that virtually all instruments made before 1850 now have a scroll-graft, as a result of a shift in musical demands, and changing construction styles. Most of the “baroque” instruments were re-worked in this way, so that very few have the original neck.) The scroll-grafts I have done were repairs, up until now.

Knowing that there was a very good chance that my lion-head might not turn out well, I chose a very hard, even-grained maple block for the head, and only enough of the pegbox area to permit a graft. When/if the head turns out acceptably, I have a viola neck billet prepared to graft into the hard maple head, and after that it can be treated as any other scroll/neck for a viola.

Lion-head in the making

This is how the Lion-head looks for the moment. The mane will have to fair into the cheeks of the pegbox–(which haven’t been sawn out, yet, as full-width is easier to hold in the vise.) That will have to happen soon, to finalize the shape of the head and mane.

Oliver Lion-head Scroll (unfinished)
Lion-head scroll from bass side


Oliver lion-head scroll (unfinished)
Lion-head scroll front quarter
Oliver Lion-head scroll (Unfinished)
Lion-head scroll from Treble side

16.5″ Oliver Viola

The proposed viola is 16.5″ on the body, with a one-piece big-leaf maple back, and Sitka spruce top. The neck is big-leaf maple, except for the hard-rock maple head. (BTW, that hard-rock maple really earns its name– it was really hard to carve). As the viola is one of my own design, it is labelled an “Oliver” viola (my middle name, and that of my Dad and Grand-dad.) I use that name for all the instruments I design myself. Any design I copy from someone else’s work, I label as “Modelled after…”

The other violas I have made to this design (same body as #11 Oliver Viola– see the chronology) have had very good tone…I seriously doubt that the lion-head will affect the tone significantly for better or worse. But some people like a traditional scroll and will not like the lion. Others may find the lion attractive. We’ll see how folks respond. So far, I like it.

If you found this post helpful, please share with your friends!