Follow

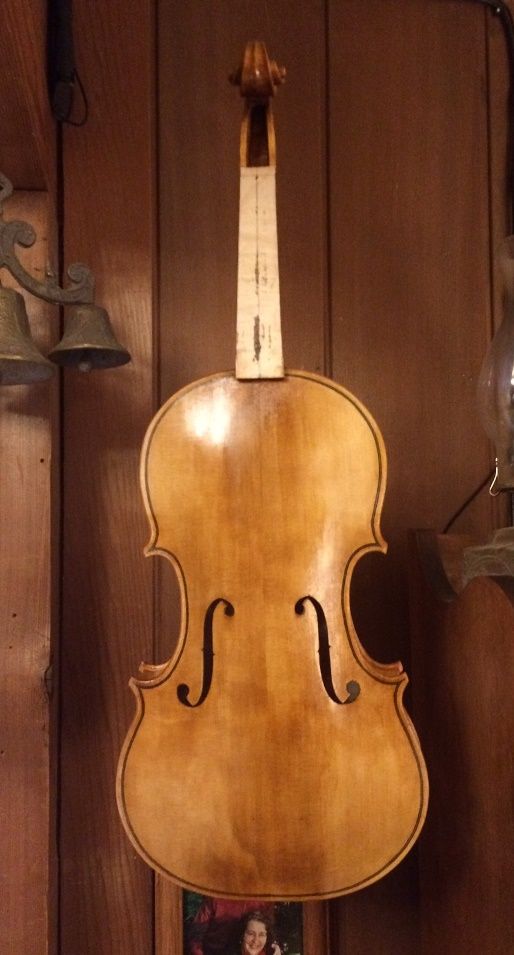
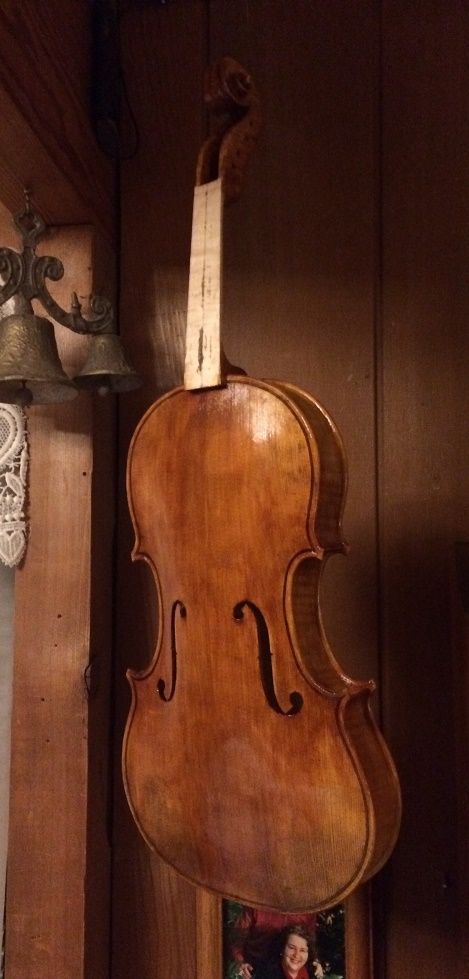
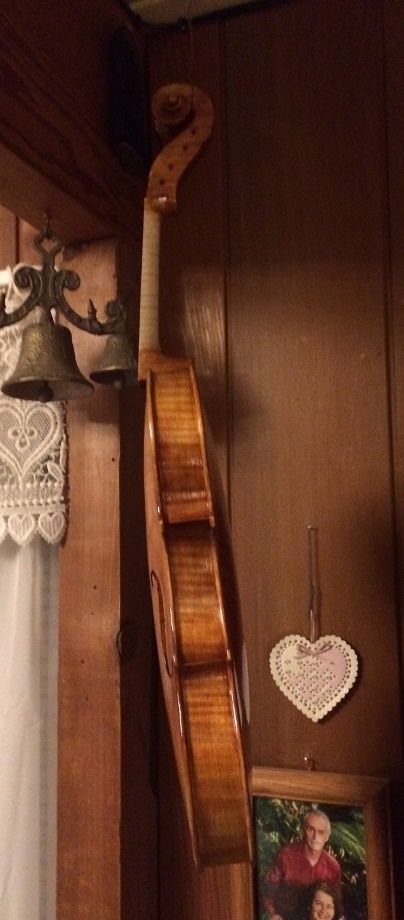
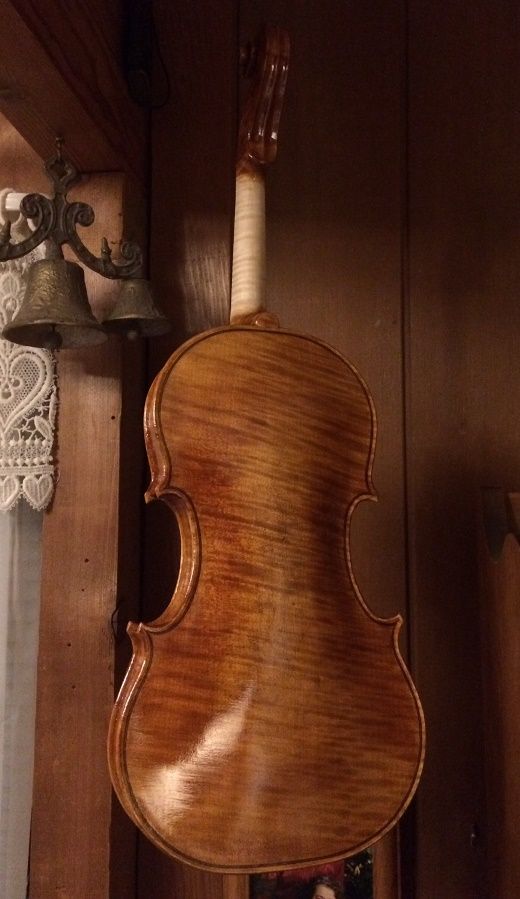
Beginning the Finish
Pre-varnish Scraping and Shaping
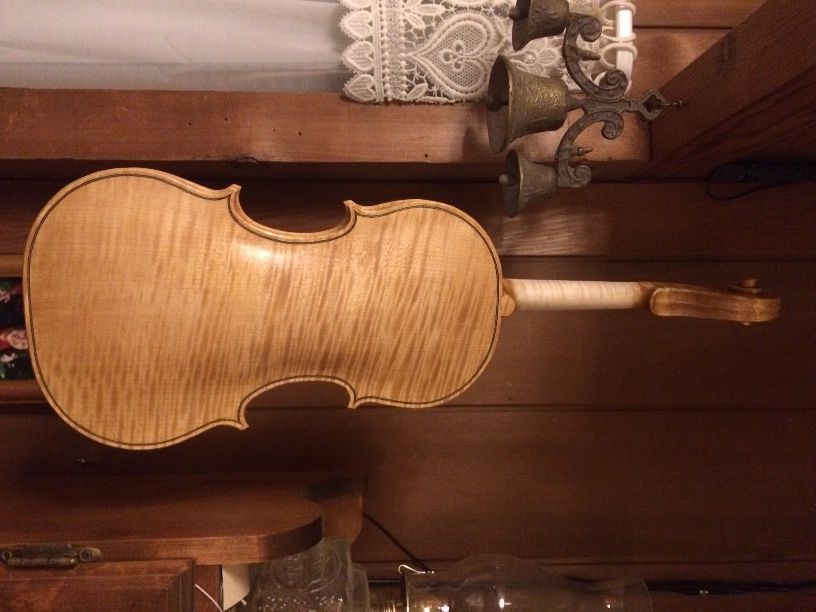
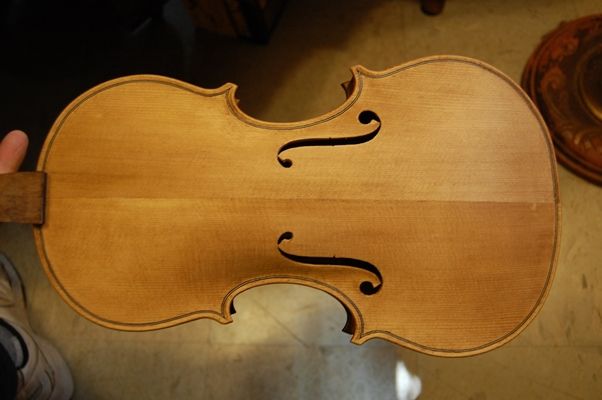
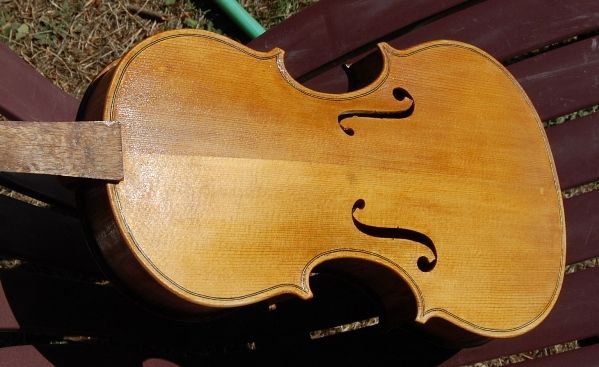
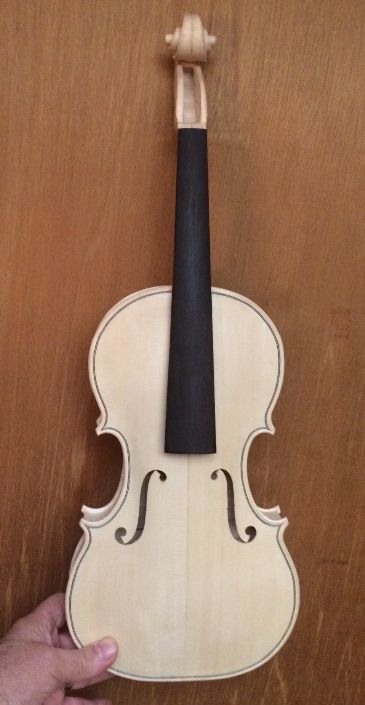
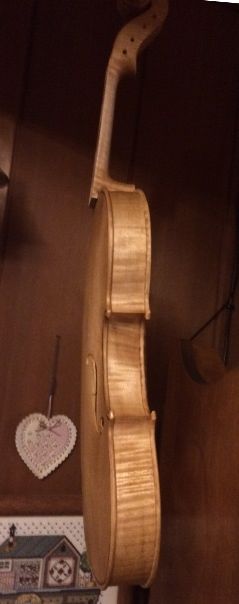
Before any finish materials can be applied, the wood has to be about as perfect as I can make it: so I scrape it to its final shape, then dampen it with coffee, to simultaneously raise any fibers that had only been flattened by the scraper blades, but not smoothly sheared off, and, hopefully, add a slight “tan” to the wood, while doing no harm.
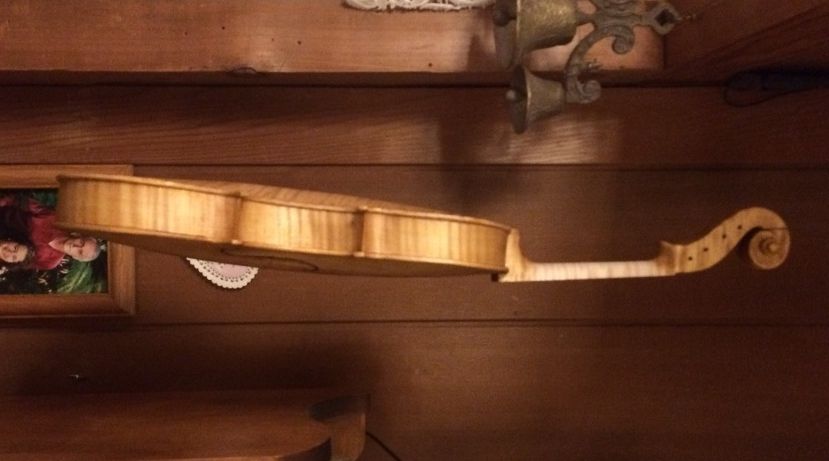
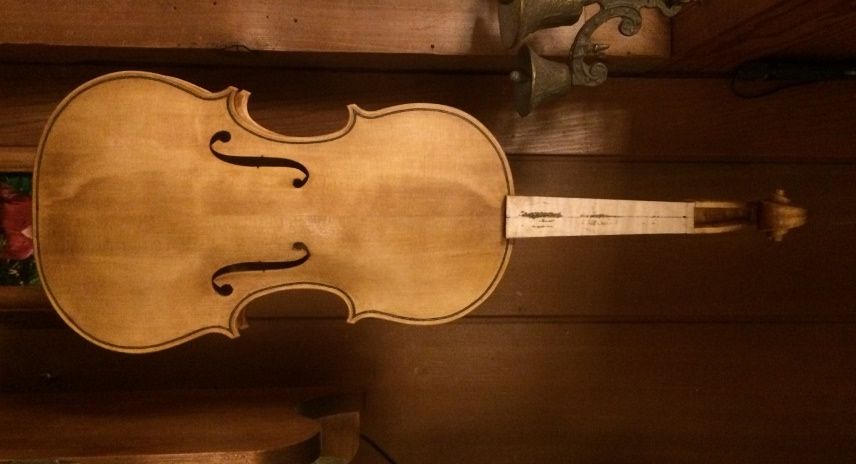
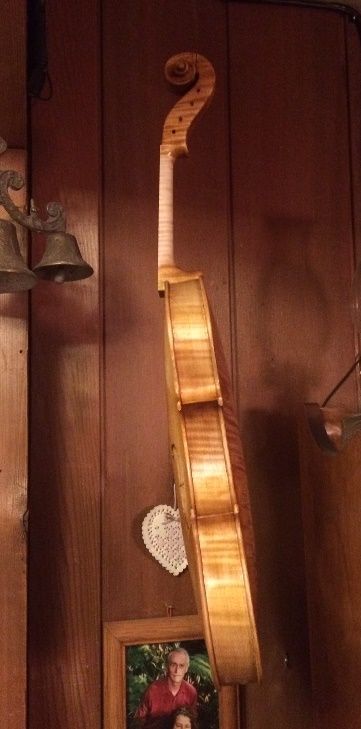
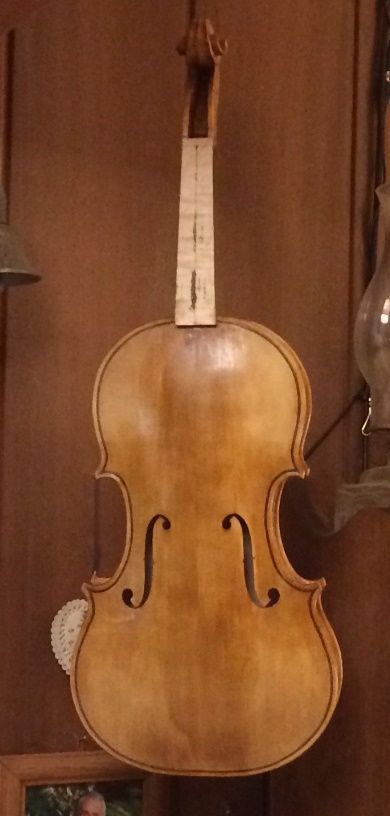
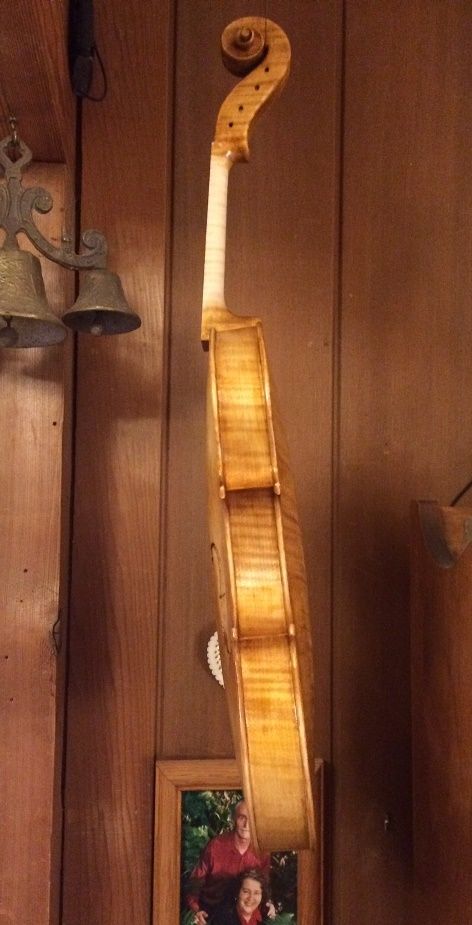
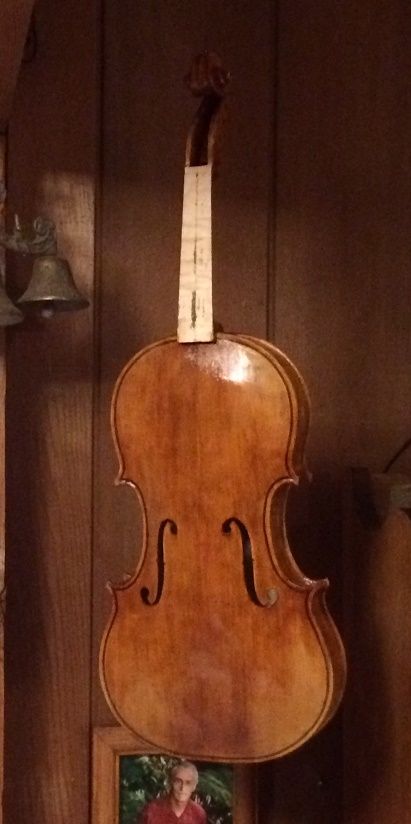
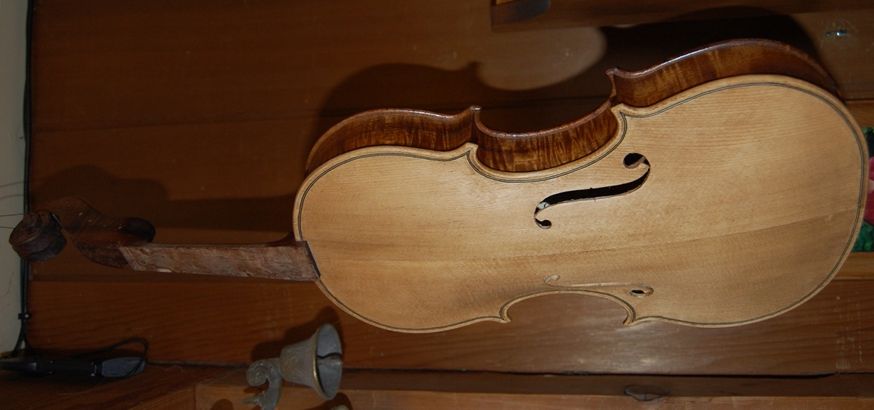
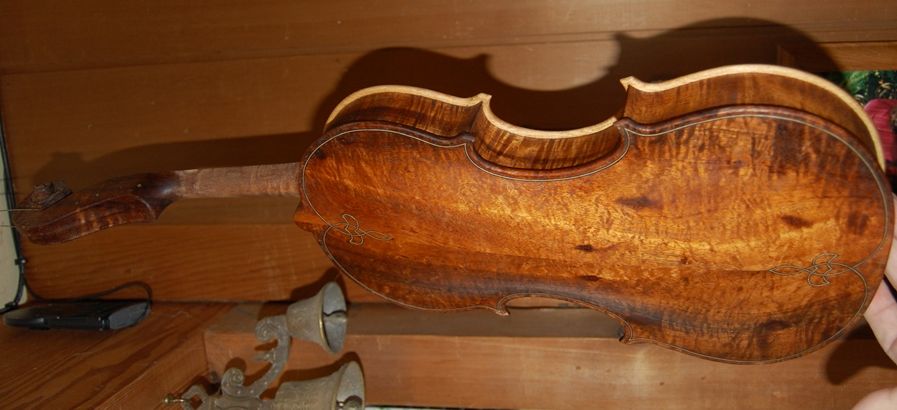
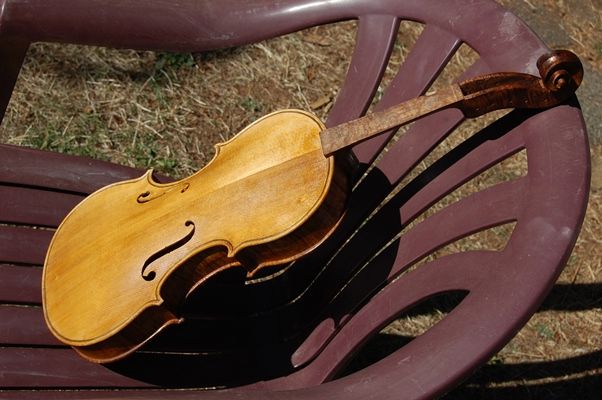
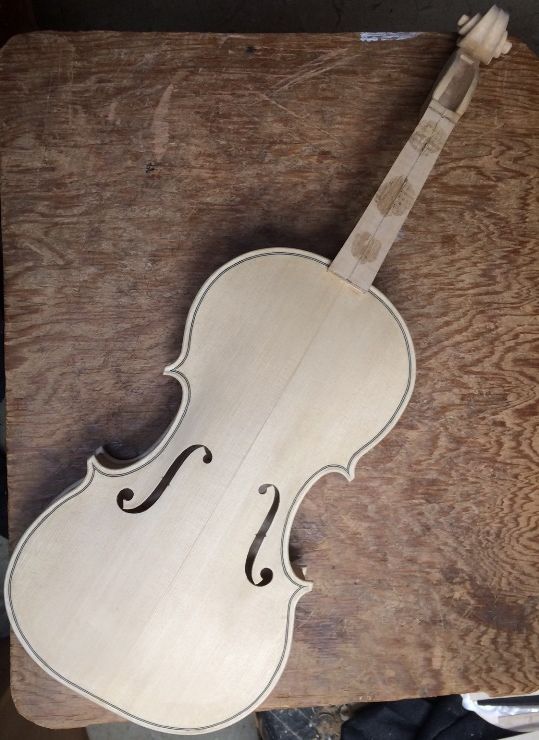
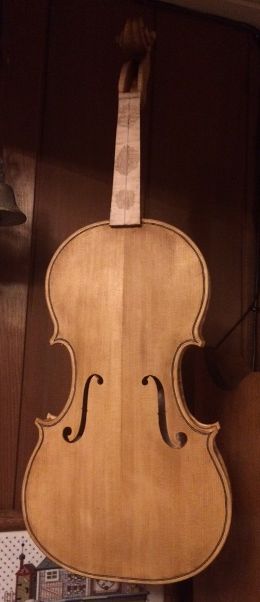
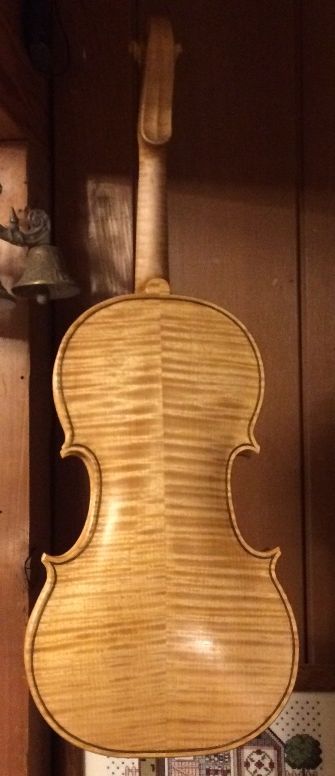
Thus, having removed the fingerboard (which had only temporarily been installed) and having applied two coats of coffee, allowing the wood to dry between coats, and having sanded lightly, all over, with 400-grit paper, to remove the raised fibers, and any excessive “corduroy” effect, the instrument went from looking like this:
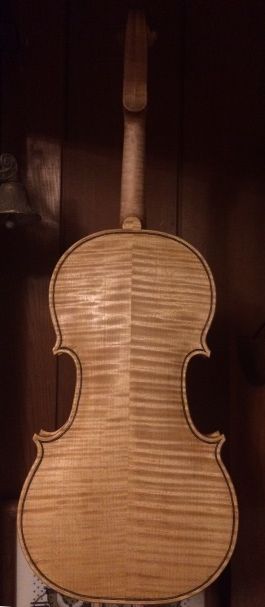
To looking like this:
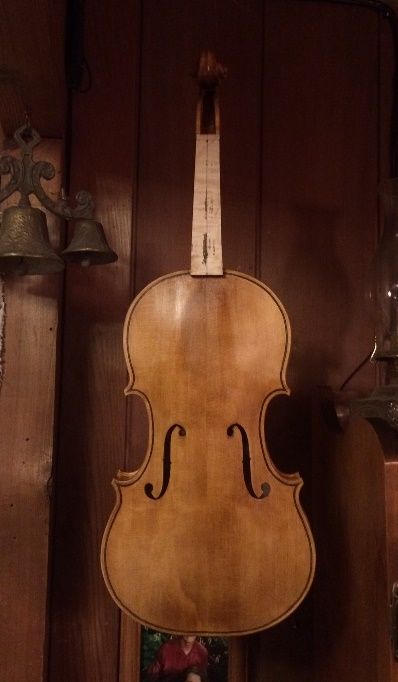
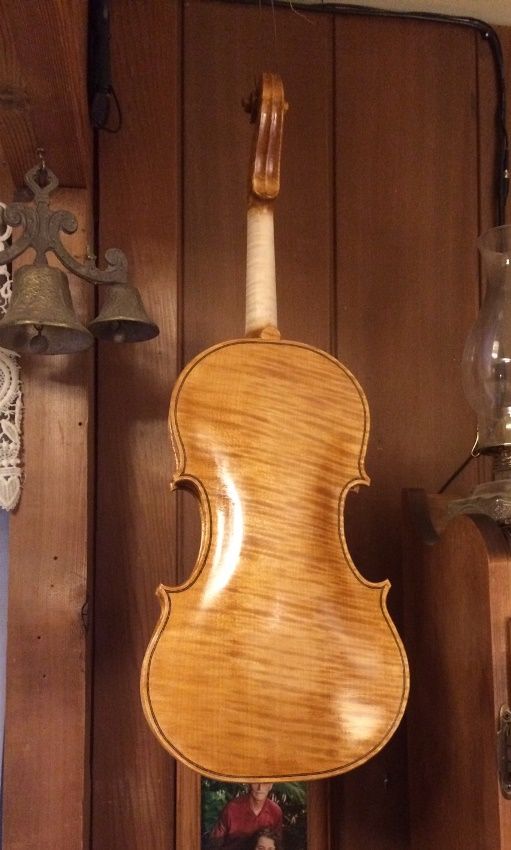
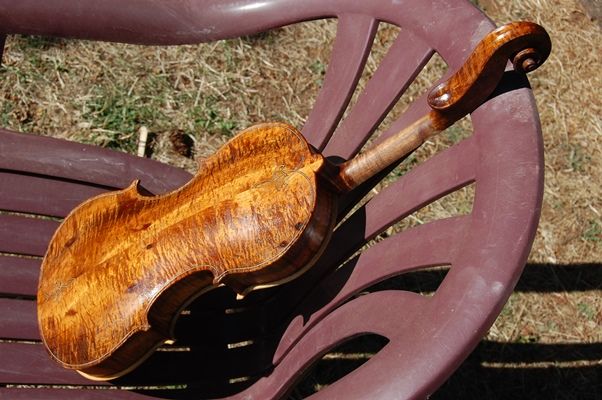
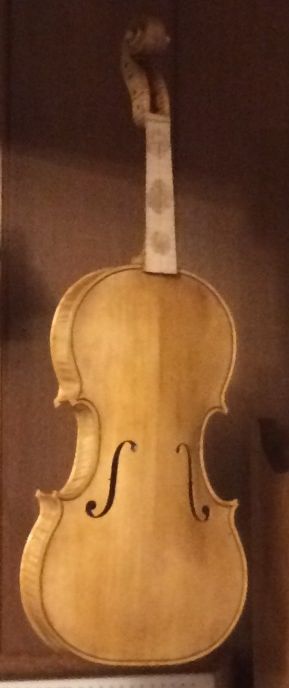
Then it is time to begin the real finish: I first coat the wood with a coffee-suspension of very fine, powdered gypsum, hoping to add more color as I fill the grain with the gypsum. I vigorously rub this suspension into the wood, hoping to encourage the tiny particles of gypsum to actually settle into the pores of the wood, so as to fill them, and to slow down the absorption of varnish. It is considered undesirable, in general, to have the varnish really soak into the wood, as it tends to dampen the vibrations that make the sound. Some varnishes are more detrimental than others, but this is something I learned by reading Roger Hargrave’s notes. He is a world-class expert, so I tend to believe him that this is a good idea. I try to remove as much as I can of the excess mineral “ground” before it completely dries, rubbing hard, with a rag, but any that has settled into grain irregularities, I simply skim over, and leave it there.
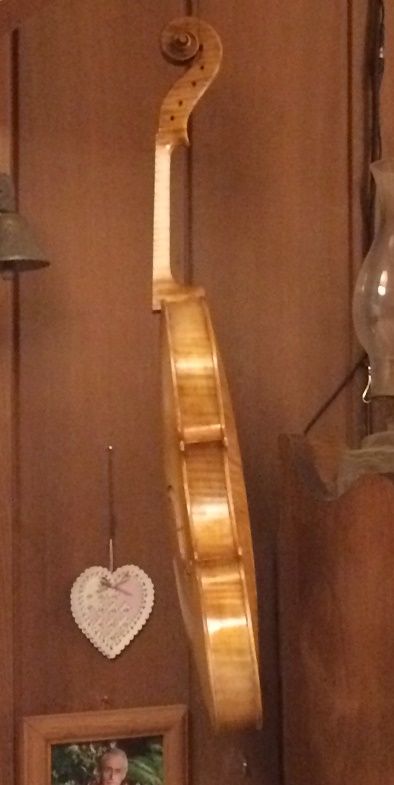
So, after the gypsum has been applied, it looks more like this:
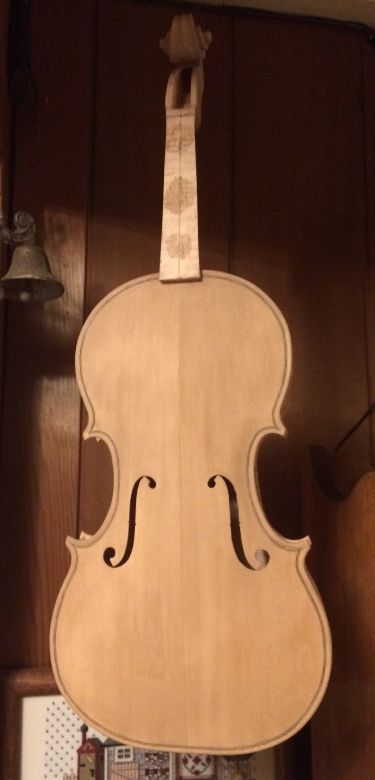
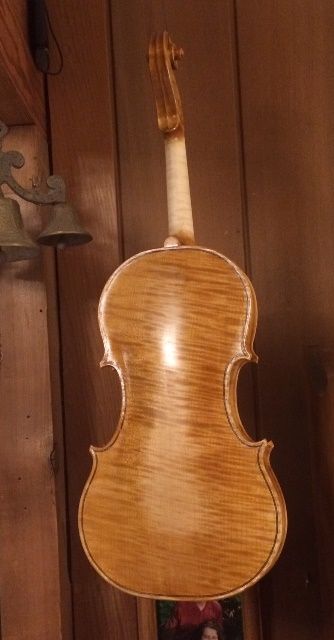
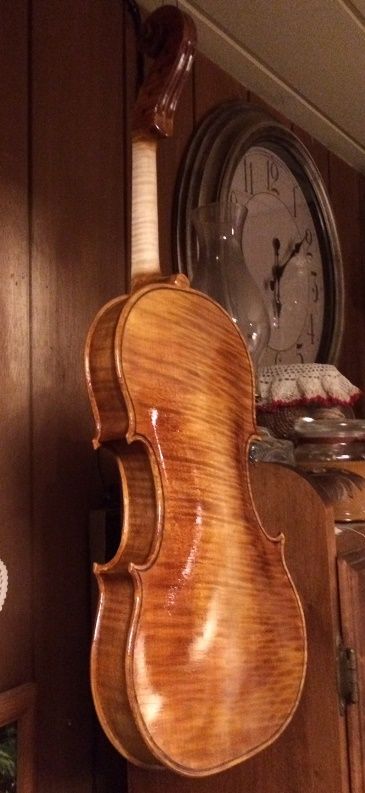
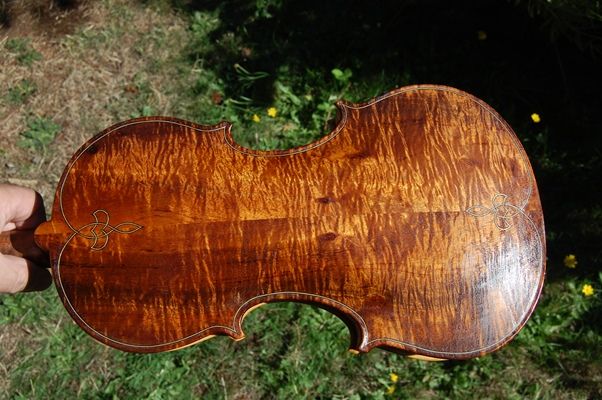
The sealer locks the gypsum into wherever it has been lodged, and clears the obscurity, making the gypsum completely invisible. The sealer I am using now is a concoction of pine resin, turpentine, and alcohol, with a little yellow tinting. The turpentine and alcohol evaporate, leaving the resin in the wood.
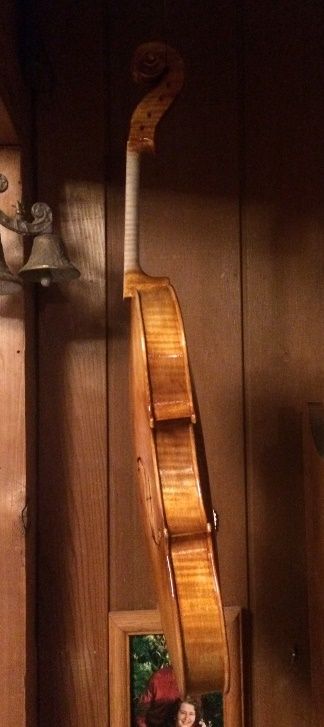
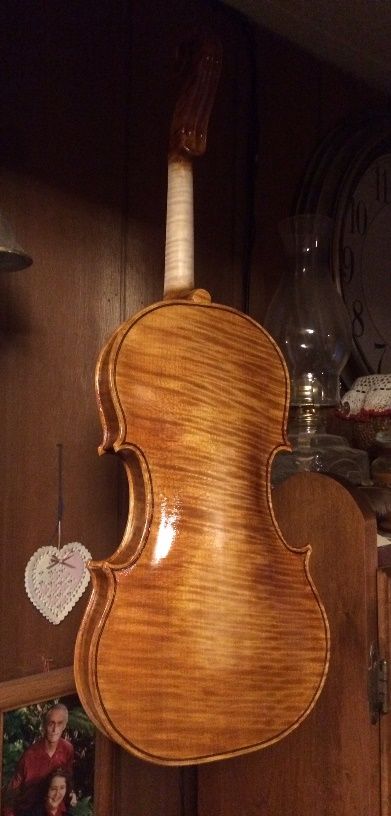
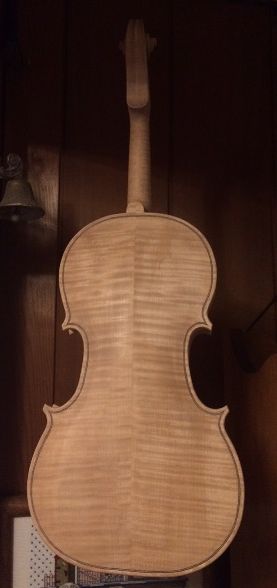
After the sealer dries (a day or so), I begin applying the various coats of varnish: the first two or three coats are fairly yellow varnish, but after that, I begin adding the colors that will characterize the finished instrument.
From this point, forward, the instrument will become increasingly darker, leaning toward reds and browns. Ultimately, I will try to emulate the look of the 1715 “Titian” Stradivarius violin, after which this insrument is supposedly modeled. We will see how it turns out.
Thanks for looking.