Purfling and graduating the back plate

Please share with your friends!

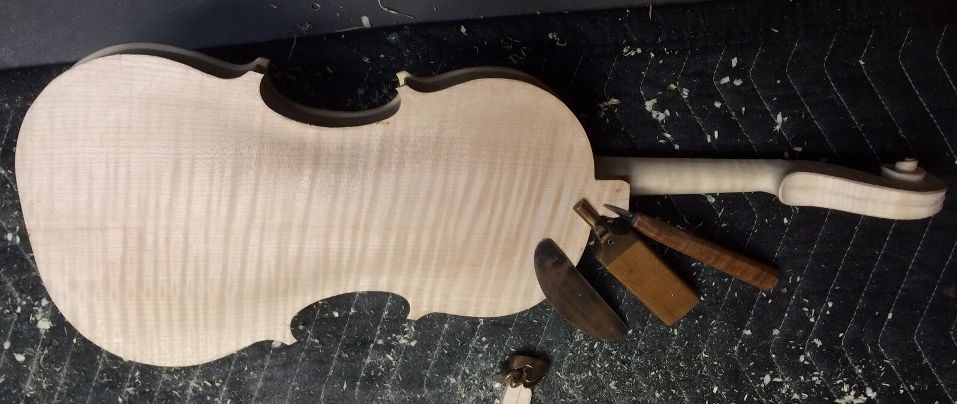
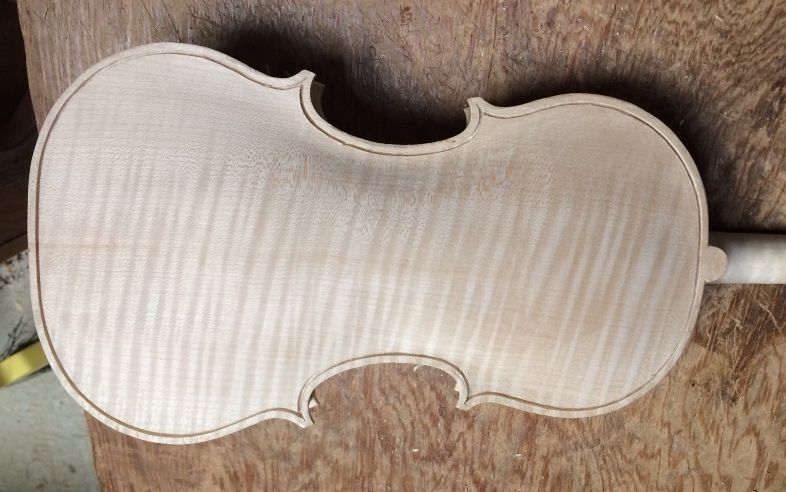
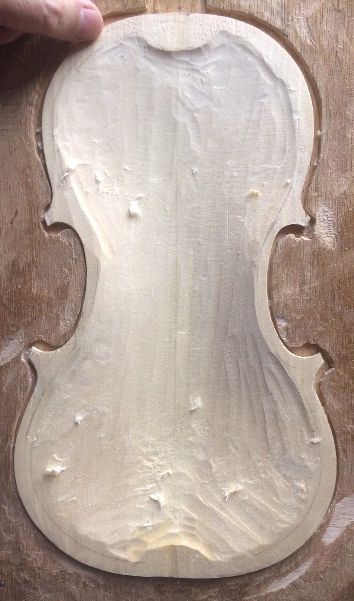
Purfling and Graduating the Back Plate

Purfling came first, this time.

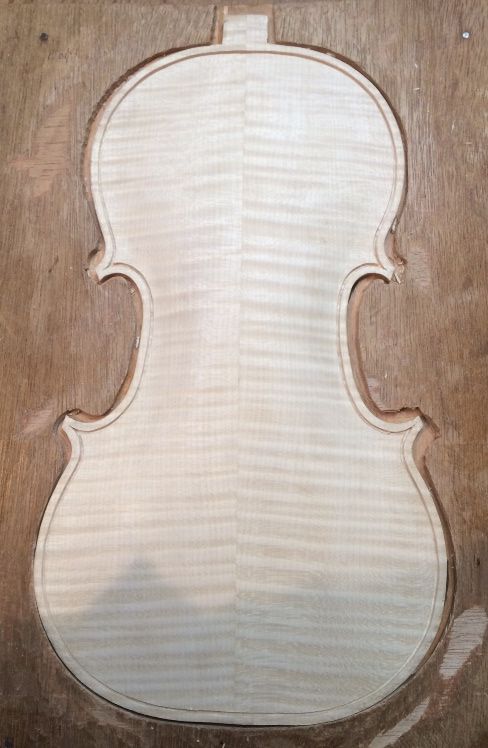
I decided that I would prefer to purfle first, then graduate, on this plate. Maple is much tougher than spruce, and I wanted maximum mobility as I cut the purfling slot, as well as avoiding any danger to the rest of the indtrument when forcing the purfling into the glue-filled slot. It can require a great deal of pressure.


I used the purfling marker to trace out the location of the purfling slot.


Then I began incising the sides of the slot, and removing the waste wood.
Then I began incising the sides of the slot, and removing the waste wood, with a purfling pick.

I always forget, between instruments, just how tough the European maple is. I always find that I have to take breaks once in a while, and allow my hands to rest.


Back purfling slot.
I always find the back purfling to be physically difficult, but it is easier to do clean work.


Back purfling slot complete.


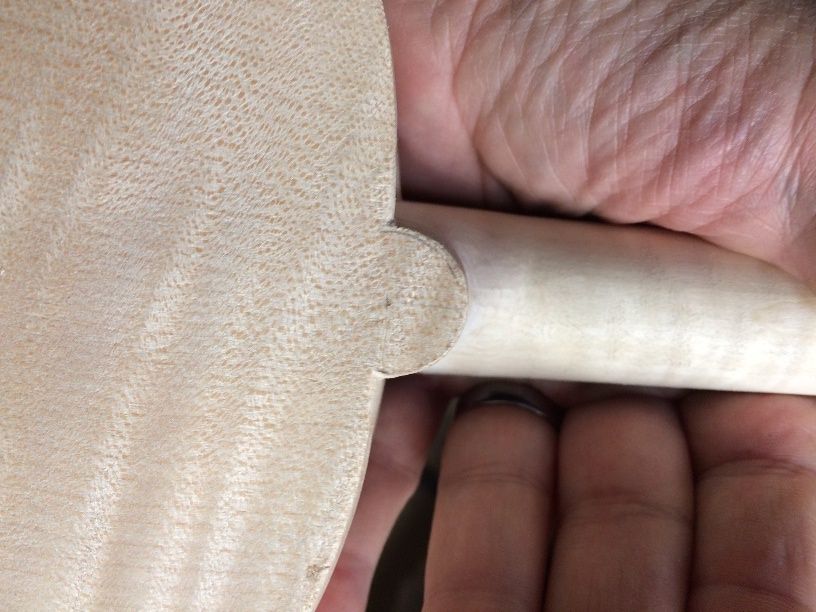
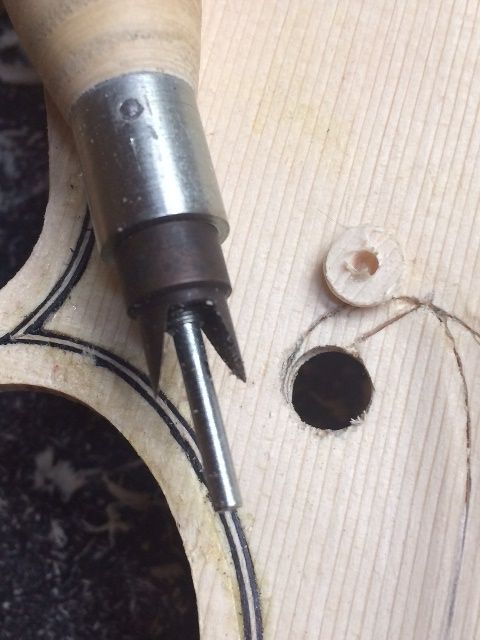
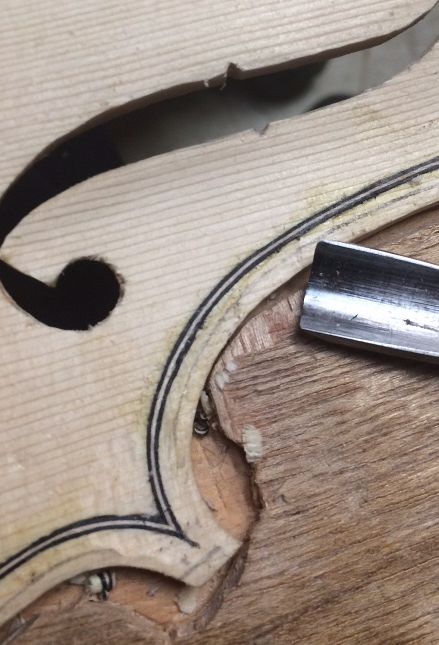
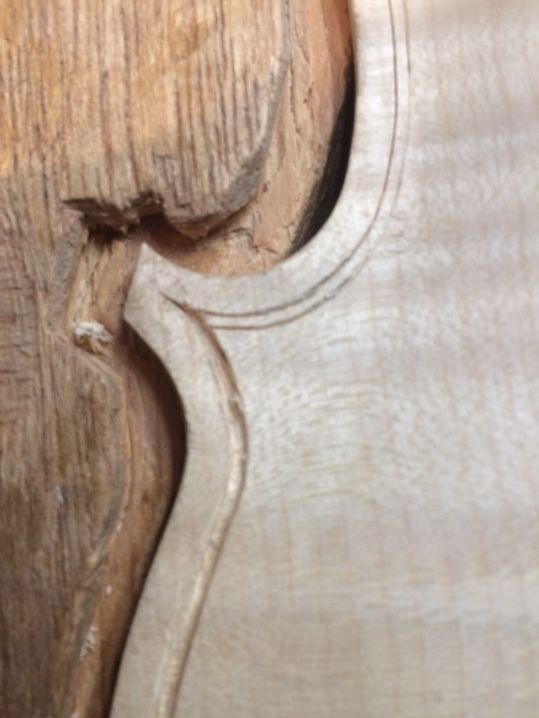
After cutting the slot and removing the waste wood, I double-check the width ans depth of the slot by inserting a scrap of purfling into the slot, and dragging it around the entire slot, so that I know the purfling will fit cleanly.

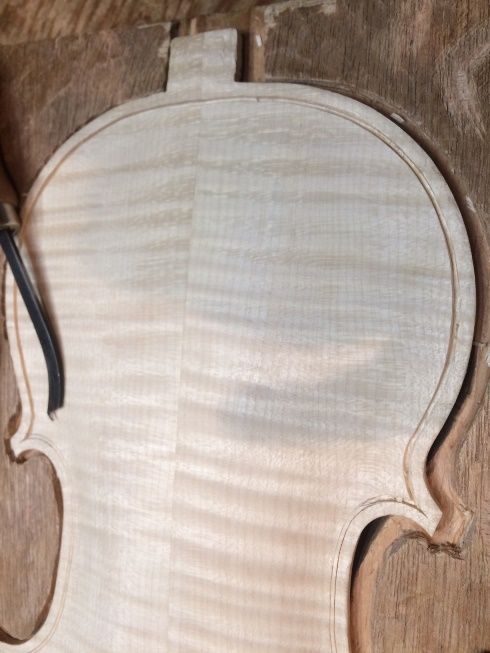
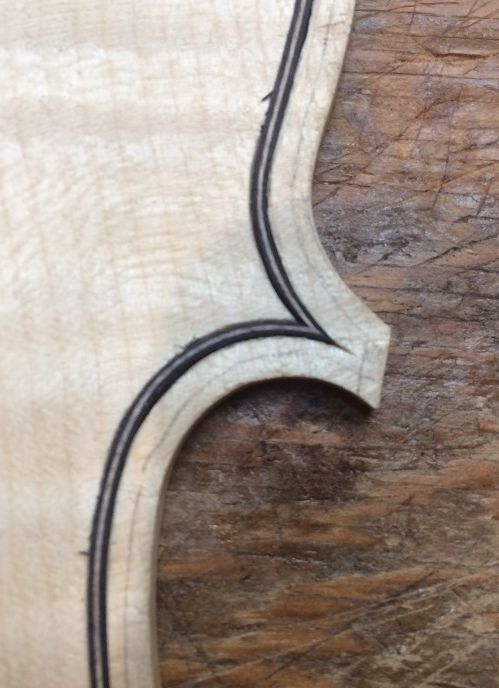
Then I use a bending iron to bend the purfling, I cut the miters for the “Bee-stings”, and I insert the purfling, dry, to get a perfect fit.


Purfling installed dry.


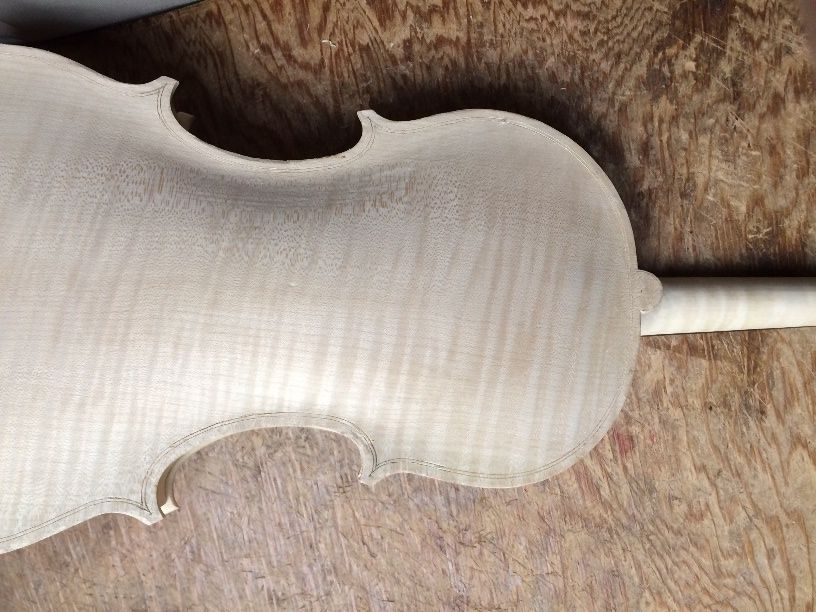
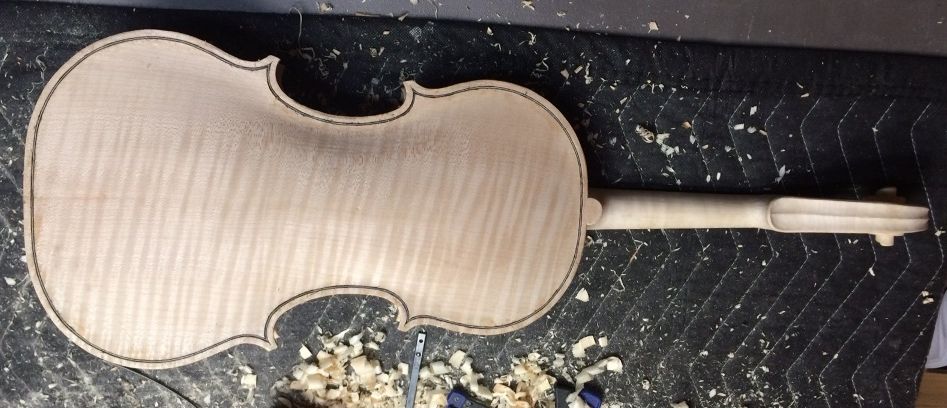
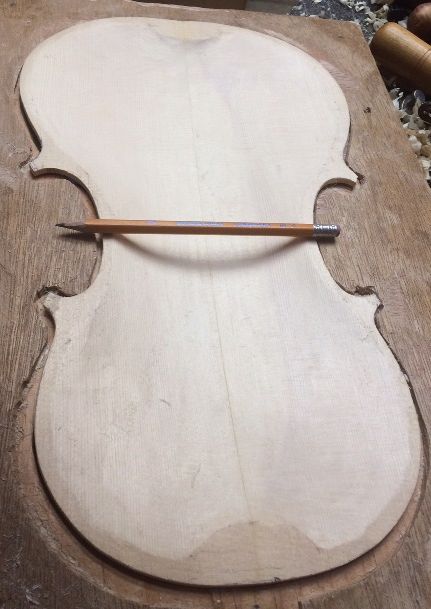
Before I start gluing, I also take time to mark the edge of what will be the “crest” of the edgework, so that I don’t gouge too deeply or too wide, when cutting the channel. After gluing, it is difficult to get the pencil to mark on the wood, if it is either damp or glue-coated.

pencilled-in crest marks.
If you look closely, you can see the pencilled-in crest marks.


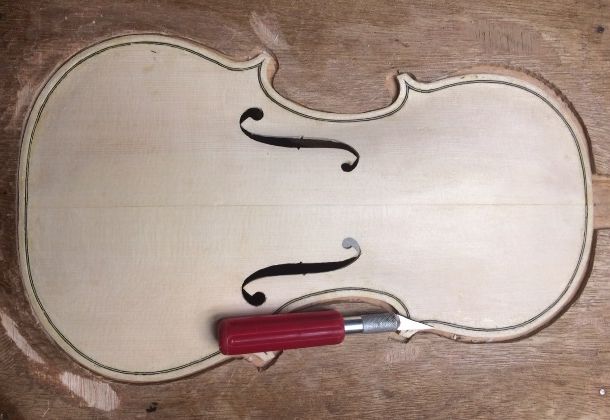
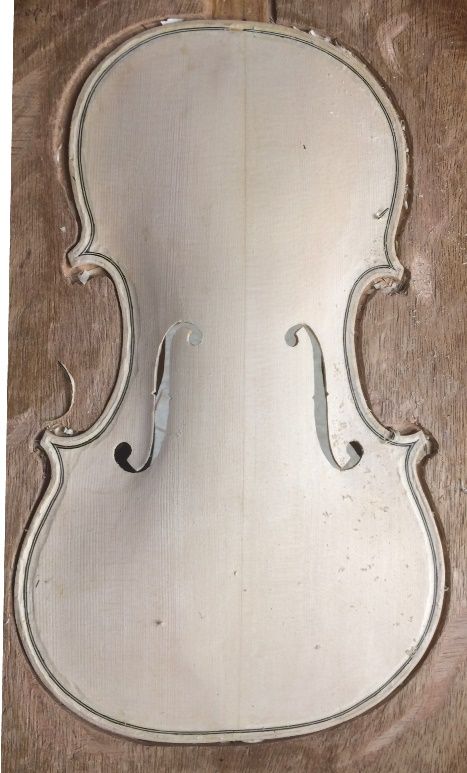
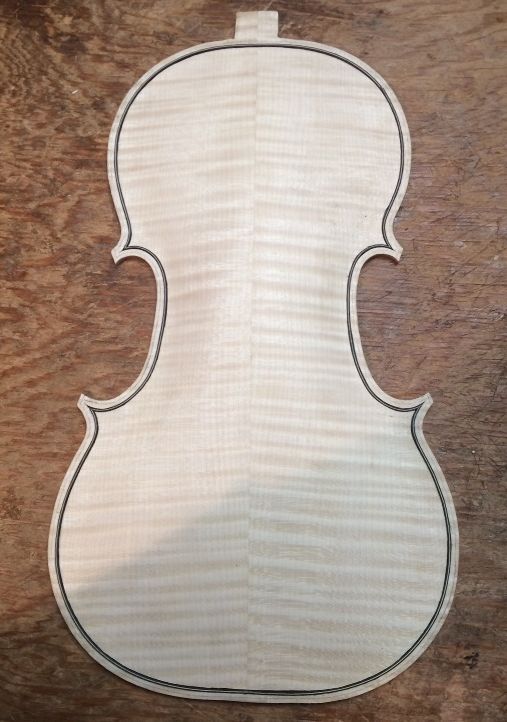
Finally, I lift out each purfling segment, one at a time, and slip hot hide glue under the purfling, then quickly press the purfling back down into the slot. I use a hard plastic roller to help force the purfling deeply into the slot.


The purfling is glued in place
The purfling is glued in place, and I can cut the channel now.

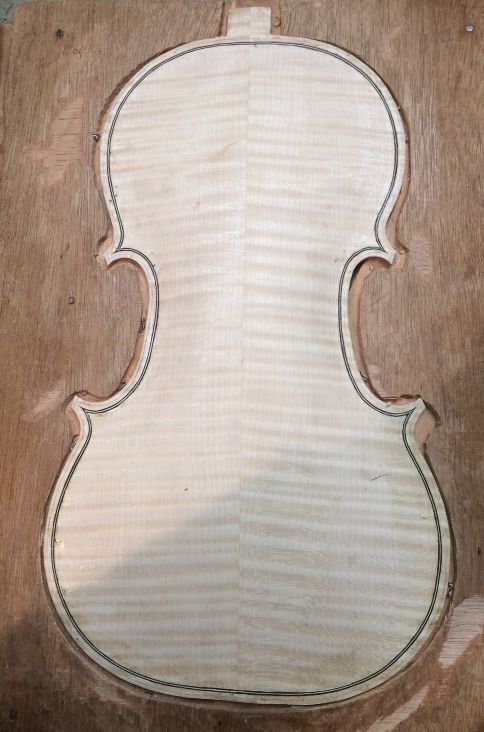
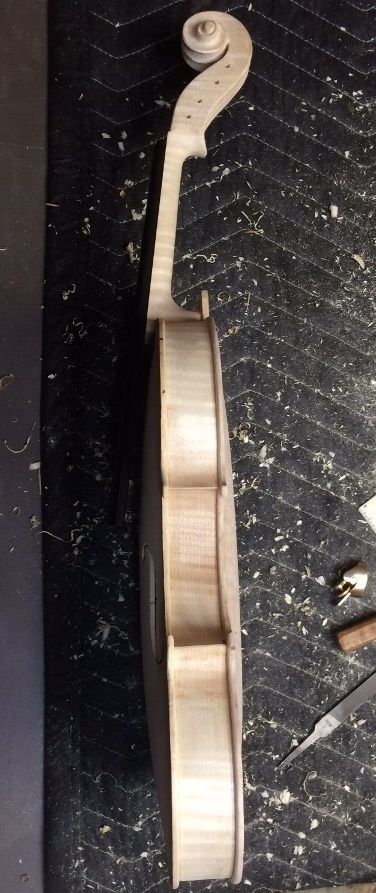
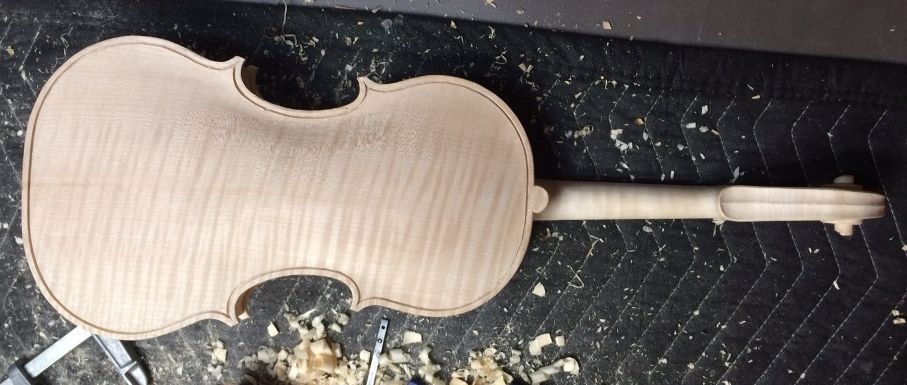
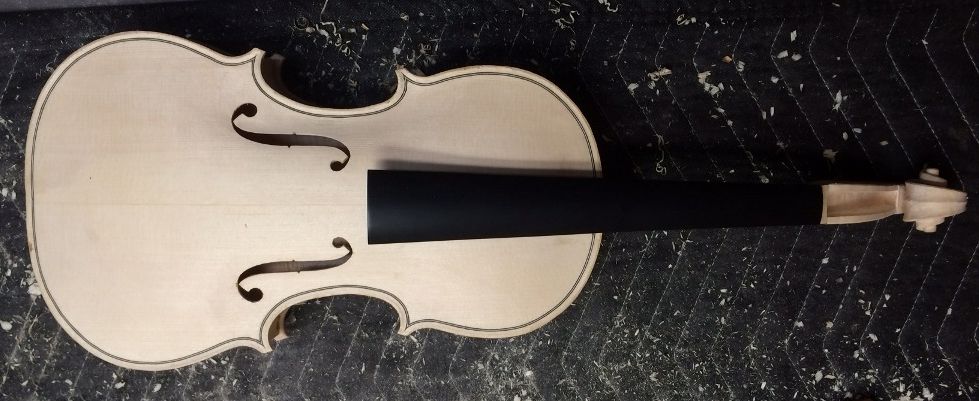
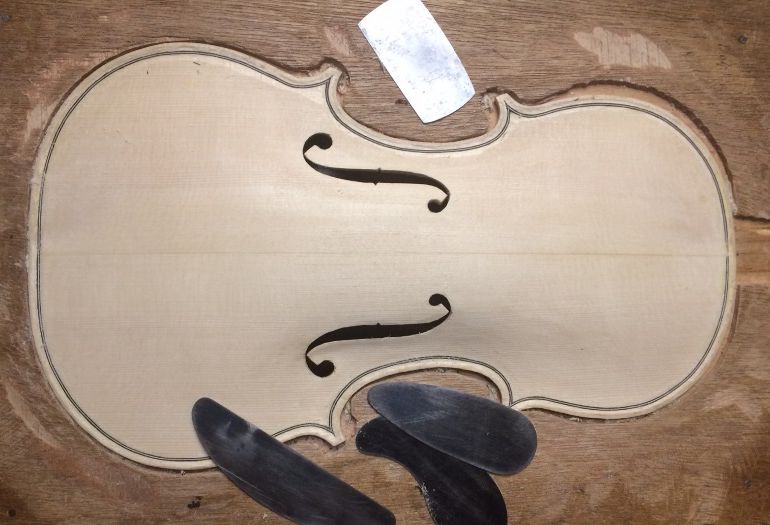
In this case, I chose to work on the graduation, next. I did not get it done, but I am within an hour of completion. Then I can conplete the plate, add the label, remove the mold, and close the corpus.


Graduation in progress.

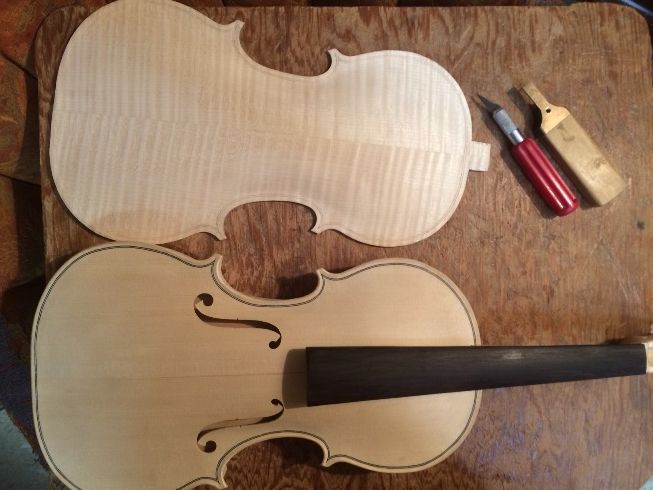
I will also complete the channel and the inner edgework, before removing the mold and installing the plate. But it is getting there…

Vacation is a hard time to get things done, because the people take higher priority, and everything eats up the time. (Ah, well…always good to spend time with family.)


Thanks for looking.

If you found this post helpful, please share with your friends!

Button and Back Purfling

Please share with your friends!

Button and Back Purfling

Trimming the Button and Heel

When I installed the back plate, the heel had been trimmed flush with the back of the garland, but the upper surface of the heel was still quite irregular, and the upper end of the button was ridiculously oversized. The excess wood made it easy for me to install a clamp, and get the back plate glued on securely. So…when I removed all the clamps, this is what it looked like:

Back plate installed; button and heel not yet trimmed.


Tools for completion.
Next, I will trim the button and heel, then add purfling, then scrape. These are the tools I will use.


Button shape.
This is roughly the shape the button will be, but a little more refined, I hope.


Side view of heel and butto
Side view of the heel and the button. The closeness of the camera warps the picture a little.


Installing the Purfling

The next thing was to scribe in the purfling slot. I used the purfling marker to scribe the double line exactly 4mm from the outer perimeter of the plate, except the corners, where I used a sharp pencil to sketch the “bee-stings” in by hand. Then I incised the lines all the way around, just barely deepening the lines, so that they are more visible, and a little easier to follow with the blade of my small knife.

Purfling slot lines lightly incised.


Then I slice in pass after pass, trying to get the lines deep enough for the purfling I will install. I usually find that, especially on the hard maple, I have to cut the slot in two layers: the first gets about half the depth I want, and the second finishes the slot. Here is the slot at half-depth:

Purfling slot, half-depth.
It looks good, but it is not deep enough.


Purfling slot ready for purfling.


Back purfling installed...glue still wet.
Back purfling installed…glue still wet. ๐Ÿ™‚


Front view
And the Front!


Back to Work!

As most of you know, I had undergone hernia surgery, just after Christmas, and had a 6″ x 8″ polypropylene mesh patch installed in my abdomen. I have been convalescing, and just this week, have finally been feeling better. So…I just received word that I will return to my work at Gunderson, Inc., tomorrow at 6AM. I think I had better call it a day, and try to get some sleep. 3:30AM comes at the same time, every morning, whether I am ready or not. I will get home sometime after 4PM, I expect. Maybe I can jump back in where I left off. ๐Ÿ™‚

Tomorrow evening, then, I hope to complete the purfling channel and the outer edgework of both the front and back plates, and begin the final scraping in preparation for varnishing. Any little glitch, regardless of how tiny, will be very visible under the varnish. So this part has to be done with great care.


Thanks for looking.

If you found this post helpful, please share with your friends!

Completing the Front Plate

Please share with your friends!

Completing the Front Plate

Completing the Graduations

When I last posted, I had just begun the graduations of the front plate. I got tired, and had to stop. It has been frustrating, finding how little I can accomplish, currently, before feeling exhausted. I hope I regain the strength and stamina I once had. Here is what the plate looked like yesterday morning:

Rough graduation nearing completion.

The plate was still far too thick, but was at least looking encouraging…so I plunged in and brought the whole plate to approximately 3.5 millimeters thickness all over. This is the first time I have tried this graduation scheme. In the past I have been very particular to have one thickness in the center area, another, slightly thinner, above and below that area, and thinnest of all, out in the flanks. But, I am informed that that is not such a good plan. So…here we go!

Completed front plate interior, before f-holes and bass-bar.
The pencil is only there to cast a shadow: otherwise it is difficult to see the curvature of the completed plate.


Completing the F-Holes:

Once the graduation is complete, I need to finish cutting out the f-holes: I begin with a special tool called an “f-hole drill.” For years I worked without one of these little gems, but my children finally decided I ought to have one, and bought it for me. ๐Ÿ™‚ The use of the tool is self-explanatory, and there are a wide variety of bit-diameters, for violins and violas. (I later bought another, larger one, for cello f-holes.)

F-hole drill.
F-hole drill.


After drilling the four f-hole “eyes,” I began cutting out the rest of the f-hole outlines, using a knife and a small saw.

F-holes.
F-holes still need to be cleaned up…but there they are!


Completing the Purfling Channel

Now it is time to start cleaning up the purfling channel, and fairing-in the curves, up into the arching. I began with a sharp pencil, and drew an “edge-crest” line, approximately 40% of the distance in from the plate edge, toward the purfling. Then I used a sharp gouge to remove a shallow channel across the purfling, which ended at the edge-crest. Then I used scrapers to smooth the transition between the edge of that channel and the arching curves.

Edge-crest line, and gouge, beginning channel.


Beginning the Channel


Channel is cut: now scraping can begin.


Treble-side scraping is nearly complete.


The treble side channel is essentially complete. When I have the whole channel completed, I will flip the plate over and install the bass-bar. All along the way, I will continue to fine-tune the f-holes, until they are satisfactory. Right now they are quite rough, but my hands are tired, and I am fearful of making errors due to fatigue. So…they can wait. ๐Ÿ™‚


Thanks for looking.


If you found this post helpful, please share with your friends!