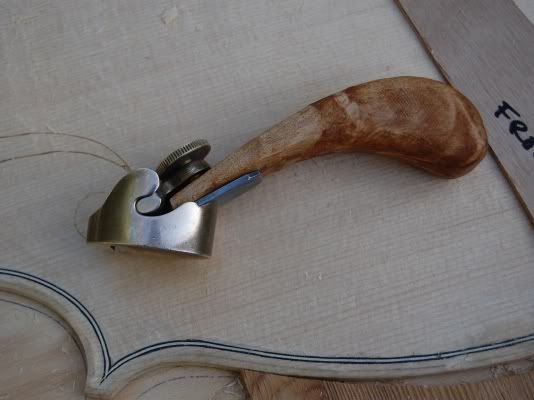
Button and Back Purfling

Please share with your friends!

Button and Back Purfling

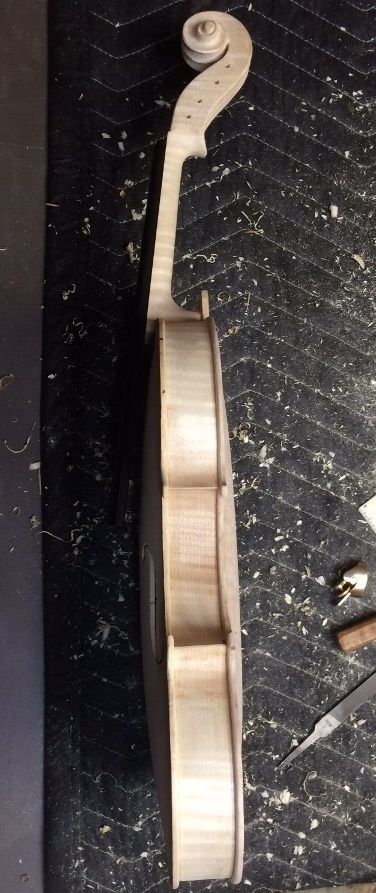
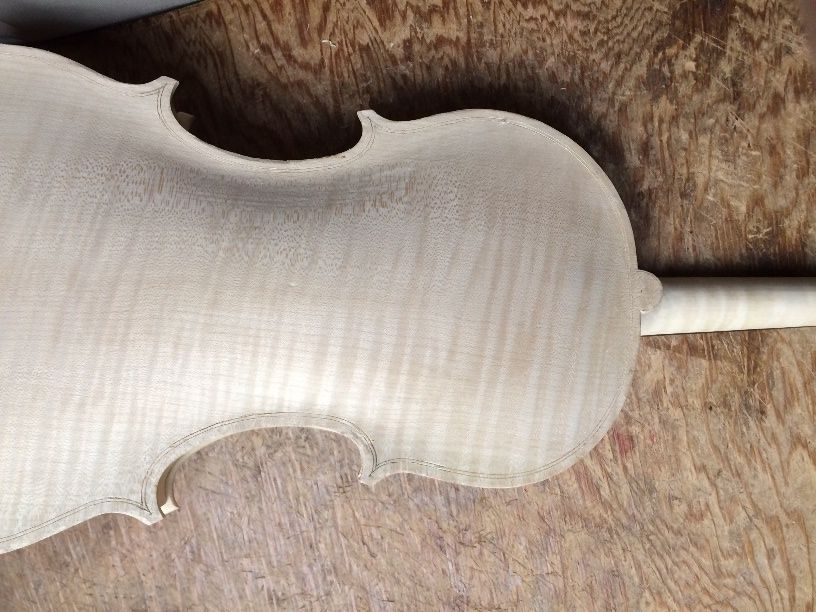
Trimming the Button and Heel

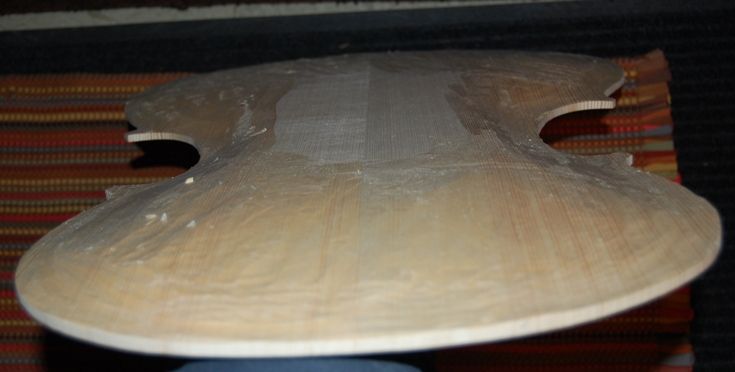
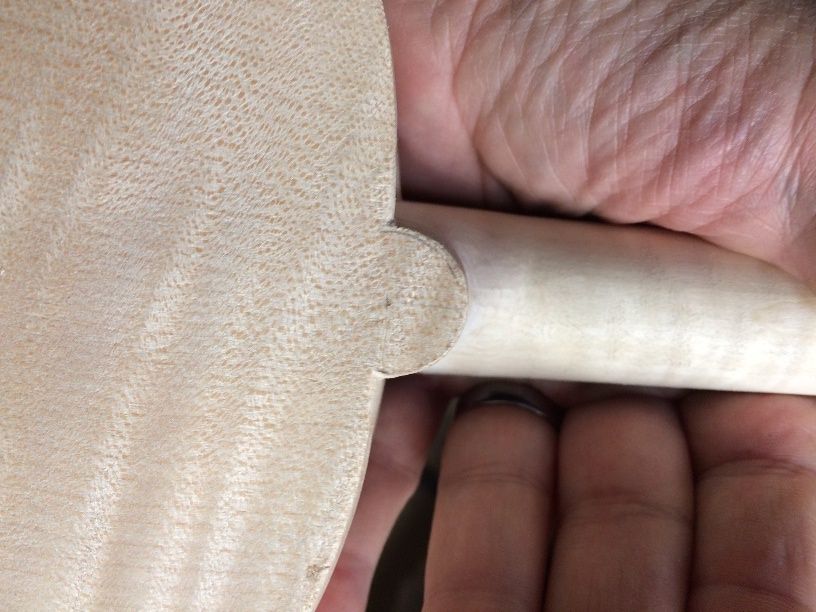
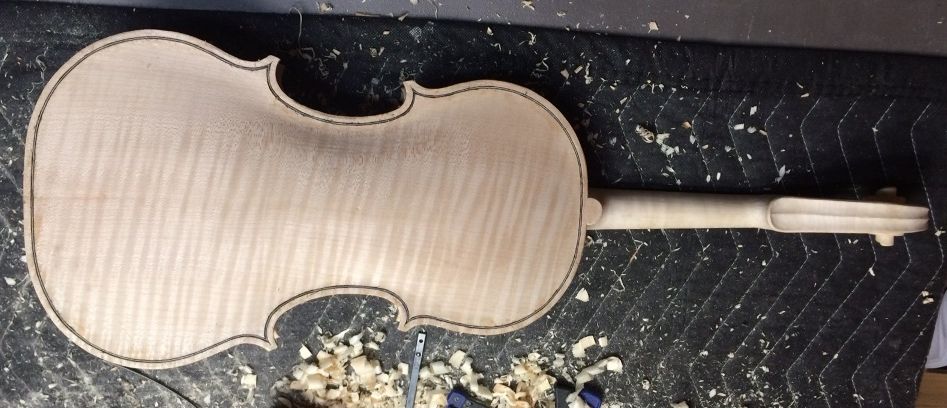
When I installed the back plate, the heel had been trimmed flush with the back of the garland, but the upper surface of the heel was still quite irregular, and the upper end of the button was ridiculously oversized. The excess wood made it easy for me to install a clamp, and get the back plate glued on securely. So…when I removed all the clamps, this is what it looked like:

Back plate installed; button and heel not yet trimmed.


Tools for completion.
Next, I will trim the button and heel, then add purfling, then scrape. These are the tools I will use.


Button shape.
This is roughly the shape the button will be, but a little more refined, I hope.


Side view of heel and butto
Side view of the heel and the button. The closeness of the camera warps the picture a little.


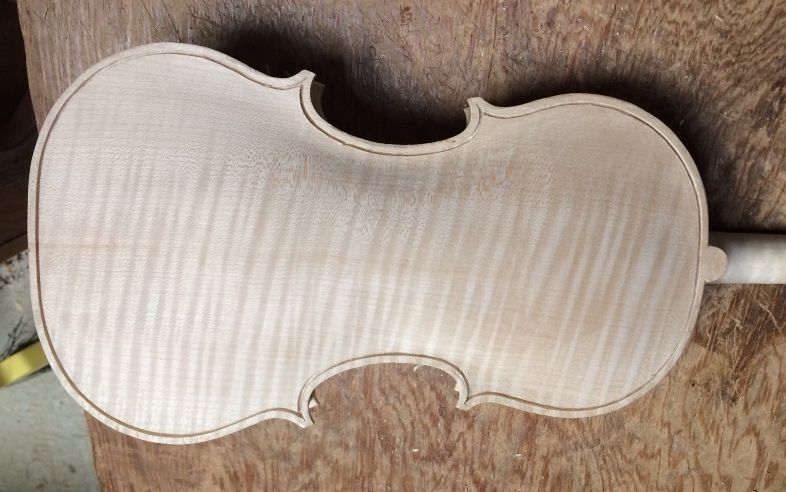
Installing the Purfling

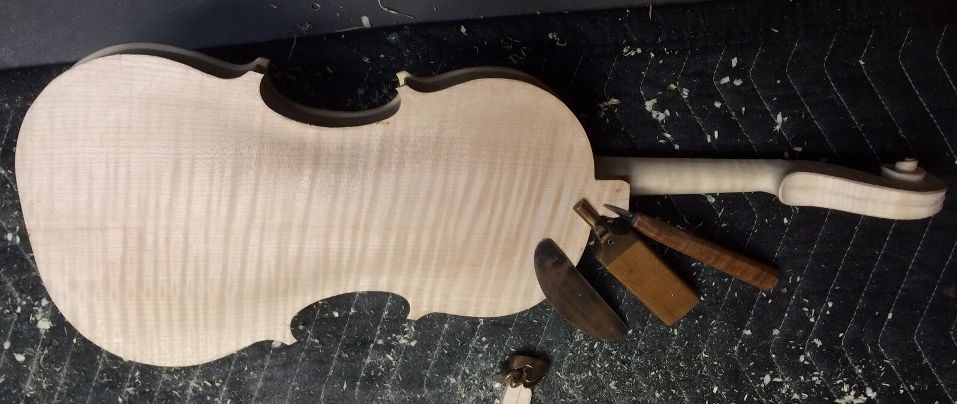
The next thing was to scribe in the purfling slot. I used the purfling marker to scribe the double line exactly 4mm from the outer perimeter of the plate, except the corners, where I used a sharp pencil to sketch the “bee-stings” in by hand. Then I incised the lines all the way around, just barely deepening the lines, so that they are more visible, and a little easier to follow with the blade of my small knife.

Purfling slot lines lightly incised.


Then I slice in pass after pass, trying to get the lines deep enough for the purfling I will install. I usually find that, especially on the hard maple, I have to cut the slot in two layers: the first gets about half the depth I want, and the second finishes the slot. Here is the slot at half-depth:
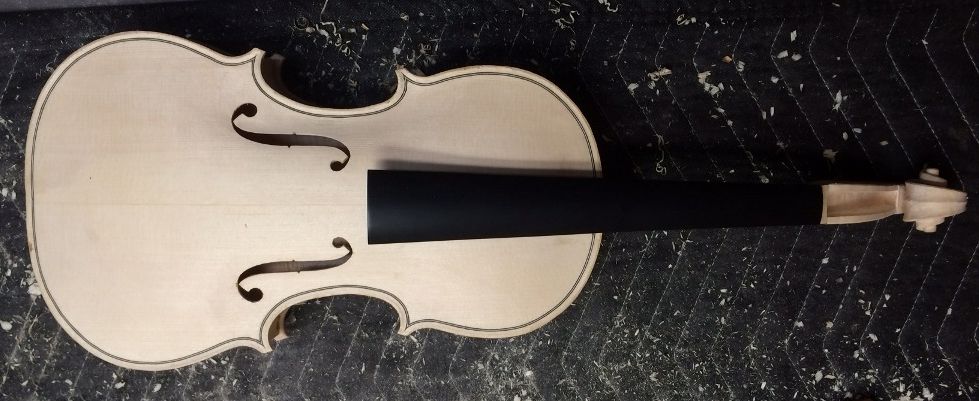
Purfling slot, half-depth.
It looks good, but it is not deep enough.


Purfling slot ready for purfling.


Back purfling installed...glue still wet.
Back purfling installed…glue still wet. 🙂


Front view
And the Front!


Back to Work!

As most of you know, I had undergone hernia surgery, just after Christmas, and had a 6″ x 8″ polypropylene mesh patch installed in my abdomen. I have been convalescing, and just this week, have finally been feeling better. So…I just received word that I will return to my work at Gunderson, Inc., tomorrow at 6AM. I think I had better call it a day, and try to get some sleep. 3:30AM comes at the same time, every morning, whether I am ready or not. I will get home sometime after 4PM, I expect. Maybe I can jump back in where I left off. 🙂

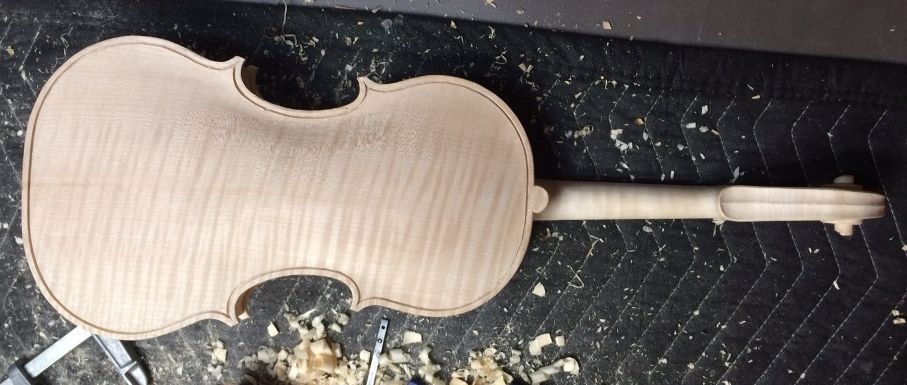
Tomorrow evening, then, I hope to complete the purfling channel and the outer edgework of both the front and back plates, and begin the final scraping in preparation for varnishing. Any little glitch, regardless of how tiny, will be very visible under the varnish. So this part has to be done with great care.


Thanks for looking.

If you found this post helpful, please share with your friends!

Cello top rough-arched, ready to purfle

Please share with your friends!

The Cello top is rough-arched, and ready to purfle.

All thicknesses are approximately correct

The European Spruce top, from International Violin Co., carves easily, but is quite crisp, too. I reduced the top to 24mm thick, using an abrasive planer, then reduced the edges to 5.5mm, using an Ibex plane, modified to take a wooden handle.

Poor Man’s Scrub Plane:

Here is the tool, from a year ago, when I was working on a different cello:

Modified Ibex plane with wooden handle
Modified Ibex plane with wooden handle.

This tool allows me to apply much more force, and cut deeper, faster.  Sort of a “poor man’s scrub-plane”. Once the edges were close to the 5.5mm line, I switched to a 10mm Ibex plane and shaved the edges of the spruce right down to the line.

And here is the result of about two hours’ work:

Rough-arched plate ready for purfling
The edges are 5.5mm…the middle is 24mm. I will finish the arching after the purfling is complete.

Ready for purfling

The cello top is ready for purfling. Tomorrow I will begin the purfling, and complete it on Friday, I hope. Then I can complete the arching, trace the f-holes, and start making this thing look like a cello.

If you found this post helpful, please share with your friends!