Beginning the Finish

Please share with your friends!

Beginning the Finish

Pre-varnish Scraping and Shaping

Before any finish materials can be applied, the wood has to be about as perfect as I can make it: so I scrape it to its final shape, then dampen it with coffee, to simultaneously raise any fibers that had only been flattened by the scraper blades, but not smoothly sheared off, and, hopefully, add a slight “tan” to the wood, while doing no harm.

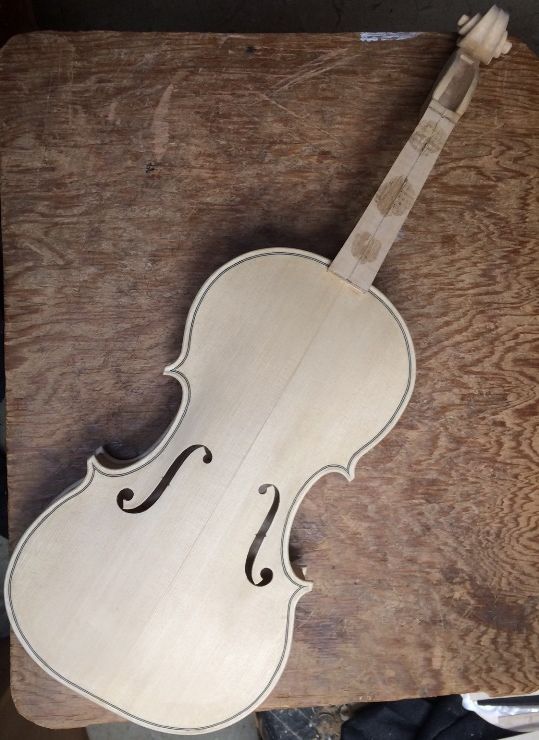
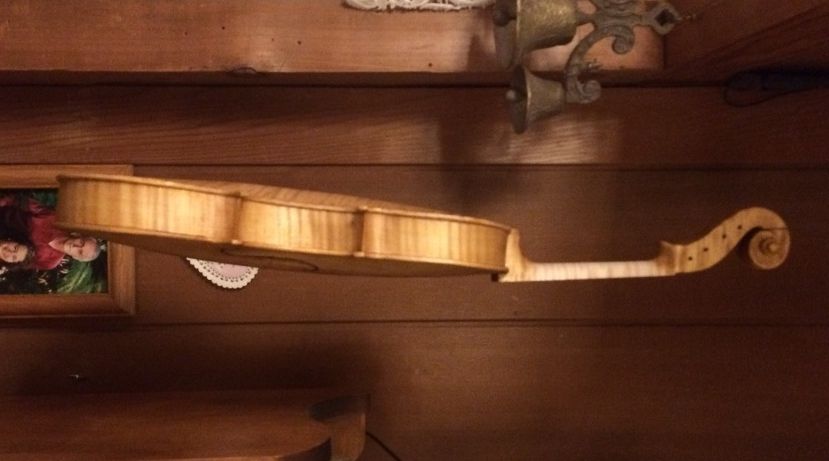
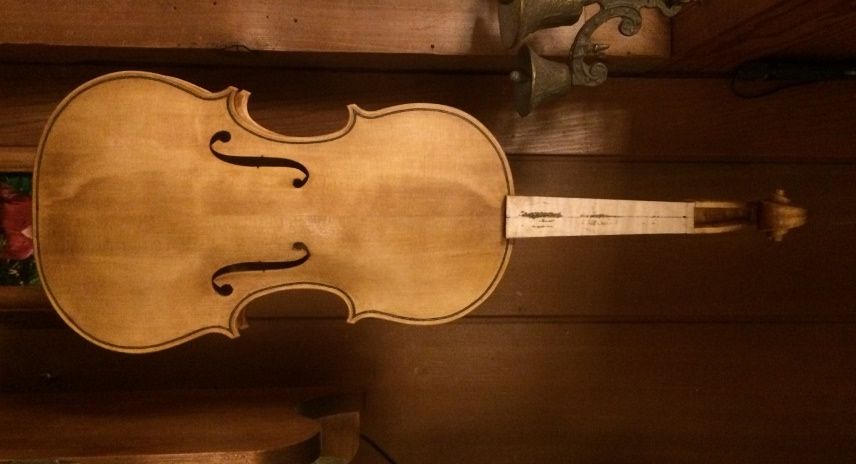
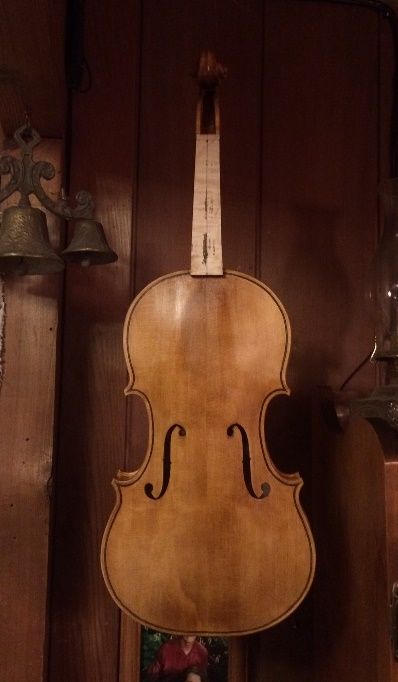
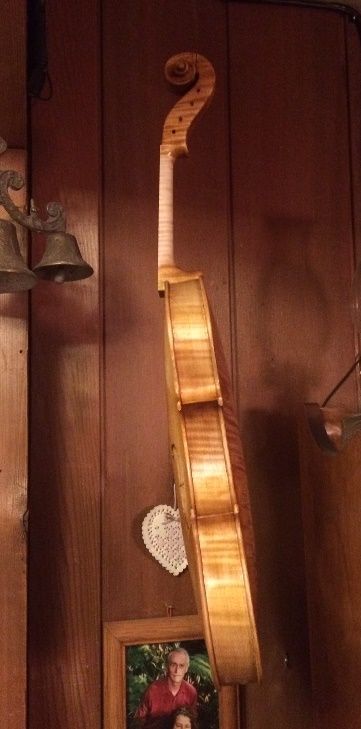
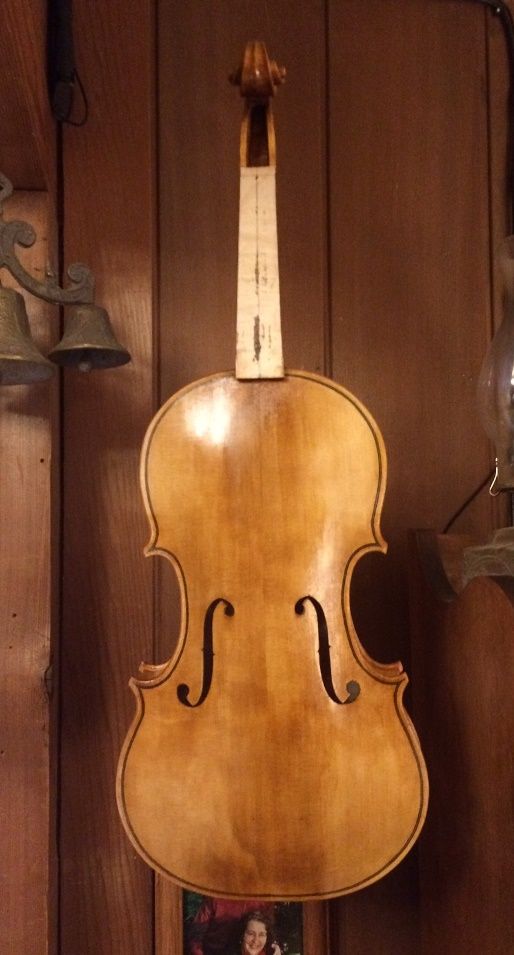
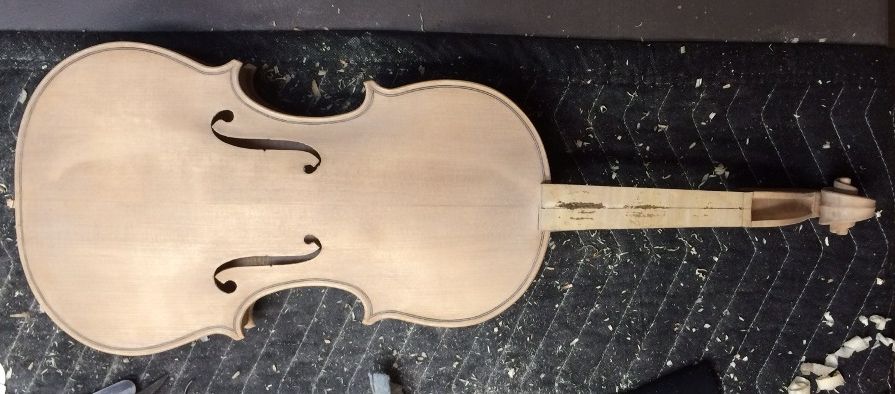
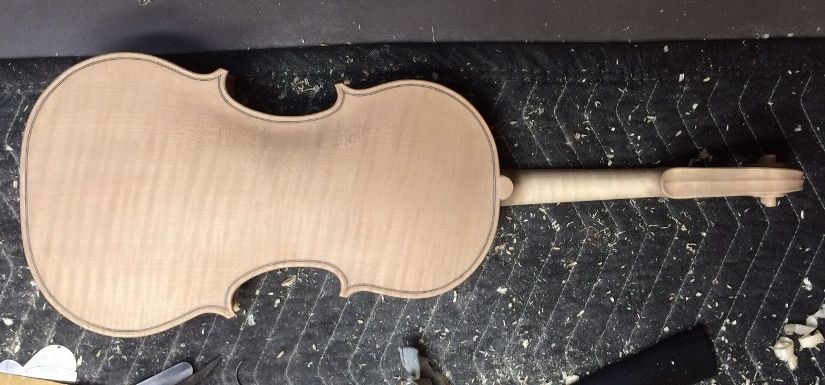
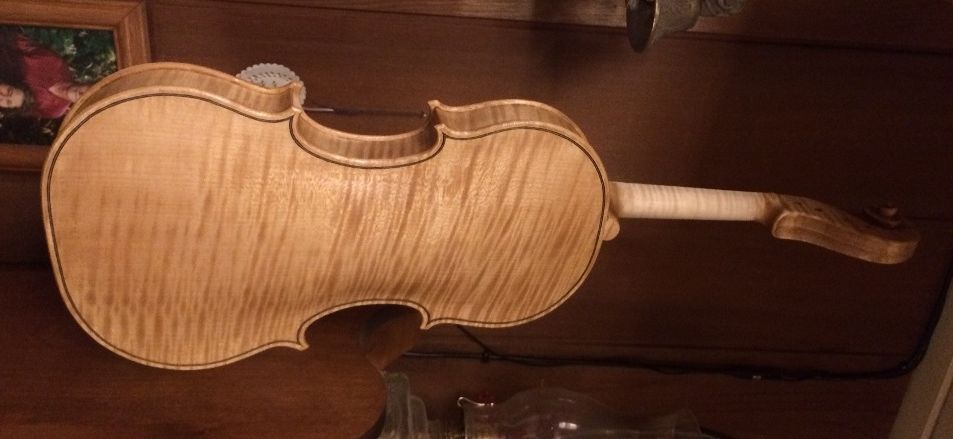
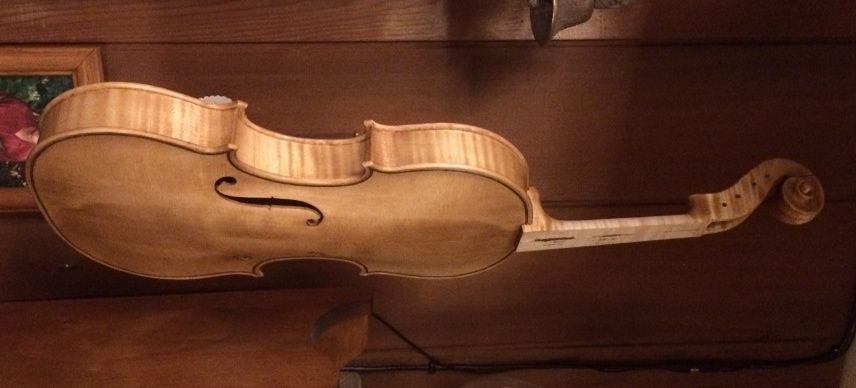
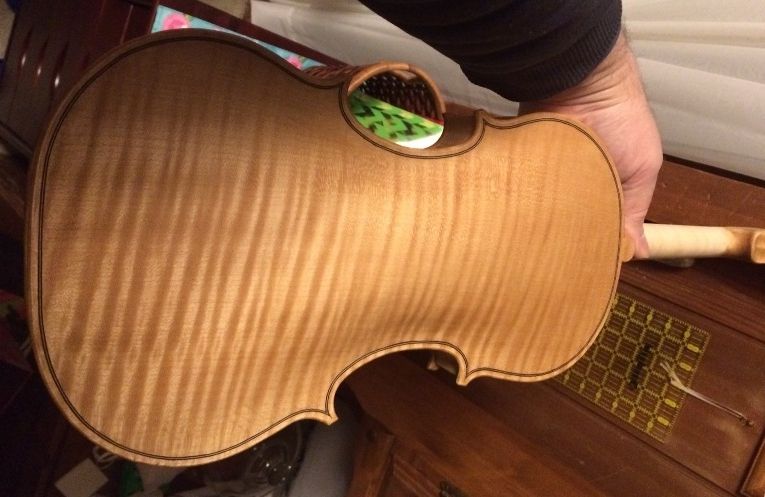
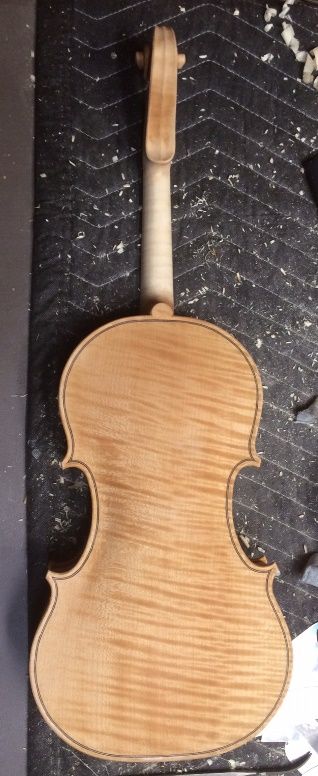
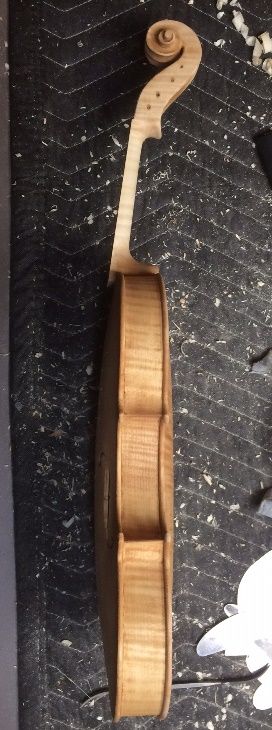
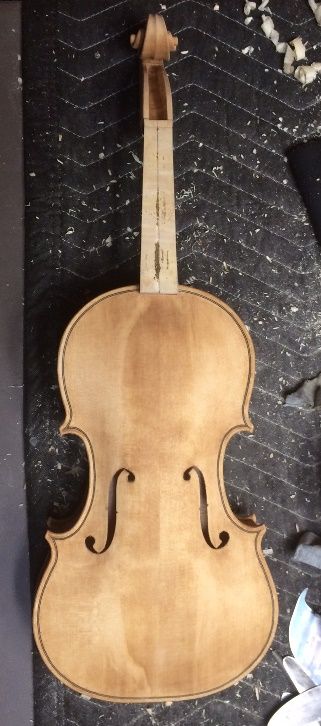
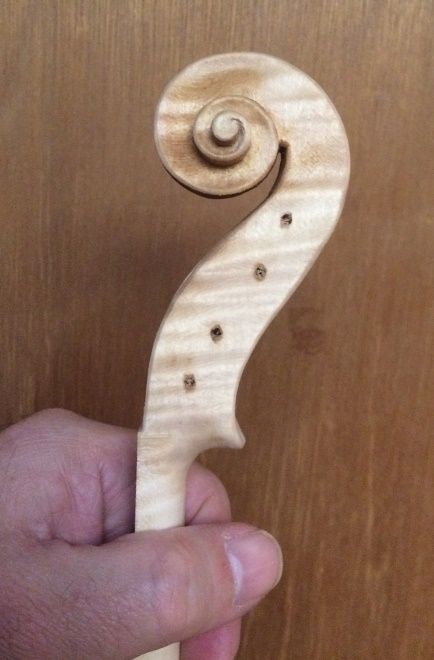
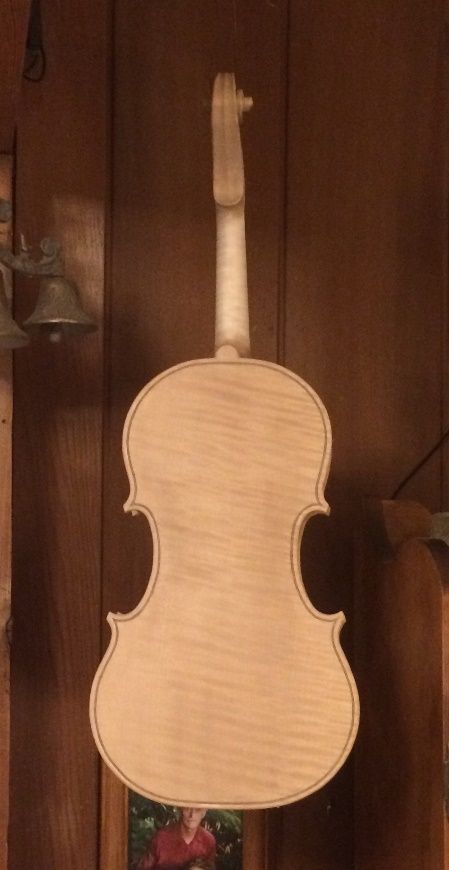
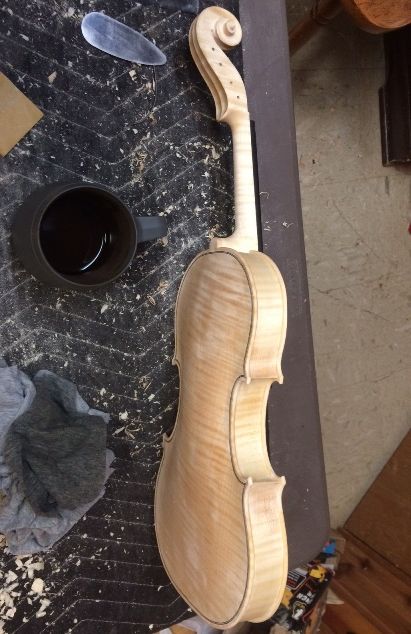
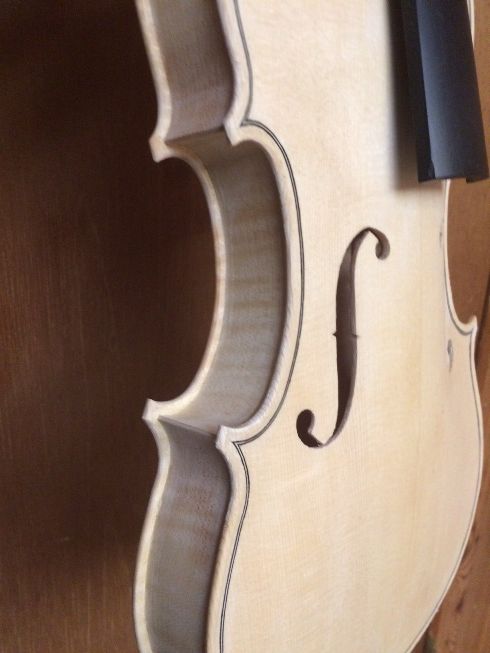
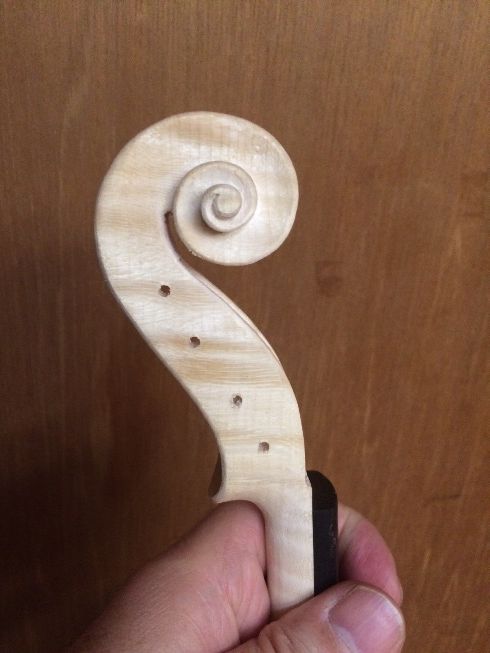
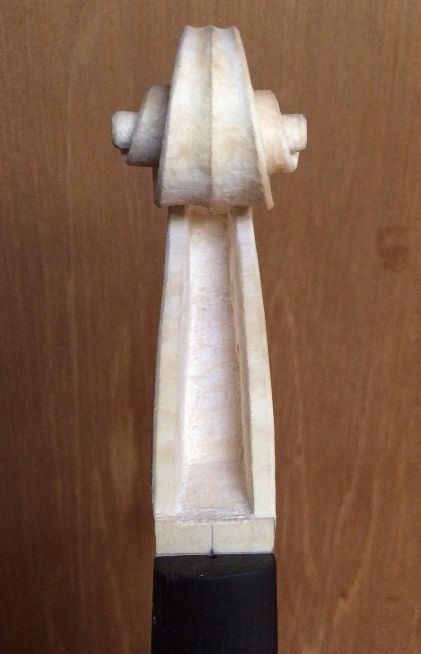
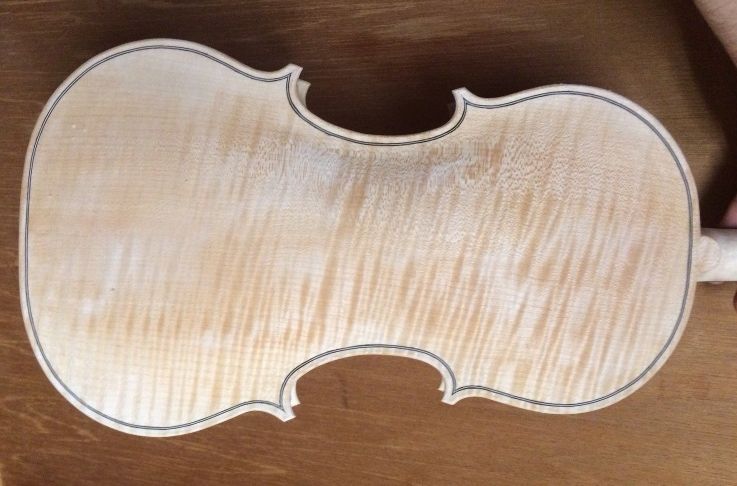
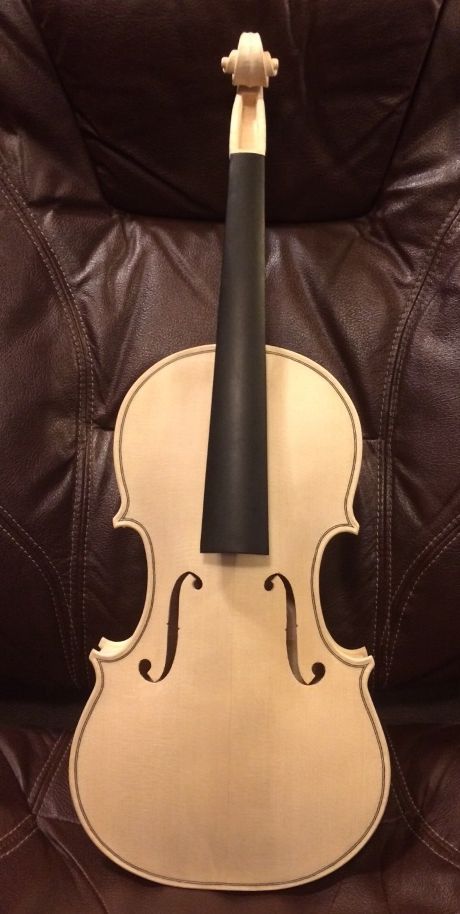
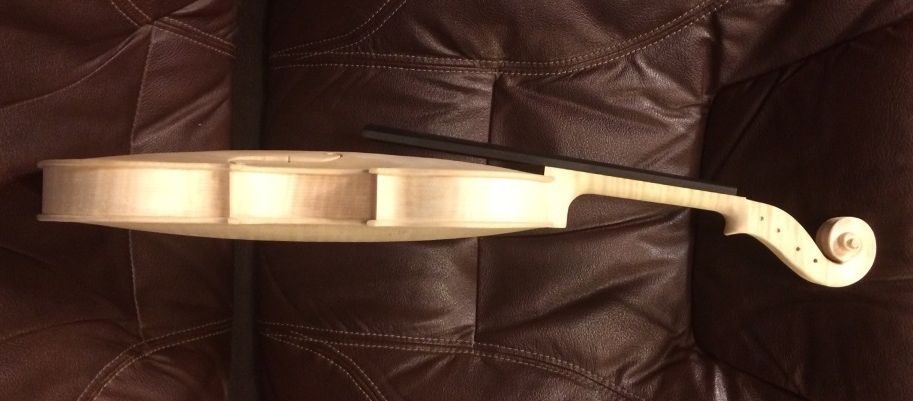
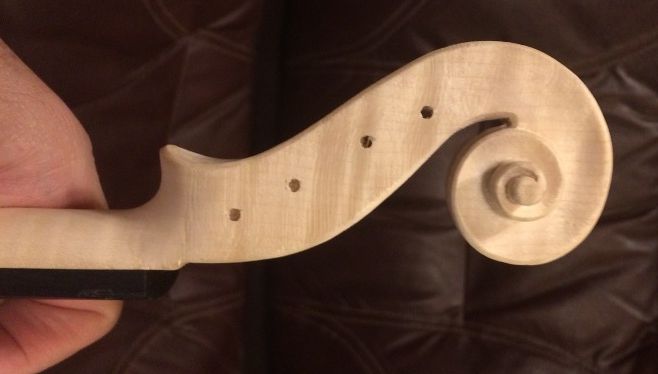
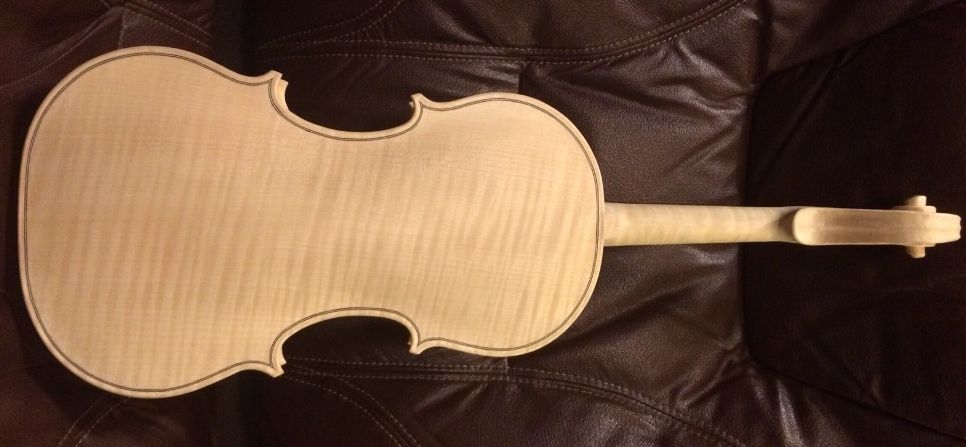
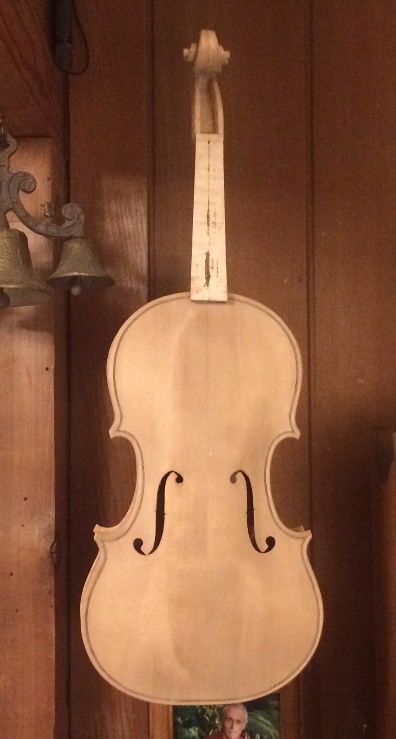
Thus, having removed the fingerboard (which had only temporarily been installed) and having applied two coats of coffee, allowing the wood to dry between coats, and having sanded lightly, all over, with 400-grit paper, to remove the raised fibers, and any excessive “corduroy” effect, the instrument went from looking like this:
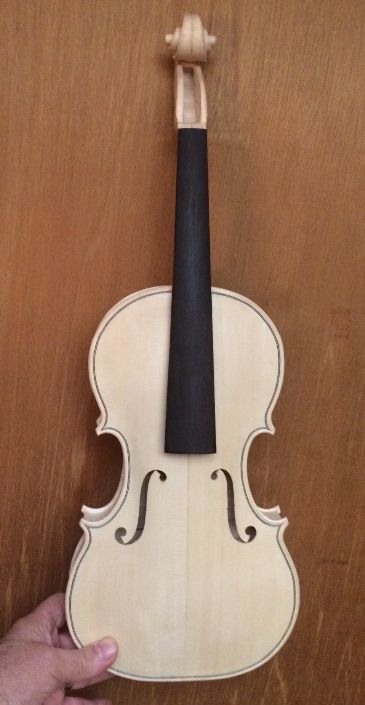
Shaping complete, but wood un-treated.


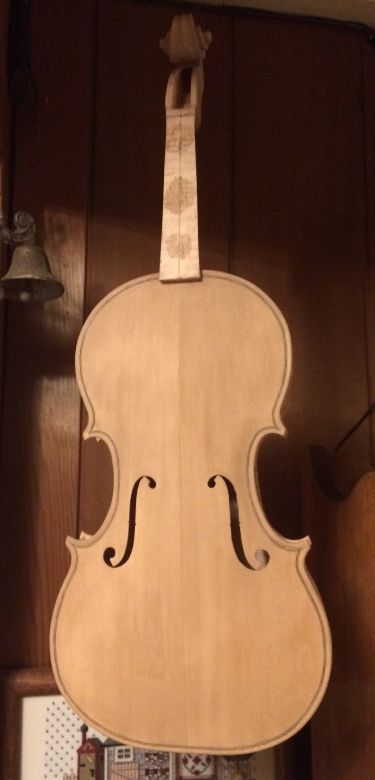
To looking like this:

Coffee-stained, and sanded with 400-grit.


Then it is time to begin the real finish: I first coat the wood with a coffee-suspension of very fine, powdered gypsum, hoping to add more color as I fill the grain with the gypsum. I vigorously rub this suspension into the wood, hoping to encourage the tiny particles of gypsum to actually settle into the pores of the wood, so as to fill them, and to slow down the absorption of varnish. It is considered undesirable, in general, to have the varnish really soak into the wood, as it tends to dampen the vibrations that make the sound. Some varnishes are more detrimental than others, but this is something I learned by reading Roger Hargrave’s notes. He is a world-class expert, so I tend to believe him that this is a good idea. I try to remove as much as I can of the excess mineral “ground” before it completely dries, rubbing hard, with a rag, but any that has settled into grain irregularities, I simply skim over, and leave it there.

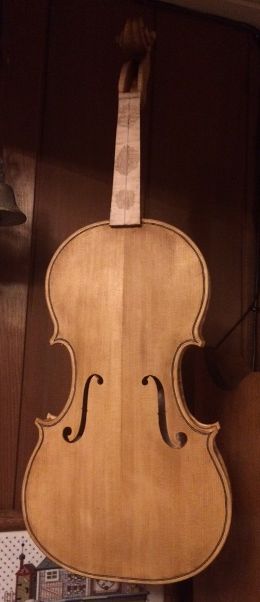
So, after the gypsum has been applied, it looks more like this:
Mineral ground applied, front view.
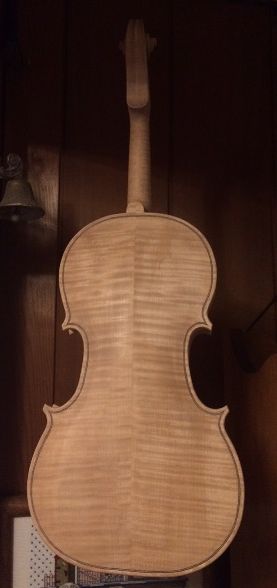
Mineral ground applied, front view. A little darker color, and the grain is more obscure.


Back grain quite obscured by the gypsum.
Back grain quite obscured by the gypsum. That will clear up entirely, with the application of the sealer.


The sealer locks the gypsum into wherever it has been lodged, and clears the obscurity, making the gypsum completely invisible. The sealer I am using now is a concoction of pine resin, turpentine, and alcohol, with a little yellow tinting. The turpentine and alcohol evaporate, leaving the resin in the wood.
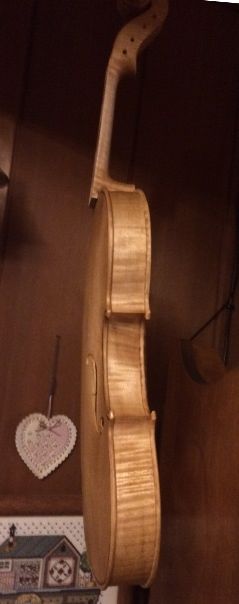
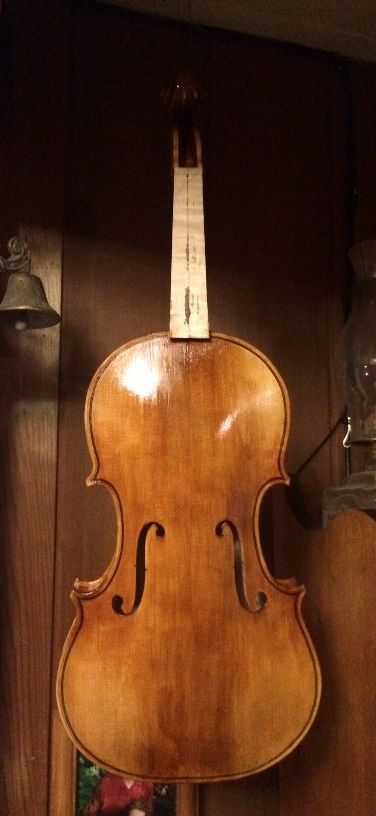
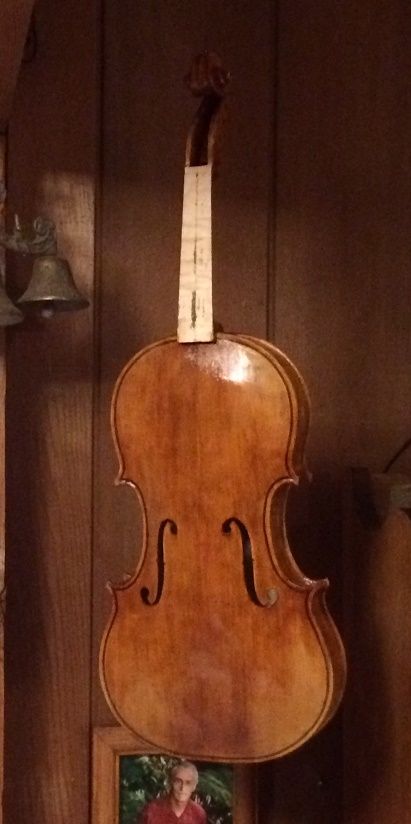
Sealed Front.
Sealed Front.


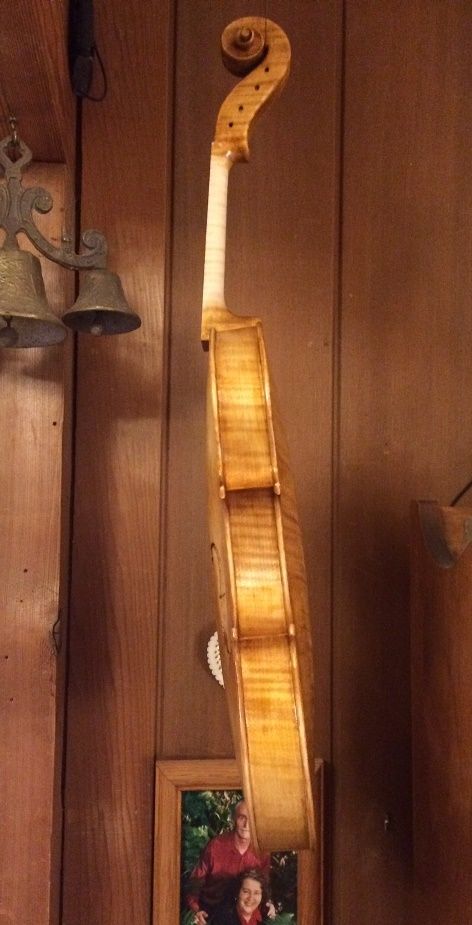
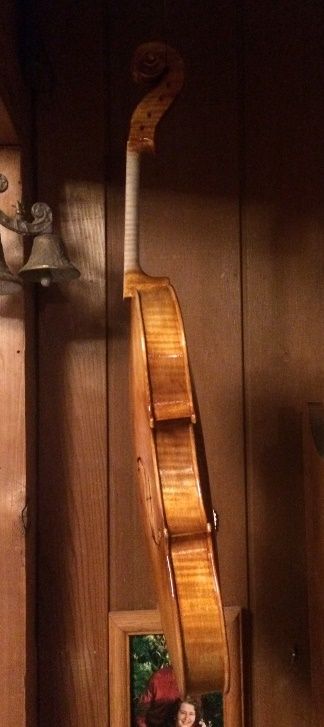
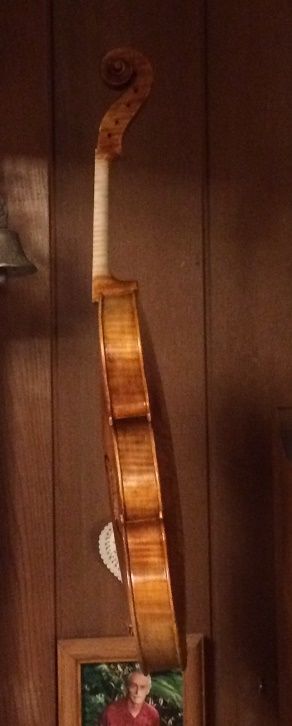
Sealed side.
Sealed Side.


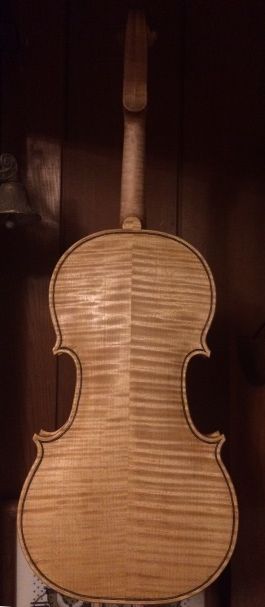
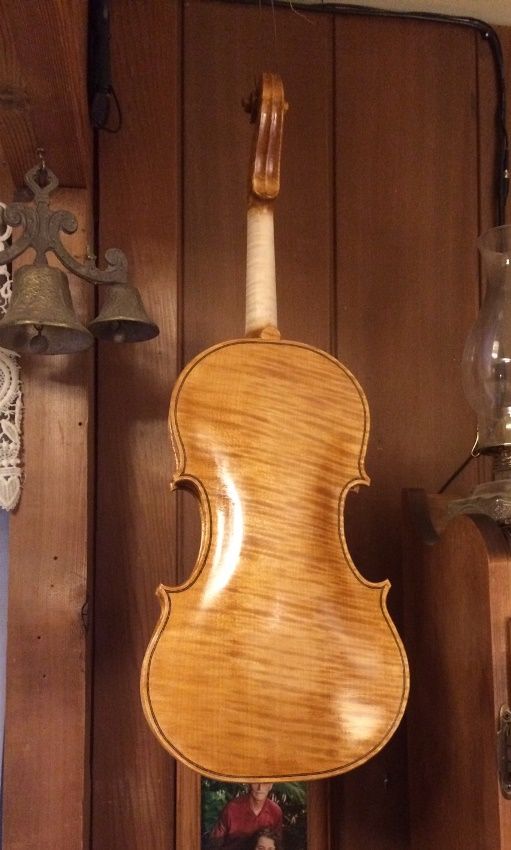
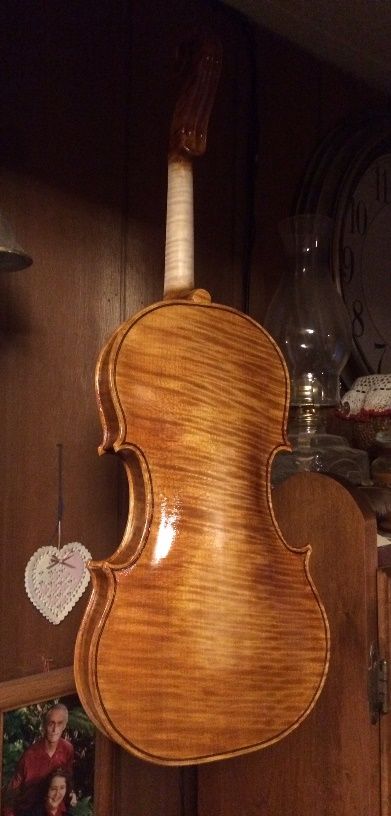
Sealed Back.
Sealed Back.


After the sealer dries (a day or so), I begin applying the various coats of varnish: the first two or three coats are fairly yellow varnish, but after that, I begin adding the colors that will characterize the finished instrument.
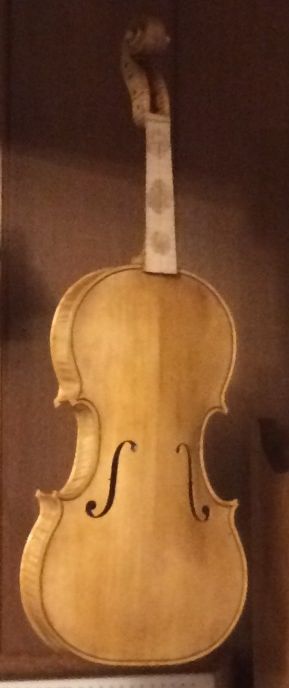
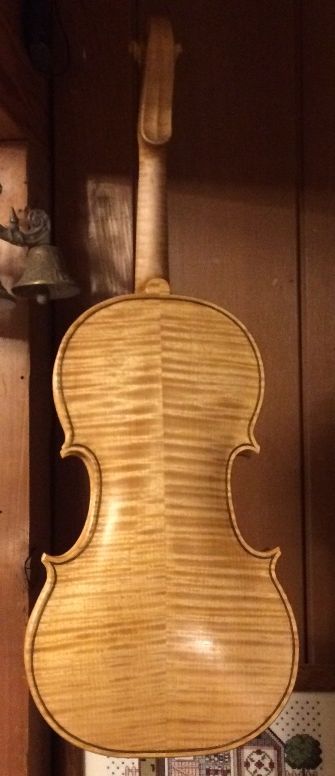
Front with yellow varnish.


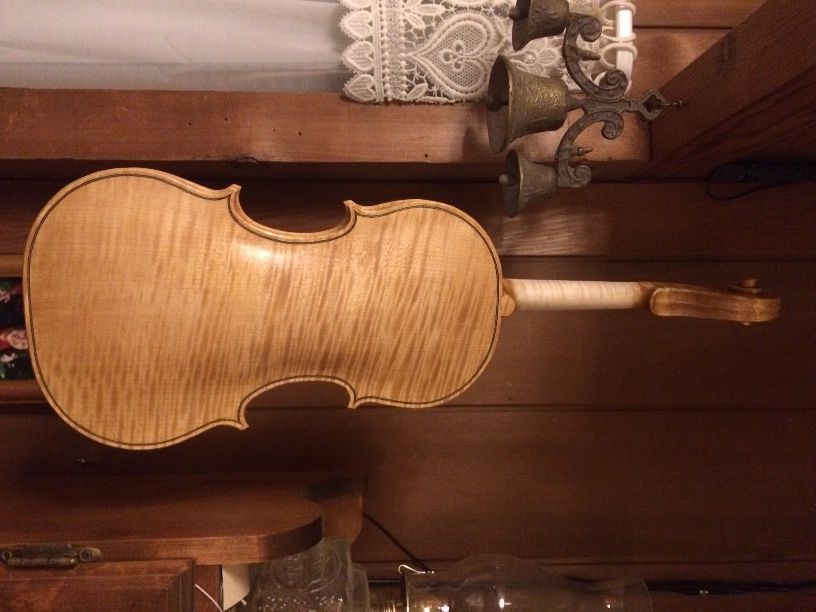
Back with yellow varnish.


From this point, forward, the instrument will become increasingly darker, leaning toward reds and browns. Ultimately, I will try to emulate the look of the 1715 “Titian” Stradivarius violin, after which this insrument is supposedly modeled. We will see how it turns out.


Thanks for looking.


If you found this post helpful, please share with your friends!

Varnish Process

Please share with your friends!

Varnish Process

Sealer Coat is Dry: Start Varnishing!

Since the sealer was dry, I gave the violin a careful rub-down with worn 400-grit paper, and began to add varnish. I am using a spirit varnish, the first coat of which was a yellow varnish, which I had actually hoped would be a little more “amber” in color, but I think it will be OK.
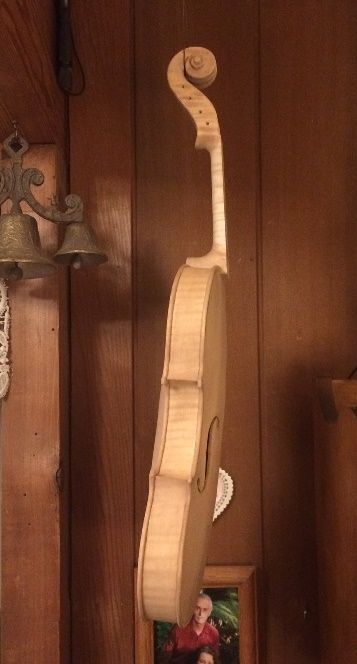
First coat of varnsih on back plate.
First coat of varnish on the Back plate.


1st coat varnish on side.
First coat of varnish on the Side.


First coat, Front plate.
First coat of varnish, on the Front plate.


2nd Coat of Varnish

The first coat of varnish was really only intended to lay down a yellow under-coat, and I am satisfied that it accomplished that purpose. From here on out, though, I will be trying to lay down more color in the areas indicated, to try and match the original after which I am modeling this violin. So, here are coats two and three. Notice that I leave some areas light, as the original violin has fairly severe wear in those areas.  (If you are interested, click here to see photos of the original.)
2nd coat of varnish.
2nd coat of varnish, on the Front plate.


2nd coat on side
2nd coat of varnish, on the Side.


2nd coat on back.
2nd coat of varnish on the Back.


3rd Coat of Varnish

And, a third coat, in the same manner:

3rd coat, front.
3rd coat of varnish, Front plate. The light was a little better, so it looks brighter.


3rd coat, side.
3rd coat of varnish, Side view.


3rd coat, back.
3rd coat of varnish, Back view.


4th Coat

The first few coats are thin enough that it is difficult to see the changes…but it is gaining a little more color and gloss.

4th coat, front view.
4th coat of varnish, Front view.


4th coat, side view.
4th coat of varnish, Side view.


4th coat, Back view.
4th coat of varnish, Back view.


5th and 6th Coats

It is pretty obvious, now, even on the ribs, that certain areas are getting less color added. As I explained above, those are the areas that typically get the most wear, so, to imitate the wear patterns on the original instrument, I am minimizing the color added to those areas.

Also, I have been making the varnish coats quite thin, right now, trying to adjust the color early, instead of trying to fix it later…so, from here on, I posted the pictures as I saw relevant changes, rather than after every coat of varnish. I also switched over to a more intensely colored varnish for the 5th and 6th coats:

6th coat, front view.
6th coat of varnish, Front view. Lots of changes still to come.


6th coat, side view.
6th coat of varnish, Side view.


6th coat, back view.
6th coat of varnish, Back view.


Starting to look closer to what I had in mind. 🙂


Final color coats, and two clear coats

I gave a careful look to the poster, again, and tried to get the “wear areas” closer to the original. It is still far from accurate, but it is beginning to at least have the “flavor” of the original. My color is still too bright, and some areas still too light, but it is getting closer.

Front, nearing completion of color coats.


Side, nearing completion of color coats.


Back, nearing completion of color coats.


“Dirt” and “Age”

There were a few areas to which I wanted to add more color…and to rub some pigment into the grain, to emulate dirt. (I had already rubbed in some real dirt, but it wasn’t very convincing-looking.) Then, I locked it all down with a clear coat or two, and will polish it to completion. But this is pretty much the final color:

Final color, with
Final color, with “dirt” and “age”.


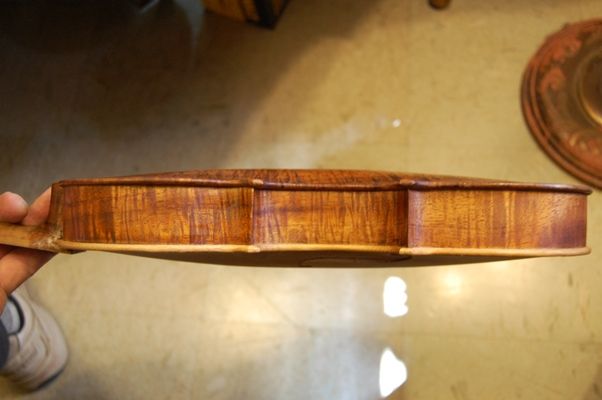
Side, with final color.


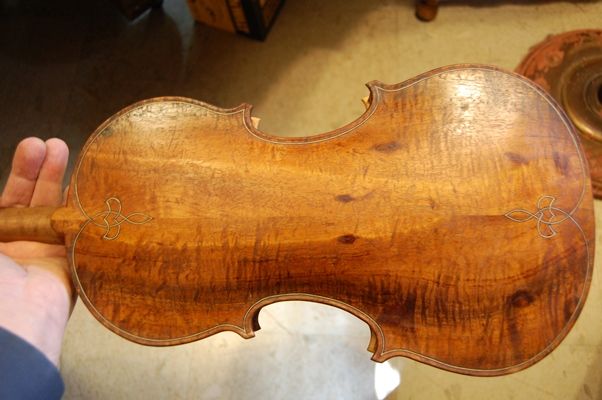
Back, with final color,
Back, with final color, “dirt”, and “age.”


What’s Next?

The next thing will be to re-fit the fingerboard, dress the fingerboard, and begin set-up. I will continue to address “polish and finish” issues as I see them.

Thanks for looking.

If you found this post helpful, please share with your friends!

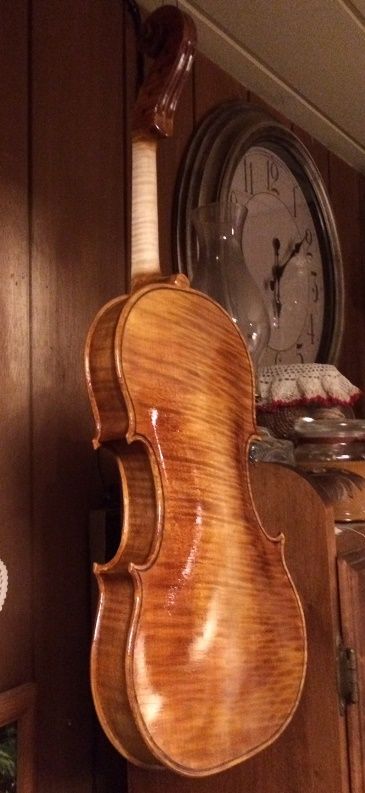
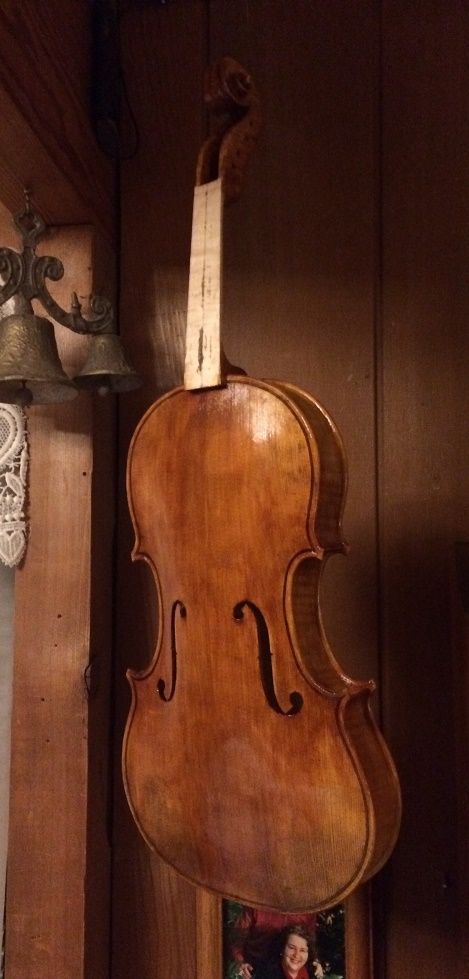
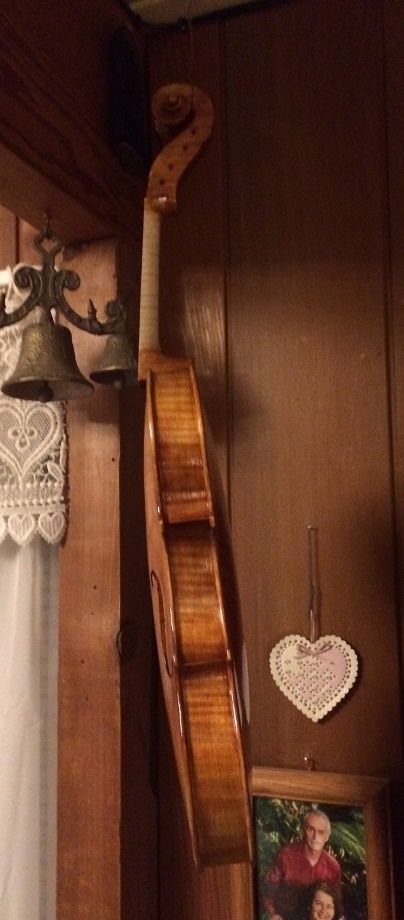
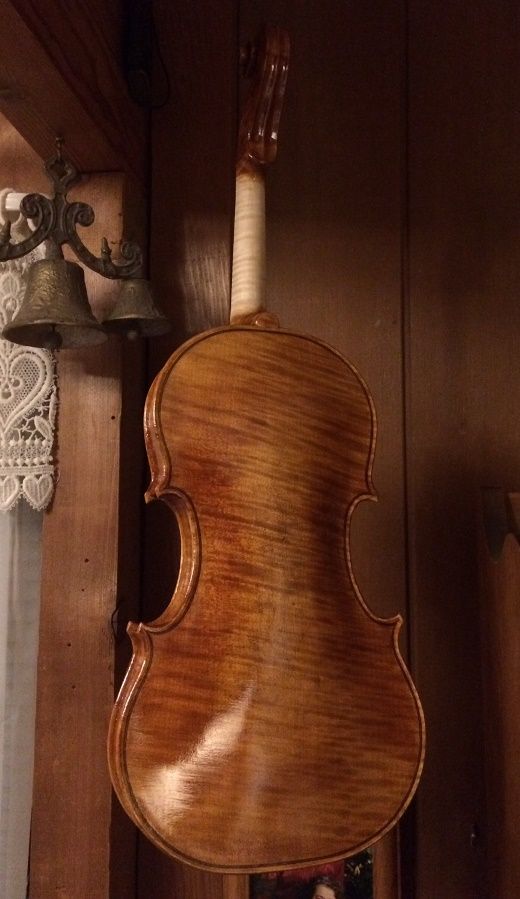
Sealer Coat

Please share with your friends!

Sealer Coat

Cleaning off the Excess Gypsum

I used scrapers, very gently, in tight corners, and very worn 400-grit abrasive paper, more aggressively, on the easily accessible areas, to remove all the loose, or overly thick areas of the gypsum pore-filler from yesterday. It took longer than I expected, but this was the result:

Front, ready for sealer.


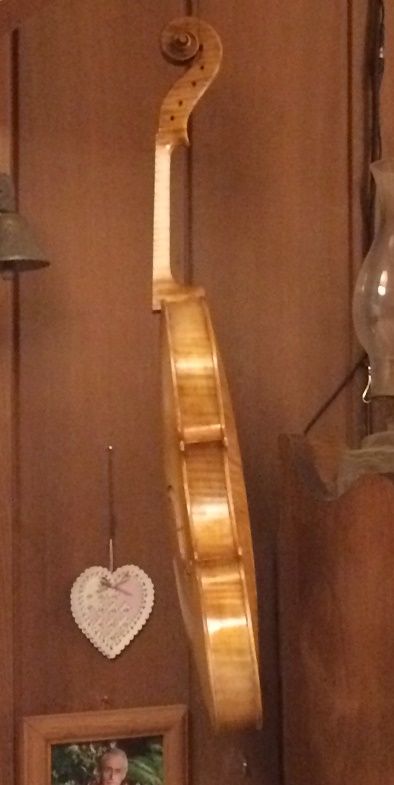
Side view.
Side view.


Back, ready for sealer.


You can see that the grain is somewhat obscured, and the color is quite light. I am wondering whether I did not succeed in rubbing the gypsum into the wood, as thoroughly as usual. Usually, the color has been nearly chalk-white. I can see the gypsum in the wood, though, so I am going to press on with the sealer coat.


Sealer Coat

This time, the sealer consisted of ordinary rosin in a solution of “pure spirits of gum turpentine”.  I probably should have made it a little thinner. It was about like light syrup; so, afterward, I dipped the brush in plain turpentine, and went back over the instrument to help the stuff penetrate a little better. The turpentine will all evaporate over the next few days (I hope), leaving only the rosin, solidifying in the pores of the wood.  It is always impressive to see just how completely the gypsum disappears, under the sealer.
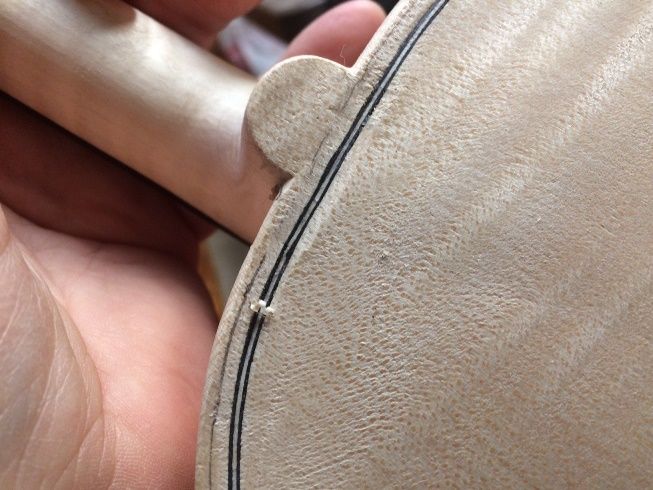
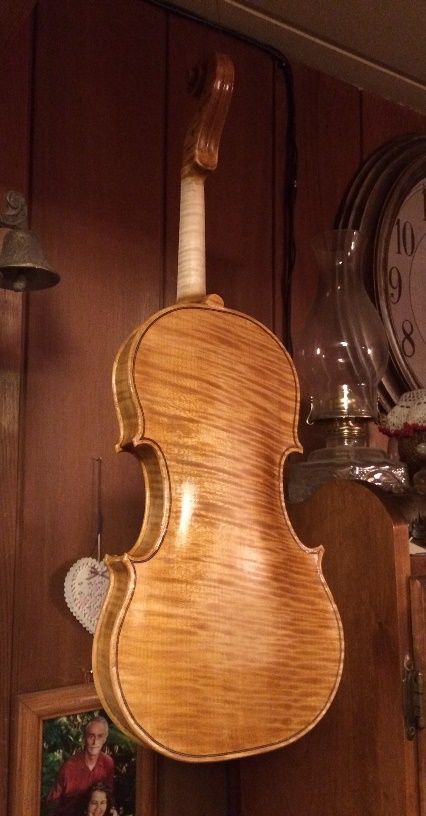
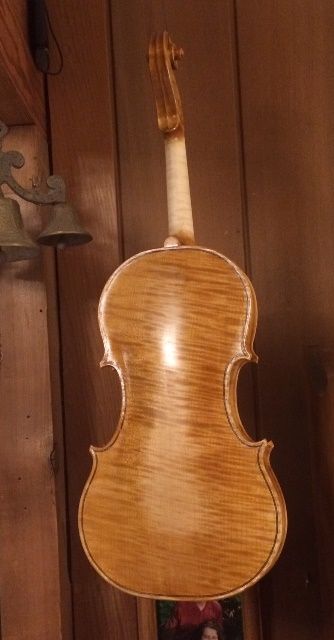
The back plate, with the sealer coat applied.


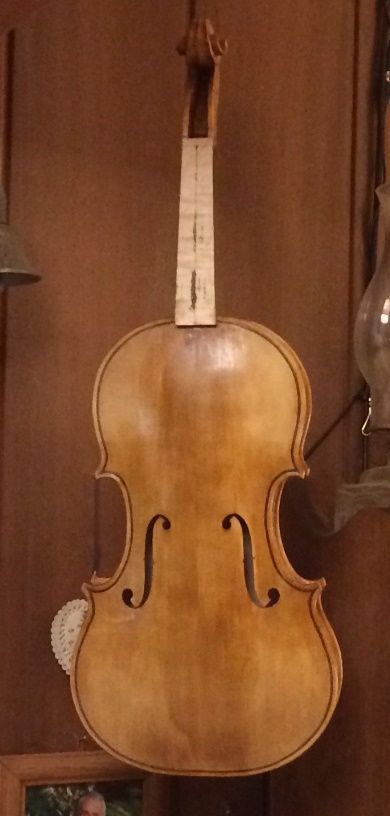
Front plate and side, with the sealer coat applied.


Different angle
Different light angle shows the curl in a more attractive mode.


Now What?
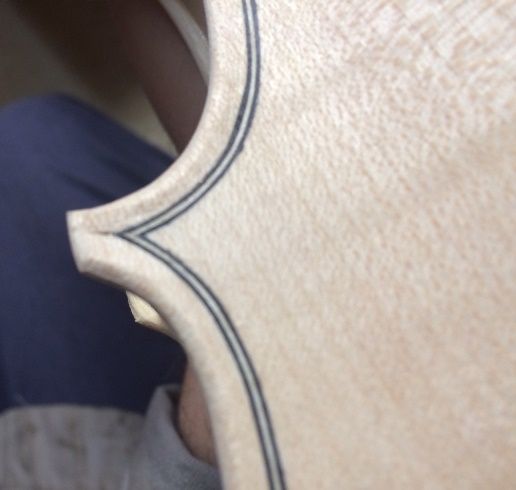
Until that sealer dries completely, I will have to find other things to do.  But it is hanging in a warm room, so it should dry rapidly.

After that, It will be varnish coat after varnish coat, until it it is all done. Then the final set-up can occur.


Thanks for looking.

If you found this post helpful, please share with your friends!

Beginning of the Finish

Please share with your friends!

Beginning of the Finish

Gypsum Mineral Pore Filler

A world-class luthier in Germany (Roger Hargraves) shared this publicly…he accomplished it a little differently, in that he prepared his gypsum by hydrating plaster of paris very thoroughly, and using the carefully washed fines as his filler. I used the finely-ground gypsum available in gardening stores, stirred it into a suspension of strong coffee and ethanol (only there to keep the coffee/gypsum mix from developing mold, sitting on the shelf), and brushed and rubbed the mixture into the wood of the violin. Then I rubbed it back off, using a soft rag, getting as much as possible back off while it is still wet. The goal is that the fine particles of gypsum will plug the pores of the wood, so that the subsequent coats of varnish will not penetrate into the wood. I can’t say whether my method works anything like that of Mr. Hargraves. Perhaps someday I will try something else. But for now, that is what I do.

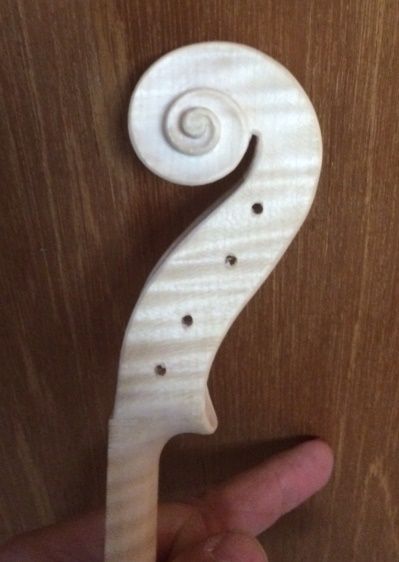
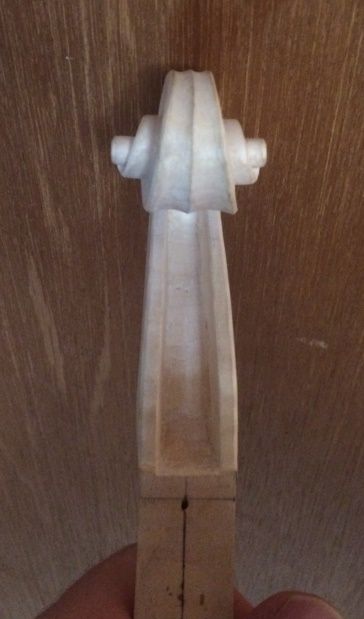
First, I removed the fingerboard, and did some miniscule corrections to the scroll, pegbox and button. Then I painted on the stirred-up suspension, coating everything except the handle area of the neck.

Corrected scroll, before gypsum.


Corrected pegbox before Gypsum.


Gypsum mixture on the back...still wet, but already beginning to dry.
Gypsum mixture on the back…still wet, but already beginning to dry.


Side view with wet gypsum suspension.


Lots of uneven coloration.
Lots of uneven coloration. I’m not certain why, and it may present a challenge during varnishing. Not my usual experience.


Gypsum on scroll, beginning to dry.


Gypsum on back-- dry.
Gypsum on back– dry.  Notice how the flame is obscured.


Side, with dry Gypsum.


Front, dry.
Front, dry.


I’m not certain why the spruce acted the way it did. I had wetted it with coffee before, without any mishaps. I am wondering whether I somehow compressed certain areas, in re-scraping, and they responded differently. I can’t be sure. But I have enough experience with varnish that I am not worried about the outcome. (After all, it was a very old, worn instrument I was copying.) 🙂


What’s next?

So…the next step will be to rub off all the excess dry gypsum, and clean up any rough areas where the grain may have raised again. (I’m not really expecting any, but I will be looking for them. Then, tomorrow evening, I hope to apply the sealer that will lock in the gypsum. It is always a little astonishing to me, to see the grain and flame suddenly “pop” out and become very visible. The gypsum becomes completely transparent, and is never evident again.


Thanks for looking.

If you found this post helpful, please share with your friends!

Final Shaping and Scraping

Please share with your friends!

Final Shaping and Scraping

The Channels and Edges

The last time I posted, the back purfling had been installed, but the back channel had not been begun, nor were the edges trimmed and rounded. I drew in the edge crest line, just as I did on the front plate, and carved the channel with a gouge, then began scraping the channel and fairing the curve of the channel up into the curves of the arching.

Beginning Channel
Beginning the channel


Sample corner, after preliminary scraping.
Sample corner, after gouging and preliminary scraping.


After I had gone over the entire instrument under a low-angle light, looking for “lumps and bumps” (any little discontinuity that will be visible under the varnish…and they all are), I wetted a cloth with black coffee, and rubbed the whole instrument down with the damp rag. This accomplishes two things: it begins to lend a very light yellow cast to the wood, and, more importantly, for now, it raises the grain, so that every little splinter that was pressed down by the scraper, instead of being severed and removed, will now stand up and be visible…easy to find and remove, using either a very sharp scraper or, eventually, a very fine abrasive. (In general, I avoid abrasives, because I am not convinced that the surface left by fine abrasives is the same as the surface left by a sharp scraper. But, as a means of smoothing between varnish coats, or just before varnishing, I feel it is viable. I also use it on the edges of the plates…especially the spruce.)

So…here is the instrument, dampened with coffee. When the coffee is dry, I will continue the smoothing and shaping process.

Coffee rubdown.
Coffee rubdown. When it dries, it will leave a pale yellow stain…very slight.


coffee surface
You can see the pale yellow color, and the shape of the corners. The surface actually feels rough, now, though it looks smooth.


Scroll with coffee dampening.
Scroll with coffee dampening. Notice the splinters on the edge of the curves.


Front of scroll.
Front of scroll. See how rough the wood looks…lots of scraping still to come. And maybe some abrasive smoothing.


Back plate with coffee stain.

Back plate with coffee stain.


Final Scraping of the Whole Surface

Once the coffee was completely dry, I went to one of the few places in the house where I can get a fairly dim, very low-angle light across the violin, and went over the instrument, intently searching for either rough patches or places where the smooth continuum of the arching is interrupted by a ripple, a ridge, or a bulge, etc. I want the arching to be as close to perfect as possible, and every transition from curve to curve to be flawlessly smooth.  (I have never actually achieved this level of perfection, but that remains the standard. Every time, however, after the varnish is applied, I find things I missed.)

After scraping every surface, very gently, with a sharp scraper, until all seem to be very smooth, I rub the instrument down with coffee again. Usually, this time, the grain will not raise as agressively as before, because I did not press the grain with the scrapers but just “brushed” the surface, taking off mere dust, but leaving the channels and transitions looking finished and shiny-smooth.  This is an important time to watch for anomalies of any sort, because once the varnish is applied, it is very difficult to go back and “fix” things. Several of my earlier instruments have an odd pattern of dark stripes in the upper front bass bout, following the curve of the outer edge, and adjacent to the neck. These could have been avoided by careful scraping under a low-angle light.  They remain as permanent record of my “learning curve.” (sigh…)

Here is how the instrument looks, ready to begin the finishing process:

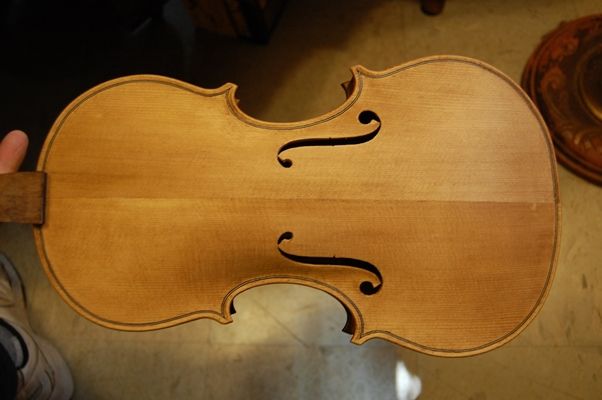
Front plate, ready to begin finishing process
Front plate, ready to begin. (I will remove the fingerboard first.)


Side view
Side view.


Detail of Scroll.
Detail of Scroll.


Back view.
Back view.


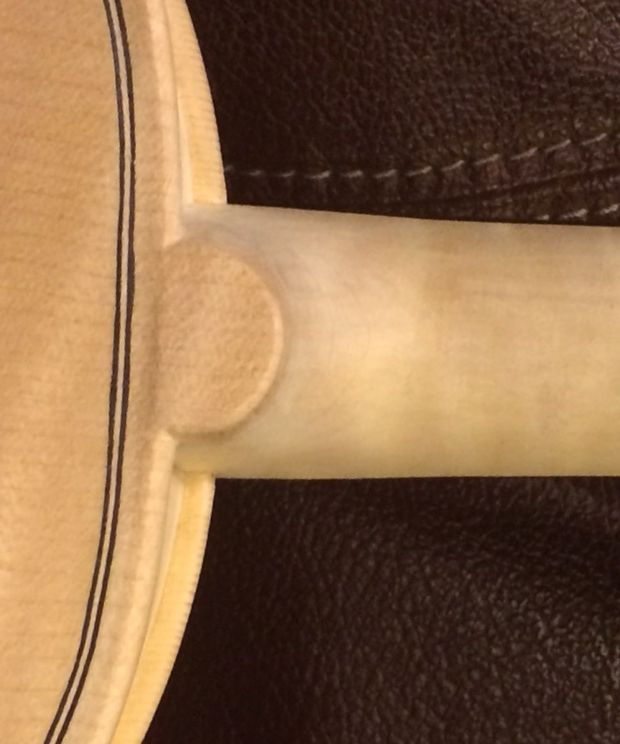
Detail of button and neck heel.


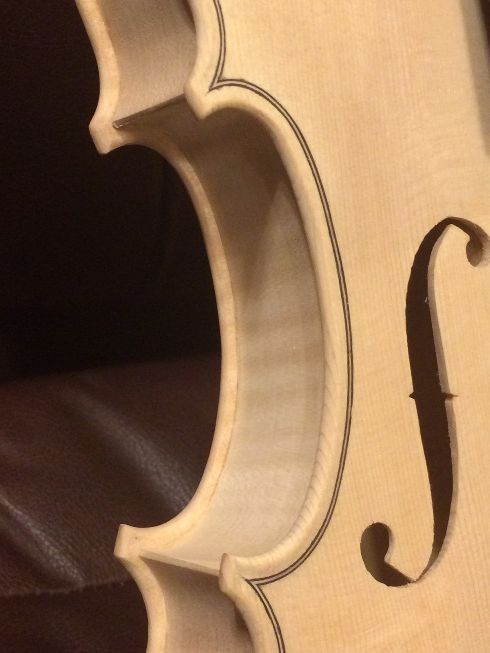
Detail of Center bout, ribs and corners.


As you can see, there are are a few things I will probably want to touch-up just a little more before I actually varnish, but, overall, I am satisfied that I am ready to move forward. There will always be little things I change at the last minute, but that is just my nature.


What’s Next?

So…the next “big” thing is to remove the fingerboard (easy to do…I only held it on there with three dots of hide glue), and then I will rub very fine gypsum mixed with coffee into the whole instrument, and rub it back off before it dries. The goal is to fill the pores, so that the varnish will not saturate the wood.

After that is dry (and it will look chalk-white), I will apply a coat of sealer (rosin dissolved in turpentine, at the moment), to lock the gypsum down, and further seal the pores. After that; varnish time!

Thanks for looking.


If you found this post helpful, please share with your friends!

5-string report #15: Varnishing

Please share with your friends!

Five String Progress Report #15: Varnishing

Mineral Ground

I did not take any photos of this process…it only consisted of rubbing a gypsum suspension into the wood, all over, then rubbing it off, as completely as possible. The goal was to fill the wood pores, so as to limit the penetration of varnish into the wood. Apparently the varnish tends to dampen vibrations, and deaden the violin sound just a little. I don’t know how much effect it really has, but I got the idea from Roger Hargrave, who said it made a difference in his work. If it is good enough for him, I am game to try it. My suspicion is that my ears are no longer good enough to hear the difference, due to a lifetime of work in heavy steel. But…I have had very good reviews on the few instruments on which I have used the ground, so…either it really helps, or I have just improved my building skills, lately.

Sealer

My sealer is pretty simple: it is raw pine pitch dissolved in a combination of pure spirits of gum turpentine and alcohol. It penetrates pretty deeply, but the alcohol and turpentine (in that order) evaporate rapidly, and leave the pine resin in the wood. I rub off as much as I can of whatever is on the surface, and let it dry in the sun. Sometimes I have hung it up to dry indoors, but it does make the house smell of turpentine. My wife has very little sense of smell, and I don’t mind the smell, but others might, so I try to limit that sort of thing.

front with sealer
Front with sealer


Edge with sealer
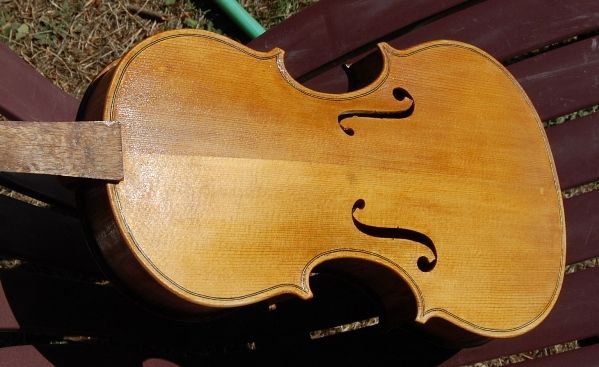
Edge with sealer: notice the contrast between front and side. I hope to correct that, somewhat, with varnish.


Back with sealer.
Back with sealer. Still somewhat dull, but just wait until the varnishing begins!


hanging up to dry inside
Hanging up to dry inside.


Back drying inside
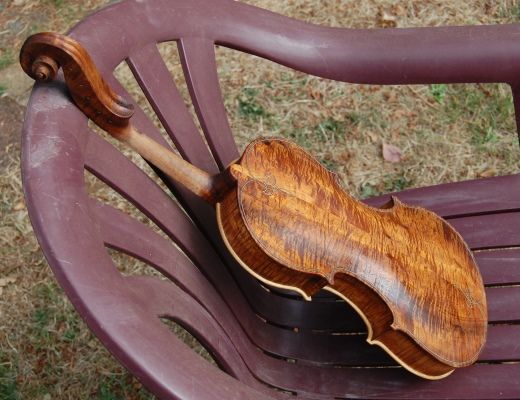
Back drying inside: I decided it was warm enough outside, so I moved it to the yard, and propped it in an old lawn chair.


Sealer drying in the sun:
Sealer drying in the sun: it was interesting to see that, as the wood warmed up, the sealer began to ooze back out of the pores, making tiny dots all over.


Varnish

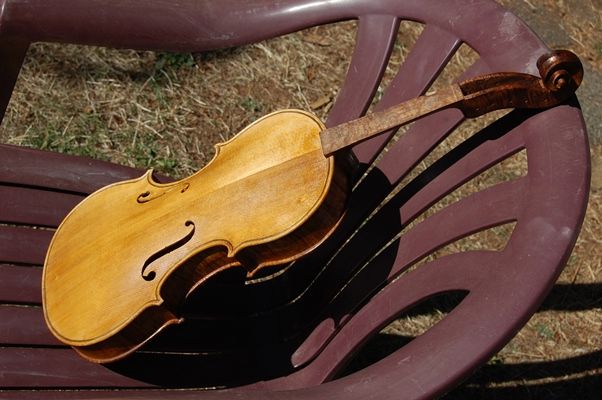
Once the violin was very warm, and quite dry to the touch, I rubbed it down with a paper towel, to remove any residue, then coated the back with a yellow varnish, and the belly with a brown varnish. I hope to even out the color somewhat and diminish the sharp contrast between the dark, curly Koa and the nearly white Sitka Spruce.

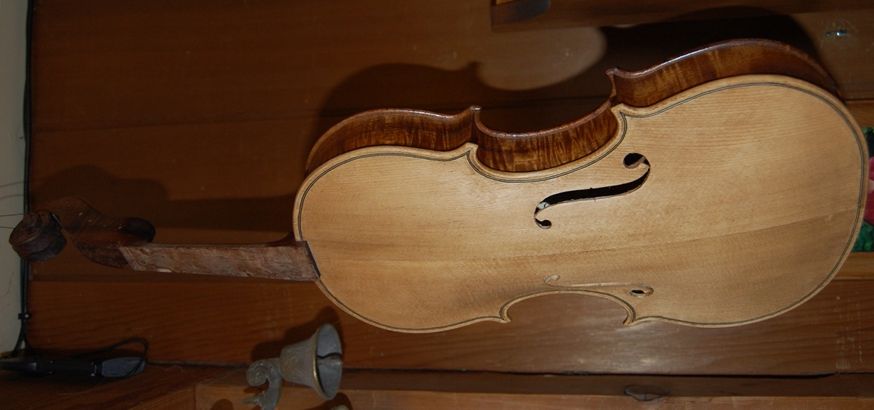
First coat of varnish on the front
First coat of varnish on the front: makes quite a difference, doesn’t it?


one coat of varnish
There’s the whole fiddle in the sun, with one coat of varnish.


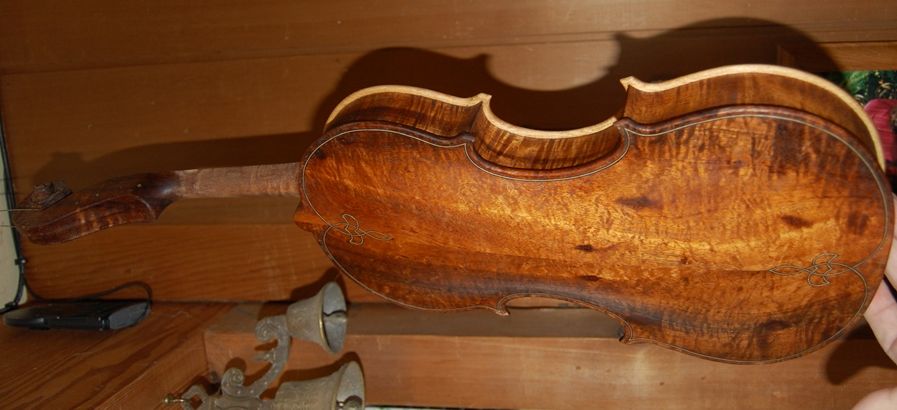
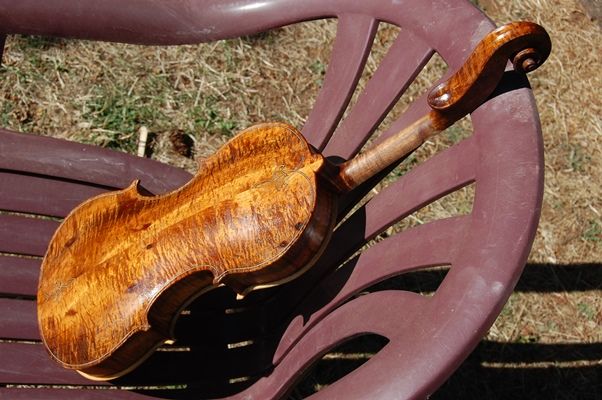
And...the back!
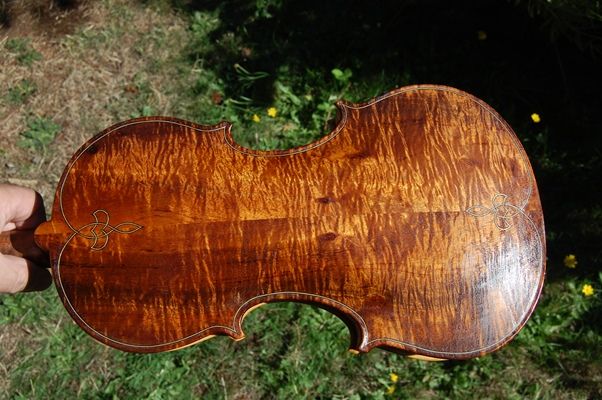
And…the back! Look how the curly Koa is catching the fire from the sun.


Koa Flame
Pretty serious flame in this curly koa wood! You can see why it was tough to carve.


Anyway, that is about as far as I expect to go, today. I may get another coat or two of varnish on there, this evening, but it will not be an appreciable visual difference until it is done. I expect to use at least another six coats before calling it complete.

Thanks for looking.

If you found this post helpful, please share with your friends!