Follow

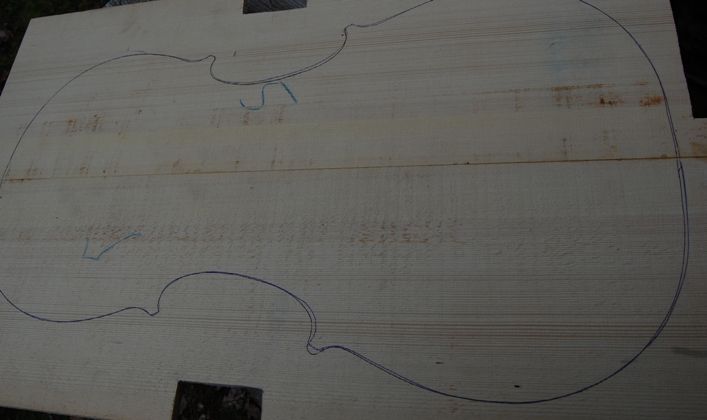
More Progress: Plates and Scroll.
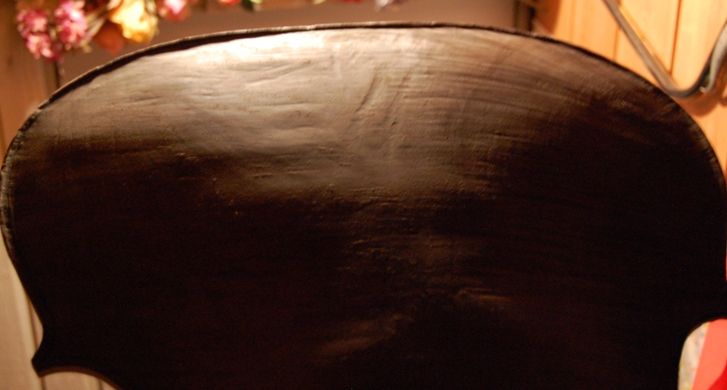
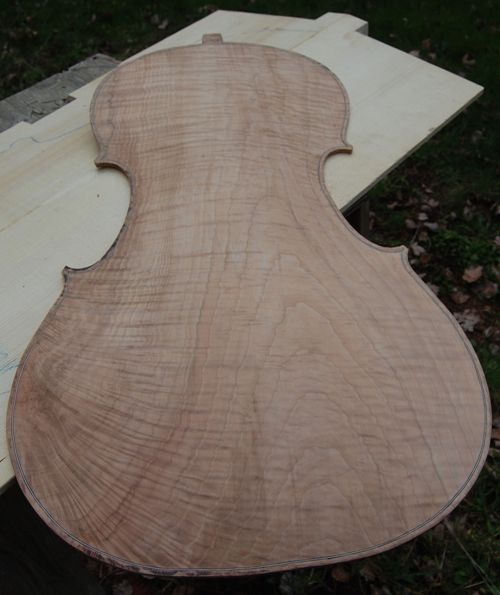
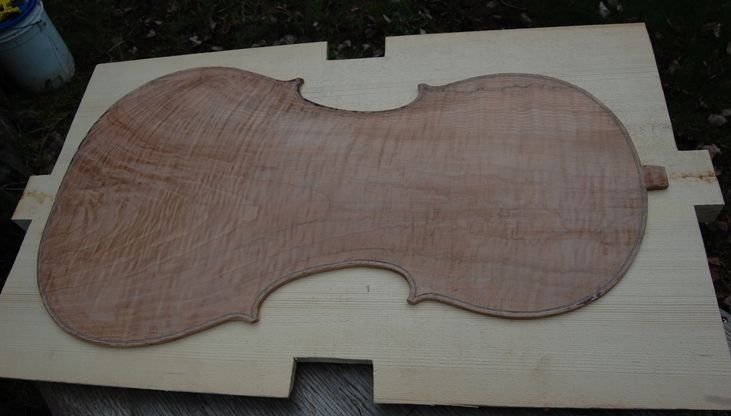
Completing the Back Plate
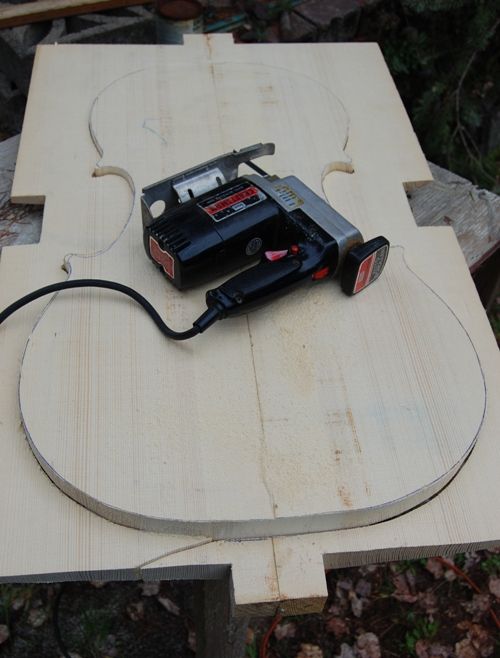
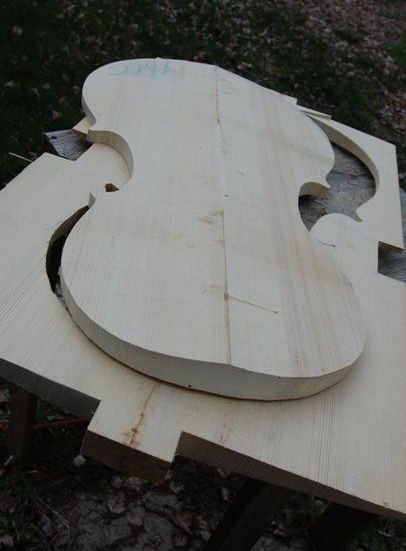
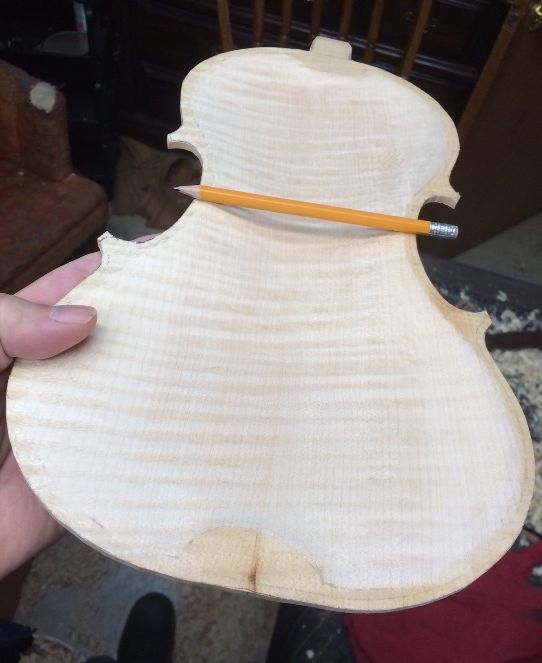
I continued planing away wood from the inside of the back plate until it was very nearly correct, then switched to scrapers, and completed the inside surface, so that it looks to be a smooth continuum of curves, transitioning without a ripple. The plate will require no further attention until I am ready to install it. Unlike the front plate, I intend to install the purfling later, after I am completely sure how the garland will respond to having the mold removed (sometimes they can move, and change shape a little.)
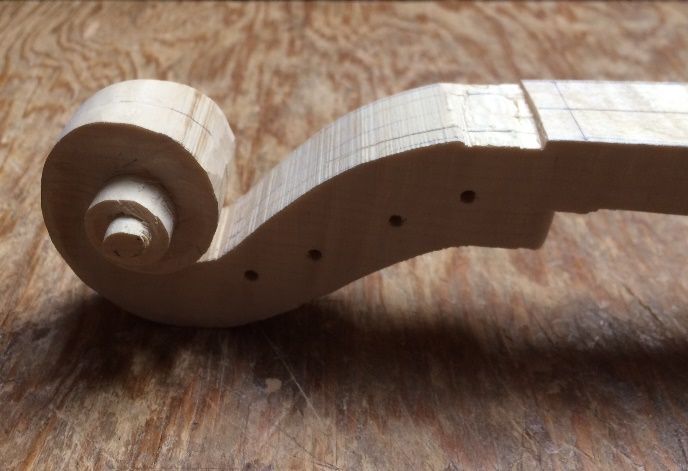
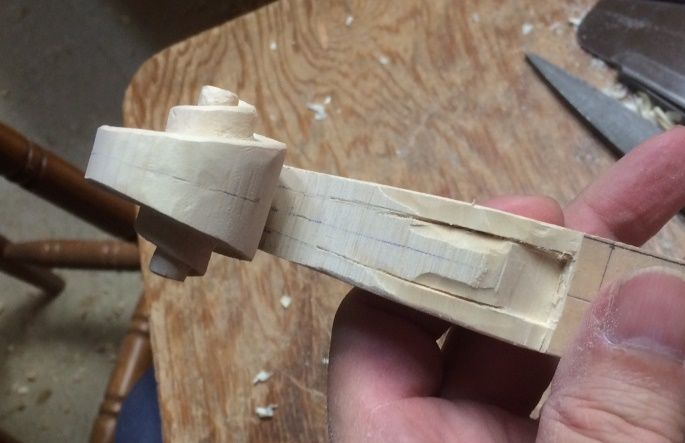
Scroll Progress
I also continued working on the scroll. My hands were getting pretty tired, so I took a break from that. It is still quite rough, but, here’s how it looked at break time:
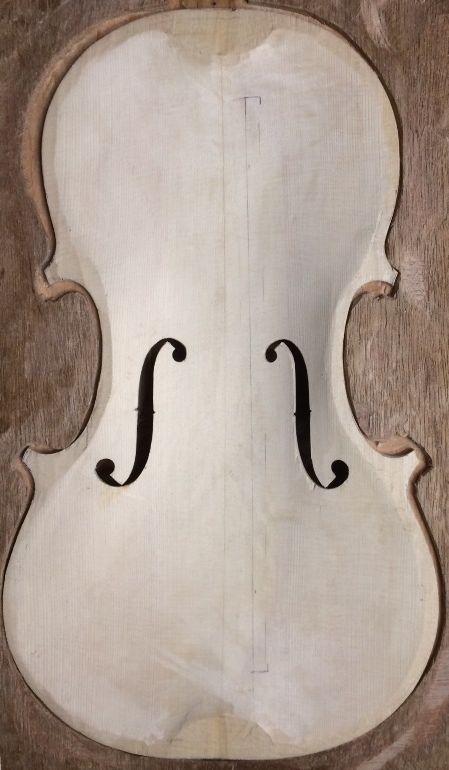
Bass Bar Fitting
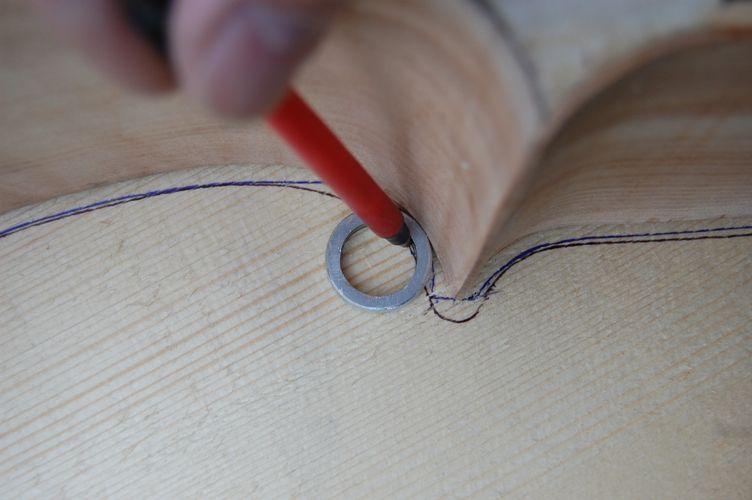
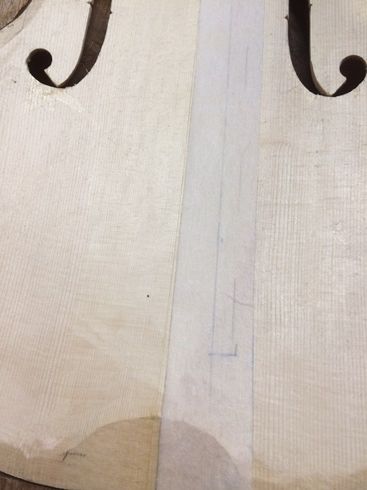
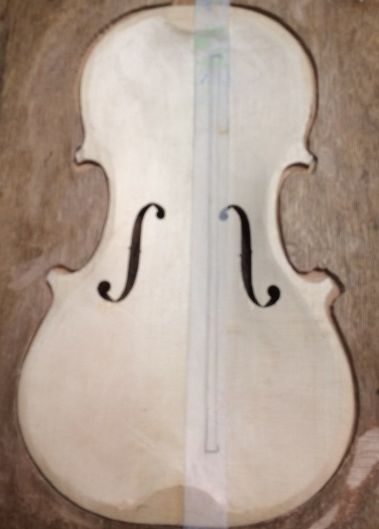
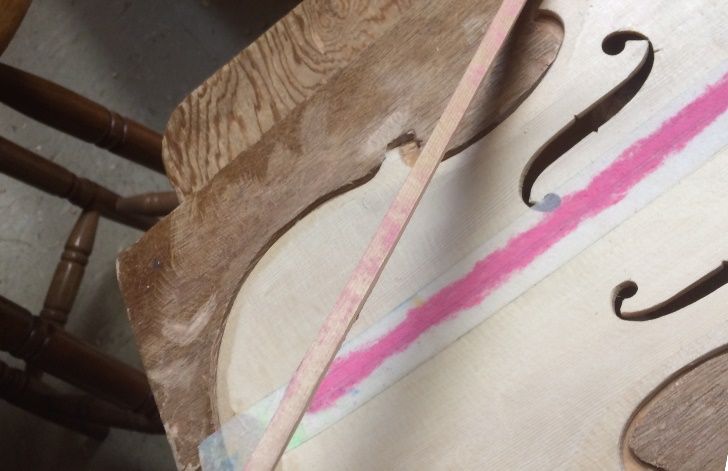
To fit a bass bar, I begin with a completed front plate, and lay out the position of the bass bar, so that the distance from the center to the bar, level with upper and lower bouts at maximum width, is 1/7th the full distance from centerline to the edge at those respective points. Usually, that means that the lower point will be about 15mm from the centerline and the upper one about 12mm (as it is in this case.) I lay out a line through those two points, and observe where it is, nearest to the bass-side f-hole. If it is too close, I “fudge” it away, a bit, trying not to change the angle. (The bass bar has to clear the f-hole.) Then I mark the two ends, 40mm away from the ends of the plate, and that is the place to fit the bass bar: the “footprint”, so to speak.
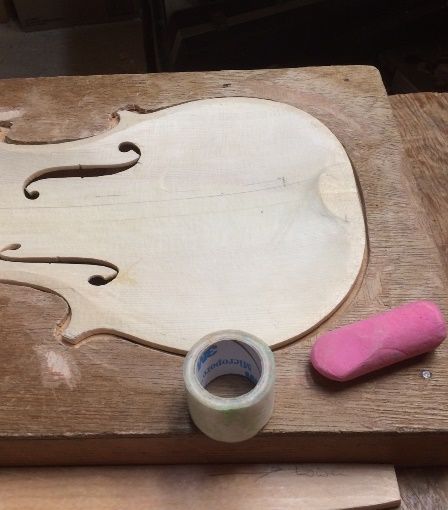
I use chalk to fit my bass-bars. I have never had a good enough eye, and a sure enough knife-hand to accurately fit a bass-bar without the use of chalk, though I have known master makers who regularly did so…perfectly. (Sorry… I’m not good enough for that.) On the other hand, I have had some nasty experiences with the residue of blue chalk mingling with the yellowish hide glue when installing a bass bar: it left a very ugly green stain…and it never completely came out. So…what to do? In the first place, I switched to pink chalk. If a little chalk is left, the glue will simply make it look a bit orange. (No problem.) But, I really don’t want chalk residue at all.
A friend showed me the paper “gauze” tape available in pharmacies. It is thin enough to completely conform to the surface of the plate, and produce a good fit, and, it is slightly translucent, so I can see my layout lines through the tape, and keep the chalk on just the path of the bass bar. I first use a compass to mark the general shape of the bottom of the bass bar, and then trim it with a knife and a small plane. That gets me “in the ball-park,” so to speak. After that, it is chalk-fitting time.
The front plate is made of European spruce, but I chose Sitka spruce for the bass bar. There is quite a contrast in color between relatively fresh European spruce, and well-aged Sitka spruce. It actually made it a little difficult to see the pink chalk against the dark wood. But it worked.

The idea, in any chalk-fitting procedure, is to press the fitted part (being fitted) into the chalked surface to which it is being fit, then trim away only the portions where the chalk transferred. So, in the case of the bass bar, I need to press it into the chalked top plate, and then check the bottom of the bass bar blank, to see where to cut. I trim off the obvious spots, and try again. Ideally, every time I try, I will get a broader transfer of chalk. When the whole area gets a light dusting of chalk at one time, the fit is as close to perfect as I can get it. I remove the tape, wipe off any chalk residue, slather the hot hide glue onto the bottom of the bass bar, and clamp it home. On a good day, it takes me a half-hour. On a bad day? Don’t ask… 🙂 This time wasn’t bad, though.
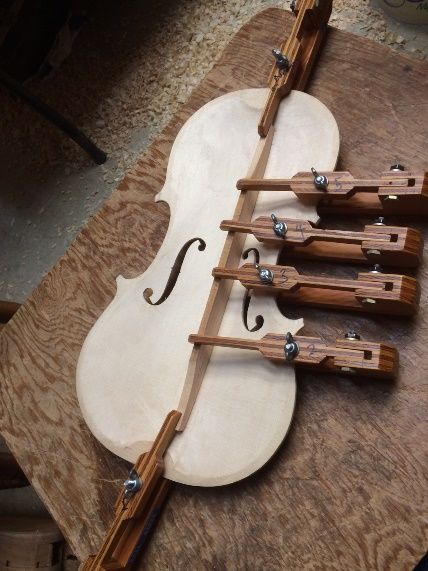
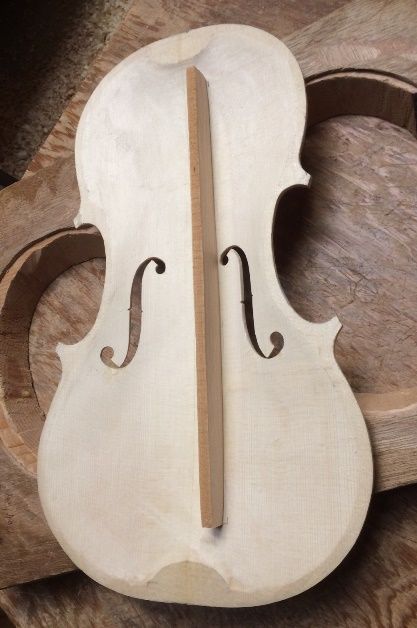
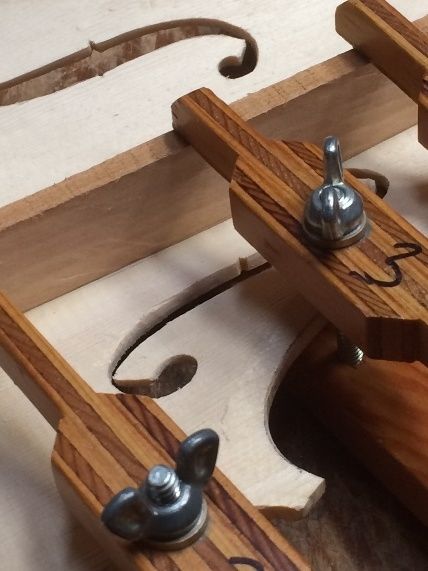
Chalk-fitting complete; Dry-clamped to check the fit.
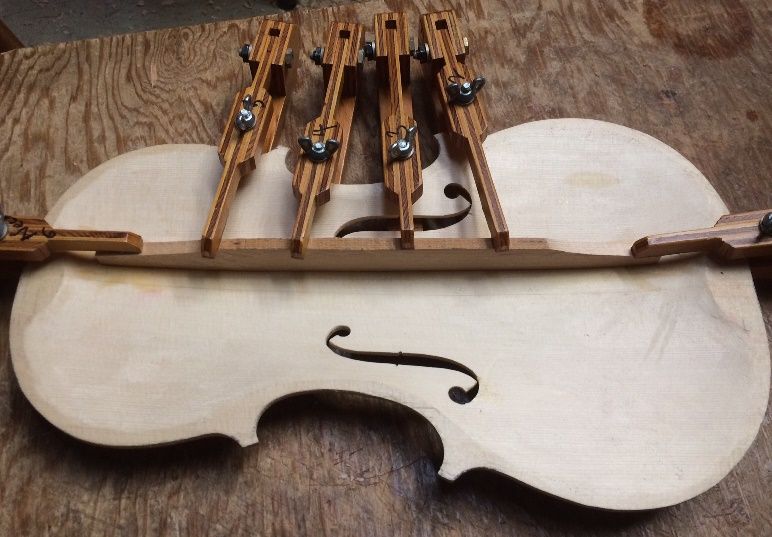
Glued and clamped.
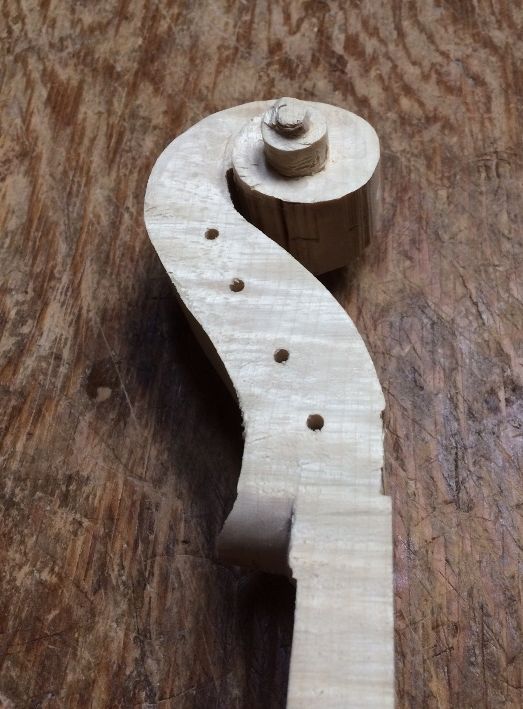
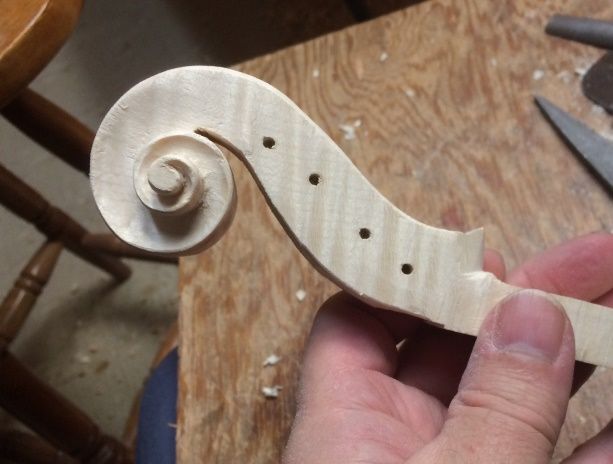
More Scroll Progress
While the glue was drying on the bass bar, I went back to work on the scroll. It was looking verrry rough when I had to take a break, so it is nice to see it progressing better, now. There is still a lot to do. I have to excavate the pegbox, and cut the fluting in the volute. But this is as far as I am going tonight. I am glad to call it a night, and let my hands rest.
I have other things to do tomorrow, so I may or may not get to work on the violin. At the very least, I expect I will be able to trim the bass bar to the shape I want it, but beyond that, I don’t know.
Thanks for looking.