
 Follow

On the Home Stretch Now!
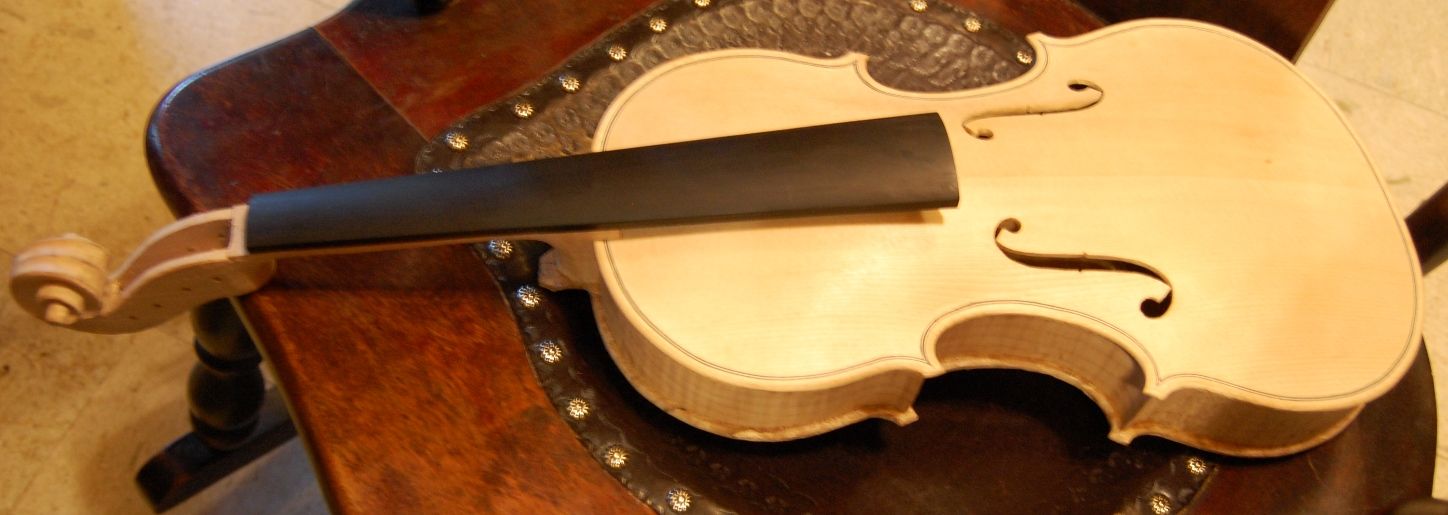
The 14-inch Viola is getting closer to completion!
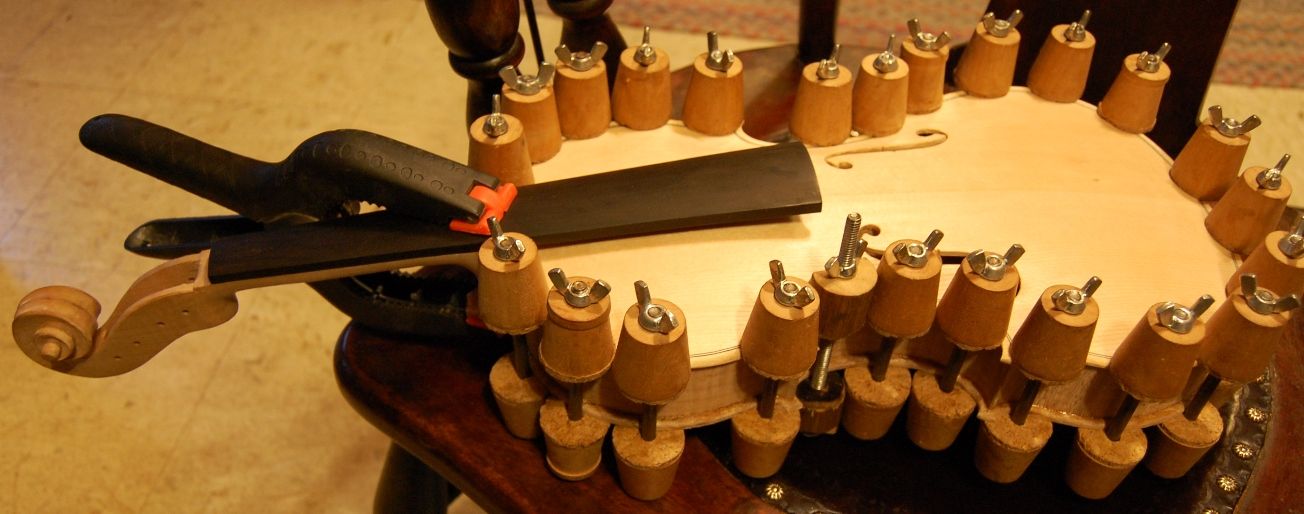
When I last posted, the viola was still in the spool clamps. The back plate was installed, but that was as far as I got that night.
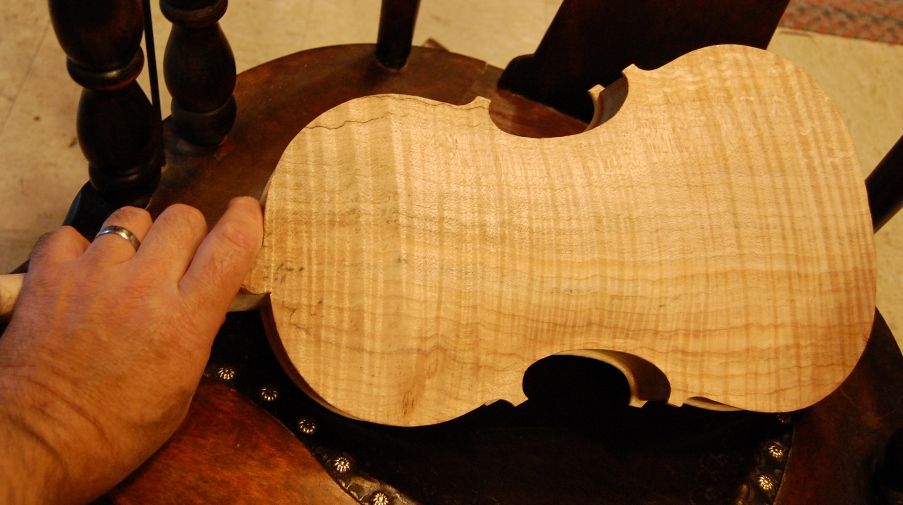
Spool Clamps Off: Lots of Work to Do, Preparing for Purfling
So…the next step was to remove those clamps, adjust the overhangs as needed, and get on with the purfling. That sounds pretty straightforward, but there is always more to anything than meets the eye.

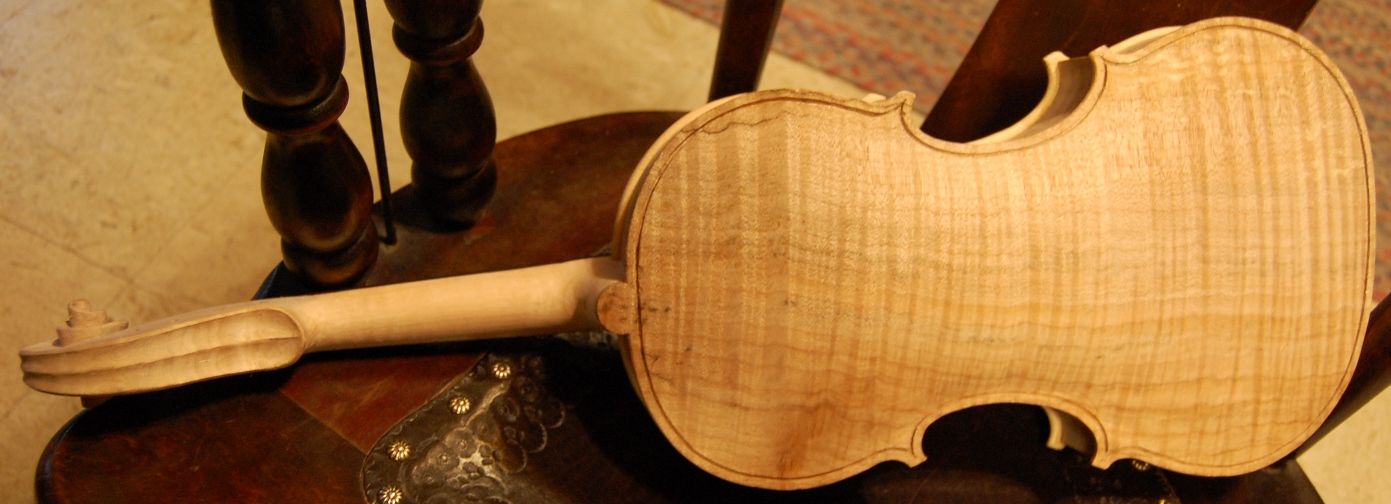
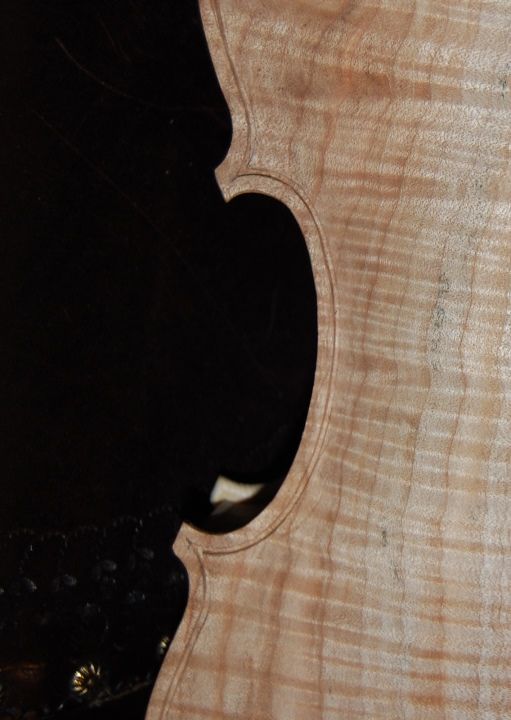
Purfling Groove
I marked the purfling groove, using what is frequently called a “Purfling cutter“, but which is actually a marker. It has two blades that simply lay out the sides of the groove, by scribing them a set distance in from the outer edge…which is why I want the outer edge perfect, before beginning purfling. I have modified my cutter a bit, to make it work more reliably, but the link above shows the type of tool I use. I don’t think I have that brand. I can only use the marker to get within an inch or so of the corners. I lay out the corners by hand, sometimes using a frnch curve to achieve some repeatability.
Afterlaying out the groove in pencil and scribe marks, I incise the lines with a small sharp knife, then pick the waste wood from between the cuts.
Here is the completed groove:
Here is a detail shot of the groove:
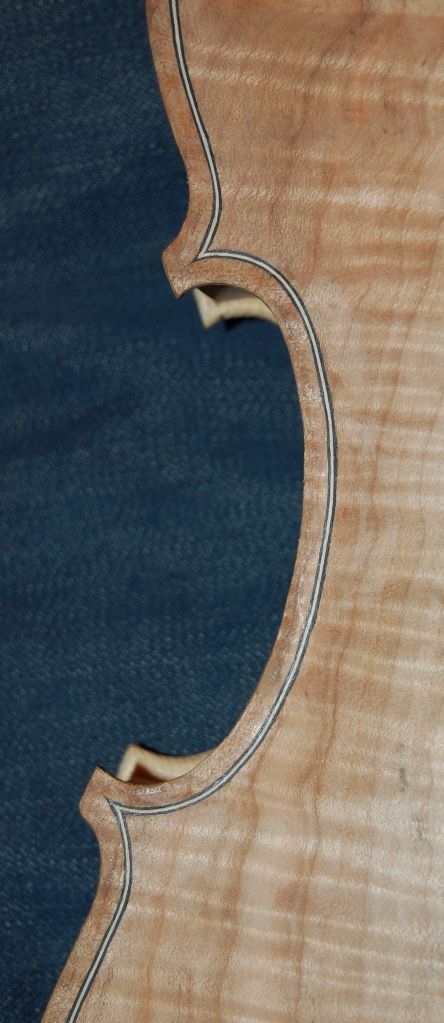
The Purfling, the Channel, and the Finish Work.
Finally I can start cutting and installing the purfling itself. I use a wood purfling, which is very brittle when dry, but bends nicely with a little moisture and a lot of heat. Once the purfling fits correctly, I lift each stip out partway, and insert hot hide glue under it, then force the strip back into the groove. Afterward, I mark the crest of the channel, and cut the channel using a sharp gouge. Finally, I use a tiny plane as well as gouges and scrapers to bring the convex curve of the plate into a fair, smooth agreement with the concave curve of the channel.
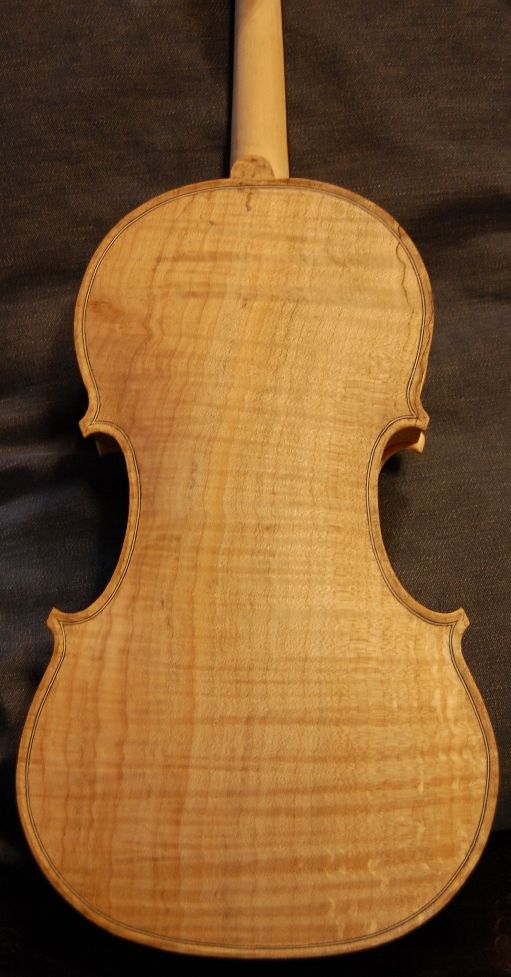
And, it is looking more and more like a viola!
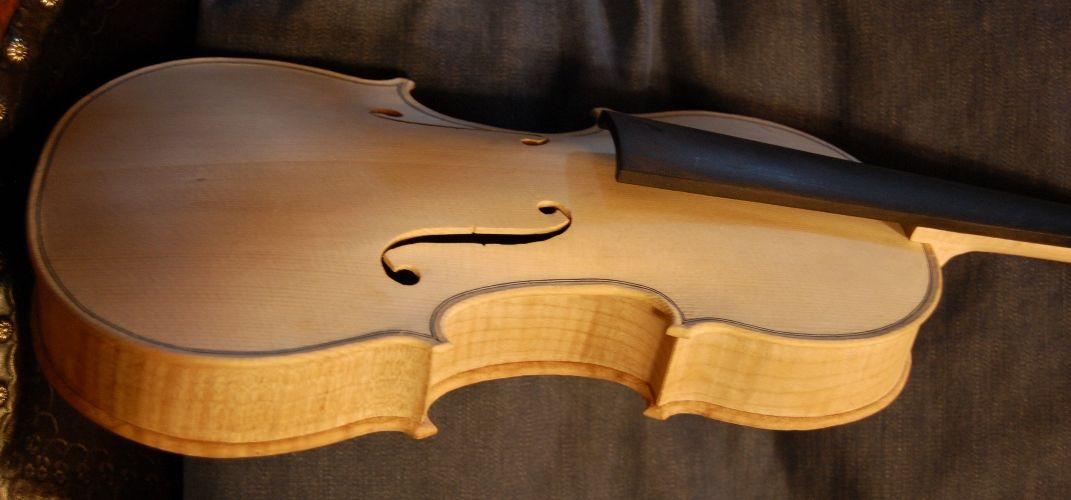
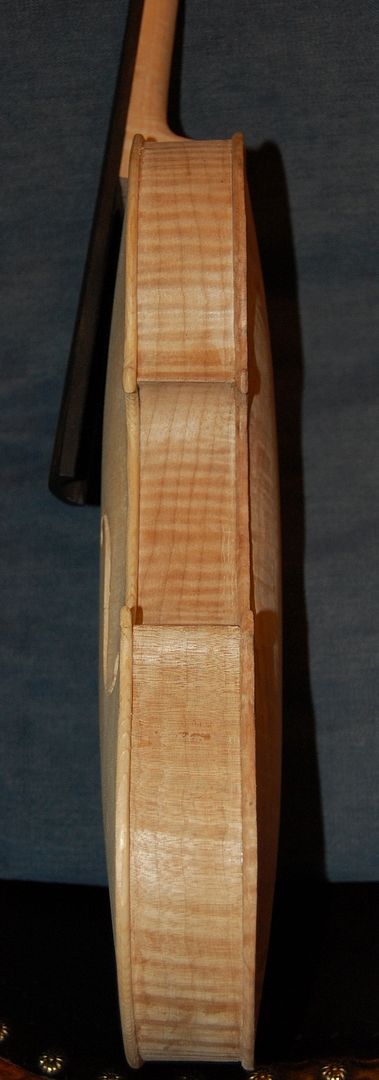
What is next? Edgework, and final scraping; coffee stain, mineral ground, sealer, and varnish…and then fittings and set-up. (The outer edgework is not even begun on the back plate.)
This is definitely as far as I am going tonight, though…. Getting too tired.
Thanks for looking