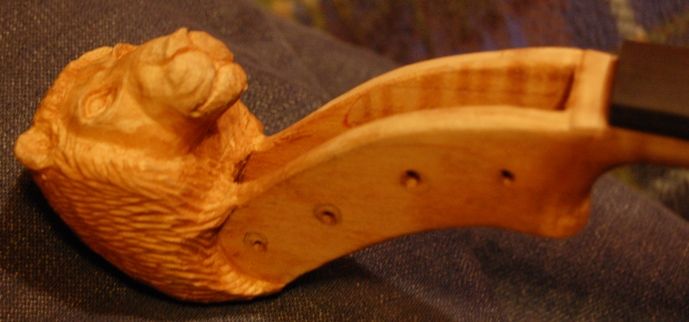
Repairs Only…not by choice.
Various Repairs:
For the last six months I have been involved only in repairs, restorations and resurrections: no new builds.
Gary’s Fiddle
One was a fairly simple repair job for a man named Gary: he is 82 years old, and had his mother’s violin, which she had gotten from her father, who bought it in Denmark during or before WWI…but, as she quit playing before he was born, he had never heared it play; so he really wanted it singing again…and asked specifically that I would play “Amazing Grace” on it, after the repairs were complete. (Sigh…) I am really not a player, but I agreed, so the deal was a go—annnnd, he was leaving the state, moving to Wyoming, the next Saturday. So it was a “rush” job, with no wiggle room.
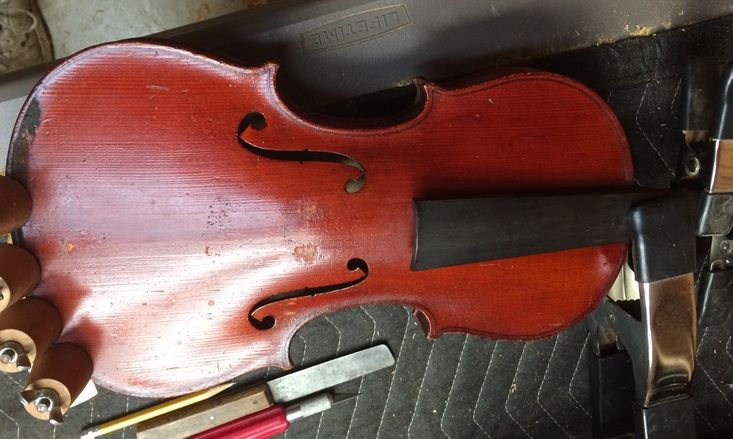
Here is how the violin came to me:
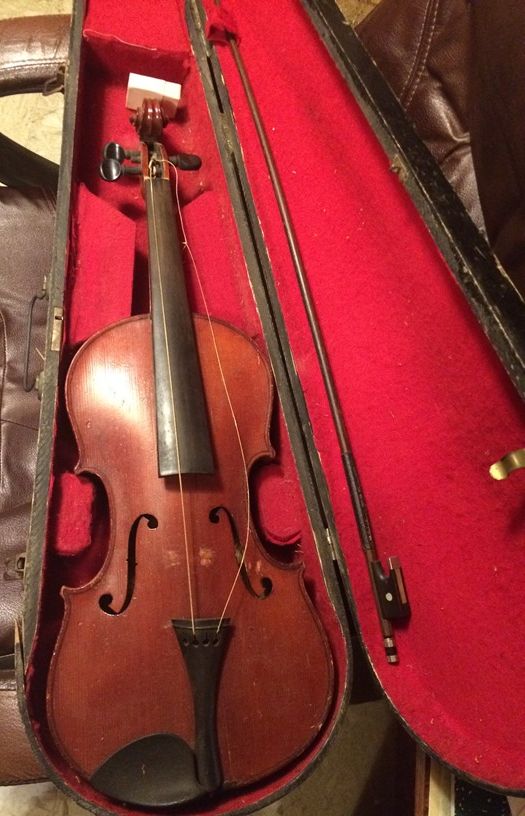
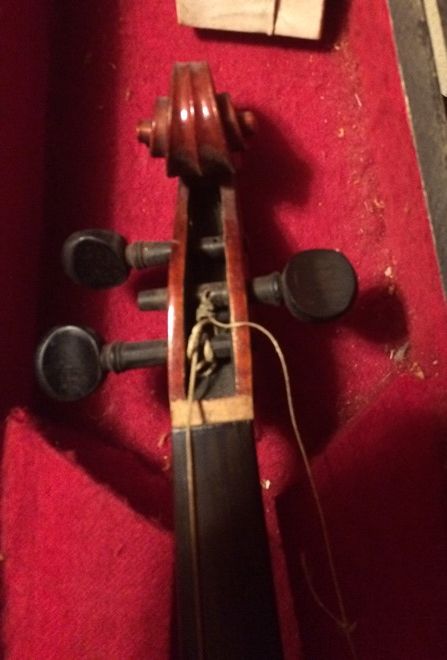
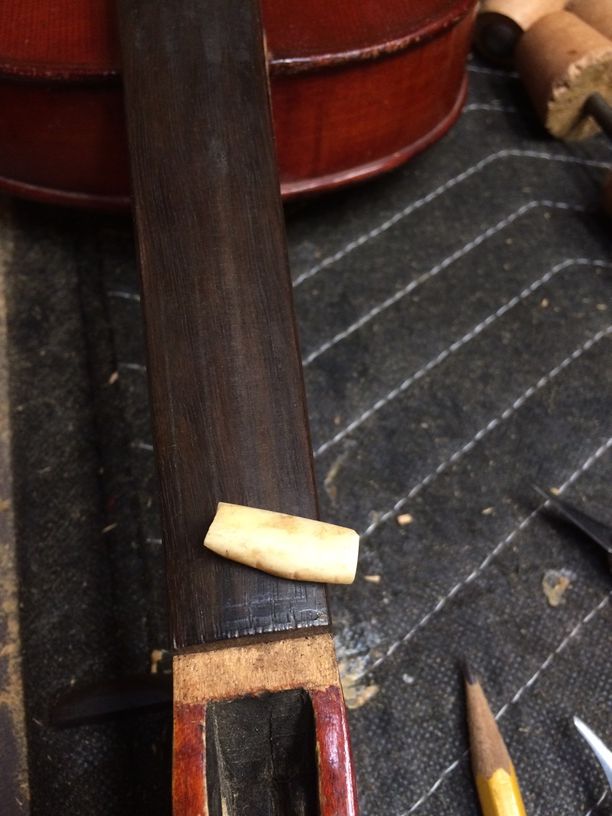
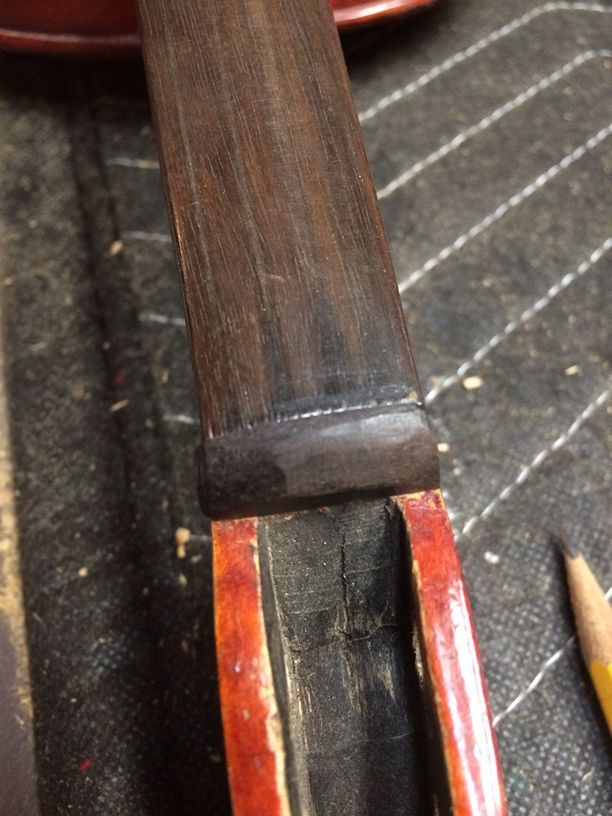
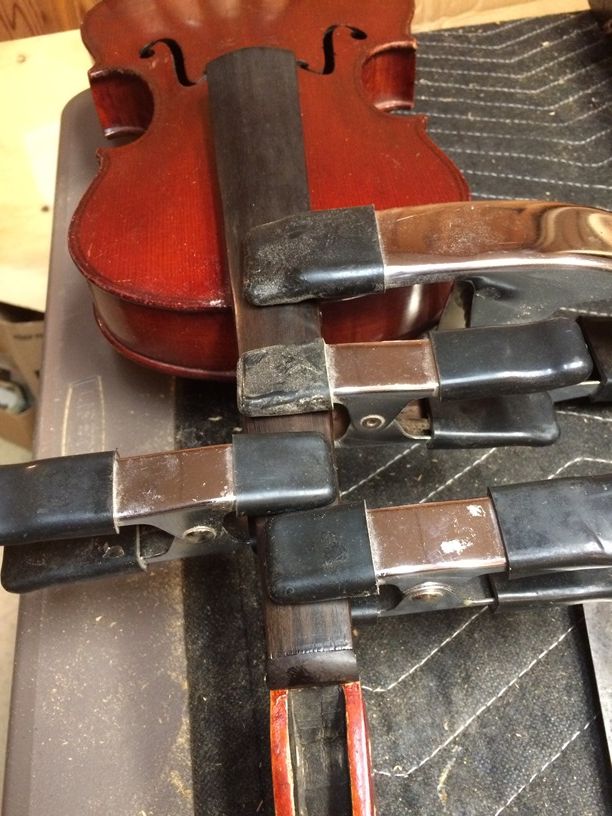
The nut was missing, though someone had attempted to replace it with a bone nut, but the bone nut really didn’t fit, so I ended up just making a new one of ebony.
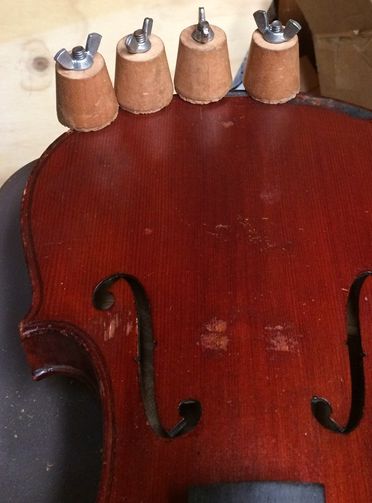
The lower bout treble seam on the back was open for about 5-6″, but there was no crack, so that was an easy fix.
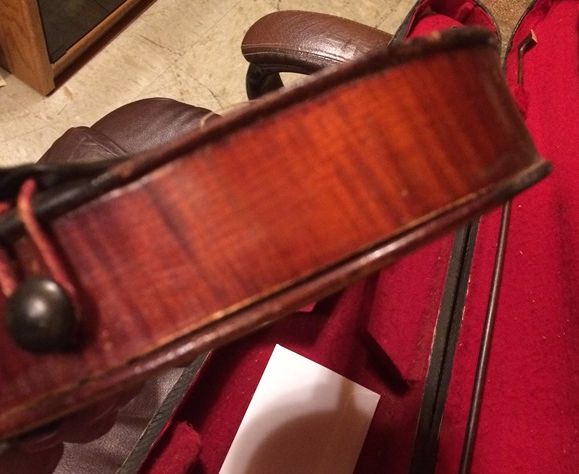
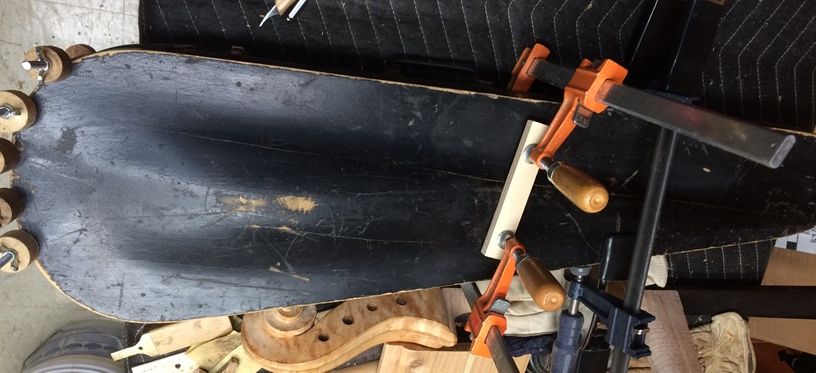
The back was in good shape:
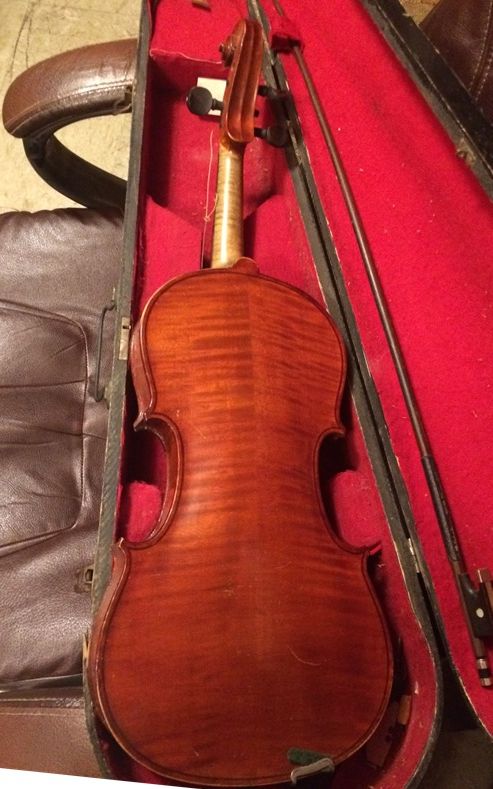
So! Where to start?
The obvious things seemed to be to close the open seam, and to replace the mising nut. As it turned out, the fingerboard was about to fall off, too, so I re-glued it while making the new nut.
Someone had attempted to make a bone nut (popular in some circles, in some periods of history– still the norm for guitars), but it was really not at all the right size…so I just made a new one of ebony.
A Broken Case:
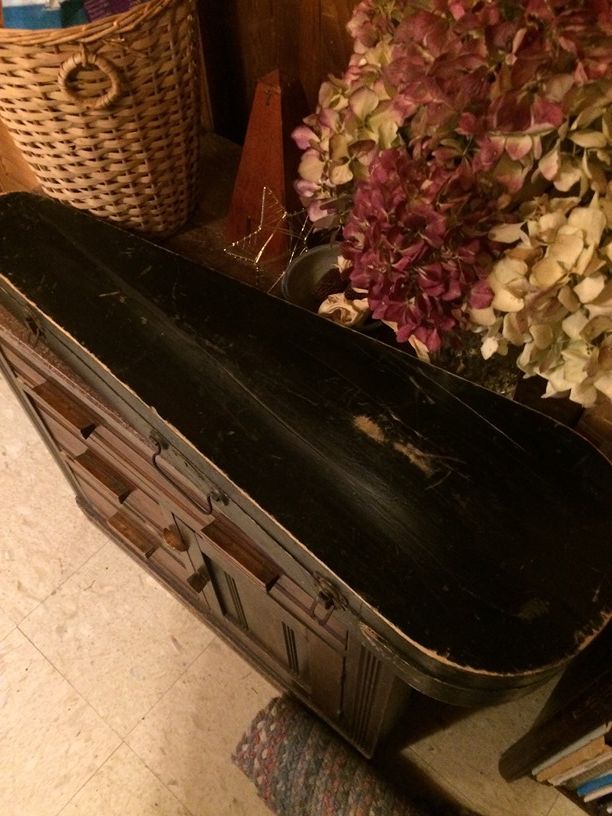
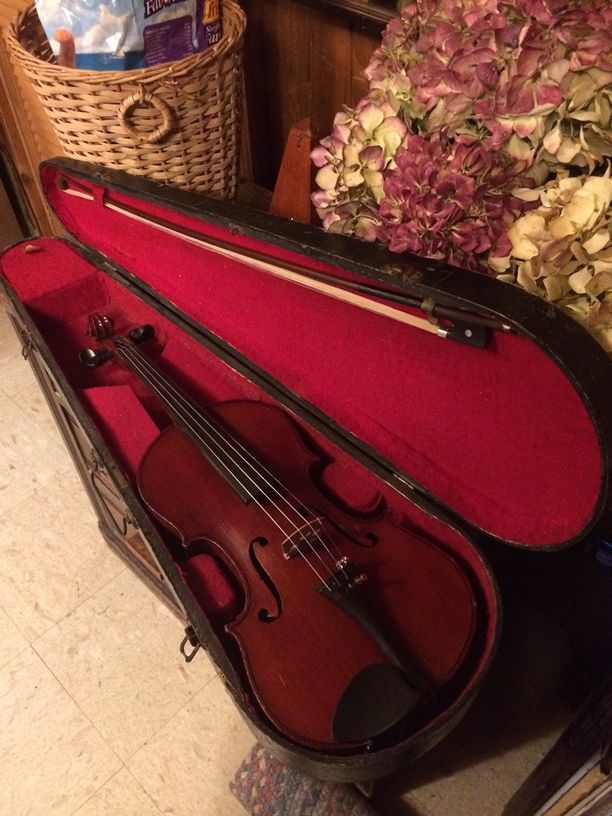
So, while the glue was drying on the fiddle itself, I atempted to close up the gaping cracks in the old wooden case. They had been open a long time, and resented having to mate up again, but with some creative clamping and wedging, I got it presentable on the outside. The inside needed attention as well– the little spacers and dividers were loose, and the compartment for rosin, etc, was falling apart. Annnd, the bow-holders that were left were on opposite sides, so I had to transfer one to match the other.
While the case was drying, I re-haired the bow, and made minor repairs. It turned out OK, but I did not take any photos.
Finally, I was free to replace all the pegs, using a modern taper, and good quality ebony pegs. At that point it was ready for strings and a full set-up, including a new bridge and soundpost.
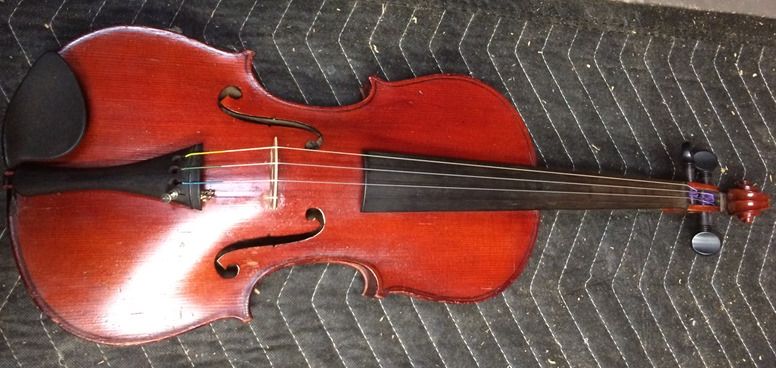
All Done!
The case looked pretty good, all things considered, and the newly-re-haired bow and newly-resurrected fiddle looked at home in it.
Delivered!
Gary was pretty tired: he had spent all night packing to leave for Wyoming. But he was delighted with the fiddle.
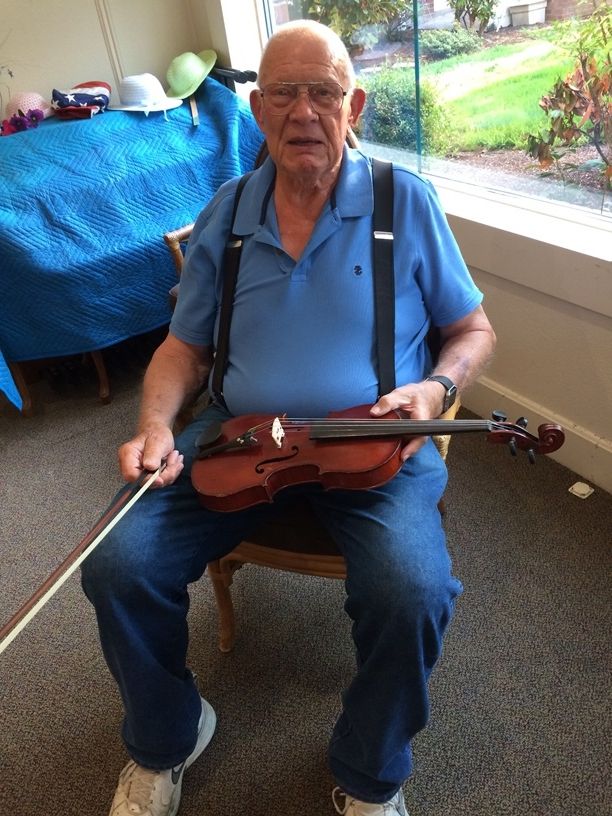
Tone was not bad, considering the 80+ year enforced silence. It seemed to be “waking up and remembering the good old days,” even in the few hours that I had with it before returning it to the owner. I did play “Amazing Grace” for him, but you will pardon my reticence to display my Non-virtuosity, here, in a public place. 🙂
Thanks for looking.

 Follow


