Scroll and Pegbox completion: and Neck-set
Scroll and Pegbox Completion:
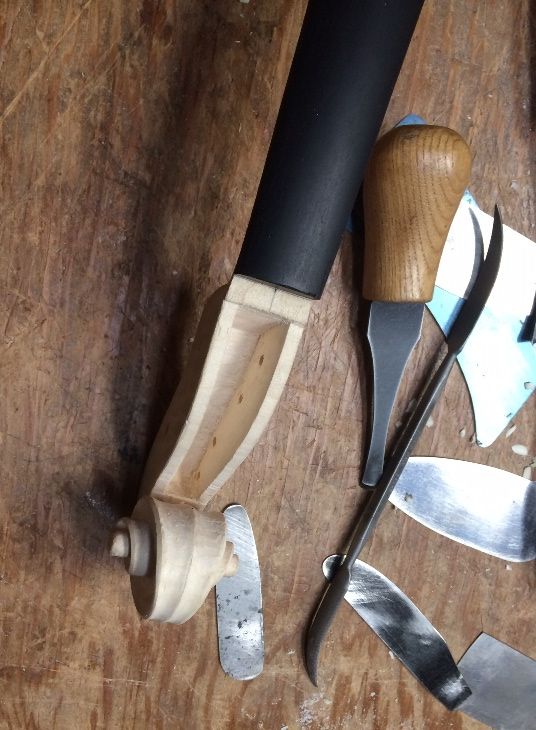
When I last posted, I had just temporarily attached the fingerboard to the neck, but had not carved the pegbox, nor the fluting on the back and top of the scroll. In the past I have completed those before attaching the fingerboard, but this time I was anxious to get going, and it seemed a good idea at the time….
So…I first shaved the fingerboard sides to fairly closely match the handle portion of the neck, and then began carving the pegbox.
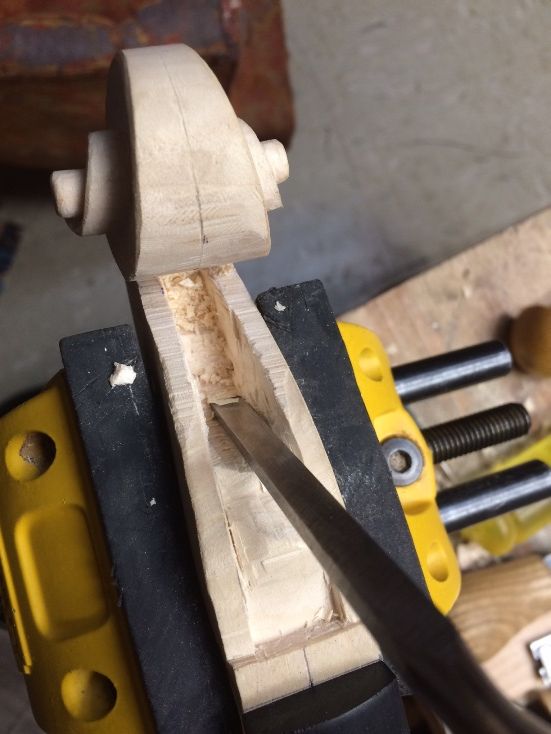
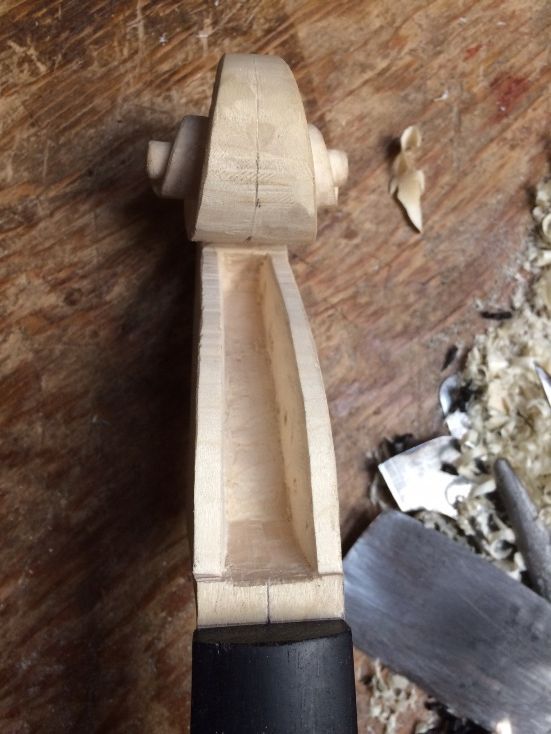
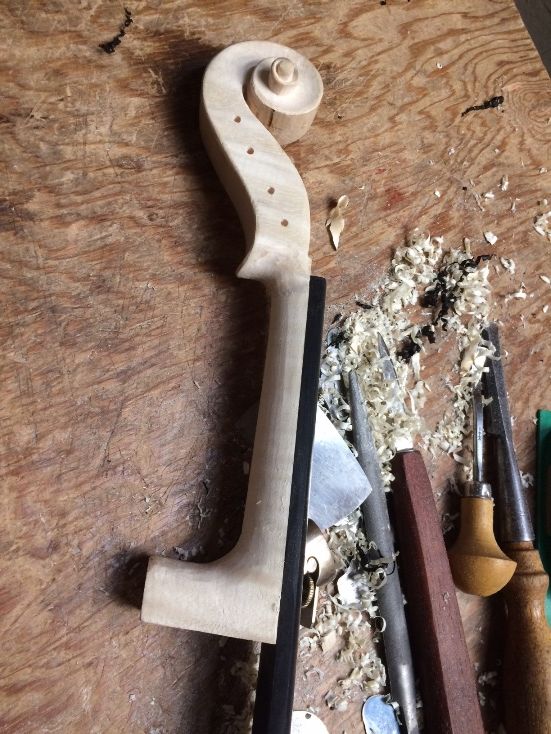
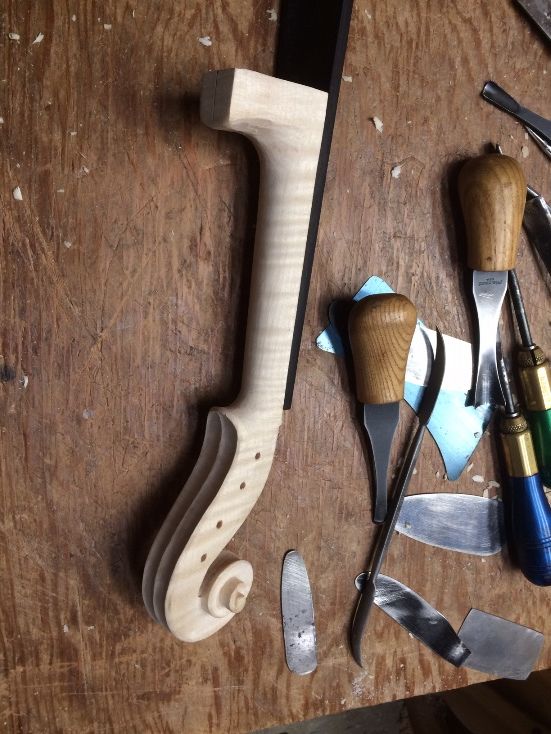
Then I could complete the outside of the pegbox, finish tapering and scraping the handle portion of the neck, and carve the fluting on the scroll. I still had the centerline I had scribed when I first cut out the scroll, so I worked from there, and tried to “color inside the lines.”
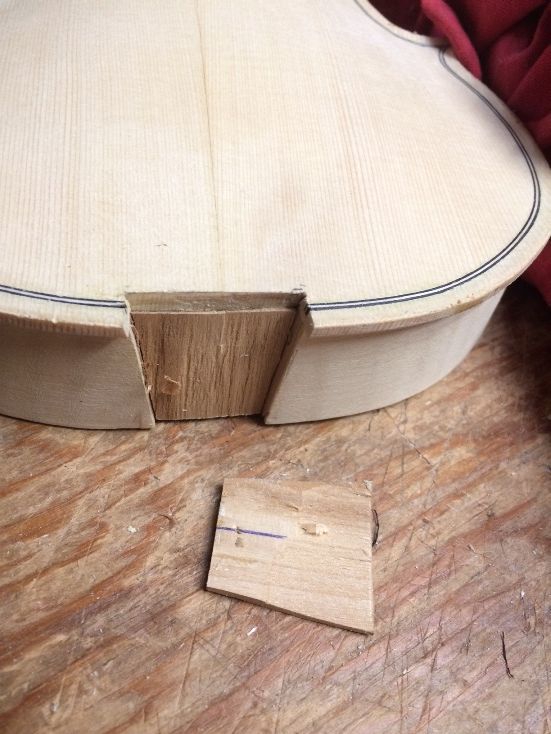
Neck Mortise
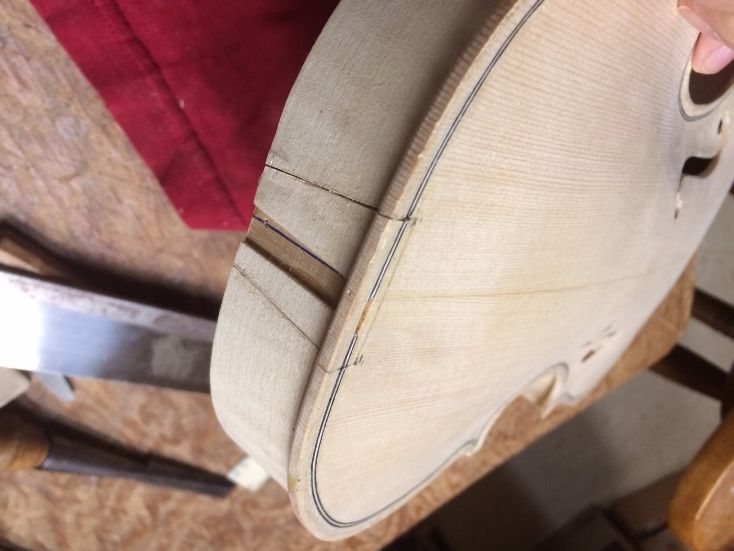
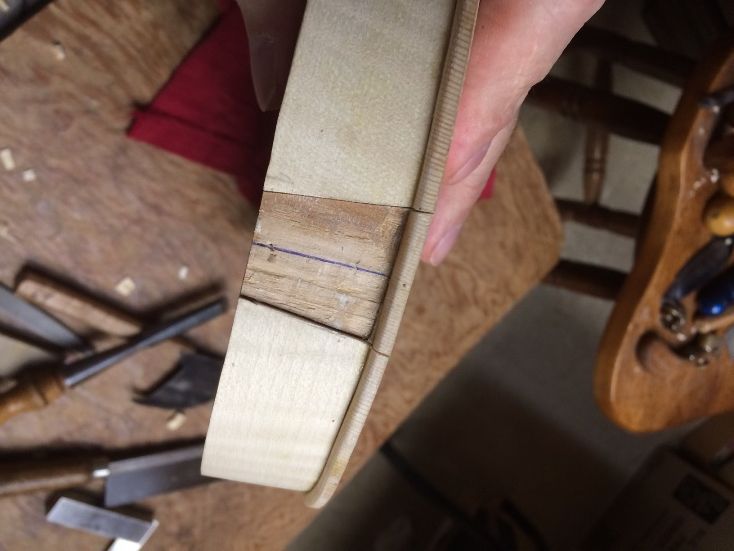
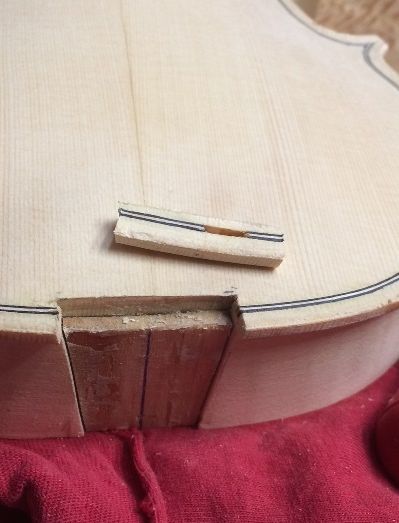
Before I can set the neck, I have to lay out the exact footprint of the neck heel on the centerline of the corpus, where I will cut the mortise through the ribs and into the neck-block. I have deliberately left the heel long, so that I can set it through the neck-block, and not have to worry about fitting against the back button, because I haven’t installed the back plate yet. I will trim the heel afterward, and, when I level the back of the corpus, just before installing the back plate, I will level the heel right along with the linings and blocks.
So here is how the neck mortise went:
Neck-set
The mortise has to fit the neck in every respect: It has to be the right width and shape, so that the neck goes to the correct depth. (I wanted a 6mm overstand at the edge of the front plate.) It has to be the right depth so that the distance from the front edge of the nut, to the top of the front plate will be exactly 130mm. The sole of the mortise has to be flat, so as to fit tightly against the end of the neck, but at the correct angles, both laterally and fore-and-aft, so that the neck is not twisted in relation to the corpus, the centerline of the neck is in line with the centerline of the corpus, and the projection angle is either exactly right or just a shade high. I have had instruments change fairly rapidly after they have been strung at tension for a while, due to the top bulging a little as it is compressed by the string pressure, so, I deliberately set the projection angle just a tiny bit high, anticipating that it will change a bit under string tension.
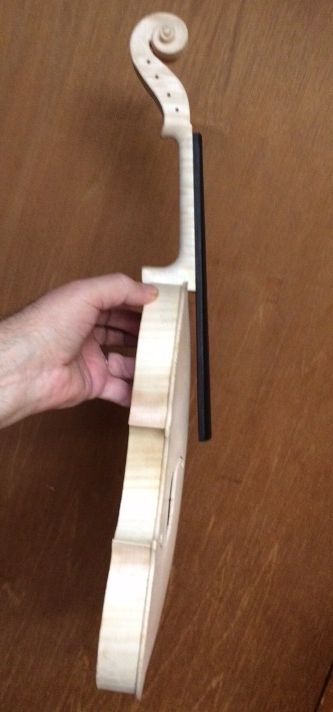
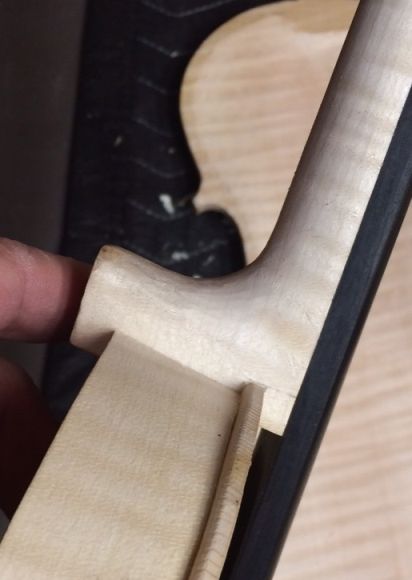
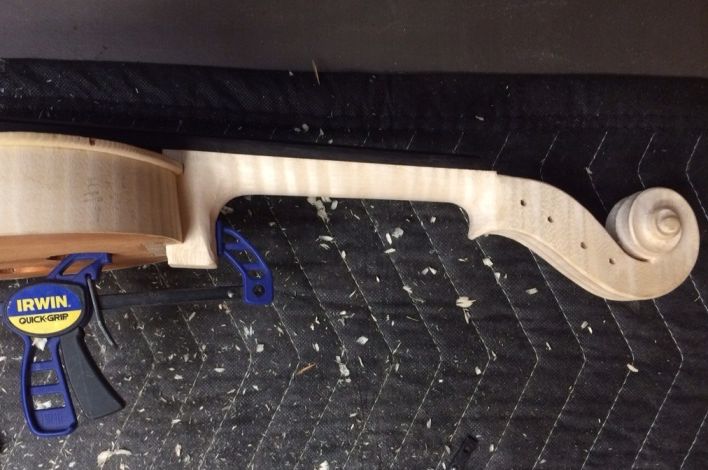
When I am finally satisfied that all is correct, I remove the neck one last time, slather the hot hide glue into the mortise, and shove the neck home for good. I quickly check all measurements, to make sure I got it in correctly. I only have a few seconds before that glue sets up permanently. Fortunately, all was still good, and I applied a single clamp to hold it until the glue dries.
What’s Next?
You can see that I have about 10mm of extra heel hanging out behind the back of the neck block. I will saw that off, nearly flush, plane it as close to flush as I dare, then, after removing the mold, installing the back linings, and trimming the linings and blocks, I will level the entire back of the corpus, including the heel, on a “sanding board.” When all is perfectly flat, I will install the back plate, and the violin will begin to take on a life of its own.
For some reason, after I close the corpus, or thereabouts, I cease to see the instruments I make as a “project I am building”, and simply see them as an instrument I am working on. I am working on a violin, at that point, not just something that will become a violin. It is a strange feeling, but it has happened on every instrument. A student, who built his first instrument under my guidance, put it another way: as the instrument came together, he suddenly said, “This is getting real!” I knew exactly what he meant.
Next time I will remove the mold, install the back linings, shape the blocks, and maybe get this thing closed up!
Thanks for looking.

 Follow
