
 Follow

Building the Double Bass Mold
Planning the Mold
I designed this upright bass mold to be collapsible and to allow me to affix the blocks to the mold with screws, so that there is no glue to have to separate later. I also wanted the mold to be slender enough from front to back that I could install the front and back linings without running into the mold, so I gave myself a 1″ clearance between the front and back faces of the mold and the front and back edges of the ribs. Since the back will taper in the upper ribs, losing two inches of depth between the middle of the upper bout rib and the top rear edge of the neck heel block, I had to accommodate that taper as well: I simply made a 2″ “step” in the mold to allow the taper to occur.
Finally, I wanted the mold to be stout enough to allow me to handle it without fear of damage. So, the construction is of 3/4″ plywood, spaced by blocks of 2 x 6 and (in the upper half of the upper bout) blocks of 2 x 4. The corner block mounts are of 1 x 6, so I do not have to use large screws to affix the corner blocks. The neck and tail block mounts are of heavier stock; 2 x 4, and removeable, to allow the mold to collapse laterally, and clear the ribs for removal.
Using the Mold Template
In the last post, I had completed the mold template, and had commented that I would use it to make the mold, and then, later, to establish the shape of the blocks. So this is how that works:
I bought two quarter-sheets of 3/4″ plywood from Home Depot. That is a pretty expensive way to buy plywood, but it solved two problems:
- I really don’t need a whole sheet of plywood, and
- Even the quarter sheets were difficult to get into my car…but not impossible.
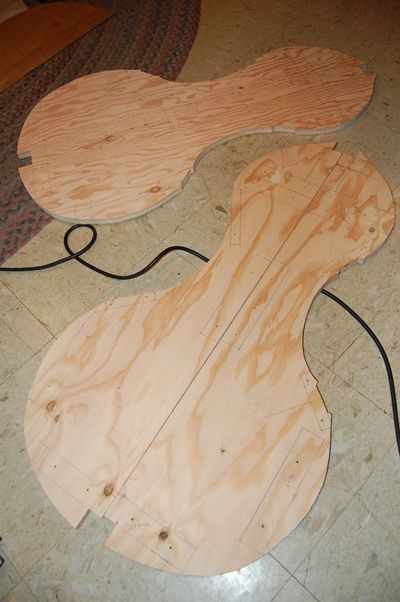
I took the quarter-sheets home, and positioned the mold-template flush with one end of one of those sheets, and offset by two inches. I am building a collapsible mold, and I want 4″ clearance between the mold halves. I don’t need that much for mold removal, but I do need enough for my hands and forearms to reach up inside the mold and remove the screws holding the molds to the blocks. So a 2″ offset on the template will result in a 4″ gap down the center of the mold.
I traced the mold template onto the quarter-sheet, and it looked like this:
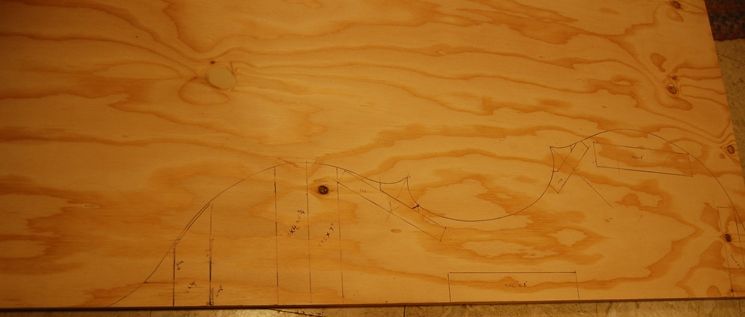
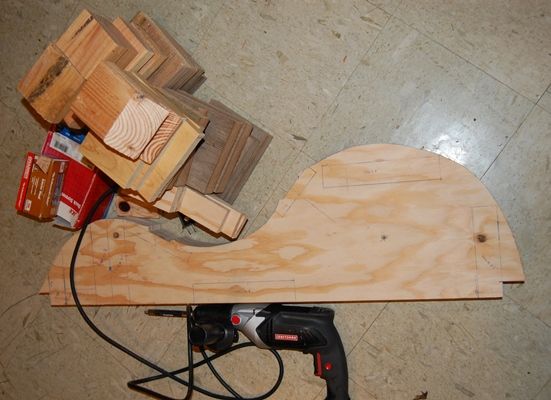
You can see that I also laid out the location and outline of the instrument blocks, the block mounts and all the spacer blocks that would become part of the mold. This took less than half of one of the quarter-sheets of plywood, so I sawed the sheets into strips, 11″ wide , and about 39″ long, and stacked them into a “sandwich” of four pieces, held together with two screws, countersunk flush with the surface. Then I sawed the whole sandwich out on the bandsaw, and smoothed the edges with the oscillating spindle-sander.
I cut all the needed blocks to complete the mold, and I was nearly ready to begin assembly.
It was tempting to take the mold quarters back apart at this point, but, fortunately, it occurred to me that I could do all my drilling at once, so things would line up, and so that I only had to drill each hole once. So I made a drill bit out of a welding rod and drilled every screw location through all four plywood quarters. (Welding rods are way too soft for most uses; they use extremely low-carbon steel for the core wire of welding rods, but it was OK for this soft plywood.)
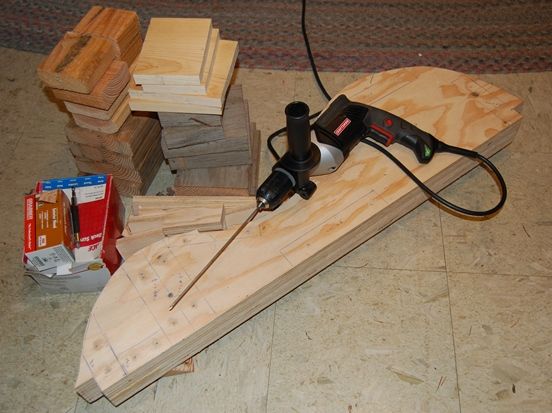
Finally I separated the quarters, and countersunk all the screw-holes.
Assembling the Mold
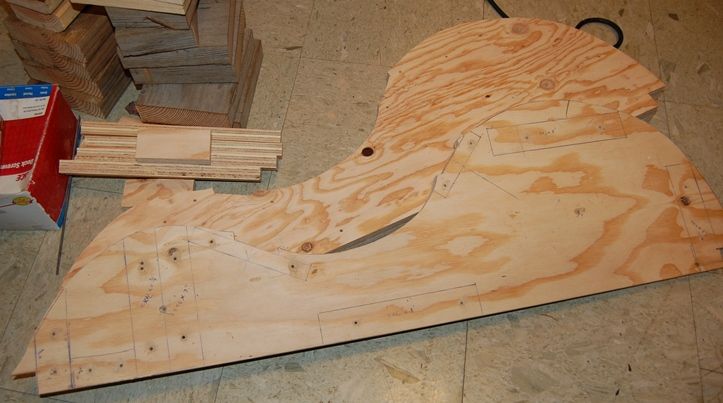
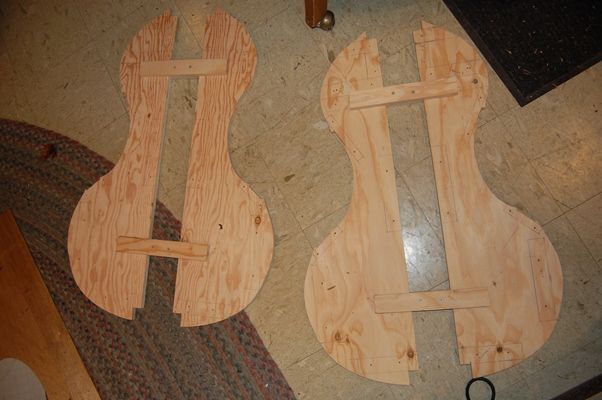
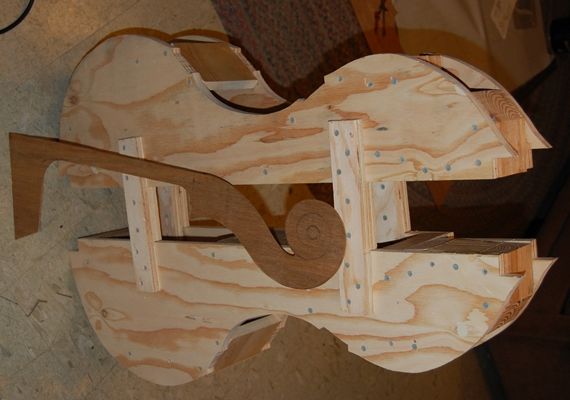
I laid the mated pairs side by side, and lined up perfectly, then transferred the block locations and lines to each panel so that I could see where the blocks were to fit, on all four pieces.
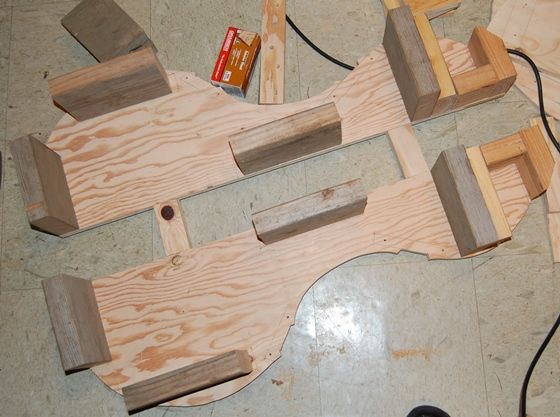
Then I assembled my spacer blocks and installed them:
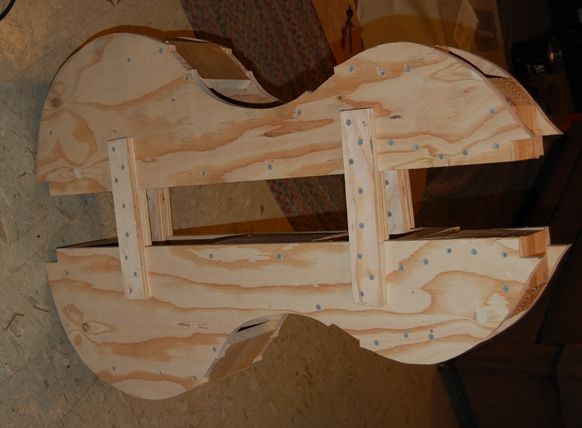
Once the spacers were attached with screws, the front and back were pretty stable and I could begin assembly. The back plate still needed to be cut off at the beginning of the rib taper, so it could accommodate the taper, but I began by assembling (as many as possible of) the internal members to the front plate of the mold. It turned out to be pretty easy.
Then I positioned the back plate pieces on the internal blocks and screwed it down tightly. I have used no glue in the mold, so, if I need to make modifications it will be easy to do.
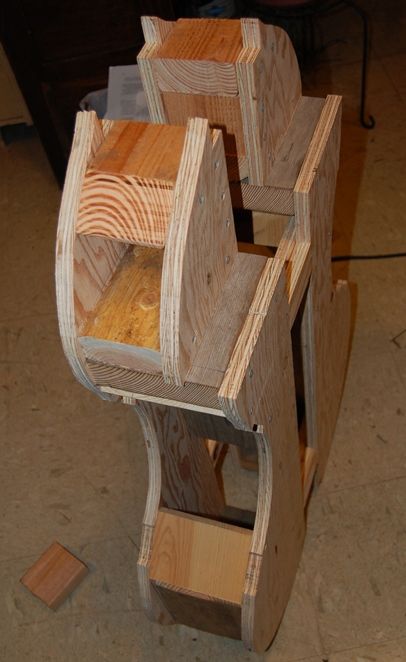
The way by which I had intended to attach the upper and lower block mounts does not appear to be workable, so I will have to re-think that part. I had planned to install them on hinges, and to be able to screw down a steel bracket on one end to secure them, but it turns out that it will be too difficult to access the screws, so I will have to give it some thought and re-design that aspect of the mold.
At any rate; that is where the project stands for now.
I called the wood supplier, and they assured me that my European Spruce should show up today or tomorrow. No problem, really, but I want to get those plates joined soon. (I already have the local Big Leaf Maple in my shed, waiting to be used.) By this weekend, I hope to have the blocks installed and shaped, the front and back plates joined and the ribs cut. We’ll see how it works out.
Thanks for looking.
(P.S. : The wood showed up this evening… Good looking stuff!)