
 Follow

Step #9–Arching the Plates
Arching the Plates
If one looks at a violin-family instrument from the side, to see the front and back longitudinal arches simultaneously, it is easy to observe that the front and back are not arched the same, longitudinally. Here is a good example.
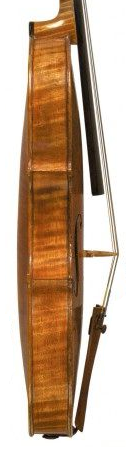
Some may argue that they began as identical arches, but that since the stresses on front and back are not the same, the wood has crept. Therefore the Old Master instruments are no longer the same shape as when they were new.
(OK…I wasn’t there 300 years ago, so I don’t know. Neither were you! And if we had been, we wouldn’t remember, since we would be 300+ years old, now!)
But we can see that, however they were shaped back then, they are not the same now, and the best instruments all seem to have certain things in common.
Longitudinal Arching
The back Longitudinal arch is essentially a circular curve. But the front is different: There is an area in the high middle that is nearly flat, by comparison with the back. The area between the f-holes and between the bouts flattens out considerably, compared to the back.
This is an important difference, and it is critical to the sound. Go online and look at a bunch of side-view photos of fine old violins. Once you see it, it is unmistakable.
Transverse Arching
Until a maker masters this aspect, it is truly wise to make a set of longitudinal and transverse arching templates. And then use them religiously until you can see the arching and tell whether it is right or wrong through personal experience. The arching templates will keep you out of trouble, just as using a map keeps a person from getting lost.
Furthermore, the transverse archings may be the single most important factor for good sound, after wood choice.
Make The Templates, And Use Them!
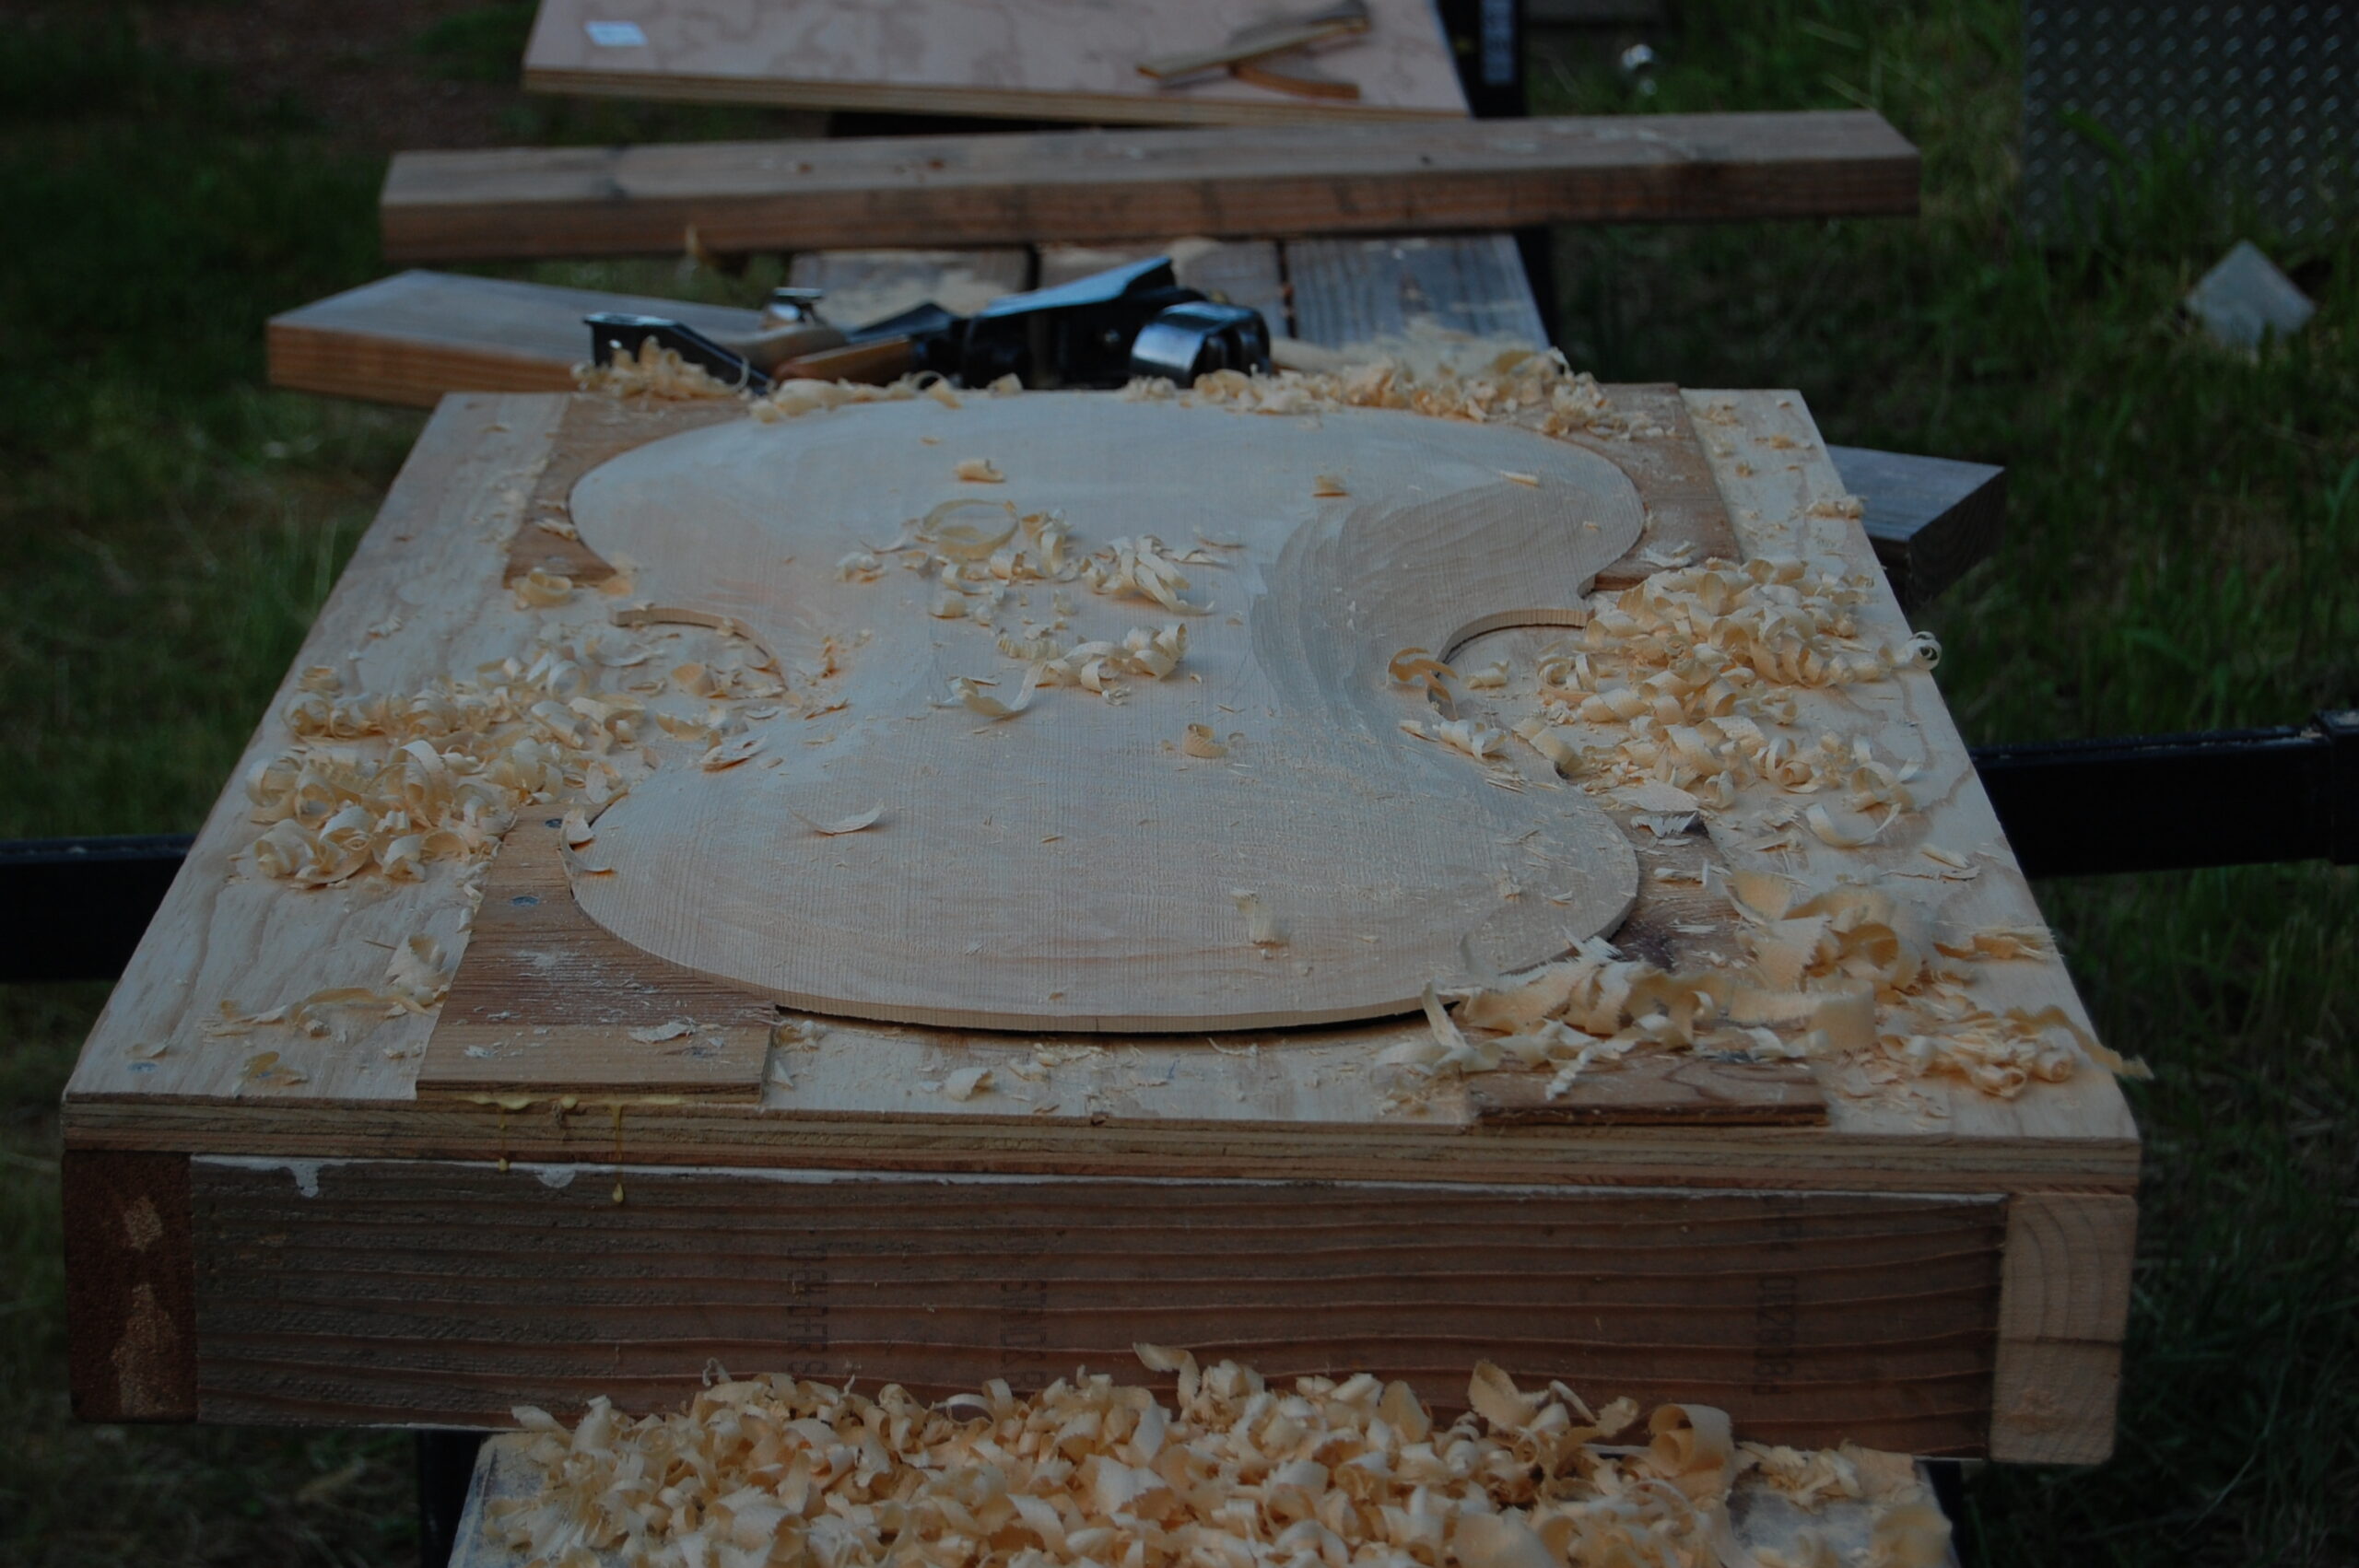
I used the drawings on the back of the Davidov poster to make a set of arching templates. I have enough experience to start out without the templates. But not enough that I trust my eye to just cut the arches by instinct. Here is the rough arching before I used the templates…you can sort of see the “table” area in the middle, where the shavings are sitting.
I rough out the front and back, using gouges and planes, and get the area around the edges pretty close to exactly the thickness I will want the finished edge. Then I install purfling (which we will discuss in the next topic), and use templates to finalize the arching.
I have made a few instruments, so I have the confidence to get pretty far along in my arching before using a template. There is nothing wrong with using them from the first attack.
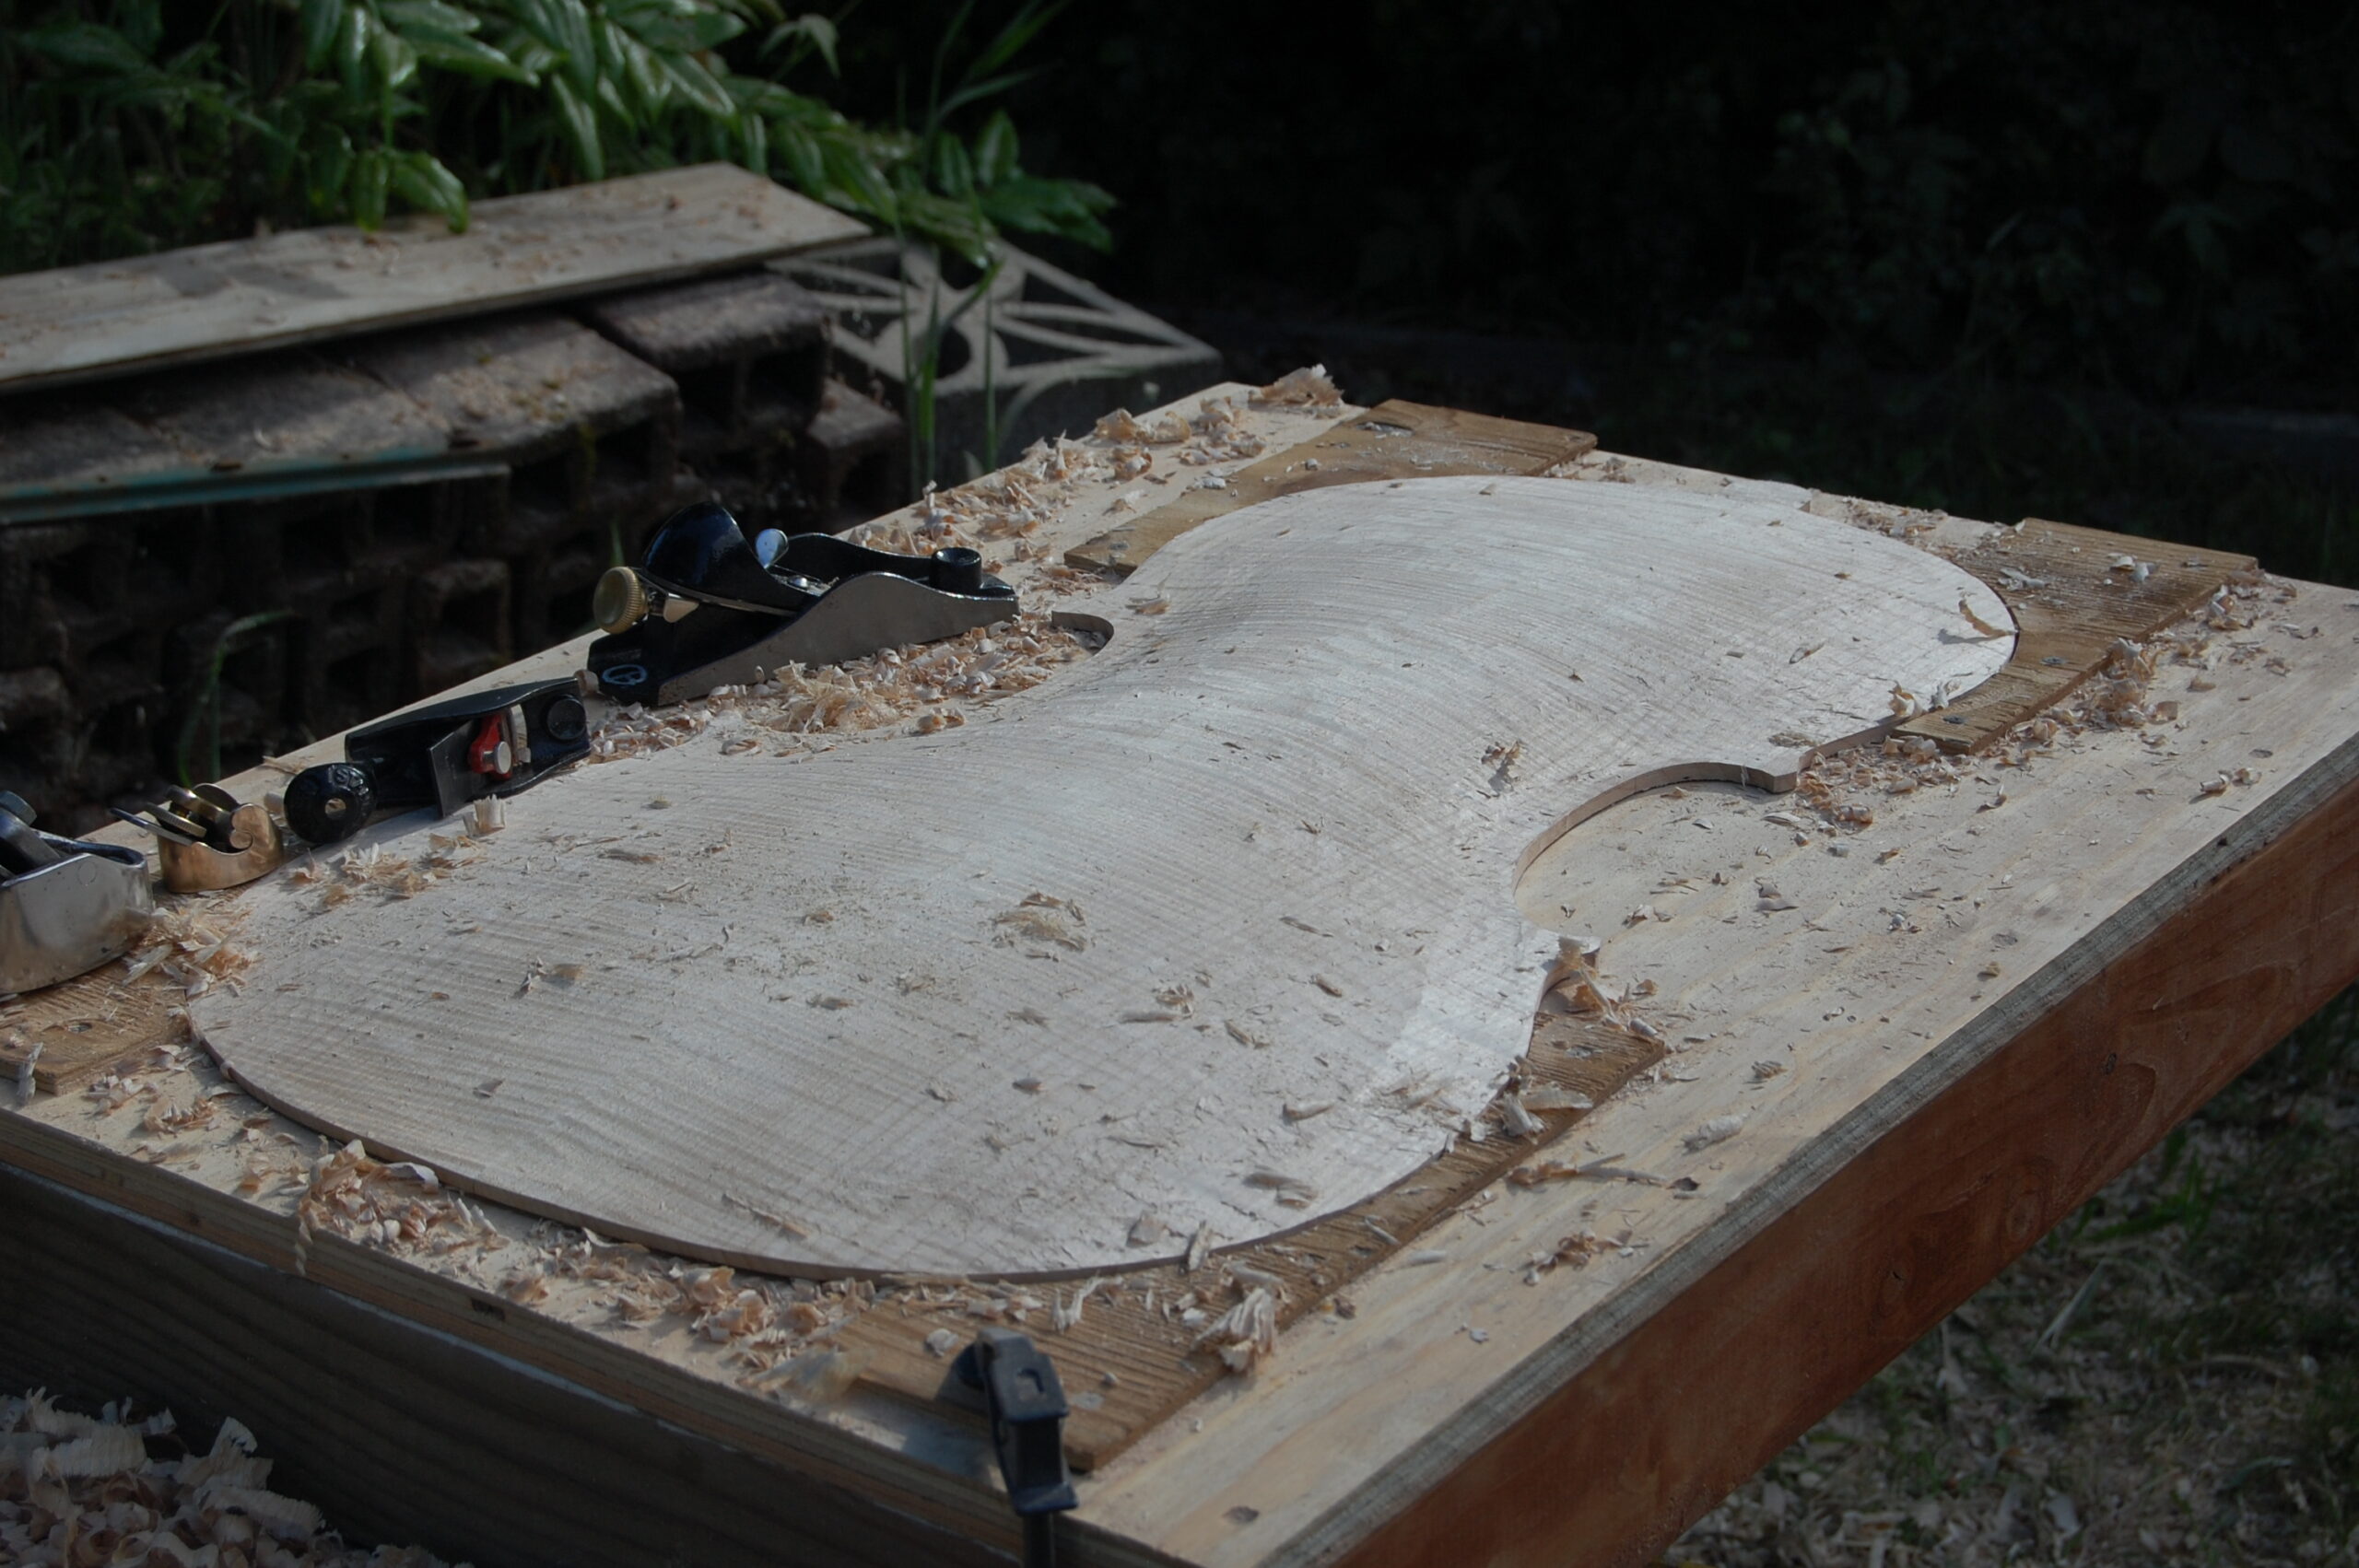
Here is the back, ready for purfling, but before using the templates. Still too “puffy” in places, but looking like a cello back.
Using the Templates
Here are the templates in use (notice the purfling is in place).
Front arching Template in use:
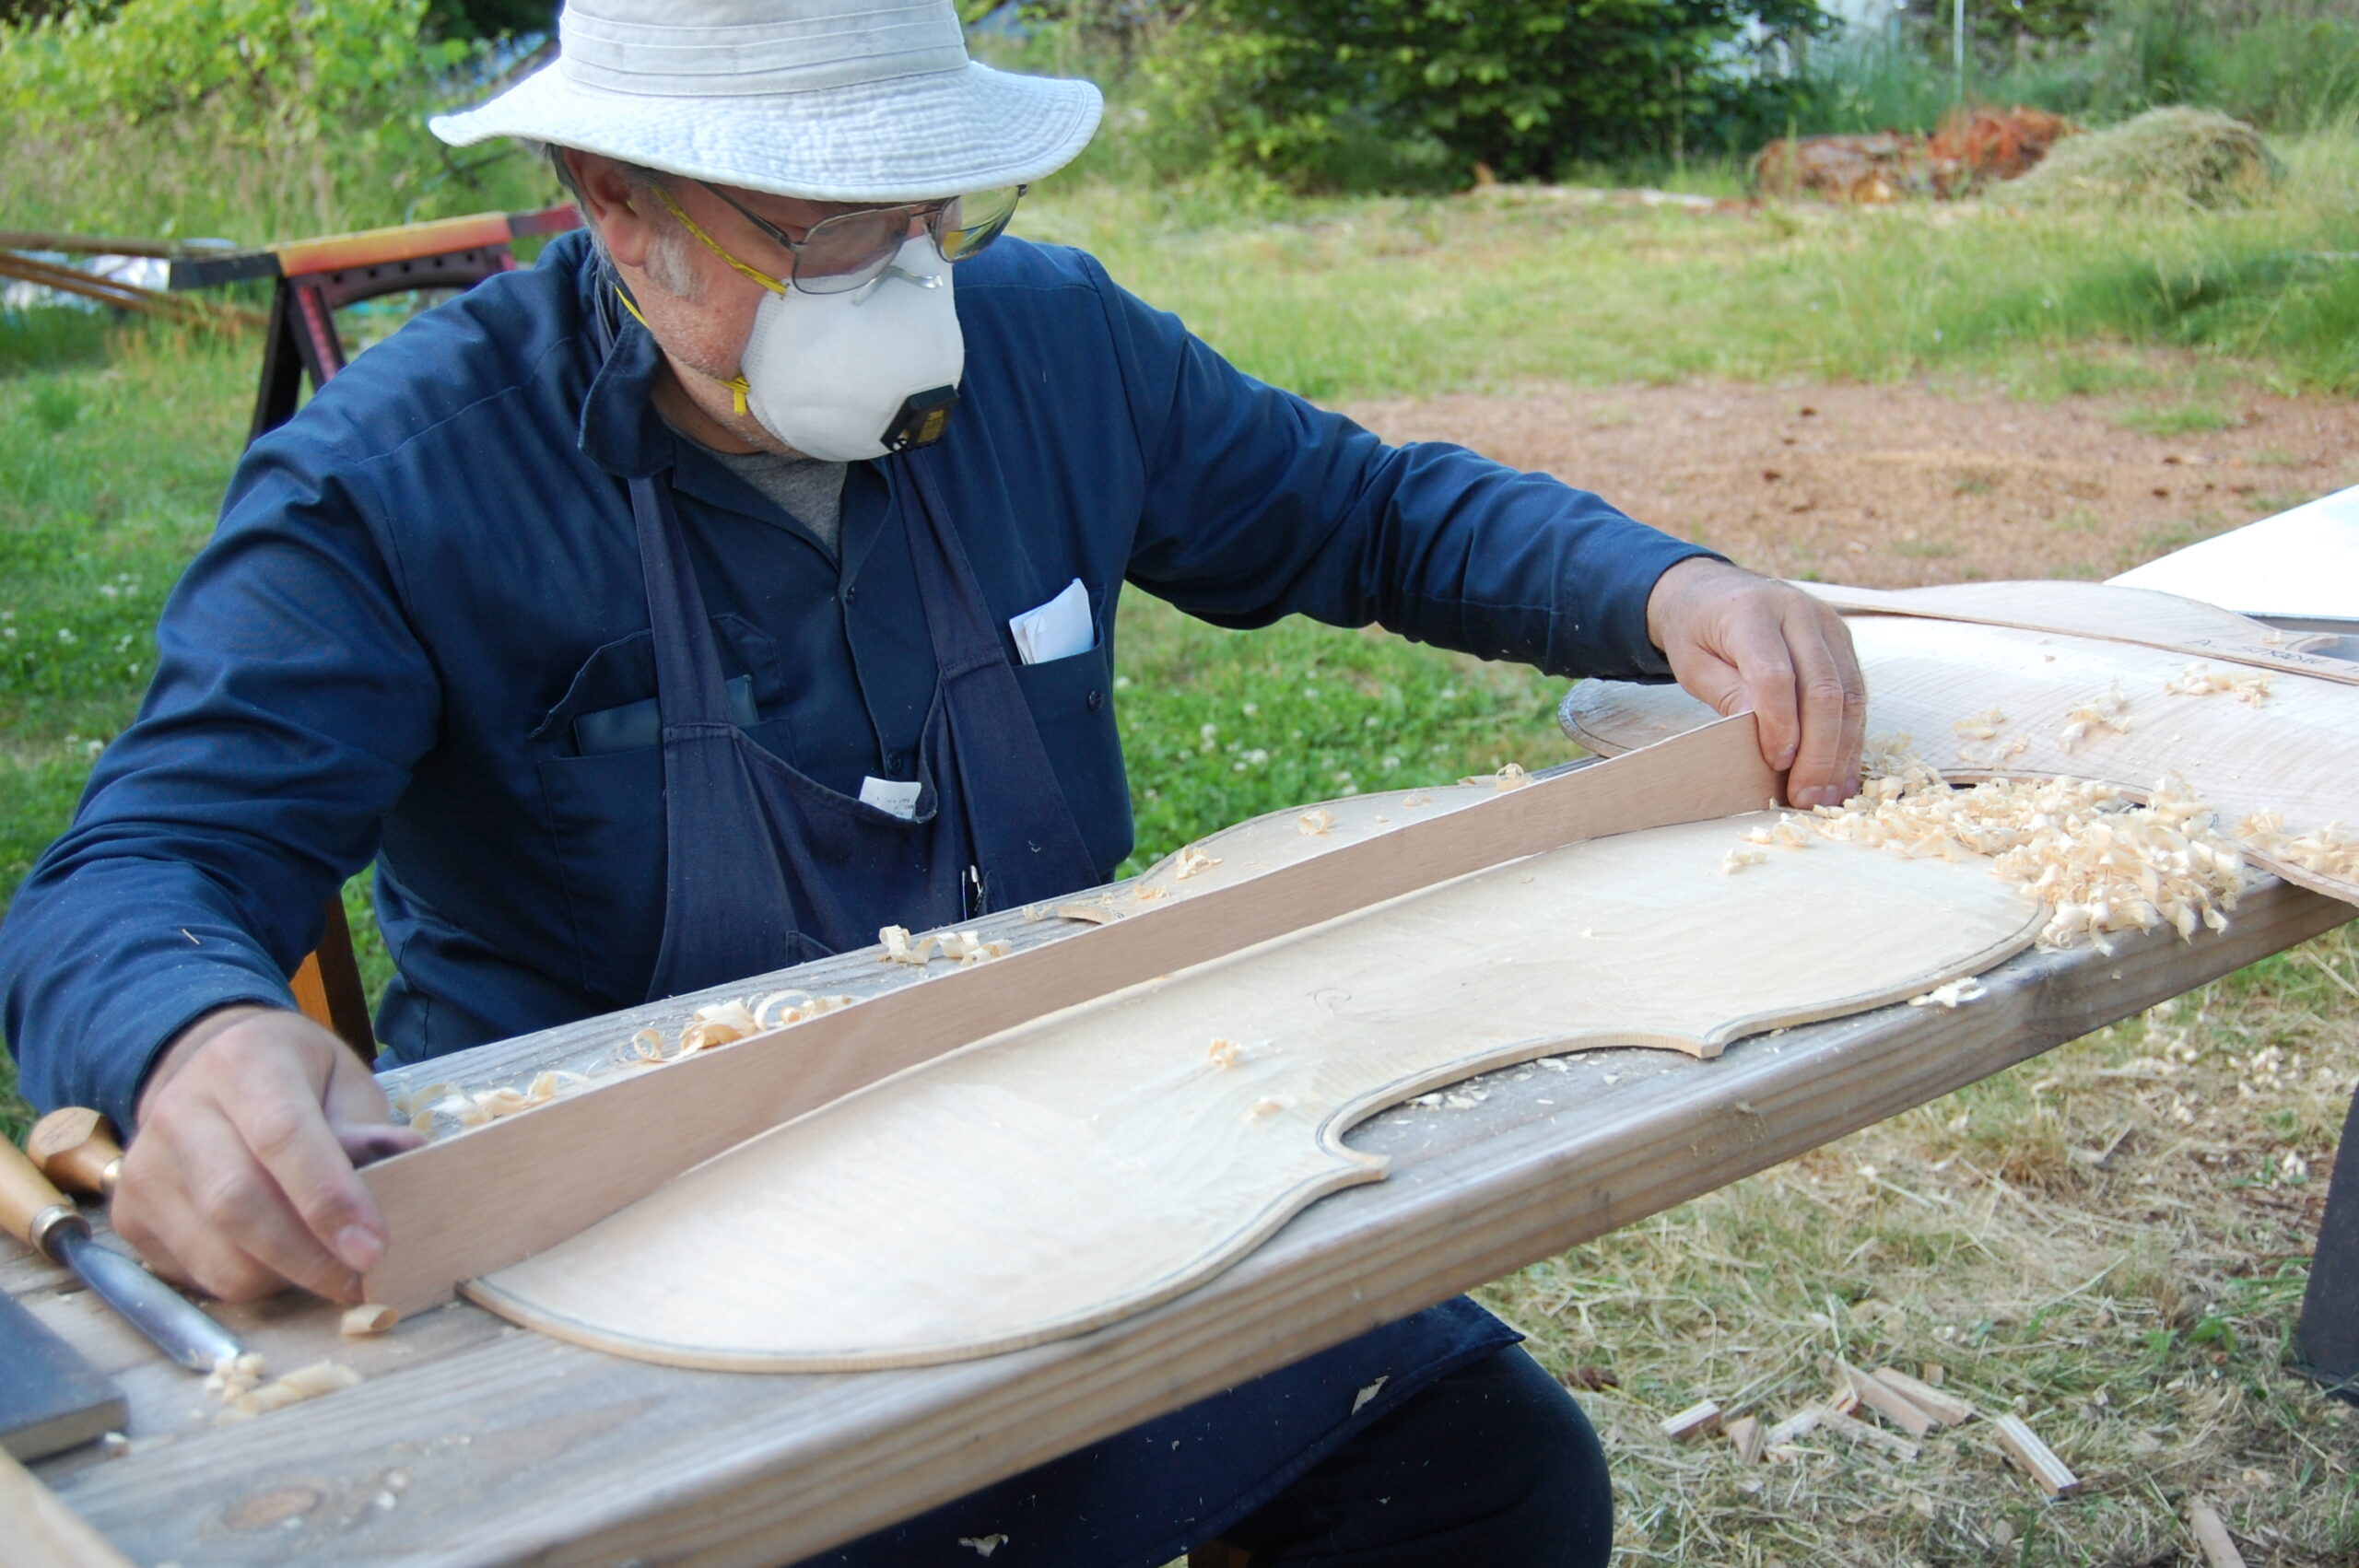
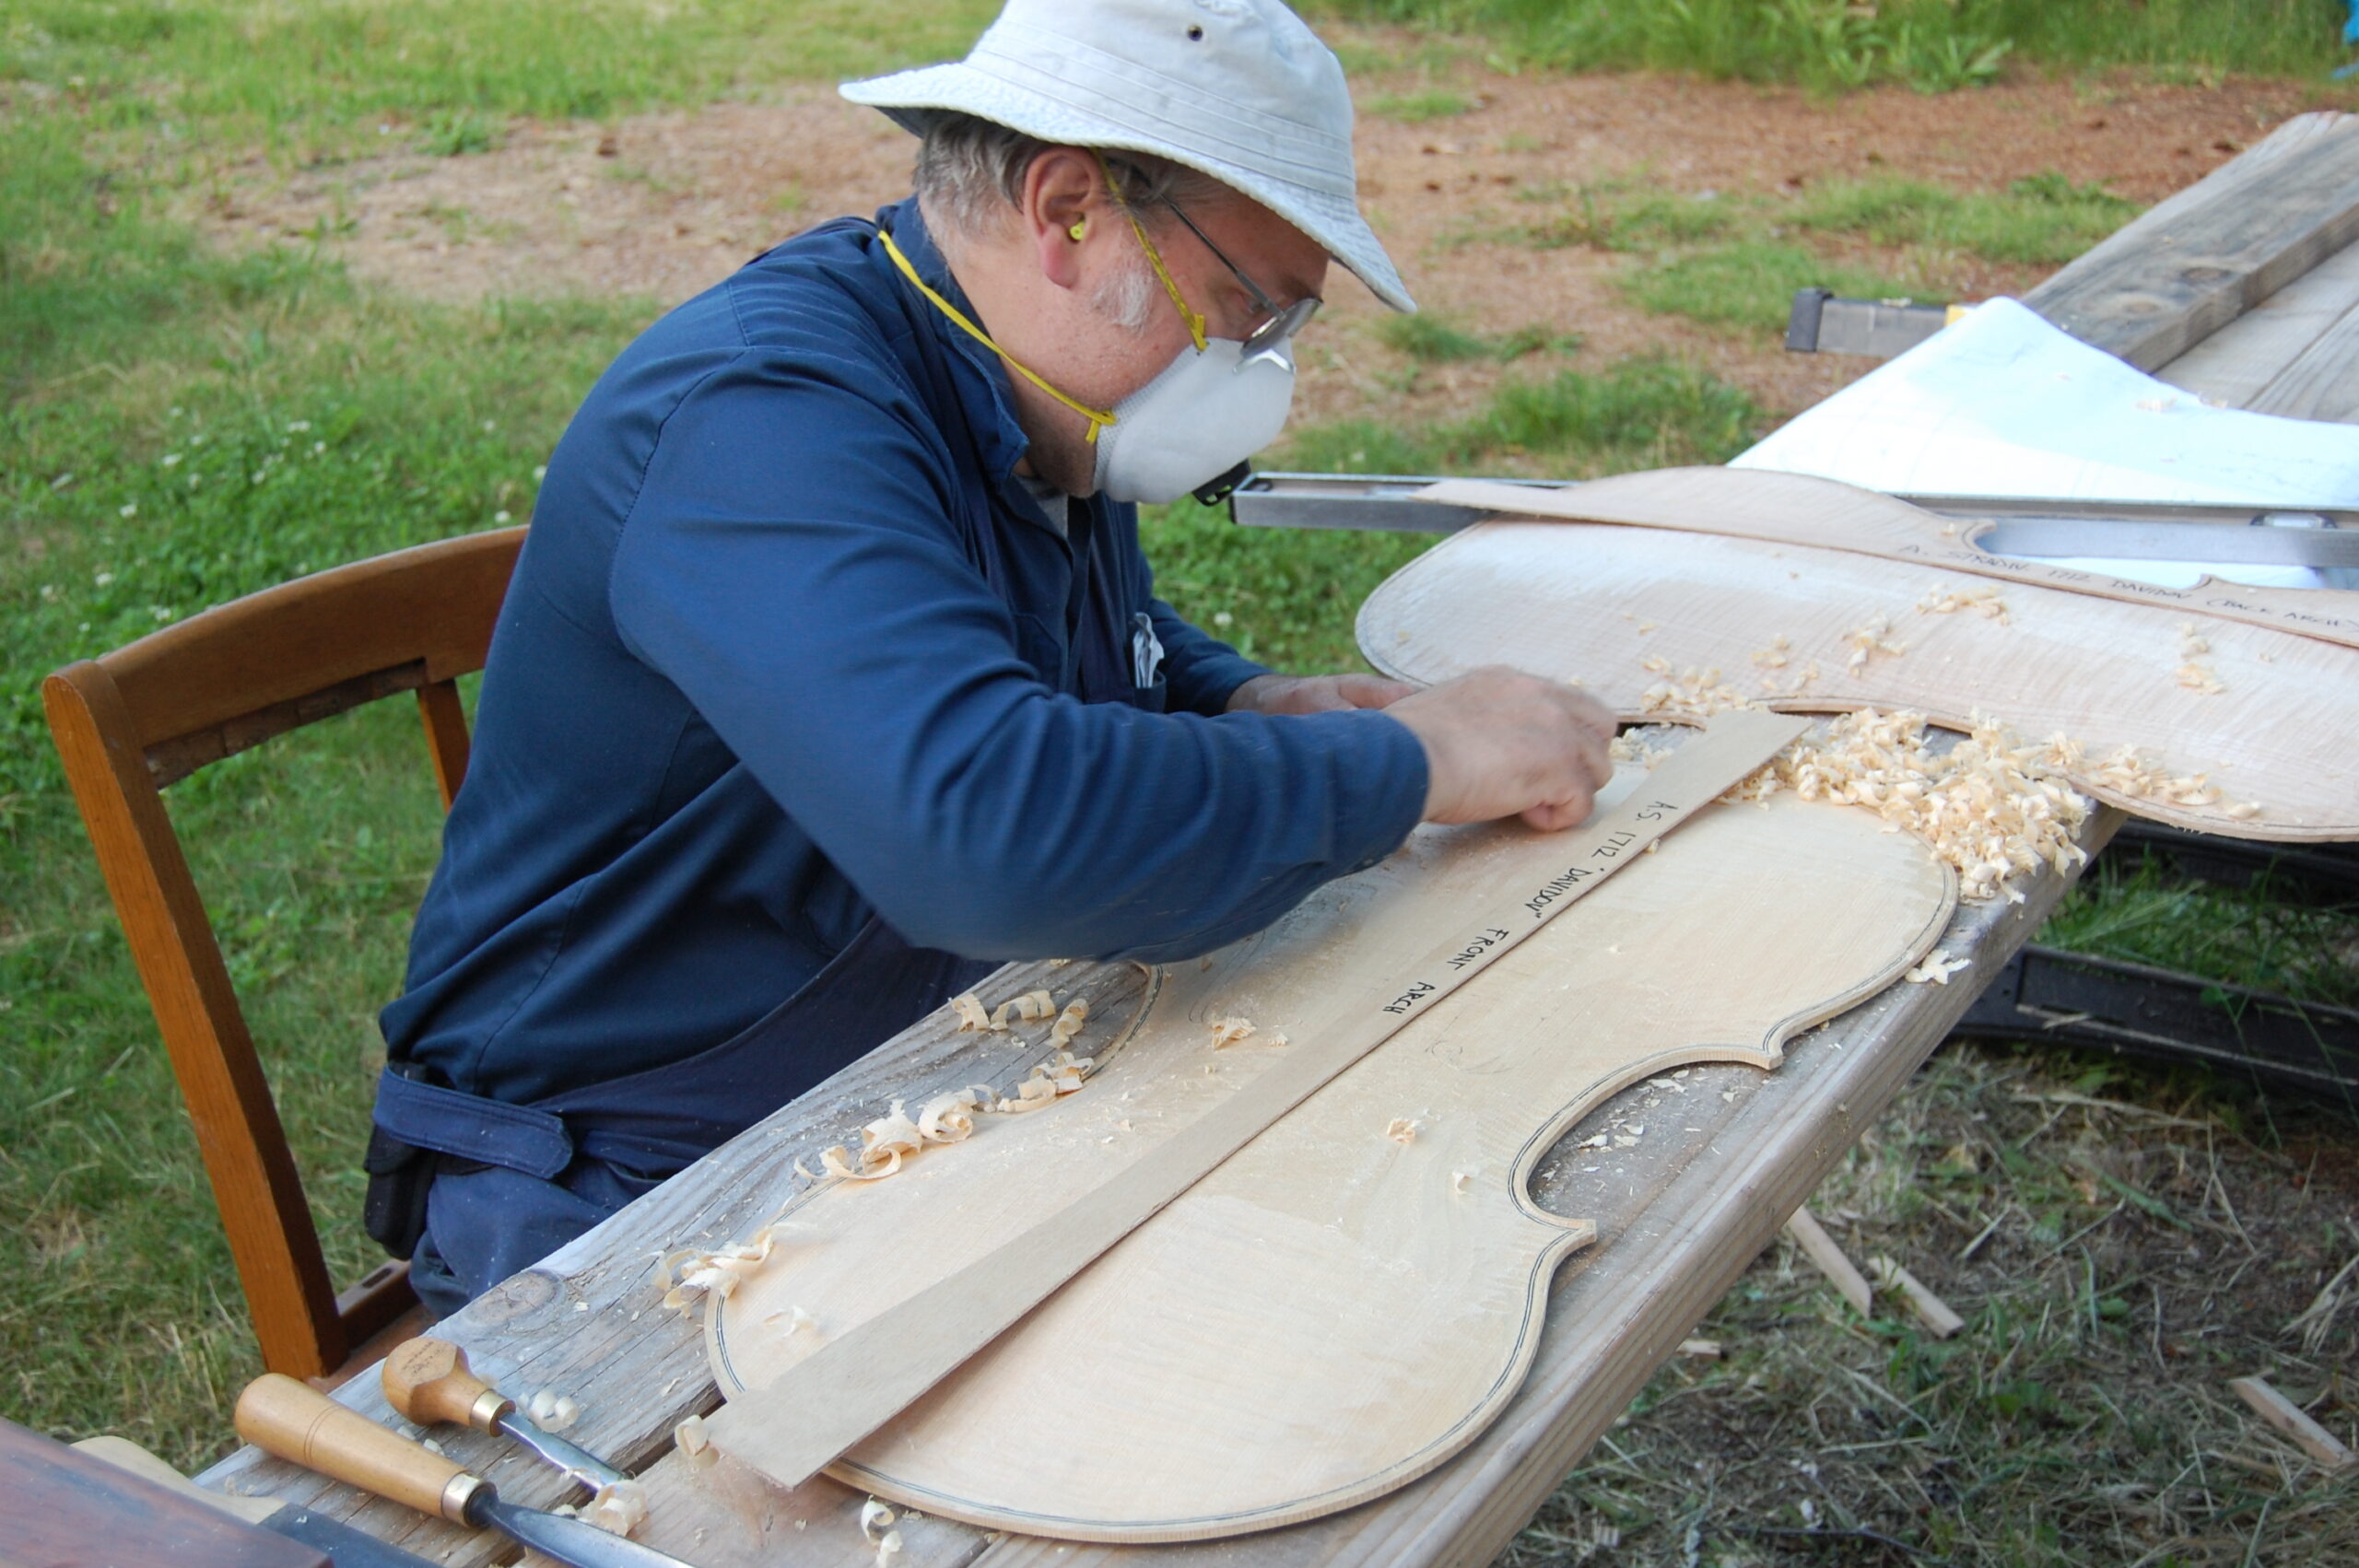
Here are the transverse arching templates: We use them in the same manner.
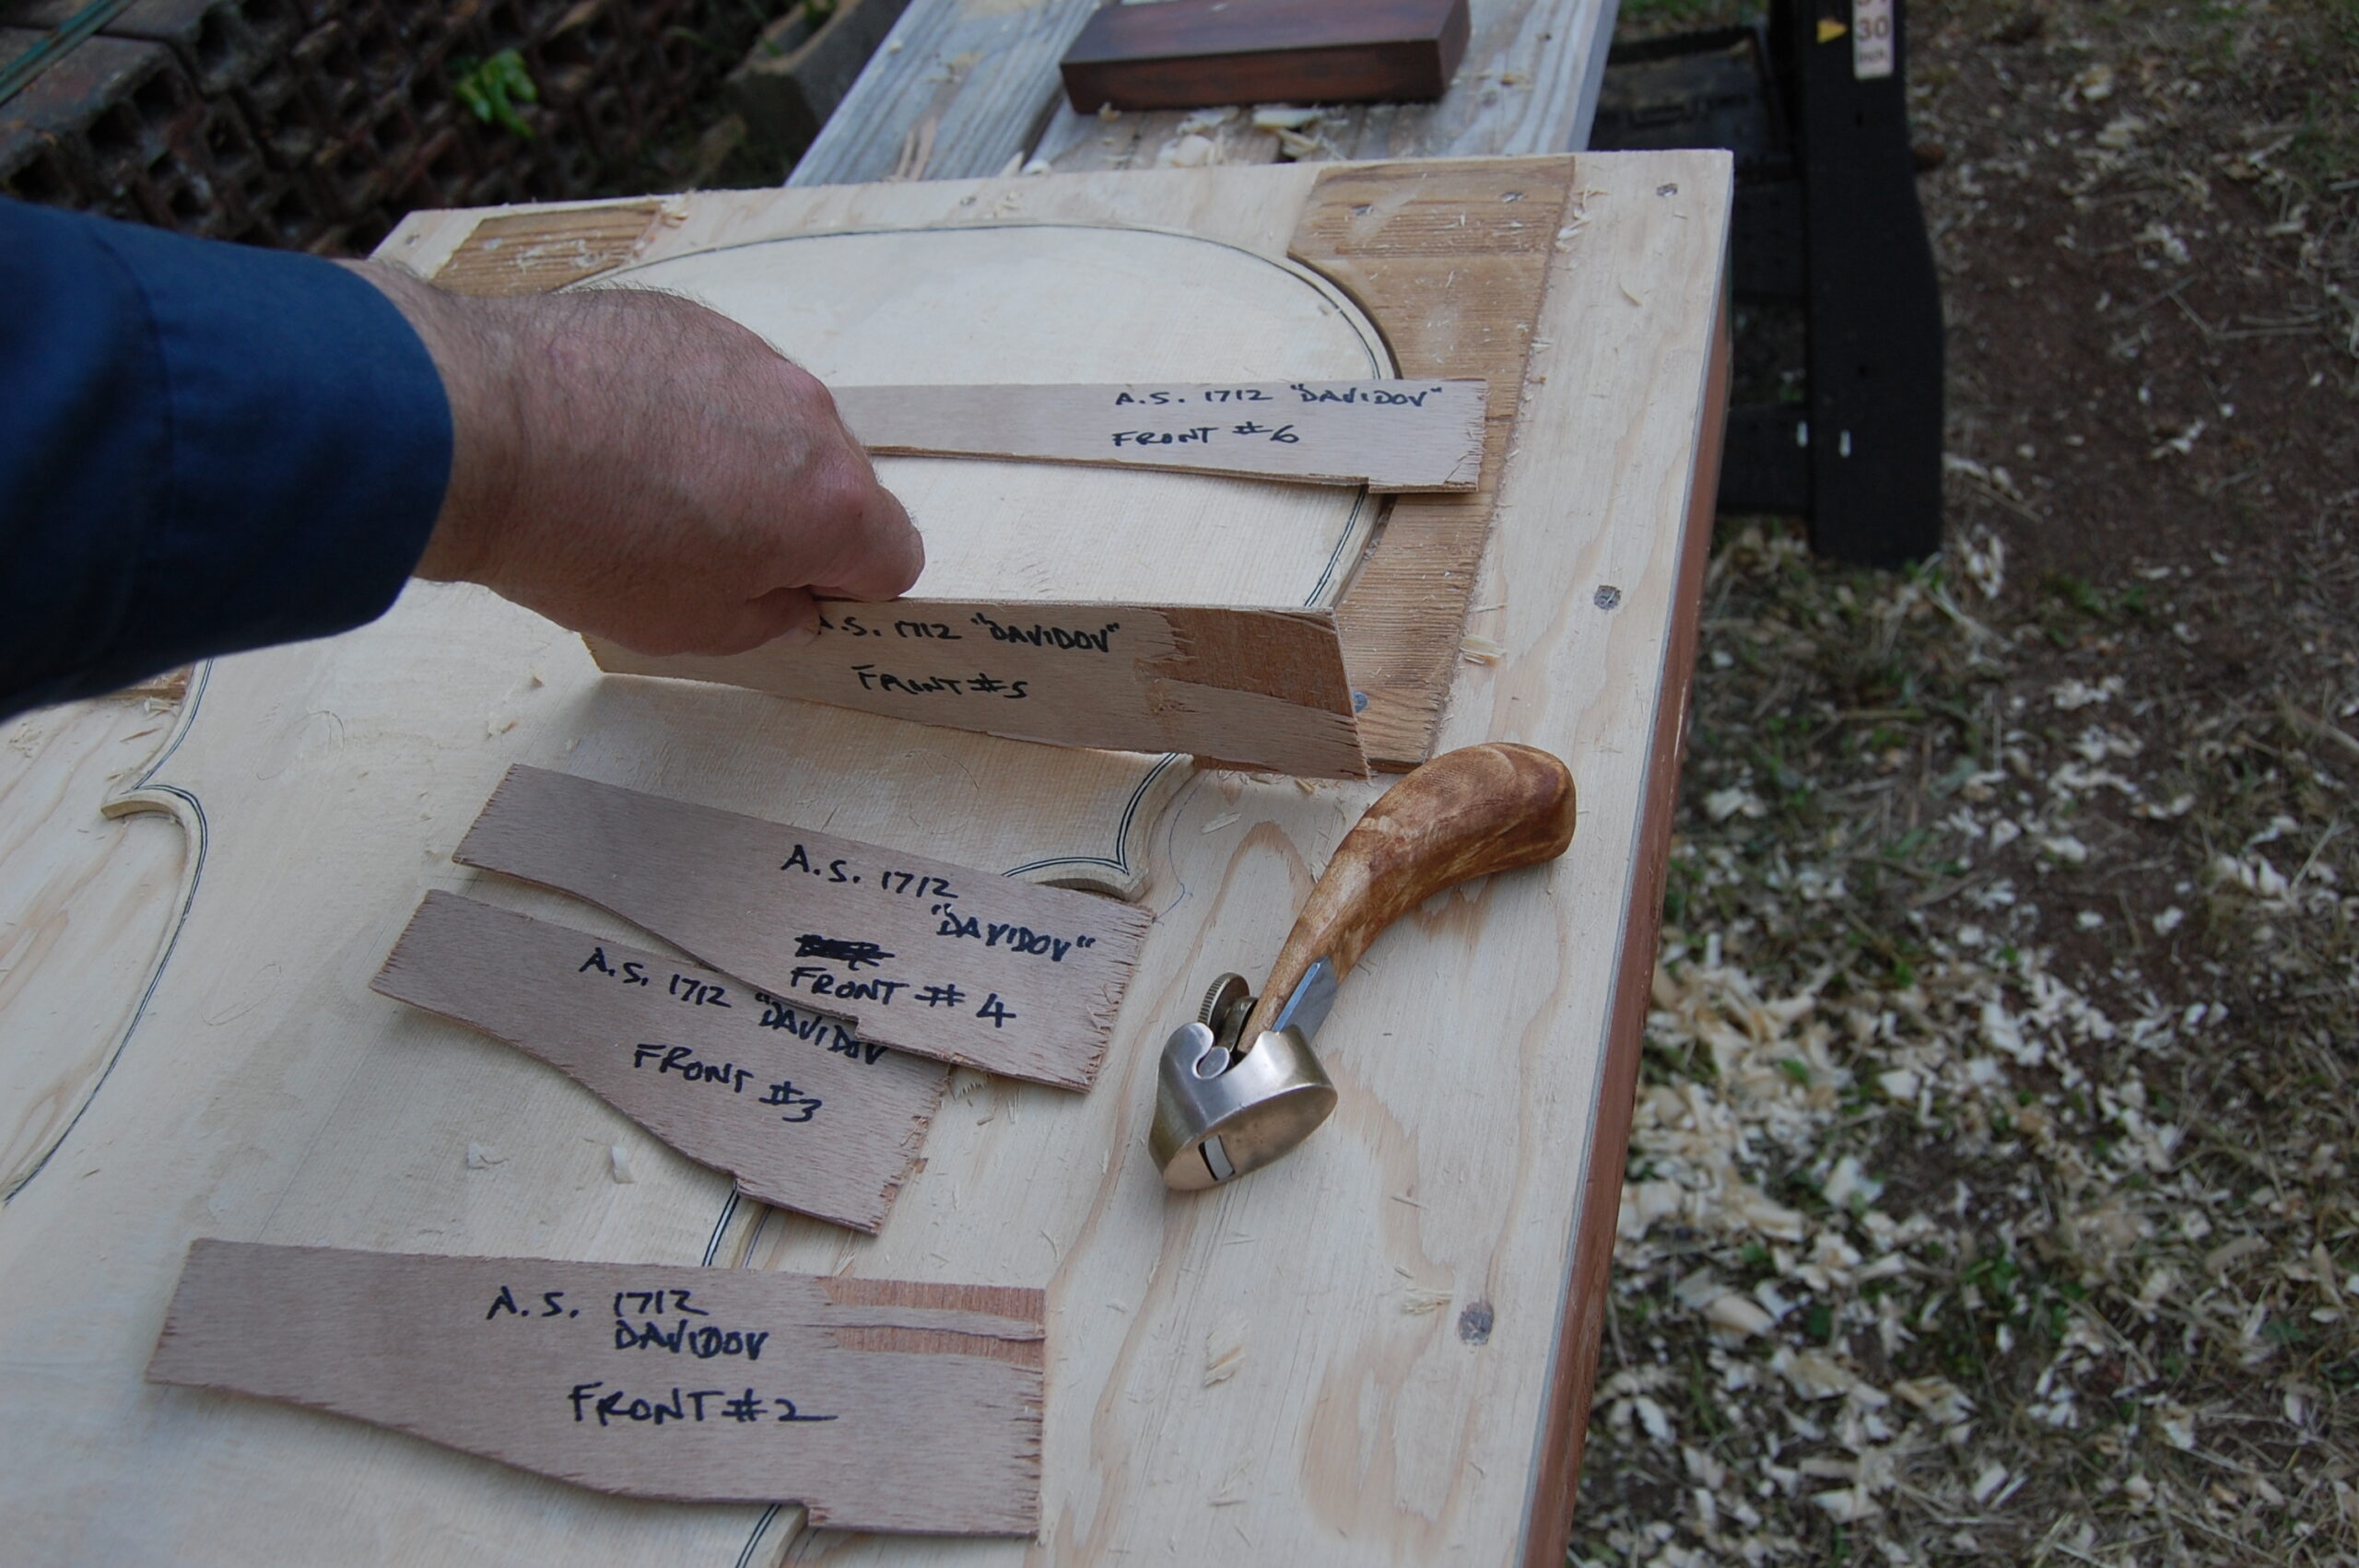
When the arching matches the templates as closely as I can manage, I begin using scrapers to smooth and give final shape to the plates. Then it is time for inside arching. But first, we need to talk about purfling, since that was done in the middle of this article.