
 Follow

Step #6–Level the Garland
Stanley Low-angle plane, Sanding board
I began leveling the edge of the garland by checking the garland against a flat surface (plywood with a Formica surface: It is probably not dead-flat, but it is close), marking the most obvious high spots, then going around and removing them with a sharp small hand-plane (Stanley Low-angle).
Sanding Board
For final flattening, I used a “sanding board.” I made it from a wide sanding belt that I salvaged from a cabinet shop. (Such shops routinely use them once and throw them away) I glued the abrasive cloth to a doubled layer of plywood. (The plywood was 3/4″ thick, which is not stiff enough to stay flat. I doubled it, using glue and screws, so it is 1-1/2″ thick, and about 24″ x 48″ flat dimensions.) Then I used a spray contact adhesive to affix the abrasive fabric to the board. I think the grit is about 220, and pretty worn. A little coarser would have made the job go faster, but this does really smooth work.
The board looks like this after extended use.
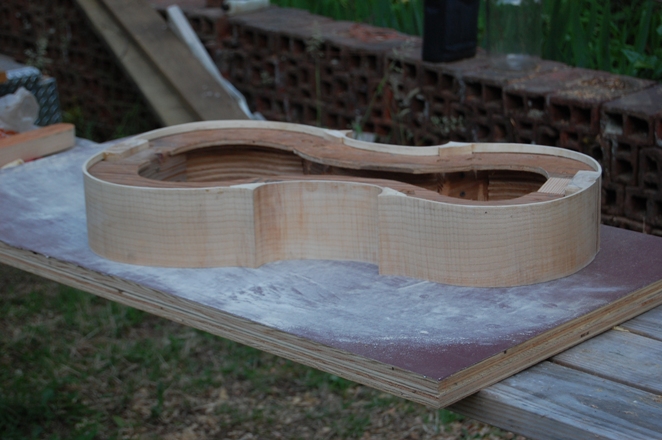
Using the Sanding Board
Sanding Board use is very simple: press the garland down firmly on the abrasive and rub back and forth vigorously. There was probably between a half-hour and an hour of hard work, rubbing the two sides completely flat. One thing I do, to ensure flatness, is to mark up the surfaces of the edges and ends of the blocks with a pencil. When all the marks wear off, it is flat. If you don’t use the pencil marks, it is hard to see the last few low spots.

Good exercise, I suppose. Tires me out, anyway.
The next step is to trace the shape of the plates, but we haven’t talked about joining the plates, yet, so that (joining the plates) is next on the list.