
 Follow

Final Varnish Preparation:
Advance warning:
An apology in advance: as I warned some time ago, I have a tendency to get out of “photography mode” and just pursue the tasks at hand, then suddenly realize that I was supposed to be doing “show and tell”. So, (sigh…) this time it will be more “tell” than “show.” But I do have some photographs of the tools involved.
Cutting the Purfling Channel
The first step in cutting the channel is to determine its boundaries. I usually use a compass to scribe a line 1.6 mm in from the raw edge of the plate, all the way around, including the corners and the ends, where the channel has to follow the purfling away from the edge. (This time I used a special tool, made by Jake Jelley, to do the same thing. I think it worked better.)
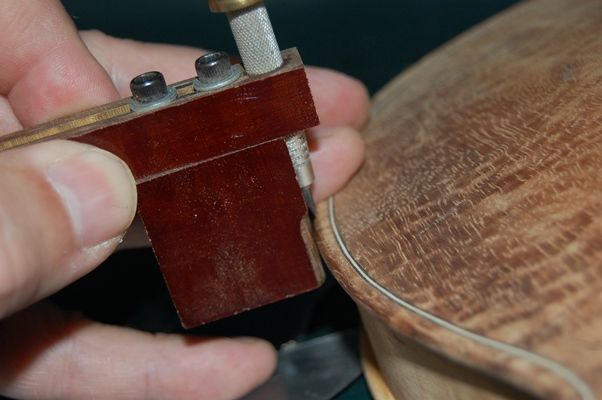
That marks the outer edge of the channel, as well as locating the crest of the finished edge. I extend that line at the same distance from the purfling at the ends, so, at the ends I have two lines: one forms the crest of the edge, the other the edge of the channel. The dark Koa wood did not easily show the pencil mark, so I had to scribe firmly, and usually several strokes.
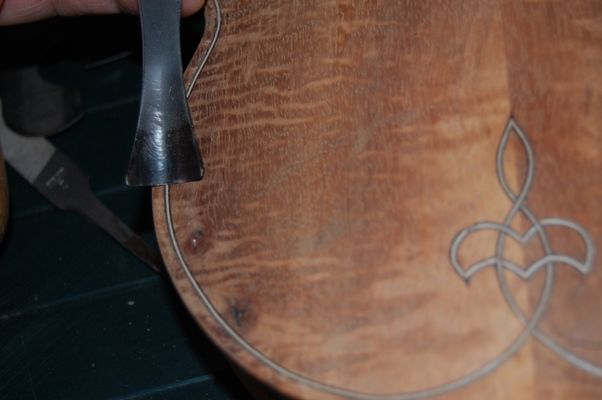
I then cut the channel with a sharp gouge, trying to keep it shallow, but following the scribed line all the way around. I used a larger gouge for the upper and lower bouts: a smaller one for the C-bouts.
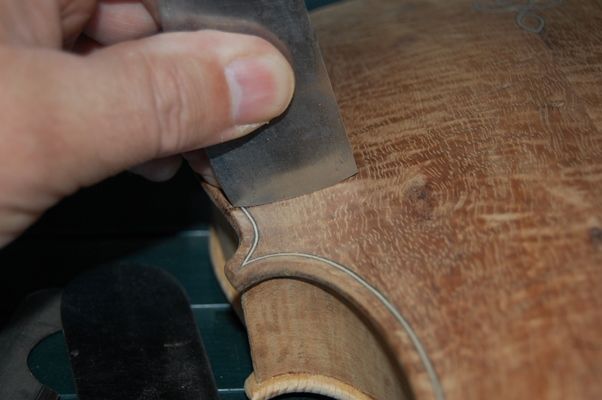
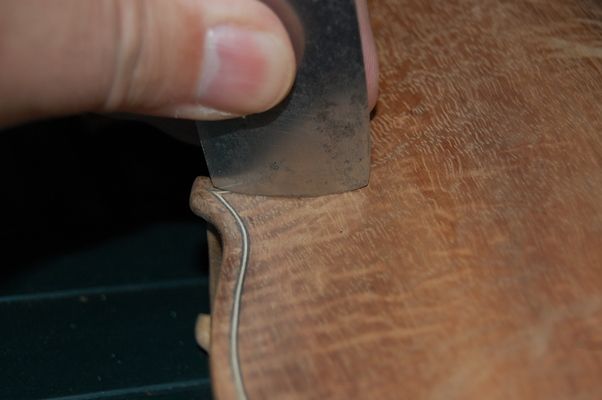
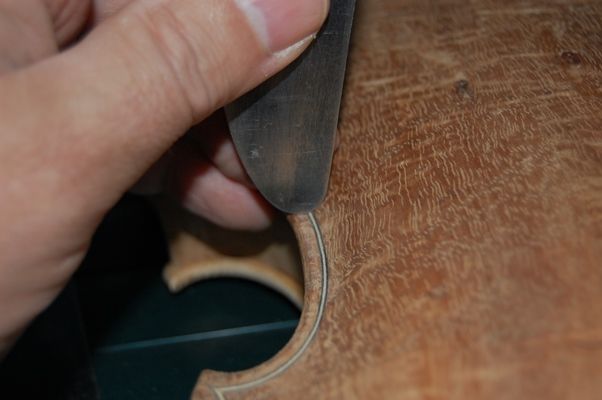
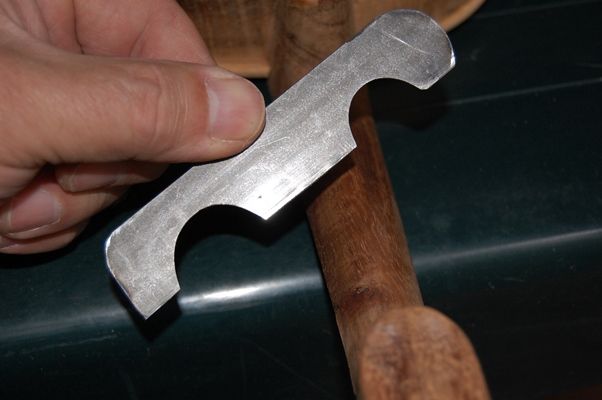
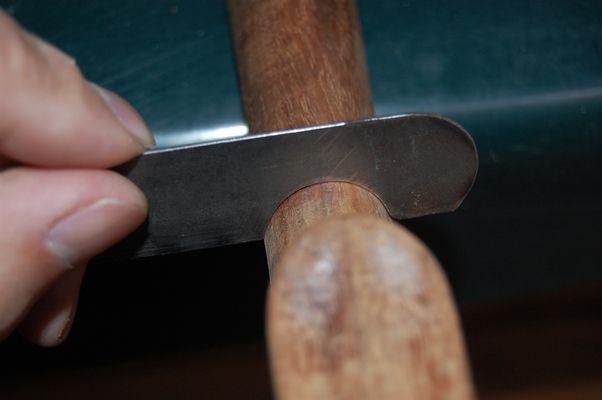
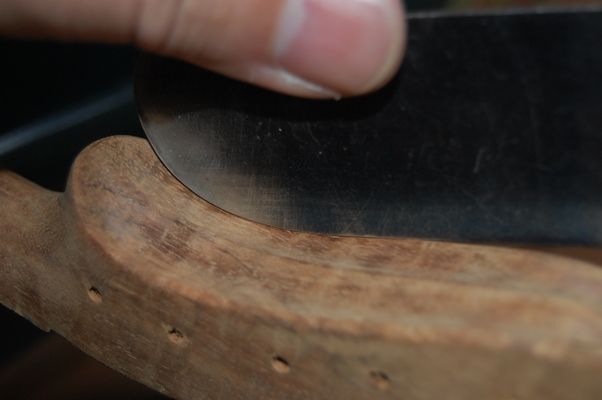
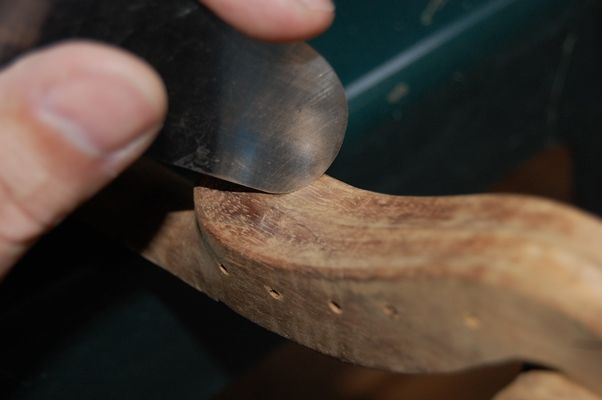
Scraping the channel and fairing the curves
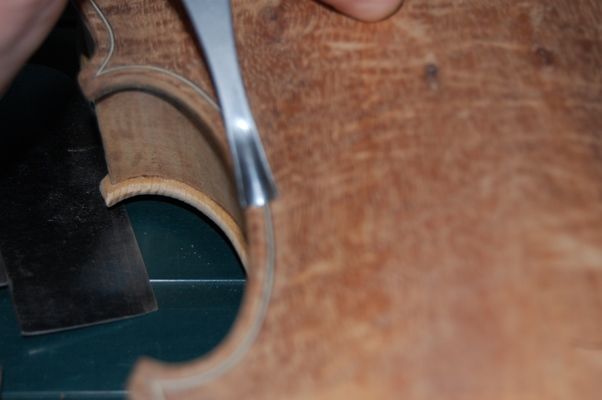
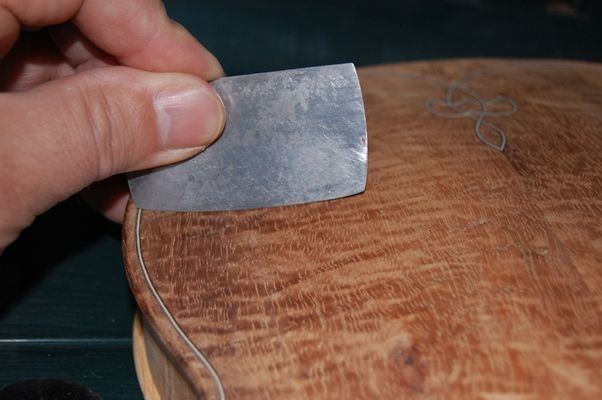
Then I used scrapers to “fair in” the channel with the curve of the arching, and make sure there are no humps or hollows.

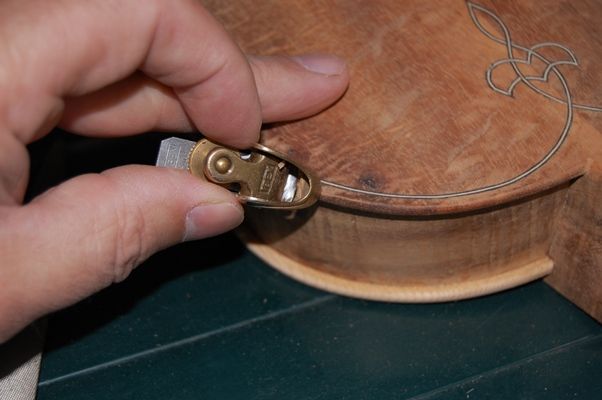
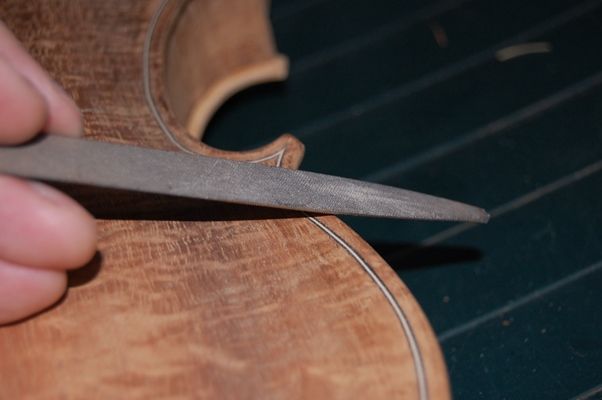
Outer edgework
Finally, I use a tiny plane and a file to shape the outer edge, curving smoothly from the scribed “crest” to the outer edge, where, hopefully, it will smoothly join the curve from the inner edge.
Final Neck and Scroll-Work
I also double-check the scroll and neck shape and contours. They must be scraped to perfection before I can move on. I use a template (copied from Henry Strobel’s books) to check the upper and lower shape and size of the “handle” portion of the neck, and then try for smooth transitions between the two.

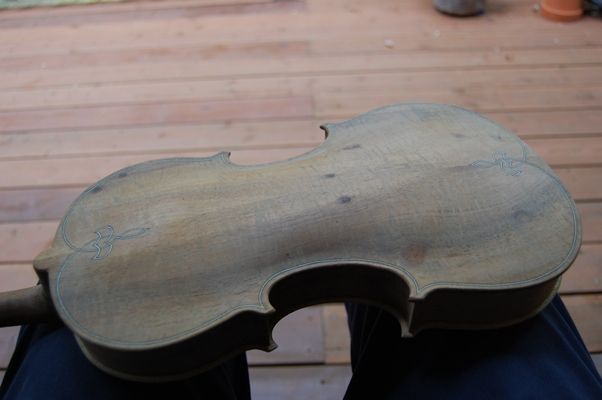
Final Varnish Preparation
At last I am ready for final varnish preparation. Everything has to be as perfect as I can get it, because every imperfection will definitely show up under the varnish. The tiniest blemish will show up like a neon sign once I begin the varnishing. Some people insist on only using scrapers, but at this point I feel fine about using very fine (400-grit) abrasive paper to remove the tiny blemishes.
I removed the fingerboard for varnishing…it was only temporarily glued in place, originally, to aid in the neck setting procedure. While varnish is drying, I will shape the underside of the fingerboard, and lighten it, to enhance tone and projection.
After the varnishing is completed, I will glue the fingerboard permanently in place. I will also install the saddle, nut and pegs after varnishing. At that point, the violin will be essentially complete, and set-up is all that remains.
So: I’m sorry I missed the “in progress” photo opportunities, but, from here on out, it will be just progress reports in finishing. The mineral ground is next, and then the sealer.
Thanks for looking.