
 Follow

Varnishing a New Violin
Finishing Sequence: Sealer coat first
In the last post, I showed the photo of the violin with just the turpentine/pitch sealer coat in place, and not totally dry. Remember that this was applied over a coffee stain, and a mineral ground that I had rubbed into the wood.
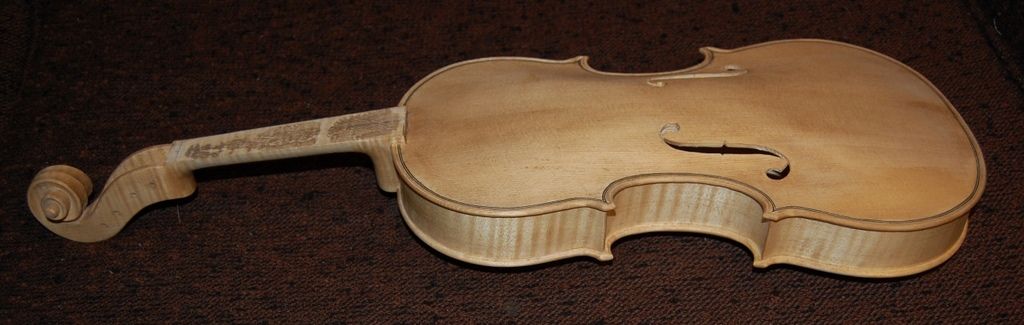
When that coat was finally dry, I checked for any distortions (from the coffee stain, I guess) and corrected them with plain water, just moistening any low areas with a damp rag, and watching them come back to normal. Since I just barely moistened those areas, they stayed in the correct position after drying the second time. This has been a rare occurrence in my experience, but I was grateful that it turned out to be a relatively easy fix.
Then I sanded lightly with worn 400-grit, to remove any bits of loose debris and/or any little fibers of wood that had lifted above the smooth surface. I had already done this after staining (both times), but it always pays to go over things again.
First Coat of Varnish
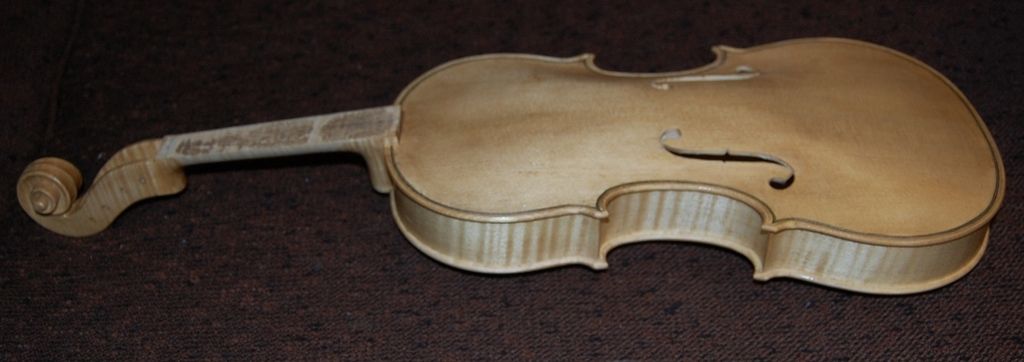
The first coat on this instrument was a very blond spirit varnish; not my usual. I am not entirely pleased with the result, but it is acceptable.

Scond Coat: Darker Yellow
I sanded it lightly, again, and then applied a darker yellow varnish. Fortunately, spirit varnish dries very rapidly, so I can sometimes get two or three coats in one day, early in the sequence. As the varnish gets thicker, it dries more slowly. I assume that this is because it can no longer soak into the wood at all, so every bit of the drying has to happen from one side of the varnish film; but perhaps there is more to it than that. At any rate, as the instrument nears completion, I have to allow longer time for drying. The other side of the “fast-drying” coin (or two-edged sword) is that it is extremely sensitive to the next coat of varnish, as the solvent in the new coat can easily lift the previous coats, forcing me to completely start over, in some cases. I really need to be patient, and work carefully, applying many thinner coats, rather than fewer thick coats.
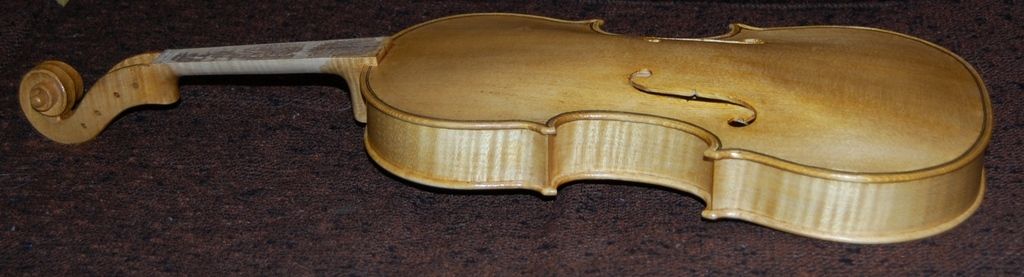

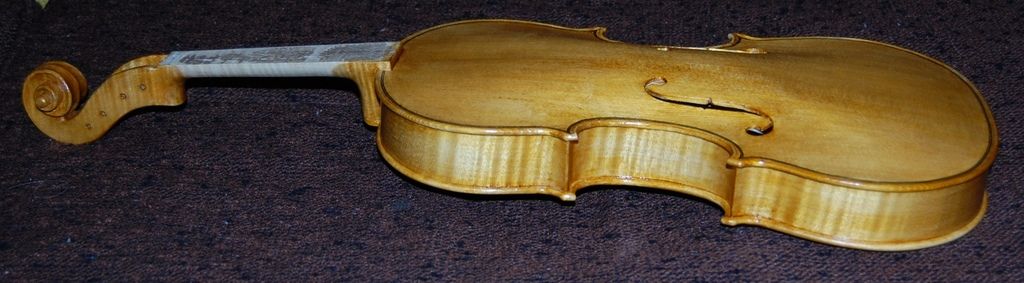
Third Coat: Red-Brown varnish
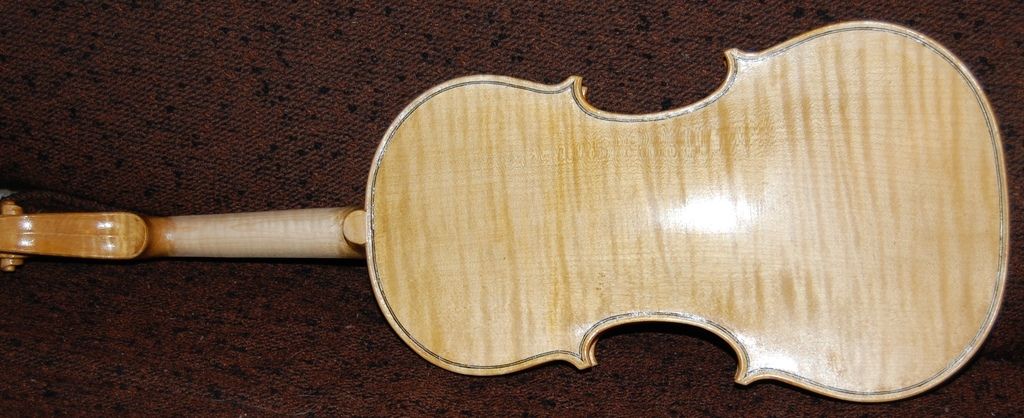
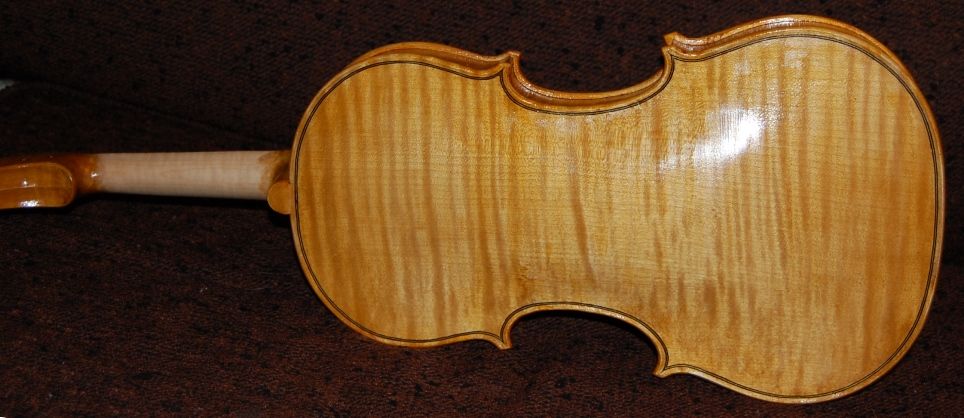
After the yellow varnish dried I began adding (several coats of) a darker red-brown varnish, allowing each coat to dry, and sanding lightly between coats, to make sure the finished result is good. This is the first coat of the red-brown varnish, so, actually the third coat, overall. It will get at least five or six more coats of varnish before it is done, but the differences become less and less obvious, as the varnishing nears completion. I am enjoying looking at the beautiful European maple and spruce. I ordered this wood from International Violin Company, in Baltimore.
The Plan:
As I continue to add coats of varnish, I am keeping an eye on the general “flavor” of the instrument. I may skip certain areas for several coats, to leave the varnish thin in those areas. I deliberately try to emulate the look of some of the more gently-used “Old Master” instruments. I am not attempting to “fake age”, so much as attempting to capture some of the charm and appeal of those intruments. If anyone has a question about my motives, all one has to do is check the label: every instrument is signed, numbered, and dated. The date on the label is the day I actually closed the corpus, so, perhaps a few weeks prior to final completion, but no more than that.
I also may switch back to a yellow varnish at some point, to shift the color back toward gold, rather than just a red-brown. And, occasionally, I have stripped everything back off and started over. As the original maker, I have that option. and, invariably, the result the second time was far better.
I will post more varnish photos as the violin nears completion.
Set-up:
Once the varnishing is complete, I will replace the Fingerboard and begin the final fittings and set-up of the violin.
- Fingerboard
- Saddle
- Tuning pegs
- Nut
- End Pin
- Soundpost
- Bridge
- Tailpiece
- Strings
- Chinrest
Hopefully, all of that will be covered in the next post.
Thanks for looking.