Completing the Front Plate

Please share with your friends!

Completing the Front Plate

Completing the Graduations

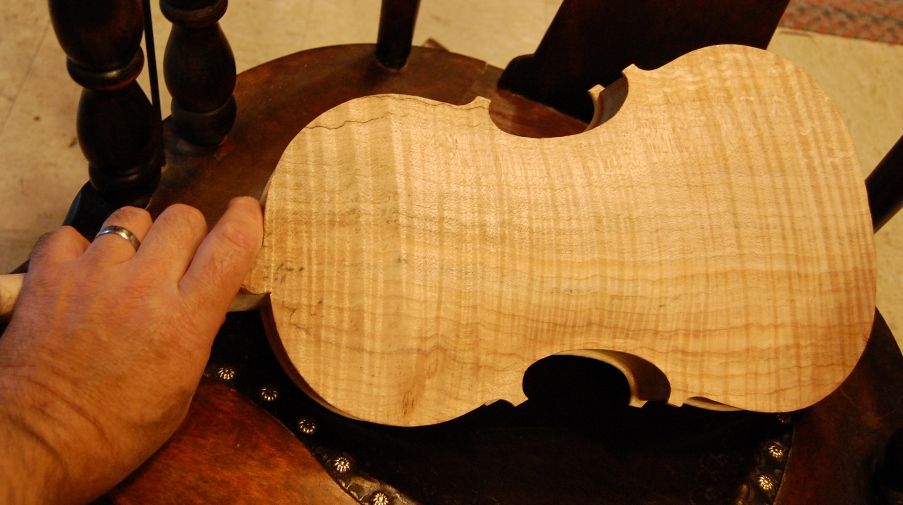
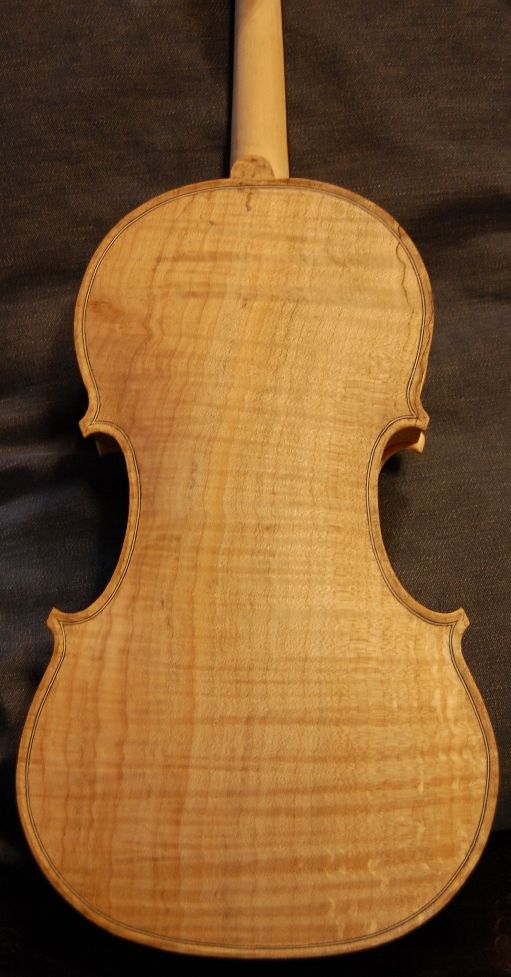
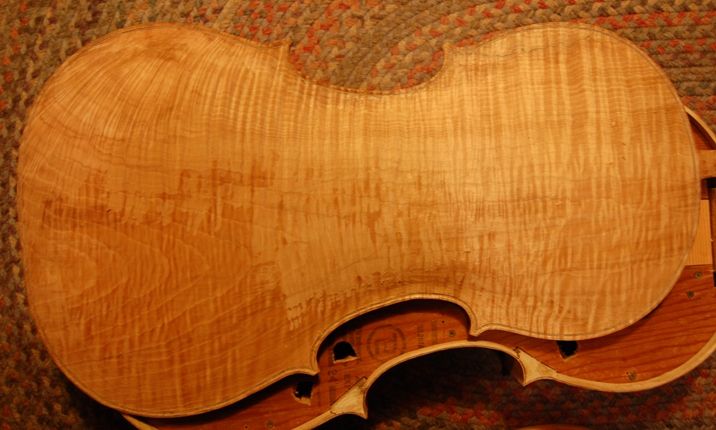
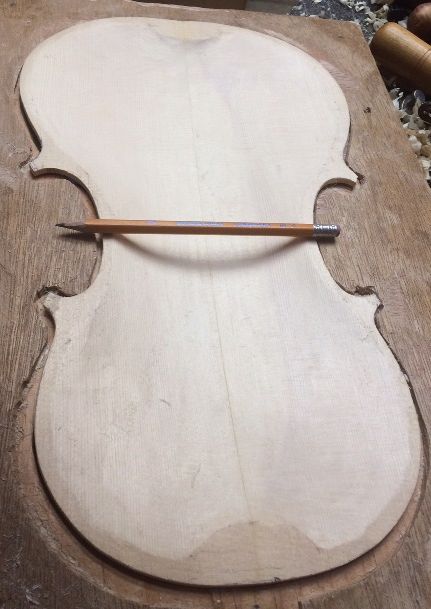
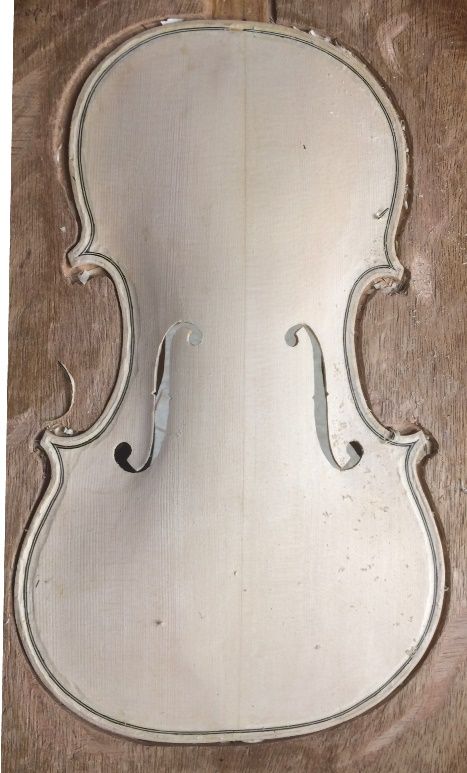
When I last posted, I had just begun the graduations of the front plate. I got tired, and had to stop. It has been frustrating, finding how little I can accomplish, currently, before feeling exhausted. I hope I regain the strength and stamina I once had. Here is what the plate looked like yesterday morning:

Rough graduation nearing completion.

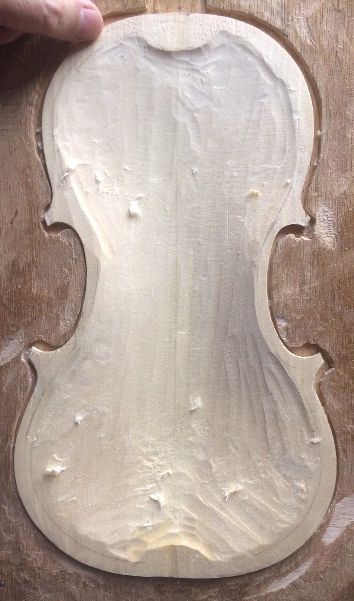
The plate was still far too thick, but was at least looking encouraging…so I plunged in and brought the whole plate to approximately 3.5 millimeters thickness all over. This is the first time I have tried this graduation scheme. In the past I have been very particular to have one thickness in the center area, another, slightly thinner, above and below that area, and thinnest of all, out in the flanks. But, I am informed that that is not such a good plan. So…here we go!

Completed front plate interior, before f-holes and bass-bar.
The pencil is only there to cast a shadow: otherwise it is difficult to see the curvature of the completed plate.


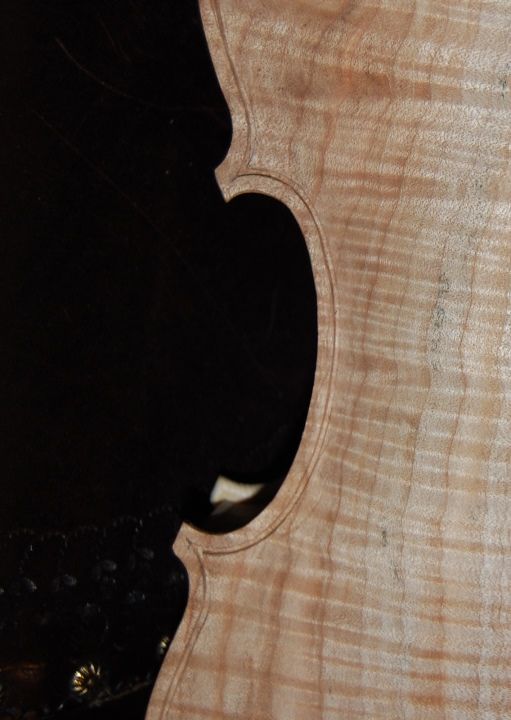
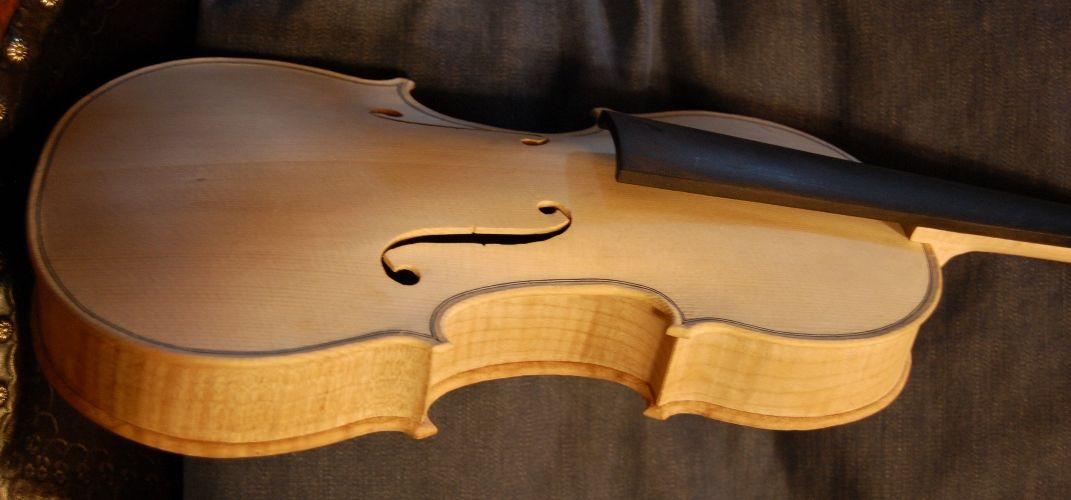
Completing the F-Holes:

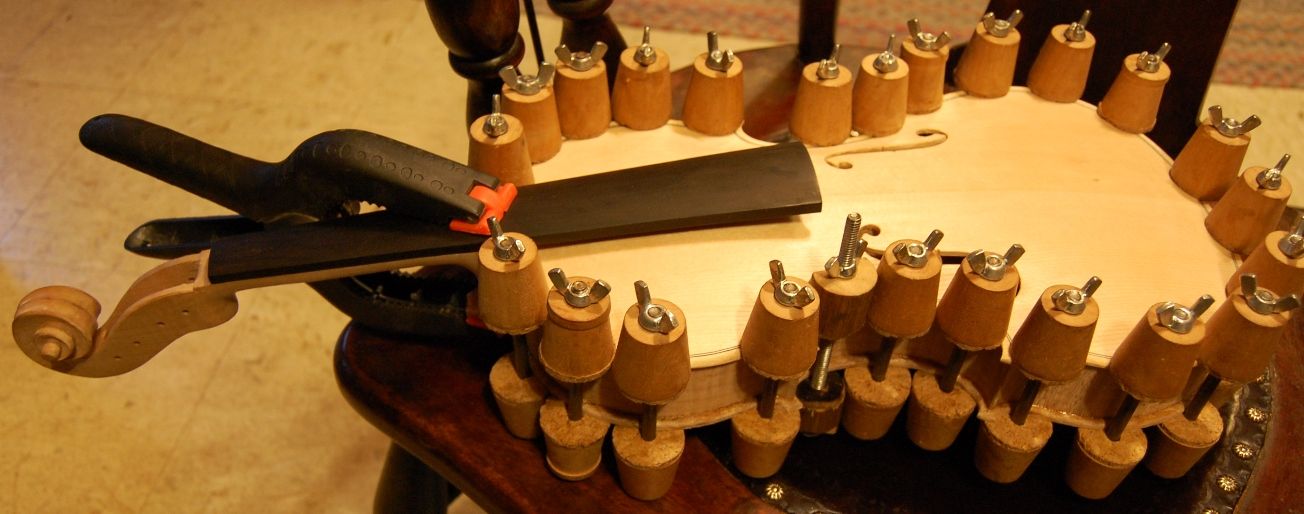
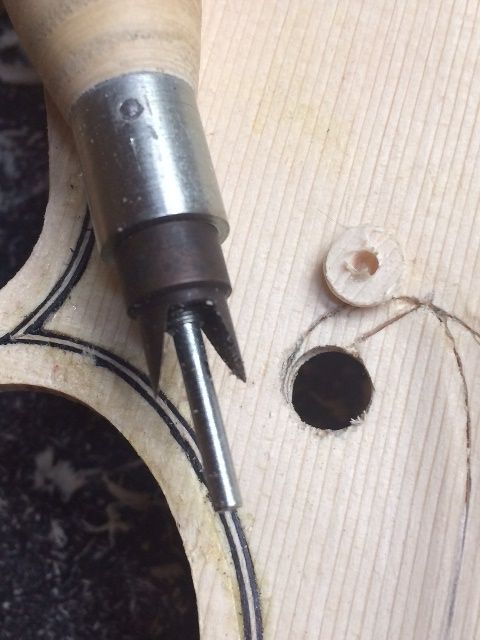
Once the graduation is complete, I need to finish cutting out the f-holes: I begin with a special tool called an “f-hole drill.” For years I worked without one of these little gems, but my children finally decided I ought to have one, and bought it for me. 🙂 The use of the tool is self-explanatory, and there are a wide variety of bit-diameters, for violins and violas. (I later bought another, larger one, for cello f-holes.)

F-hole drill.
F-hole drill.


After drilling the four f-hole “eyes,” I began cutting out the rest of the f-hole outlines, using a knife and a small saw.

F-holes.
F-holes still need to be cleaned up…but there they are!


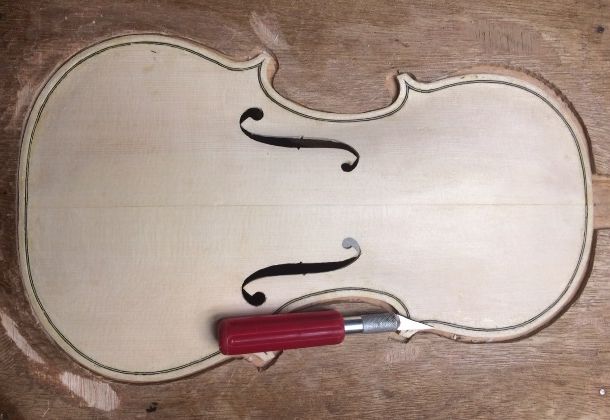
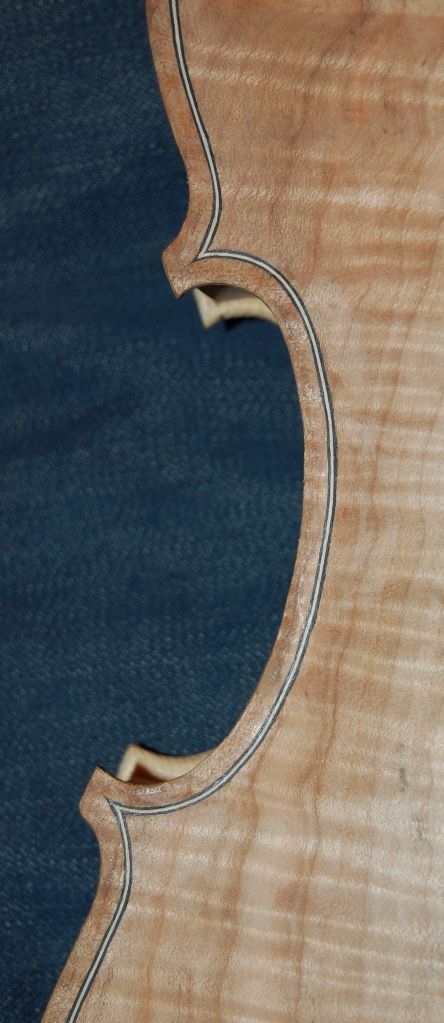
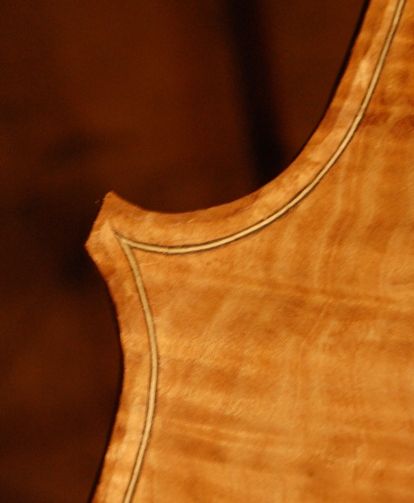
Completing the Purfling Channel

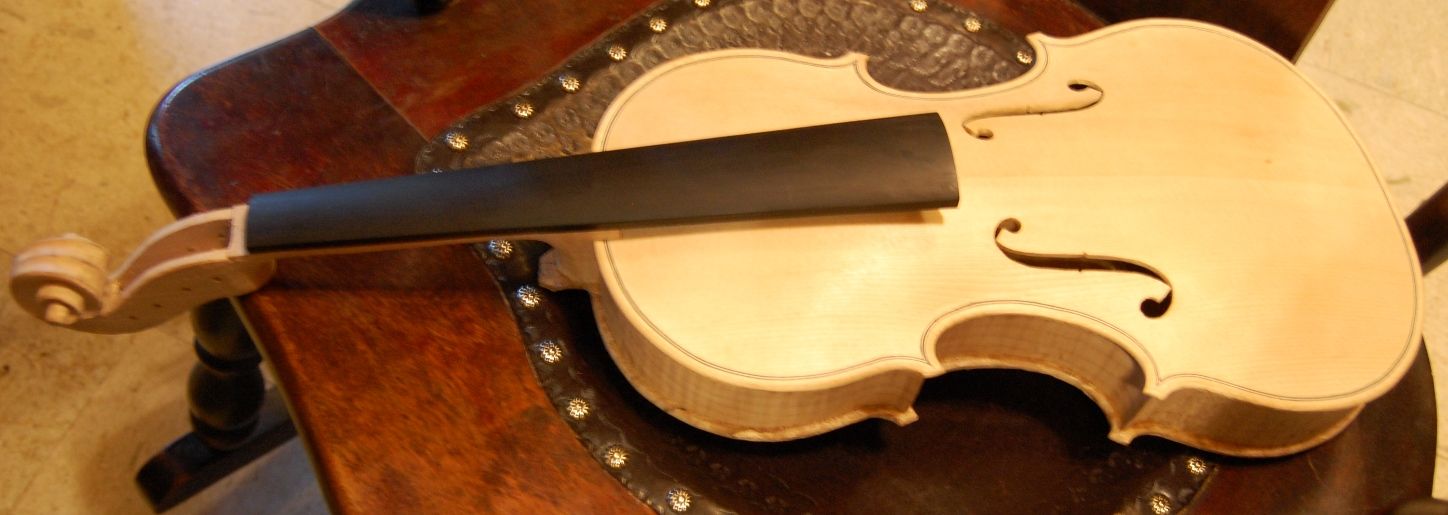
Now it is time to start cleaning up the purfling channel, and fairing-in the curves, up into the arching. I began with a sharp pencil, and drew an “edge-crest” line, approximately 40% of the distance in from the plate edge, toward the purfling. Then I used a sharp gouge to remove a shallow channel across the purfling, which ended at the edge-crest. Then I used scrapers to smooth the transition between the edge of that channel and the arching curves.

Edge-crest line, and gouge, beginning channel.


Beginning the Channel


Channel is cut: now scraping can begin.


Treble-side scraping is nearly complete.


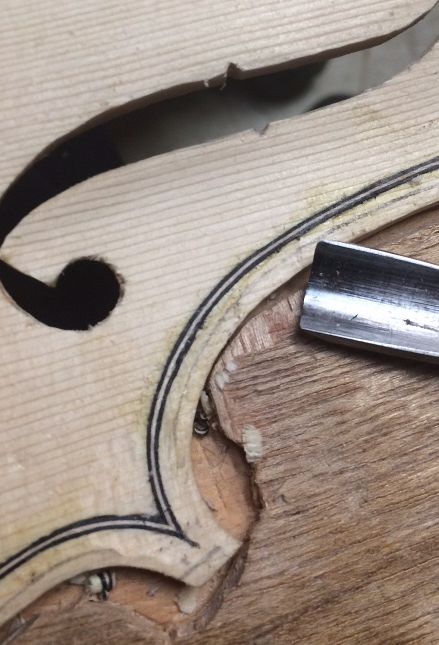
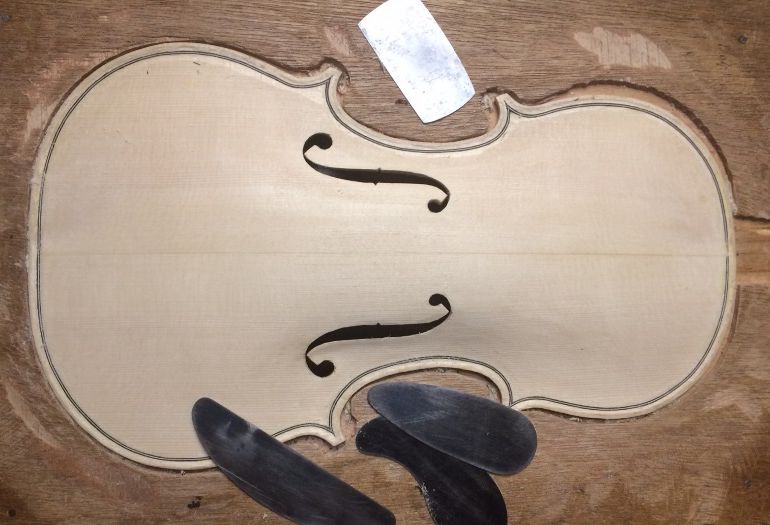
The treble side channel is essentially complete. When I have the whole channel completed, I will flip the plate over and install the bass-bar. All along the way, I will continue to fine-tune the f-holes, until they are satisfactory. Right now they are quite rough, but my hands are tired, and I am fearful of making errors due to fatigue. So…they can wait. 🙂


Thanks for looking.


If you found this post helpful, please share with your friends!

Home Stretch for the 14-inch Viola

Please share with your friends!

On the Home Stretch Now!

The 14-inch Viola is getting closer to completion!

When I last posted, the viola was still in the spool clamps. The back plate was installed, but that was as far as I got that night.

Viola in spool clamps
Lots of promise, but not much “grace” in this picture.


Spool Clamps Off: Lots of Work to Do, Preparing for Purfling

So…the next step was to remove those clamps, adjust the overhangs as needed, and get on with the purfling. That sounds pretty straightforward, but there is always more to anything than meets the eye.

front view, back plate installed, button needing shaping.
Looks nice, at first glance, but take a look at the neck button (where the back plate overlaps the heel of the neck.)


side view viola with unfinished back plate.
Side view of the same state of the viola.


Back view viola with unfinished back plate.
Back view: button hidden by my hand. No purfling, and no shaping done.


Purfling Groove

I marked the purfling groove, using what is frequently called a “Purfling cutter“, but which is actually a marker. It has two blades that simply lay out the sides of the groove, by scribing them a set distance in from the outer edge…which is why I want the outer edge perfect, before beginning purfling. I have modified my cutter a bit, to make it work more reliably, but the link above shows the type of tool I use. I don’t think I have that brand. I can only use the marker to get within an inch or so of the corners. I lay out the corners by hand, sometimes using a frnch curve to achieve some repeatability.

Afterlaying out the groove in pencil and scribe marks, I incise the lines with a small sharp knife, then pick the waste wood from between the cuts.

Here is the completed groove:

Purfling groove and button complete
Purfling groove complete. Notice that the button is taking shape as well. The neck, too is getting slimmer, and smoother. Lotsa work…

Here is a detail shot of the groove:

Detail of purfling groove.
Detail of the purfling groove.


The Purfling, the Channel, and the Finish Work.

Finally I can start cutting and installing the purfling itself. I use a wood purfling, which is very brittle when dry, but bends nicely with a little moisture and a lot of heat. Once the purfling fits correctly, I lift each stip out partway, and insert hot hide glue under it, then force the strip back into the groove. Afterward, I mark the crest of the channel, and cut the channel using a sharp gouge. Finally, I use a tiny plane as well as gouges and scrapers to bring the convex curve of the plate into a fair, smooth agreement with the concave curve of the channel.

The purfling is complete, the channel is cut, and the back curve faired into the channel.


Purfling detail
Purfling detail: look closely, and you can see the edge-crest line in pencil.


side vies of viola.
It is a fairly high-ribbed viola: 35mm. I think it will sound good.

And, it is looking more and more like a viola!

Viola nearly complete
On the Home Stretch!


What is next? Edgework, and final scraping; coffee stain, mineral ground, sealer, and varnish…and then fittings and set-up. (The outer edgework is not even begun on the back plate.)

This is definitely as far as I am going tonight, though…. Getting too tired.


Thanks for looking

If you found this post helpful, please share with your friends!

Channel cut and final arching begun

Please share with your friends!

Purfling channel and recurve begun, with final arching on the way.

Mark the crest, first

There are several ways to do this, but I used a compass, with the pencil withdrawn a few millimeters. I wanted to establish the crest of the edge about 40% of the way in from the outer edge of the plate to the edge of the purfling. In this particular case, the purfling is 5mm from the outer edge, so I set the compass for 2mm, and carefully traced all the way around the plate, so that I had a visible guide to follow with the gouge as I carved out the channel.

What gouge?

I used three different gouges: two have a curvature about like the ball of my thumb…no idea what specific sweep…one with a long handle, the other quite short. The third is a much smaller gouge I used specifically in the corners. Every few minutes I stopped and honed the gouges, or at least stropped them. You have to work very carefully to avoid tear-out in carving the channel on very curly maple. I used a rotating motion with the gouges, so that the wood and purfling was being sliced away, and was less likely to split.

What plane?

Once I had the channel cut all the way around, I switched to Ibex planes and began fairing the curve from the bottom of the channel up onto the highest areas of the plate. Occasionally I switched to a tiny flat Stanley plane to smooth out the ridges left by the curved sole Ibex planes.

It is still pretty bulgy, but looking better. All still quite rough…at this point I am more anxious to move a lot of wood than to move it smoothly. As I get closer to the final shape, I will take pains to make sure everything is smooth.

Here are a couple of pictures…not terribly clear, but I think you can see the progress.

channel and recurve cut...final arching begun
Still too high all over, but the channel is cut, and the final arching is begun.
Cello corner with channel cut and final arching begun
Same corner as before, with channel cut and final arching begun

I was getting pretty tired, so I am going to call it a night. I hope to get more done tomorrow night.

If you found this post helpful, please share with your friends!