
 Follow

Final Assembly and Set-up
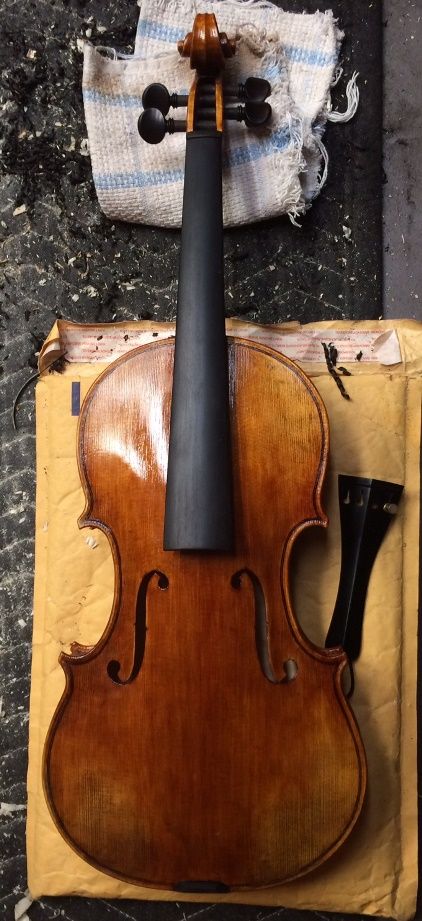
Fingerboard and Nut
The varnish was about as good as it was going to get, for the moment, so I began asssembling the violin: I re-installed the fingerboard and added the nut, then allowed it to dry.
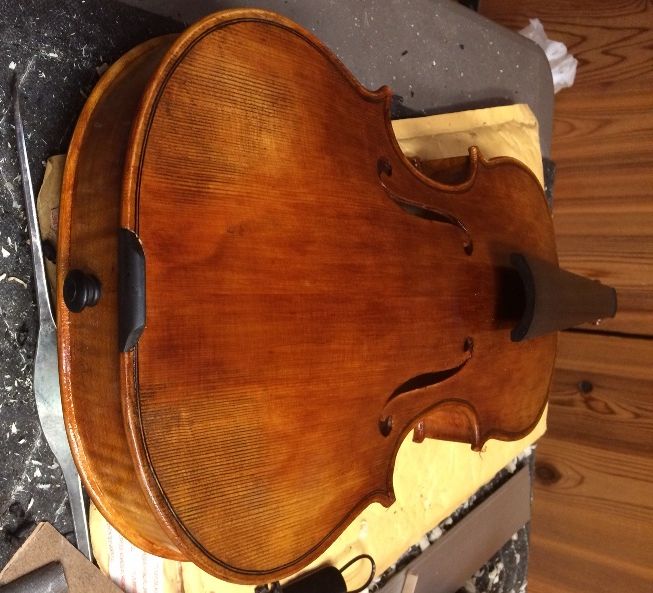
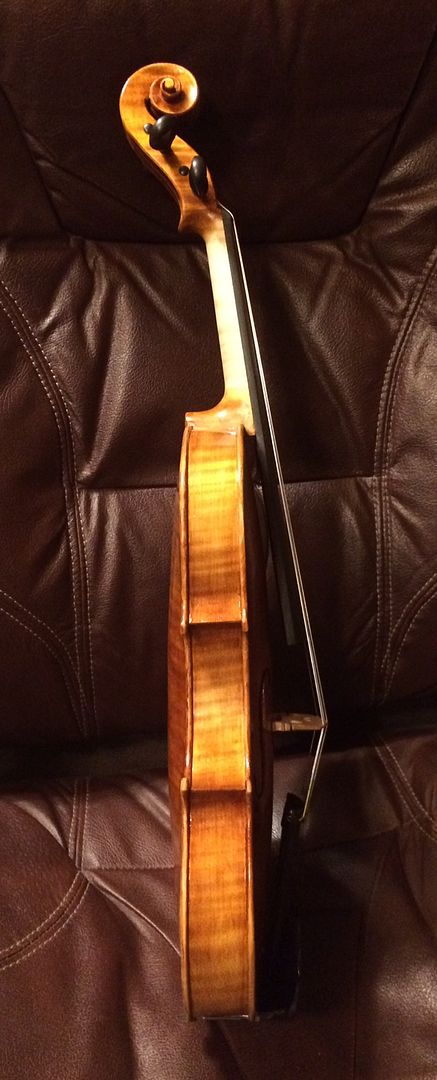
Saddle and End-pin (and Soundpost)
I drilled and reamed a hole in the center of the tail block, and installed the end-pin, then cut the saddle and installed it. In this photo it had just been glued in place. Later I decided to remove the saddle and re-install it. I did a better job the second try. (It had been just a little crooked the first time.) I make a radius on each end of the “footprint” of my saddles, to minimize the chance of saddle cracks. The round-cornered mortise makes for much lower stress to the wood at that point.
Although it is not visible in this photo, I also had installed the soundpost.
Tuning Pegs
I shaped, fitted and installed the tuning pegs, and had intended to complete the violin that evening, but there were a lot of interruptions, so that was really all I accomplished that evening.
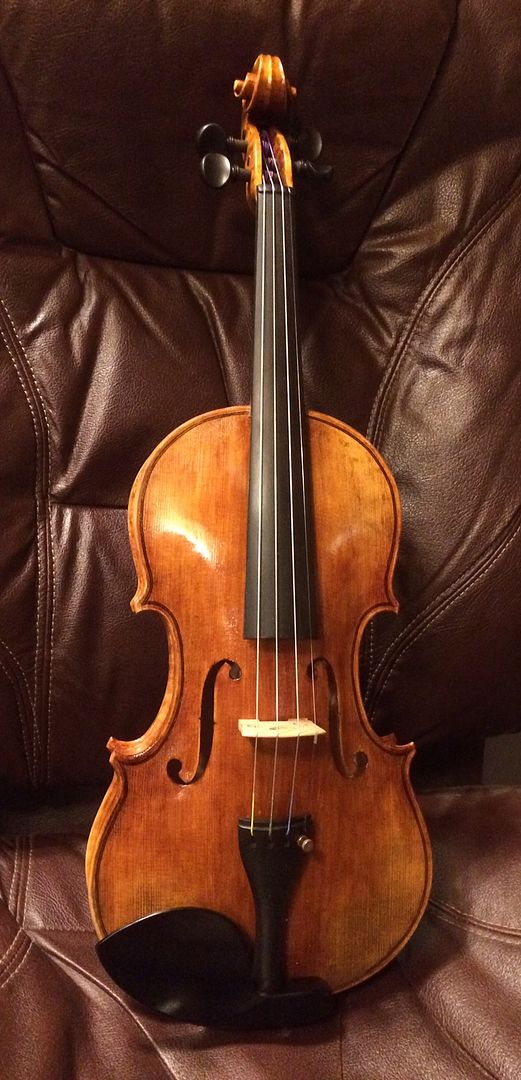
Bridge, Tailpiece, and Strings
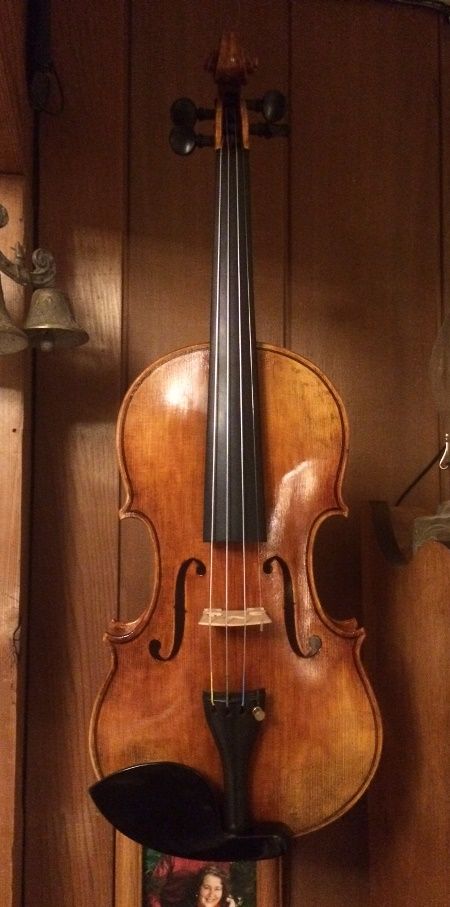
Finally, I cut the bridge, and fitted it to the belly of the violin, then adjusted the tailgut for the position of the bridge. (I try to position the tailpice so that, from the tailpiece “fret” to the bridge is 1/6th the distance from the bridge to the nut.) I drilled the string holes in all four pegs, and began installing the strings. As it usually happens, my initial bridge cut was too high, so I removed it and cut it lower, then set the violin up to play it. I went ahead and installed the chinrest, while I was at it.
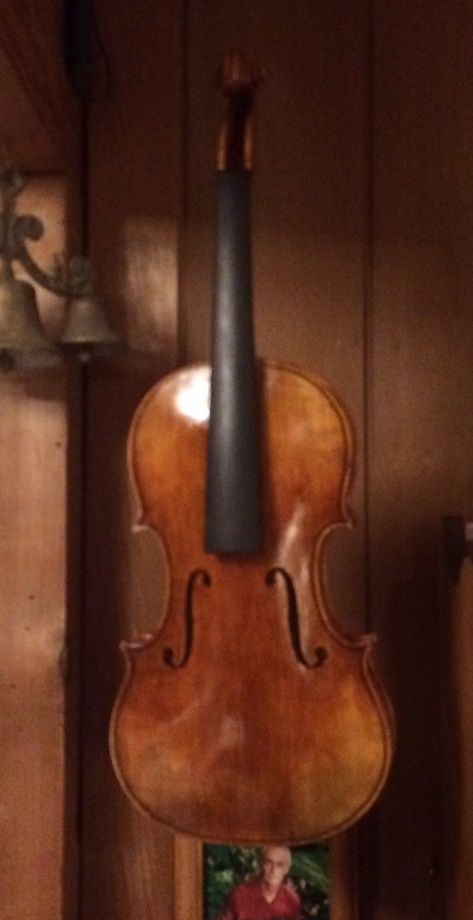
Now the violin is hanging up in the dining room, where it will live while I am completing all the final touch-up for looks and sound.
Thanks for looking.