Scroll Carving

Please share with your friends!

Scroll Carving

Rough wood removal

In the last post, I demonstrated how I use a thin saw, to cut to the layout lines, so as to facilitate removal of the rough wood, preparing to carve.

Now I complete the removal of the rough wood and begin to carve.
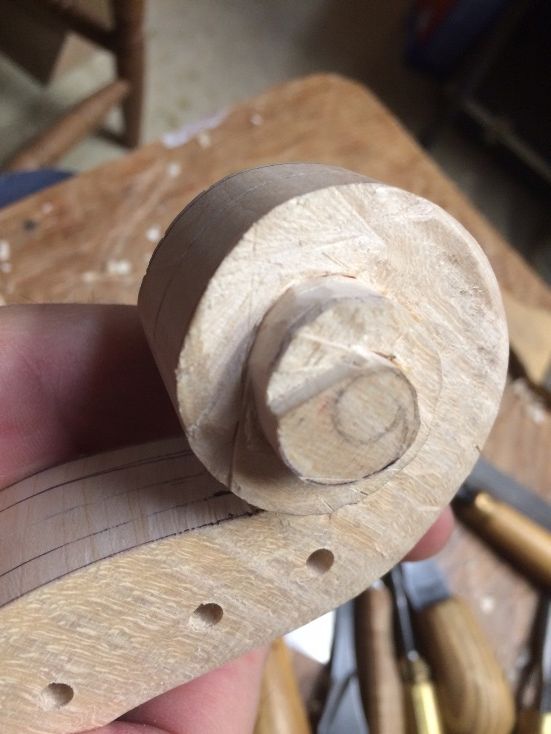
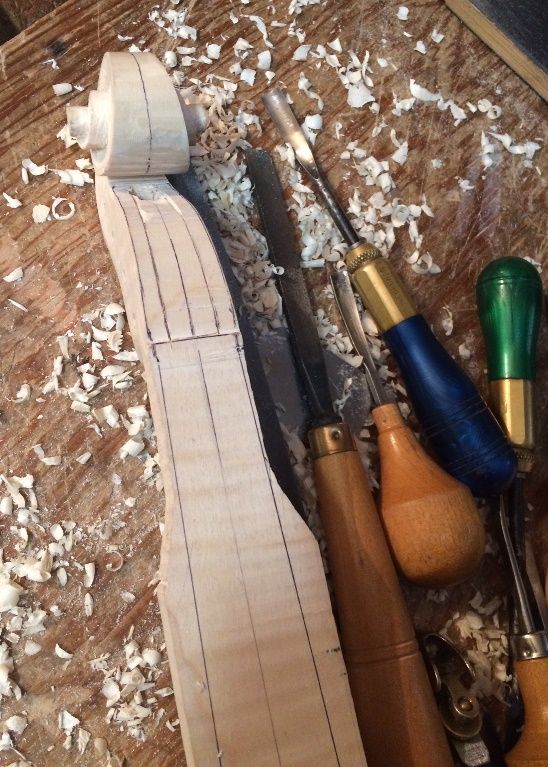
Removal of remaining rough wood.
Removal of remaining rough wood was quite easy, because of all the saw-cuts.

Scroll-Carving

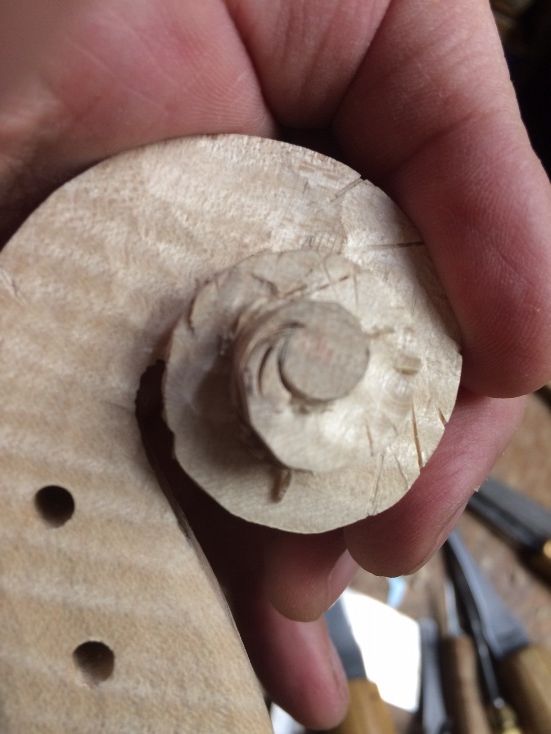
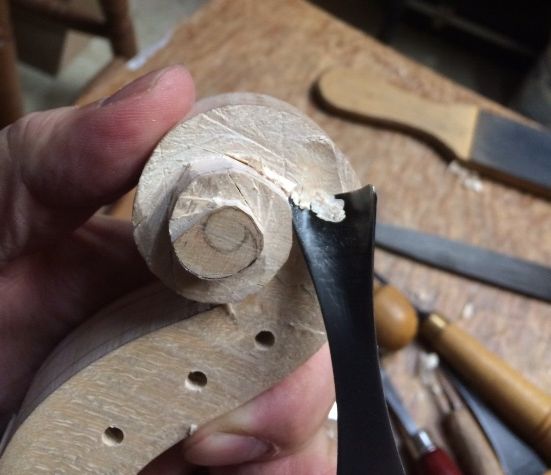
I begin to incise the outline of the eye, and carve to volute to size.
Next, I begin to incise the outline of the eye, and to carve the volute to size.


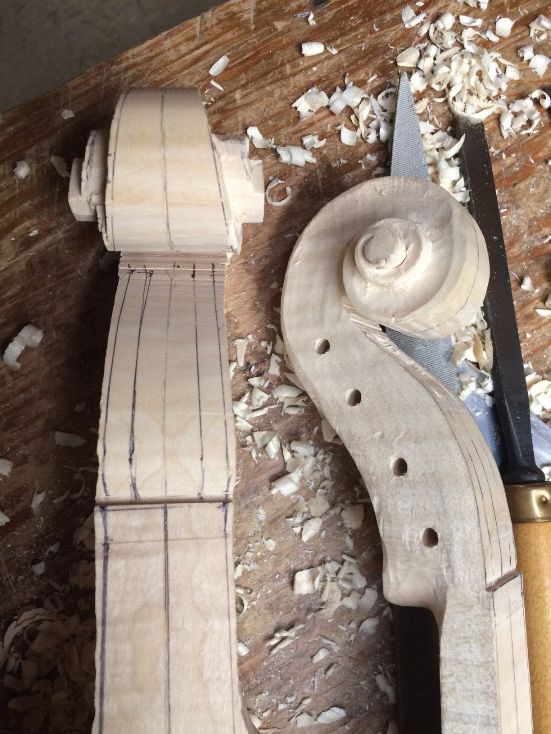
Trimming the scroll to the layout lines, before beginning to undercut the turns of the scroll.


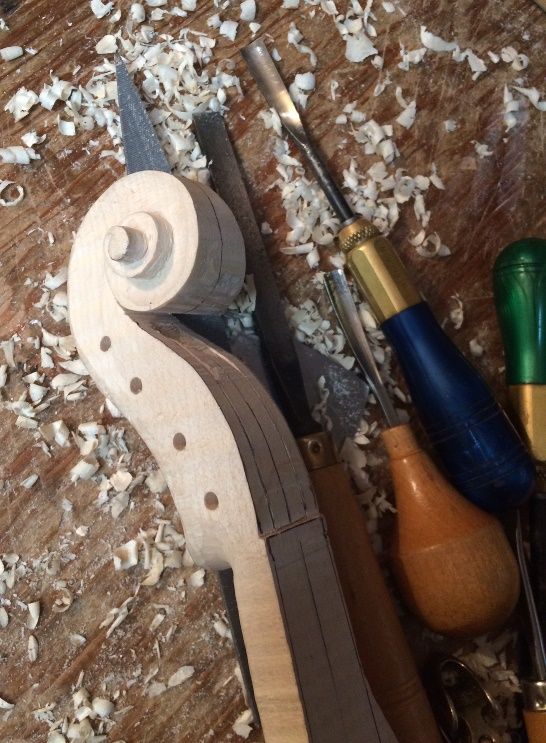
Starting to look like a scroll...barely.
Starting to look like a scroll…barely. I planed the cheeks of the scroll to the layout lines.


It is always nore encouraging when the scroll begins to take shape.


I want to complete the two instruments side by side. I have to stop and work on the other scroll.


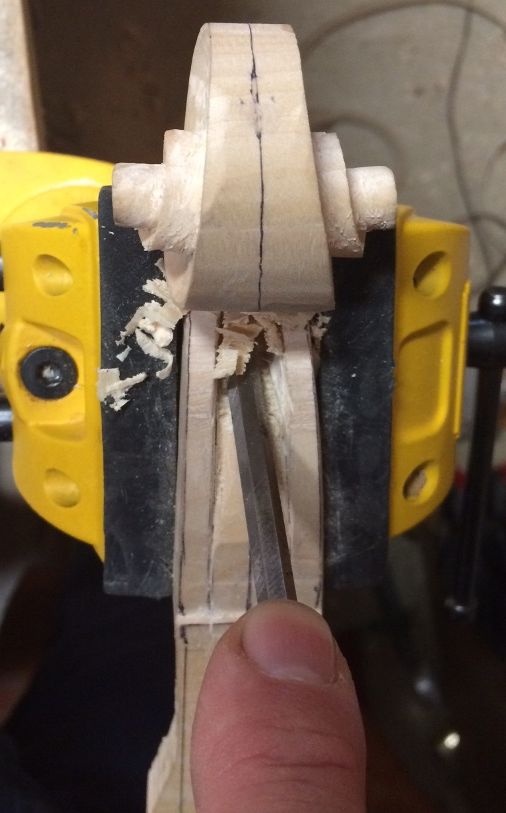
Carving the pegbox.
Carving the pegbox.


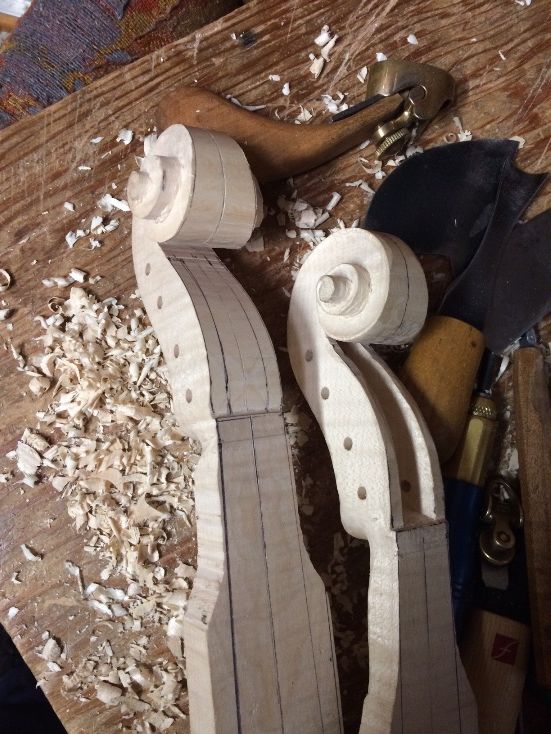
One scroll is nearing completion, the other is just begun.
One scroll is nearing completion, the other has just begun to take shape.


The next web-log post should include two completed scrolls, the installation of two fingerboards, and the setting of two necks. But perhaps that is too ambitious. The holidays seem to be a difficult time during which to get things done. (sigh…)

However, along with the graduation of both back plates, removal of the inside forms (molds) and the final assembly of the instruments, that is pretty much all that is left to do. Oh, yes, and purfling both plates on both instruments. I used to install purfling before completing the arching of the plates, but it frequently resulted in uneven plate overhang (with which I was quite disappointed) just because the purling had locked in the shape of the plates, and so, if the rib garland had changed shape at all, I was stuck. When I began purfling after assembly, the overhang problems pretty much went away.

Anyhow, that is how the project is progressing.


Thanks for looking.

If you found this post helpful, please share with your friends!