
 Follow

Continuing the Varnishing Process
Sand between varnish coats?
As a general rule, I sand between varnish coats, especially after the seal coat and first varnish coat. They tend to leave the surface very rough, possibly because each fiber of the wood surface that is not a firm part of the surface tends to stand up, completely surrounded by varnish. Once the varnish dries, all those little splinters, or whatever they are, are left sticking up everywhere, with the result being a very rough surface, literally like coarse sandpaper.
The phenomenon does not seem to repeat itself, so I think I am pretty close to correct, as far as explanation. If not, I would be happy to be corrected. But subsequent coats generally need very little sanding, provided the first one was really carefully smoothed before continuing. So…that is what I did, here. I very carefully sanded the entire instrument, which took a long time. Then I carefully wiped the instrument down with a soft rag, to remove all the dust, and used a cheap stiff brush to remove any dust in corners.
Adding Color Coats, then Clear Coats
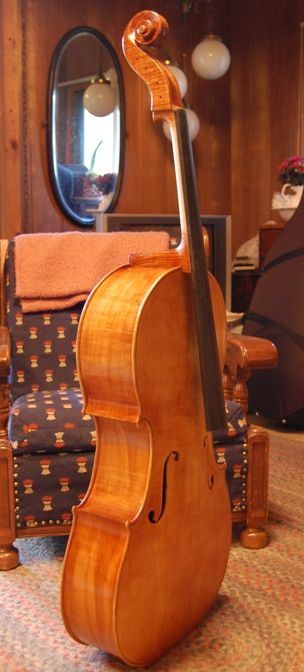
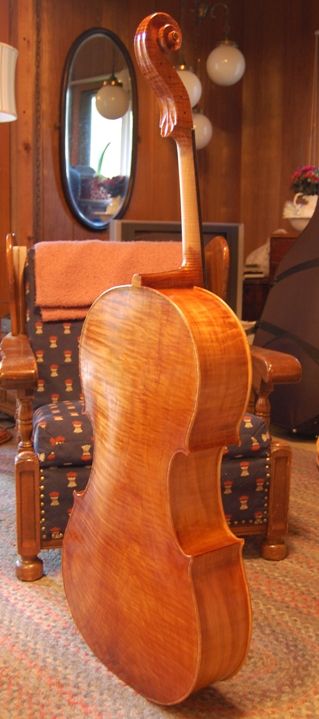
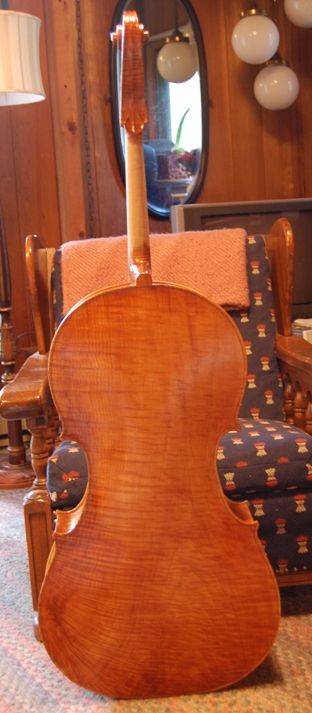
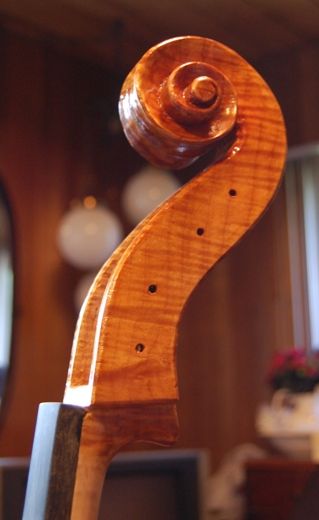
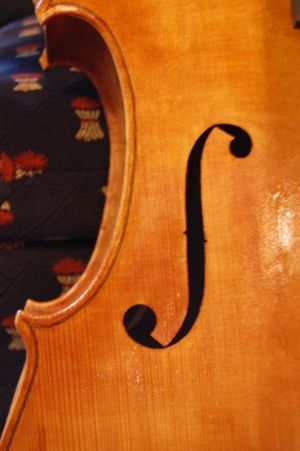
One of the things I wanted was to add color in certain areas–shading, if you want to call it that. I added color especially in corners, on the ribs near the miters, and near the neck, etc. Also in the undercut portion of the scroll, and in the fluting on the back of the scroll. I am not going to “antique” the instrument, but I do like some gentle shading.
After the first color coat dried, I added another, not sanding between coats. Each color coat was very thin, only adding a tiny bit of reddish brown. I gently rubbed the whole instrument down with a foam-backed, well-worn, 320-grit pad, and then added my first full clear coat. That pretty much took up the whole day, so the following photos are what the cello looks like after four total varnish coats.
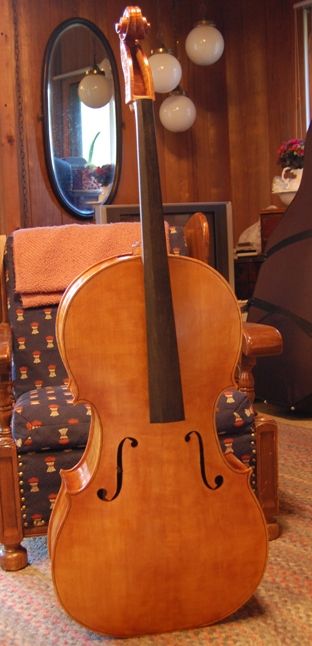
The varnish really needs to harden up before I continue– and, except for some small corrections of color, repair of varnish flaws, etc. the next thing will really be final assembly– it still needs a nut, a saddle, an end-pin assembly, a bridge, four tuning-pegs, and a sound-post. Besides, the fingerboard still needs dressing. It does not have the correct camber, as yet. So the next post may just be about final assembly. I might show more varnish pictures, but the changes you will be able to see in photos will be minimal. In person, yes, it makes a great deal of difference.