Please share with your friends!
Glaze Procedure for Oil Varnish, Using Artist’s Oil Colors
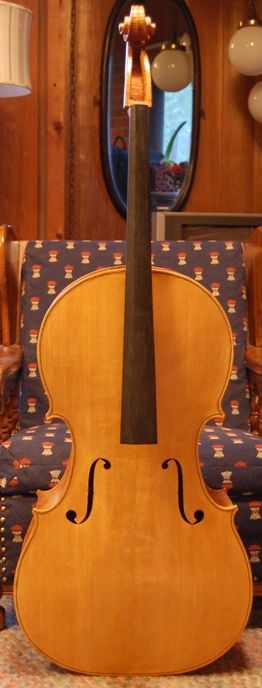
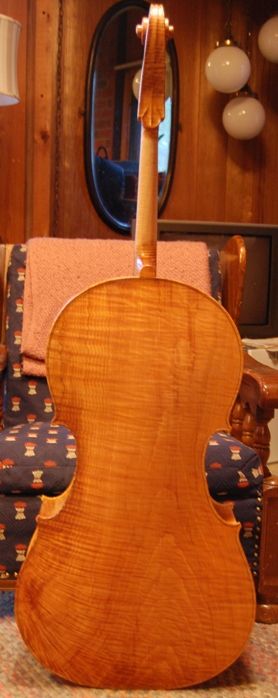
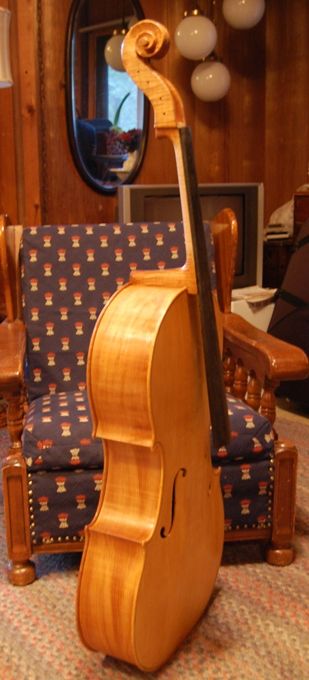
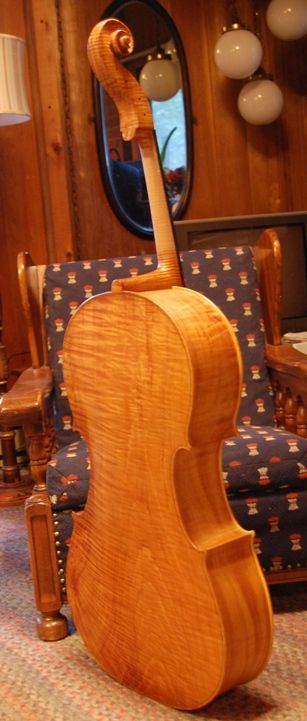
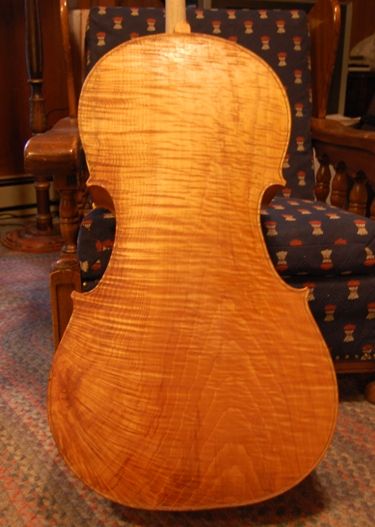
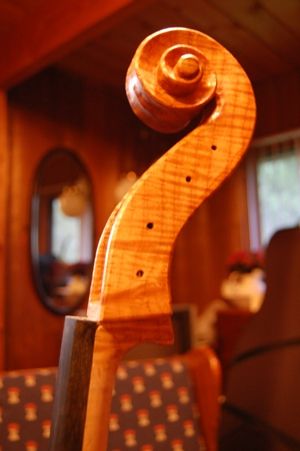
Procedure for shading or antiquing oil-finish violins:
Water-based Stain procedure
1. Using a clean brush, and very strong coffee or tea (with instant, you can make it as strong as you want), stain the instrument a nice tan color all over, including the “handle” area of the neck. This will probably take more than one application, but let it dry completely before repeating.
2. The application of the (water/coffee) stain raises the grain as well, so, between applications of coffee, let the instrument dry completely, then lightly sand it with VERY fine micromesh, to get rid of any major irregularities but NOT diminish the texture (provided you like texture– I do; if you want less texture, sand more.). Sand the handle area mirror smooth between applications of stain. Warning: if you are using coffee or tea, absolutely do NOT use steel wool for smoothing. Iron reacts with the tannins in the wood and especially the tea and turns jet black…so if tiny fragments of steel end up snagged in the fibers of the wood, they will leave black stains that will not come out. Some of us learn the hard way…
Seal the wood
3. Once it is ALL the color of tan you want, and ALL the texture you want, and ALL dry, seal the instrument, using a mixture of oil varnish, yellow oil-soluble dye, and turpentine to thin the mix. (How much yellow? Depends on what you want to accomplish…I would say keep it very light.) The oil varnish is usually fairly thin to start with, so you won’t need a great deal of turpentine. It may take more than one coat to seal it–if so, make sure the WHOLE body gets the same number of coats, to avoid creating heavy areas. Allow the instrument to dry completely. I only apply this to the body and the scroll– not the handle portion of the neck. Incidentally, you want to seal the surface, not soak it all the way through. Go easy with this stuff. It is a good idea to sand (lightly, using 400-600 grit) before moving on, and wipe it down with a turpentine-dampened rag. This removes any unwanted particles, and leaves the surface clean and ready to coat again.
Color application
4. Using Brown Madder Alizarin (Windsor-Newton) oil paint (get artist’s grade, not student grade; the artist’s grade has more pigment), thinned with a little oil varnish and a tiny amount of linseed oil in a small jar, get a mix that is soupy, but not water-thin. (You need the linseed oil to keep it from drying too rapidly) Incidentally, if you want a redder-brown, add a little Purple Madder Alizarin—it only takes a little.
5. Apply the mixture using a fairly stiff brush, over the entire instrument except the neck (handle area). You might try just one area at a time, until you see what it will do. Get the color into every little crevice. Set the brush aside, and rub across the grain with your fingers. You want the mixture to be starting to set up a little, just as you get the glaze to the color you want. Remember that you will probably be applying two or more coats of glaze, so feel free to rub most of the coat off that you just applied. Rub harder in areas you want lighter, simulating wear. The reason you rub cross-grain is to encourage pigment to hang up in the deeper reeds, and stay there. I use the heel of my hand to get the look I want.
As the mixture begins to set up, you will feel it stiffening– at that point, you can rapidly pat it with your fingers, over and over, leaving hundreds of fingerprints, but removing all streaks. The “fingerprints” all blend together, making perfectly smooth color transitions, and if there are areas that are too dark, you can rub them a little (cross-grain) with a rag. At this point the dark reeds should be pretty visible, and the light areas are the only thing you are blending colors on.
6. Once you have the whole instrument the color you want (but lighter than final planned color), and no bad spots, let it dry until it is hard to the touch. You can use your fingernail or the tip of a knife to carefully remove or press flat any “zits” that are sticking up.
Varnish between color coats
7. Give it another coat of the yellow varnish, still pretty thin. When it is COMPLETELY dry, go over it with fine micromesh, to get any little “zits”, hairs, etc. off. Be careful not to rub through into the color coat.
8. Subsequent glaze coats as needed. (The thinner the glaze coats, the more transparent the final effect—plan on several very thin coats, instead of fewer heavier coats.) Don’t go too far with this–you don’t want to obscure the wood. Check for any areas needing touch-up. Let it dry completely.
9. Another coat of yellow varnish, or brown, if you want it darker. Allow it to dry, and lightly sand it, with extremely fine micromesh .
Final varnish procedure
10. A last coat or two (or more, if you wish) of varnish, and final rubdown.
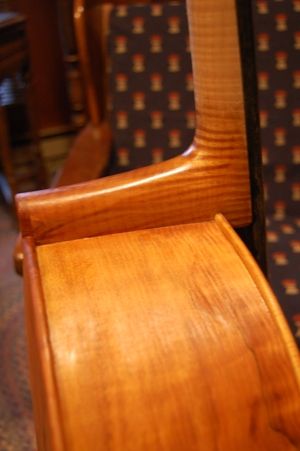
Neck Stain
11. After the varnish is completely dry I used to use the neck stain from International Luthier’s Supply, in Tulsa (no longer available, as that company no longer exists). Six to eight coats, rubbed in vigorously, with a 4/0 steel wool rubdown between coats, seemed to work pretty well. Don’t apply this stuff before you are finished varnishing—the varnish doesn’t like it at all. (There are other ways to stain necks–take your pick…. Wish I knew what had been in the stuff I got from ILS, but they are gone for good. Too bad.)
12. Note: I originally used tung-oil varnish for this process, but the process does not require the use of tung-oil varnish—any oil varnish would work; tung-oil varnish dries very rapidly, and just makes the process a lot easier to complete.
If you found this post helpful, please share with your friends!

 Follow