3/4-Size Violin Completion

Please share with your friends!

Completed the 3/4-Size Violin!

I had a number of other projects going, so I neglected to maintain the website presence…the only post lately has been of another violin resurrection. But…I hope to change that.

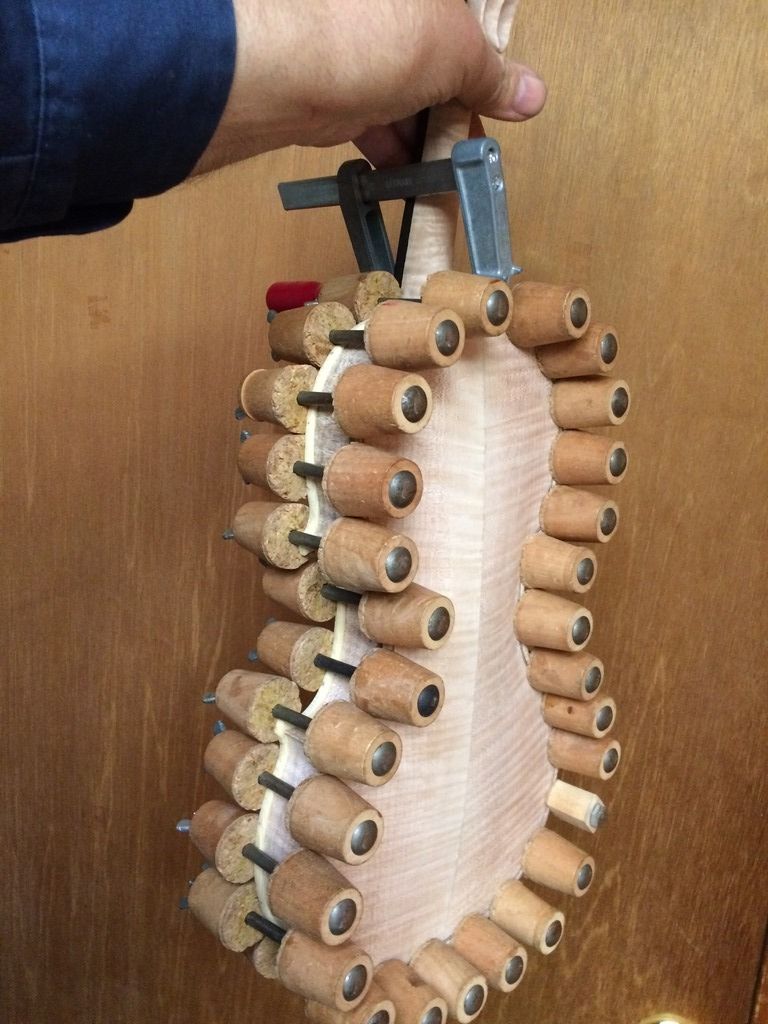
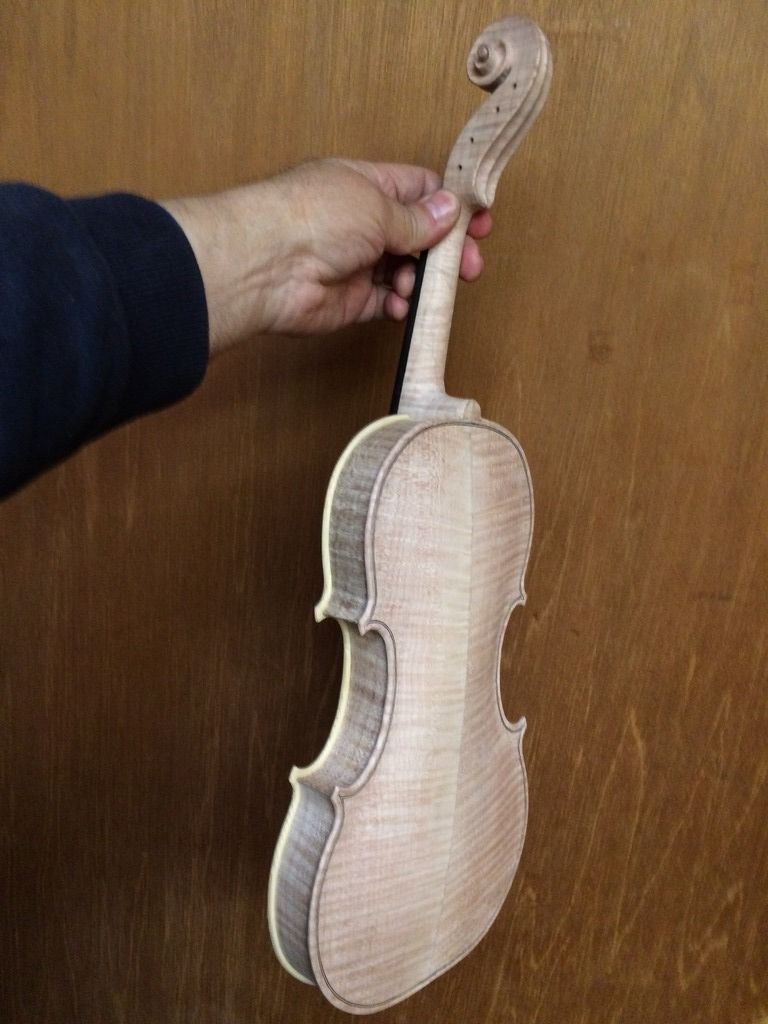
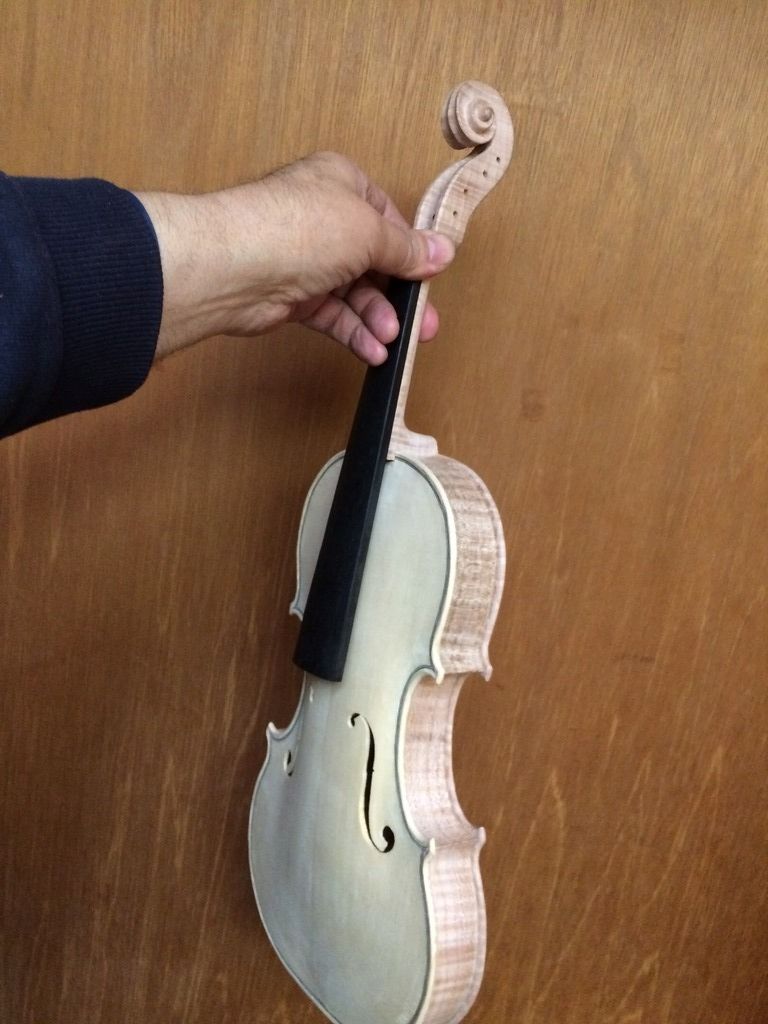
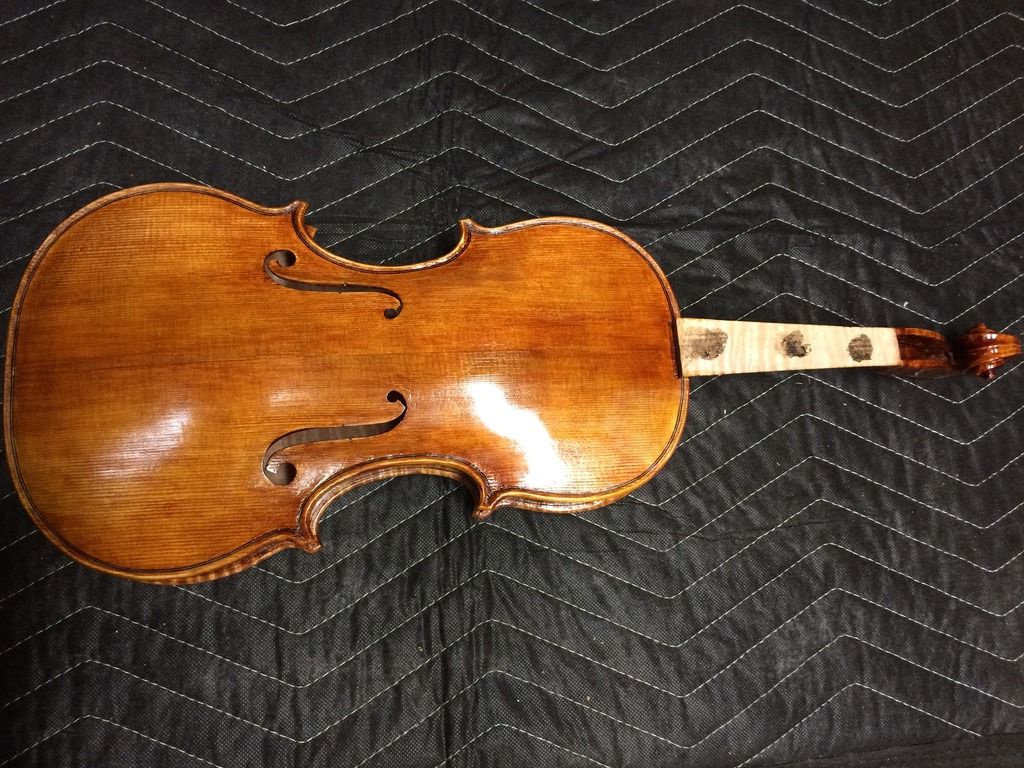
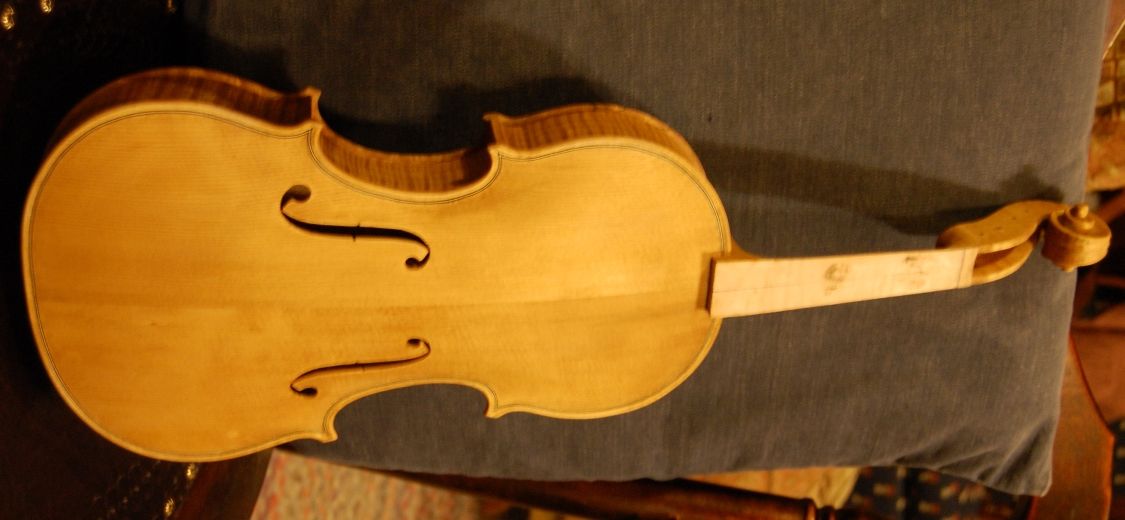
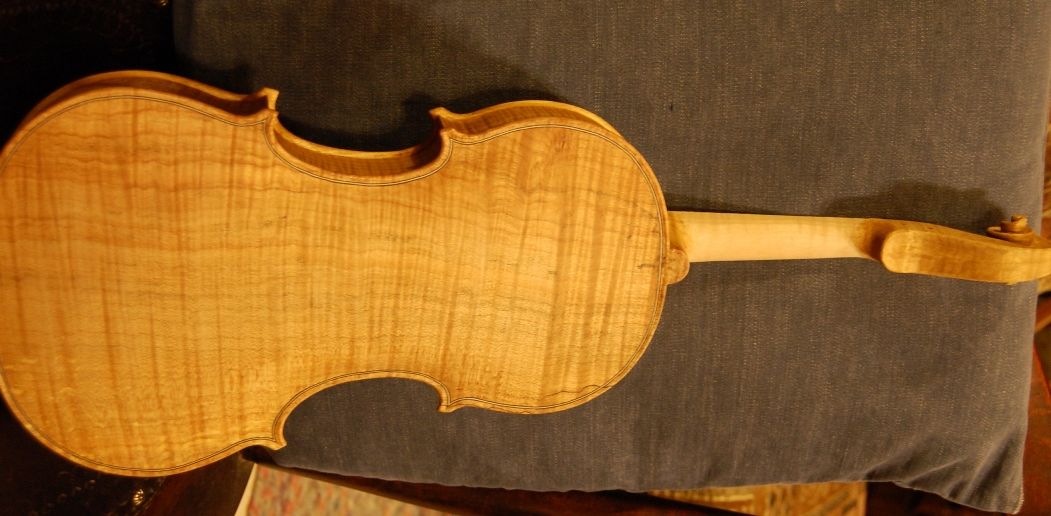
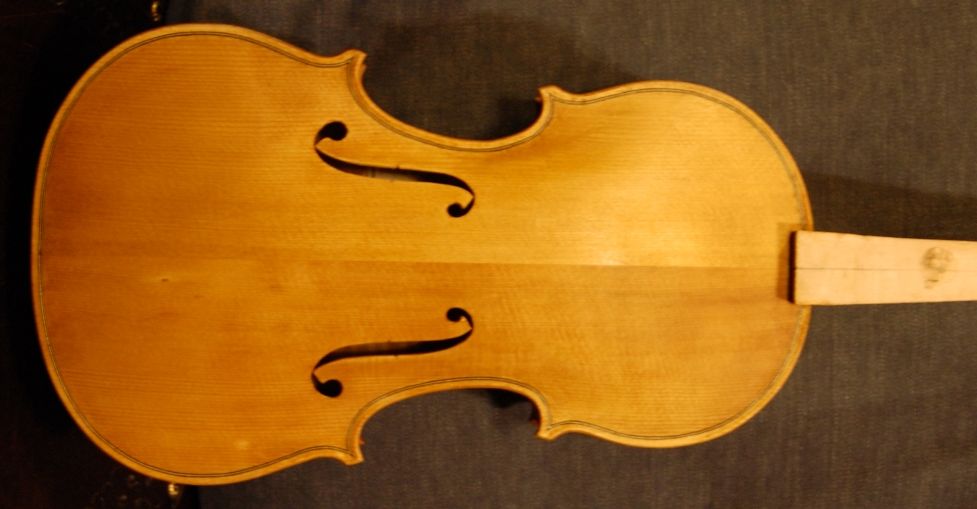
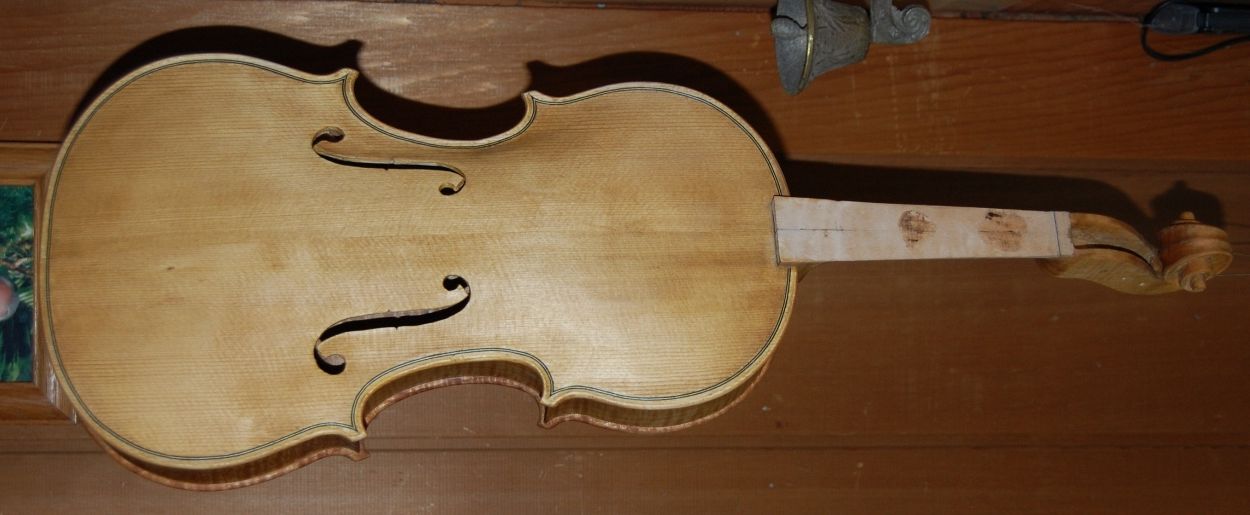
The last post was of the neck-set on the 3/4 violin. It looked like this– but the back plate was not made, yet. Most makers complete the entire corpus, then set the neck. I complete the rib garland and the front plate, then set the neck while the inside mold is still in place. This allows me to get the neck-set perfect, and to level the back of the garland, including the back of the neck-heel, before making the plate. When I install the plate, it fits perfectly, only requiring the final trimming of the heel and button together, to establish the optimum height in the center of the curve of the heel.
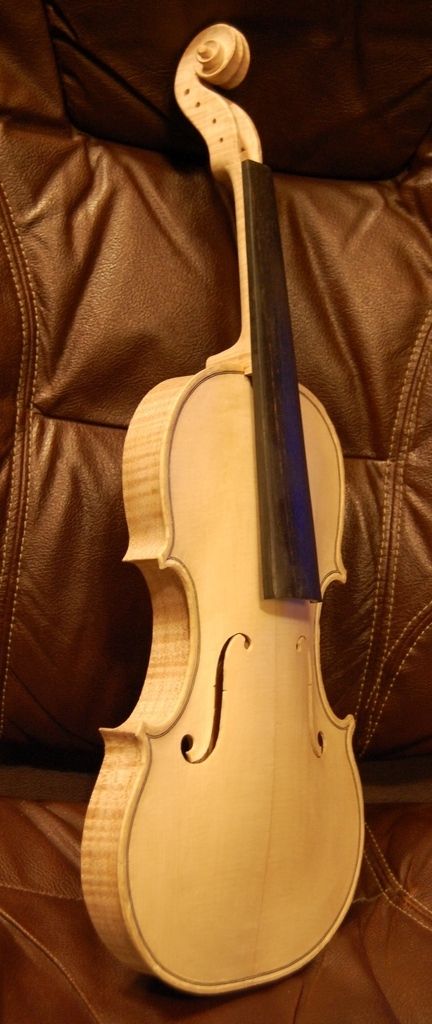
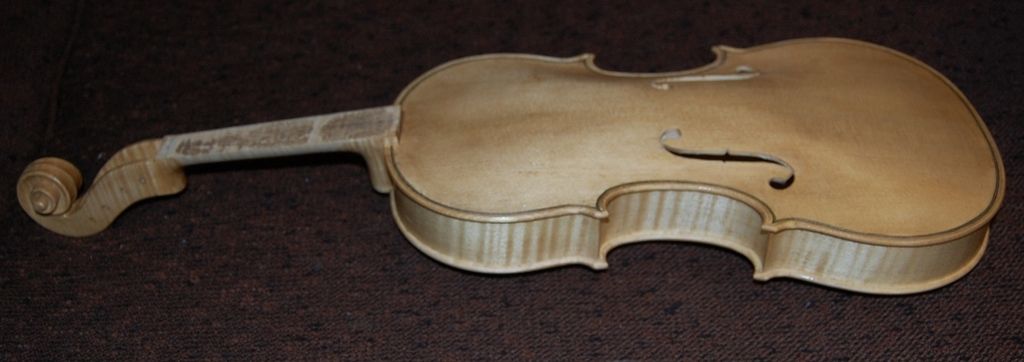
Neck-set side view
Neck-set side view

Completing the Back Plate

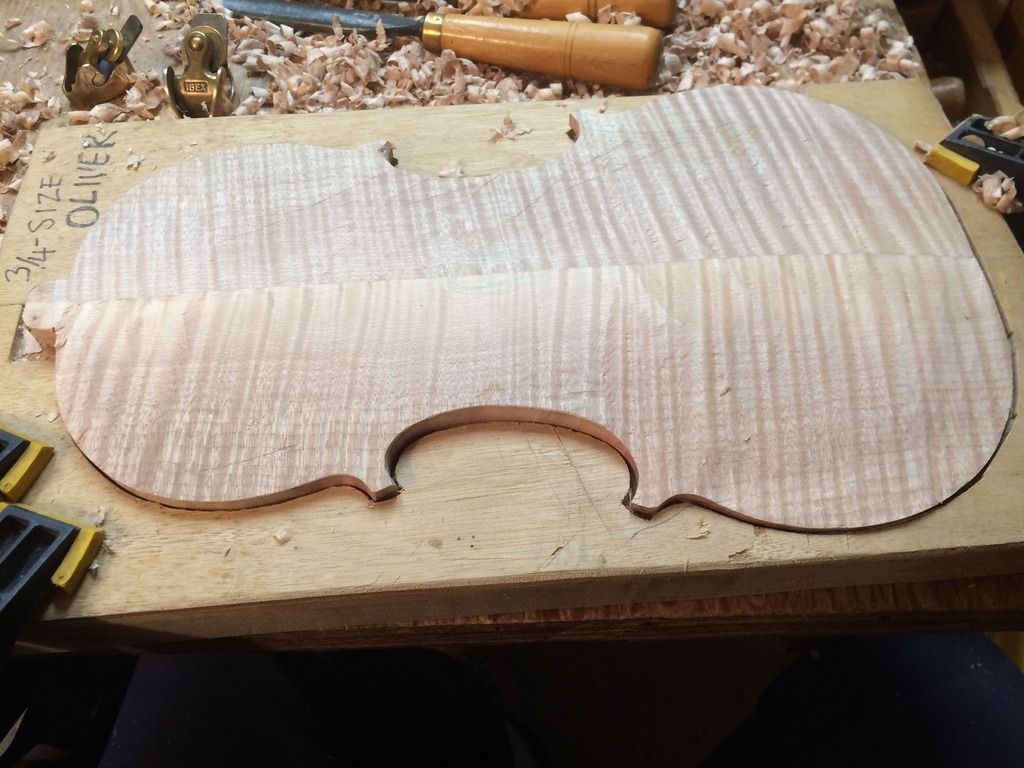
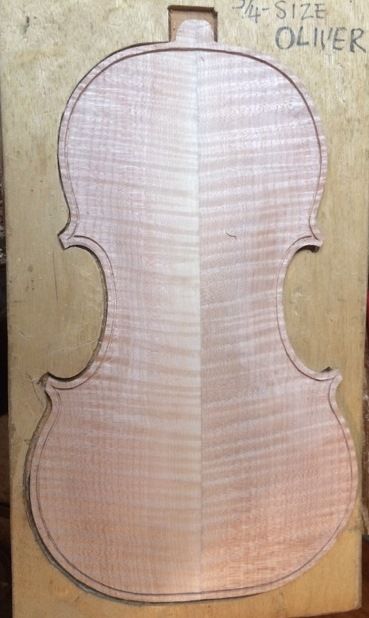
So, the next thing was to trace the back plate, and complete it:
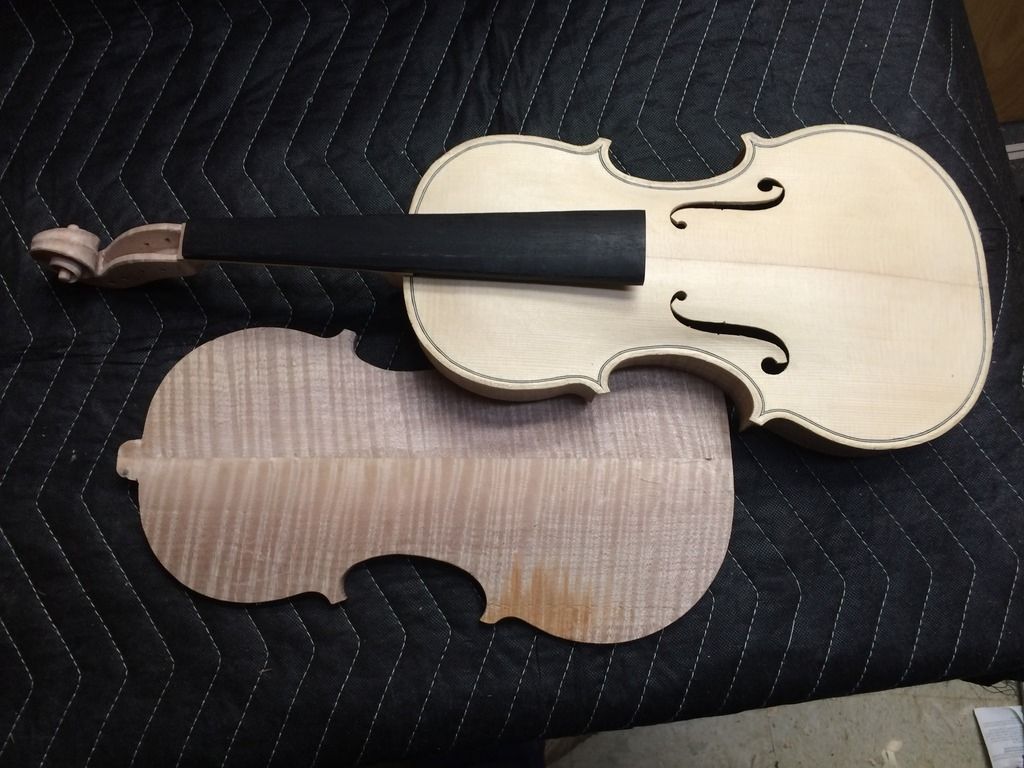
Corpus with back plate blank


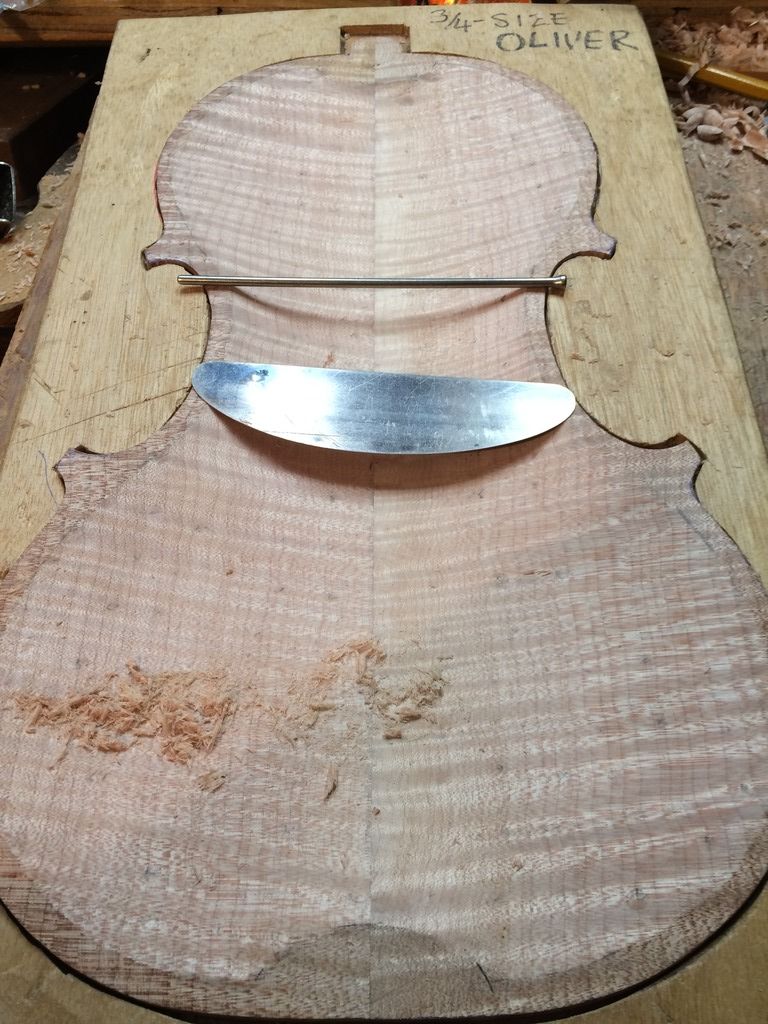
Beginning to carve the back archings
Beginning to carve the back archings. There is a long way to go!


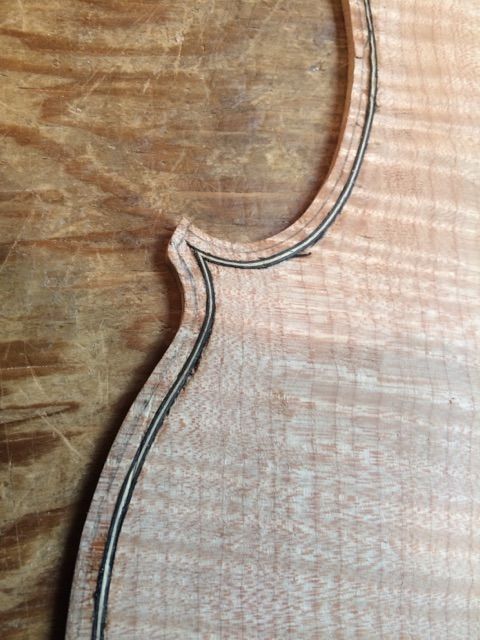
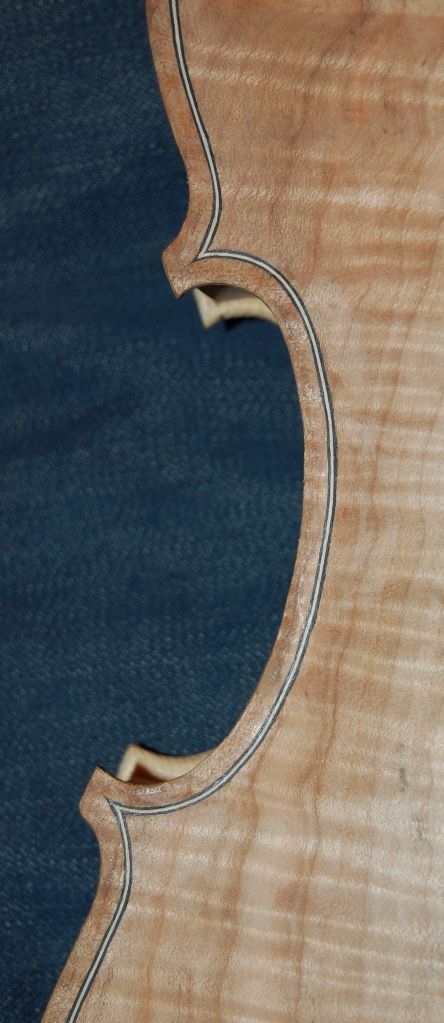
Once the arching is complete, I cut the purfling slot


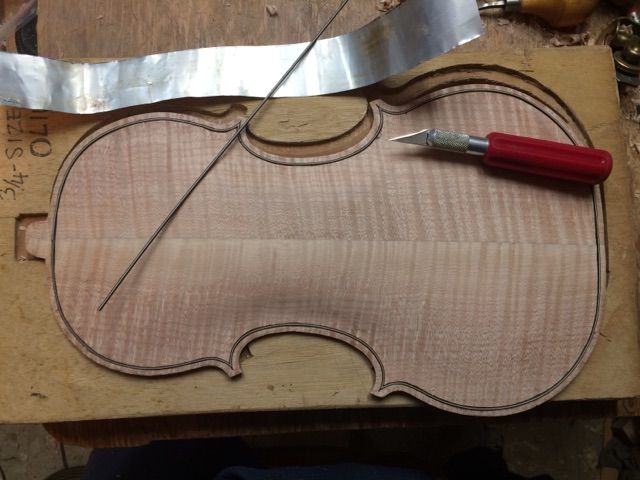
 install the purfling, dry
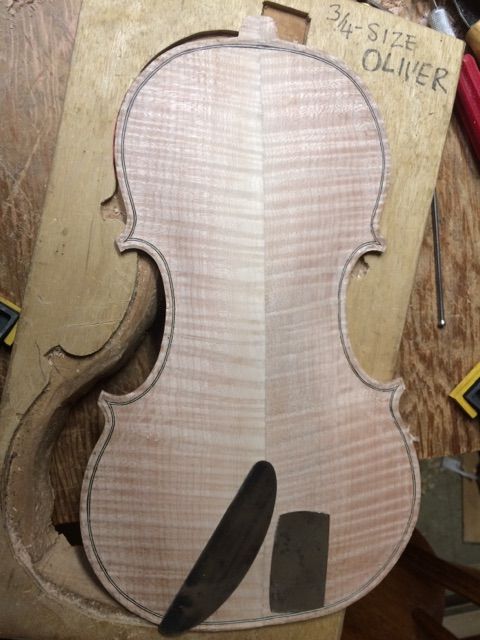
Then I install the purfling, dry, to make sure everything fits correctly. That strip of aluminum is my bending strap.
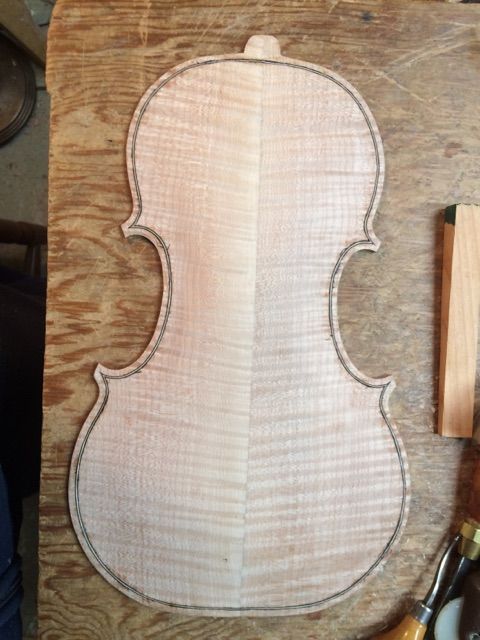
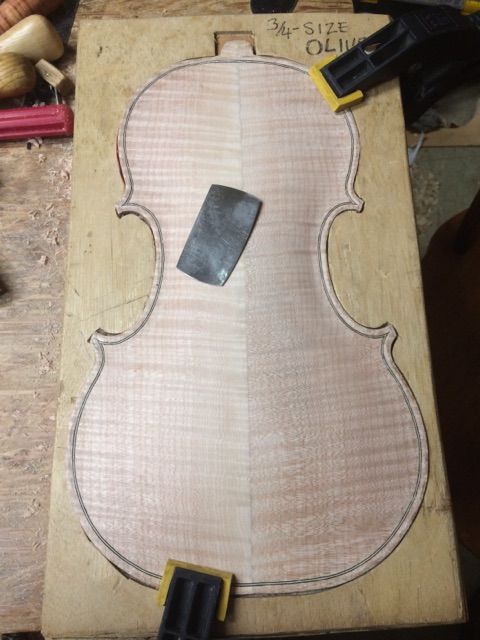
Then I glue the purfling in place.


Edge Crest marked
Then I mark the edge of the crest, so I know where to carve the channel.


channel complete
Then I carve the channel, using a gouge, and use planes and scrapers to fair-in the curves of the channel and the archings.


Arching and purfling complete
Here, the arching and purfling are complete…but the graduations (inside arching) are not begun.


Graduation

I begin by measuring the thicknesses all over the plate, so as not to run into any surprises and make the plate too thin. Then I use gouges and planes to bring all the thickness close to what I want. But, to make sure I don’t go too far, I measure and carve out small spots all over, to the exact thickness I want in each little “polka-dot”. That makes a “graduation map” that allows me to follow my plan to completion, by removing all the excess wood between the dots, thus “connecting the dots.”

There are other ways to do this. One involves a special tool, commonly called a “Strad-Spike”, because one was found among the tools of Antonio Stradivari. I have seen them and and have actually used them, but have never gotten around to building one. So…
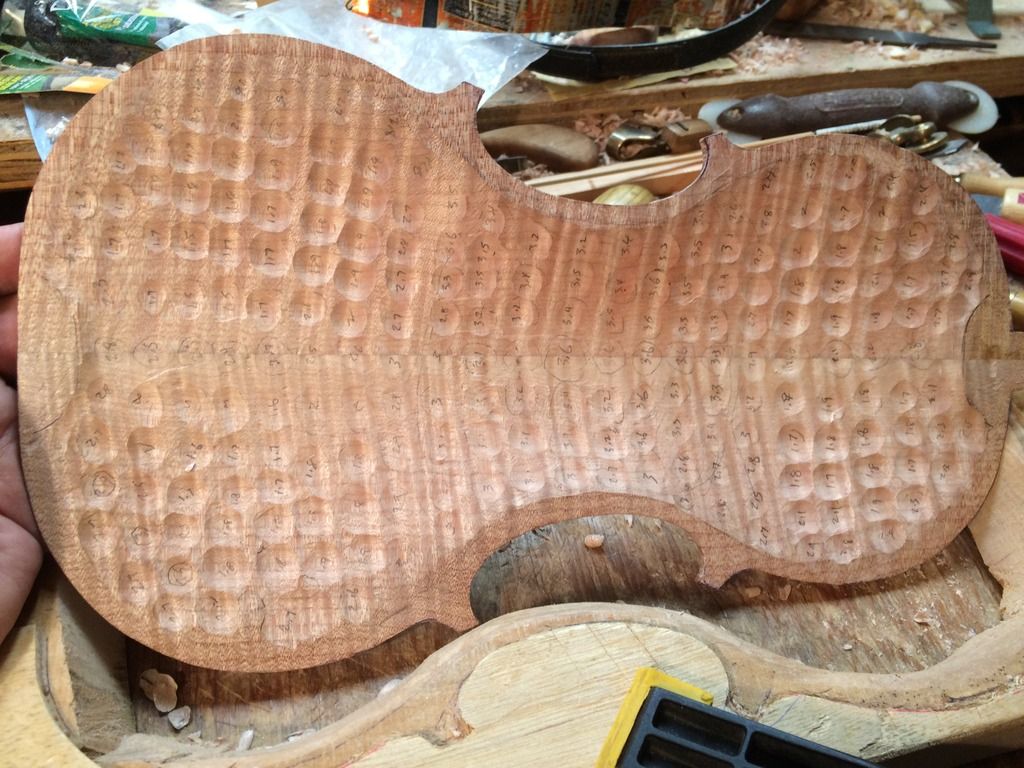
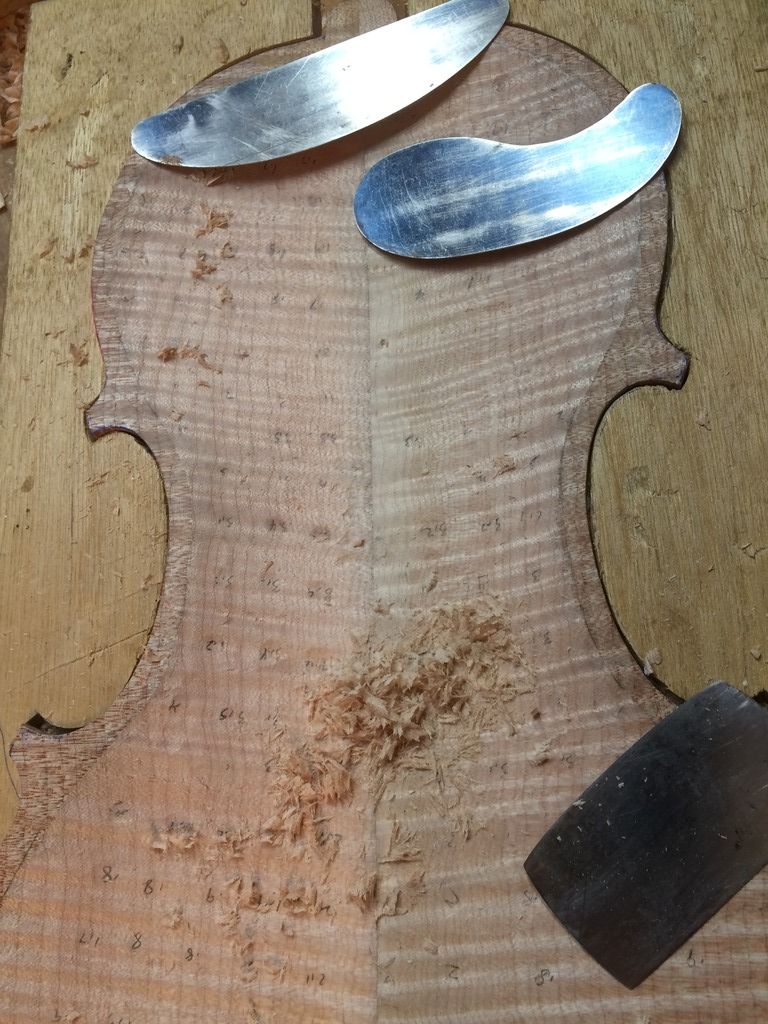
 

graduation map laid out
Graduation map laid out.


Final thicknessing in progress.


Graduations almost completed.

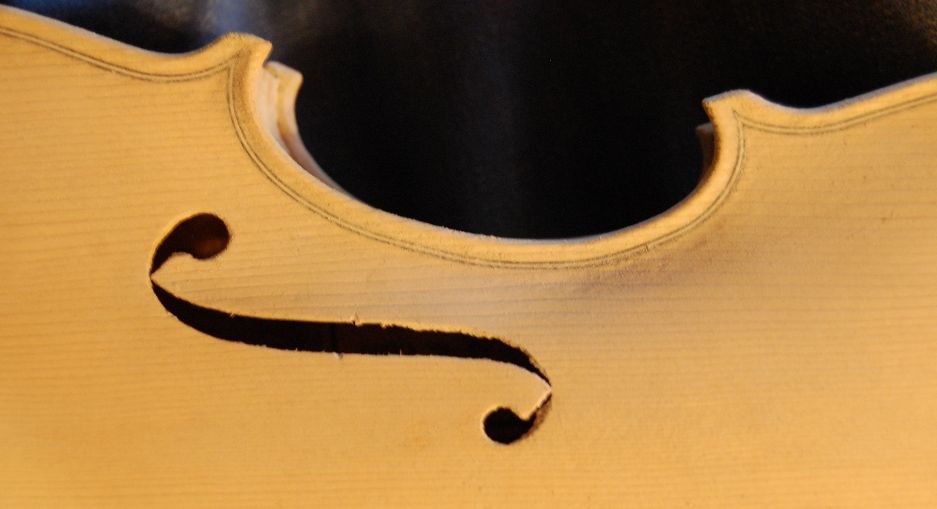
By the way, I think it is interesting to hold the plates up to a lamp and see how much light comes through:
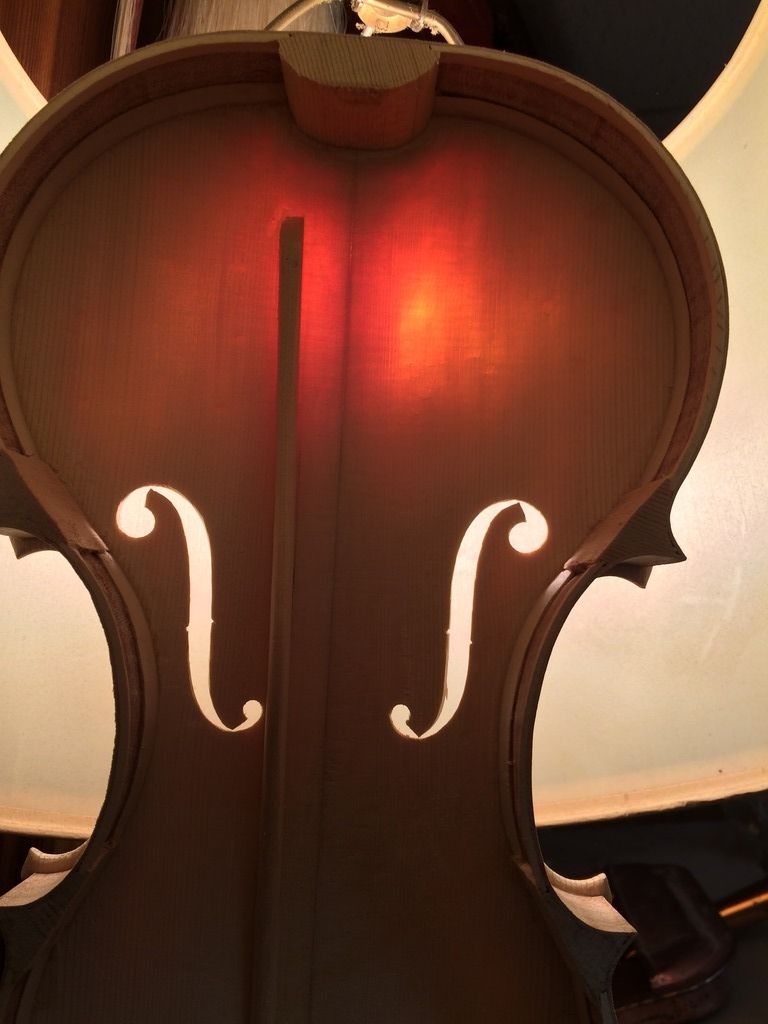
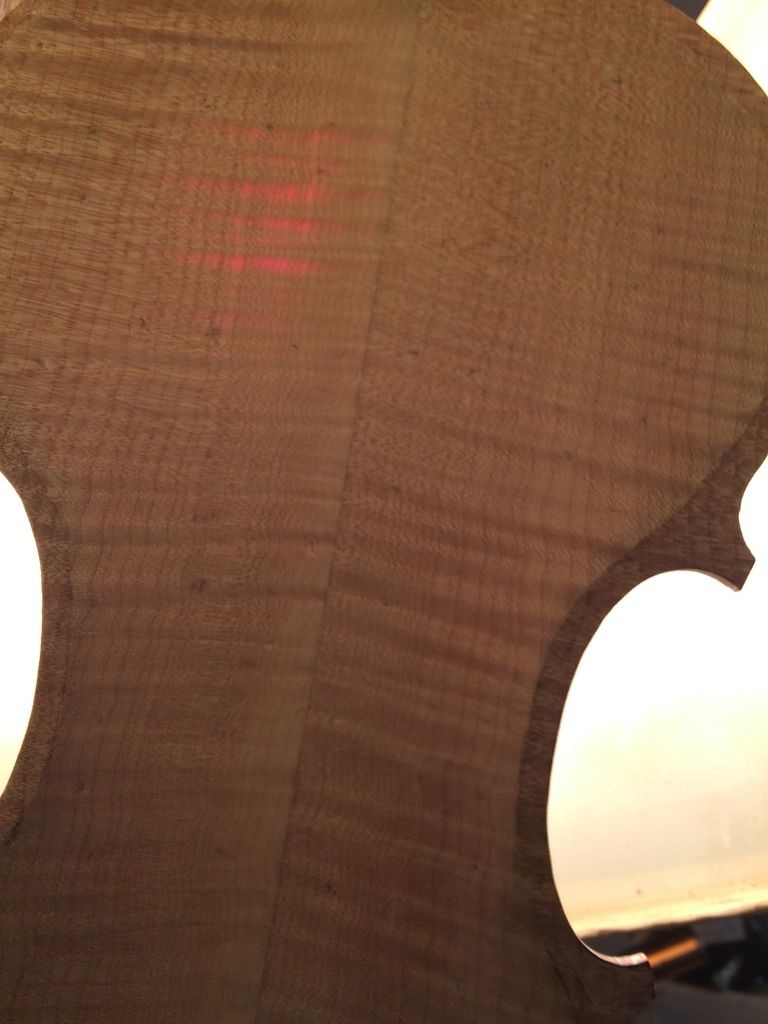
translucent spruce
That is a lot of light coming through that spruce plate…it is about the thinnest plate I have made.


translucent maple
Even the maple lets a little light through.

Closing the Corpus

Finally, to install the label and close the corpus. (I always forget to take a picture of the label…sorry.) Most makers put their label in after everything is fully completed. I used to do that, but I found it so frustrating to get a glue-coated label through the f-hole, line it up correctly and get it smoothed out on the back plate…all working through the f-hole…that I decided my labels will go in when I close the corpus; always. That means the label predates the completion by a few weeks at most, as a rule. I think one time there was a long wait,  but that was the lone exception.
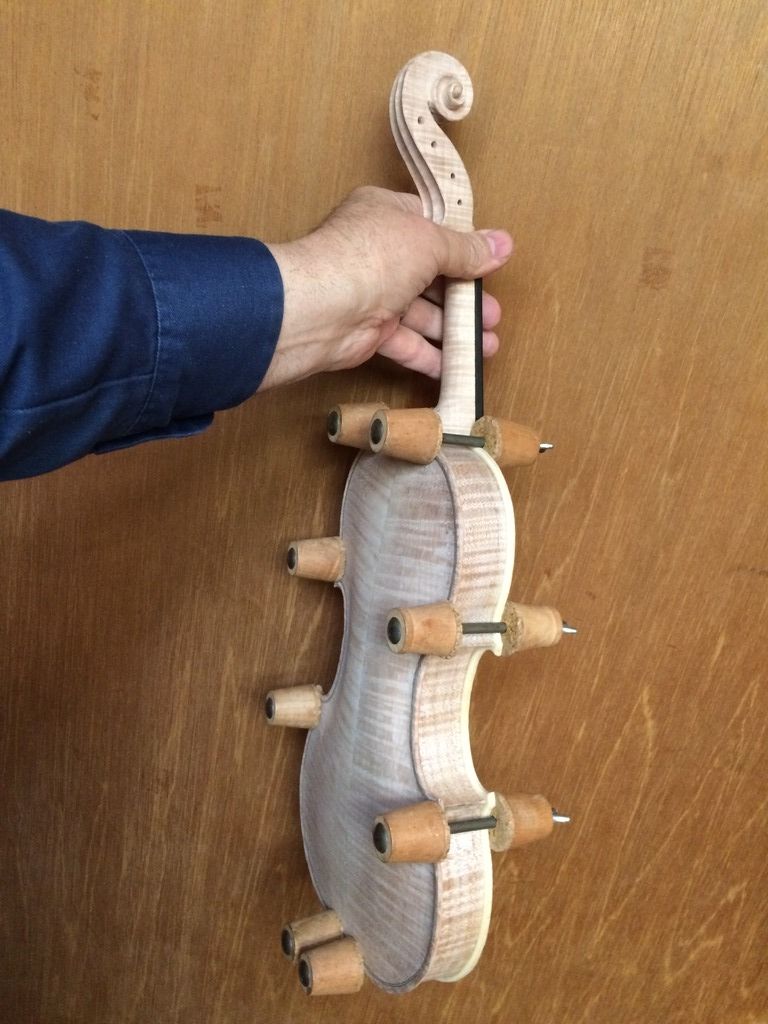
Closing the corpus
Closing the corpus


Fully glued and clamped, using hot hide glue and spool-clamps.


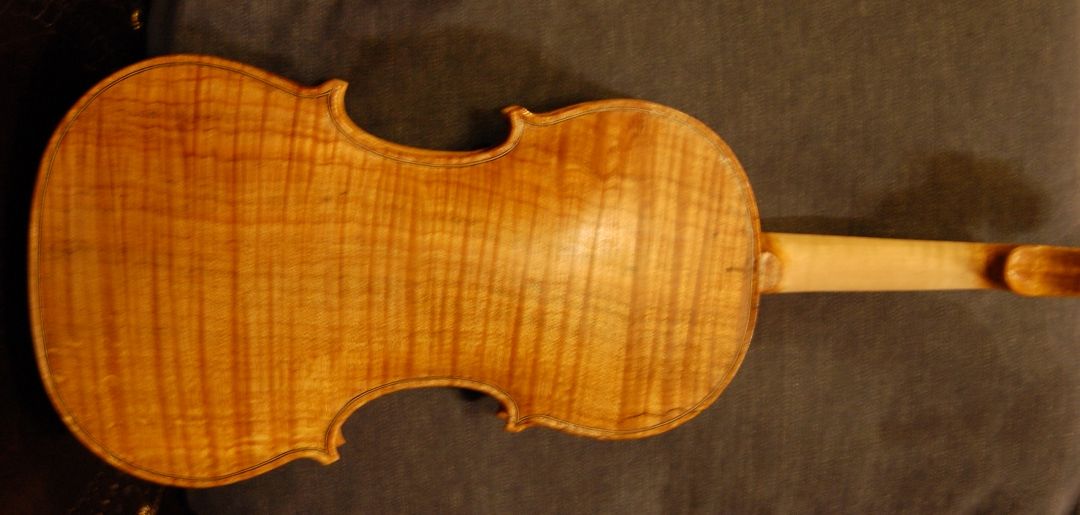
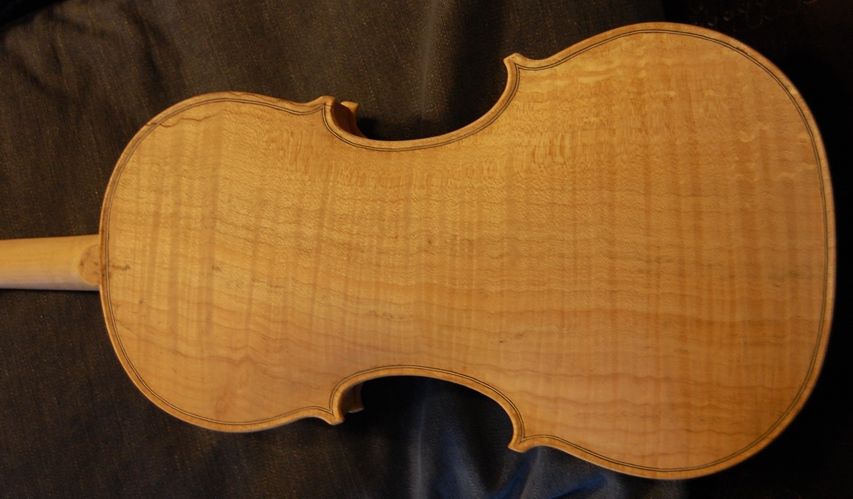
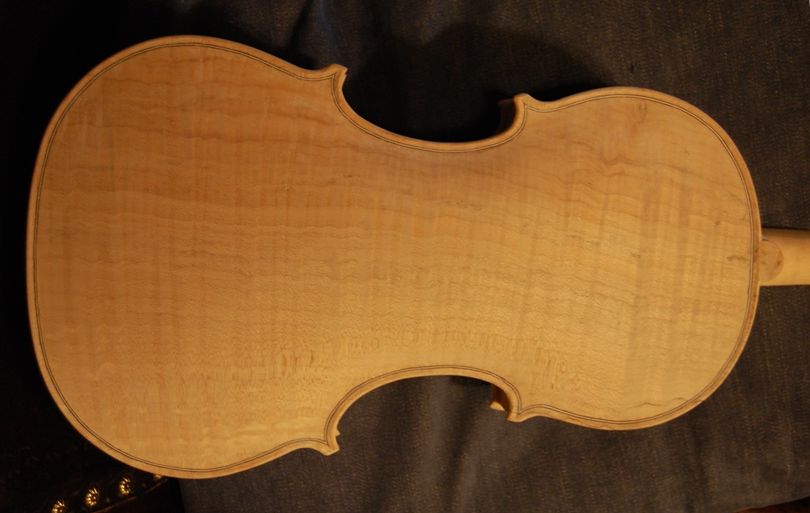
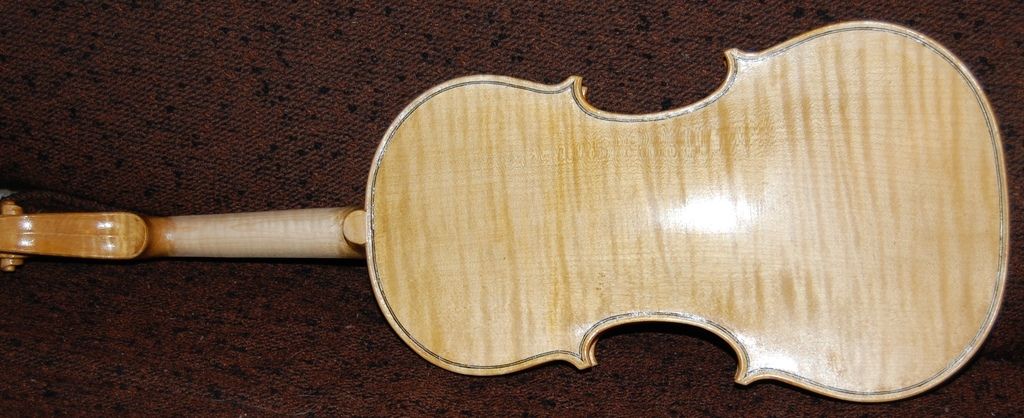
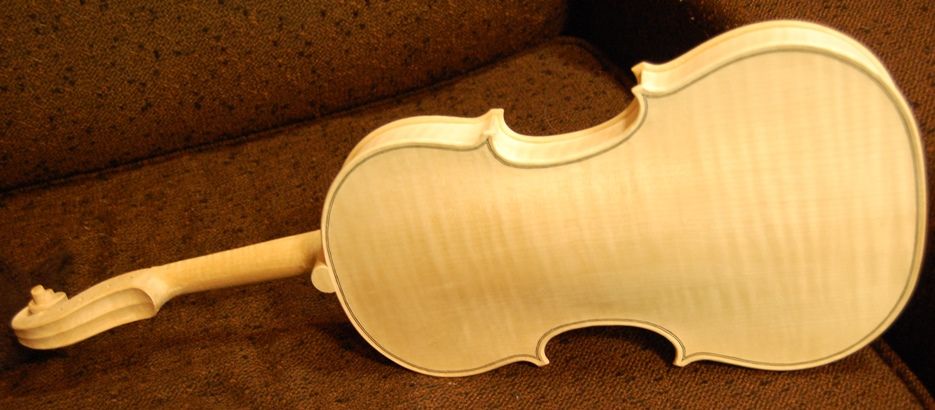
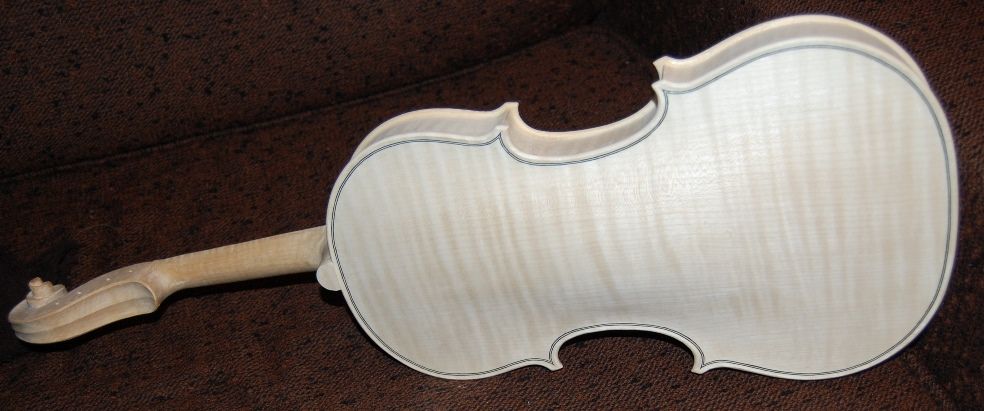
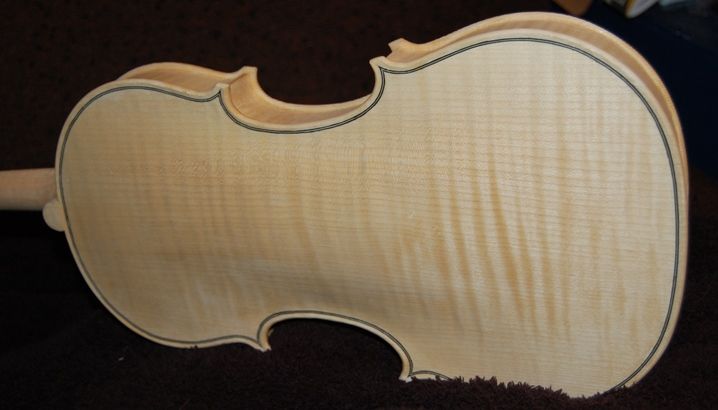
Closed corpus from the back.


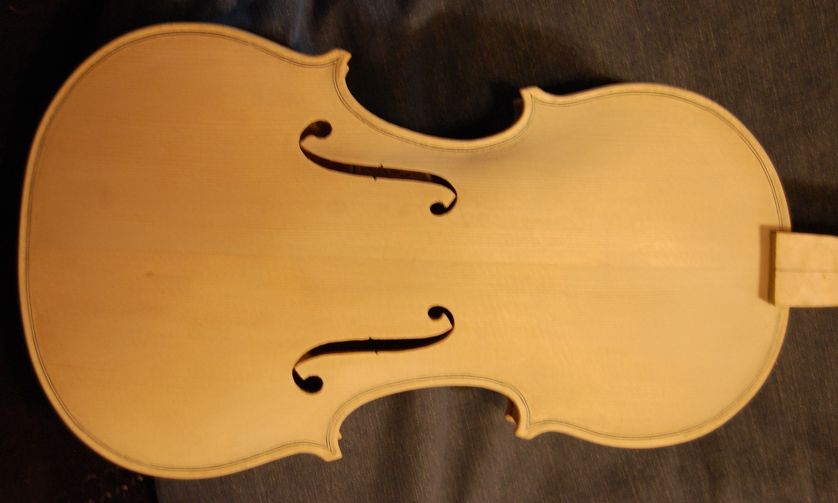
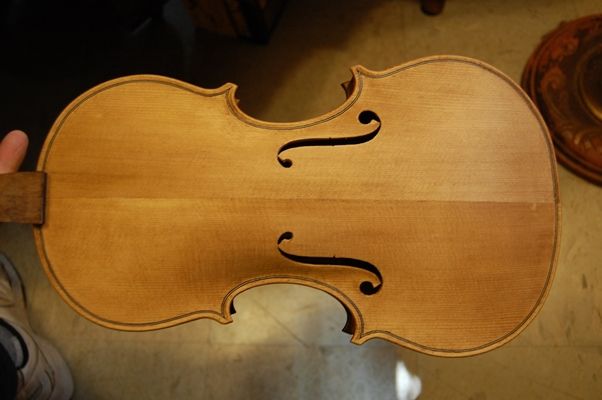
Closed corpus from the front.
Closed corpus from the front. Dainty little thing, isn’t it? This is my first 3/4-size violin, and it feels pretty tiny.


Finishing

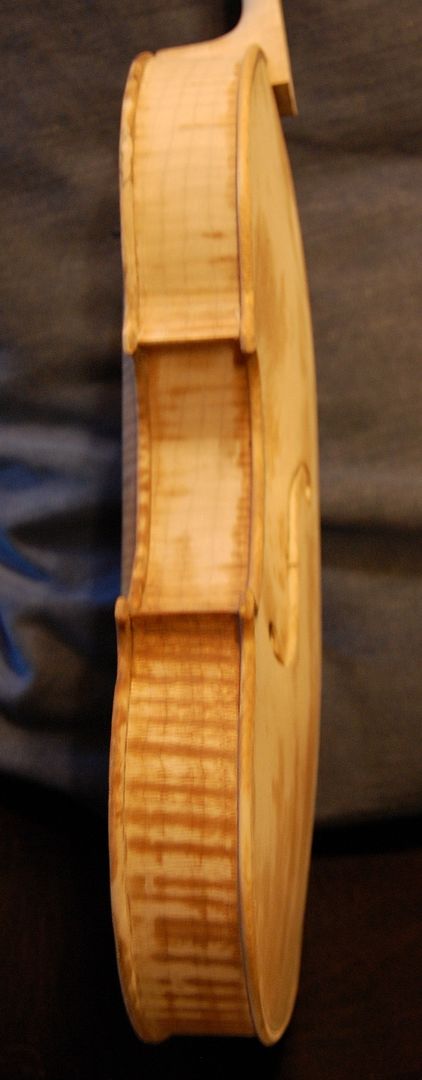
I removed the fingerboard so as to be able to easily access the entire exterior, for final scraping and finishing.

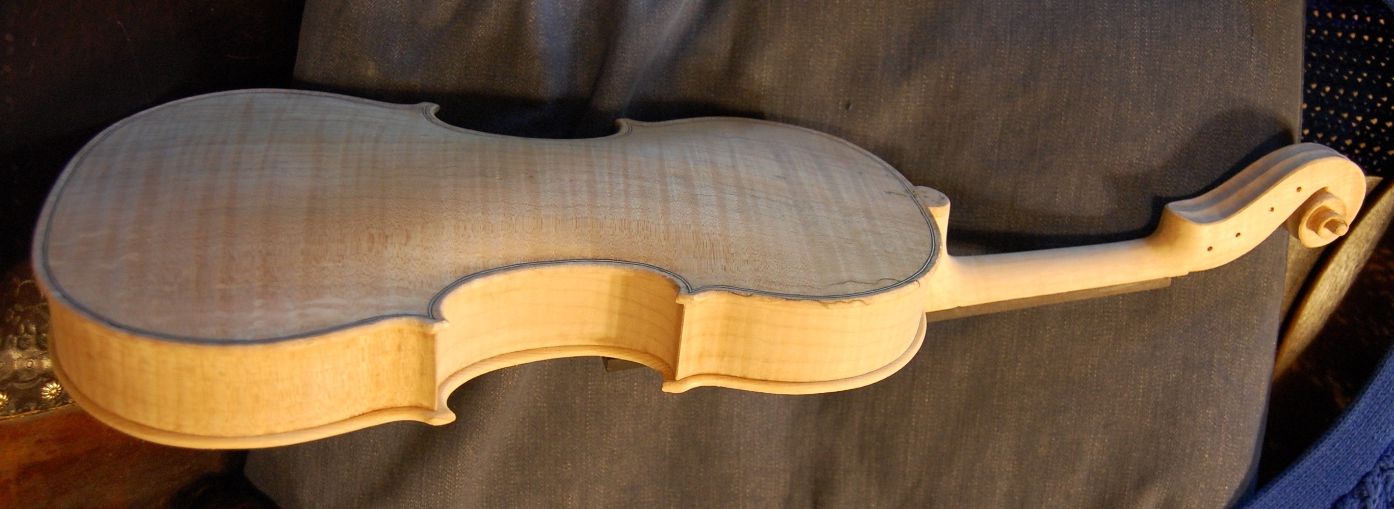
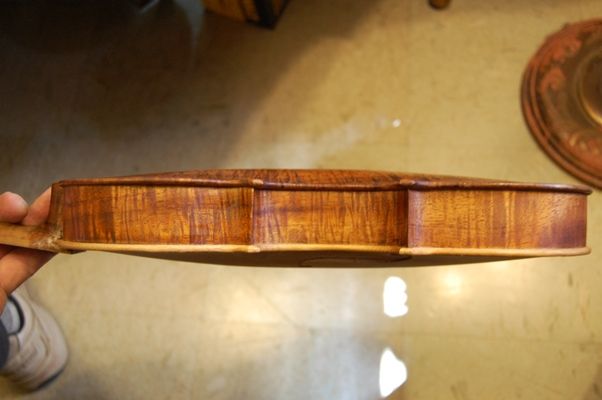
After that, I had a lot of “scraping and looking” to do. (Scrape and look, using a low-angle, dim light, then scrape and look some more.) When everything was as smooth as I could make it, and exactly the shape I wanted, I stained the entire violin with coffee, to get rid of the stark-white bare, new-wood look. It takes at least three coats, usually, to get the color dark enough that it will not shine through the varnish. The collateral effect is that the grain raises because of the water. So, I sand it lightly, to smooth the grain “just enough.” I want the grain to be visible in the final state, but not too visible.
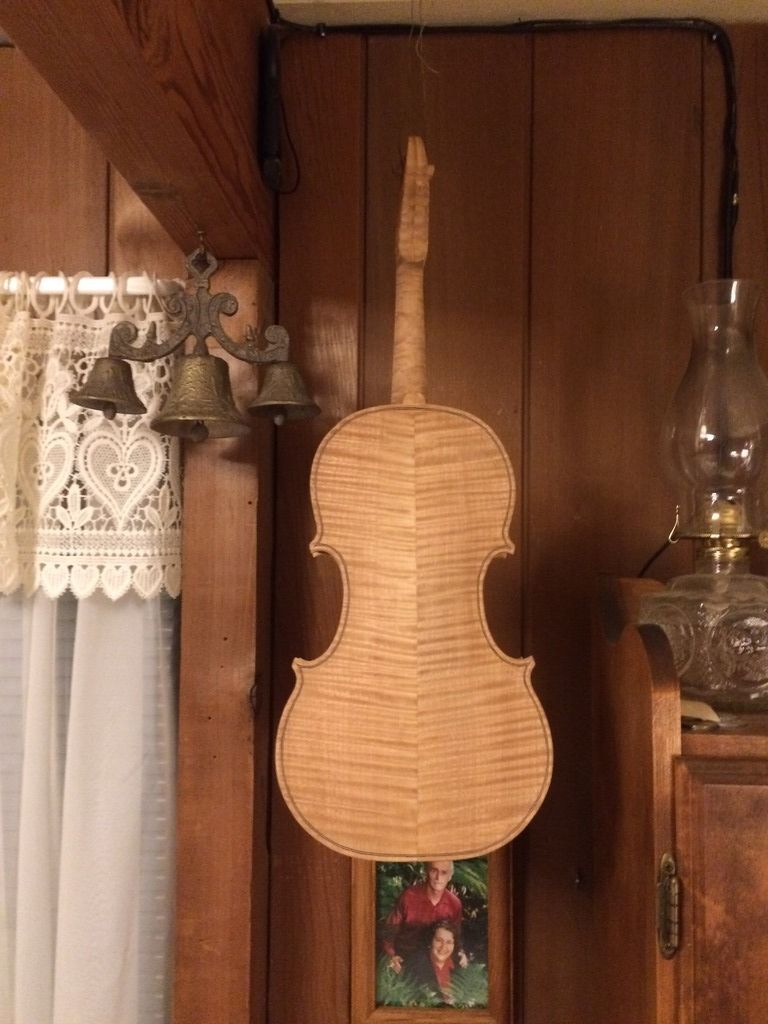
Coffee stain
Coffee stain


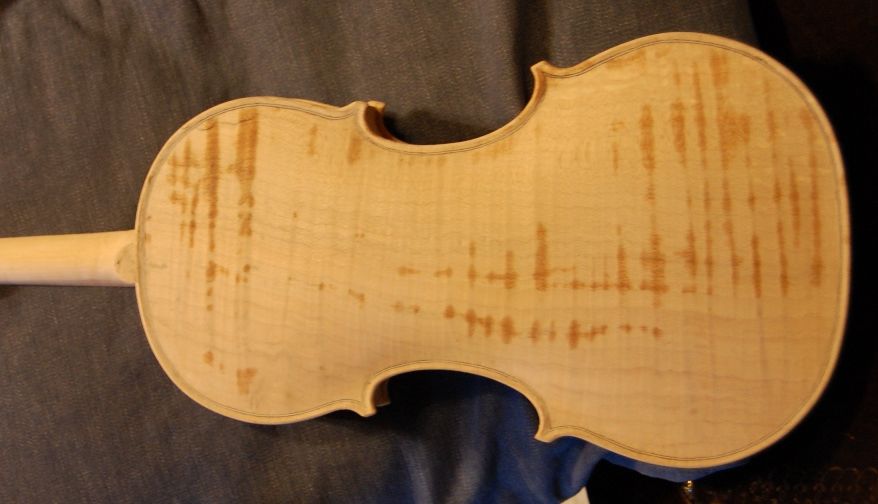
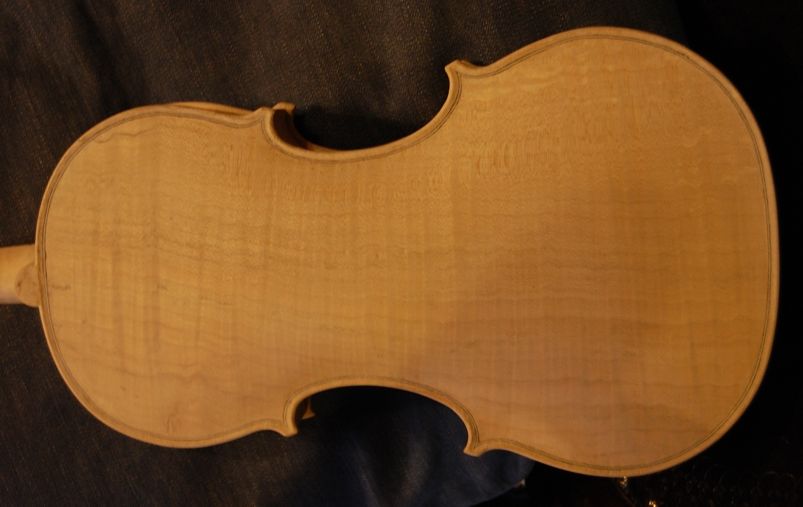
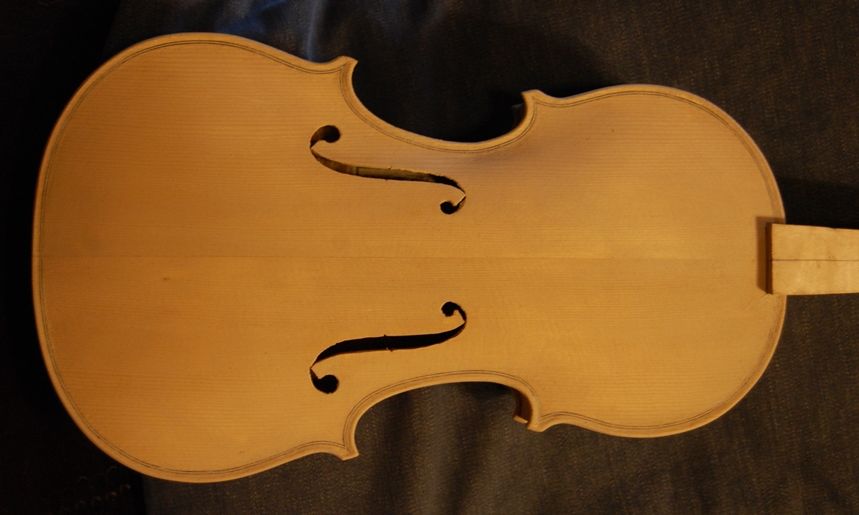
Then, I rubbed in a coat of the mineral ground. I brush it on liberally, rub it in hard, with my fingers, then wipe it off as hard as I can, using a rag. When it dries, the instrument will be whiter than ever– chalk-white, all over. The first time I did this I was pretty alarmed at the look, but I had just watched Roger Hargrave do the same thing, and knew that the white mineral would completely disappear with the first coat of sealer or varnish. And it did!

Here is the violin with the sealer applied:
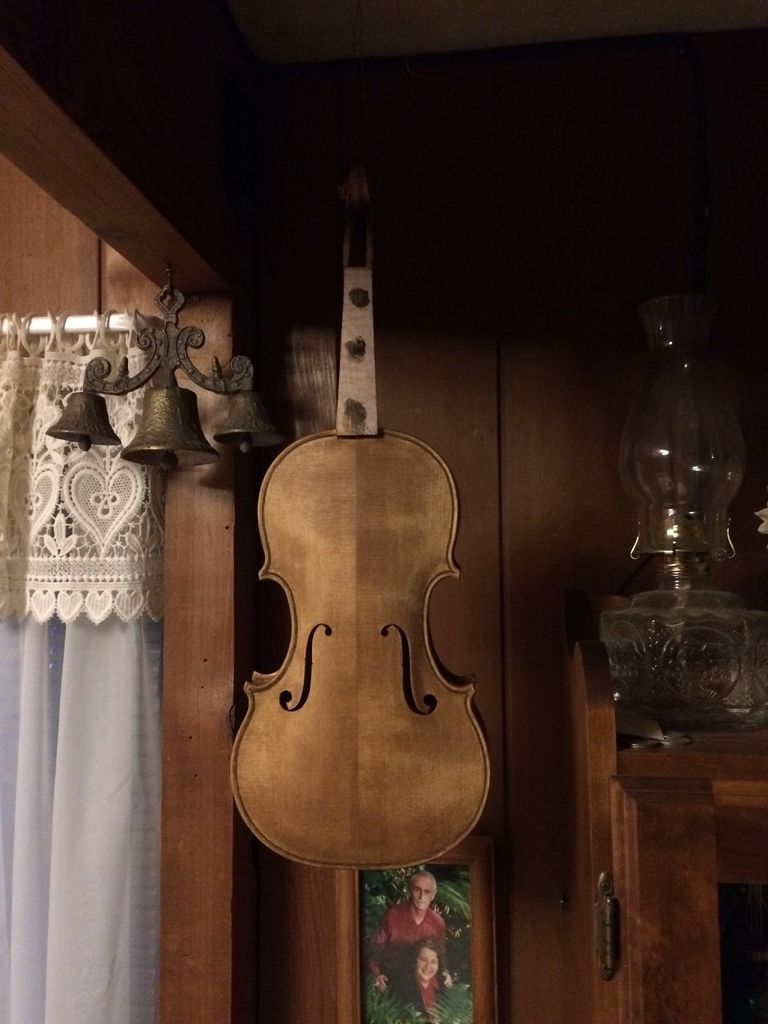
sealer front view
With three coats of coffee, and the dark sealer, the wood looks pretty dark. But it will look good under the varnish.


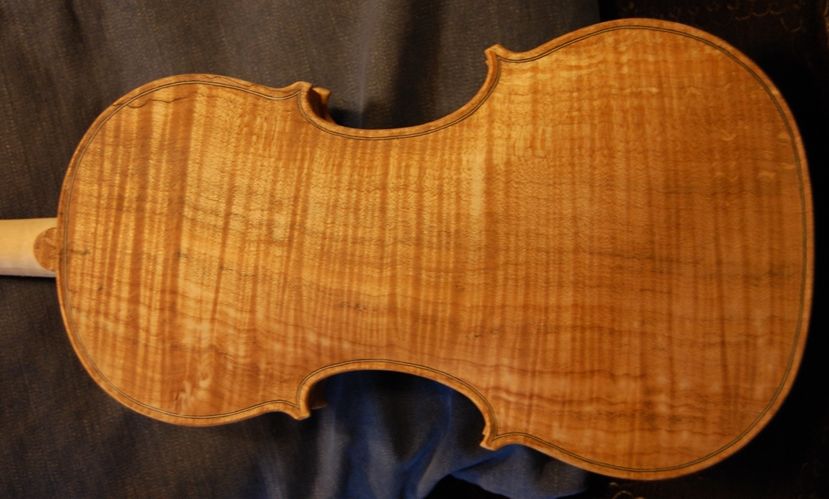
The back, with the seal-coat.


After that it was a case of applying several coats of golden varnish, then a few coats of red-brown varnish, and a final two coats of the golden stuff.
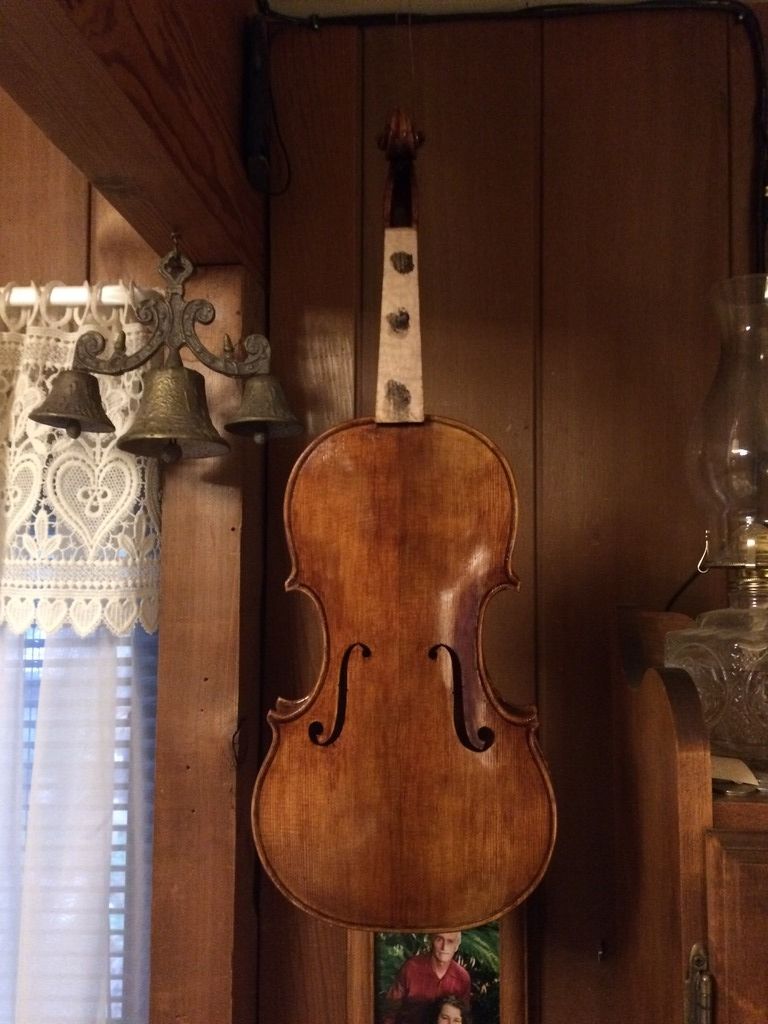
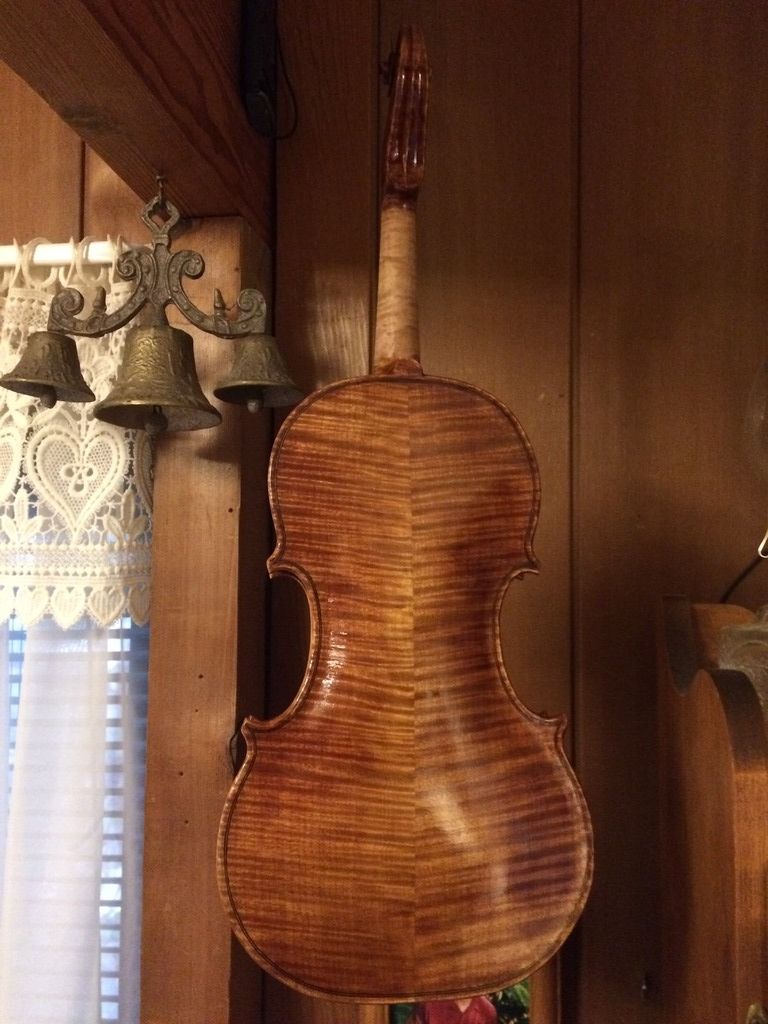
 

Front varnish nearly complete


Back varnish nearly complete
Back varnish nearly complete.


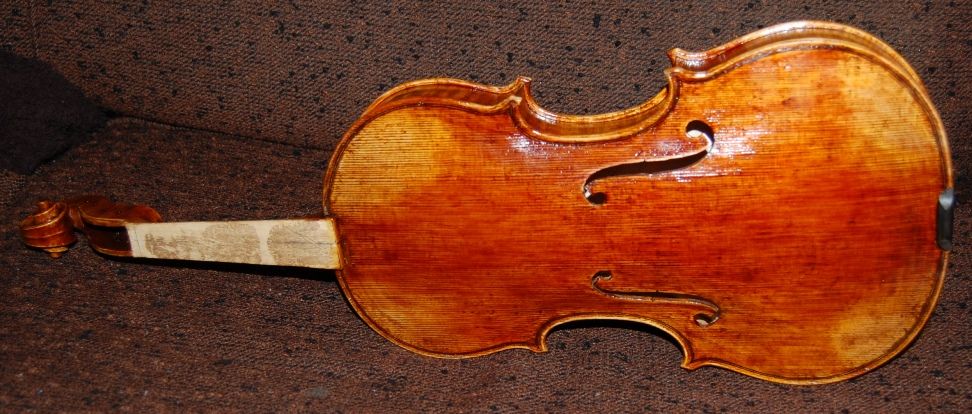
front with the final coat of varnish.
There is the front with the final coat of varnish.


Set-up

Standard set-up, and the violin will be done! That includes the saddle and endpin, as well as re-installing the fingerboard, fitting and installing pegs, a bridge, the nut, the soundpost, tailpiece, and strings. A chinrest completes the instrument.
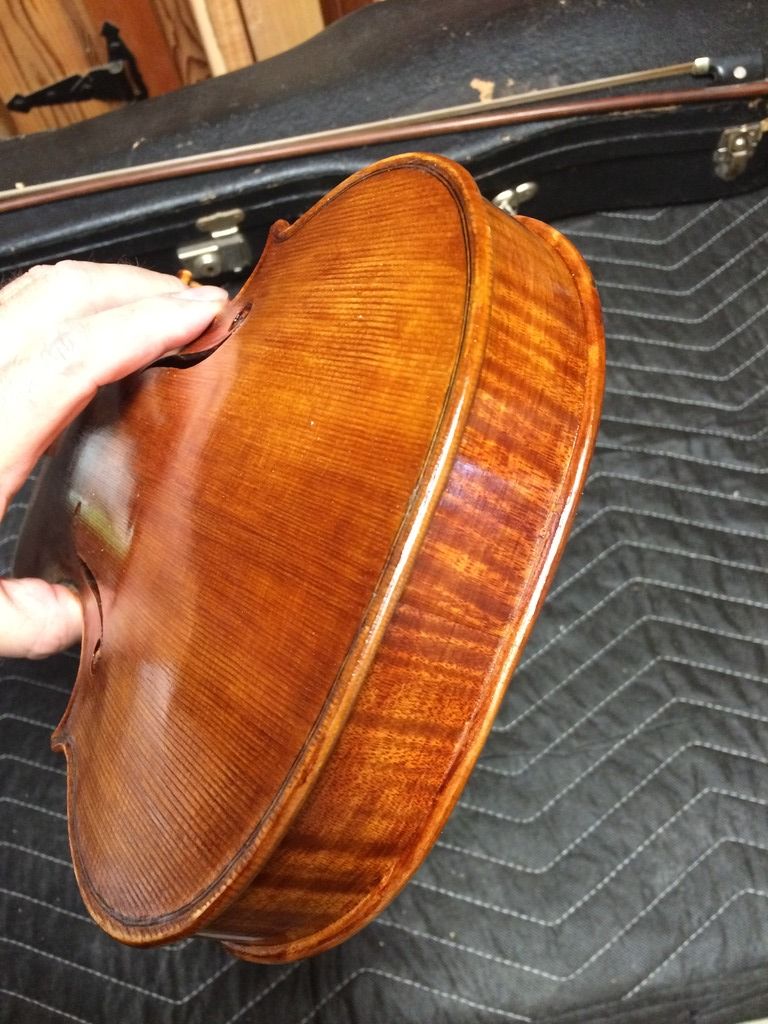
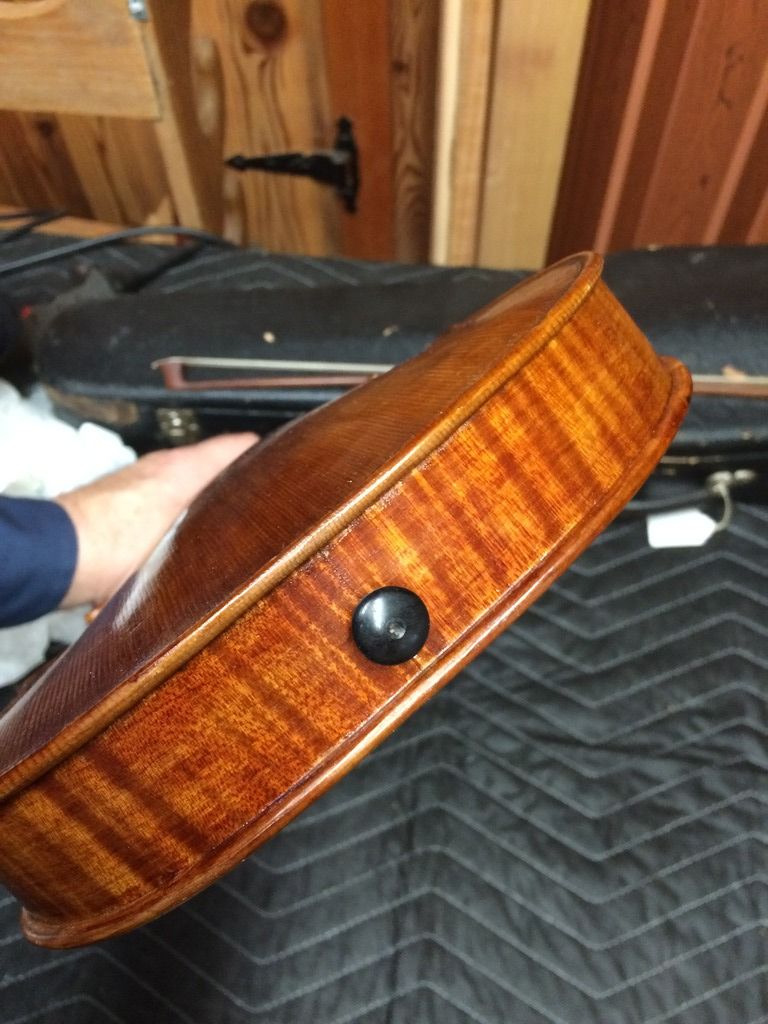
Bottom of the violin before the endpin
Bottom of the violin before the endpin and saddle were installed.


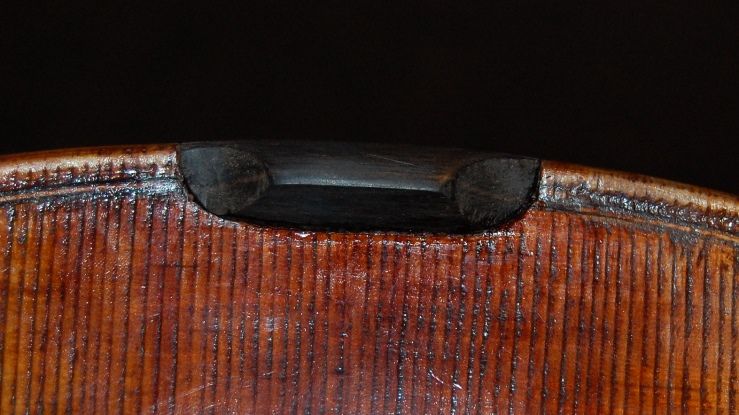
Endpin installed
Endpin installed: saddle is next.


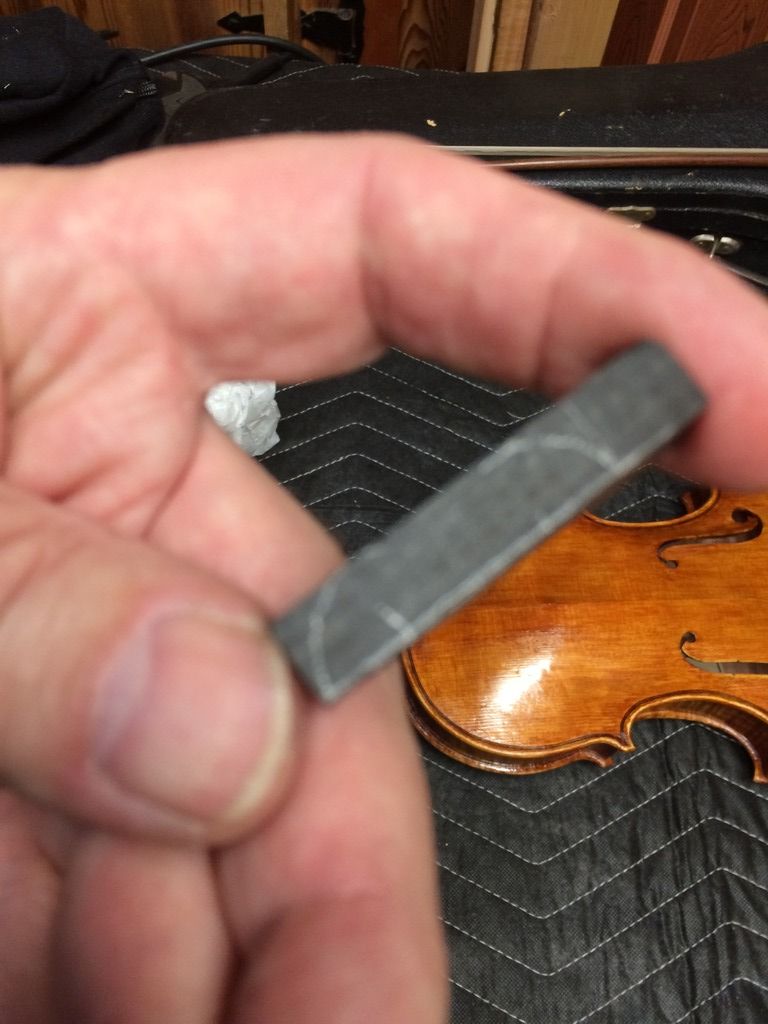
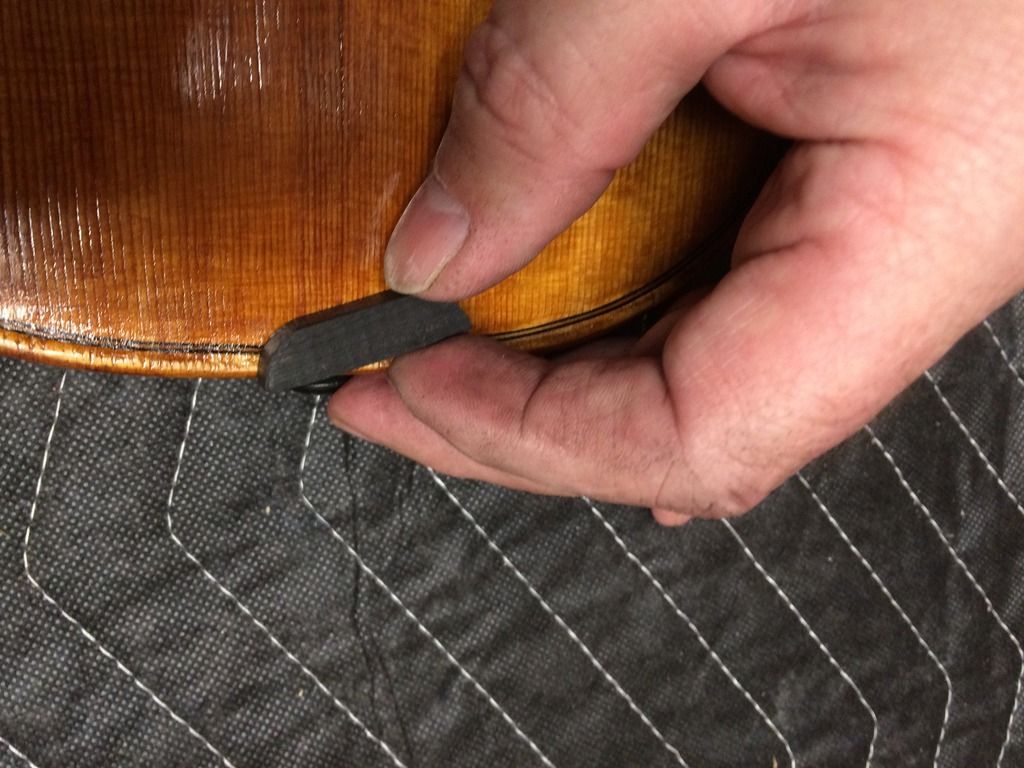
Heres the plan: a rounded saddle
Heres the plan: a rounded saddle to prevent “saddle cracks”. They work because there is no sharp corner to act s a stress riser.


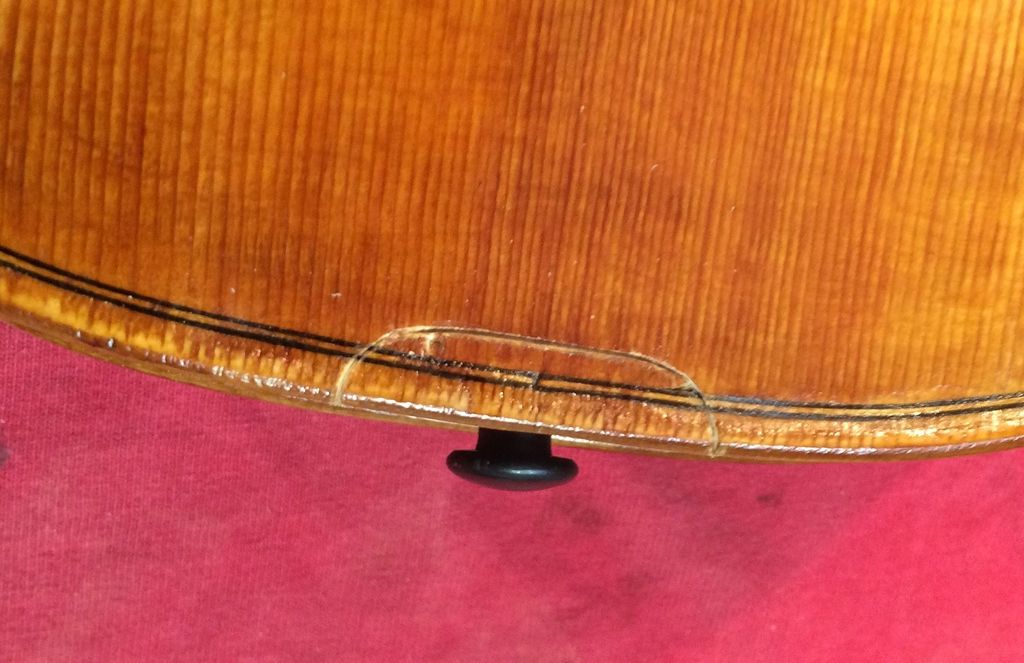
 footprint of the saddle
There’s the footprint of the saddle: no further shaping is done until I cut out the mortise in the front plate.


Traced saddle mortise
I traced the footprint onto the front plate, and began cutting out the mortise.


cut out saddle mortise
Then I cut out the mortise using sharp gouges and a small knife. Any nicks in the varnish will be retouched later.


The varying thicknesses of the top plate can then be traced onto the saddle itself, and final shaping can begin.
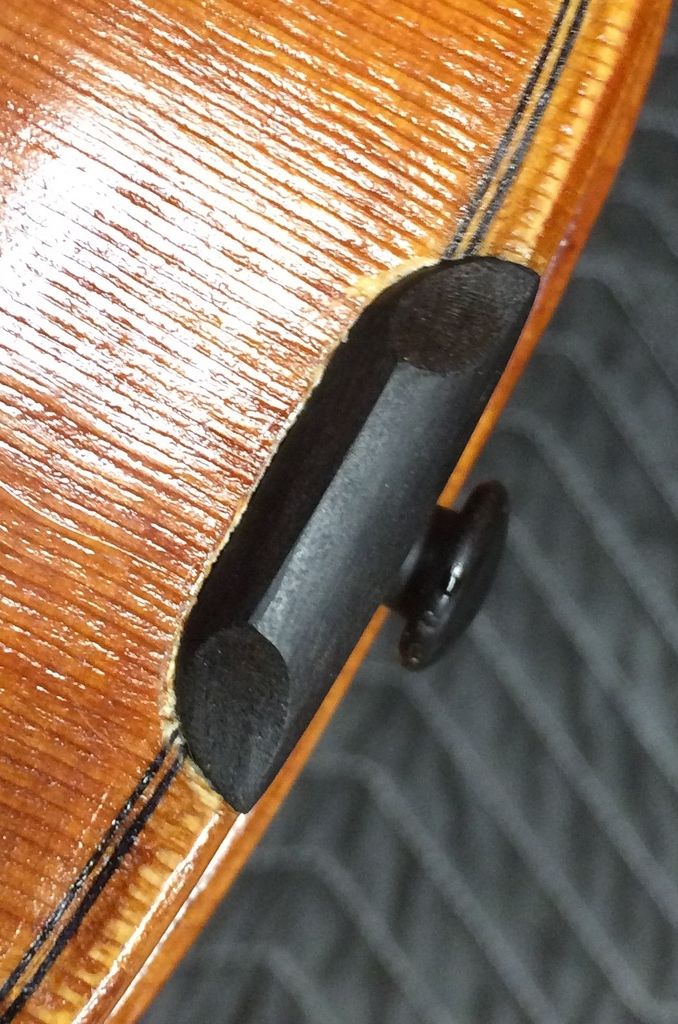
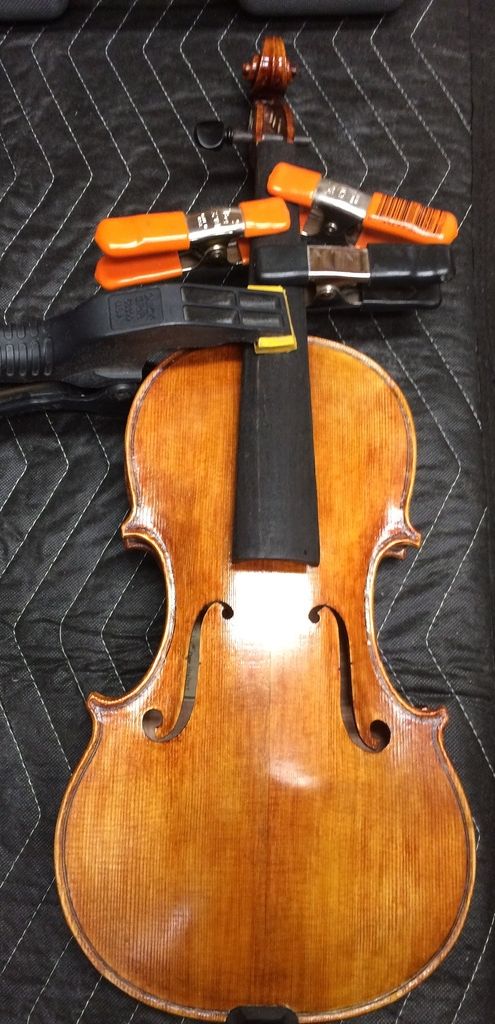
 

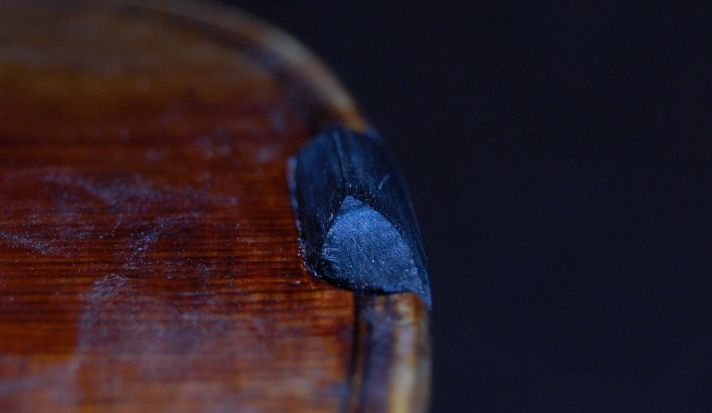
Saddle and endpin complete
Saddle and endpin are nearly complete. The saddle will be filed a little more, and the varnish retouch will happen later on.


fingerboard and pegs installed.
I reinstalled the fingerboard, and while the glue is drying, I fit and installed the tuning pegs.


Fingerboard and pegs complete.
Fingerboard and pegs complete. Notice the nut is also intalled.


Completion

Finally the little violin is complete!
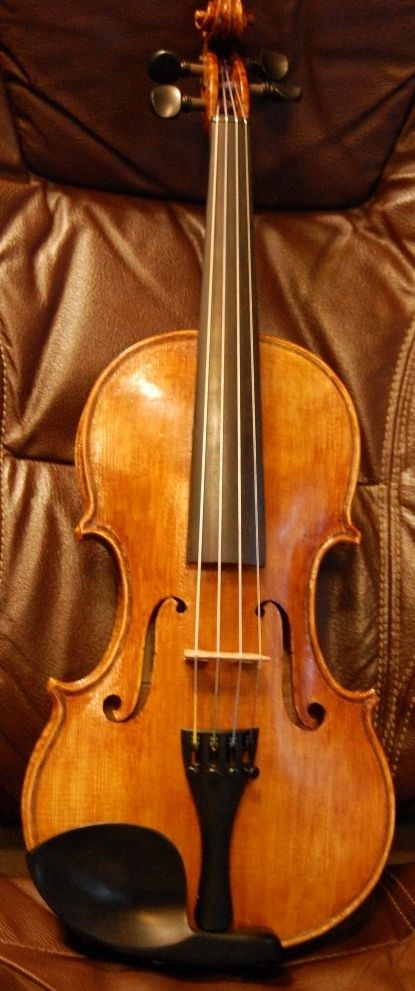
 

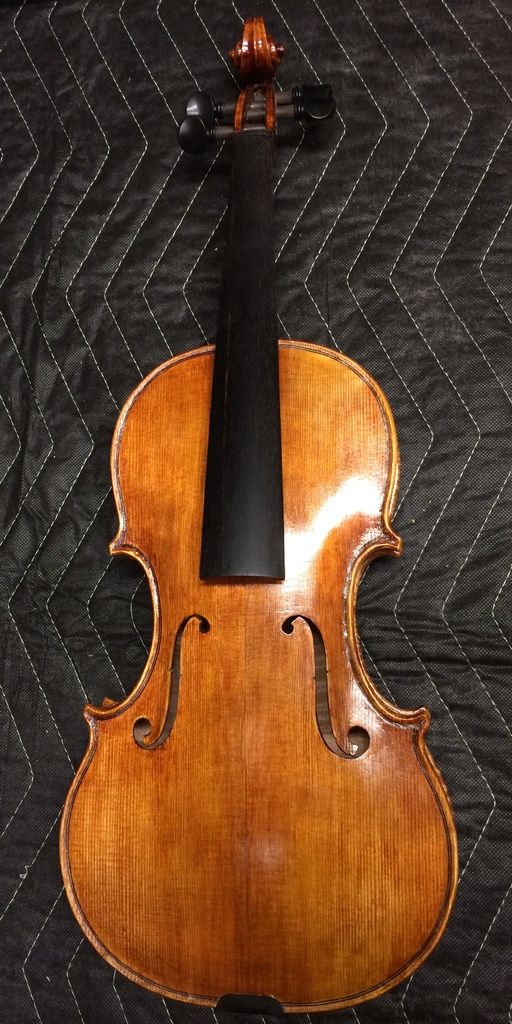
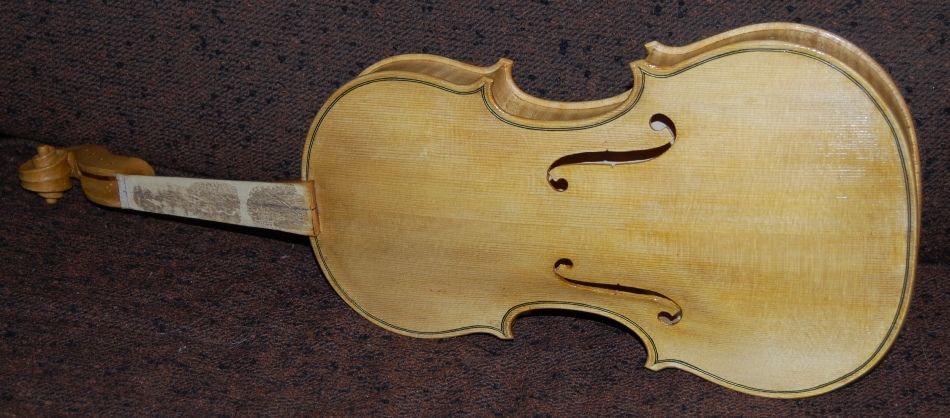
Front view of completed 3/4-size violin


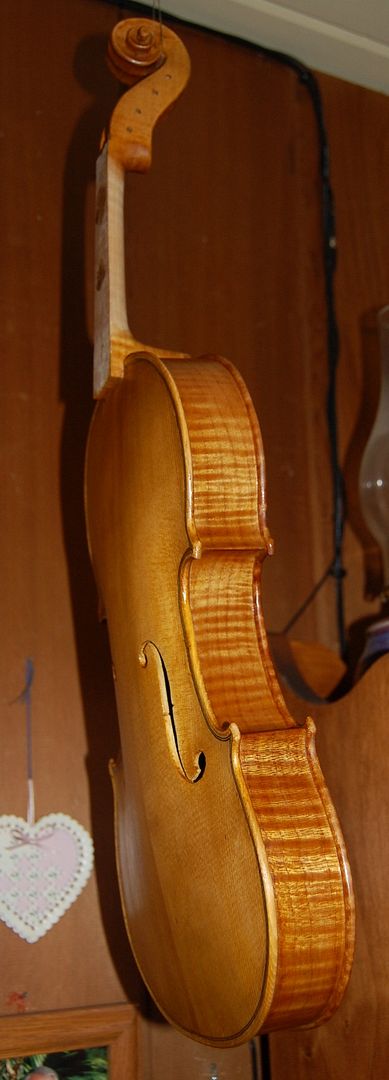
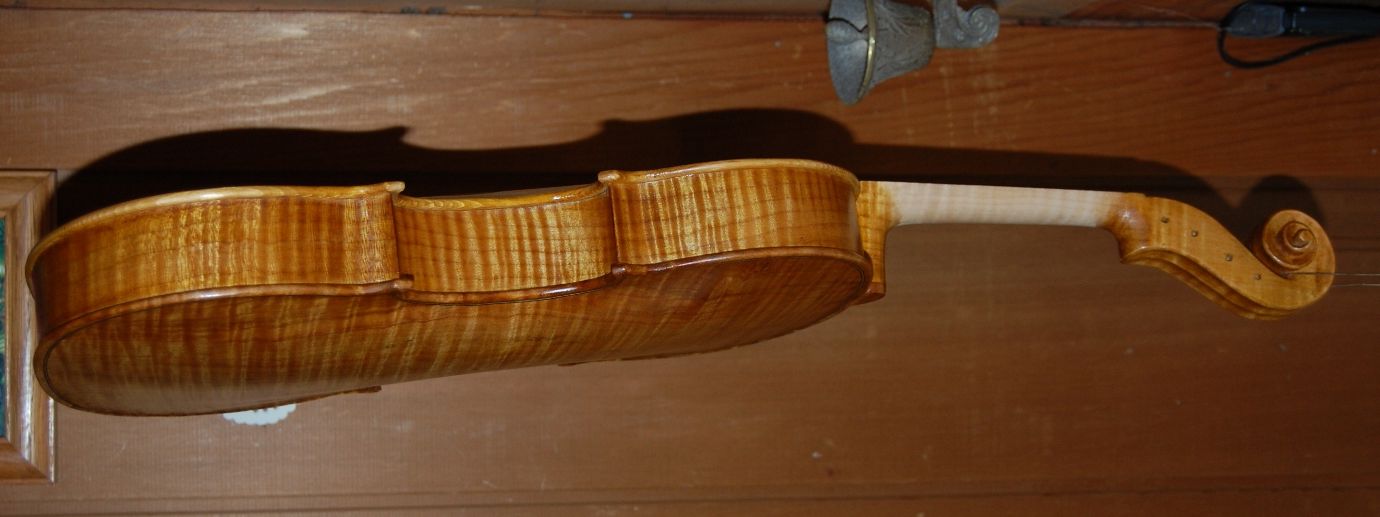
Side view...
Side view…


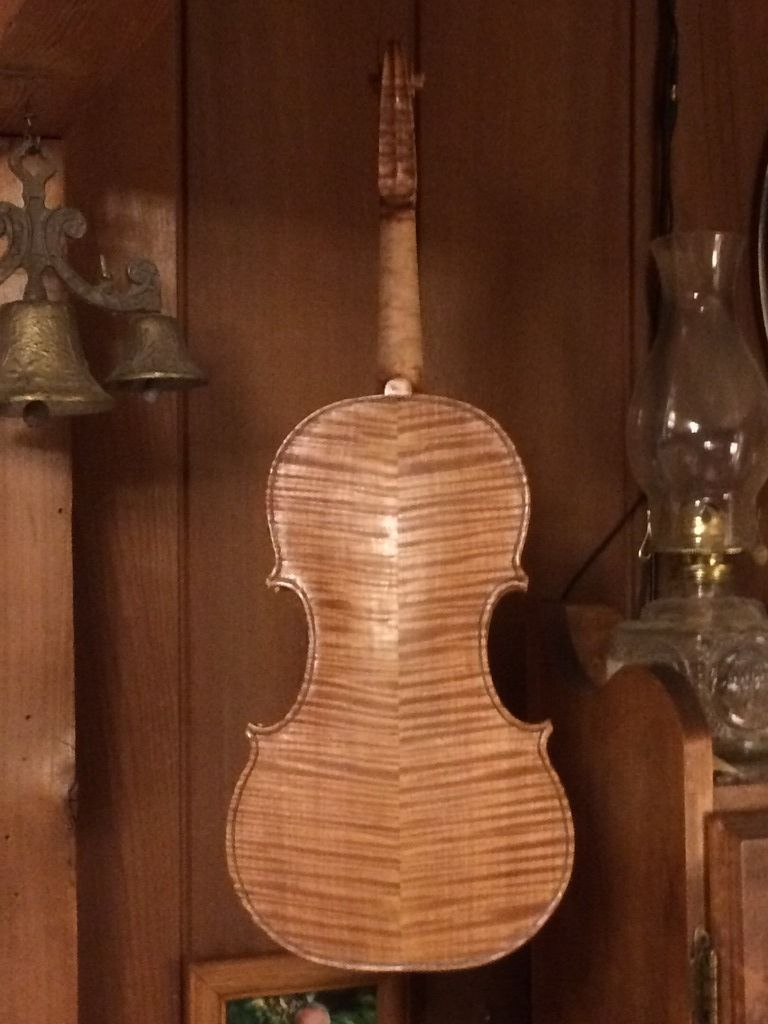
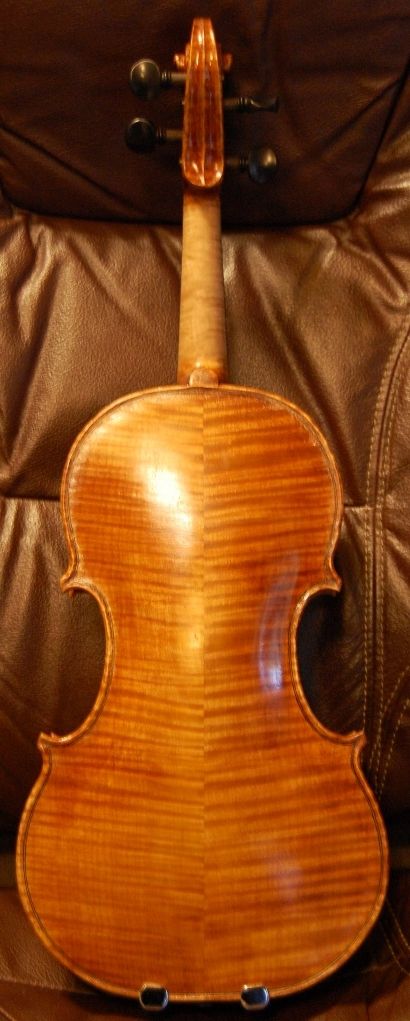
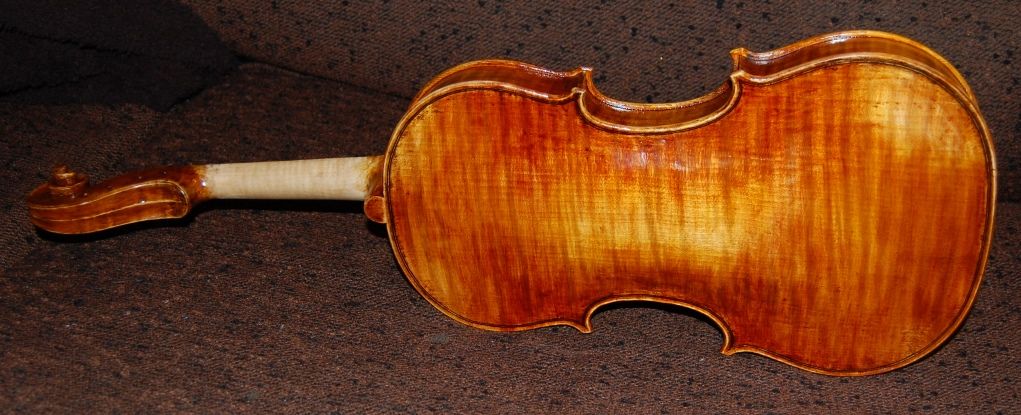
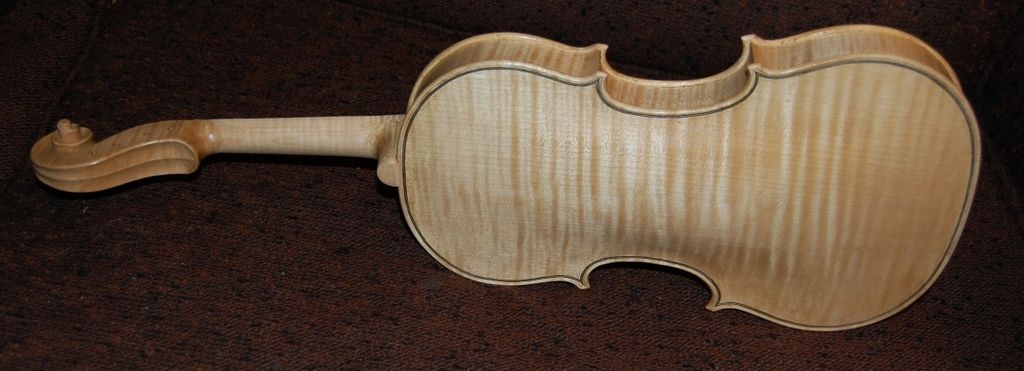
And the back view.
And the back view.


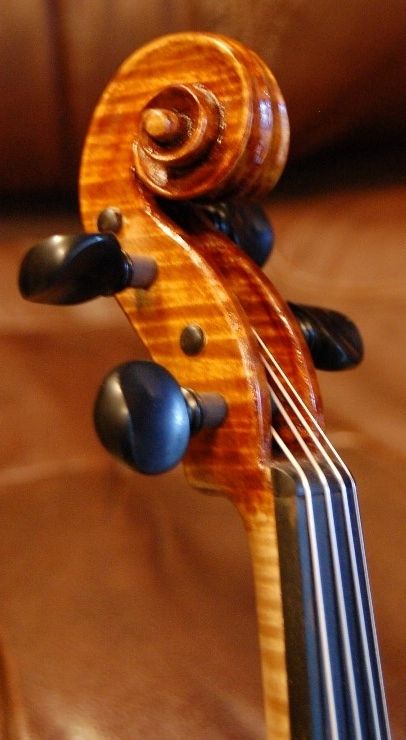
finished scroll
Close-up of the scroll

Thanks for looking. Please keep in mind that the Marylhurst Musical Instrument Show will be April 29th and 3oth. If you can make it, I hope to see you there. This little violin will be there for you to test drive, along with others.


If you found this post helpful, please share with your friends!

Finishing Sequence Part Two

Please share with your friends!

Part Two: Beginning Varnish.

Sealer

When we last posted, I had just applied the sealer coat, and it was pretty fresh, still.

Back with freshly applied sealer
Back with freshly applied sealer.


The sealer does lighten a little bit as the turpentine evaporates…and, of course, the smell changes a lot. I happen to like the smell of turpentine, but it is pretty overpowering when the sealer is still fresh. Once the sealer was dry, I took a few more photos, then did some varnishing. I think you can see the difference, here:

Dry Sealer

Dry sealer on the front plate.


dry sealer, side view
…and the side view…


dry sealer, back view
…and the back.


Beginning Varnish

But then I began the varnish. I usually try to lay down a golden base-color, and then add whatever other color I am working toward. I have ranged all over the board, trying different colors, but usually I end up in the browns or red-browns. I tried a really red violin with a student who demanded it, and he was thrilled with it…I was not. 🙂

So here is the viola after two coats of yellow-gold varnish.

fist two coats of yellow varnish
This is the first two coats… Not a lot of change, initially. Varnish takes a while to build up a good film.


Side view with two coats of yellow-gold varnish.


viola with two coats of varnish
Back of viola with two coats of yellow-gold varnish.


I let it dry for a few days (partly because I had a great deal of other responsibilities that week), and then sanded it gently with worn 400-grit abrasive, rubbed it clean with a dry rag, and added another two coats of varnish:

Subsequent Base Coats


Viola with four coats of yellow-gold varnish.
Viola front and side, with four coats of yellow-gold varnish.


Viola back with four coats of yellow-gold varnish.
Viola side and back with four coats of yellow-gold varnish.


The appearance changed a lot more dramatically with those coats, didn’t it? The colors are getting richer, and the finish is much more glossy. I used the flash on these last two photos, so, to stay consistent, I will try to use it (and the same background) on all the remaining photos of the varnish.

Color Varnish and (Maybe) Antiquing

The next step will be to decide just how far down the “antiquing trail” I want to go, this time. I will unquestionably do at least a little…but I really like the look it is developing right now, so I want to be careful to not lose it. (The neck stain and seal is the very last thing to go on, just in case anyone is wondering. I will explain that later.)

At the very least, I will begin adding some red-brown varnish, to darken things up a little. I will most likely do at least a gentle shading toward “antiqued,” but I am leaning toward minimalism this time. Nothing drastic.

We’ll see. 🙂

Thanks for looking.


If you found this post helpful, please share with your friends!

Finishing Sequence Part One

Please share with your friends!

Beginning of the Finish

We looked last time at the viola with the edgework incomplete, and final scraping not done.

Edgeork incomplete
Edgeork incomplete

Edgework

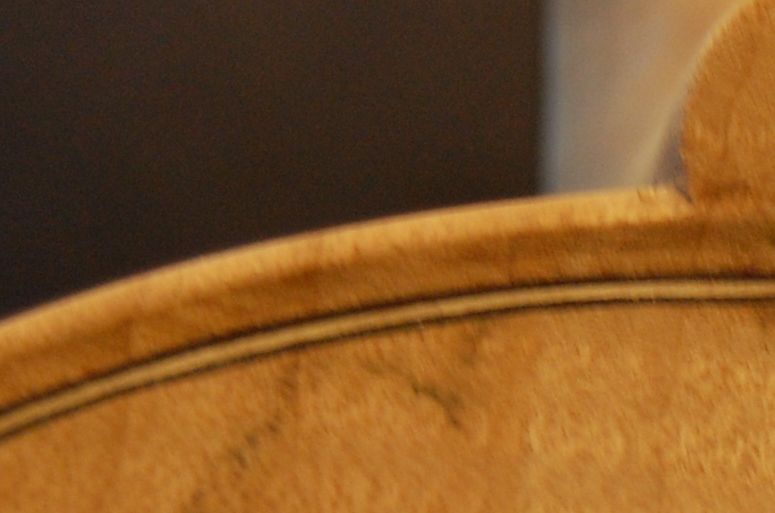
Here is the viola with the edgework done. Notice that the outer edges have been rounded inward to meet the edge crest, so that the junction between edge crest and purfling channel makes a clean ridge around the perimeter of the viola. This is just something I do, because I like it…as far as I know, it has no functional value. Many old master instruments have a much less clearly defined crest.

Edgework complete, back view


Edgework complete; angled view.


Edgework detail
Edgework detail


Coffee Stain and Re-smoothing

Then I wet the fiddle down with coffee, to raise the grain and add some color. One result is that my edgework all needs to be reworked with a small, sharp scraper. The other is that the whole instrument needs to be re-sanded, using 400-grit sandpaper. The water in the stain raises the grain, so that every random fiber that is not closely tied to the surface will swell, and raise up, making the whole surface very rough. So I deliberately raise the grain, and then scrape or sand off the rough surface. Using a very sharp scraper, very lightly, just “brushing away the rough stuff” is probably the best way to do this. I use a scraper for the areas where I want detailed, clean edges, and 400-grit abrasive paper for the broad surfaces. I perform this step at least twice, before moving on to the mineral ground. The result is a surprisingly light, yellow-tan color, all over. Almost just a cream-color. It will darken up nicely under varnish, though, and not glow white from under the varnish.
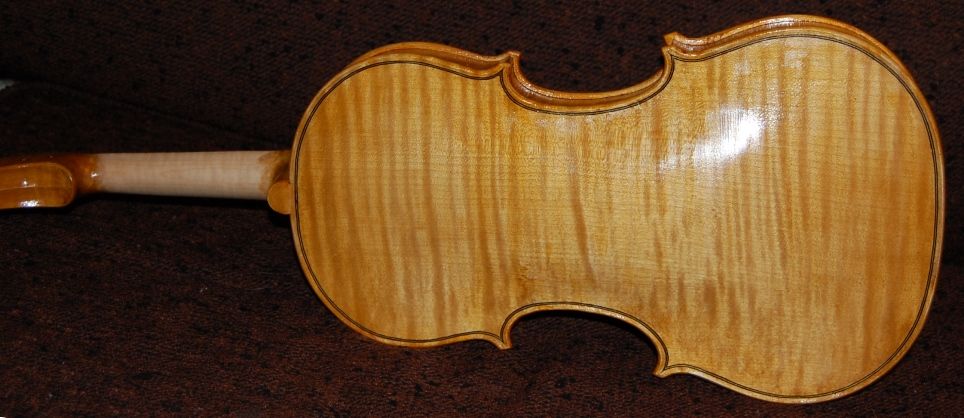
Come to think of it, the above photos already have the coffee stain, too. I forgot to take photos of just the edgework, I guess. So–those photos are right before I applied the mineral ground.

Mineral Ground

This is a suspension of very fine particles of gypsum…in a coffee-solution, because I still want to add more color, if I can. Other people use other minerals–finely ground mica, finely ground glass, microscopic beads of glass, clay, volcanic ash or other non-organic nano-particles. Some omit this step entirely. Roger Hargrave shared this as having had an important effect on his sound, so I have tried it, for the last several instruments, with what seem to be positive results.

I keep the solution well-stirred-up, and brush it on liberally, then rub it into the wood with my fingers, as vigorously as I can. Finally, I wipe off as much of the excess as I can, using a rag. The stuff goes on looking brown, because of the coffee, but dries to a chalky-white film. I don’t particularly want it on the wood– I want the microscopic particles to fill the pores in the wood, so that the varnish will be less likely to soak deeply into the wood, and deaden the sound of the viola.

The ground dries rapidly, leaving the whole viola a chalky-white, ugly object. I go over the dry instrument, checking everything, and scraping or sanding off all the excess ground. When I can see the grain of the wood everywhere (though dimly) through the gypsum film, I apply the sealer coat.

Mineral Ground, wet...back view
Mineral Ground, wet…back view.


Ground drying
The ground dried rapidly– this was only about three minutes after the above picture.


Mineral ground drying
And this was only about five minutes.


Dry Mineral ground
Here it is, dry–without the flash. In daylight this is chalk-white. See how the grain is obscured.
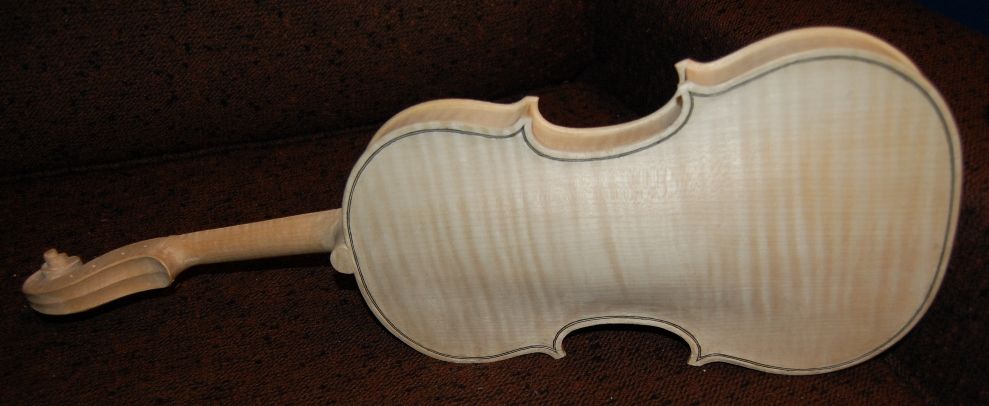
 

Mineral ground dry front view
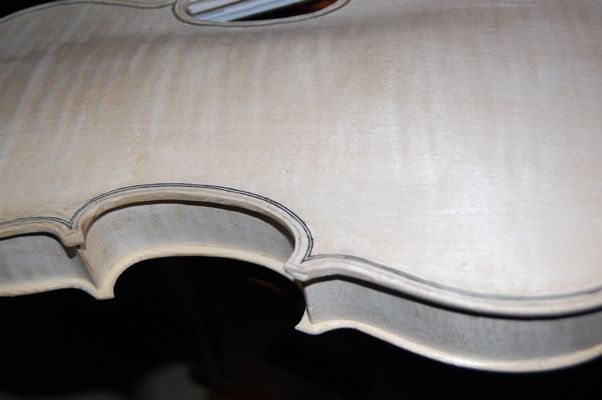
And the front– you can see the excess pretty easily.


 excess ground
Here, you can see the excess ground in the f-holes, and along the purfling.


All that excess gypsum had to come off. It took a while, but I got it ready to seal:

Viola front is ready for sealer
Viola front is ready for sealer– all the excess mineral ground has been cleared away.


Back ready for sealer
The back, ribs and scroll have been prepared, too. All are ready for the sealer.


Sealer–What kind?

Different makers use different sealers:

  • Some use a very thin varnish.
  • Some use Rosin-oil (I’m not even sure what it is….)
  • Some use shellac.
  • Some use commercially available sealers.

Currently, I am using a very thin mixture of pine pitch and turpentine, with a little alcohol. The alcohol and turpentine cause the mix to penetrate deeply. The pine-pitch goes into the wood along with the solvents, and remains there. It is interesting to watch the sealer going on…the chalk-white gypsum instantly turns transparent, and effectively disappears, leaving the natural color of the wood, along with whatever staining was added.

Without adding any color to the sealer, this would leave the wood a somewhat pale color. Usually, I have been satisfied to add color later. I added a little amber color to the sealer, this time, though, because my last instrument was a little too light-colored, initially, and I didn’t like the result.

The alcohol evaporates nearly immediately, while the turpentine takes a few days to evaporate, and (I am told) it leaves a bit of residue, as well. But that is OK. Turpentine is a natural wood extract, and I don’t mind it being in the wood.

The pitch dries in the wood, locking the gypsum in place, and sealing the wood against any other substance. Again, the pine-pitch is a natural wood extract, which eventually dries hard, and I don’t mind it being in the wood. Besides, it smells nice. 🙂

Here is the viola with just the sealer. I will show the varnishing sequence in the next post.

Sealed Front
Sealed Front., using the flash.


Sealed viola back
And…here’s the freshly-sealed back; again, using the flash.

The wood will change color just a little as the sealer dries. But it will never go back to the dull-looking finish where the grain is obscured again. The varnish I apply will enhance, not obscure the figure in the wood…I hope. 🙂

Varnish (coming…)

I use a spirit-varnish, currently, though I have used oil varnishes in the past, and undoubtedly will again. I will start off with a yellow varnish to enhance the figure in the wood, then use darker coats to finish. I use enough coats to get the color the way I want it, including whatever shading I choose to do, then add enough clear coats to give it the depth and sparkle I want. Usually 6-8 coats, I guess. I sand lightly after virtually every coat, to reduce any bumps, sags, runs, or brush-marks, as well as looking for brush hairs or bugs, stuck in the varnish film (it happens….)

Finally I rub the surface with extremely fine abrasive (12,000-grit micro-mesh), and then polish it all over, using the dry skin of my palm, or thumbs, rubbing hard enough that the varnish gets uncomfortably hot. This takes away the “glittery” look of the fresh varnish, and leaves the glow of hand-rubbed work. Pictures in the next weblog post.

Thanks for looking.

If you found this post helpful, please share with your friends!

Varnishing Sequence; Part Three

Please share with your friends!

Varnish Procedure; Part Three

Antiquing

Well– as I said in an earlier post, one of the decisions that has to be made is whether to “antique” a new instrument. As a rule, I try to go easy on this, doing minimal shading and light wear patterns; but it really does pay to do something to satisfactorily darken the bare wood before beginning varnishing. Otherwise, I will regret it later on, when I can see the bright wood through the dark varnish, and there isn’t much I can do to make it look right.

As you may recall from the first post on varnishing this violin, I was not very happy with that first coat of varnish–it was too light in color. I should have stripped it off and started over, but I kept thinking “just a little more varnish!” Well…it wasn’t working. Especially under bright light, the light wood just grinned at me from behind the varnish.

So, not really wanting to strip it and start over, I used a different ploy: I coated the entire instrument (except the handle area of the neck) with a very dark pigment, allowed it all to dry, and then sanded it back off, knowing that I would damage my lovely varnish in the process, but also knowing that the dark pigment would only remain in the low areas of the grain, and that, if I was careful, there would still be a fair amount of the varnish left, but with bits of the dark pigment remaining, looking like the accumulated dirt and skin-oils from hands, ground into the wood over the years….hopefully.

And, it seems to have worked. That foundation looked a little better…more believable, I suppose; so I went with it, and here are the results:

Antiqued side view.
Antiqued side view.


Front view, antiqued, and saddle installed.


Back side antiqued.
Back side antiqued.

I am not showing the intermediate steps…they really put the “ugh” in ugly, for about a day or two, there. But after the pigment was sanded back off, and the varnish cleaned up; using a rag, I rubbed a seal-coat of very light spirit varnish into the whole fiddle, to lock down the pigment and clean off any loose stuff left from the sanding off of the pigment. Then I began re-varnishing with the dark red-brown varnish, thinning with alcohol as needed, to get it to flow well. It took a couple of days to get it to a point I felt happy with, but I am much more satisfied with it now than before. I’m sure some will disagree and hate it, but: sorry, that is the way this one had to go. Perhaps the next one I will try something a bit different, and get it right the first time.

Rationale Behind “Antiquing”

Meanwhile, here is something to consider, regarding “antiquing”: I had a professional violinist (Adam LaMotte) tell me, “Chet, we players all want an old master violin. If we can’t afford one, then we want our violin to  look like an old violin.”  A famous violin-shop owner in England (Charles Beare) put it this way: “An unattractive violin simply does not get played…it gets no attention from customers. There is absolutely no reason you should consider ‘antiquing’ your instruments, unless, of course, you actually want them to sell!” That is fairly succinct. Evidently even the “big boys” recognize this odd little fluke in the violin market. I have never understood the market trends that drive people to buy pre-distressed (worn-out) blue-jeans, either, but someone has made a lot of money doing just that.

Ah, well…at least the “wear” on the violins usually does not hurt them at all. (Although I have known of people deliberately cracking and re-gluing instruments, and it is fairly common to bush and re-drill peg-holes on a brand new fiddle, to make it look old. And some go as far as a scroll-graft, knowing that virtually all pre-1850 violins have had a neck-graft, and a genuine neck graft is usually a sign of a genuine old violin. Sigh… not anymore. I have done neck-grafts, but only when there was a cause, and it was a needed repair. Same for peg-bushing. I have done lots of them, but only in repairing old instruments.)

So– the bottom line, to me, is that I really like them to look at least a little like an old, gently worn violin. And sometimes even, a very old, heavily worn violin. (This one fits into the latter category, except no cracks, and no bushed peg-holes.) There are certainly people who won’t like it…but there will definitely be those who fall in love with it, too, so I’m not too worried. There are better ways to darken the wood without hurting it, though, and next time I will try to do so. (Some people have tried certain chemical treatments which looked remarkably good, but, as it turned out, destroyed the structural integrity of the wood.)


Saddle

You will also notice that the saddle has been installed. This is another thing I do a little differently: I round the corners of the saddle, thus eliminating the stress-risers built into square mortises.

 Saddle, installed
Here is the saddle, installed…still could use more polishing. Notice the round corners.


side profile of saddle
The saddle still needs a little more scraping and polishing to get it looking right, but this is how it looks from the side.


Why Rounded Corners?

Ever notice the shape of the windows in airliners? Ever wonder why they haven’t any square corners? (See Comet Disaster)  Here’s a partial quote: “In addition, it was discovered that the stresses around pressure cabin apertures were considerably higher than had been anticipated, especially around sharp-cornered cut-outs, such as windows. As a result, future jet airliners would feature windows with rounded corners, the curve eliminating a stress concentration. This was a noticeable distinguishing feature of all later models of the Comet

At any rate… the intent of the rounded corners is to prevent saddle cracks.

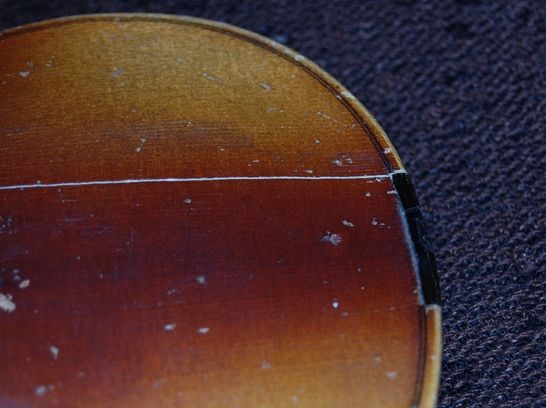
Saddle crack in a cheap fiddle.
Saddle crack in a cheap fiddle. Notice that it emanated directly from the square corner of the saddle mortise.

So far, my practice of rounded saddle corners has proven quite successful. Also, though you can’t tell it from the photos, there is a tiny gap at the ends, to allow for plate expansion and/or contraction. It isn’t much, but it is there.

Fittings

The saddle is ebony, as will be the fingerboard, nut and tuning pegs on this violin. I haven’t decided yet whether to use an ebony tailpiece and chin-rest, but I probably will do so. (Tradition, you know….) 🙂

The next post will complete the set-up procedure.

Thanks for looking.

If you found this post helpful, please share with your friends!

Varnishing Sequence: Part One

Please share with your friends!

Varnishing a New Violin

Finishing Sequence: Sealer coat first

In the last post, I showed the photo of the violin with just the turpentine/pitch sealer coat in place, and not totally dry. Remember that this was applied over a coffee stain, and a mineral ground that I had rubbed into the wood.

Sealer coat.
Sealer coat.

When that coat was finally dry, I checked for any distortions (from the coffee stain, I guess) and corrected them with plain water, just moistening any low areas with a damp rag, and watching them come back to normal. Since I just barely moistened those areas, they stayed in the correct position after drying the second time. This has been a rare occurrence in my experience, but I was grateful that it turned out to be a relatively easy fix.

Then I sanded lightly with worn 400-grit, to remove any bits of loose debris and/or any little fibers of wood that had lifted above the smooth surface. I had already done this after staining (both times), but it always pays to go over things again.

First Coat of Varnish

The first coat on this instrument was a very blond spirit varnish; not my usual. I am not entirely pleased with the result, but it is acceptable.

first varnish coat
First varnish coat, side view.


First coat of varnish, back view.

Scond Coat: Darker Yellow

I sanded it lightly, again, and then applied a darker yellow varnish. Fortunately, spirit varnish dries very rapidly, so I can sometimes get two or three coats in one day, early in the sequence. As the varnish gets thicker, it dries more slowly. I assume that this is because it can no longer soak into the wood at all, so every bit of the drying has to happen from one side of the varnish film; but perhaps there is more to it than that. At any rate, as the instrument nears completion, I have to allow longer time for drying. The other side of the “fast-drying” coin (or two-edged sword) is that it is extremely sensitive to the next coat of varnish, as the solvent in the new coat can easily lift the previous coats, forcing me to completely start over, in some cases. I really need to be patient, and work carefully, applying many thinner coats, rather than fewer thick coats.

Second coat of varnish-- darker yellow-- side view.
Second coat of varnish– darker yellow– side view.


Yellow varnish second coat.
Lots of room for improvement, here– and that is how spirit varnish works. I keep adding color, and “evening things out” until it looks right.


Yellow varnish back second coat.
Yellow varnish back– still pretty pale-looking, after that second coat.

Third Coat: Red-Brown varnish

After the yellow varnish dried I began adding (several coats of) a darker red-brown varnish, allowing each coat to dry, and sanding lightly between coats, to make sure the finished result is good. This is the first coat of the red-brown varnish, so, actually the third coat, overall. It will get at least five or six more coats of varnish before it is done, but the differences become less and less obvious, as the varnishing nears completion. I am enjoying looking at the beautiful European maple and spruce. I ordered this wood from International Violin Company, in Baltimore.

third coat of varnish
Third coat, using red-brown varnish.


third coat of varnish on back
Back, with the third coat of varnish. (Quite an improvement isn’t it?) You can see the brush-marks in the varnish, but they will be sanded smooth before I apply the next coat.


The Plan:

As I continue to add coats of varnish, I am keeping an eye on the general “flavor” of the instrument. I may skip certain areas for several coats, to leave the varnish thin in those areas. I deliberately  try to emulate the look of some of the more gently-used “Old Master” instruments. I am not attempting to “fake age”, so much as attempting to capture some of the charm and appeal of those intruments. If anyone has a question about my motives, all one has to do is check the label: every instrument is signed, numbered, and dated. The date on the label is the day I actually closed the corpus, so, perhaps a few weeks prior to final completion, but no more than that.

I also may switch back to a yellow varnish at some point, to shift the color back toward gold, rather than just a red-brown. And, occasionally, I have stripped everything back off and started over. As the original maker, I have that option. and, invariably, the result the second time was far better.

I will post more varnish photos as the violin nears completion.

Set-up:

Once the varnishing is complete, I will replace the Fingerboard and begin the final fittings and set-up of the violin.

  • Fingerboard
  • Saddle
  • Tuning pegs
  • Nut
  • End Pin
  • Soundpost
  • Bridge
  • Tailpiece
  • Strings
  • Chinrest

Hopefully, all of that will be covered in the next post.

Thanks for looking.

If you found this post helpful, please share with your friends!

“Beginning of the Finish”

Please share with your friends!

Finishing My Newest Violin

Introduction:

For every violin, viola, five-string fiddle, cello or double bass I build, the finishing process is nearly the same. After completing the last of the purfling, the order is as follows:

  1. Channel (the concave curve in which the purfling is nearly centered, but which must fair smoothly into all the other surfaces, concave or convex.)
  2. Final edgework (making the outer edge (and inside of the plate) curve together into the channel and arching)
  3. Varnish prep (final fairing-in of all curves and elimination of all bumps and unwanted ridges)
  4. Water-based stain (usually two or three applications)
  5. Mineral ground (one application)
  6. Seal-coat (one application)
  7. Varnish (numerous coats)
  8. All set-up issues: saddle, fingerboard, nut, pegs, soundpost, bridge, endpin, strings, tailpiece and (on the smaller instruments) chinrest.

The Channel, and Final Edgework:

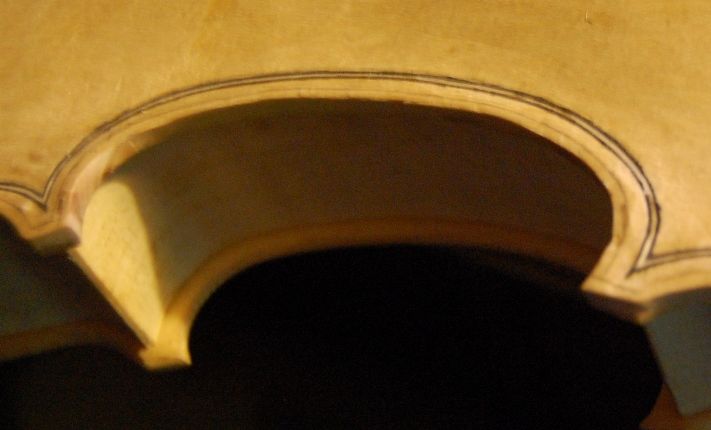
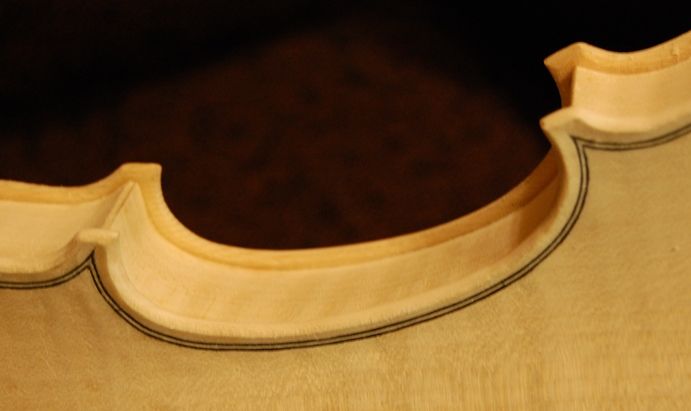
I scribe a margin around the entire outer edge, usually about 1.6mm in from the outer edge. This will serve as the “limit” for the channel. I cut the channel to the desired depth, using gouges first, then small planes and scrapers,  bringing the smooth curve up to match the scribed limit. Then I file the outer edge so that it curves in from the center of the edge of the plate up to meet the scribed margin of the channel. The other margin of the channels are scraped so that they fair into the curve of the plates themselves. I true-up all my lines using scrapers, files, and very fine abrasives, and then I am ready for final varnish preparations.

On my last post, I had just completed the back purfling. That seemed a good place to “call it a night”.


Back purfling complete
Back purfling complete: the channel has not been started. You can see the sharp edge of the purfling in a few places.

Then I began preparations for cutting the channel, by scribing in the boundary line:

Scribed line, marking the edge of the channel.


Scribed pencil lines where the channel will go at the corners.
Scribed pencil lines where the channel will go at the corners. (I didn’t use the flash on this one–that’s why the color is different.)


Beginning the channel cut.
Beginning the channel cut. The purfling looks cleaner, as the rough, glued edge is gone. I also began shaping the edges.

Varnish Preparations

I have a particular spot on my basement stairs, where I can get a very low-angle, not-too-bright light source, which casts shadows across the face of the instrument, and makes is easy to see irregularities. So, the last thing I do is stand there, holding the fiddle and rocking it very gradually, to see any shadows that indicate a rough spot or an irregular shape. When I find one, I gently scrape it away with a very sharp scraper. I want to move as little wood as possible at this point in the build: I already have the arching and graduation just about exactly where I want them to be. This is strictly fine-touch finish-scraping.

Some people are very particular about not using ANY abrasives. Sorry– I do use them, in a very limited way, but only at the very last part of the build. The edges of the spruce plate, for instance, are so soft that a scraper is simply too aggresive for final shaping, especially after I raise the grain with my water-based stain (strong coffee, in my case…yes, and I drink the leftover “stain.”) So I use a very fine (worn 400-grit) abrasive paper to make the edges smooth and pretty. I also use it later, between coats of varnish, to make sure that no bits of dust, splinters, etc. can spoil the next successive coat(s) of varnish.

Channel complete...no flash.
Channel and edgework complete…no flash. The wood isn’t really this yellow– we have a fairly dark house, and the sunlight filtering through makes it look this way.


Completed channel, with flash
Same shot of the completed channel, with flash. This is pretty close to the real color at this point.


Coffee Stain

I use a coffee stain because it imparts a gentle yellowish look to the wood, without doing any damage to the wood. Many people use strong tea, and I have done so. Some have a particular tea they use, for the color they want. That is fine. Some have alcohol-based, color-fast dyes to accomplish a similar result. That is OK too. I’m just telling you what I do. People have sometimes asked whether I use de-caf or regular. I love that question: I say, “Oh I always use regular, to wake up the tone!” 🙂 (Riiiight…)

Coffee stain, not fully dry yet.
Coffee stain, not fully dry yet. I used the flash on this, so the color change is real.

Mineral Ground

This is something I got from Roger Hargraves. He is a master luthier living in Germany, and he wrote an online book as he built a magnificent double bass. In it he explained why he uses a mineral ground, and what it is (it is effectively exceedingly fine gypsum dust, introduced into the wood pores in a liquid suspension. He used a very thin varnish as I recall…I used coffee, again. It dries slowly, is easily applied, and cleans up with water.) So, I apply the mixture with a brush, one area at a time, rub it in with my fingers, and immediately rub back off as much as I possibly can, using a rag. I do NOT want a thick layer of stuff on top of the wood– I want the pores themselves to be filled with the particles. I coat all areas except the “handle”portion of the neck in this manner. Supposedly it leeps the varnish from saturating the wood, thus avoiding overloading the wood with varnish and deadening the sound. Does it help? He says it does, and I know for a fact that he did it…and I saw the bass in person, last year at the International Bassists Society convention, in Ft. Collins, CO.

The ground dries chalk-white, in spite of the fact that I used coffee for the liquid. I sand it gently to remove any excess gypsum (there always is a fair amount that comes off the surface at this point). Sorry, I didn’t take a picture at this point. You’ll have to take my word for the fact that it simply looked like a chalk-white violin, with the grain and purfling quite obsecured by the dry mineral ground.

Sealer

Then I seal the violin, all except the “handle” portion of the neck. There are many things people use for sealer: Some use special commercially available preparations (I have done that, too), and some use very thin varnish, or shellac. For now, my sealer is a combination of Pine sap (yes, that sticky gunk that flows out of a cut in a pine-tree) and turpentine. The turpentine penetrates the wood very readily, taking the pine pitch with it. I allow the turpentine to evaporate off, leaving the pitch in the wood. I am of the opinion that the pitch is an OK thing in the wood, and that it seals the wood against further penetration by varnish. That’s my theory, anyway. 🙂 The mineral ground turns completely transparent under the saturation of the turpentine and pine pitch, and remains that way after the turpentine evaporates. Here is a photo of the violin with the mineral ground rendered transparent by the sealer. It will probably take a few days to get absolutely dry, (turpentine evaporates slowly) so this is the last photo for this post:

Mineral ground renedered transparent by sealer coat.

Varnish

I have used a wide variety of varnishes, but currently I am using a spirit varnish concoction. If I need more color, I use the “Transtint” dyes available in woodworking stores and online. It does not take a great deal of dye…you want to go easy on this stuff. I have considered extracting dyes from plants, etc. Never have gotten around to it. 🙂

I’ll show the varnishing process in the next post.

Thanks for looking.

If you found this post helpful, please share with your friends!

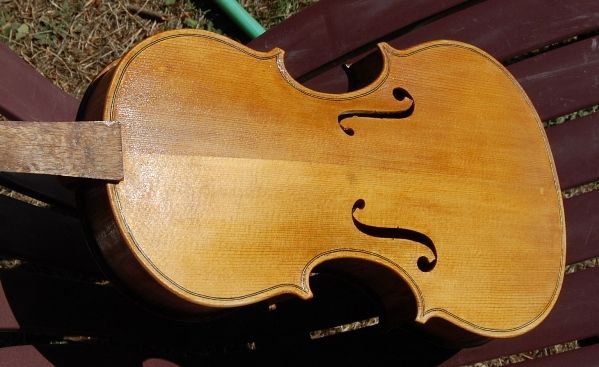
5-string report #15: Varnishing

Please share with your friends!

Five String Progress Report #15: Varnishing

Mineral Ground

I did not take any photos of this process…it only consisted of rubbing a gypsum suspension into the wood, all over, then rubbing it off, as completely as possible. The goal was to fill the wood pores, so as to limit the penetration of varnish into the wood. Apparently the varnish tends to dampen vibrations, and deaden the violin sound just a little. I don’t know how much effect it really has, but I got the idea from Roger Hargrave, who said it made a difference in his work. If it is good enough for him, I am game to try it. My suspicion is that my ears are no longer good enough to hear the difference, due to a lifetime of work in heavy steel. But…I have had very good reviews on the few instruments on which I have used the ground, so…either it really helps, or I have just improved my building skills, lately.

Sealer

My sealer is pretty simple: it is raw pine pitch dissolved in a combination of pure spirits of gum turpentine and alcohol. It penetrates pretty deeply, but the alcohol and turpentine (in that order) evaporate rapidly, and leave the pine resin in the wood. I rub off as much as I can of whatever is on the surface, and let it dry in the sun. Sometimes I have hung it up to dry indoors, but it does make the house smell of turpentine. My wife has very little sense of smell, and I don’t mind the smell, but others might, so I try to limit that sort of thing.

front with sealer
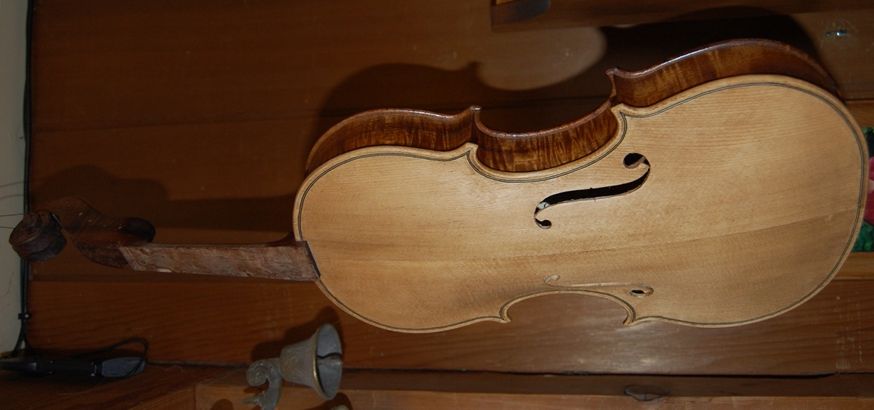
Front with sealer


Edge with sealer
Edge with sealer: notice the contrast between front and side. I hope to correct that, somewhat, with varnish.


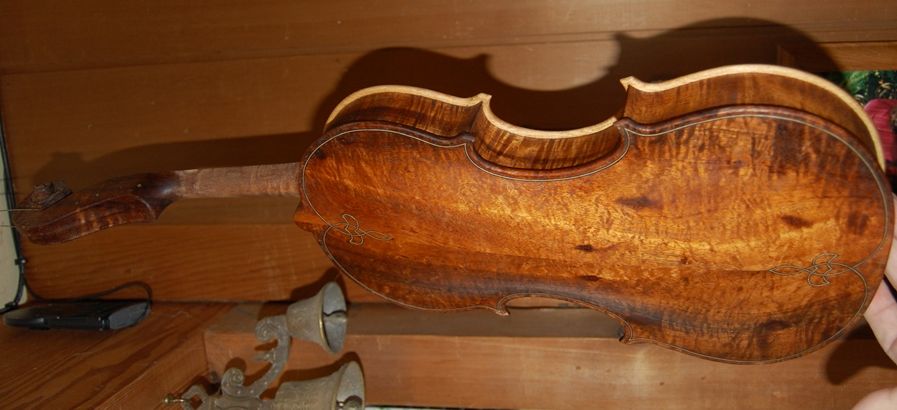
Back with sealer.
Back with sealer. Still somewhat dull, but just wait until the varnishing begins!


hanging up to dry inside
Hanging up to dry inside.


Back drying inside
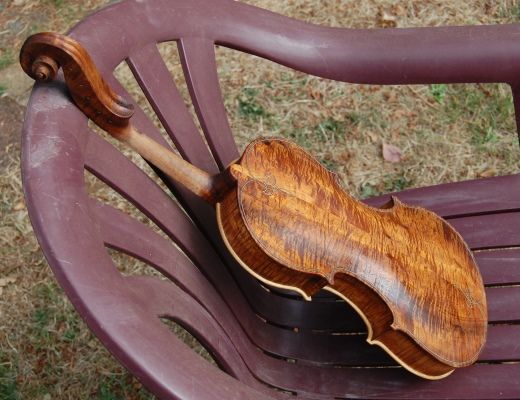
Back drying inside: I decided it was warm enough outside, so I moved it to the yard, and propped it in an old lawn chair.


Sealer drying in the sun:
Sealer drying in the sun: it was interesting to see that, as the wood warmed up, the sealer began to ooze back out of the pores, making tiny dots all over.


Varnish

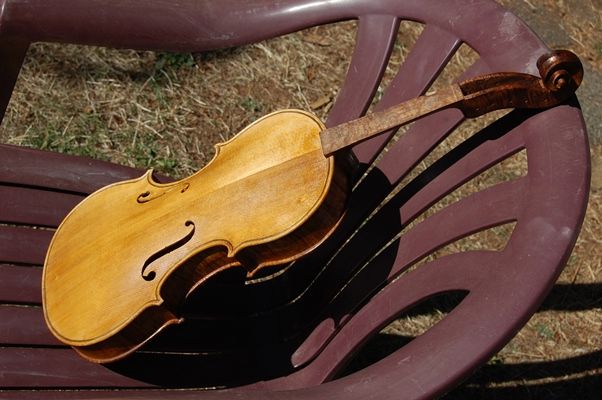
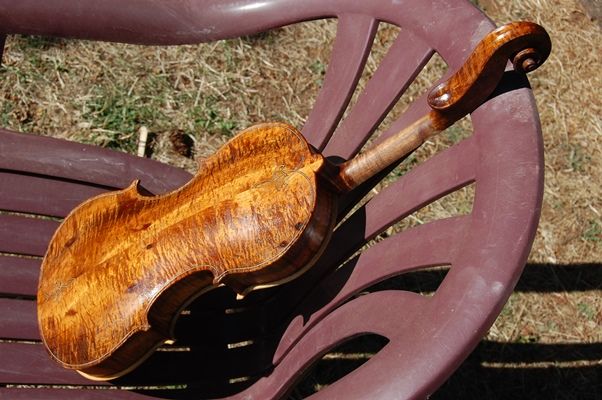
Once the violin was very warm, and quite dry to the touch, I rubbed it down with a paper towel, to remove any residue, then coated the back with a yellow varnish, and the belly with a brown varnish. I hope to even out the color somewhat and diminish the sharp contrast between the dark, curly Koa and the nearly white Sitka Spruce.

First coat of varnish on the front
First coat of varnish on the front: makes quite a difference, doesn’t it?


one coat of varnish
There’s the whole fiddle in the sun, with one coat of varnish.


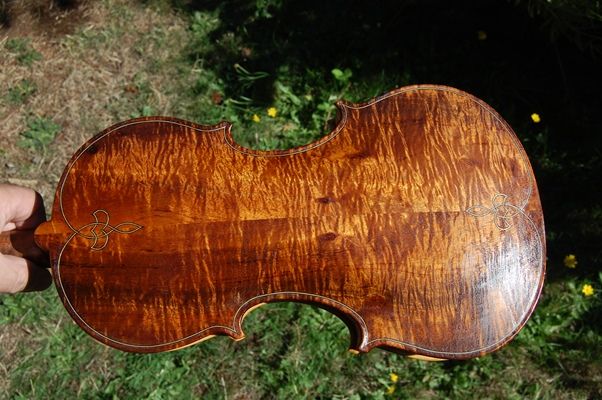
And...the back!
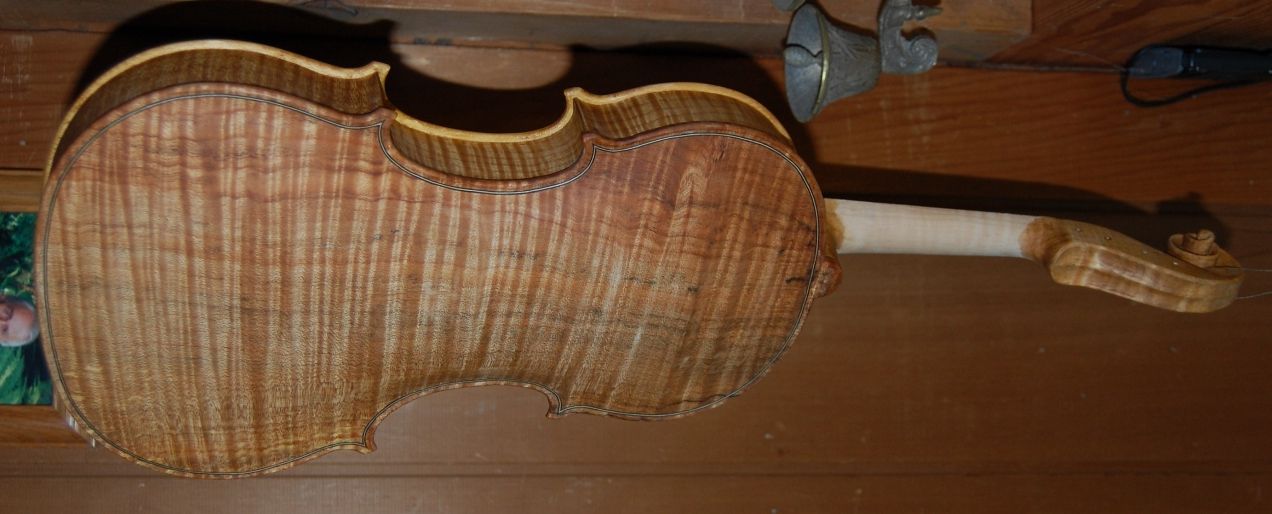
And…the back! Look how the curly Koa is catching the fire from the sun.


Koa Flame
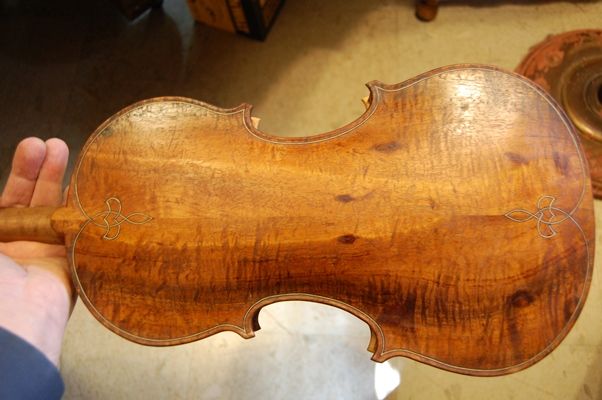
Pretty serious flame in this curly koa wood! You can see why it was tough to carve.


Anyway, that is about as far as I expect to go, today. I may get another coat or two of varnish on there, this evening, but it will not be an appreciable visual difference until it is done. I expect to use at least another six coats before calling it complete.

Thanks for looking.

If you found this post helpful, please share with your friends!