Follow

Resurrecting an Old Violin From Alabama
Repair Procedure: “Young Lady from Alabama” Violin 1/2017
This Violin came to me because a young lady in Alabama had read my article on violin repair, and decided she wanted me to fix her fiddle.
She sent me a few photographs to see whether I thought it was repairable and worth repairing. I said yes, on both counts, and she shipped me the violin. She knew that it was not an expensive, high-quality violin, but it was special to her, and she felt that the investment would return a better violin for her to play than the cheap one she was currently playing, and give her more pleasure as well, because of the sentimental attachment.
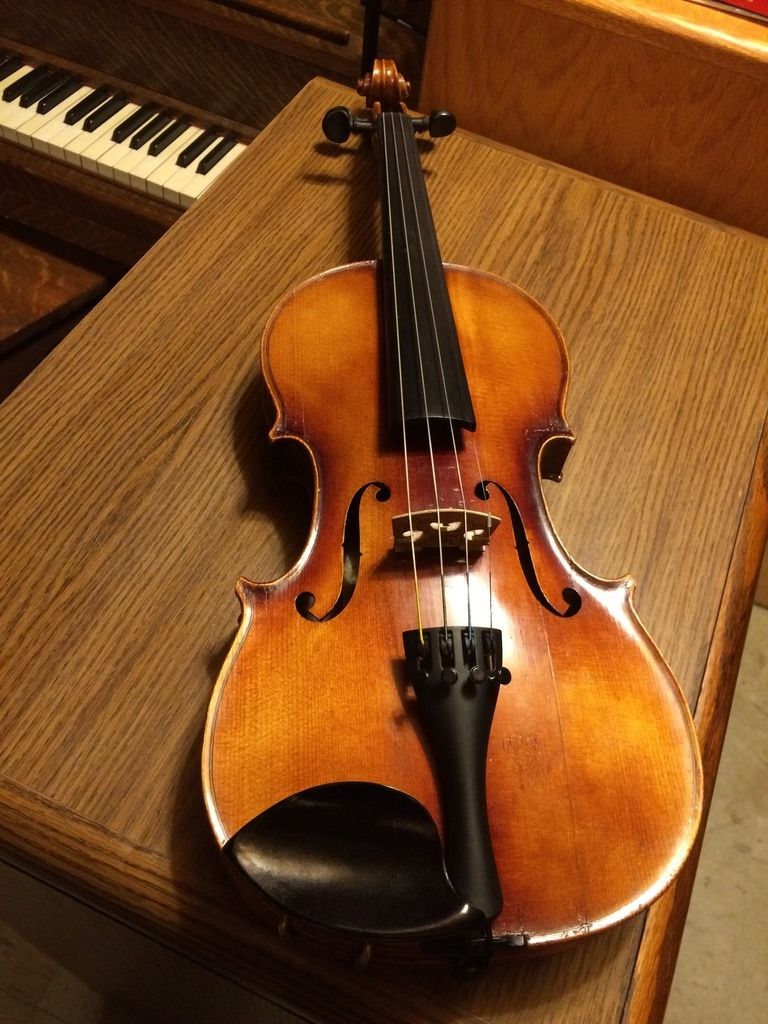
Here is the original photo I saw:
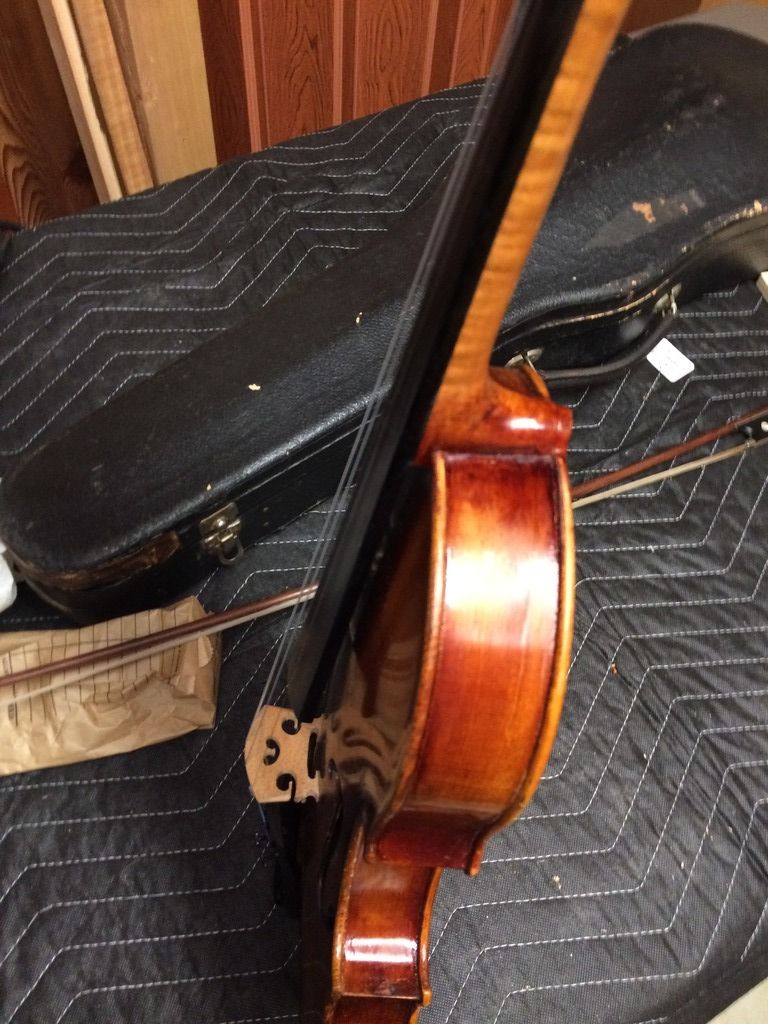
She sent me the fiddle, carefully packed, and it arrived unharmed. Fortunately, I got home immediately after the FedEx people dropped the package on my porch, as it was raining hard, but the package was nearly completely dry.
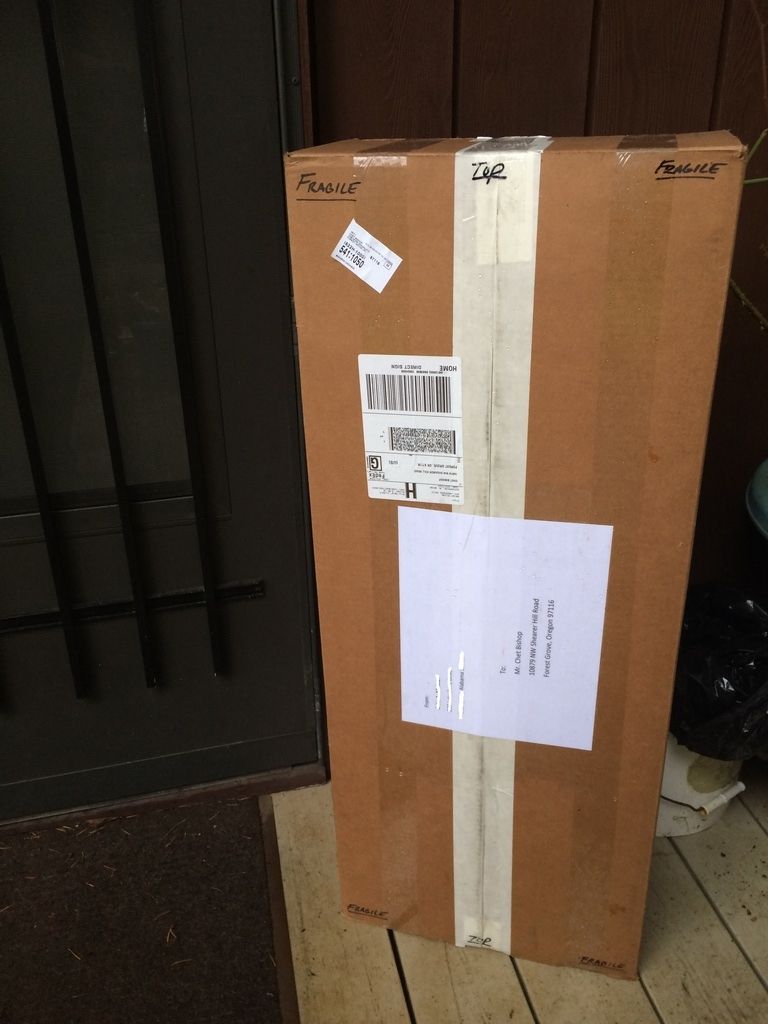
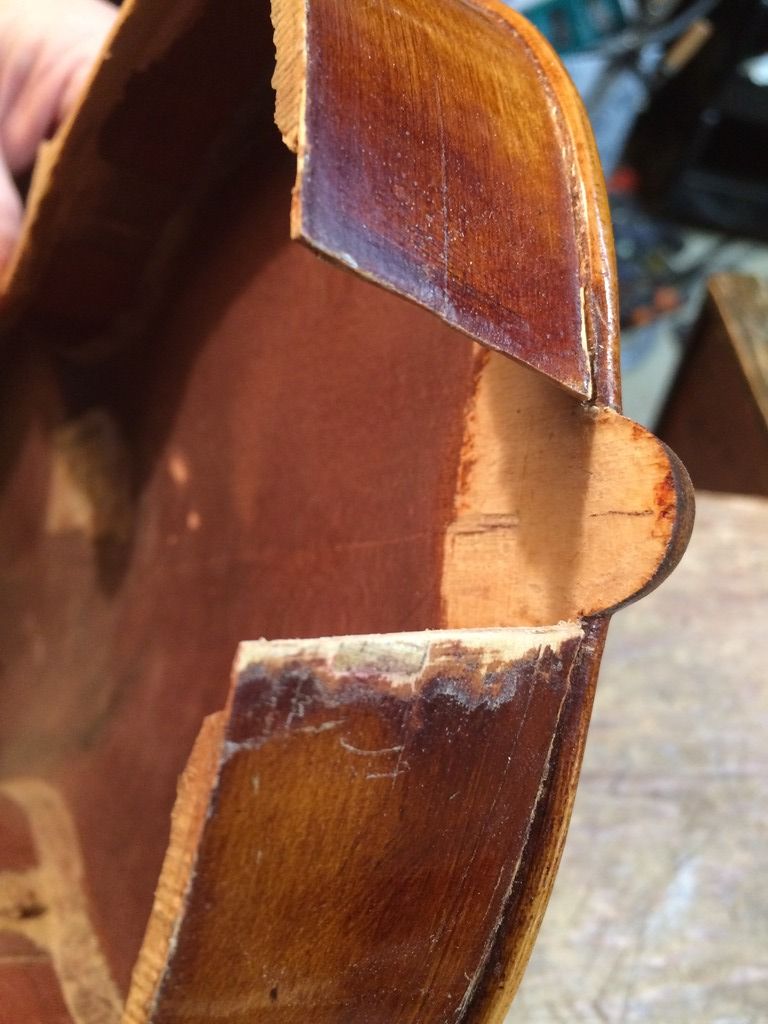
But, this is what I found inside:
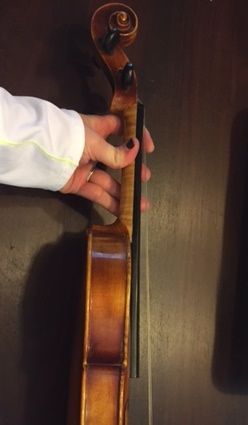
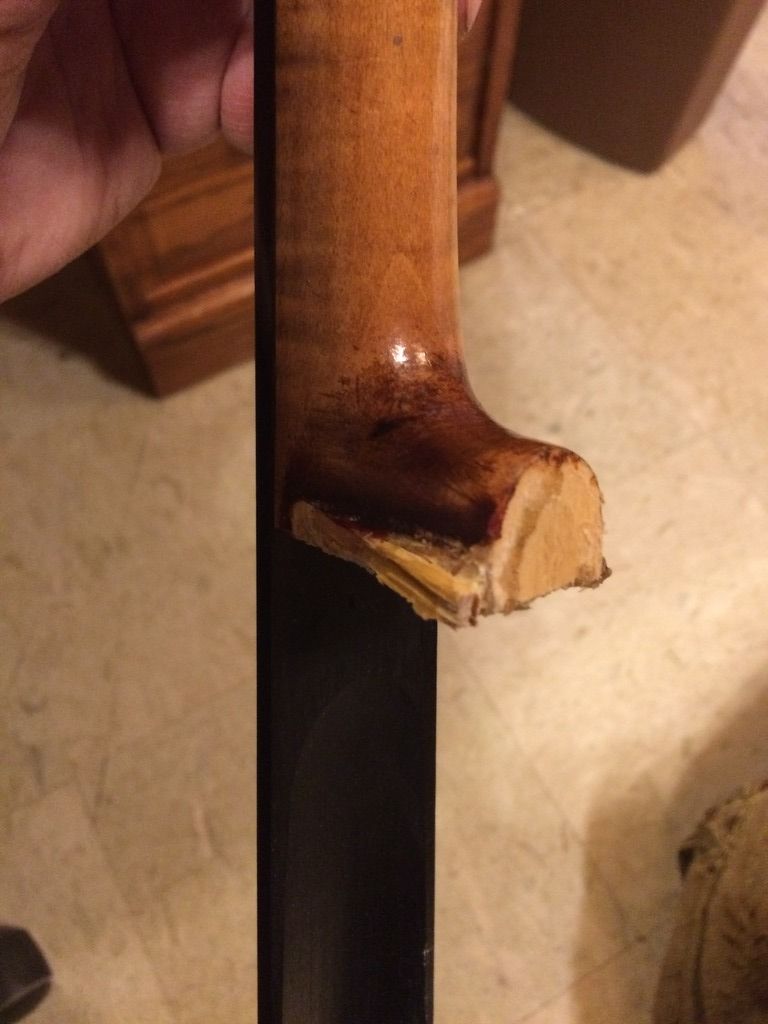
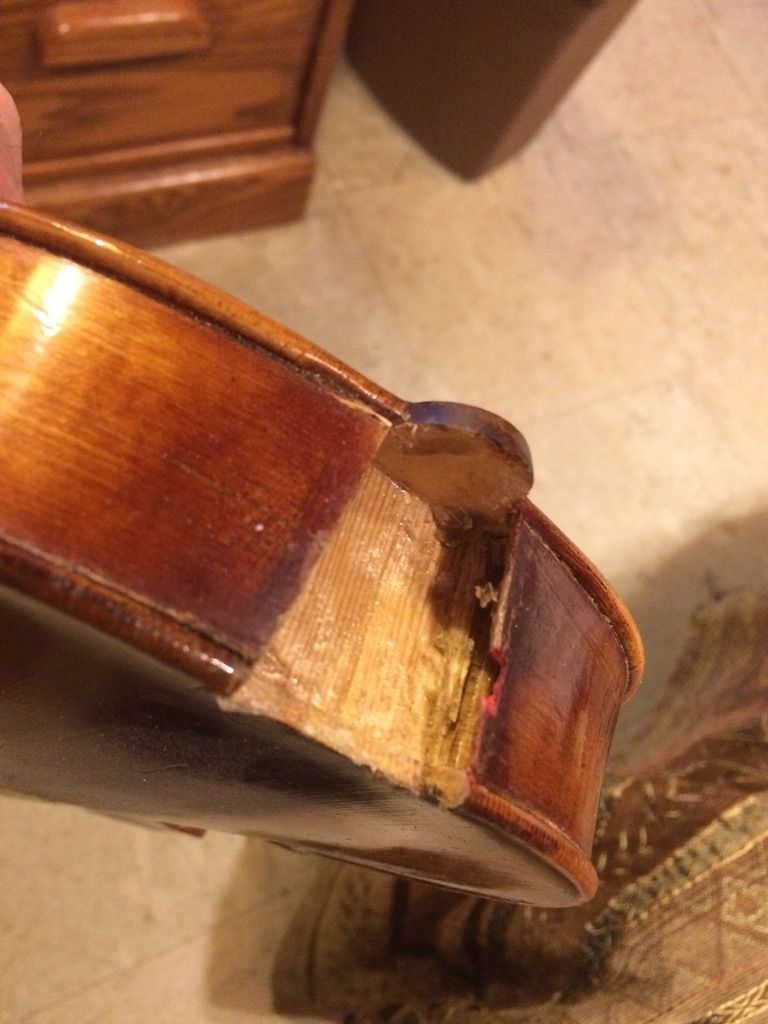
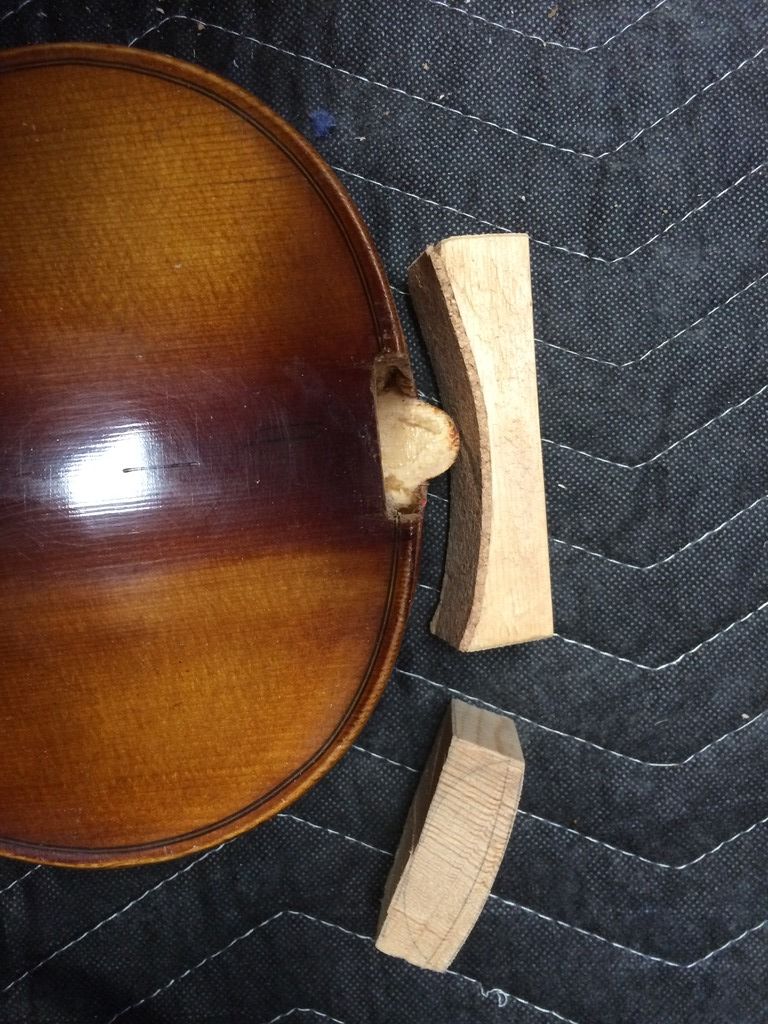
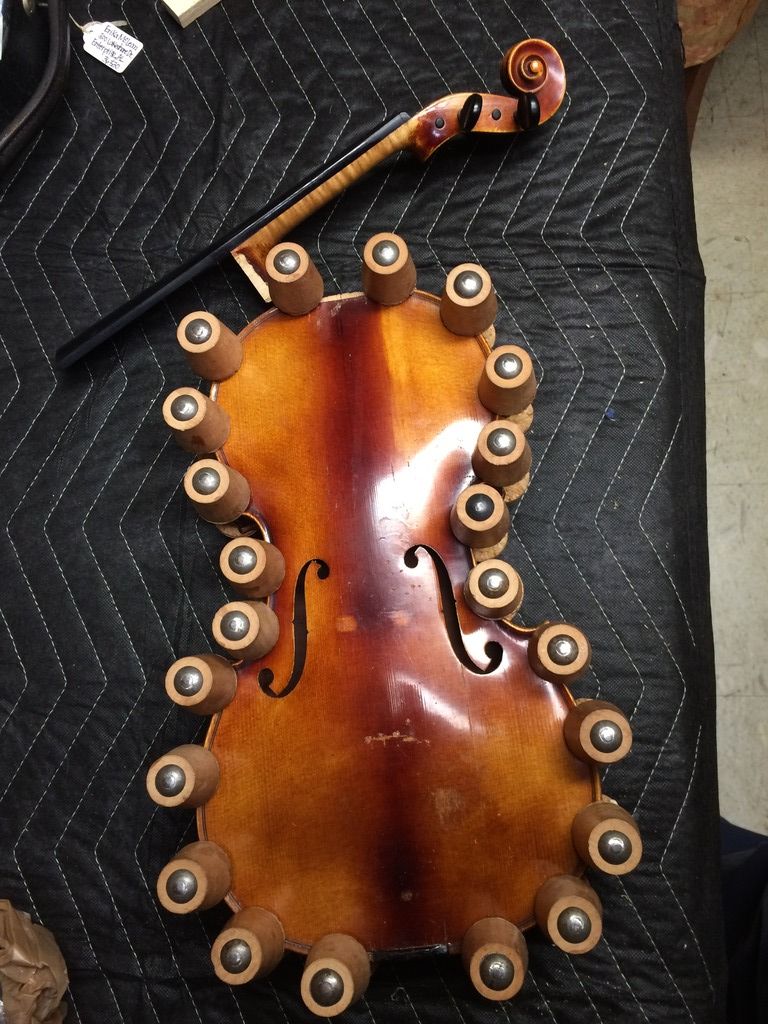
Starting Condition (as seen from outside):
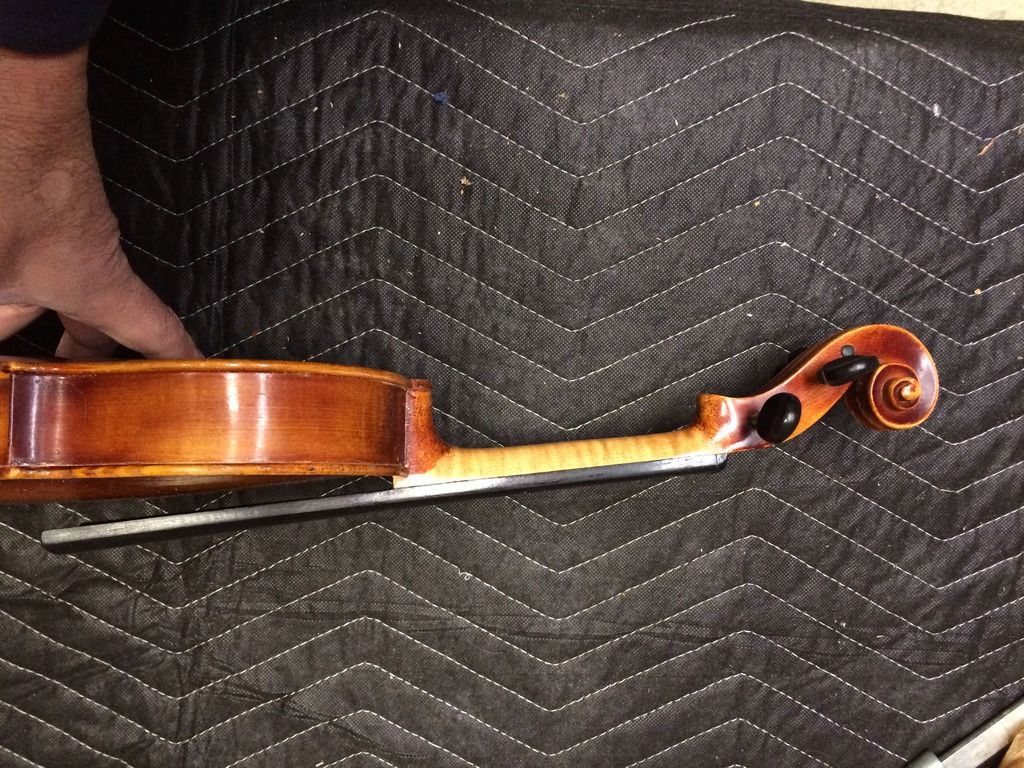
- The neck is separated from the button. (above)
- The neck block is broken. (below)
- The treble side upper bout rib is damaged at neck joint (and is “re-touched” with red ink).
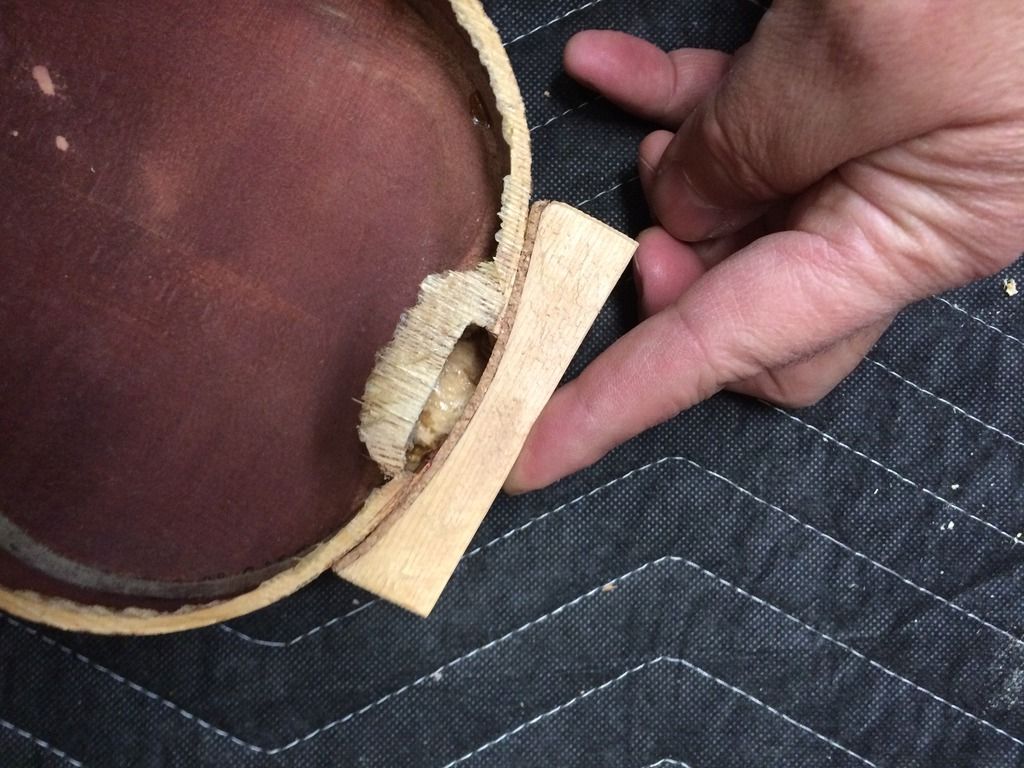
- There is missing wood at the heel of the neck.
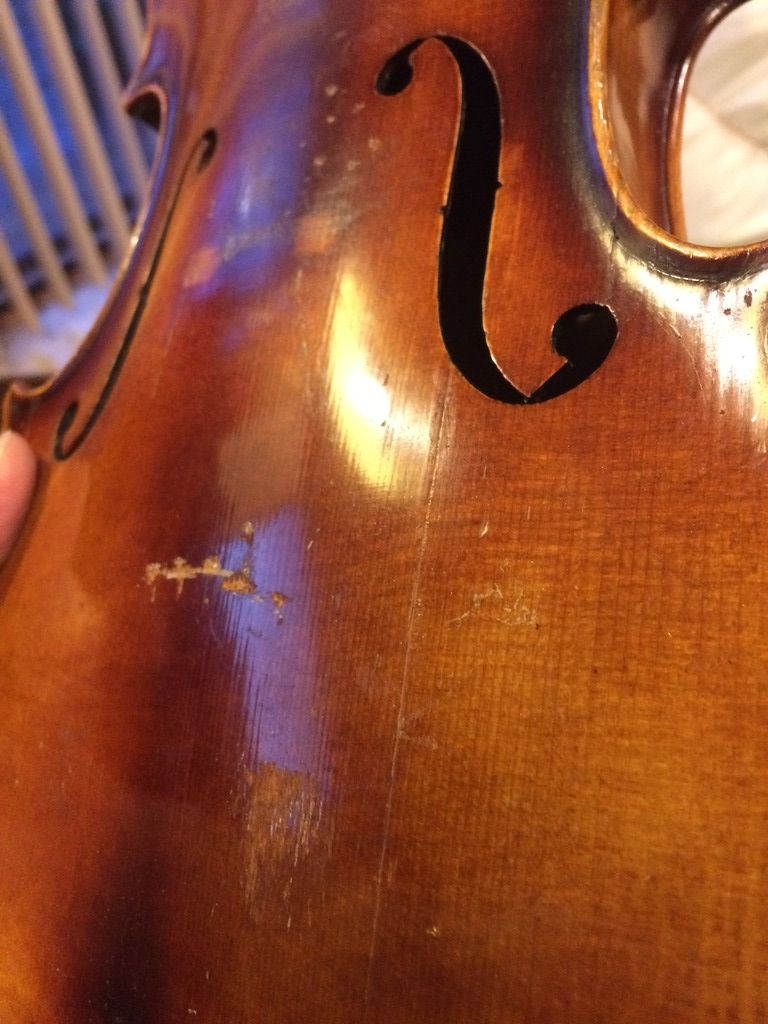
- There is at least one repaired crack in the top plate.
Beginning Procedure:
- Remove all the fittings and strings; store them in the case pocket.
- Remove the neck.
- Make a cork-lined clamping caul, to hold the ribs in proper alignment.
- Remove the top plate and inspect all interior conditions.
- Crack repair was “OK”, but minimal: add 2 cleats, clean up the three old cleats.
- There is missing wood from previous top removal. Repair it, before closing.
- The bass-side upper bout rib is cracked. Repair it before closing.
- The saddle fell off—re-install after closing.
Repair Procedure
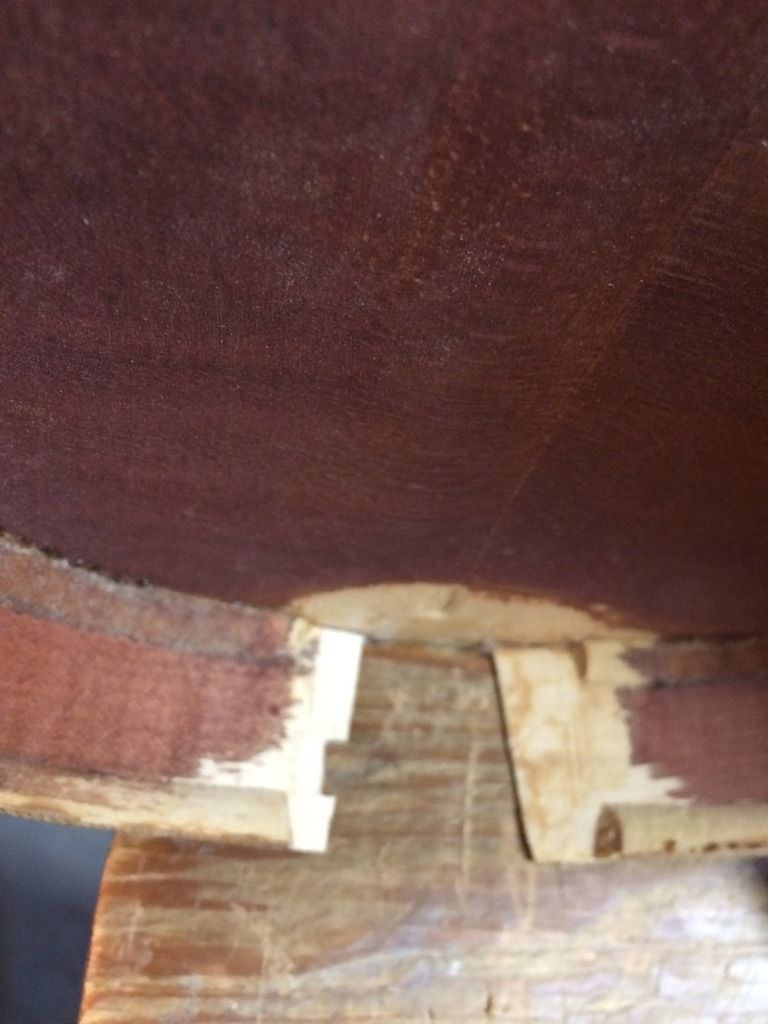
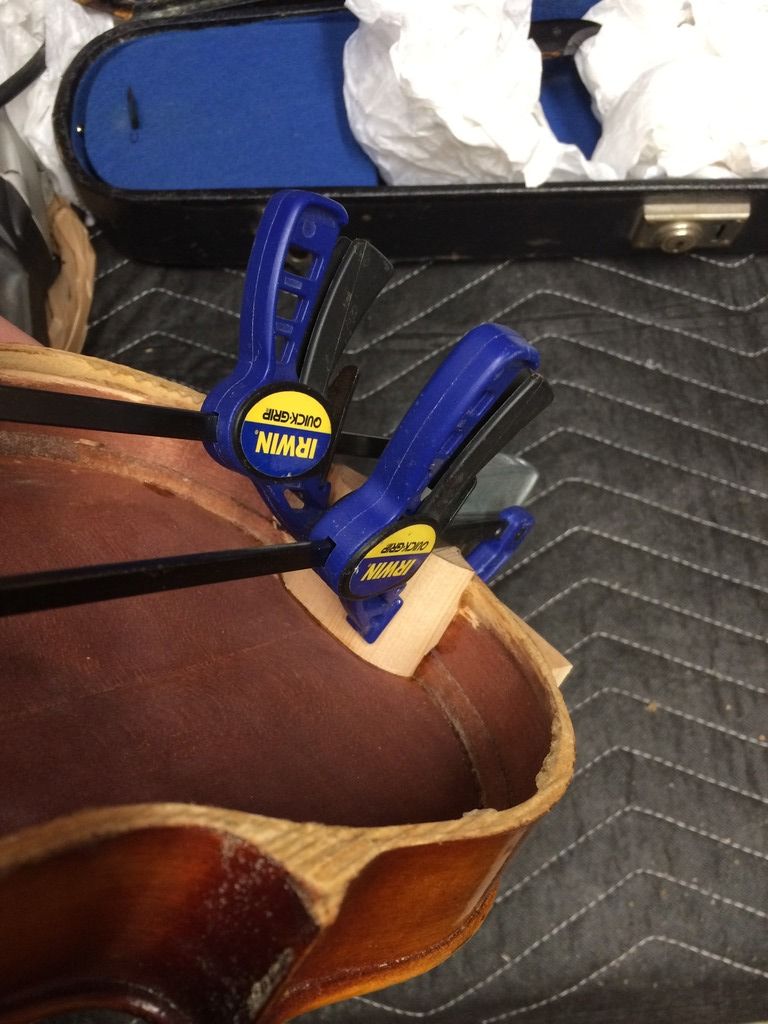
- Remove the old neck-block.
- Repair the damaged ribs, and replace the missing wood at the neck-heel.
- Install the new block, using hot hide glue and clamping caul.
- Level the front of the garland.
- Re-install the repaired front plate, including original saddle.
- Re-set the repaired neck.
- Minimally “dress” the Fingerboard.
- Retouch the varnish all over, as needed. (It should look nearly new…the violin was quite glossy before.)
- Set-up the violin, using old pegs and chinrest, but replacing all else.
- New tailpiece with four tuners (with her approval)
- New bridge
- New soundpost
- New Dominant strings
- New cork on Chinrest clamping surfaces
- Add a few business cards
- Add an invoice.
- Play and adjust for best sound.
- Pack and ship to Owner
Sounds pretty straightforward, doesn’t it? And, really, that is about how it worked out:

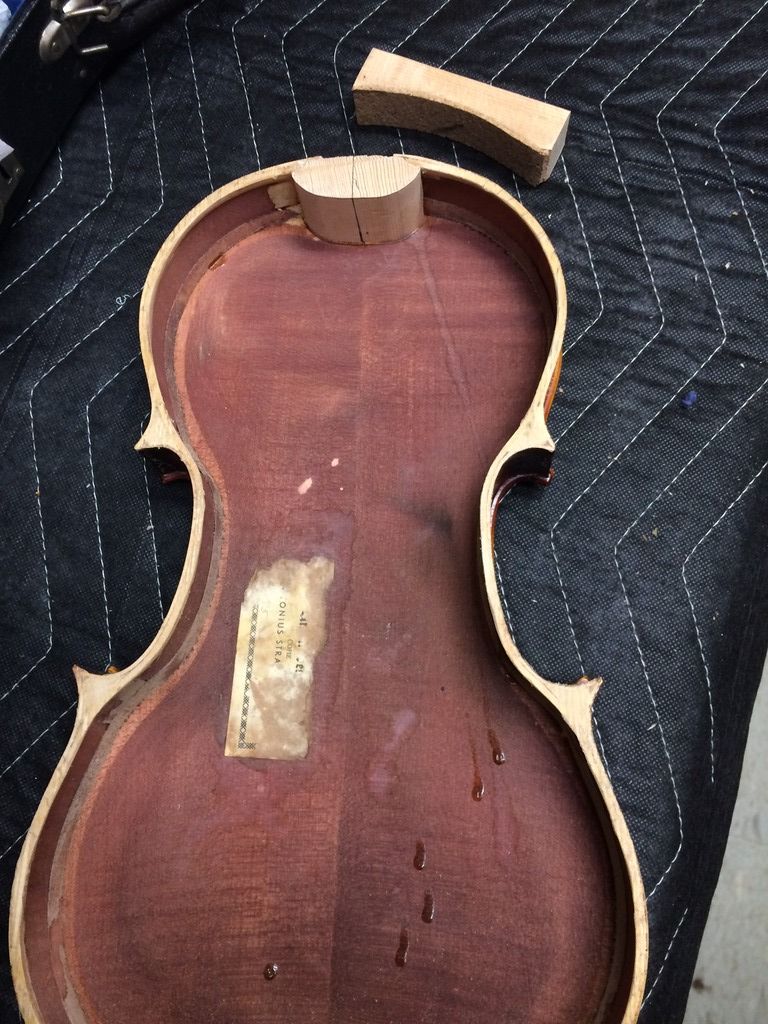
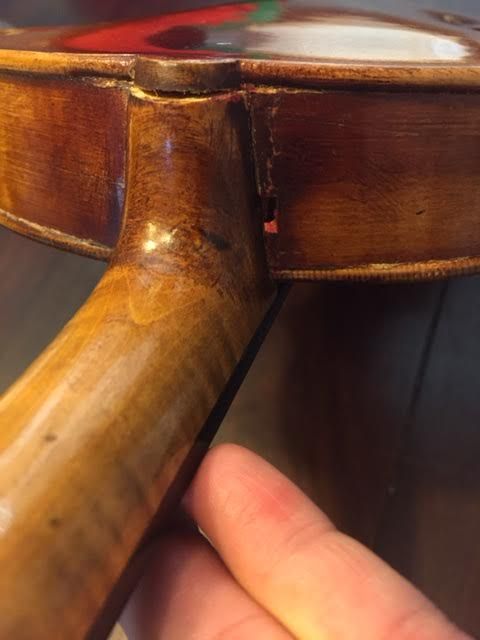
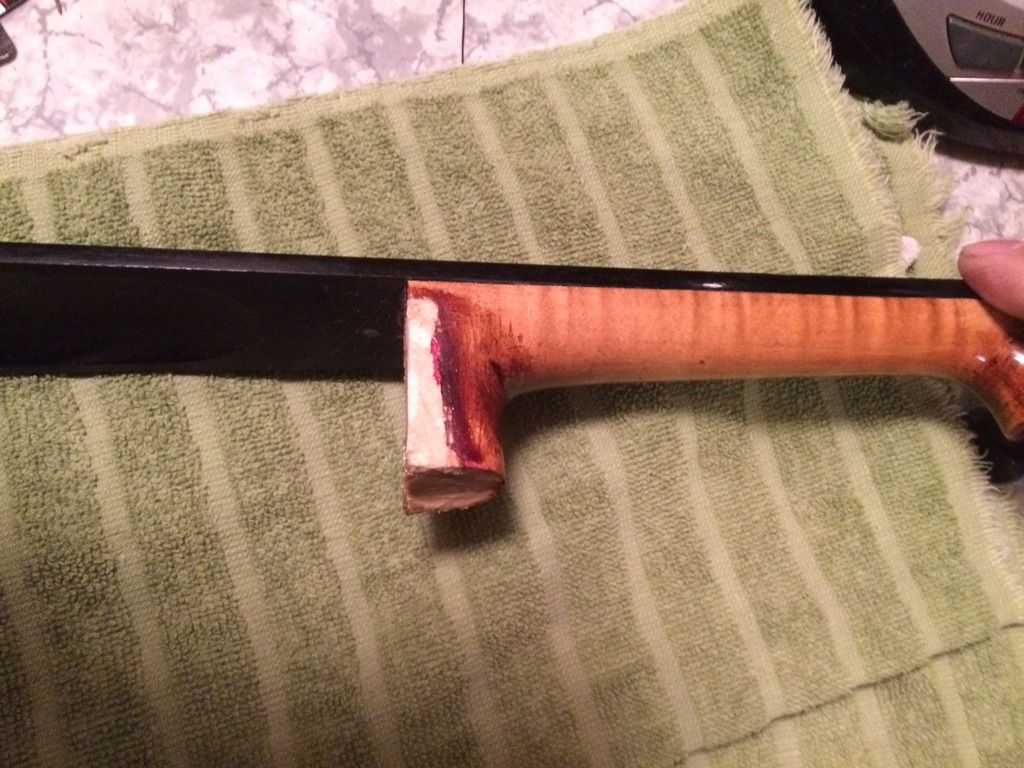
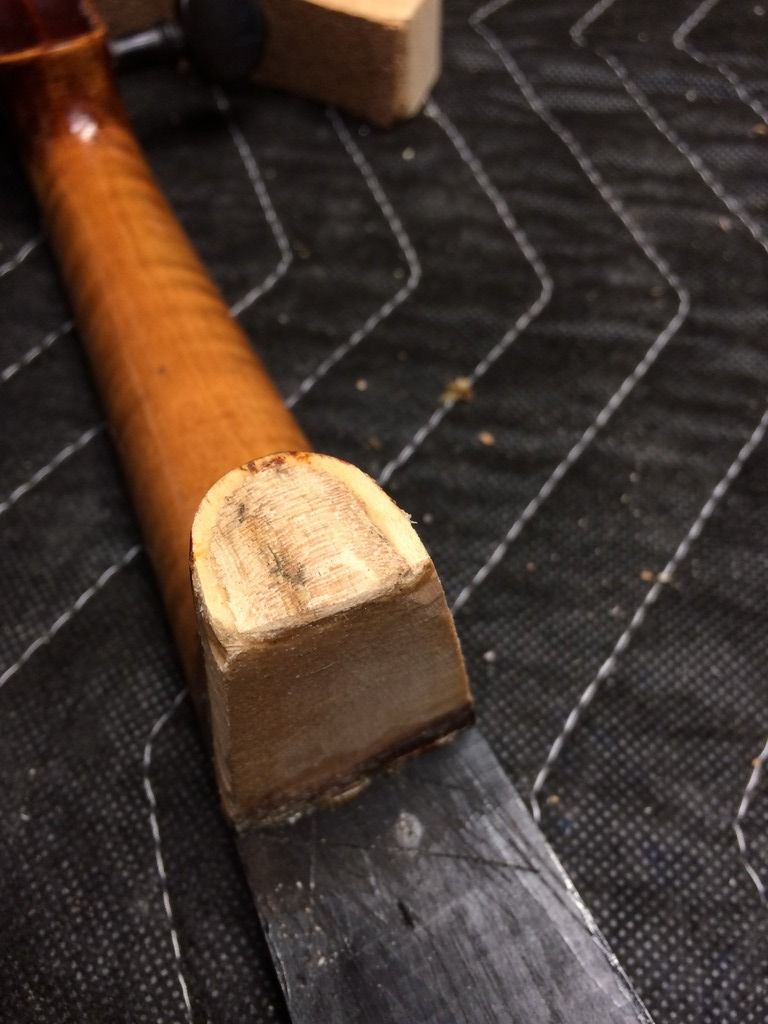
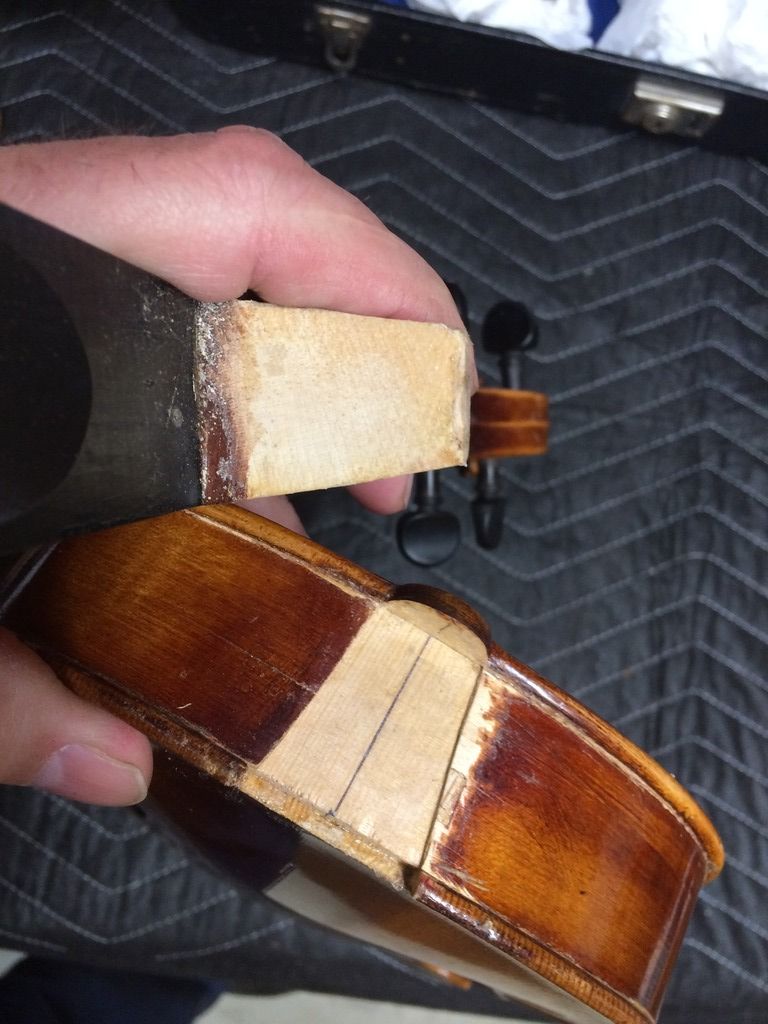
There was also missing wood at the neck-heel: At some point in the history of this fiddle, it had been snapped loose from the neck block, and a piece of wood about the size and shape of a fingernail had chipped out of the gluing surface of the neck. (photo up above) This is a critical joint, so the wood had to be replaced.
I soaked a thin piece of aged maple in hot water until it was flexible, during which time I scraped smooth the scooped out place in the heel. Then I slathered in the hot hide glue, and clamped the now-flexible maple into the “scoop”, using a cork for a clamping block. When the glue was completely dry, I planed the wood flat to match the original shape of the neck heel.
Meanwhile, the inside of the top plate needed attention: there was a (poorly) repaired crack to attend to, several bits of missing wood, etc.
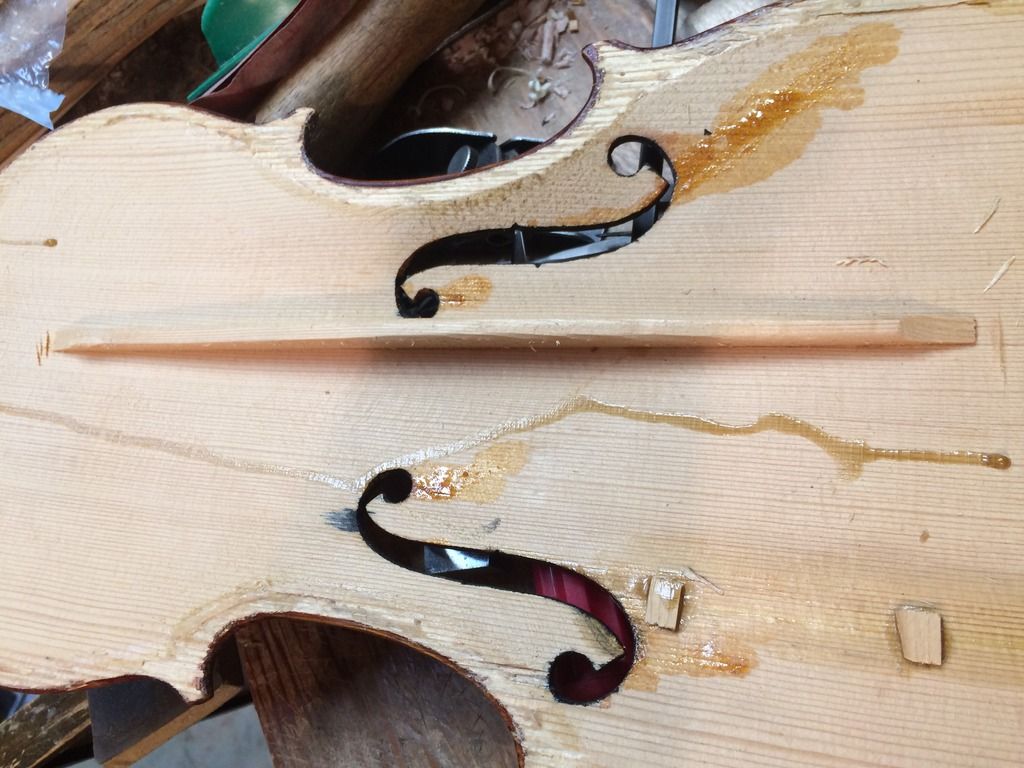
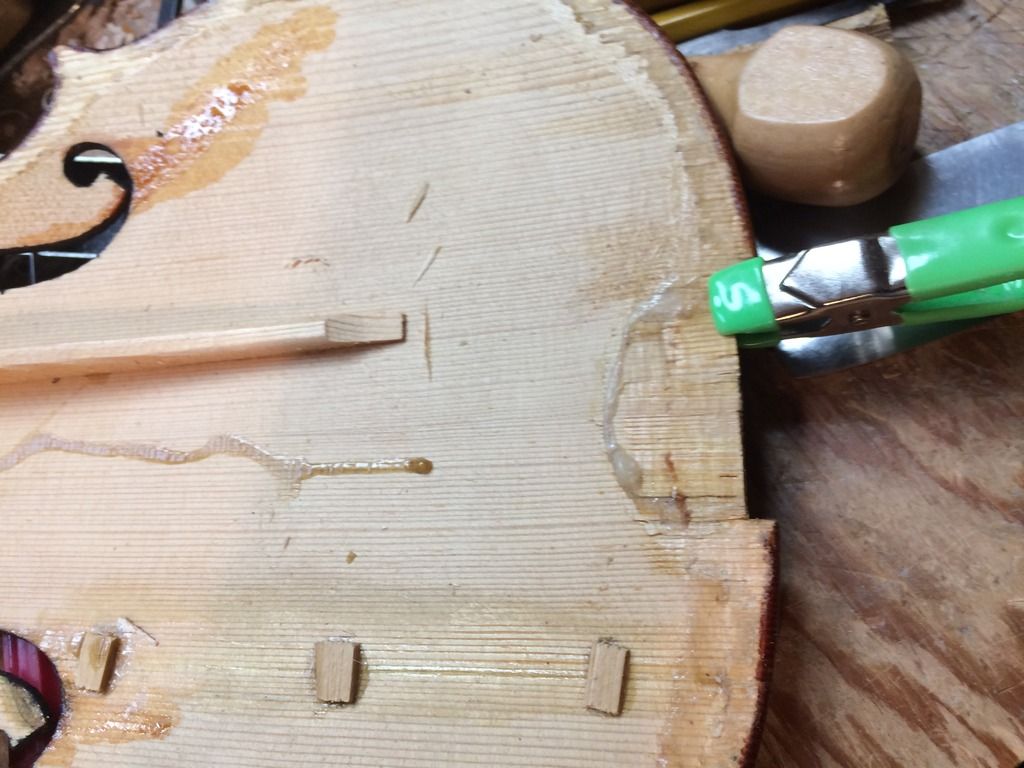
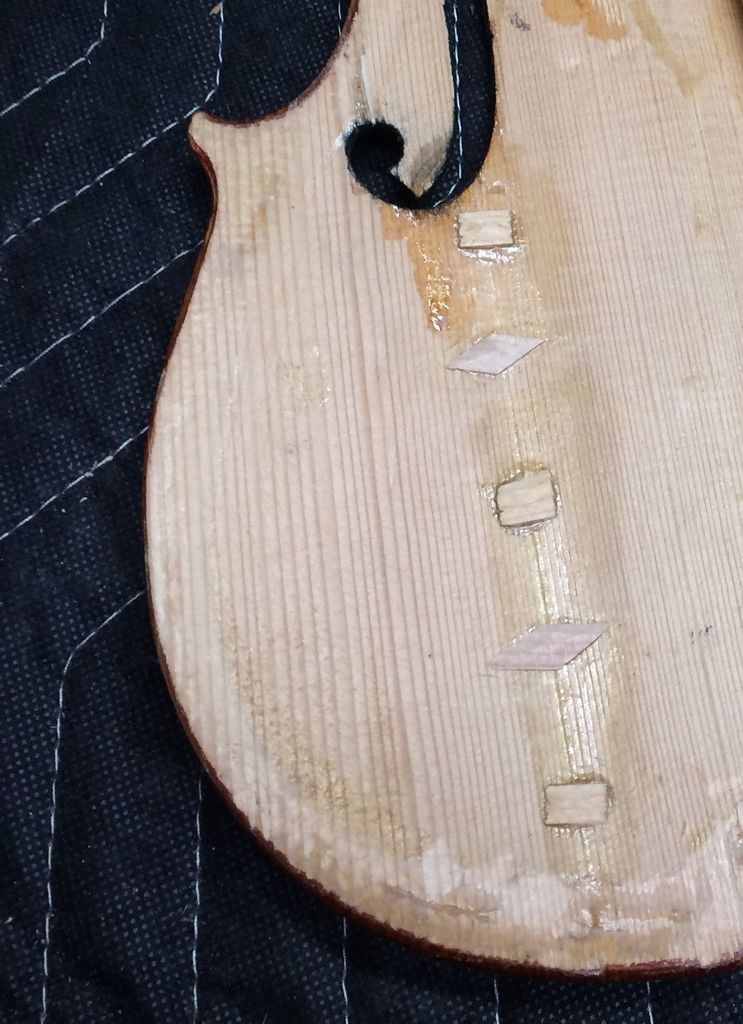
I replaced any missing wood using spruce, cut to fit, and hot hide glue. While I had the top off, I cleaned up the old crack, and added two more diamond-shaped cleats. The importance of this shape is that it minimizes stress on the grain of the undamaged wood. That square, block (center cleat) above could cause a new crack to form along its edge. I eventually carved the old cleats to a thin taper, to minimize the danger.

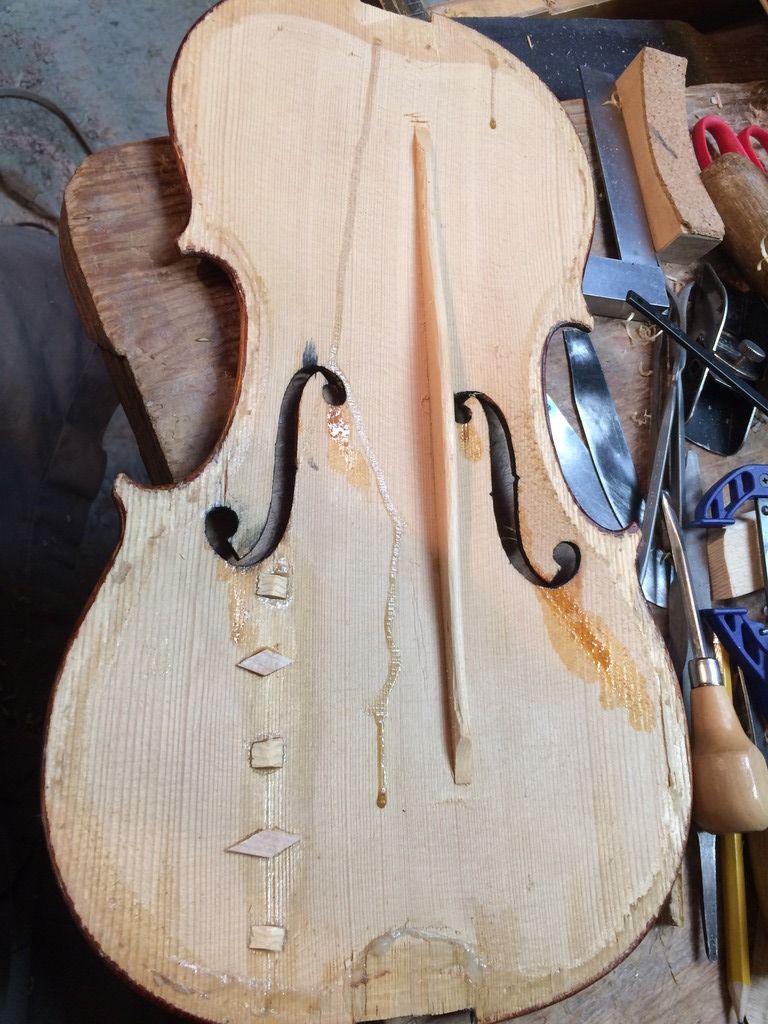
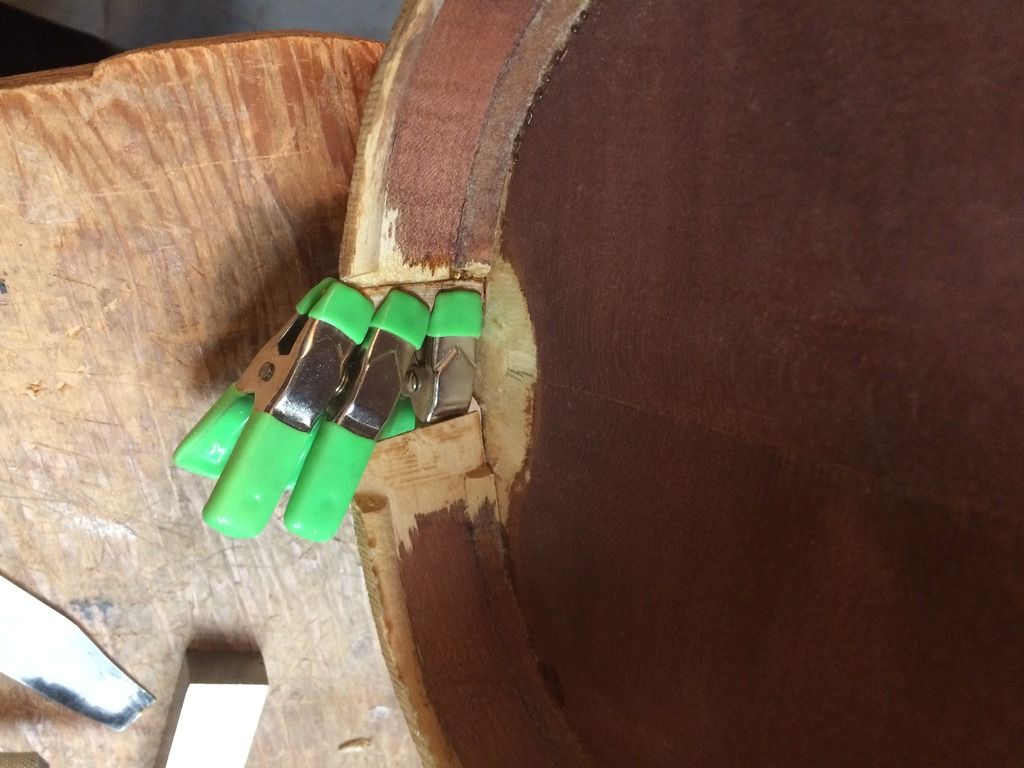
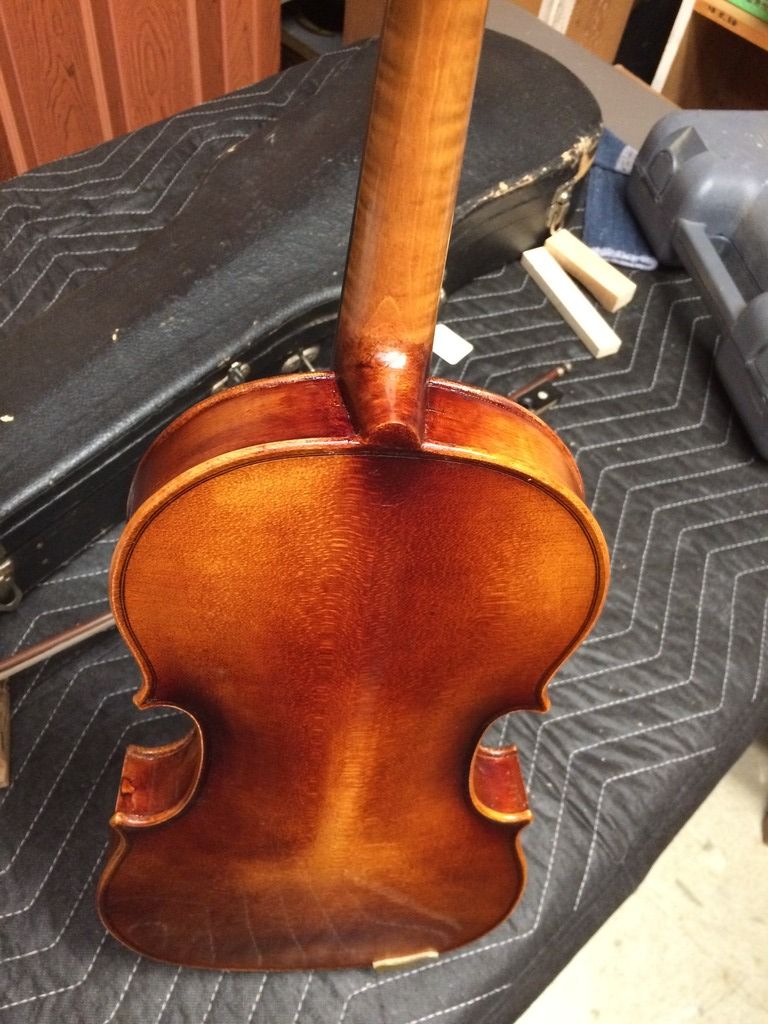
Finally, the top can be re-installed on the garland. First I leveled the garland, so that any inconsistencies caused by my replacing that neck-block will be eliminated, and the top will fit cleanly. Then I dry-clamped the top in place, and, loosening a few clamps at a time, I inserted hot hide glue all around the edges, especially at all six blocks. As I completed the glue insertion in each area, I replaced the clamps and gently re-tightened them, then cleaned off any glue squeeze-out.
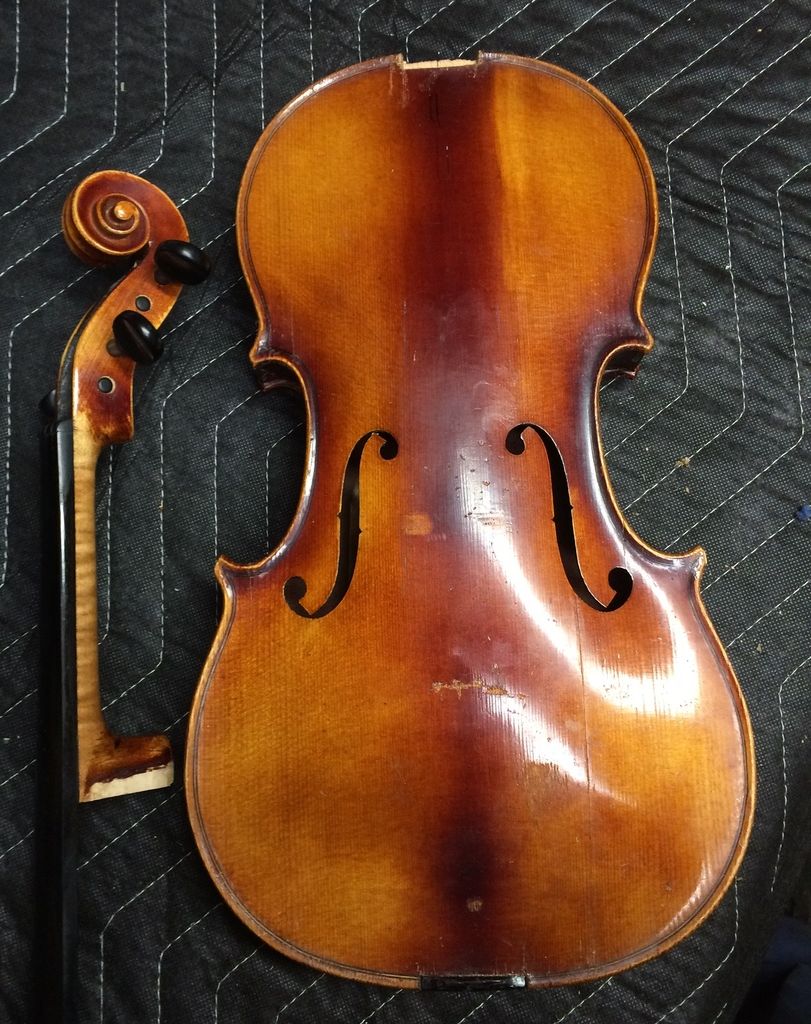
The result? The body is reassembled and the next step is re-setting the neck.
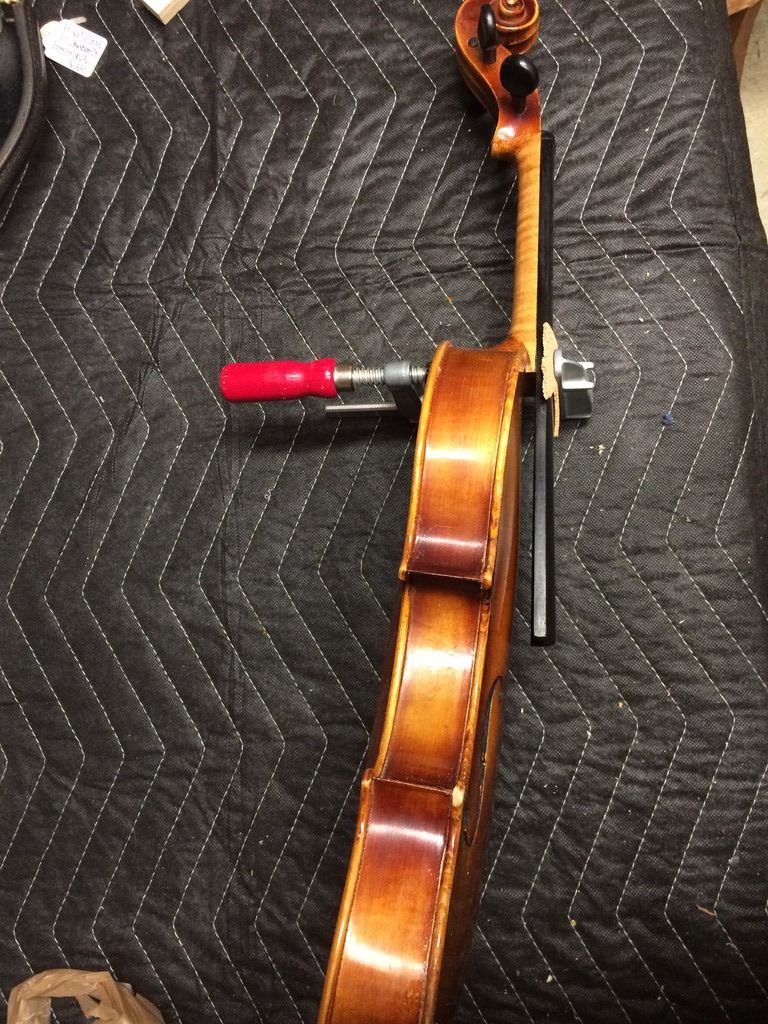
Once the neck is fitting exactly, I double check all dimensions and angles and finally slather hot hide-glue in the joint and ram the neck-heel home, checking rapidly to make sure everything is still correct. Then I clamp it so that it stays secure until that glue is fully set and dry.
So, I have to file and smooth the neck-heel joint, then re-touch the varnish so that the old and new are a close match, at the heel and both ribs. Then re-touch all the varnish, not attempting to make it new, but to cover any bare or damaged wood with varnish that matches the original varnish.
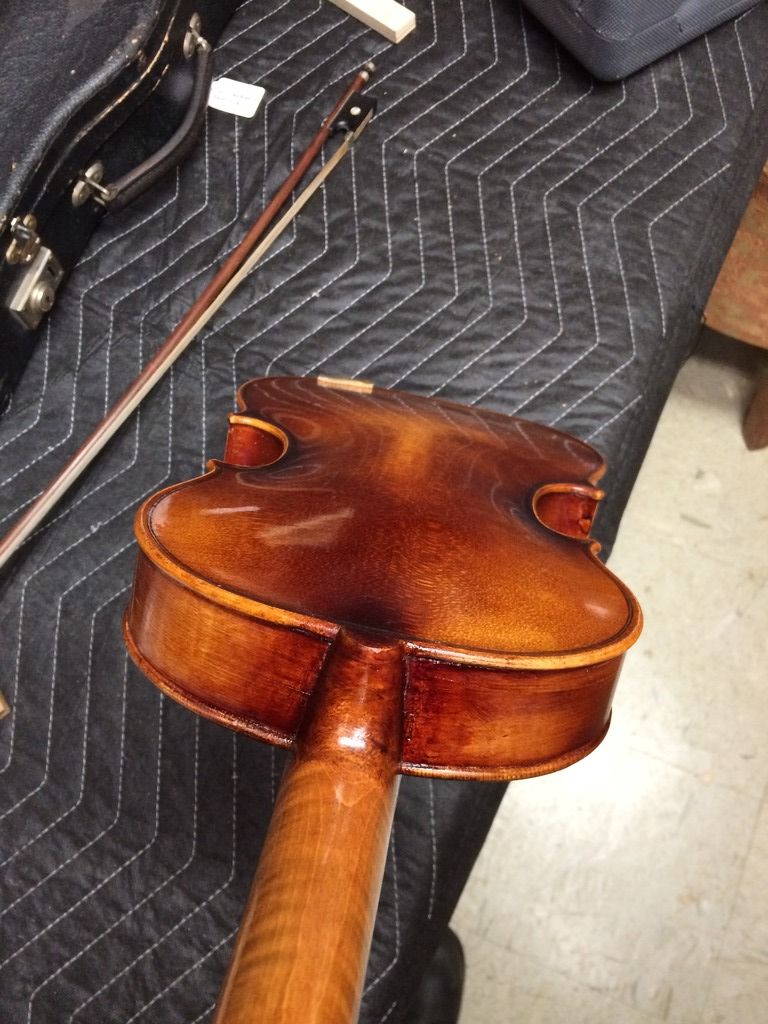
The rib-patch is not invisible, but it is no longer objectionable, so I am satisfied.
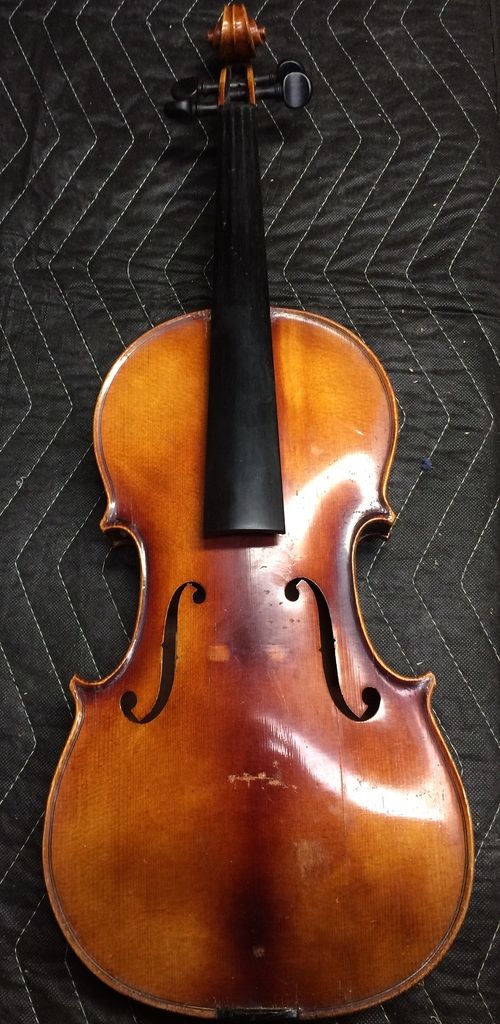
And finally, everything is done! The set-up is complete, all the old dings and scuffs have been retouched, and the old fiddle looks and sounds great.
Time for this one to go home.