Follow

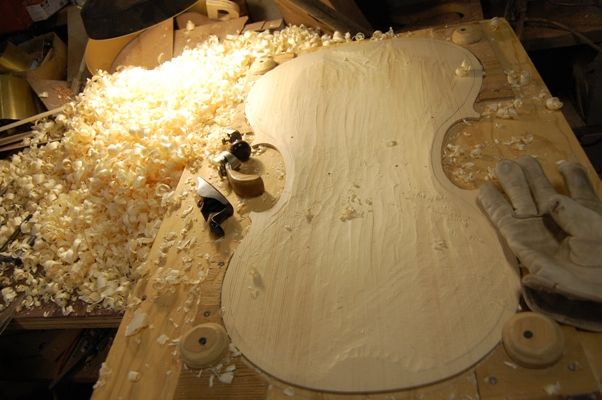
Cello Front Plate Graduation Completed
Smooth inside and out, and all thicknesses correct
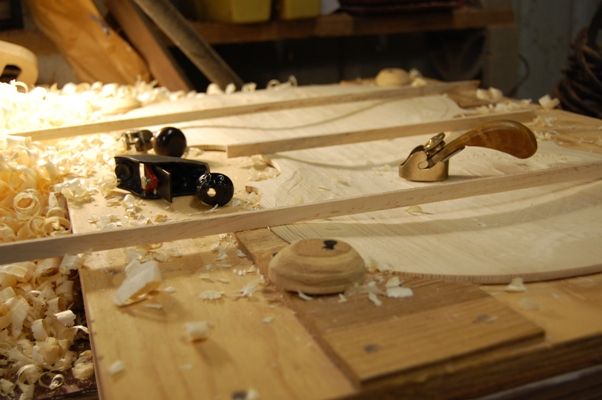
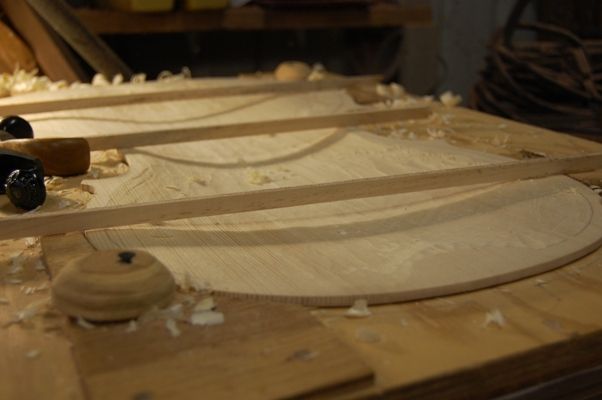
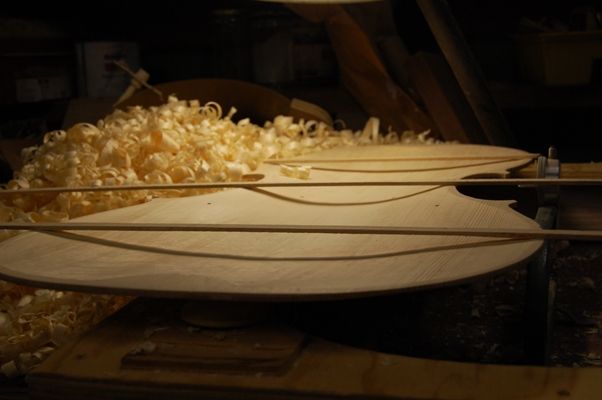
It took me a couple of hours, I guess, to do the final graduation, planing and scraping the inside of the European Spruce front cello plate to perfection (or nearly so). Here is the plate, with some pieces of willow lining stock across it, to form shadows so you can see the curves. The color is so neutral that without the shadows, the plate looks flat in photographs.
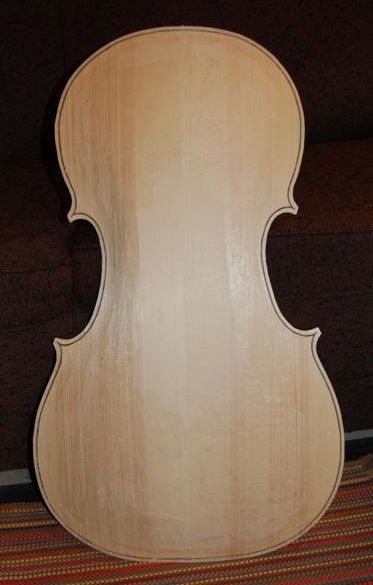
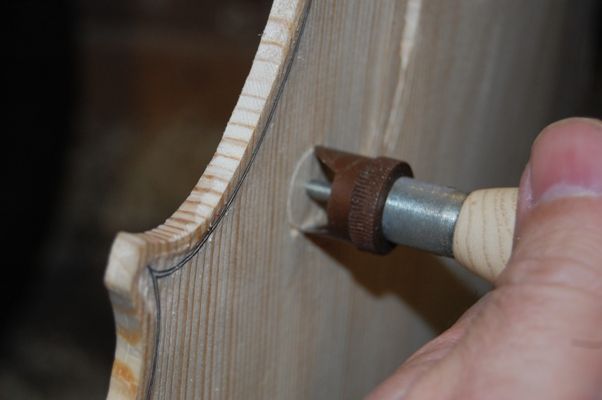
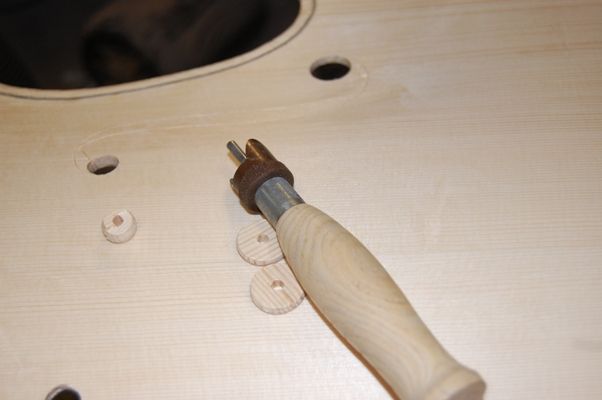
The f-holes had been incised earlier, so all that was left to do is finish cutting them out. I used the f-hole cutter to cut the circular portions of each f-hole.
Then I used a coping saw and a knife to complete the cutting. Each hole will still be refined and perfected, later, using a knife and a small file.
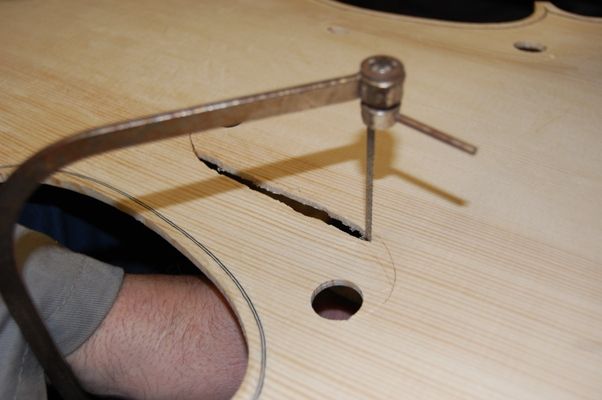
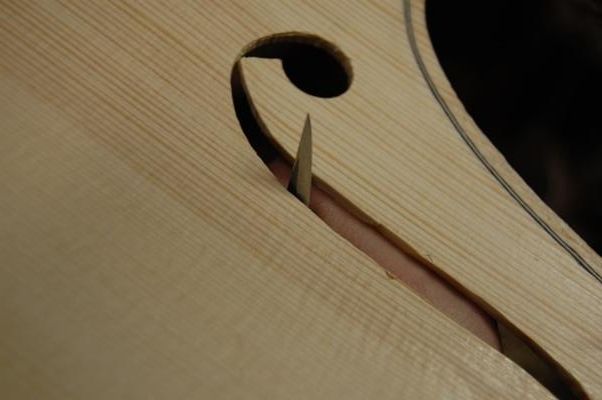
- Finishing the F-hole shape with a knife.
But the f-holes are essentially complete. the next step is to install the bass-bar.