
 Follow

Bending and Installing Bass Ribs and Linings: Part 1
Gamba-corners versus Violin-corners
When I built my first bass, ten years ago, I built a bass rib bending “iron” of heavy aluminum pipe, and it worked acceptably for that bass, primarily because it was a “gamba-cornered” bass:
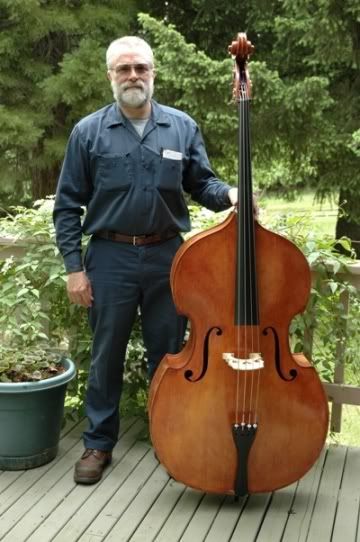
The gamba-cornered basses derive their name from their earlier predecessors, the viols. (Some people still refer to them as “bass viols”.) The violas da gamba were a medium-sized viol, intended to be played in a sitting position, gripped between the knees, like a cello without an end-pin. Their corners had no recurve, so the basses with similarly shaped corners are called “gamba-cornered.”
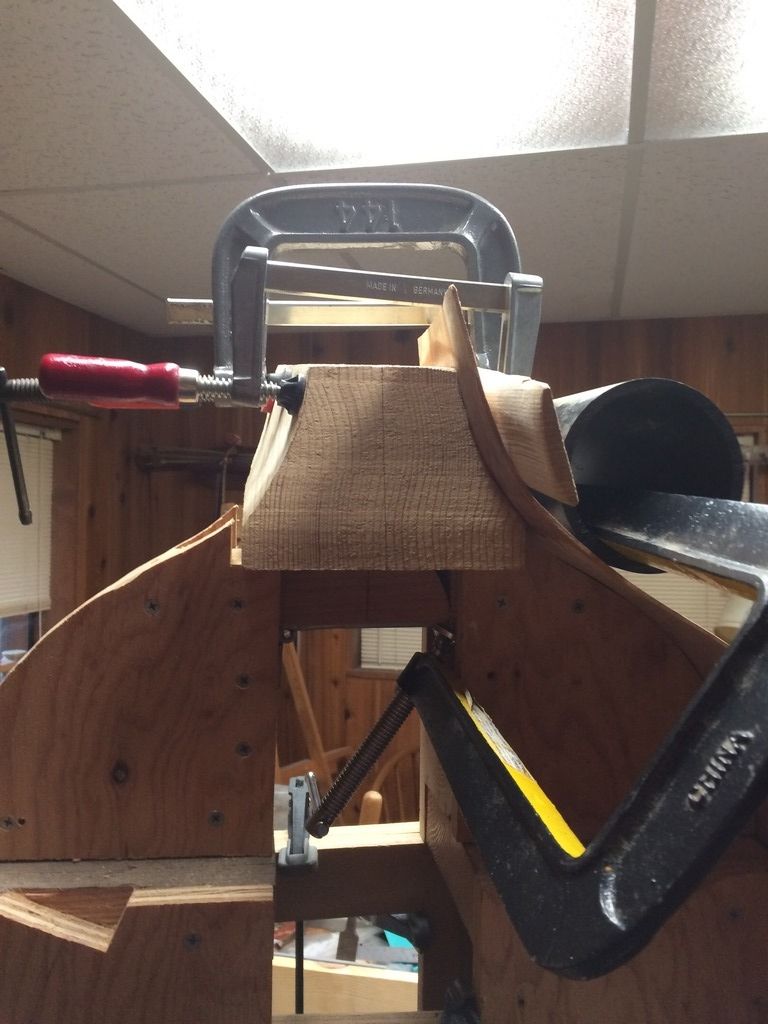
But this bass, in addition to having a removeable neck, will be a “violin-cornered” bass, with sharp recurves at each corner. And, as it turned out, the old bending iron just wasn’t going to work. So I improvised by clamping a piece of 4″ ABS pipe to the workbench, draping a wet rag over the rib in progress, and “pressing” it with a clothes-iron. Surprisingly, it actually worked, just not all that well. I could get a rib flexible and roughly bent the way I hoped, but then had to quickly clamp the floppy rib into the mold and let it cool and dry there, and regain some rigidity.
Again; it actually worked… just not very well. It was a very frustrating process, and clumsy, much as if I had never built a bass before. I can tell that, before I build another bass, I need to build a better bending iron…and maybe streamline my mold a bit, as well– this one is a real tank, and inconvenient to use, as I did not use good foresight regarding where clamps would fit, so as to actually use the mold. (sigh…)
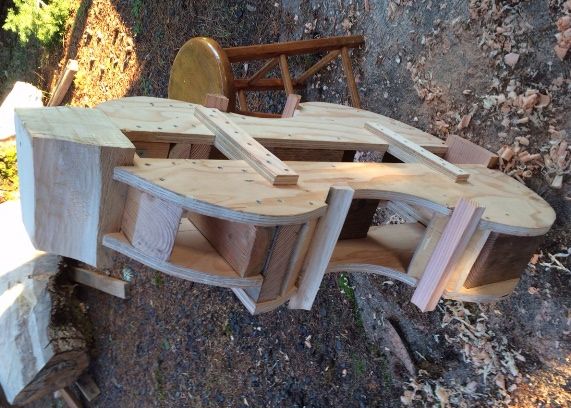
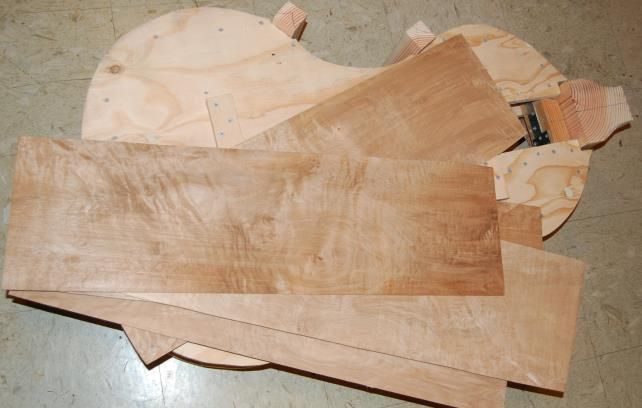
So, when I last posted photos (16 months ago…things have been busy) I had the mold prepared and the ribs ready for bending.
Bending and Installing the Ribs and Linings:
I always install the center bout ribs first–usually called the c-bout ribs. When the glue has dried on the c-bout ribs, they can be trimmed to match the outer curve of teh corner blocks, and the upper and lower ribs can be installed.
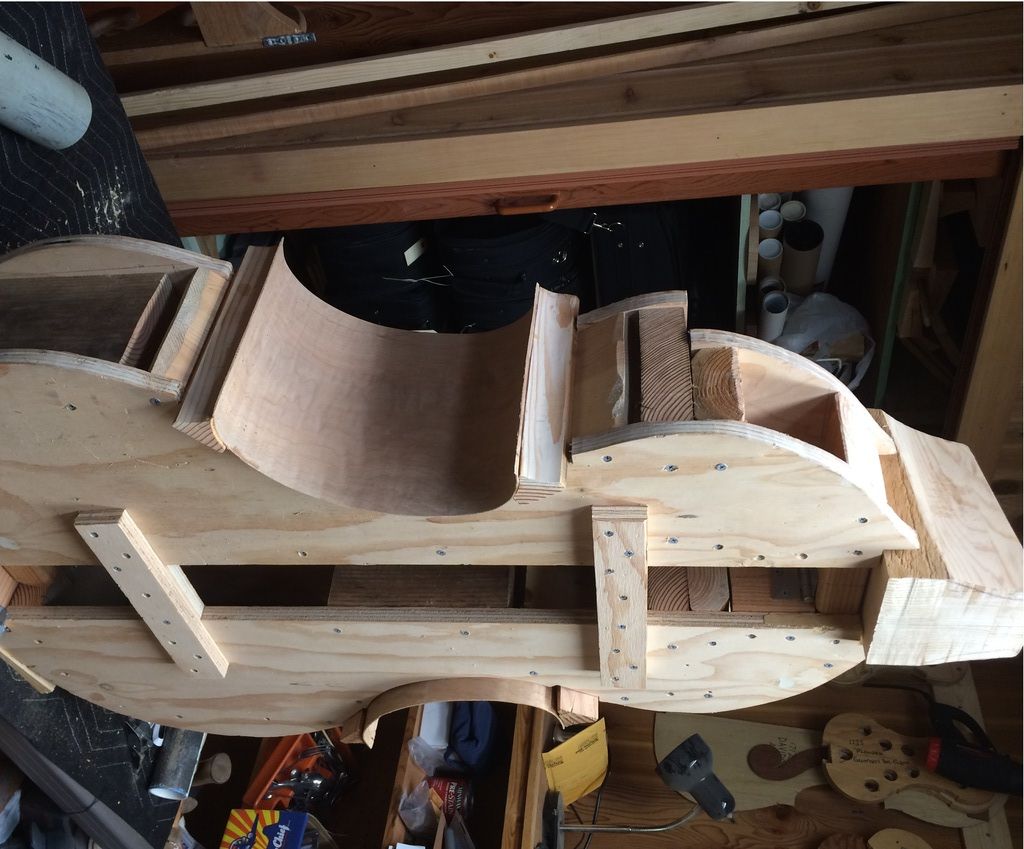
I really will have to improve my clamping arrangement before building another bass. Probably will have to make major improvements on the mold, too. I bend the upper ribs one section at a time, and clamped them to the mold to cool and dry, before making the next bend:
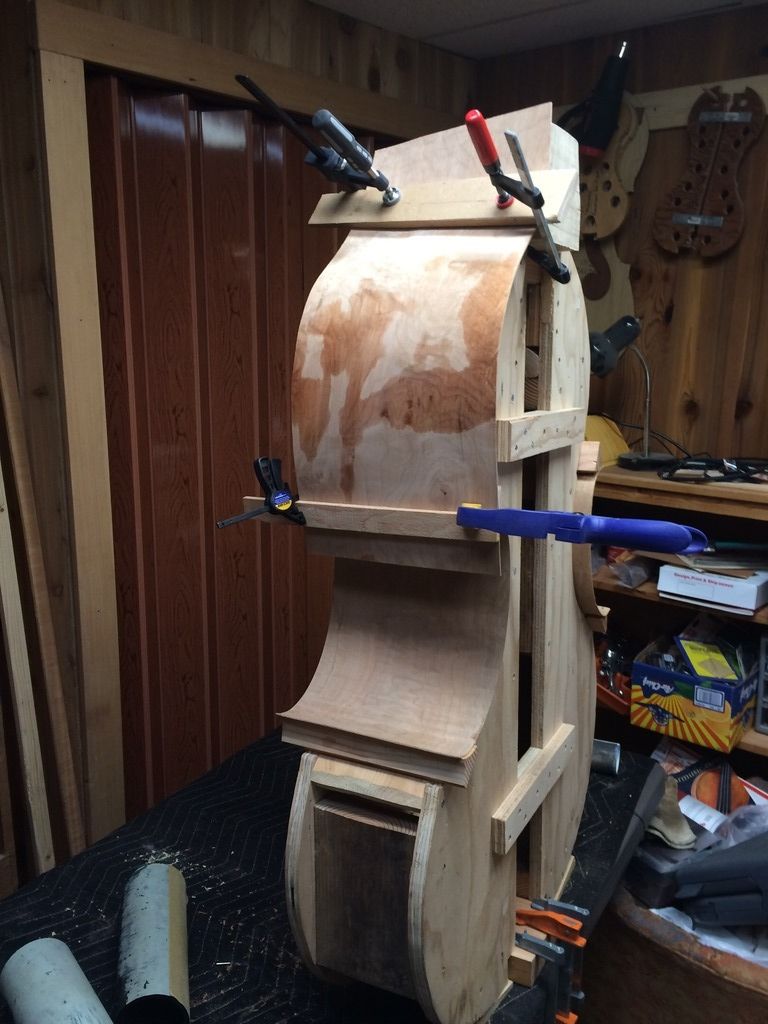
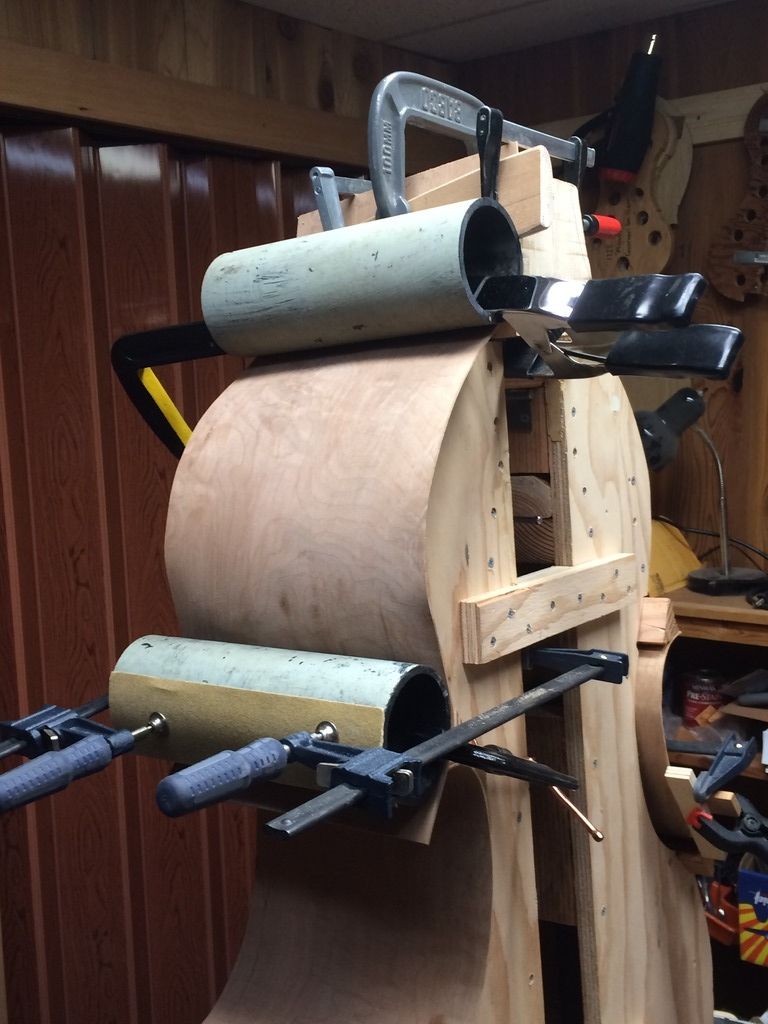
But finally, things began to shape up, one step at a time:
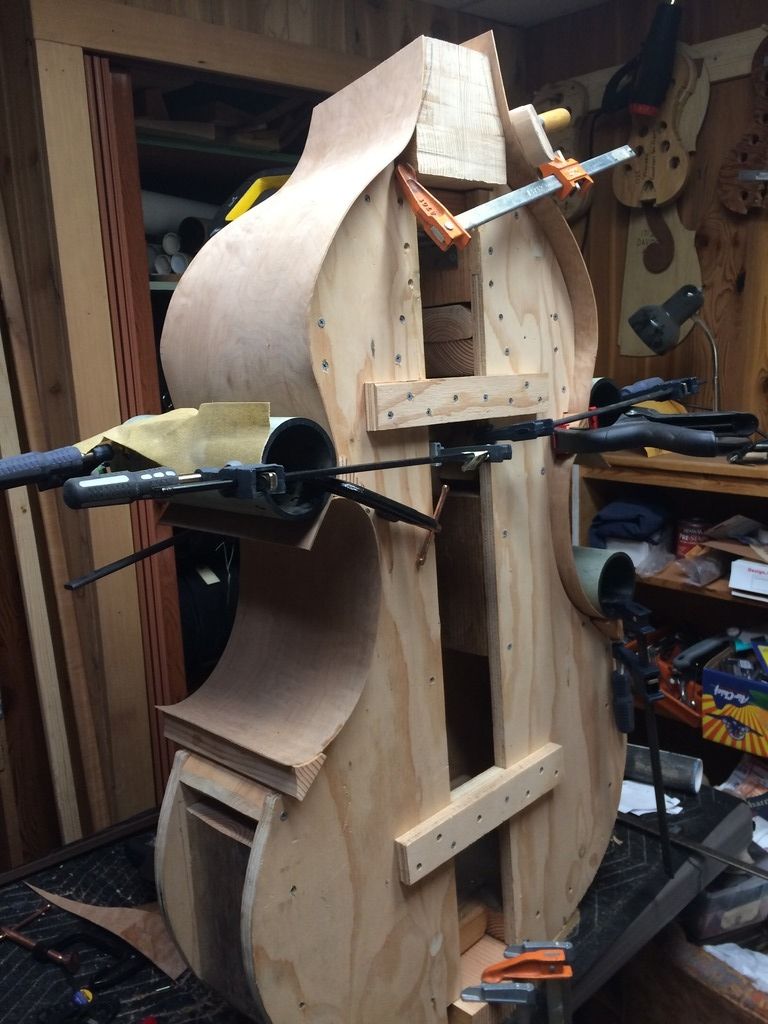

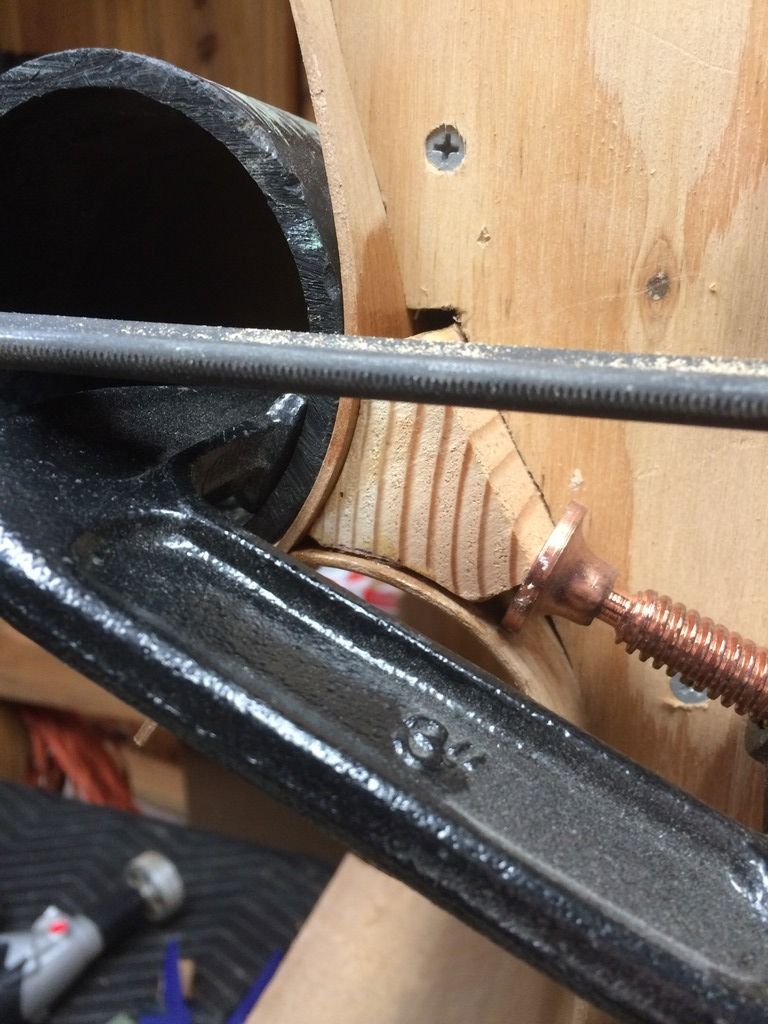
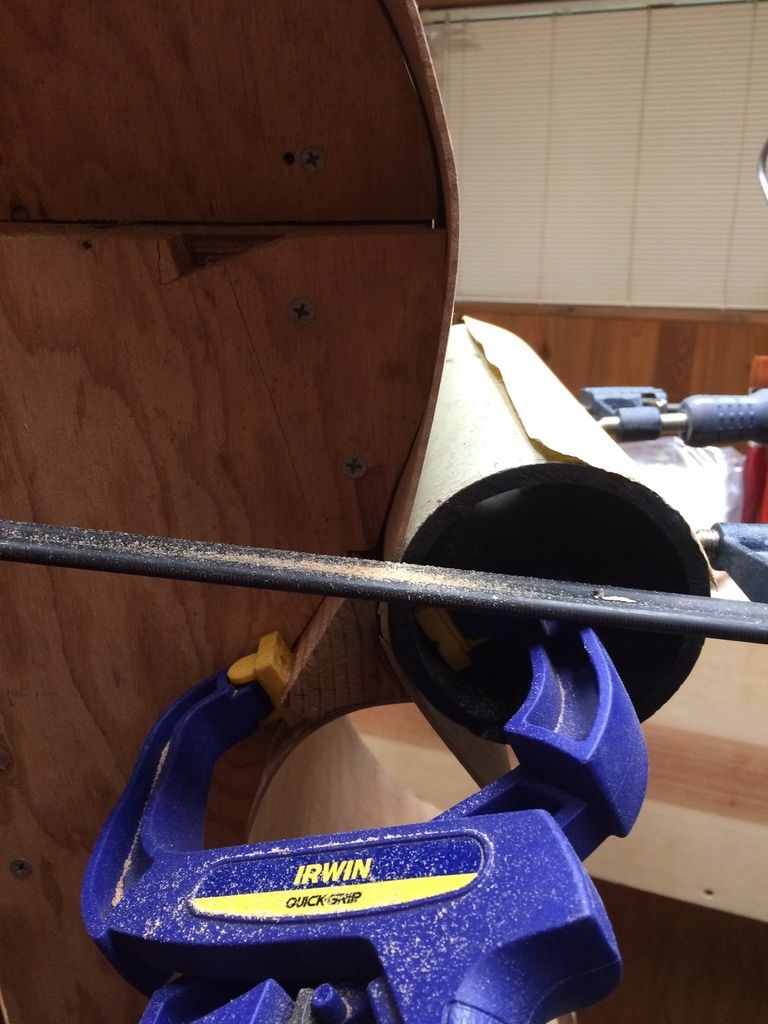
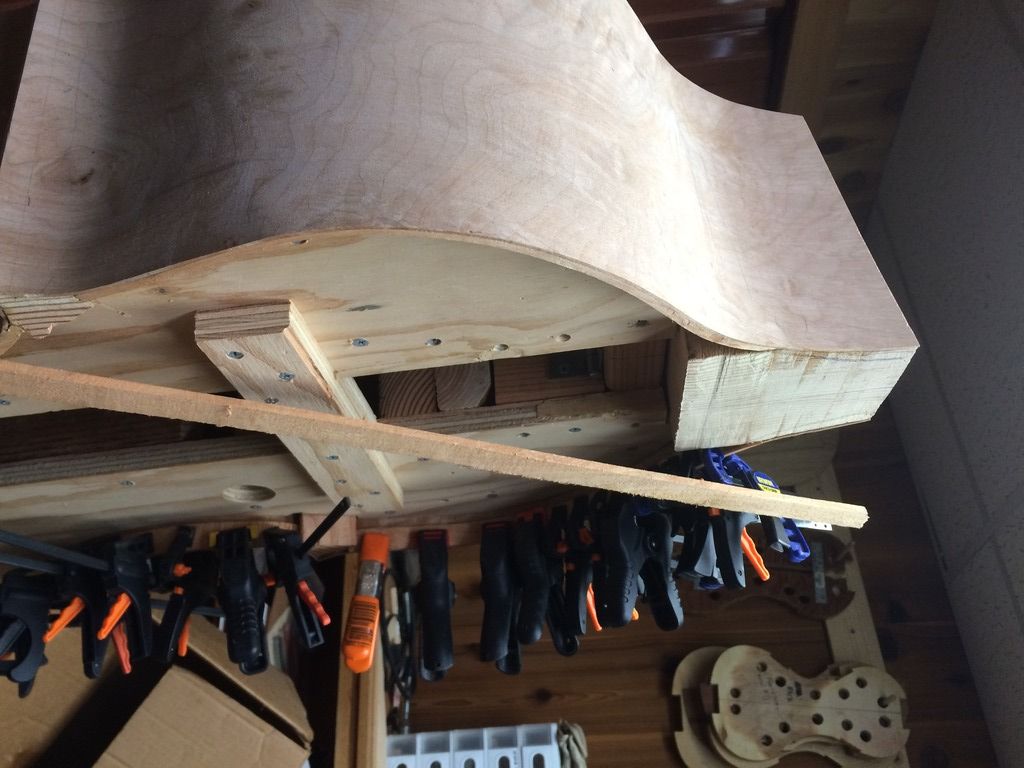
So, the next step is the lower ribs; but I was uncomfortable handling the mold with the unprotected ribs, so I will install the upper and center linings before attempting to turn the mold over so I can install the lower ribs. The linings stiffen the edges of the ribs, as well as tripling the gluing surface presented to the front and back plates.
I installed the upper linings before trying to up-end the bass and install the lower ribs and linings:


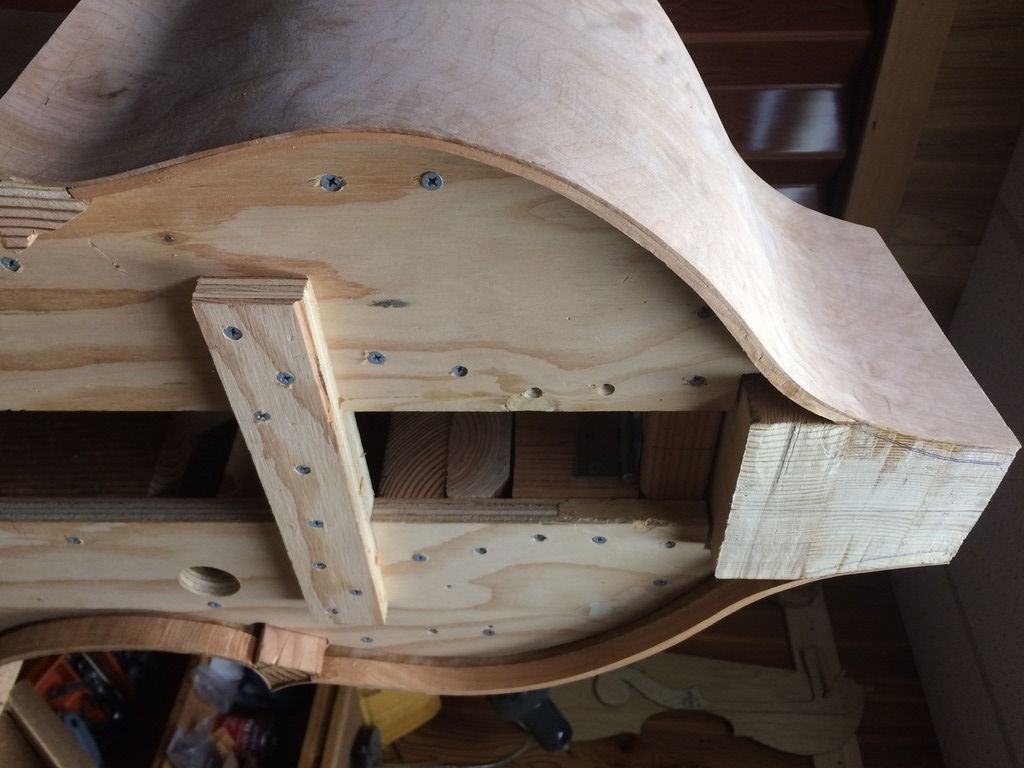
That is all I am going to post for now…the lower ribs and linings are next, but I have to create a fixture that will allow me to turn the bass to a variety of angles in order to work on it. I think I have a plan figured out: we will see how it turns out.
Meanwhile, another project has arrived on my doorstep. A lady sent me a cello begun by her dad, but which was still incomplete when he passed away 9 years ago. My assignment: resurrect that dream-cello! It will have to wait until May 1st, I think, but I am anxious to get started on it. It is made of beautiful bird’s-eye maple and what seems to be Red Spruce. I hope it turns out to be a great cello. Looking forward to the challenge. 🙂
Thanks for looking.