
 Follow

Varnish Process
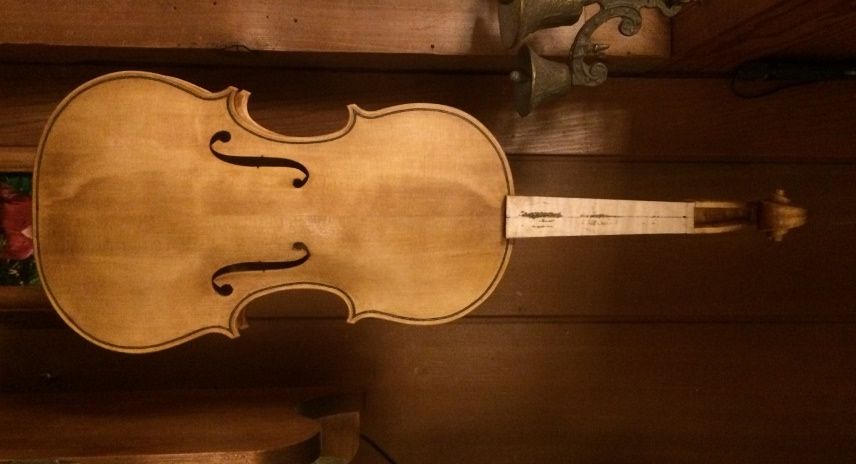
Sealer Coat is Dry: Start Varnishing!
Since the sealer was dry, I gave the violin a careful rub-down with worn 400-grit paper, and began to add varnish. I am using a spirit varnish, the first coat of which was a yellow varnish, which I had actually hoped would be a little more “amber” in color, but I think it will be OK.
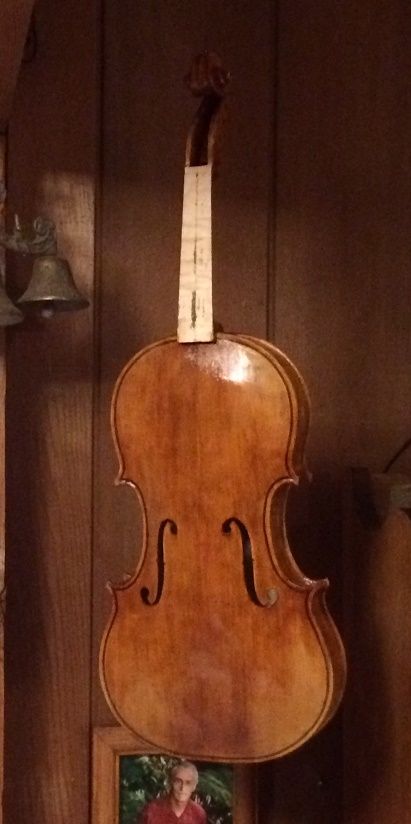
2nd Coat of Varnish
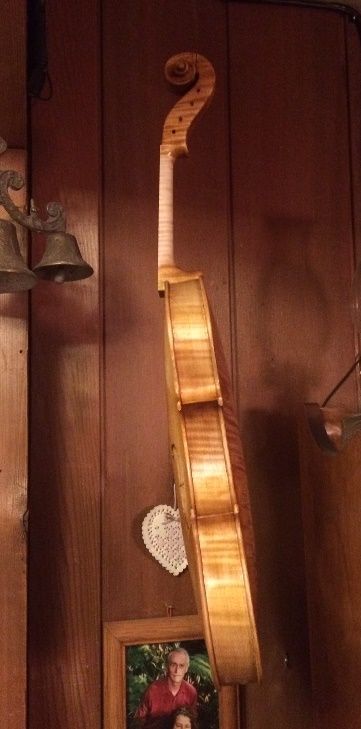
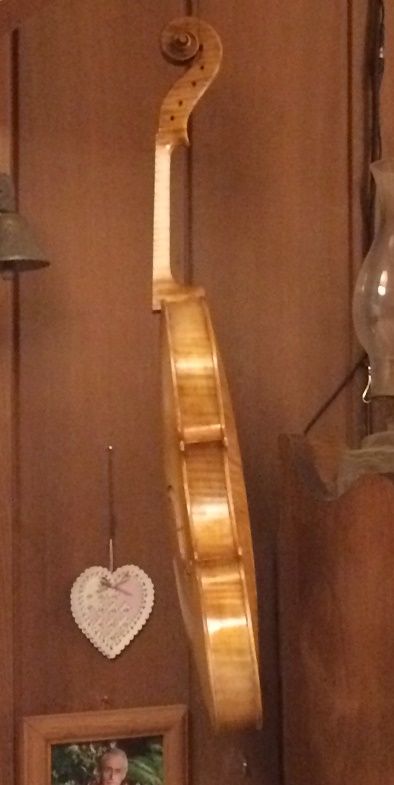
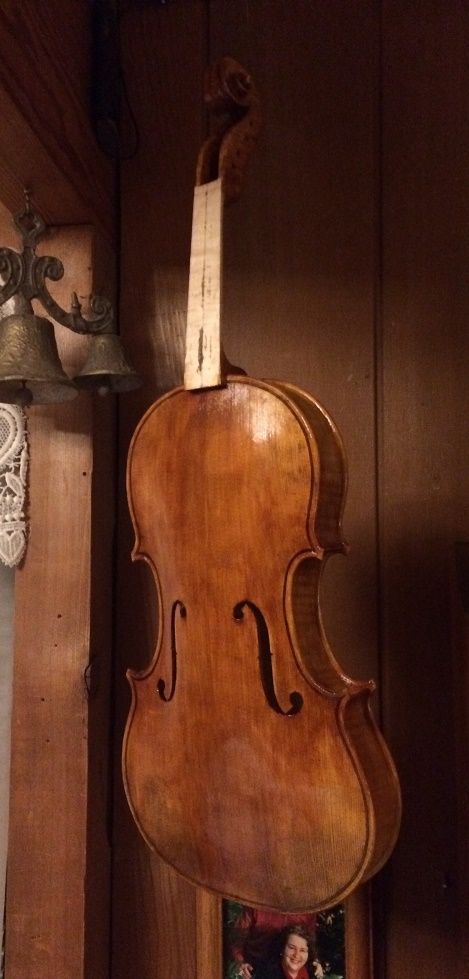
The first coat of varnish was really only intended to lay down a yellow under-coat, and I am satisfied that it accomplished that purpose. From here on out, though, I will be trying to lay down more color in the areas indicated, to try and match the original after which I am modeling this violin. So, here are coats two and three. Notice that I leave some areas light, as the original violin has fairly severe wear in those areas. (If you are interested, click here to see photos of the original.)

3rd Coat of Varnish
And, a third coat, in the same manner:
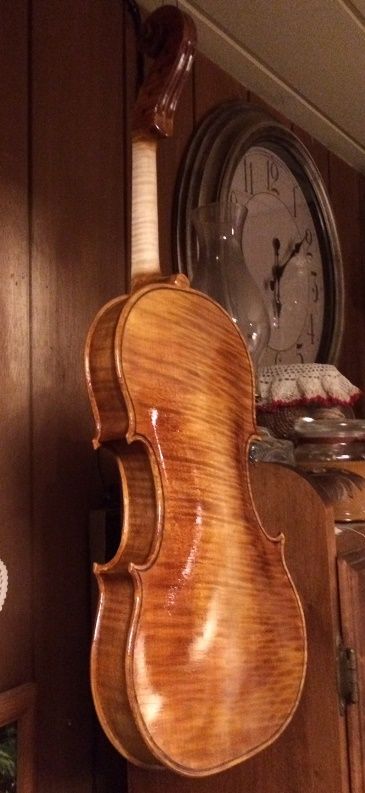
4th Coat
The first few coats are thin enough that it is difficult to see the changes…but it is gaining a little more color and gloss.
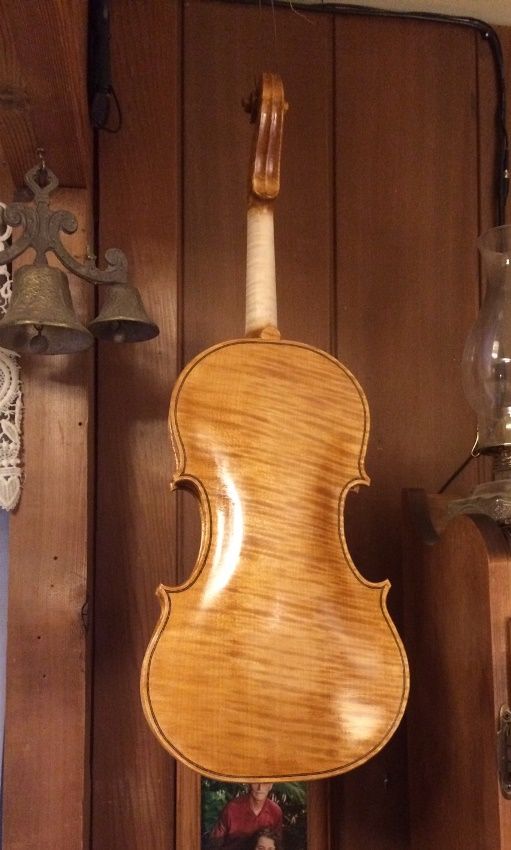
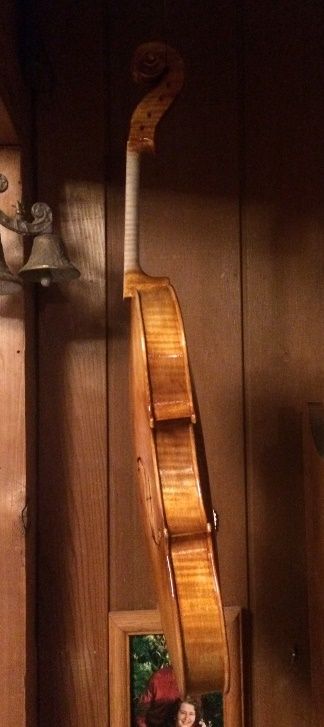
5th and 6th Coats
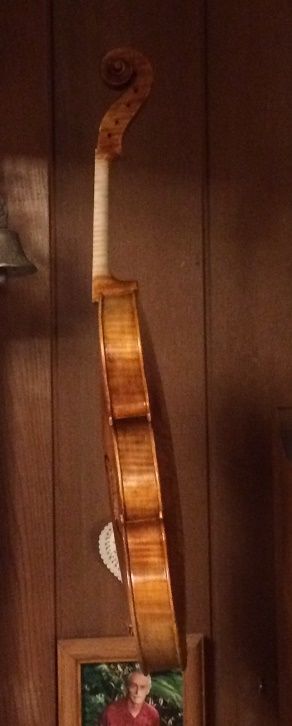
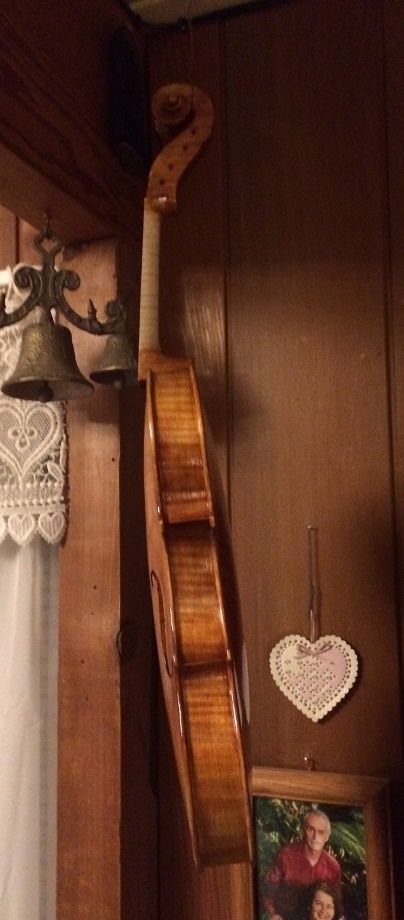
It is pretty obvious, now, even on the ribs, that certain areas are getting less color added. As I explained above, those are the areas that typically get the most wear, so, to imitate the wear patterns on the original instrument, I am minimizing the color added to those areas.
Also, I have been making the varnish coats quite thin, right now, trying to adjust the color early, instead of trying to fix it later…so, from here on, I posted the pictures as I saw relevant changes, rather than after every coat of varnish. I also switched over to a more intensely colored varnish for the 5th and 6th coats:

Starting to look closer to what I had in mind. 🙂
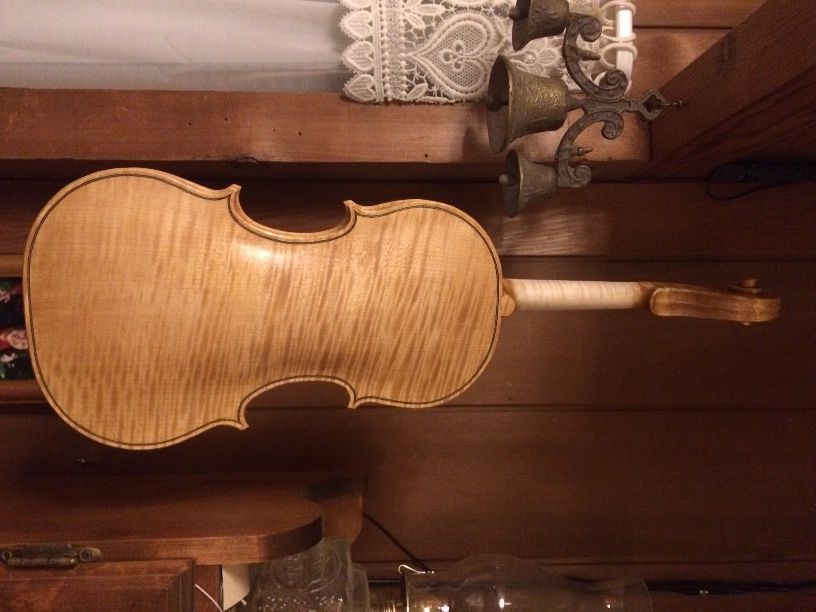
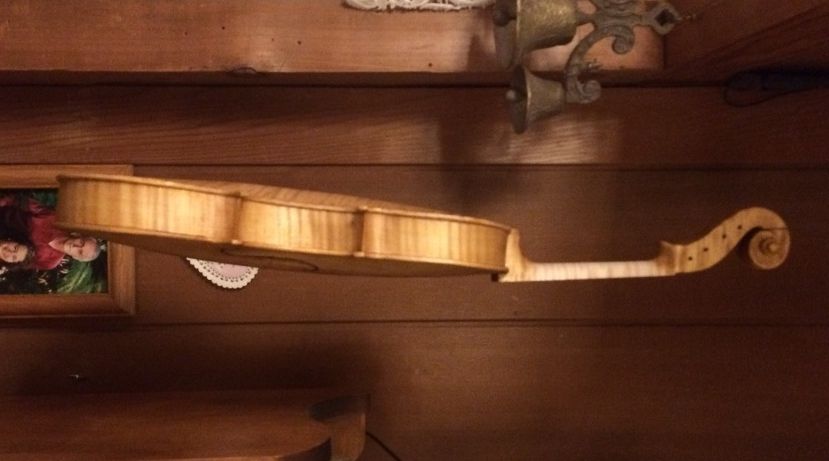
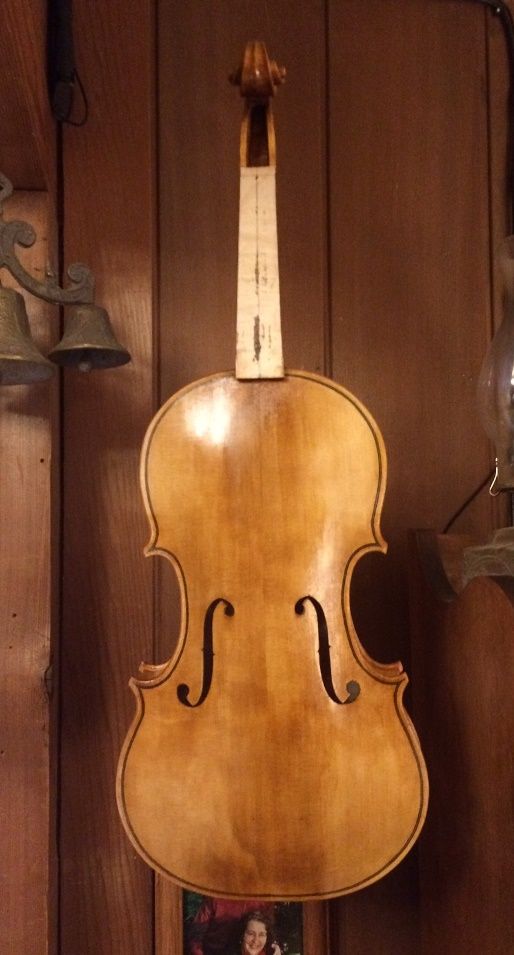
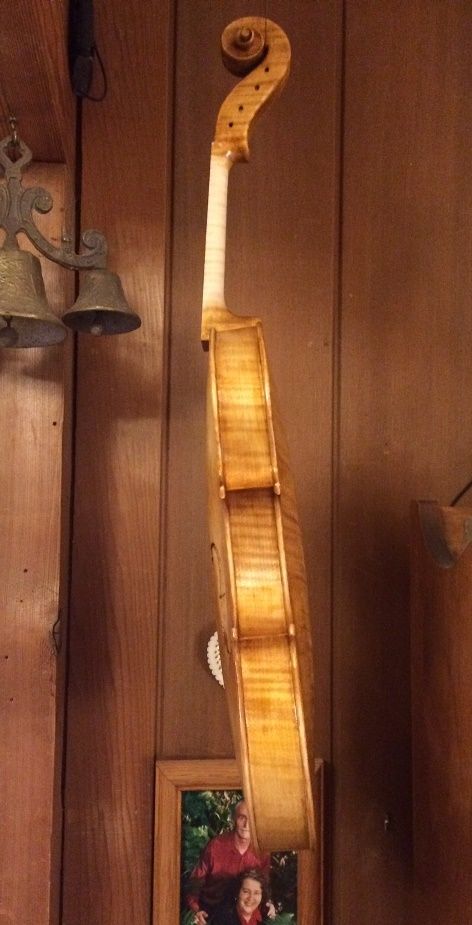
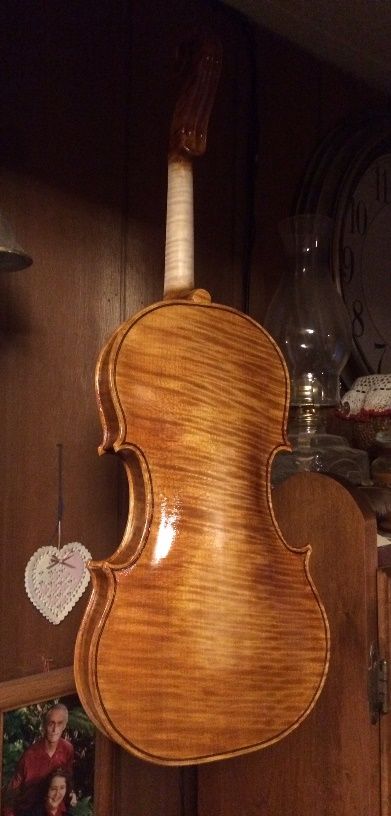
Final color coats, and two clear coats
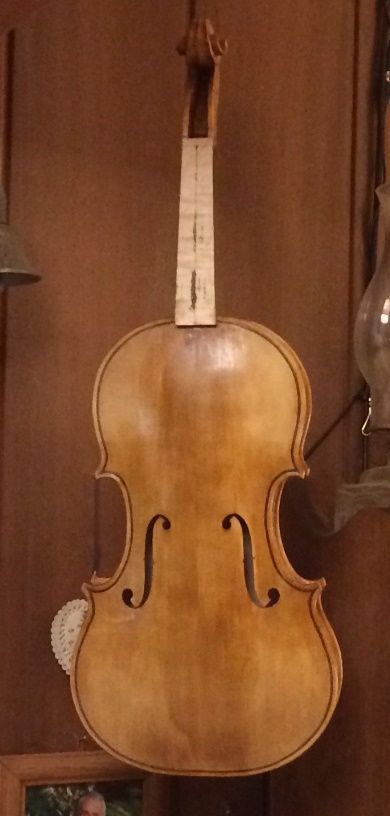
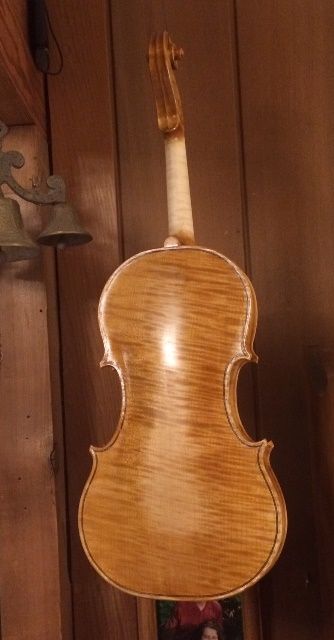
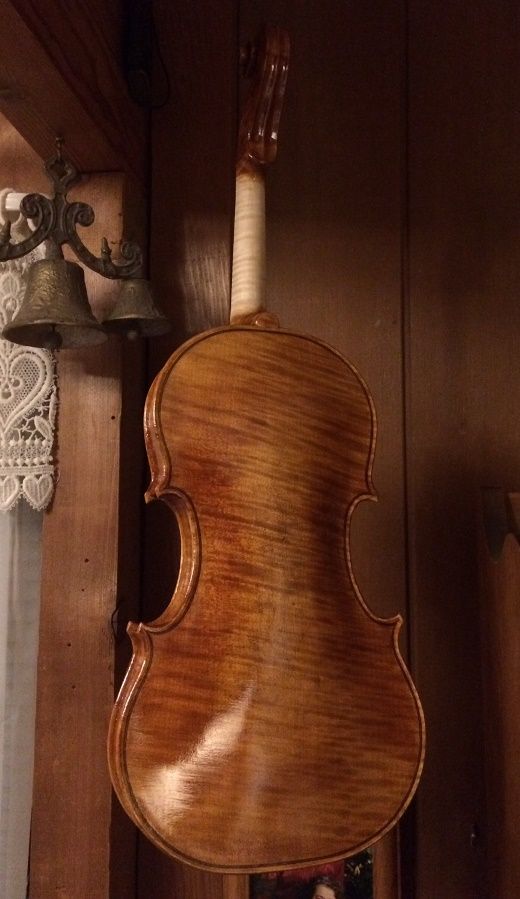
I gave a careful look to the poster, again, and tried to get the “wear areas” closer to the original. It is still far from accurate, but it is beginning to at least have the “flavor” of the original. My color is still too bright, and some areas still too light, but it is getting closer.
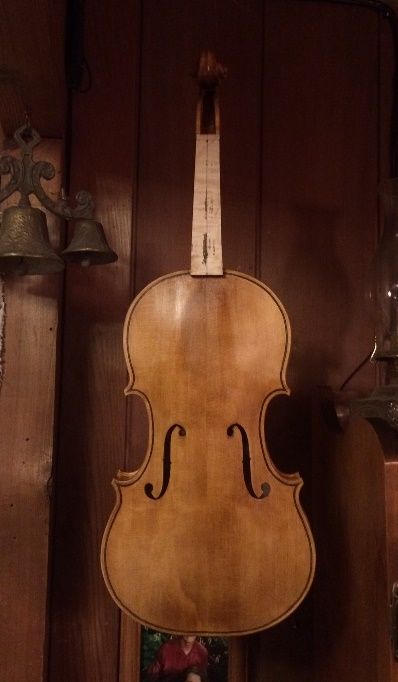
“Dirt” and “Age”
There were a few areas to which I wanted to add more color…and to rub some pigment into the grain, to emulate dirt. (I had already rubbed in some real dirt, but it wasn’t very convincing-looking.) Then, I locked it all down with a clear coat or two, and will polish it to completion. But this is pretty much the final color:
What’s Next?
The next thing will be to re-fit the fingerboard, dress the fingerboard, and begin set-up. I will continue to address “polish and finish” issues as I see them.
Thanks for looking.