
 Follow

Bass Bar, Fingerboard and More
Bass Bar Completion
When I last posted, I had installed the bass bar, and left it to dry overnight. (I did remove clamps too early one time…not good.) We needed to chauffeur a family member to the airport, in the morning, but before we left, I did get the clamps off and the bass bar completed. The rest of the day was occupied with other things.

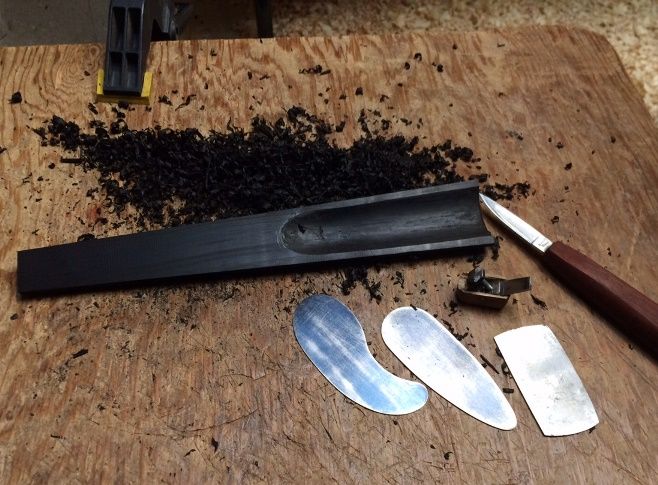
Front Plate Preparation and Installation
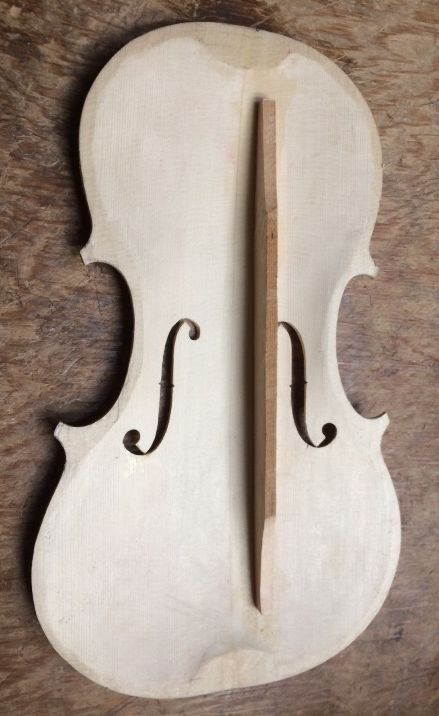
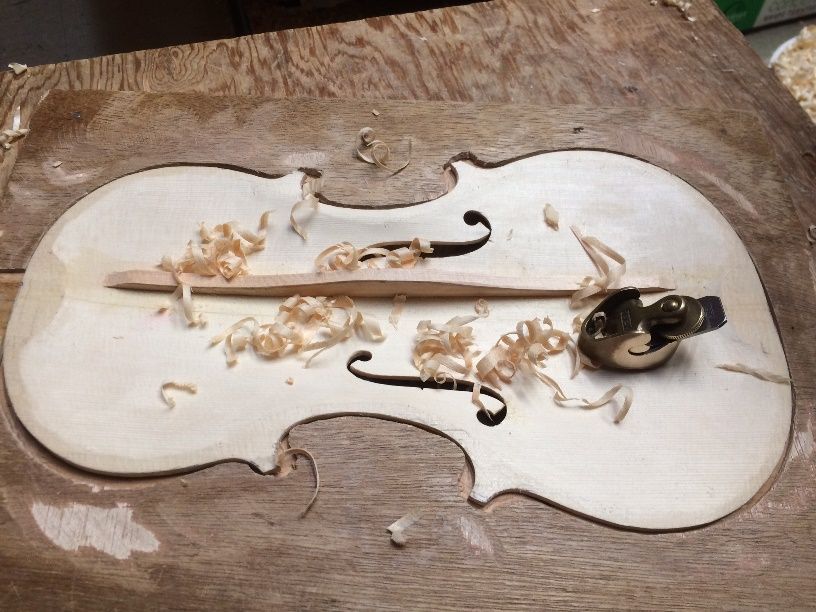
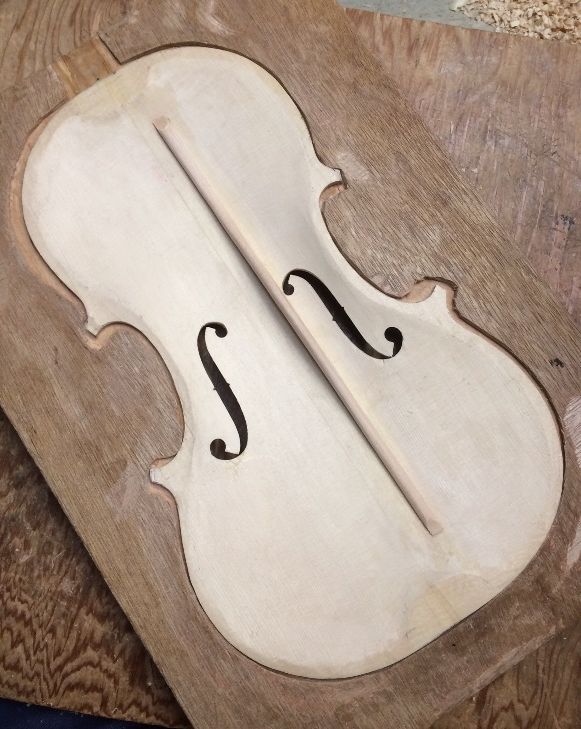
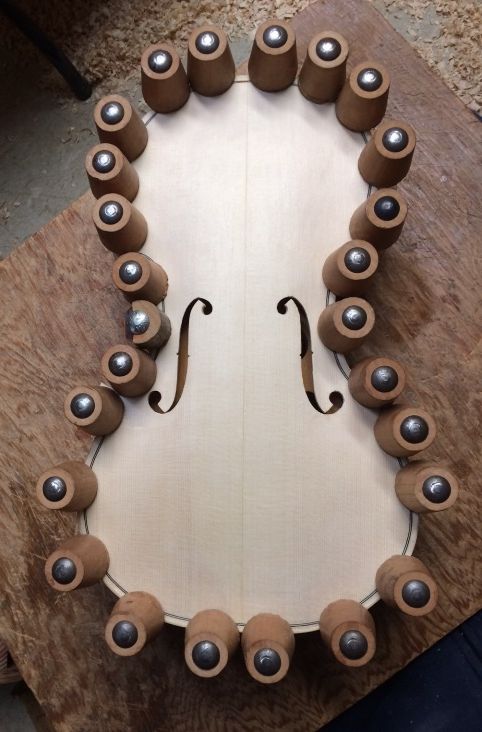
Once the bass bar was completed, I rounded the inner edge of the front plate, all the way around, to about a 2mm radius. I checked everything one last time, and then carefully fitted the completed front plate to the completed garland, exactly where it was supposed to line up. I held it in place with six spool clamps: one at each block. Double-checked everything, then began removing a single clamp, one at a time, and inserting hot hide glue not only at that block, but as far in each direction as the blade would fit between the plate and garland. Then I re-tightened that clamp and added more spool clamps, side by side, repeating the operation umtil the whole perimeter was fully glued and clamped, like this:
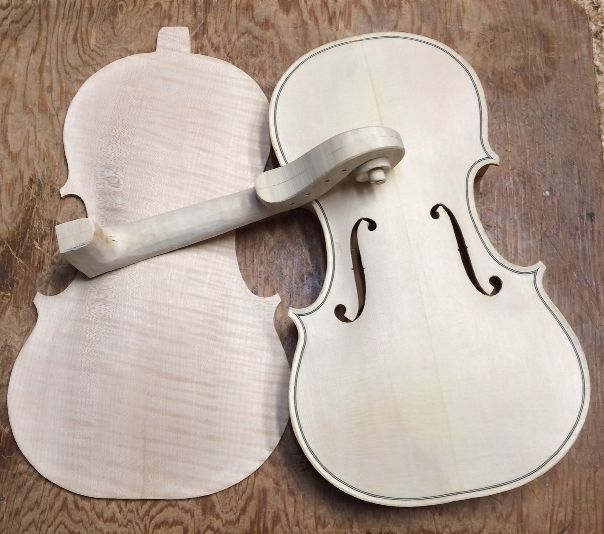
After I took the clamps off (several hours later,) the whole assembly looked like this with the back and neck:
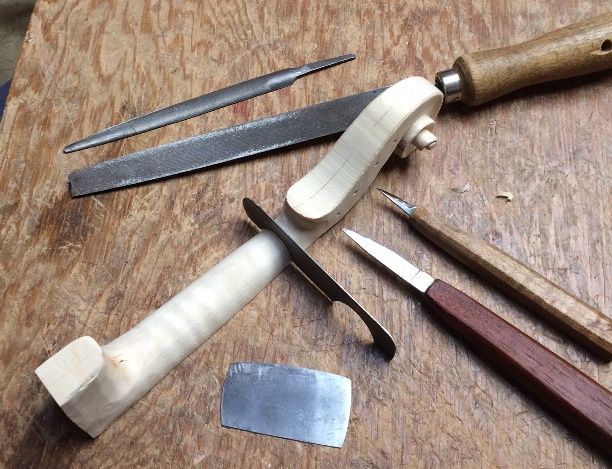
More Scroll Work
While the glue dried between the garland and front plate, I completed the neck carving. There are still things to do: I have not carved the volute, yet, nor even the pegbox (usually I complete it before adding the fingerboard), but I was anxious to get the fingerboard installed, so that I could set the neck sometime soon.
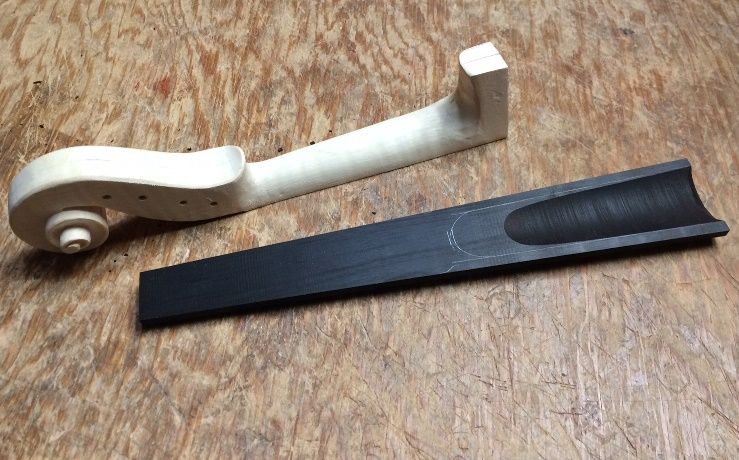
Fingerboard Preparation and Installation:
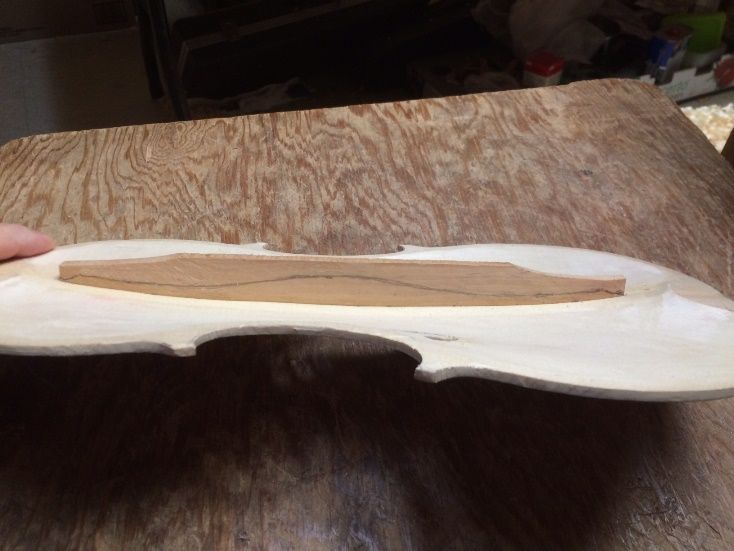
Once I was satisfied with the neck and scroll, I decided to begin the fingerboard. I first planed it until the edges were a consistent 5 mm thick. Then I laid out the shape of the hollowed portion underneath the fingerboard, so that I could carve it out. I wanted the hollow to end just a few millimeters from the lower end of the neck, and be about 5mm thick all over.
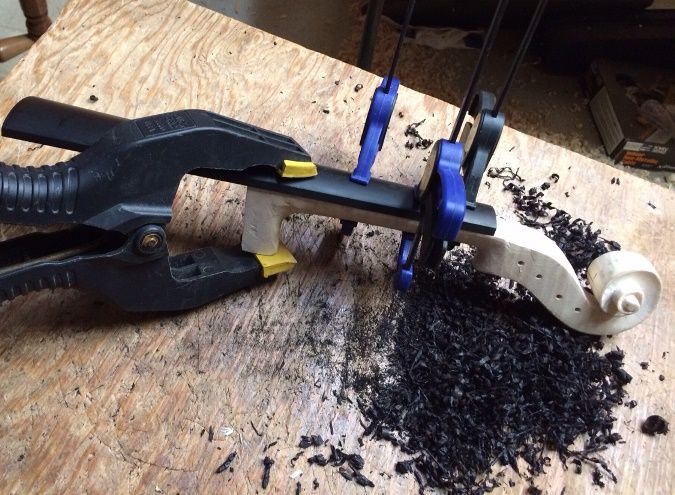
Temporarily attaching the fingerboard allows me to complete the shaping of the handle portion of the neck and the fingerboard together, as a unit. I will then set the neck with the fingerboard still in place, but pop the fingerboard back off while I varnish the violin.
So…that is as far as I got today, but I feel relatively satisfied with the progress.
Thanks for looking.
This looks so perfect, Mr. Chet!
Thanks, Miss Maryanne! Still quite a way to go.