
 Follow

Setting Up the 14-inch Viola
What is “Set-up?”
Set-up can include a fairly wide range of things not related to the actual building of the instrument:
- Dressing the fingerboard
- Adjusting the string-height at the nut
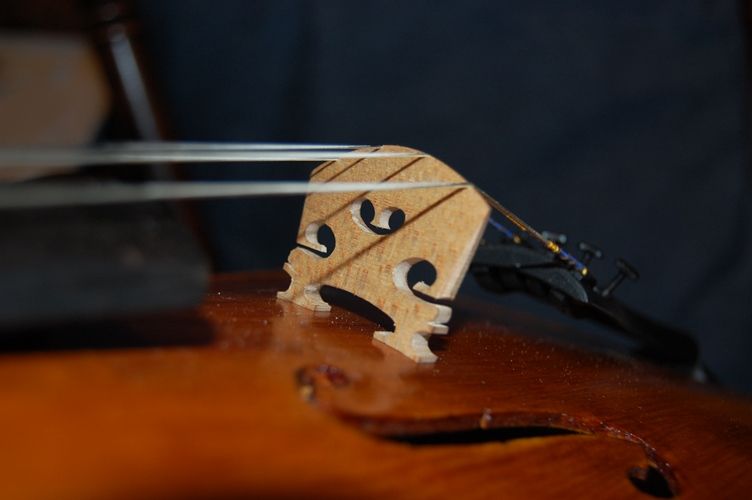
- Fitting the bridge
- Fitting and adjusting the sound-post
- Fitting (or lubricating) new tuning pegs
- Installing strings, tailpiece and chinrest
- Final adjustments for sound and playability
- Height of strings above the end of the fingerboard
- Balance of tone across the strings (adjusted at the soundpost)
Usually the instrument already has the fingerboard and saddle when “set-up” begins.
This Instrument
In this particular case, I had already installed, but not dressed the fingerboard, so I still had to:
- Dress the fingerboard,
- Install and finish the tuning pegs,
- Drill the holes in the tuning pegs for the strings,
- Fit and install the nut
- Cut the slots in the nut, to receive the strings,
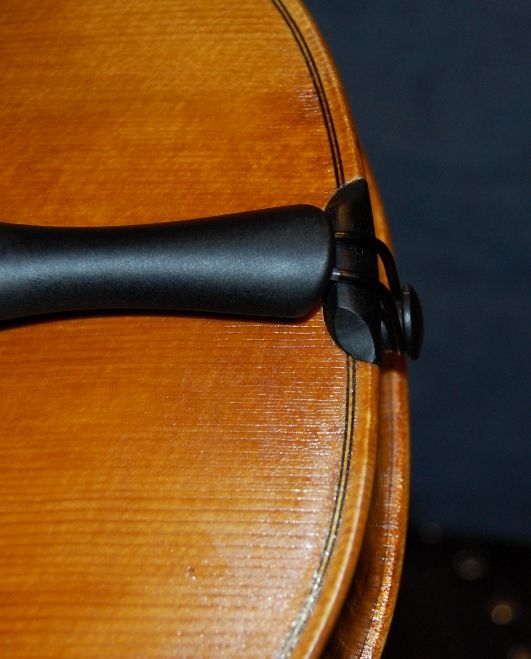
- Drill and ream the hole for the end button, and fit the end button
- Fit the soundpost, to a preliminary position,
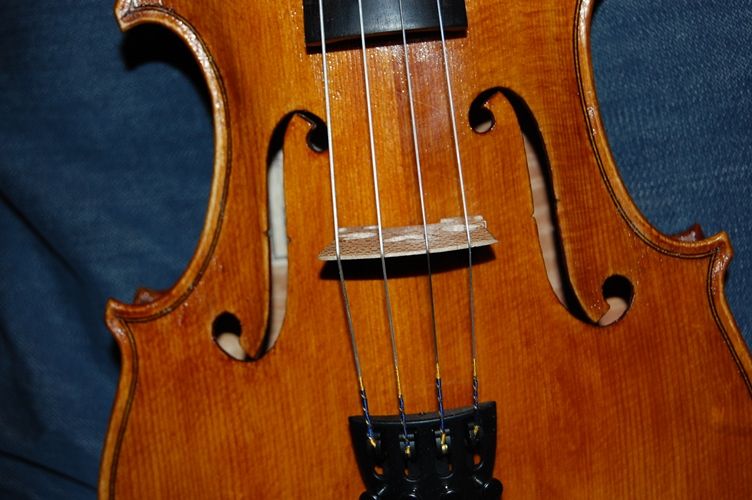
- Fit the bridge and adjust it for height,
- Install the tailpiece, strings and chinrest.
- Perform any “final touches”, to repair small varnish flaws, etc.
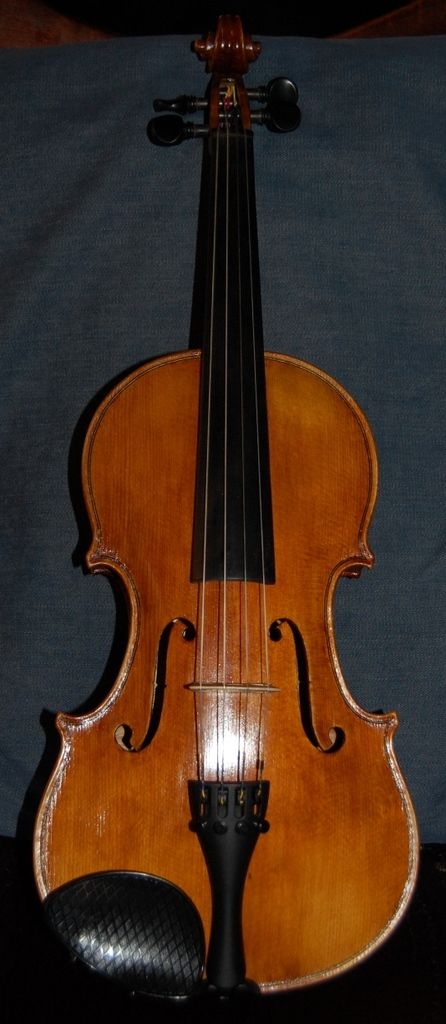
I have been swamped with other responsibilities, so, this time, I made no effort to record the process as it was being done. If anyone is interested, one can search the archived articles on this site, to see photo-essays of set-ups. Here is the completed instrument, from various views:
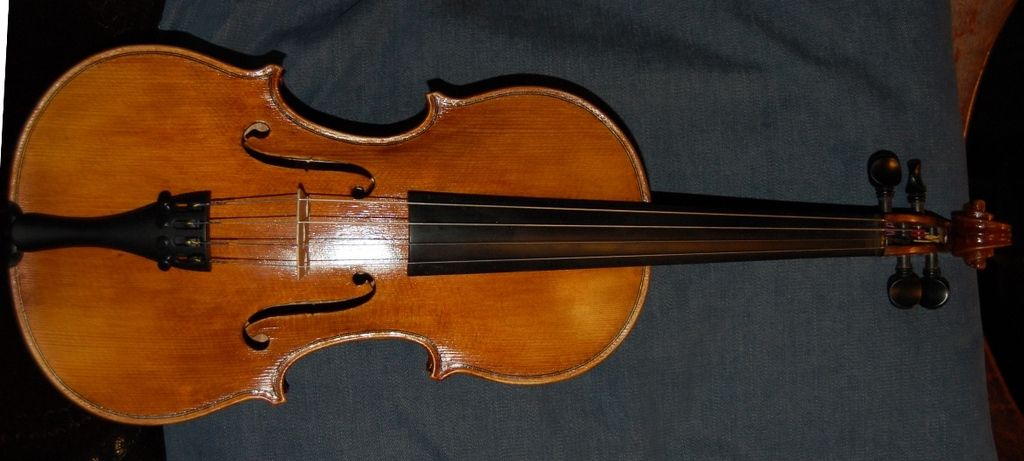
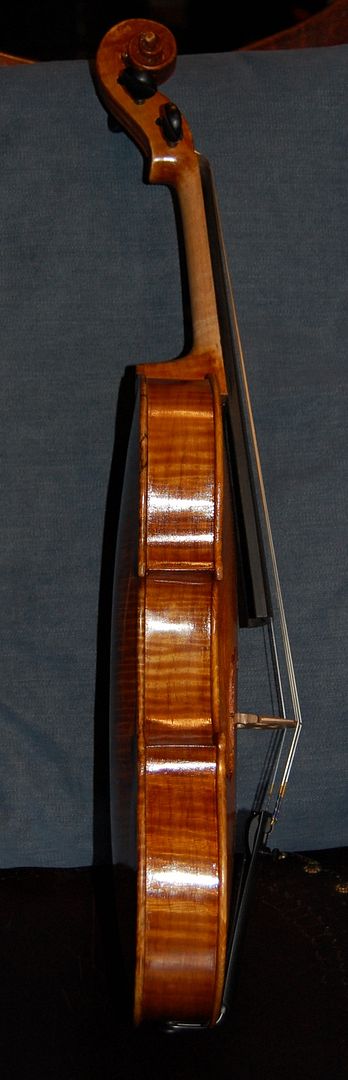
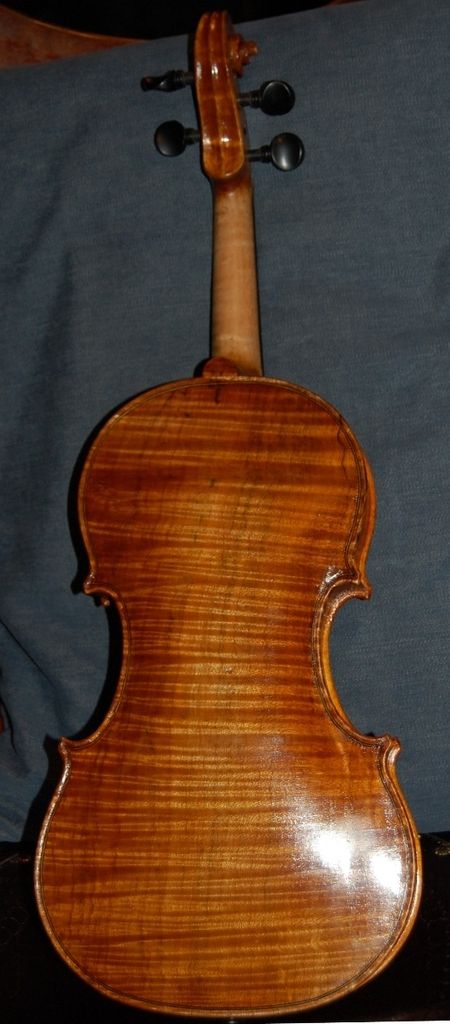
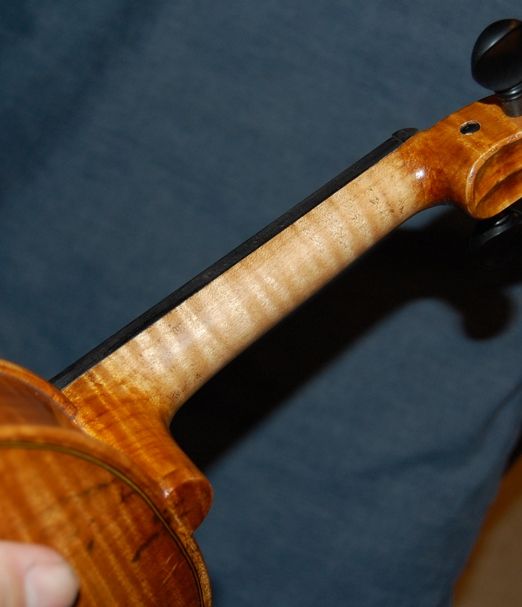
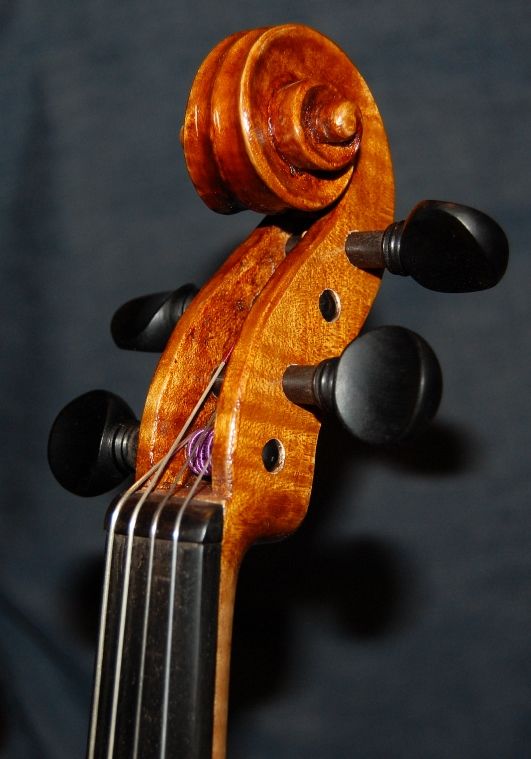
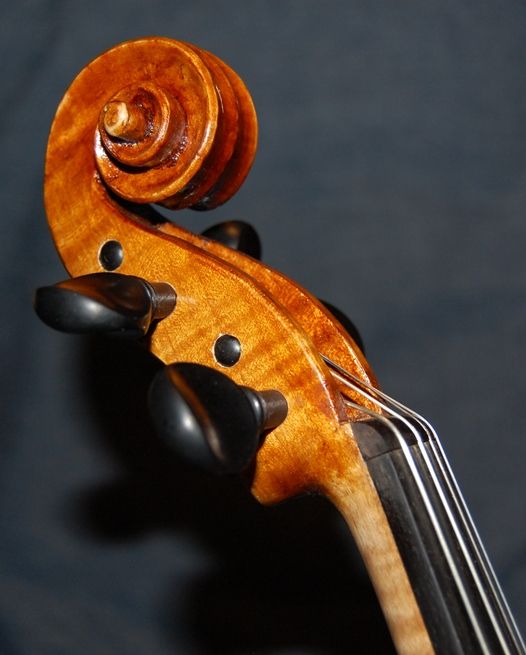
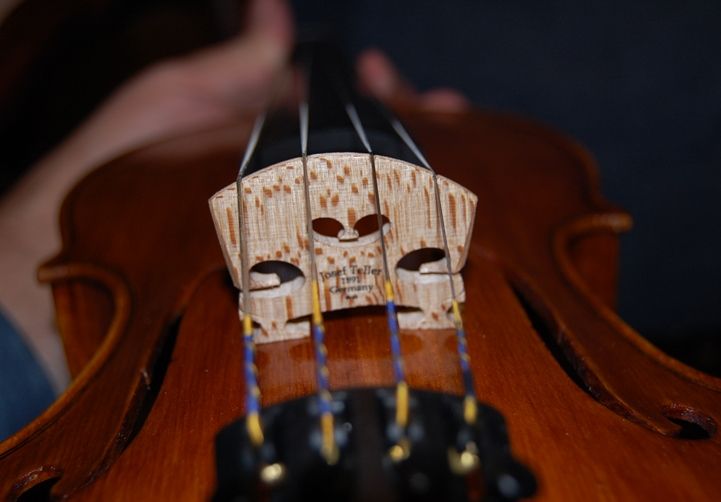
So! That is the 14-inch Viola! I will add a chinrest in the morning, but I wanted to get these pictures posted.
So far the sound is good. It is a little unfocused on the C string, but I usually expect some of that at first. I adjusted the soundpost to enhance the C-string, and tomorrow I hope it will have improved. I could tell it was opening up within 20 minutes of hard bowing, so I expect it will be a very good viola. These strings are Helicore: I would prefer orchestral strings, I think, but it is difficult to find a good C-string for a 14″ viola.
This will make a very good viola for some player with small hands.
Thanks for looking.
(Edit: Here is the finished instrument WITH the chinrest. And, as I hoped, it sounds even better this morning. 🙂 It has a good, open, rich C-string and good balance across all strings.)
That’s good stuff Chet, I was thinking about you and your woodwork a few days ago and there you are today… take care miss you all… C. Hadfield
Thanks, Chris!