
 Follow

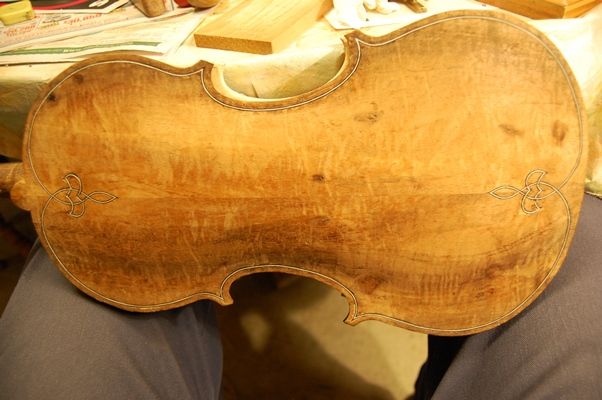
Five-String Fiddle Purfling Weave
Over and Under Illusion
Some makers, especially those making violas da gamba, Lutes, etc., make much more complex purfling weaves. Some of the Celtic designs employ the technique in very sophisticated ways. The point is to make an illusion of 3-D “over and under” weave in the purfling. As far as I know it has zero effect on tone; just appearance.
Installing purfling
When I left off, last post, the purfling groove was nearly complete, but not quite: I finished picking out the last bits of wood in the “fleur de lis” areas, then went all the way around checking for depth and width.
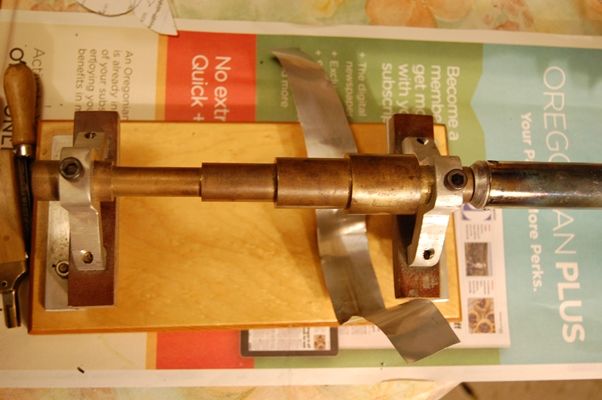
My purfling bending “iron” is an old-fashioned solder-iron affixed to a brass cylinder with various diameters. I don’t know who made it…I got it from my friend Jake Jelley.
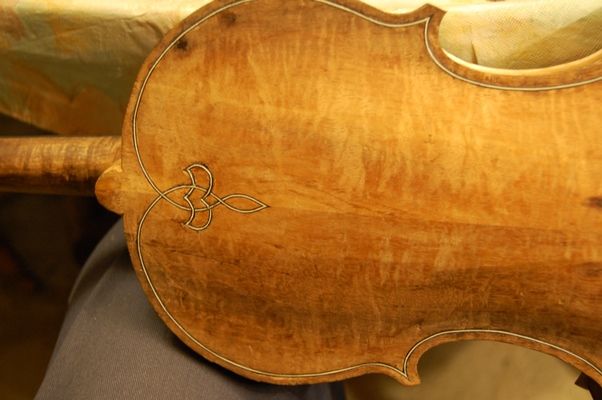
Starting with the completed purfling groove, I first cut and bent the center-bout purfling strips, and inserted them into the grooves, making sure the mitered ends were all the way into the corners of the “bee-stings”, as the sharp miter-ends are commonly called.
Then I cut and bent the long upper and lower bout strips, and fitted them carefully into place, jamming them tightly into the miters at the corners, and trimming them to fit exactly at the other ends.
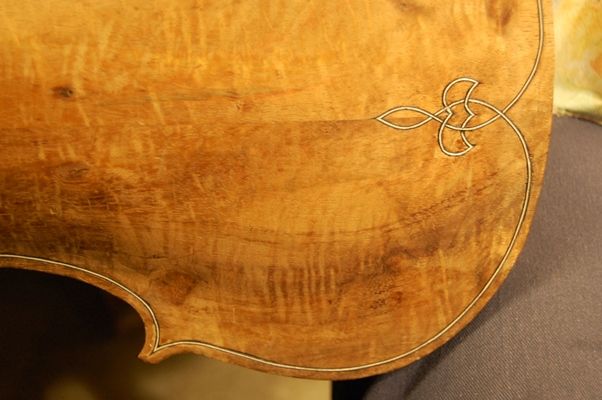
Then I began gluing the long strips in place, so that they would stay put while I installed the short ones. I tipped the center strips up and inserted hide glue in the groove, then pushed them back in place, and forced them to the bottom of the groove, so that the glue was squeezed out all the way along each strip. Then I repeated that procedure on all the upper and lower-bout purfling strips. Afterward, I could begin work on the “fleur-de-lis” designs.
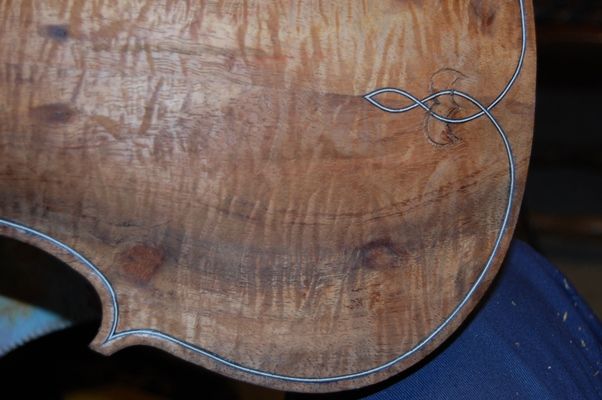
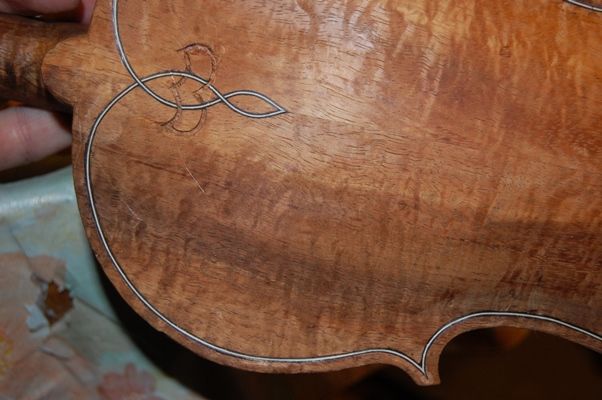
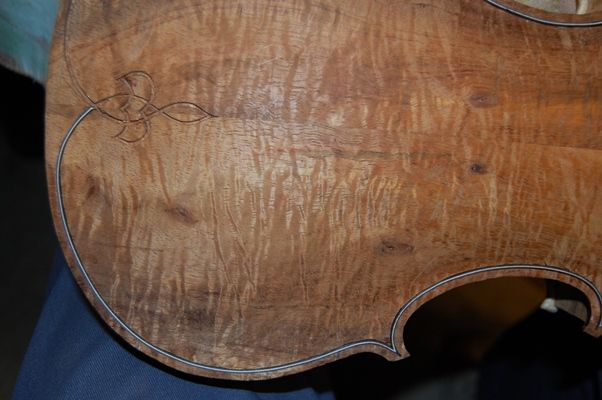
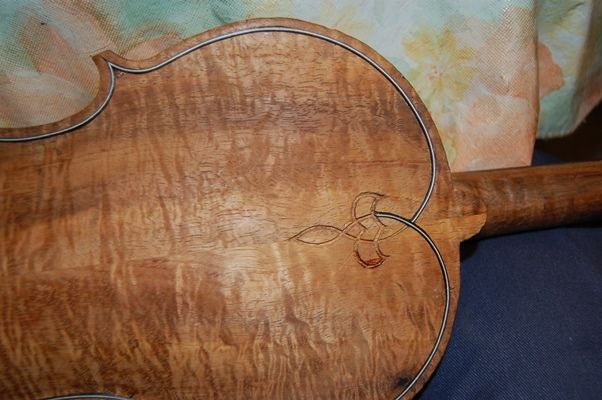
The “Weave”:
You can see that I had to decide, initially, which strip goes “over” and which goes “under”: In reality, of course, they are all at the same level, but, choosing which gets cut off (thus looking as though it goes “under”) and which goes on through an intersection (thus appearing to go “over”) determines which way the “weave” seems to go. Once I pick a direction, I need to pay close attention to see that it continues with the “over and under” look, to make the “weave” illusion appear correctly. I also try to make both ends the same way (starting “left over right”, for instance).
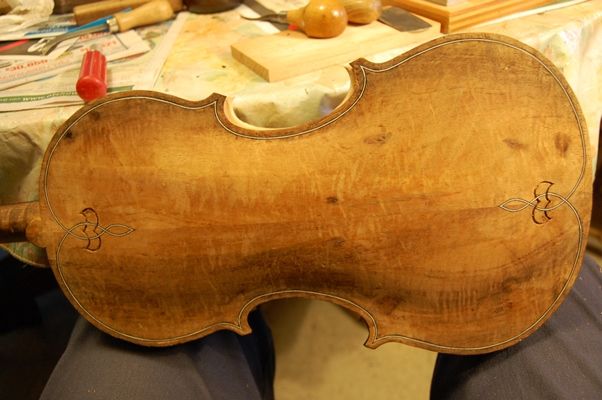
All that is left on the back, now, is the channel, the edgework, and final scraping. We are officially “on the home stretch!”
Thanks for looking.
Nice work Chet. I enjoy following your work and find it inspiring.
Thanks! I appreciate the vote of confidence.