Five String Fiddle Progress
A fellow approached me a few months back, asking whether I could build a five-string fiddle of some exotic wood which he had bought almost 33 years ago, and which he had hung onto all this time. Of course I am delighted to make an instrument that is special to a client, so I said “Sure!”
Wood
Here is the wood (Nice stuff! I can see why he hung onto it!):
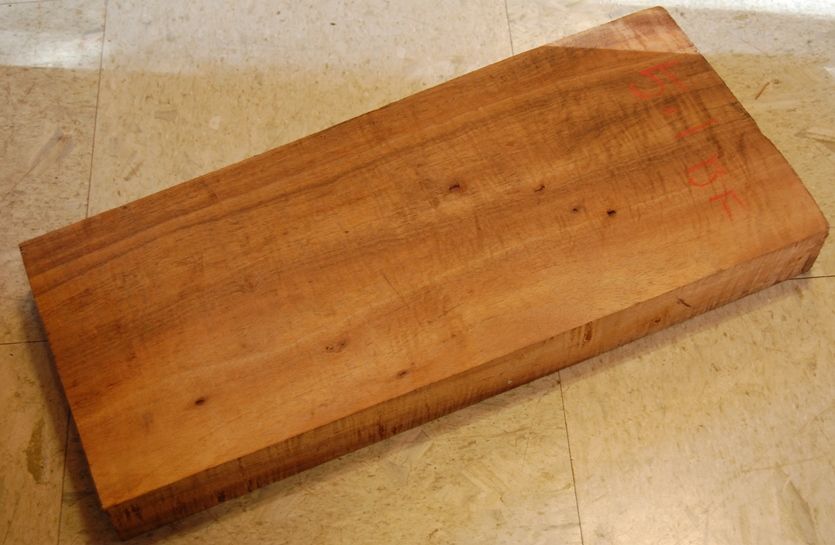
The neck, back and ribs will all be cut from this block. Actually there will be a fair amount left over, so I will try to use it in an efficient manner so that he can use the scraps for something nice, too. The front plate will be spruce. The blocks and linings are willow…not sure which specific variety.
Templates–Patterns
Here is how the pattern will fit–with lots of room left over:
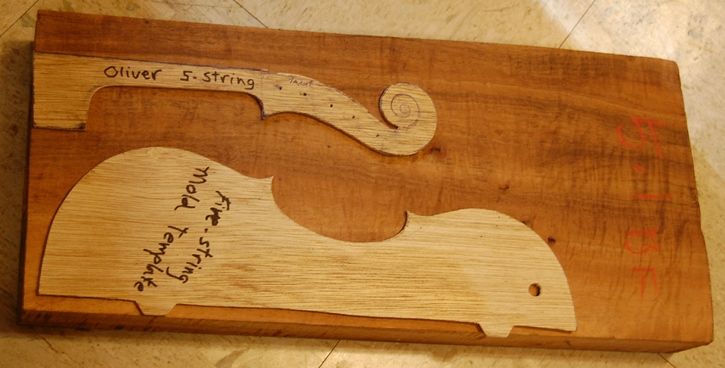
The section from which the back plate will be cut will be sawn into two pieces, each half the thickness of the original block. The two pieces will be glued edge to edge, so that they are “bookmatched”: that is to say that the straight edge of the mold template will become the centerline of the back plate. (I will show photos of how it is done when I get to that part.) The same thing will happen with the spruce for the front plate.
Progress and Plans
The five string fiddle will be built to my usual “Oliver 5-string” Pattern. So, the first thing I needed to do was to cut the ribstock using a band-saw. (I sliced them off at 2mm thick, later to be thinned to 1mm thick before bending to shape.) I also cut willow blocks for the four corners and the two ends.
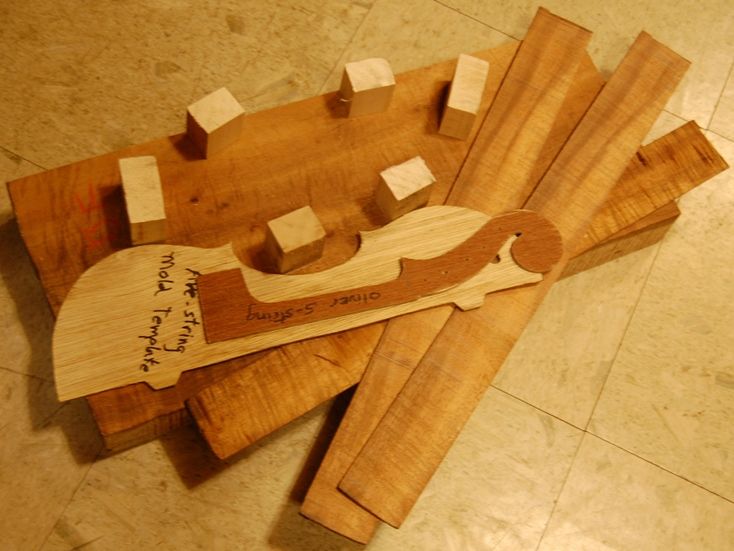
Then I needed to glue the blocks into the mold, and mark them for their outer shape. This shape will be the inside shape of the ribs, and the blocks will become a permanent portion of the finished instrument. The mold will be removed as soon as the rib structure is safely glued to the front plate (not pictured here.) Once the glue was dry, I laid the mold-template on the centerline of the blocks, and scribed around it with a pencil.
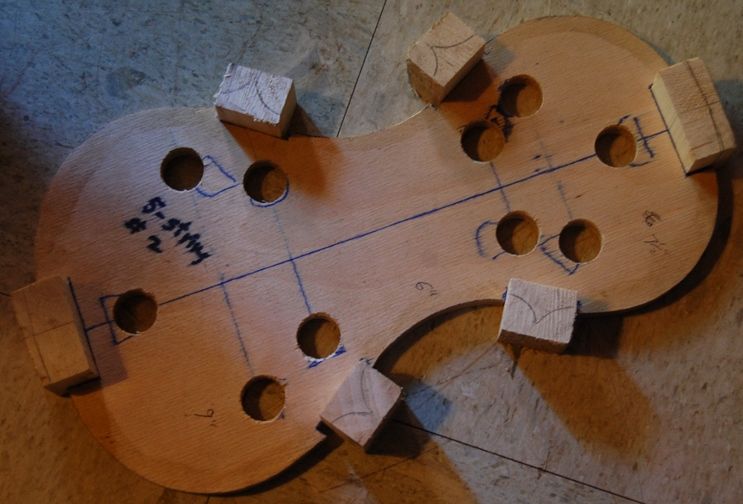
After the blocks were marked, I was ready to begin shaping them. I really only want the center curves shaped to their final profile: the rest of the corner blocks need to stay a little thick, so as to guarantee they will not deform when I am gluing and clamping the center ribs in place. I went ahead and shaped the end blocks as well, as that does not hurt anything.
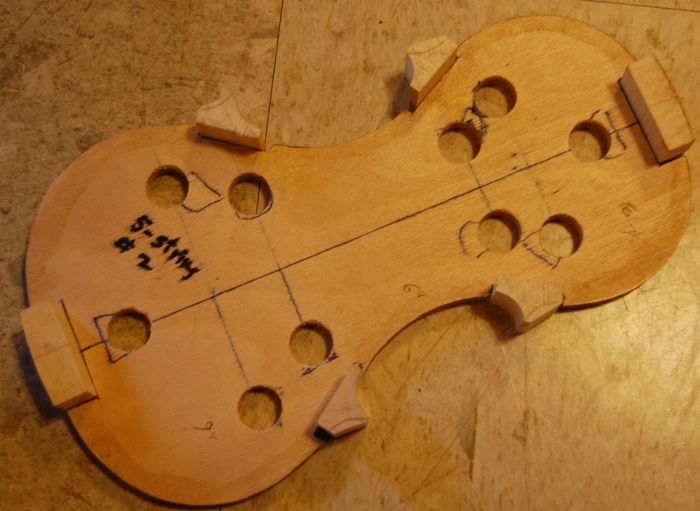
Here’s a side view of the same thing:
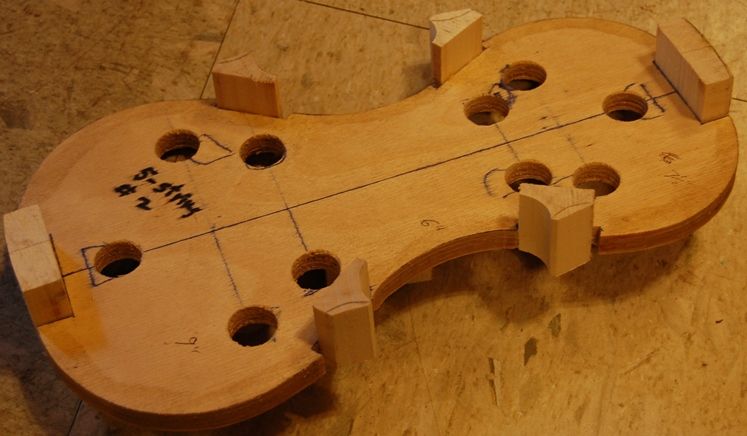
Once the center ribs are bent to the correct shape, I will glue them to the center bout surfaces of the corner blocks, and after the glue is dry, I will shape the outer surfaces to receive the upper and lower ribs. From that point forward, it will begin to look more and more like a violin.
I will keep you posted.
Thanks for reading.

 Follow
